Mehra Milo (talk | contribs) (+interwiki de) |
m (one last squeeze-in. maybe two) |
||
| (14 intermediate revisions by the same user not shown) | |||
| Line 1: | Line 1: | ||
| − | [[File: |
+ | [[File:MEA Journal - A Better Beginning.png|250px|right|A Better Beginning]]The [[Nexus]] needs a resource-producing outpost, but [[Eos]] is the only planet in range. As the only [[Pathfinder]], you have been asked to achieve the impossible: find a way to settle Eos and give the [[Andromeda Initiative|Initiative]] the foothold it needs. [[Jarun Tann|Director Tann]] has committed the resources for a last-ditch effort, including a ship and support team for the Pathfinder. |
== Acquisition == |
== Acquisition == |
||
| + | {{prerequisite|Nexus Reunion}} |
||
| − | This mission is acquired immediately upon completion of [[Nexus Reunion]]. |
||
| + | This mission is acquired immediately after joining forces with the Nexus. |
||
== Walkthrough == |
== Walkthrough == |
||
| − | === Speak |
+ | === Speak with SAM on the Hyperion === |
Use the tram to return to the [[Habitation Deck]] of the [[Hyperion]] and head to the [[SAM]] Node. Activate the terminal in the SAM node to learn more about [[Pathfinder Ryder]]'s connection to SAM and the modifications that [[Alec Ryder]] made to SAM to enhance his own abilities. The allies and relationships mission [[Ryder Family Secrets]] is automatically started, speak to SAM again to learn more. |
Use the tram to return to the [[Habitation Deck]] of the [[Hyperion]] and head to the [[SAM]] Node. Activate the terminal in the SAM node to learn more about [[Pathfinder Ryder]]'s connection to SAM and the modifications that [[Alec Ryder]] made to SAM to enhance his own abilities. The allies and relationships mission [[Ryder Family Secrets]] is automatically started, speak to SAM again to learn more. |
||
| − | === Go |
+ | === Go to your ship === |
| + | [[File:Tempest initial loading.PNG|center|700px]]This objective is complete simply by going to the Nexus [[Docking Bay]], but in the interests of efficiency the following actions can also be accomplished in the interim. (+270 XP for boarding the [[Tempest]].) |
||
| − | Feel free to explore Alec's former quarters, now Ryder's own personal room, as SAM suggested. The first memory trigger for the recently started relationship mission can be found here, as well as a [[Model Ships (Mass Effect: Andromeda)|model]] of the [[SSV Normandy SR-2]]. Access audio logs for insight into the [[Andromeda Initiative|Initiative]] and a few words from [[Liara T'Soni]]. Ryder can also make a quick stop at the [[Cryo Bay]] to check on Ryder's sibling and pick up a side mission, [[Task: Lost Brother]]. Return to the tram to reach Ryder's new scout ship, the [[Tempest]]. (Ryder receives +270 XP for boarding the Tempest.) |
||
| − | <br> |
||
| − | <br> |
||
| − | [[File:Tempest initial loading.PNG|center|584x584px]] |
||
| − | <br> |
||
| − | Ryder and [[Cora Harper]] enjoy a breathtaking view of the new ship. [[Vetra Nyx]], one of Ryder's new crew, will help acquaint Ryder with all the sections of the ship. |
||
| + | Feel free to explore Alec's former quarters, now your own personal room, as SAM suggested. The first memory trigger for the recently started Allies and Relationships mission can be found here, as well as a [[Model Ships (Mass Effect: Andromeda)|model]] of the [[SSV Normandy SR-2]]. Access audio logs for insight into the [[Initiative]] and a few words from [[Liara T'Soni]]. |
||
| − | Once the cutscene has ended, Ryder's objective is to head to the bridge to begin the trip. Feel free to explore the ship a bit before heading out, though most of the crew is too busy readying the ship to talk to Ryder. |
||
| + | You can also make a quick stop at the [[Cryo Bay]] to check on your sibling and pick up a side mission, [[Task: Lost Brother]]. |
||
| − | {{Note}} Ryder should check in with all of the crew after each [[Missions (Mass Effect: Andromeda)#Priority Ops|Priority Ops mission]]. Crew members will usually have new conversation options after the completion of a Priority Op mission. |
||
| + | When you finally enter the Tempest Ryder and [[Cora Harper]] enjoy a breathtaking view of the new ship. |
||
| − | === Go To The Bridge === |
||
| − | Upon entering the bridge, Ryder meets [[Kallo Jath]] (the ship's pilot), who will explain the navigational controls and make ready for departure from the Nexus. Ryder gives a short speech and Kallo will take the ship out. |
||
| − | === Go |
+ | === Go to the bridge === |
| + | Once the cutscene has ended, your next objective is to head to the bridge to begin the trip. Feel free to explore the ship a bit before heading out, though most of the crew is too busy readying the ship to talk to Ryder. [[Vetra Nyx]], one of the Tempest's new crew, will help acquaint you with all the sections of the ship. |
||
| + | |||
| + | {{Note}} You should check in with all of the crew after each [[Missions (Mass Effect: Andromeda)#Priority Ops|Priority Ops mission]]. Crew members will usually have new conversation options after the completion of a Priority Op mission. |
||
| + | |||
| + | [[Kallo Jath]], the ship's pilot, meets you upon entering the bridge, and explain the navigational controls and make ready for departure from the Nexus. Ryder gives a short speech and Kallo will take the ship out. |
||
| + | |||
| + | === Go to Eos in the Pytheas system === |
||
Use the [[Galaxy Map]] to travel to Eos in the [[Pytheas]] system. |
Use the [[Galaxy Map]] to travel to Eos in the [[Pytheas]] system. |
||
{{Note}} Travelling to Eos is a good opportunity to familiarize with planet scanning and begin working towards completing [[Task: The Model of the Spheres]]. |
{{Note}} Travelling to Eos is a good opportunity to familiarize with planet scanning and begin working towards completing [[Task: The Model of the Spheres]]. |
||
| − | === Land |
+ | === Land on Eos === |
| − | Landing on Eos will gain Ryder +2 AVP |
+ | Landing on Eos will gain Ryder +2 AVP{{AVPIcon}} and +2% Eos [[viability]]. |
| − | === Clear |
+ | === Clear atmospheric radiation === |
| − | Previous attempts to colonize Eos failed due to the high radiation levels. However, the crew recognizes a signal like that found on [[Habitat 7]]; if similar alien technology exists on Eos, Ryder may be able to use it to improve the planet's conditions and make it viable for settlement. |
+ | [[File:A better beginning - start from somewhere.png|right|340px|Welcome to a promising start: a few supply caches, containers, and scannable items shortly after landing]]Previous attempts to colonize Eos failed due to the high radiation levels. However, the crew recognizes a signal like that found on [[Habitat 7]]; if similar alien technology exists on Eos, Ryder may be able to use it to improve the planet's conditions and make it viable for settlement. |
| + | {{note|This is the overarching objective of the mission. All other objectives below are designed to accomplish this one.}} |
||
| − | {{Note}}If Ryder takes the time to walk around [[Site 1: Promise]], there are numerous items to scan that will yield a total of +160 {{RDIcon|MilkyWay}} and +20 {{RDIcon|Heleus}} (+10 {{RDIcon|Heleus}} each for a [[Fluorite]] node and a [[Cadmium]] node). |
||
| − | [[File:Site 1 promise.png|left|369x369px]] |
||
| + | {{note}}If you are familiar with the structuring of missions and assignments in the previous Mass Effect trilogy, this is the first major mission where you will notice that you can accomplish numerous other missions on- and offworld before this gets resolved. This is similar to [[Race Against Time]] or [[Stop the Collectors]], except while those are overarching missions for the first two games A Better Beginning is only the overarching mission for ''a single planet''. A key difference is while you won't return to the same mission levels twice in the previous games, here you have the entire Eos map to explore repeatedly, or gradually as more areas open up. You can leave the planet, go back to the Nexus or explore other systems, and resume the mission where you left it. The same philosophy applies to all other hub worlds further down the game. Thus, with a few exceptions, there is generally no rush to investigate everything in one go, but lootable or scannable items along the way that can be returned to later will be noted for efficiency's sake. |
||
| − | === Search Site 1's Main Control Building === |
||
| − | Search the main control building. |
||
| + | [[File:A better beginning - site 1 building labels.png|left|340px|Pay attention to the building labels for loot navigation]]If you take the time to walk around [[Site 1: Promise]] before dealing with the next objective, there are numerous items to scan that will yield a total of +160{{RDIcon|MilkyWay}} and +20{{RDIcon|Heleus}} (+10{{RDIcon|Heleus}} each for scanning a [[fluorite]] node and a [[cadmium]] node for the first time). SAM helpfully encourages you to do it for research points once you bring up the scanner and it pings a valid object. The buildings have distinct labels on their walls to help with navigation and identification. |
||
| − | === Restore Power At Site 1 === |
||
| − | The first step at Site 1: Promise is restoring power to the abandoned [[outpost]] so that a thorough scan of the area can be completed and the source of the atmospheric disturbance can be located. Head towards the objective marker{{MapIcon|tracked}}; the door to the control center is receiving emergency power, but it requires a code to open. |
||
| + | Just a few steps from your starting position, there's an ammo [[supply cache]] and a container. Looting the container will alert the [[squad]] there seems to be someone else in the area. Beside a nearby truck are two supply caches: ammo and health. The crate next to the health cache can also be scanned for +10{{RDIcon|MilkyWay}}. The building marked S2 cannot be opened for now; between it and the Tempest is another ammo supply cache and another lootable container. |
||
| − | The codes are located on a datapad in a nearby structure marked by an objective marker. Retrieve the codes and return to the control center door. |
||
| + | Following the vehicle trail from your starting position, the yellow six-wheeled cAvro/Ute PackRack can be scanned for +10{{RDIcon|MilkyWay}}. The fallen cylinder beyond it is a damaged Husqani-M1 Adaptive Turbine (+10{{RDIcon|MilkyWay}}). On the rocks overlooking the site's small lake is a fluorite node. Further along the vehicle trail, east of the Tempest is another damaged power turbine (+10{{RDIcon|MilkyWay}}). |
||
| − | After returning to the control center, Ryder finds that there is a manual override at a nearby relay station that is preventing the power from coming online. |
||
| + | Nearby, outside the building labeled L1 is a container. Inside it is a datapad containing a door code and a terminal. |
||
| − | === Investigate The Power Relay Station === |
||
| − | Follow the objective marker to the power relay station on the eastern ridge. |
||
| + | [[File:A better beginning - site 1 boundaries.png|right|340px|There's little point venturing beyond the masts at the moment; the broken shuttle can be scanned from the safe zone]]The building labeled T3 west of the Tempest has a scannable door (+10{{RDIcon|MilkyWay}}) telling you there's no power. Between the T3 building and the F5 building is an Infusion Station (+10{{RDIcon|MilkyWay}}). South of the T3 building, near shield masts, are fluorite and cadmium nodes as well as a destroyed [[Forward Station]] (+10{{RDIcon|MilkyWay}}). On the other side of the anti-radiation field near the Forward Station, there's a shuttle torn in two (+10{{RDIcon|MilkyWay}}). You won't have to leave the field to scan that one. |
||
| − | Upon using the console beside the door on the second floor of the station, Ryder will be "greeted" by [[Clancy Arquist]], a salvager who has taken up temporary residence there. It appears that Clancy is responsible for the signs of recent illicit activity at Site 1. Clancy won't let Ryder into the relay station just yet, but he agrees to let Ryder turn on some of the generators to get the antenna online to locate the source of the [[remnant]] signal. He warns Ryder, however, that doing so will attract the attention of [[kett]] patrols. |
||
| + | The F5 building has two containers, a datapad with a door code, and another datapad containing [[Grace Lito]]'s personal log. |
||
| − | === Activate The Generators === |
||
| − | Ryder now needs to activate the generators. Ryder will be given objective markers for two power pylons. |
||
| + | There are two buildings labeled S2 in Site 1. One is marked as the research station in the map. North of the other S2 building is another Infusion Station (+10{{RDIcon|MilkyWay}}). East from the Infusion Station, at the base of a girthy rock formation is a fluorite node. |
||
| − | === Scan The Power Pylons To Find An Interface === |
||
| − | When Ryder attempts to activate the first power pylon, Ryder will discover that it requires a bit of repair. Scan the power pylon (+20 {{RDIcon|Milky Way}}) to determine an interface location. |
||
| + | [[File:A better beginning - site 1 outpost central control exterior.png|left|340px|A shuttle parked behind the main building: someone else is around]]The main building complex is also labeled N4. There are two working energy storages (+10{{RDIcon|MilkyWay}} each) north and east of it. A few steps north from the building is a working shuttle(+10{{RDIcon|MilkyWay}}), presumably operated by someone who isn't supposed to be there. Beneath one energy storage is a scannable corpse that will give you [[Task: Naming the Dead]]. |
||
| − | === Activate Power Pylons (0/2) === |
||
| − | Use the interface location information to activate the first power pylon. Repeat the scanning and activating process for the second power pylon. |
||
| + | The giant circular complex along the vehicle trail is a water filtration system displaced by the storms. There's nothing in its surroundings except shield masts and two fluorite nodes, but be warned that one of them lies in a level 3 radiation hazard zone that will deplete your life support rapidly. |
||
| − | === Defeat The Kett === |
||
| − | Upon repairing the second pylon, a drop ship will deliver group of up to six kett [[Chosen]]. (+69 XP). |
||
| + | Site 1: Promise is ringed by multiple shield masts. Beyond them is a radiation environmental [[hazard]]; venturing outside will gradually deplete your hardsuit's life support systems unless you turn back. Multiple sites on Eos also have these masts: scanning them the first time will yield some dialogue about their function but no points. Scanning subsequent masts will not yield anything even if the scanner marks them red. |
||
| − | === Reactivate The Power Relay Station === |
||
| − | Return to Clancy and speak to him to get information about where to find a vehicle. After Clancy leaves, use the console at the back of the room to reactive the power relay station (Ryder receives +73 AVP {{AVPIcon}} and +5% Eos viability). |
||
| + | === Search Site 1's main control building === |
||
| − | {{Note}} When returning to Clancy, asking him if he trades salvage will give Ryder access to some supplies; advising him to "get to a safe location" will not allow Ryder to trade immediately, although he can later be found next to a shuttle in [[Site 1: Promise]] as a [[Merchants Guide#Merchants|merchant]]. |
||
| + | Reach the outpost central control on the objective marker{{MapIcon|tracked}} northwest from the Tempest to complete this objective. It's on emergency power and it's locked, requiring a code to open. |
||
| − | === |
+ | ==== Find a code to access locked buildings ==== |
| + | If you haven't encountered the code yet, this sub-objective pops up. The objective marker{{MapIcon|tracked}} will point you to the building labeled L1 as it has a datapad inside that has the code, although you can also search the building labeled F5 for a similar datapad. After retrieving either, you will be able to open the main control building's door. |
||
| − | Once power is restored, Ryder will be able to access the surrounding buildings. In some of the now unlocked buildings, Ryder will be able to scan portions of recorded conversations from the former human settler inhabitants. SAM is able to reconstruct the recorded conversations. Scanning the reconstructed images of Wilcox and Farthingale awards +270 XP per conversation (+540 XP total). |
||
| + | === Restore power at Site 1 === |
||
| − | Additionally, a now unlocked building nearby the next objective marker is a [[Research Center (Mass Effect: Andromeda)|Research Center]]. Investigate the Research Center to begin, [[Task: Research Center Development]]. |
||
| + | [[File:A better beginning - site 1 outpost central control.png|right|340px|Scan the board, loot the crates, access the terminals in the background]]If you already have the code from searching the other buildings, upon opening the outer door you'll see two doors and a container inside. One of the doors is locked (also scannable, but won't yield points if you already scanned a similar door in the T3 building). Beyond the accessible door is a message terminal. Further in, you can scan the power interface for +10{{RDIcon|MilkyWay}}. There are two containers, an audio terminal (about a complaining Zed Wilcox), and a console, but your objective is accessing the console. |
||
| + | After using the console, the first step at Site 1: Promise is restoring power to the abandoned [[outpost]] so that a thorough scan of the area can be completed and the source of the atmospheric disturbance can be located. Ryder finds that there is a manual override at a nearby relay station that is preventing the power from coming online. |
||
| − | === Call Down A Forward Station === |
||
| − | Follow the objective marker to a large container with a small access panel. Scan the container to discover that it contains the [[ND1 Nomad]], but must be opened with a code from a [[Forward Station]]. Approach the new objective marker and the Forward Station will automatically descend. {{Note}} The first forward station on Eos doesn't give Ryder the usual award of AVP and viability. This was awarded when Ryder first landed on the planet. Subsequent forward stations on Eos will give the correct rewards except for the Forward Station on the vault island. |
||
| − | === |
+ | === Investigate the power relay station === |
| + | [[File:A better beginning - site 1 power relay station.png|left|340px|Promise's power relay station]]Follow the objective marker to the power relay station on the southeastern ridge, beyond the Tempest. |
||
| − | After SAM has automatically downloaded the access code, head back to the panel on the container to get access to the new vehicle. |
||
| + | Follow the vehicle trail east and on some rocks before the incline there's a fluorite and a cadmium node. The trail curves upward to the power station (also labeled T3 but this building's bigger than the other one); beside two crates there's an ammo cache. The power station's lower door yields +10{{RDIcon|MilkyWay}} when scanned. The pipes on the downward slope are part of a Hydro-Evaluation Station (+10{{RDIcon|MilkyWay}}). |
||
| − | === Get In The Nomad === |
||
| − | Enter the Nomad to acquaint Ryder with the controls of the vehicle. |
||
| + | Beneath the stairs to the upper door there's a lootable container. Upon using the console beside the door on the second floor of the station, you will be "greeted" by [[Clancy Arquist]], a salvager who has taken up temporary residence there. It appears that Clancy is responsible for the signs of recent illicit activity at Site 1. Clancy won't open the relay station doors just yet, but he agrees to let you turn on some of the generators to get the antenna online to locate the source of the [[Remnant]] signal. He warns, however, that doing so will attract the attention of [[kett]] patrols. |
||
| − | === Investigate Strange Signal === |
||
| − | Once Ryder is acquainted with the Nomad's controls, follow the path toward the new objective marker to the west-southwest of Site 1. Ryder will likely find some small hostile creatures while traveling to the objective, these can mostly be ignored and can be killed by driving over them with the Nomad. Just before entering the radiation shield on the north side of the road is a deposit of [[Element Zero#Mass Effect: Andromeda|element zero]]. |
||
| + | === Activate the generators === |
||
| − | {{Note}} Enroute to the objective, Ryder will pass a memory trigger which is part of the mission [[Ryder Family Secrets]]. |
||
| + | You now need to activate the generators. Objective markers for two power pylons will appear: one southeast from the Tempest and one southwest from the Tempest. Either can be chosen at will. |
||
| − | [[File:Assembler pair.png|right|220x220px]] |
||
| + | ==== Scan the power pylons to find an interface ==== |
||
| − | Ryder will arrive at an unusual structure marked with a{{MapIcon|monolith}}. Once Ryder is past the radiation shield, Ryder can exit the Nomad and roam about on foot. |
||
| + | [[File:A better beginning - site 1 power pylon.png|right|340px|No need to construct additional pylons]]Attempting to activate the first power pylon will cause it to break down and temporarily cross out the previous objective. Scan the power pylon (+10{{RDIcon|Milky Way}}) to determine another interface location. |
||
| + | ==== Activate power pylons ==== |
||
| − | Scanning will reveal a nearby [[Platinum (Mass Effect: Andromeda)|platinum]] deposit (+10 {{RDIcon|Heleus}}), a scattering of remnant coolant tanks (+10 {{RDIcon|Remnant}}), a Nexus shuttle (+10 {{RDIcon|Milky Way}}), and a [[scourge]] tendril (+10 {{RDIcon|Heleus}}). |
||
| + | Use the interface location information to activate the first power pylon. Repeat the scanning and activating process for the second power pylon. (+10{{RDIcon|Milky Way}}) |
||
| − | === |
+ | === Defeat the kett === |
| + | [[File:A better beginning - site 1 kett goons.png|right|340px|Dynamic entry for standard kett patrols]]Upon repairing the second pylon, two dropships will deliver 2-3 kett [[Chosen]] each, deploying beside the Tempest's nose. Deal with them. |
||
| − | At the center of the structure, Ryder will find a console, but attempting to interface with the console will introduce a key mechanic: Ryder must use the scanner to follow hidden cables radiating from the console. In this case, there is only one cable, so follow the cable with the scanner. Climb up the structure with the cable, then use Ryder's scanner to read a [[Remnant Glyphs|Remnant Glyph]] at the top. There are two Initiative scanners on top of the structure as well; scanning the scanners will give +10 {{RDIcon|Milky Way}}. |
||
| − | === |
+ | === Reactivate the power relay station === |
| + | Return to Clancy and speak to him to get information about where to find a vehicle. After Clancy leaves, use the console at the back of the room to reactivate the power relay station (+73 AVP{{AVPIcon}} and +5% Eos viability). |
||
| − | Once the glyph is scanned, Ryder can return to the central console and interface with the console to trigger a cutscene, where Ryder meets [[Pelessaria B'Sayle]]. |
||
| + | {{Note}}When you return to Clancy he can buy/sell items if you immediately ask if he trades. He won't be able to do so if you advise him to get to a safe location, although later he can be found next to the shuttle behind Site 1's main building as a [[Merchants Guide|merchant]]. |
||
| − | === Defeat The Hostile Bots === |
||
| − | After the cutscene, the group is attacked by a group of [[Assembler]]s and an [[Observer]]. Defeat the bots. |
||
| + | The room also has two lootable containers. |
||
| − | {{Note}}Before continuing to the next objective, there is a colonist's body for [[Task: Naming the Dead]] located along the Nomad path nearby. |
||
| − | === |
+ | === Scan containers to find a vehicle === |
| + | Once power is restored, Ryder will be able to access the surrounding buildings. You only need to scan the large cargo container northeast of the Tempest to complete this objective, but since we're already here might as well explore. |
||
| − | Next, Ryder must travel in the Nomad to the two other monoliths - The Western and Southern Monoliths.<br> |
||
| − | {{Note}} The order Ryder visits the monoliths doesn't matter but this walkthrough follows Western then Southern. |
||
| + | The now-unlocked building S2 next to the cargo container is a [[Research Center (Mass Effect: Andromeda)|Research Center]]. Investigate the Research Center to begin [[Task: Research Center Development]]. |
||
| − | {{Note}}The road from the first monolith (Northern) to the Western Monolith will pass a forward station drop point. Stop for a moment to allow the forward station to drop before continuing. (+2 AVP {{AVPIcon}} and +2% Eos viability) |
||
| + | [[File:A better beginning - scanning reconstruction.png|left|340px|Figurative ghosts in the machine]]In some of the unlocked buildings, you can scan portions of recorded conversations from the former settler inhabitants. SAM is able to reconstruct the recorded conversations. In the small building marked T3 southeast from the Forward Station, there are two lootable containers as well as reconstructed images of Wilcox and Farthingale. In the big building also marked T3 south of the Tempest (first floor of power relay station) is a terminal, a container, a datapad that yields the mission [[The Secret Project]], and reconstructed images of Wilcox and Farthingale. Scanning the reconstructed images awards +270 XP per conversation (+540 XP total). |
||
| − | Upon arrival at the Western Monolith{{MapIcon|monolith}}(which is located southeast of Prodromos), Ryder will be greeted by a small platoon of remnant bots; defeat the bots to proceed. This time at the central console, there are two cables for Ryder to follow. Use the scanner to follow the cables. Each cable will pass by a smaller remnant console. Use the smaller console to raise several pillars and provide a method of reaching the glyph at the end of the cable. |
||
| + | Additionally, the formerly locked room in outpost central control has a container and a terminal containing Kay Farthingale's supply log. |
||
| − | Once both glyphs are scanned (Accretion Glyph and Nihility Glyph), return to the central console to interface with the central console. However, this time, additional encryption will require Ryder to solve a Sudoku-like puzzle in order to activate the monolith. ''For the puzzle solution, see [[A Better Beginning#Puzzle Solutions|here]]''. If Ryder has found a [[Resources#Sepcial Items|Remnant Decryption Key]], this special item may be used to bypass the puzzle. A better strategy is to hold onto the Remnant Decryption Key until Ryder can sell the Key to a merchant -- the Keys are quite valuable. (Ryder receives +270 XP for completing the puzzle.) |
||
| + | === Call down a forward station === |
||
| − | As soon as Ryder activates the monolith, a few kett [[Anointed]] and squad of Chosen will attack Ryder. Fight the kett off (+244 XP). Once the fight is complete, Ryder can find a few remnant scanable items in the area (+20 {{RDIcon|Remnant}}). |
||
| + | Follow the objective marker to a large container with a small access panel. Scan the container to discover that it contains the [[ND1 Nomad]], but must be opened with a code from a [[Forward Station]]. Approach the new objective marker and the Forward Station will automatically descend. |
||
| + | {{Note}} The first forward station on Eos doesn't give the usual award of AVP and viability. This was awarded when Ryder first landed on the planet. Subsequent forward stations on Eos will give the correct rewards except for the Forward Station on the vault island. |
||
| − | There's also a datapad with a voice recording of the former settlers' plans to use the remnant technology. |
||
| + | === Unlock the Nomad container === |
||
| − | {{Note}}Before leaving, check just south of the control panel for a group of bodies, one is a body of a colonist needed to complete [[Task: Naming the Dead]]. |
||
| + | [[File:A better beginning - introducing the nomad.png|right|340px|The snazzy customizable pimpmobile you'll be using for the rest of the game]]After SAM has automatically downloaded the access code, head back to the panel on the container to gain access to your new vehicle. |
||
| + | === Get in the Nomad === |
||
| − | Enter the Nomad and continue to the Southern Monolith{{MapIcon|monolith}}in [[The Golden Wastes]]. |
||
| + | Enter the Nomad to acquaint yourself with the controls of the vehicle. |
||
| + | === Investigate strange signal === |
||
| − | [[File:Kett eos base near monolith.png|right|290x290px]] |
||
| + | Follow the vehicle trail out of Site 1 toward the new objective marker west-southwest. You'll likely find some small hostile creatures while traveling to the objective, these can mostly be ignored and can be killed by driving over them with the Nomad. Just before entering the radiation shield on the north side of the road is a deposit of [[Element Zero#Mass Effect: Andromeda|element zero]]. |
||
| − | As Ryder approaches the Southern Monolith, a sub-mission will be added. This sub-mission will be completed as part of the main mission. |
||
| − | ==== Kett Research Center ==== |
||
| − | ==== Clear The Kett ==== |
||
| − | The Southern Monolith is heavily guarded by kett. Battle through the initial wave of kett and the two sets of reinforcements (+366 XP when all kett are defeated). |
||
| + | {{Note}}Enroute to the objective, You can pass a memory trigger which is part of the mission [[Ryder Family Secrets]]. |
||
| − | ==== Find And Disable The Generator Powering The Shields To Access The Monolith ==== |
||
| − | After the battle, follow the objective marker to a power generator. Deactivating the generator will disable the shield and trigger a cutscene in which Ryder meets [[Nakmor Drack]], an old krogan with an apparent penchant for dramatic entrances. Be sure to check the whole base for loot and scanable items; there are two Kett Core Encryption Tech devices that award +100 {{RDIcon|Heleus}} each (+200 {{RDIcon|Heleus}} Total). |
||
| + | You will arrive at an unusual structure marked with a{{MapIcon|monolith}}. Once past the radiation shield, you can exit the Nomad and roam about on foot. |
||
| − | Inspect the room Drack emerged from for some disturbing intel and another body for [[Task: Naming the Dead]]. Scan the two artifact crates for +10 {{RDIcon|Heleus}} each (+20 {{RDIcon|Heleus}} Total). After scanning, continue to the objective marker, where two more glyphs await Ryder. As before, follow the cables, scan the glyphs (Synaptic Glyph and Verdurous Glyph), then return to the central console. There is no puzzle at this monolith. Also, there is no enemy ambush after activating the monolith. (Ryder is awarded +270 XP, +73 AVP {{AVPIcon}}, and +5% Eos viability.) |
||
| + | Just left of the vehicle trail, there is a colonist corpse for [[Task: Naming the Dead]]. On the rocks nearby south, a [[Platinum (Mass Effect: Andromeda)|platinum]] node (+10{{RDIcon|Heleus}}). Beyond the rocks, before the central platform are Initiative supplies with a small lootable container, plus health and ammo caches. |
||
| − | {{Note}}The road from the Southern Monolith to the Vault will pass another forward station drop point. Stop for a moment to allow the forward station to drop before continuing. (+2 AVP {{AVPIcon}} and +2% Eos viability) |
||
| + | East from the central platform is a [[scourge]] tendril (+10{{RDIcon|Heleus}}). On a pile of rocks beyond the radiation shield northeast of the tendril is a fluorite node. West from the central platform, another Initiative shuttle (+10{{RDIcon|Milky Way}}) implying someone else is around. |
||
| − | === Investigate The Entrance === |
||
| − | Activating the three monoliths reveals a secret Remnant Vault for Ryder to explore. (This is a common pattern throughout the game.) Follow the new navpoint to an island in the middle of the lake marked with{{MapIcon|ruins}}. Climb out of the Nomad and activate a console near the shore, which will activate a bridge. Ryder can cross to the island on foot or by vehicle, but Ryder will need to walk into the Vault to continue. |
||
| + | Lastly, before accessing the central console ("Alien Device") marked in the objective the scattering of Remnant coolant tanks around can also be scanned (+10{{RDIcon|Remnant}}). |
||
| − | {{Note}} Boldly leaping across the lake without a bridge may seem heroic but will not trigger the Vault's opening protocol. Ryder is required to activate the bridge to continue. |
||
| − | === |
+ | === Search for a glyph to scan === |
| + | [[File:A better beginning - power pipes.png|left|340px|It's not really required to scan the full picture, but properly visualizing where they lead can help]]Attempting to interface with the console will introduce a key mechanic: you can use the scanner to follow hidden cables radiating from the console. In this case, there is only one cable, so follow the cable with the scanner. Alternatively, the objective marker{{MapIcon|tracked}} clearly shows where you should be going anyway; it's just a matter of navigation. |
||
| − | Peebee will be waiting for Ryder outside the Vault, insistent on joining Ryder for the adventure. Open the door to trigger a cutscene and send Ryder into the Vault's mysterious depths. |
||
| + | Climb up the structure with the cable, then use Ryder's scanner to read a [[Remnant Glyph]] at the top. There are two Initiative monitors on top of the structure as well; scanning them will give +10{{RDIcon|Milky Way}} each. |
||
| − | {{Warning}}Once a Vault is activated, Ryder cannot return later to collect missed resources. Collect all wanted items now. |
||
| − | === Follow The Conduit Into The Vault === |
||
| − | Continue into the vault.<br> |
||
| − | [[File:Remnant Vault, Eos, Floor 1.jpg|right|thumb|742x742px|Eos Vault, Floor 1; Yellow Diamonds are containers; Red Stars are Research Data (RD); Orange Hexagons are consoles; Red Circles are Remnant items; Green Triangles are squadmate interactions; Large Orange Circle is the Gravity Well; Lines are doors.]] |
||
| − | {{Note}} The map depicts the first floor of the vault and is referenced throughout the walkthrough. Research Data (RD) and loot is valuable but not critical to mission completion. |
||
| + | === Use the strange console === |
||
| − | In the first room, Ryder will find: |
||
| + | Once the glyph is scanned, you can return to the central console and interface with it to trigger a cutscene, where an [[asari]] comes out of nowhere and tackles Ryder to the ground, advising against rash actions. You can [[Interrupt (Mass Effect: Andromeda)|push her off]] or hear her out, either way before the proper introductions you'll have to fight some enemies. |
||
| − | *two loot containers (Yellow Diamonds A & B) |
||
| − | *two Remnant Objects (Red Stars 1 & 2) for +10 {{RDIcon|Remnant}} each (+20 {{RDIcon|Remnant}} total).<br> |
||
| − | Approach the hologram (Red Square) and after a brief discussion over the comms, Ryder will be able to scan the Data Pattern for +10 {{RDIcon|Remnant}}. |
||
| + | === Defeat the hostile bots === |
||
| − | Once Ryder is finished, follow the objective marker to the console (Orange Hexagon) to interface with the console to open the door on the opposite side of the room. |
||
| + | [[File:Assembler pair.png|right|220px|They hide, you seek]]After the cutscene, the group is attacked by a group of [[Assembler]]s and an [[Observer]]. Deal with them. |
||
| + | After destroying the bots, the cutscene resumes where Ryder and the newcomer swap information about the Remnant. You now learn her name is [[Peebee]], and she gives you her navpoints while she studies how you interfaced with the monolith. |
||
| − | Leave the console and go through the newly opened door to the south. |
||
| + | After the cutscene, Peebee stays put there until you progress further into the mission. Until then, you can talk to her again for more information on herself and what she's doing on Eos. If you haven't scanned them yet, Observers yield +50{{RDIcon|Remnant}} on first scan. |
||
| − | Through the newly opened door, Ryder will find a dormant console. Ryder will not be able interact with the console but will be able to use the [[Scanner (Mass Effect: Andromeda)|scanner]] to discover three Data Patterns surrounding the dormant console. Scan any one of the patterns to trigger another discussion over the comms, after which the next door will be unlocked. |
||
| + | === Activate Remnant monoliths === |
||
| − | Scanning each Data Pattern in the room (Red Square) awards +10 {{RDIcon|Remnant}} each (+30 {{RDIcon|Remnant}} total). |
||
| + | Next, you must travel in the Nomad to the two other monoliths - The southwestern and southern monoliths. {{Note}} The monolith visiting order is up to you, though this walkthrough has to start from somewhere: southwestern monolith first. |
||
| + | ==== Southwestern monolith ==== |
||
| − | Wait for a conversation over the comms, then go through the newly unlocked door into a new room to trigger another cutscene. At this point, Peebee will decide to split up: Ryder fixes the vault; she'll investigate the relic. (The [[Task: Remnant Data Cores]] will be automatically given after the cutscene.) |
||
| + | {{Note}}The road from the first monolith (northern) to the southwestern monolith will pass a forward station drop point. Stop for a moment to allow the forward station to drop before continuing. (+2 AVP{{AVPIcon}} and +2% Eos viability) |
||
| + | [[File:A better beginning - southwest monolith guardians.png|left|340px|Remnant bots in their natural habitat]]The Southwestern Monolith{{MapIcon|monolith}} seems to have docile Remnant bots at first, though that's soon proven wrong on approach. You'll soon have about 4 Observers and 2 Assemblers to clear out. |
||
| − | In this new room, Ryder can scan the barrier around the power beam (Red Circle) in the center of the room for +10 {{RDIcon|Remnant}}. |
||
| − | *The door to the east will be locked and inaccessible the entire mission. |
||
| − | *The force field to the west is worth investigating. Ryder cannot enter the room yet, but SAM will mark the location on the map (See Bugs Section). Ryder will be only be able to access the room and container (Yellow Diamond Z) on the way out of the Vault. |
||
| + | The battlefield has two ammo and health caches around, plus several coolant containers, dischargeable supercapacitors and explosive materials (+10{{RDIcon|Remnant}} each on first scan and deals damage to nearby enemies when destroyed). The two outer consoles in the central platform provide a quick tutorial on interfacing: they raise or lower nearby objects depending on configuration. These two control blast shields, though by the time you access them you'll likely have dealt with the bots already. |
||
| − | Head through the southern door to continue. |
||
| + | Other objects in the vicinity is a datapad with an audio log of the last doomed colonist there, plus another corpse for [[Task: Naming the Dead]]. |
||
| − | In this new room, on the right is a container (Yellow Diamond C), and a Remnant console (Orange Hexagon) at the middle end of the platform. The console lifts blast shields but does nothing useful. |
||
| + | The objective marker points at the central console, though you also have to scan for two glyphs highlighted in the mission tracker. If you try to access the central console without scanning for the glyphs, a puzzle appears though it isn't solvable for the moment because it requires those glyphs. |
||
| − | Use the elevated pillars in the fluid to get across to the next platform with a mechanical arm (Red Circle). Scan the Mechanical Arm and the Unknown Ferrofluid for +10 {{RDIcon|Remnant}} each (+20 {{RDIcon|Remnant}} total). |
||
| + | Use the scanner to reveal two cables snaking out of the central console. Each cable will pass by another Remnant console. Interface with the console to raise several pillars and provide a method of reaching the glyph at the end of the cable. Near one of the glyphs at the top an unknown resonant device can also be scanned for +10{{RDIcon|Remnant}}. The pillars are also scannable, though they don't yield any points. |
||
| − | Head south over more pillars to cross the liquid, scanning an Adaptive Remnant Core Device (Red Star 3) for +100 {{RDIcon|Remnant}}. |
||
| + | Once both glyphs are scanned (Accretion Glyph and Nihility Glyph), return to the central console and interface with it. This time, additional encryption will require you to solve a Sudoku-like puzzle in order to activate the monolith. ''For the puzzle solution, see [[A Better Beginning#Puzzle Solutions|here]]''. If you found a [[Resources#Sepcial Items|Remnant Decryption Key]], this special item may be used to bypass the puzzle. (+270 XP for completing the puzzle.) |
||
| − | Once across the pillars, Ryder will encounter a door. Open the door and head into what appears to be a storage room. Ryder will be attacked by two hostile remnant [[Assembler]]s. The remaining assemblers in the room will remain inactive. |
||
| + | [[File:A better beginning - kett party crashers.png|right|340px|More unwanted guests]]As soon as Ryder activates the monolith, a squad composed of kett [[Anointed]] and Chosen will enter the scene from a dropship. Turns out those blast shield consoles may be good for something after all. Fight them off, then scan an Anointed corpse for +50{{RDIcon|Heleus}} if this is your first time encountering the unit. |
||
| − | After defeating the enemies (+25 XP), scan one of the Inactive Assemblers for +10 {{RDIcon|Remnant}} and loot the nearby container (Yellow Diamond D). Once Ryder has finished in this room, head back out of the room. |
||
| + | Drive out to the southern monolith{{MapIcon|monolith}} when you're done with the place. |
||
| − | Across the deadly pool on the eastern side of room, there are several territorial Assemblers. Defeat the assemblers (+63 XP) to roam the area freely. |
||
| + | ==== Southern monolith ==== |
||
| − | To the south across some pillars, there is a container (Yellow Diamond E). There is also a locked door in this location, but the door can't be unlocked. |
||
| + | As you may have noticed by now, the vehicle trail from Site 1 leads to the location of all monoliths. On approach to the southern monolith, it becomes apparent the kett have erected a compound around the structure. Peebee complains the kett squatted over her best research site, and warns the team they won't let it go without a fight. |
||
| + | This sub-objective is marked ''Kett Research Center'' and has two further sub-subobjectives: ''Clear the kett'', and when that's done ''Find and disable the generator powering the shields to access the monolith''. All three do not appear in the journal upon completion. |
||
| − | Return to the main platform. Go due north and up a ridge for another container (Yellow Diamond F). |
||
| + | [[File:Kett eos base near monolith.png|left|340px|Time to storm the gates once again]]The southern monolith is heavily guarded by these aliens. Battle through the initial wave of kett and two sets of dropship reinforcements. From the entrance, the walkway splits into left and right paths: it doesn't matter which way you take, they both converge at a presently shielded central area. Before going in, take note of a Kett Core Encryption Tech (+100{{RDIcon|Heleus}}) on the raised platform to the right, beyond the radiation shields. |
||
| − | Another container is located on the lower level of this area, below the remnant console (Orange Hexagon). {{Note}}This console does not control anything useful. |
||
| + | The enemy consists of Chosen, [[Wraith]]s, and Anointed, who have home court advantage due to all the kinetic barriers and narrow walkways in the area. The barriers can be shut down through shooting or disabling nearby power generators, and keep an eye out for explosive canisters in case some enemy wanders close. {{note}} Be mindful of your landing if you're jumping around in the walkways lest you suffer health and shield penalties from falling. Conversely, enemies can be disposed off in the same manner. |
||
| − | To obtain the next container in this room, follow the passage to the north-east until Ryder comes to a door. Open the door to reveal a container (Yellow Diamond H). |
||
| + | The walkways have four ammo caches, one lootable container in the center platform, one lootable container and an artifact crate (+10{{RDIcon|Remnant}}) in the left path. There are two Kett Core Encryption Tech (+100{{RDIcon|Heleus}} each) in the right path. Several other kett equipment in the area are scannable, though they only inform you of their function and have no research points. |
||
| − | Ryder can now finally proceed in the direction of the objective marker. Along the way to the next objective marker, open a side door to reveal another container (Yellow Diamond I). |
||
| + | [[File:A better beginning - glyph hunting.png|right|340px|You can go to the monolith site and scan for glyphs, though you still have to bring down the central console's shielding to progress the mission]]After the battle, you must disable or destroy the power generator noted by the objective marker. It shields both the central chamber and the monolith's central console. When the shields are down, a cutscene triggers in which Ryder meets [[Nakmor Drack]], an old [[krogan]] with an apparent penchant for dramatic entrances. He soon leaves to hunt for more kett. |
||
| − | In the next room, Ryder will face several more hostile assemblers. After defeating the assemblers (+63 XP), Ryder will find two consoles (Orange Hexagons) that are linked to each other. The console lifts blast shields but do nothing useful. |
||
| + | Be sure to check the whole base for other items not yet mentioned. In the immediate chamber, there are technology fragments on the floor (+10{{RDIcon|Remnant}}) and an artifact crate (+10{{RDIcon|Heleus}}), on the side of the left walkway. Beside the door to the right walkway, another artifact crate (+10{{RDIcon|Heleus}}) and a terminal with kett logs. The dead Wraith left by Drack on the floor can also be scanned, though it doesn't yield any research points. The inner chamber has a component box for Site 2's [[The Secret Project]], a terminal with an audio log, and another body for [[Task: Naming the Dead]]. |
||
| − | There are two doors in this room with visual glyphs over them but these doors cannot be opened in any way. |
||
| + | On top of the central chamber there's a lootable container beside a power generator. Underneath the central chamber there are two lootable containers around a support column. |
||
| − | Near the southwest door is a container (Yellow Diamond J). |
||
| + | When you've had enough of the kett base, proceed to the monolith site. The area has a health and ammo cache each, a platinum node, and two toppled Nexus-issued scanners (+10{{RDIcon|MilkyWay}} each). |
||
| − | Once Ryder has finished in this room, proceed to the south into a corridor. There will be a brief interaction with Peebee (Green Triangle) who can be seen on a distant ledge to the east but the ledge cannot be reached. |
||
| + | As before, two more glyphs await Ryder. Follow the cables, scan the glyphs (Synaptic Glyph and Verdurous Glyph), then return to the central console. There is no puzzle at this monolith. Also, there is no enemy ambush after activating the monolith. (+270 XP, +73 AVP{{AVPIcon}}, and +5% Eos viability) |
||
| − | Before going through the main door to the west, follow the ledge south, then west, until Ryder reaches a container (Yellow Diamond K), in addition to a door that can be opened to reveal another container (Yellow Diamond L). Once Ryder is finished with the containers, return to the main door. |
||
| + | === Investigate the entrance === |
||
| − | After going through the main door, Ryder will see Remnant Lights rising from the floor. Scan one of the lights (Red Circle) (if Ryder hasn't already) to receive +10 {{RDIcon|Remnant}} before continuing down the passageway until Ryder reaches another door. |
||
| + | [[File:A better beginning - monolith convergence.png|left|340px|The lights have shown me the way]]When all three monoliths are activated, their beams now converge into a single location by the lake: a secret Remnant vault for Ryder to explore, containing the necessary machinery to revive the world. This is a common pattern on most other worlds further in the game. |
||
| + | Go back to the Nomad and follow the new navpoint toward the vault: an island in the lake marked with{{MapIcon|ruins}}. |
||
| − | The next room contains some remnant forces, which Ryder will have to fight. '''However''', before rushing headlong into battle, proceed up the ramp to the right (north ramp) without attracting the attention of the remnant forces towards the remnant turret at the top of the ramp. Start by scanning the turret for +50 {{RDIcon|Remnant}}, then interface with the nearby console (Orange Hexagon) to convert the turret into an ally, and then begin the battle. |
||
| + | {{Note}} The road from the southern monolith to the Vault will pass another forward station drop point. Stop for a moment to allow the forward station to deploy before continuing. (+2 AVP {{AVPIcon}} and +2% Eos viability) |
||
| − | After Ryder defeats the remnant forces (+126 XP), Ryder can loot the container to the west (Yellow Diamond M) and scan the nearby dormant Observer (Red Star) for +10 {{RDIcon|Remnant}} and trigger a conversation. |
||
| + | [[File:A better beginning - realtime bridge.png|right|340px|It's difficult but not impossible to reach the island via jumpjet, but that won't raise the Vault from the ground so just activate the cool high tech bridge]]Climb out of the Nomad and access a console near the shore, which will activate a bridge, raise the Vault entrance from the ground, and deactivate the monoliths' beams. You can cross to the island on foot or by vehicle, but you will need to walk into the Vault to continue. Be careful not to fall into the lake, you'll end up on the closest shore you dropped from. |
||
| − | === Activate The Gravity Well === |
||
| − | After Ryder has collected all of the items in the room, use the second console (Orange Hexagon) to activate the gravity well (Large Orange Circle), which Ryder can use to reach the second level of the Vault. |
||
| + | === Explore the Remnant vault === |
||
| − | [[File:Remnant Vault, Eos, Floor 2.jpg|right|thumb|539x539px|Eos Vault, Floor 2; Yellow Diamonds are containers; Red Stars are Research Data (RD); Orange Hexagons are consoles; Yellow Circle are puzzle glyphs; Yellow Puzzle Piece is the puzzle container; Lines are doors.]] |
||
| + | Peebee will be waiting for Ryder outside the vault, insistent on joining for the adventure. Once you open the door, you will be allowed to {{note|configure your loadout}}, then a cutscene immediately follows that sends the gang into the vault's mysterious depths. An [[Interrupt (Mass Effect: Andromeda)|interrupt]] is available that determines who goes first. |
||
| − | === Follow The Conduit Farther Into The Vault === |
||
| − | {{Note}} The map doesn't work well on Level 2. (See Bugs Section)<br> |
||
| − | After taking the gravity well down to Level, continue along until Ryder arrives in a room with a damaged console (Orange Hexagon) leaking fluid. |
||
| + | {{Warning|Once inside the vault, you cannot return to it later to collect missed resources. Take all wanted items as they become available. Keeping a save before opening the door is also advised, since while there are automatic saves there is no manual saving while in the vault.}} |
||
| − | Scan the damaged console to identify a leak and then wait for a discussion over the comms. After the discussion, Peebee enables Ryder's [[Omni-tools|omni-tool]] to repair the console. (Scanning the Ferrofluid Leak awards +10 {{RDIcon|Remnant}}.) |
||
| + | [[File:Eos vault - welcome.png|left|340px|Circuit boards and harmless pretty lights everywhere]]After a long (but comfortable) drop down, Ryder and company arrive at a cavernous chamber. Peebee says to be thorough; doesn't hurt to follow her advice. Not even the kett appear to have reached where you are, so expect your team to be chatty on approach to interesting things. |
||
| − | After the conversation, take the opportunity to loot the two containers (Yellow Diamonds N & O); one contains a powerful remnant melee weapon. |
||
| + | In this first room you will find two loot containers and two Remnant Objects for +10{{RDIcon|Remnant}} each. After a brief discussion, you will be able to scan the Data Pattern for +10{{RDIcon|Remnant}}. The "wall" to the south is also scannable and tells you it can function as a door, though it yields no points. If you consult your map, you'll find that the Eos overworld has been replaced for the time being with that of the immediate area, which will increase in coverage as you explore more and more of the vault. |
||
| − | === Repair The Conduit Flow === |
||
| − | After looting the containers, interact with the console leak to fix the leak. Once the leak has been fixed, interface with the console to unlock the door and move on to the next area. |
||
| + | When you've got all that, follow the objective marker to interface with the console. |
||
| − | Immediately look to the left for an Adaptive Remnant Core Device (Red Star 4) and scan the device for +100 {{RDIcon|Remnant}}. |
||
| − | === |
+ | === Follow the conduit into the vault === |
| + | Nothing obvious immediately happens, so SAM reports conduits filling up with ferrofluid. Turn on your scanner and you'll see pipes leading out of the room, past the door/wall to the south. It immediately opens on approach. |
||
| − | There is a remnant console (Orange Hexagon) on the platform that Ryder needs to interface with to raise some pillars. Use the pillars to reach the platform with the Unknown Plant (Red Star Tree) and scan the plant for +10 {{RDIcon|Remnant}}. Interface with the nearby console (Orange Hexagon) on the platform to raise more pillars to the left. |
||
| + | [[File:Eos vault - conduit trail and data patterns.png|right|340px|PROTIP: scan often and follow the ferrofluid road]]Through the newly opened door, you will find another chamber with another wall/door at the end. You can scan that door (0 points), though on approach Ryder will be perplexed as to why it isn't working. Peebee suggests investigating the Data Patterns surrounding the inoperable console. Scanning any one of the patterns triggers another discussion; after scanning all three the next door will be unlocked. |
||
| − | Cross the pillars to a platform where Ryder will battle remnant forces (+126 XP). |
||
| + | The Data Patterns in the room award +10{{RDIcon|Remnant}} each. |
||
| − | After the battle, Ryder can explore the nearby ledges in order to access containers (Yellow Diamonds P & Q). Head through the door to the west into a storage area. In the storage area, some amusing dialogue will take place and Ryder can loot a container (Yellow Diamond R). Once Ryder is done, head back through the door and use the nearby console (Orange Hexagon). This console will provide access to the northern section of the vault. |
||
| + | When you open the next door, another cutscene triggers. At this point, Peebee will decide to split up: Ryder fixes the vault; she'll investigate the relic. [[Task: Remnant Data Cores]] will be automatically given after the cutscene. Once the door closes behind you, it's permanently sealed shut. |
||
| − | Head back to the tree platform and take the newly-accessible northern path to a new platform. Immediately jump up to a ledge to the north-west to access another container (Yellow Diamond S) and another console (Orange Hexagon). This console will open a path to the southern section. |
||
| − | [[File:Remnant vault trees.png|right|345x345px]] |
||
| − | Go back to the tree platform and continue to the southern path. |
||
| + | [[File:Eos vault - purty escape well.png|left|340px|Remember the chamber to the left when you return to this place later]]You can scan the barrier around the power beam in the center of this new room for +10{{RDIcon|Remnant}}. It's impenetrable and {{warning|a level 4 electrical hazard}}, so don't even try to walk through it. The door to the east will be locked and inaccessible the entire mission. The force field to the west is worth investigating. You cannot enter the room yet, so you'll order SAM to note the location on your map (See Bugs section). You will be only be able to access the room and container on the way out of the vault. |
||
| − | On the southern path, loot the containers (Yellow Diamonds T, U, & V). |
||
| + | Head through the southern door to continue. In the next room, on the right is a container, and a Remnant console at the middle end of the platform. The console controls blast shields and nothing else. |
||
| − | After looting the containers, head to the southwest to a room with a tree rose up in the center. |
||
| + | Use the elevated pillars in the fluid to get across to the next platform with a mechanical arm. Scan the Mechanical Arm and the Unknown Ferrofluid for +10{{RDIcon|Remnant}} each (+20{{RDIcon|Remnant}} total). {{note}}Don't fall into the ferrofluid: level 3 electrical hazard. |
||
| − | In this location, Ryder will find six Data Patterns (Red Stars) that can be scanned for +10 {{RDIcon|Remnant}} each (+60 {{RDIcon|Remnant}} total). This location also has two glyphs (Yellow Circles) (Reflection Glyph and Nihility Glyph) to be scanned that allow access to the puzzle container (Yellow Puzzle Piece W). (This puzzle is required for the [[Achievements#Mass Effect: Andromeda Achievements.2FTrophies|Cryptographer Achievement]]). ''For the puzzle solution, see [[A Better Beginning#Puzzle Solutions|here]]''. |
||
| + | On a cluster of pillars just next to the mechanical arm is an Adaptive Remnant Core Device (+100{{RDIcon|Remnant}}). Due northeast among the terraced steps, before passing the navpoint, is a container. |
||
| − | Once Ryder has collected all of the items, jump back over to the first tree platform and onto the northern platform once more. |
||
| + | [[File:Eos vault - assembler maintenance bay.png|right|340px|They're too deactivated to care]]South from the pillars, there's a door. Open it and head into what appears to be a storage room. You'll be attacked by two hostile Assemblers. The remaining 3 Assemblers in the room will remain inactive. |
||
| − | There is a locked door on the northern platform but the door cannot be unlocked by any means. |
||
| + | After defeating the enemies, scan one of the Inactive Assemblers for +10{{RDIcon|Remnant}} and loot the nearby container. Head back out when you're done. |
||
| − | Interface with the western console (Orange Hexagon) (on the northern platform) to raise pillars to open a new pathway. Interfacing with the console, however, attracts the attention of a few remnant Observers. Defeat the observers (+25 XP). |
||
| + | Following the navpoint again across the deadly pool to the eastern side of room, there are several territorial Assemblers. Defeat them to roam the area freely. There are ammo and health caches to the east in case you run low. |
||
| − | Jump across the pillars to another tree platform. Interface with another console (Orange Hexagon) on the tree platform which will activate a bridge. |
||
| + | [[File:Eos vault - another bunch of assemblers.png|left|340px|They're generally docile unless approached (or shot from afar)]]A container is located on the lower level of this area, below the Remnant console and beside a ferrofluid waterfall. The console does not control anything useful, only blast shields again. |
||
| − | Cross the bridge and loot from the container on the left (Yellow Diamond X) before going through the main door to the north. |
||
| + | To the south across some pillars, there is another container. There is also a locked door in this location; it can't be unlocked and the other side is empty anyway. |
||
| − | === Follow The Conduit To The Source === |
||
| − | [[File:Remnant vault main chamber.png|290x290px|right]] |
||
| − | The main door takes Ryder to the heart of the Vault. |
||
| + | Further east, Ryder and the gang observe cyclopean Remnant machinery from the cliff all the way to the horizon, making them wonder what the place is really about. The ferrofluid falls off here, and there are two paths. To your left (north) ends in a door with a container inside. To your right (south) is the continuation of the conduit trail, another ammo cache, and a side door with another container. |
||
| − | Ryder is unable to scan the giant energy beam but an Adaptive Remnant Core Device to the right (Red Star 5) can be scanned for +100 {{RDIcon|Remnant}}. There is also a nearby container (Yellow Diamond Y). |
||
| + | [[File:Eos vault - assemblers on the other side.png|right|340px|The doors at the back don't do anything except enhance the aura of mystery in the vault]]In the next room, there are five more hostile Assemblers. Deal with them. There's a health and an ammo cache along the cliff path south for emergencies. |
||
| − | === Escape The Vault === |
||
| − | Once Ryder has collected all items, and is ready to begin the process of finishing the mission, activate the main console highlighted by the objective marker (Large Orange Icon), and get ready to run. Activating the console starts a purification field that Ryder must outrun. |
||
| + | The room has two doors along the wall with visual glyphs on their surfaces in an apparent interface. Don't be fooled: they're just set decoration, cannot be opened, and again empty anyway. Near the southwest door is a container though. There are also two consoles that are linked to each other: for controlling blast shields again. |
||
| − | Simply have Ryder follow the objective marker to exit the vault. Along the way to the exit, Ryder will need to interface with a console (Orange Hexagon) to activate a bridge, and use a new gravity well to reach Level 1. |
||
| + | After finishing with this room, proceed to the south into a corridor. There will be a brief interaction with Peebee who can be seen on a distant ledge to the east. Don't even try jumpjetting to her position, there's no point and it cannot be reached through normal means. |
||
| − | === Optional: Retrieve The Unsealed Item === |
||
| − | As soon as Ryder lands on Level 1, after using the gravity well, Ryder will comment that the force field from earlier in the mission is deactivated (the area will now be marked on the map with{{MapIcon|optional}}). |
||
| + | [[File:Eos vault - dead end treasures.png|left|340px|Sometimes exploring every reachable nook pays off]]The conduit goes through a large door nearby. Before entering it, follow the ledge till you hit the dead end. Therein lies a container, in addition to a door that can be opened to reveal another container. Head back to the main door when you're done. |
||
| − | Quickly jump up the ledge to the west and loot the container (Yellow Diamond Z). The container awards +142 XP for looting the container. {{Note}}This container awards the [[Fusion Mods#Fusion Mods|Fusion Mod of Shielding]]. |
||
| + | After going through the main door, Remnant Lights rise up from the floor. You can scan one of them, though they don't give any points. |
||
| − | After looting the container, run for the north door. |
||
| + | The passage ends in another door. The final navpoint is in the next room; reaching it causes Ryder to surmise there's an inactive gravity well that can be turned back on. |
||
| − | Once Ryder opens the door, a cutscene will trigger, and Ryder will have successfully activated the vault, without dying. |
||
| + | === Activate the gravity well === |
||
| − | Watch the cutscene conversation to discover some interesting connections between the remnant and the [[Heleus Cluster]]. After the conversation, head back to the surface to see what Ryder's efforts have accomplished. |
||
| + | This room contains some Remnant forces, which you'll have to fight. Accessing the two consoles in the area will raise a gravity well, though you'll have to deal with the bots first. |
||
| + | [[File:Eos vault - turret hack protip.png|right|340px|Try hijacking the turret to the right of the entrance without alerting the bots]]{{Note}} If you want to stack the odds further in your favor, before rushing headlong into battle, proceed up the ramp to the right (north ramp) without attracting the attention of the Remnant forces. The console there controls the nearby [[Turret (Mass Effect: Andromeda)|Remnant turret]]. Start by scanning the turret (+50{{RDIcon|Remnant}}), then interface with the nearby console to convert the turret into an ally, and then begin the battle. |
||
| − | When Ryder exits the vault, Ryder receives +1330 XP, +1150 AVP {{AVPIcon}}, and +50% Eos viability. |
||
| + | There are two ammo caches in the area: one near the turret, and the other on the opposite side, near the other objective console that's also tied to a Remnant Shield Charger (scannable, but yields no research points). Enemy composition is Assemblers and Observers. |
||
| − | {{Note}} A forward station is established on the vault island after the vault is activated, but unlike other forward stations, no additional AVP or planet viability is awarded. |
||
| + | After beating the bots, the entrance to the chamber seals up and the only way out is forward. Before leaving, you can loot the container to the west, and scan the nearby inactive Observer (+10{{RDIcon|Remnant}}) to trigger a conversation about the nature of the bots. |
||
| − | === Establish An Outpost At An Appropriate Site === |
||
| − | Use the Nomad to travel to the objective location. If Ryder activated the forward station near the Southern Monolith, Ryder can use the forward station to fast travel very near to the site. Upon approach, Ryder spots Drack in battle against a kett platoon. Drive over and exit the vehicle to help him fight the kett off (+520 XP). Drack revises his opinion of Ryder after being impressed by the squad combat abilities, and decides to join the crew. |
||
| + | After collecting all needed items in the room, activate the gravity well to reach the second level of the vault. |
||
| − | After talking to Drack, interact with the outpost beacon to initiate the settlement procedure. Ryder will be faced with an important decision about the nature of the new outpost {{MapIcon|outpost}}: should it have a scientific or a military focus. {{Warning}} Ryder does not make this decision for each individual outpost, only this one. Whatever Ryder chooses will become the focus of all future outposts. Either decision will please some and upset others. |
||
| − | [[File:Prodromos.png|right|290x290px]] |
||
| − | Once Ryder decides, shuttles begin bringing colonists down to the surface, and many prefab buildings are deployed. [[August Bradley]] is assigned as the mayor of the new settlement, which the inhabitants call [[Prodromos]], meaning "Forerunner". [[Foster Addison]] promptly takes Ryder aside to discuss the situation. After a few ambiguous compliments and reprimands, she departs for the Nexus, leaving Ryder overlooking the home Ryder just made possible. Feel free to head down to explore and socialize. When Ryder is ready, return to the Tempest. Setting up the outpost will award +300 AVP {{AVPIcon}} and +10% Eos viability. |
||
| − | === |
+ | === Follow the conduit farther into the vault === |
| + | You arrive at yet another cavernous chamber in Floor 2, with a console on one side and a wall/door on the opposite side. Problem is, the console turns out to be leaking ferrofluid, so there's no power going to the door. |
||
| − | On the Tempest, after a quick introductory meeting for Ryder's two new members, Ryder will have free reign of the ship. Take the opportunity to get to know the crew, who are no longer too busy to talk. Use the email terminal to pick up some side missions. When Ryder is ready, use the Galaxy Map to travel back to the Nexus, greet the welcoming committee, then take a tram from the Docking Bay to [[Operations]]. |
||
| + | === Repair the conduit flow === |
||
| − | Enter the door to the [[Pathfinder HQ]] to discover that it has been transformed from a storage closet into a large office and meeting room. A discussion with Tann and other Nexus leaders will automatically ensue; whether Ryder navigates the politically charged conversation carefully or not, in either case Tann will send Ryder out to continue along the lead discovered in the first vault. |
||
| + | [[File:Eos vault - peebee and the broken console.png|left|340px|She can't fix it herself, though she gives you the means to do so]]Peebee shouts out from an unreachable ledge, also complaining she can't access any doors. She sends you an [[omni-tool]] patch mimicking laser frequencies Observers use to fix things. You can now repair the console. Scanning the Ferrofluid Leak is optional, though it awards +10{{RDIcon|Remnant}}. |
||
| + | After fixing the leak, interface with the console to unlock the door. Peebee gains access to a Remnant bridge and speeds off on her own again. Before leaving the room, loot the two containers there; the one beside a Remnant light has a guaranteed [[Remnant Cryo-Gauntlet]]. |
||
| − | === Give Eos Radiation Time To Clear === |
||
| − | {{Note}} Even though Ryder can drive around Eos, many areas are inaccessible due to lethal radiation levels. It is recommended that Ryder returns once the radiation has cleared. |
||
| + | {{note}} Fixing the conduit is the last autosave for a while. Try not to die if you don't want to lose items you'll be looting later. |
||
| − | Eos is cleared and the radiation gone after Ryder has visited [[Aya]] for the first time during [[A Trail of Hope]]. Just go to Aya directly after "A Better Beginning" has completed, and then return to Eos (verified after the release of [[Patches and Updates (Mass Effect: Andromeda)#Update 1.10|Update 1.10]]). |
||
| + | |||
| + | === Find a way through the caverns === |
||
| + | [[File:Remnant vault trees.png|right|340px|Who needs sunlight when there's limitless energy all around]]The giant door opens to a literally cavernous chamber, much of it chasms and some platforms like the one you're standing on. Immediately look to the left for an Adaptive Remnant Core Device (+100{{RDIcon|Remnant}}). |
||
| + | |||
| + | The gap between your platform and the next is impossible to cross unaided or even with jumpjets. Fortunately, the Remnant console on your starting platform can raise some pillars. |
||
| + | |||
| + | Use the pillars to reach the platform with the Unknown Plant and scan the plant for +10{{RDIcon|Remnant}}. There's a health cache here in case you need it. Interface with the nearby console on the platform to elevate pillars to the southwest, which simultaneously lowers the pillars to the starting platform. |
||
| + | |||
| + | Cross the pillars to the southwest platform, where after a few jumps up a couple of Observers plus four or five Assemblers show up to hassle the squad. There are two ammo caches here. |
||
| + | |||
| + | [[File:Eos vault - another assembler maintenance bay.png|left|340px|Jump scares? In my sci-fi? More likely than you think]]After the battle, you can explore the nearby ledges for lootables. Southwest from the Unknown Plant platform, on the top ledge beside a Remnant light is a container. On the upper ledge next to the green-hued pit is another container. |
||
| + | |||
| + | Head through the door to the west into another Assembler maintenance bay (or your first, if you didn't explore the earlier one). The squad are nervous about the inactive machines; fortunately none of them go online and there's only a lootable container here. A sharp sound suddenly interrupts on your way out: false alarm, some machine part probably fell somewhere. |
||
| + | |||
| + | [[File:Eos vault - observer hasslers.png|right|340px|Mildly annoying alone, shield-strippers when in swarms]]When you're out of the room, use the nearby console. This console will provide access to the northern section of the vault. Ryder thinks you should backtrack, so best follow your own advice. A trio of Observers pop up on your way though, so you'll have to deal with them first. There's a bunch of blast shields here you can crouch behind, though better move fast or they'll float and fire at your flank. |
||
| + | |||
| + | Head back to the tree platform and take the newly-accessible northern path to a new platform. |
||
| + | |||
| + | === Follow the conduit to the source === |
||
| + | On setting foot at the northern platform, this objective pops up. You can follow the objective marker{{MapIcon|tracked}} immediately by interfacing with the western console to start a trail, though if you want to explore further ignore it for the moment. There's an ammo cache here if you need it. The locked door nearby cannot be opened by any means; pay it no attention. |
||
| + | |||
| + | Immediately jump up to a ledge to the north-west to access another container and another console. This console will open a path to the southern section. |
||
| + | |||
| + | [[File:Eos vault - southside tree guardians.png|left|340px|They have the high ground]]Go back to the tree platform and continue to the southern path. On the southern platform, a welcoming party of Observers and Assemblers greet your arrival. Take your time dealing with them; plenty of cover and fallback positions around. |
||
| + | |||
| + | After dealing with them, before going into the area with another tree there are three containers. One is just next to a blast shield. Another is up on the ledges, requiring climbing and jumpjets to reach. The last one is at the promontory overlooking the southwesternmost reaches of the map; one of your squadmates may have something to say here. |
||
| + | |||
| + | Now head back to the nearby tree-area that Ryder describes to be some sort of library. In this location, you will find six Data Patterns that can be scanned for +10{{RDIcon|Remnant}} each (+60{{RDIcon|Remnant}} total). This location also has two glyphs (Reflection Glyph and Nihility Glyph) to be scanned that allow access to the puzzle container. (This puzzle is required for the [[Achievements#Mass Effect: Andromeda Achievements.2FTrophies|Cryptographer Achievement]]). ''For the puzzle solution, see [[A Better Beginning#Puzzle Solutions|here]]''. |
||
| + | |||
| + | Once you've collected all of the items, jump back over to the first tree platform and onto the northern platform once more. |
||
| + | |||
| + | [[File:Eos vault - final bot harassers.png|right|340px|Only looting and dodging remain once they're gone]]Interface with the western console (on the northern platform) to raise pillars to open a new pathway. Doing that, however, attracts the attention of another Observer trio plus an Assembler. Defeat them. The cover spots are near the bots, so shooting (or powers) from afar may be more prudent. |
||
| + | |||
| + | The pillars lead to another tree platform. Again it isn't possible to jump across to the final platform without using the console; Ryder confirms on approach to the edge. Interface with the console on this platform to activate a bridge. |
||
| + | |||
| + | [[File:Eos vault lockdown console.png|left|340px|Vaguely reminiscent of a certain massive stream of energy back in the Milky Way]]Cross the bridge and loot from the container on the left before going through the main door to the north. The main door takes Ryder to the heart of the vault. |
||
| + | |||
| + | The giant energy beam cannot be scanned but an Adaptive Remnant Core Device to the right can (+100{{RDIcon|Remnant}}). The nearby Remnant Barrier can also be scanned, though it has no research points. There is also a nearby container and a health cache. |
||
| + | |||
| + | {{warning|If, for [[Priority: Earth|some reason]], you are compelled to go near the beam, don't. It's a level 4 electrical hazard.}} |
||
| + | |||
| + | === Escape the vault === |
||
| + | Once you've collected everything you need, and are ready to finish the mission, access the main console highlighted by the objective marker, and get ready to run. Activating the console starts a purification field that you must outrun. The final autosaves in the vault record here, and the [[Fusion Mods#Fusion Mods|Fusion Mod of Shielding]] is automatically awarded. |
||
| + | |||
| + | [[File:Eos vault - floor guidelights.png|left|340px|Pay attention to the rotating orange floor lights, they're there to guide you out of the vault]]Simply have Ryder follow the objective marker to exit the vault, and {{note|always move forward}}. The purification field will always be behind you, but if you dawdle to take a look for a few seconds too long it will consume you along with everything else. Several obstacles can delay the escape: avoid the square (or diamond) floor vents, they'll spew hazards, and immediately use the first console you see to activate a bridge. |
||
| + | |||
| + | At the end of the path, behind a door is a gravity well. Use it and it will deposit you back to Level 1. |
||
| + | |||
| + | {{note|Quickly do the objective below, or ignore it}}. Whatever you decide, run for the door to the north afterward. Once you open it a long cutscene will trigger. Peebee barely makes it with some Observers on her heel, the final door to the surface won't budge, and Ryder has a desperate idea to interface with the nearby console, though the purification field recedes on its own. Vault restart complete, and you can choose how to react on the team's experiences in a conversation. |
||
| + | |||
| + | Afterward, SAM reports some interesting connections between the Remnant and the [[Heleus Cluster]], and you have further opportunities to steer the conversation. |
||
| + | |||
| + | When Ryder exits the vault, +1330 XP, +1150 AVP{{AVPIcon}}, and +50% Eos viability are awarded. The skies are also clearer, thanks to superfast terraforming. Peebee confirms Ryder is her ticket to the Remnant and requests to join the team. She won't take no for an answer, and here's your new squad member. |
||
| + | |||
| + | {{Note}} A forward station is established on the vault island after the vault is activated, but unlike other forward stations, no additional AVP or planet viability is awarded. Peebee, although she just flew out of the area through her shuttle, can immediately be selected as a squadmate in the loadout section. |
||
| + | |||
| + | === Optional: retrieve the unsealed item === |
||
| + | [[File:Eos vault - cutting it close.png|right|340px|Move reasonably fast enough and you can still loot the container to the right before going up in smoke]]As soon as you return to Level 1, after using the gravity well, Ryder will comment that the force field from earlier in the mission is deactivated (the area will now be marked on the map with{{MapIcon|optional}}). |
||
| + | |||
| + | Quickly jump up the ledge to the west and loot the container for +142 XP and a large array of miscellanea, plus three guaranteed [[Remnant Core]]s. |
||
| + | |||
| + | {{note|To emphasize}}, you aren't required to complete this objective given the time constraints, though it's a trade-off between escaping alive or some valuable loot. It's merely a matter of your own dexterity if you can pull it off. |
||
| + | |||
| + | === Establish an outpost at an appropriate site === |
||
| + | Use the Nomad to travel to the objective location. If you activated the forward station near the southern monolith, you can use the forward station to fast travel very near to the site. |
||
| + | |||
| + | [[File:A better beginning - drack in a scrap.png|left|340px|Is Uncle Nakmor a thing? Probably not]]Upon approach, Ryder spots Drack in battle against a kett platoon. Drive over and exit the vehicle to help him fight the kett off: 4-6 Chosen initially deployed from two dropships, then joined by another dropship with Anointed and more Chosen after your arrival. {{note}} Don't worry about Drack dying; he and the kett are invincible before you enter the fray. |
||
| + | |||
| + | When the dust has settled, Drack revises his opinion of Ryder after being impressed by the squad's combat abilities, and decides to join the crew. |
||
| + | |||
| + | After talking to Drack, interact with the outpost beacon to initiate the settlement procedure. Ryder will be faced with an important decision about the nature of the new outpost{{MapIcon|outpost}}: should it have a scientific or a military focus? {{Warning}} You do not make the decision for each individual outpost further down the game, only this one. Whatever you choose will become the focus of all future outposts. <!--for futher analysis on next outposts--> Either decision will please some and upset others. |
||
| + | |||
| + | [[File:A better beginning - prodromos touchdown.png|right|340px|Mayor and Director of Colonial Affairs en route]]Once you decide, shuttles begin bringing colonists down to the surface, and many prefab buildings are deployed. [[August Bradley]] is assigned as the mayor of the new settlement, which the inhabitants call [[Prodromos]]. |
||
| + | |||
| + | [[Foster Addison]] promptly takes Ryder aside to discuss the situation. After a few ambiguous compliments and reprimands (where you can steer the conversation twice according to your opinions on her), she departs for the Nexus, leaving you overlooking the home you've just made possible. |
||
| + | |||
| + | Feel free to head down to explore and socialize. From this point forward, The Tempest now parks in Prodromos instead of Site 1 when revisiting the planet. When you're ready, return to your ship. |
||
| + | |||
| + | Setting up the outpost will award +300 AVP {{AVPIcon}} and +10% Eos viability. The mission [[AVP Cryo Deployment Perks]] also becomes available after the talk with Addison. |
||
| + | |||
| + | === Speak with Tann at the Nexus Pathfinder HQ === |
||
| + | On the Tempest, after a quick introductory meeting for the Pathfinder team's two new members, you will have free reign of the ship. Take the opportunity to get to know the crew, who are no longer too busy to talk. Use the email terminal to pick up some side missions. |
||
| + | |||
| + | When you're ready, use the Galaxy Map to travel back to the Nexus, greet the crowd headed by [[Professor Herik]] and [[Lieutenant Sajax]], then take a tram from the Docking Bay to [[Operations]]. |
||
| + | |||
| + | Enter the door to the [[Pathfinder HQ]] to discover that it has been transformed from a storage closet into a large office and meeting room. |
||
| + | |||
| + | [[File:A better beginning - nexus leadership at pathfinder hq.png|right|340px|Three heads of the Nexus about to bicker again]]Tann initially meets with and congratulates Ryder alone. Whatever your opinions on him, he will reframe it in a way that paints him in a conciliatory light. He then explains the Pathfinder HQ's purpose to you before [[Tiran Kandros]] and [[Nakmor Kesh]], his "staff", arrive (although they both prefer "colleagues"). |
||
| + | |||
| + | The next topic of the conversation revolves around your choice of focus for Prodromos: Kandros raises concerns if you opted for the scientific outpost, and Kesh raises concerns if you opted for the military one. Either way Tann will send you out to continue along the lead discovered in the first vault. |
||
| + | |||
| + | Finishing the meeting will complete this mission {{note|despite the objective below}}. The next Priority Op, [[A Trail of Hope]], is also automatically awarded. |
||
| + | |||
| + | === Give Eos radiation time to clear === |
||
| + | Even though the skies are clear above Eos, many areas are still inaccessible due to lethal radiation levels. It is recommended that you return once the radiation has cleared. |
||
| + | |||
| + | The radiation gone after your first visit to [[Aya]] during [[A Trail of Hope]]. Just go to Aya directly after "A Better Beginning" has completed, and then return to Eos. |
||
== Aftermath == |
== Aftermath == |
||
Ryder has taken command of the Tempest and is falling into the role of Pathfinder. Eos, after two failed former attempts at settlement, has finally been deemed viable, and Ryder has founded the Prodromos colony, governed by Mayor August Bradley. The colony's focus was determined by the Pathfinder, and the standard has been set for the whole Initiative going forward. |
Ryder has taken command of the Tempest and is falling into the role of Pathfinder. Eos, after two failed former attempts at settlement, has finally been deemed viable, and Ryder has founded the Prodromos colony, governed by Mayor August Bradley. The colony's focus was determined by the Pathfinder, and the standard has been set for the whole Initiative going forward. |
||
| − | The consequences of |
+ | The consequences of your decision between a scientific or military focus for the first colony has minor effects on dialogue and which members of the Nexus leadership are supportive. There are no major plot changes because of this choice however. |
| − | If |
+ | If Military Focus is selected, a squad from Prodromos will help during [[Meridian: The Way Home]]. |
| + | You can now optionally visit your sibling in the [[Cryo Bay]] for the mission [[Ryder Family Secrets]] if you haven't yet. |
||
| − | === Next Steps === |
||
| + | |||
| − | * Finishing the meeting will complete this mission, and automatically lead to the next Priority Op, [[A Trail of Hope]]. |
||
| + | [[Keri T'Vessa]], an asari journalist and potential [[Romance (Mass Effect: Andromeda)|love interest]], can be found outside the Pathfinder HQ, linked to [[Task: Path of a Hero]]. |
||
| − | * Ryder can now optionally visit Ryder's sibling in the [[Cryo Bay]] for the mission [[Ryder Family Secrets]] if Ryder hasn't already started it. |
||
| + | |||
| − | * Ryder can now find [[Keri T'Vessa]] outside the Pathfinder HQ, an asari journalist, and potential [[Romance (Mass Effect: Andromeda)|love interest]], linked to [[Task: Path of a Hero]]. |
||
| − | + | You will be reminded to speak to Addison about mission [[AVP Cryo Deployment Perks]], even if it has already been completed. |
|
| + | |||
| − | * With the radiation cleared, a much larger portion of Eos is now available for exploration. It is recommended to complete [[A Job for Danny Messier]] as there are bug issues with this mission. |
||
| + | With the radiation cleared, a much larger portion of Eos is now available for exploration. It is recommended to complete [[A Job for Danny Messier]] as there are bug issues with this mission. |
||
== Rewards == |
== Rewards == |
||
*+1400 [[Experience Guide#Mass Effect: Andromeda|XP]] |
*+1400 [[Experience Guide#Mass Effect: Andromeda|XP]] |
||
| − | |||
| − | == Bugs == |
||
| − | * Even though Ryder asks SAM to mark the location of the "rem-tech" behind the force field at location (Yellow Diamond Z) on the first floor of the vault (so that the loot can collected upon escape), the location is never added to the map. When Ryder is close to the loot, an orange empty hexagon will lead to the loot. This function works correctly in all other vaults. |
||
| − | * The map of the second floor does not map correctly to Ryder's location when viewed in-game. |
||
== Puzzle Solutions == |
== Puzzle Solutions == |
||
| Line 325: | Line 394: | ||
|- |
|- |
||
| style="text-align: center;" | Vault Container<br><span style="color:#ffff00">Reward: Valuable Loot</span><br> |
| style="text-align: center;" | Vault Container<br><span style="color:#ffff00">Reward: Valuable Loot</span><br> |
||
| − | | style="text-align: center;" | |
+ | | style="text-align: center;" | Southwestern Monolith<br><span style="color:#00ff00">Reward: Game Progression</span><br> |
|} |
|} |
||
| + | |||
| − | {{clr}} |
||
| + | == Bugs == |
||
| + | *Even though Ryder asks SAM to mark the location of the "rem-tech" behind the force field at location on the first floor of the vault (so that the loot can collected upon escape), the location is never added to the map. On close proximity to the loot, an orange empty hexagon will appear and lead to it. This function works correctly in all other vaults. |
||
| + | *The map of the second floor does not map correctly to Ryder's location when viewed in-game. |
||
== Trivia == |
== Trivia == |
||
| − | * As Ryder nears the gravity well to the |
+ | * As Ryder nears the gravity well to the vault's second floor, SAM says that "'''direct intervention was necessary'''" on Habitat 7, a possible reference to [[Harbinger]] from [[Mass Effect 2]]. |
Revision as of 04:45, 2 May 2020
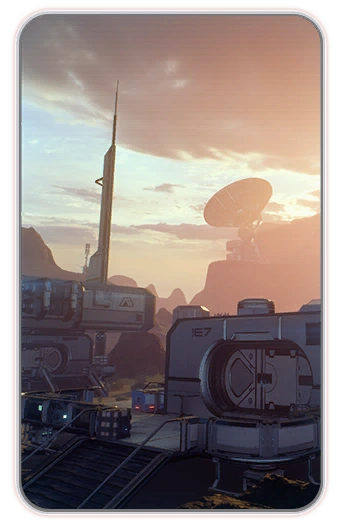
The Nexus needs a resource-producing outpost, but Eos is the only planet in range. As the only Pathfinder, you have been asked to achieve the impossible: find a way to settle Eos and give the Initiative the foothold it needs. Director Tann has committed the resources for a last-ditch effort, including a ship and support team for the Pathfinder.
Acquisition
This mission is acquired immediately after joining forces with the Nexus.
Walkthrough
Speak with SAM on the Hyperion
Use the tram to return to the Habitation Deck of the Hyperion and head to the SAM Node. Activate the terminal in the SAM node to learn more about Pathfinder Ryder's connection to SAM and the modifications that Alec Ryder made to SAM to enhance his own abilities. The allies and relationships mission Ryder Family Secrets is automatically started, speak to SAM again to learn more.
Go to your ship

This objective is complete simply by going to the Nexus Docking Bay, but in the interests of efficiency the following actions can also be accomplished in the interim. (+270 XP for boarding the Tempest.)
Feel free to explore Alec's former quarters, now your own personal room, as SAM suggested. The first memory trigger for the recently started Allies and Relationships mission can be found here, as well as a model of the SSV Normandy SR-2. Access audio logs for insight into the Initiative and a few words from Liara T'Soni.
You can also make a quick stop at the Cryo Bay to check on your sibling and pick up a side mission, Task: Lost Brother.
When you finally enter the Tempest Ryder and Cora Harper enjoy a breathtaking view of the new ship.
Go to the bridge
Once the cutscene has ended, your next objective is to head to the bridge to begin the trip. Feel free to explore the ship a bit before heading out, though most of the crew is too busy readying the ship to talk to Ryder. Vetra Nyx, one of the Tempest's new crew, will help acquaint you with all the sections of the ship.
Note: You should check in with all of the crew after each Priority Ops mission. Crew members will usually have new conversation options after the completion of a Priority Op mission.
Kallo Jath, the ship's pilot, meets you upon entering the bridge, and explain the navigational controls and make ready for departure from the Nexus. Ryder gives a short speech and Kallo will take the ship out.
Go to Eos in the Pytheas system
Use the Galaxy Map to travel to Eos in the Pytheas system.
Note: Travelling to Eos is a good opportunity to familiarize with planet scanning and begin working towards completing Task: The Model of the Spheres.
Land on Eos
Landing on Eos will gain Ryder +2 AVP![]() and +2% Eos viability.
and +2% Eos viability.
Clear atmospheric radiation
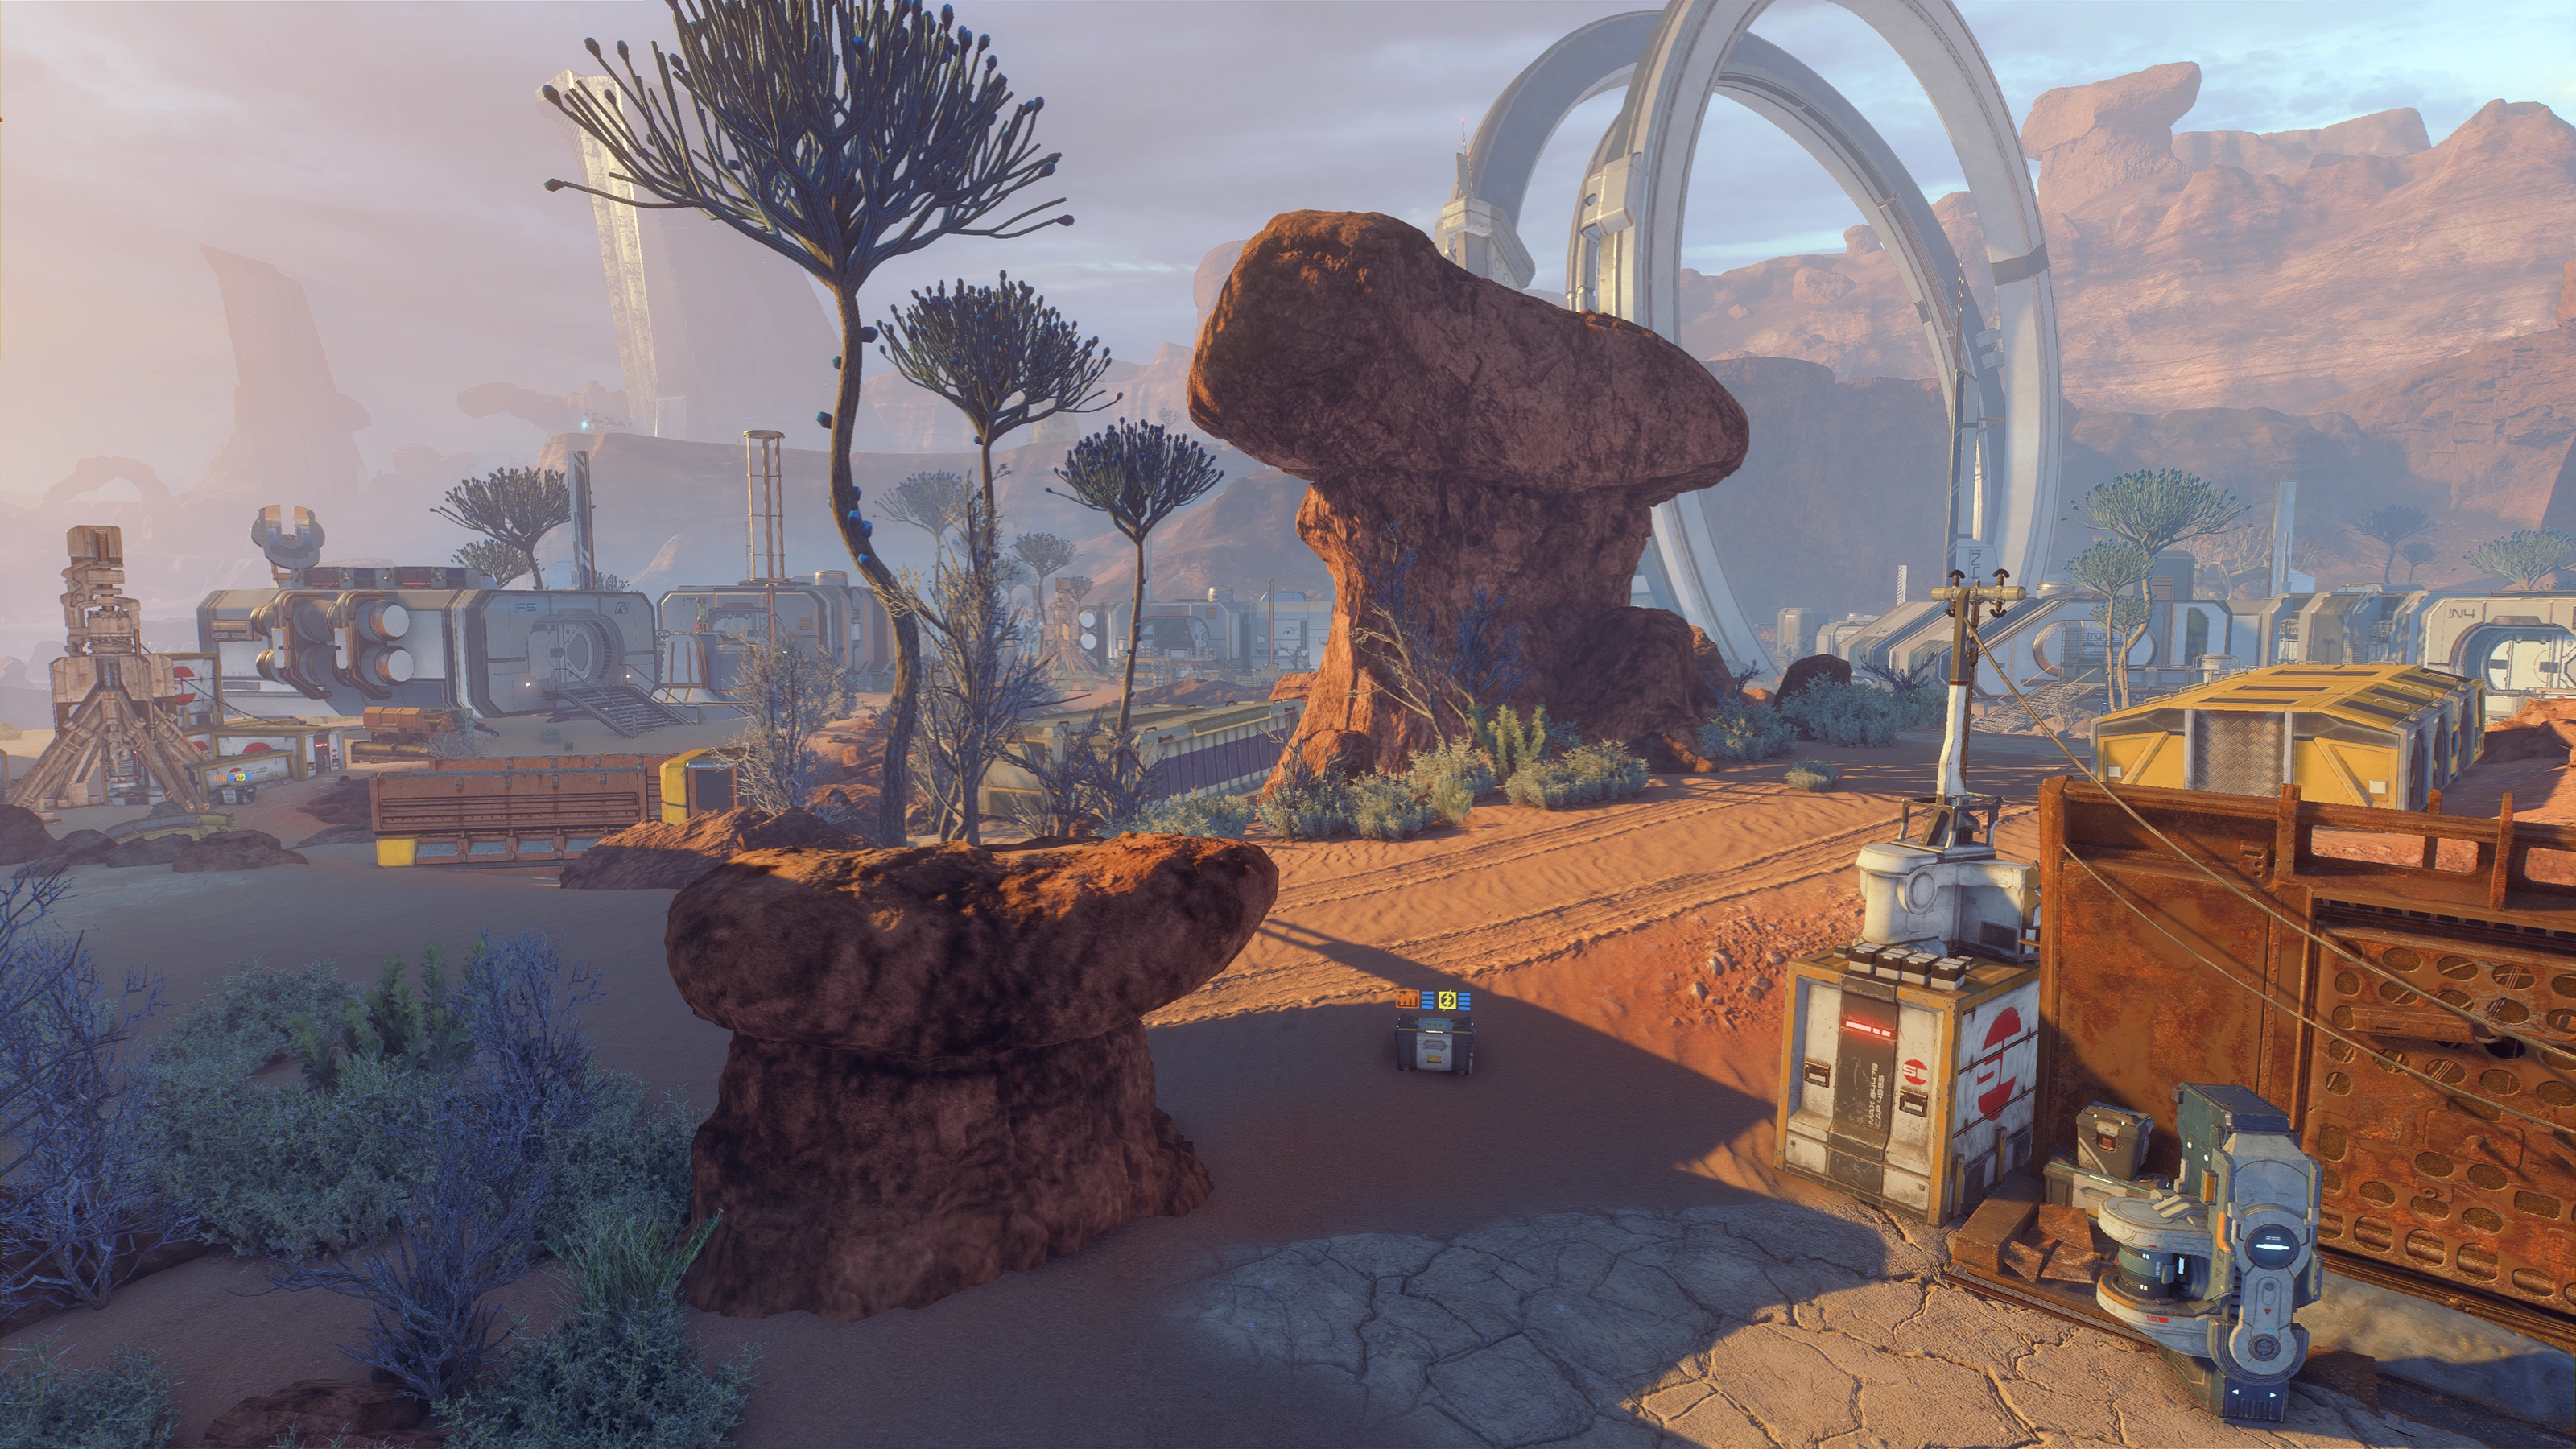
Previous attempts to colonize Eos failed due to the high radiation levels. However, the crew recognizes a signal like that found on Habitat 7; if similar alien technology exists on Eos, Ryder may be able to use it to improve the planet's conditions and make it viable for settlement.
This is the overarching objective of the mission. All other objectives below are designed to accomplish this one.
Note: If you are familiar with the structuring of missions and assignments in the previous Mass Effect trilogy, this is the first major mission where you will notice that you can accomplish numerous other missions on- and offworld before this gets resolved. This is similar to Race Against Time or Stop the Collectors, except while those are overarching missions for the first two games A Better Beginning is only the overarching mission for a single planet. A key difference is while you won't return to the same mission levels twice in the previous games, here you have the entire Eos map to explore repeatedly, or gradually as more areas open up. You can leave the planet, go back to the Nexus or explore other systems, and resume the mission where you left it. The same philosophy applies to all other hub worlds further down the game. Thus, with a few exceptions, there is generally no rush to investigate everything in one go, but lootable or scannable items along the way that can be returned to later will be noted for efficiency's sake.
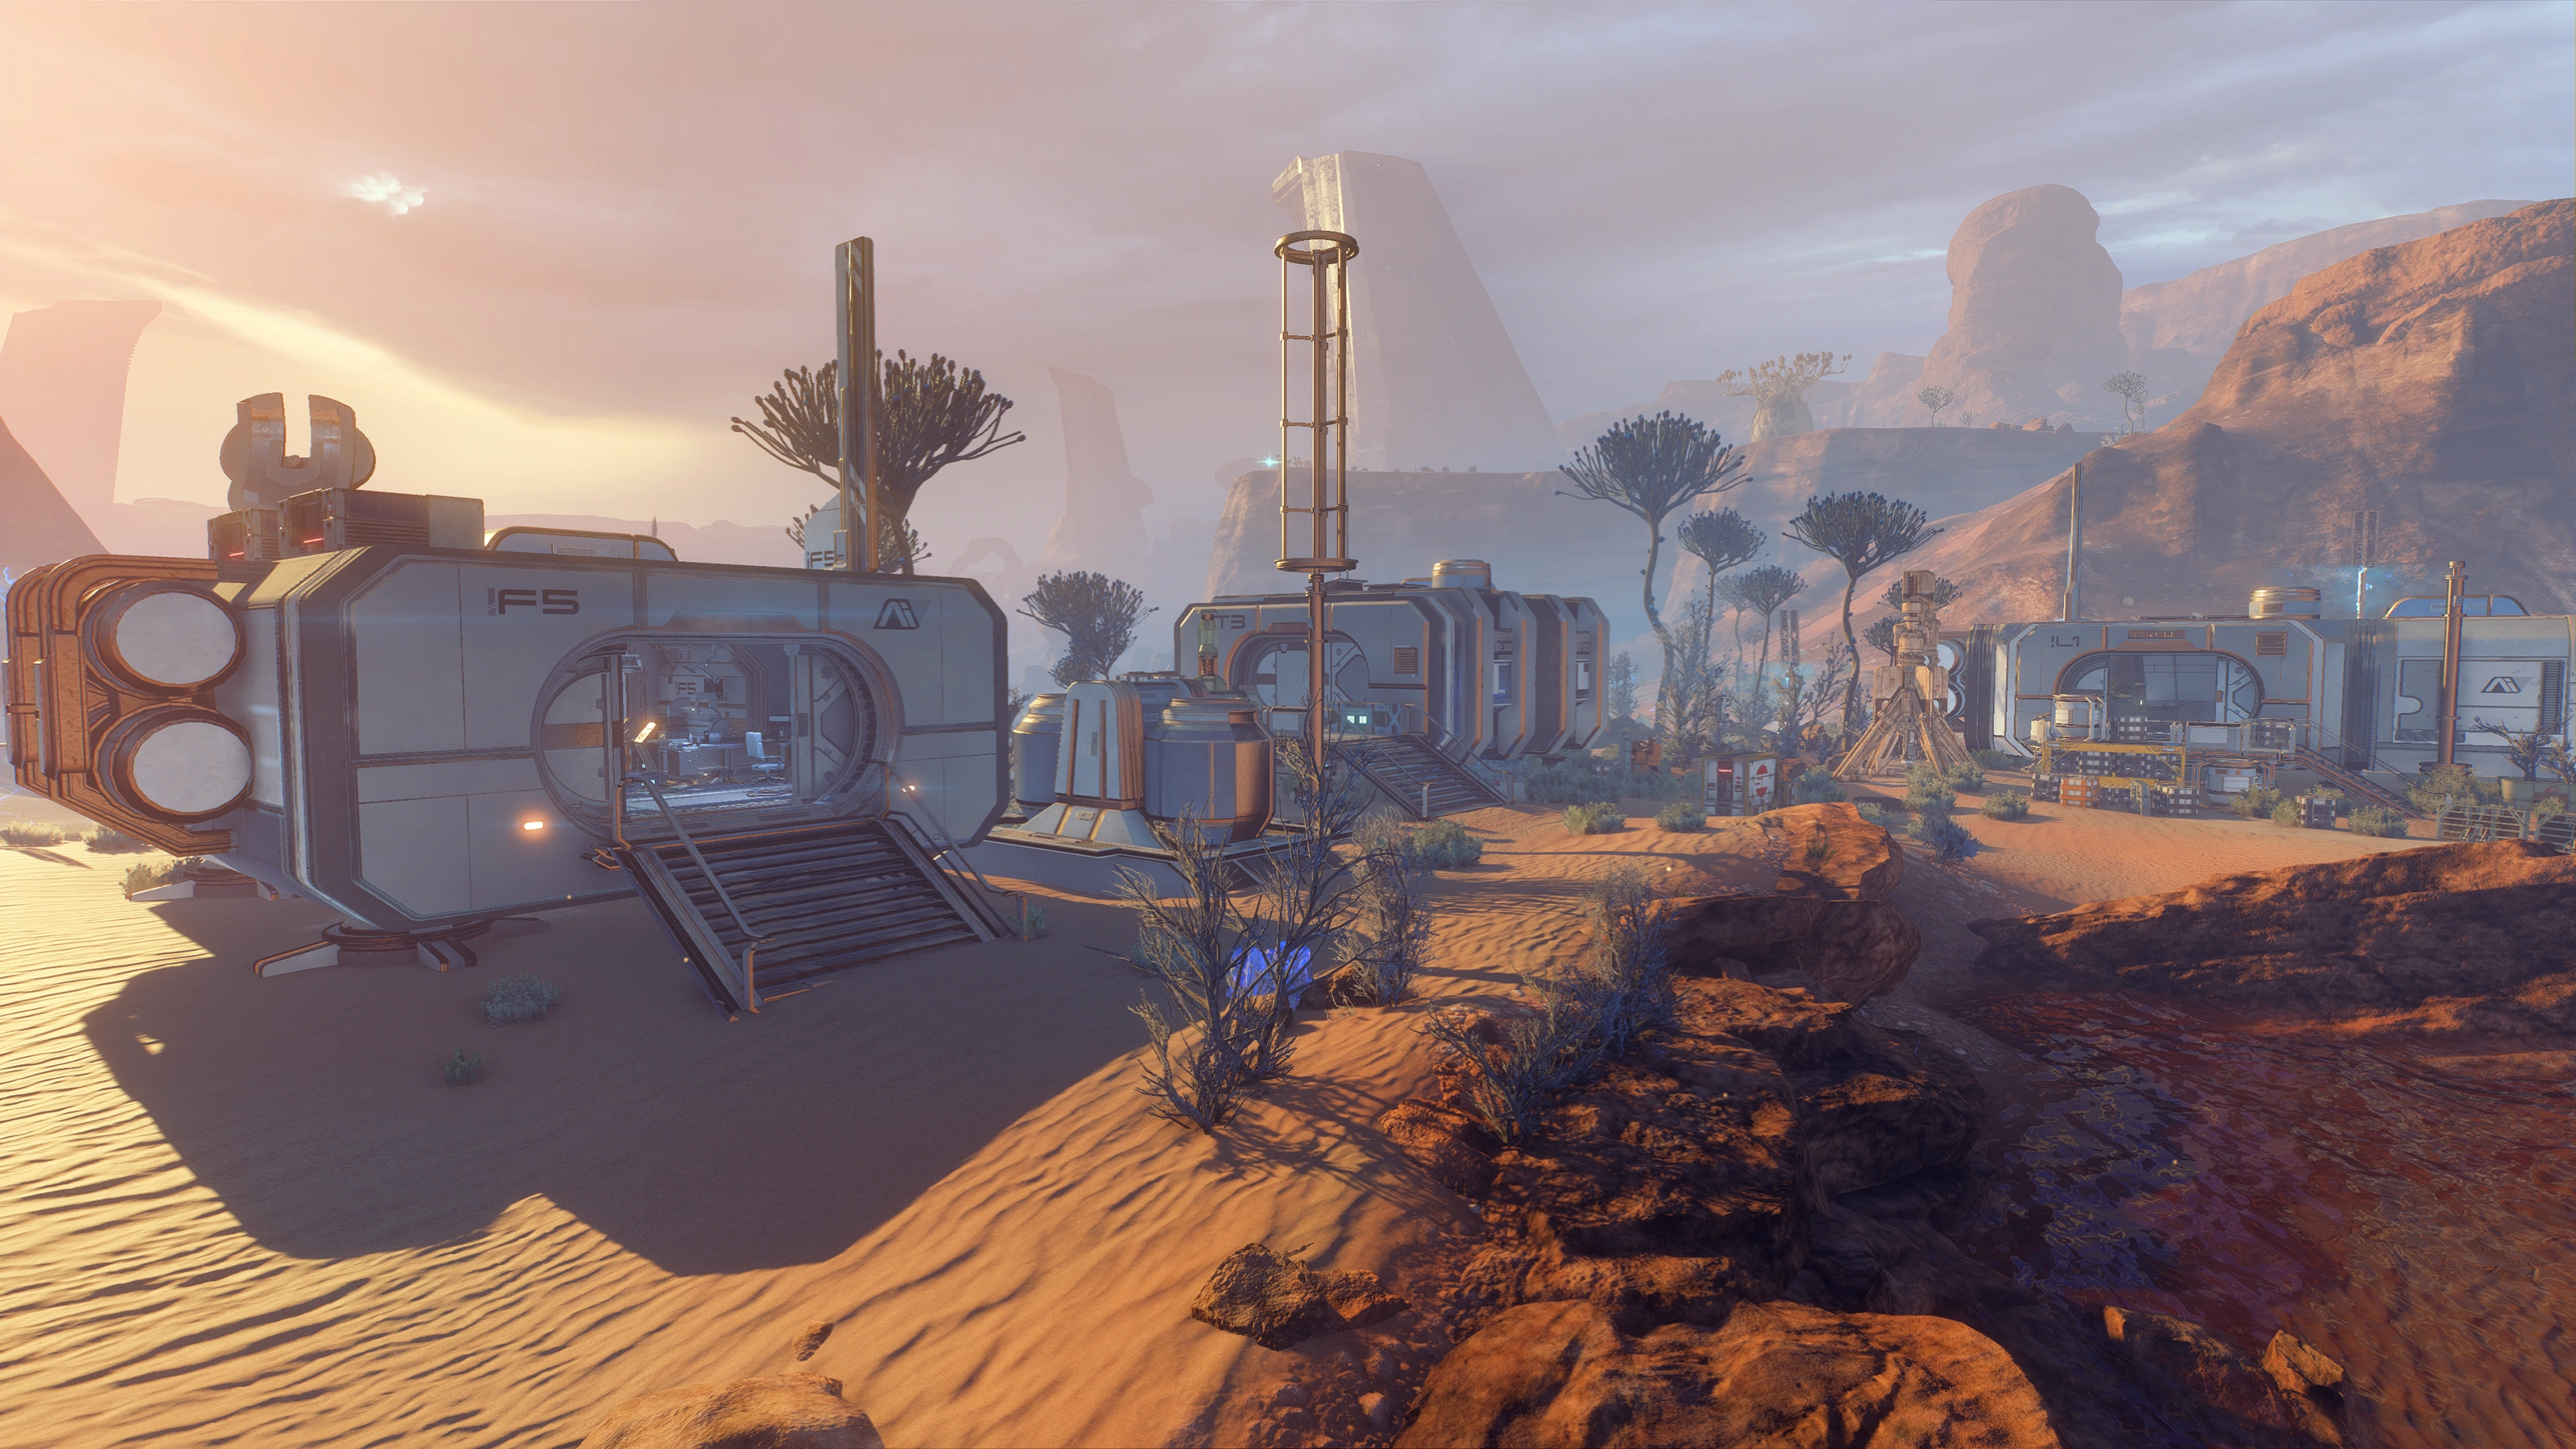
If you take the time to walk around Site 1: Promise before dealing with the next objective, there are numerous items to scan that will yield a total of +160![]() and +20
and +20![]() (+10
(+10![]() each for scanning a fluorite node and a cadmium node for the first time). SAM helpfully encourages you to do it for research points once you bring up the scanner and it pings a valid object. The buildings have distinct labels on their walls to help with navigation and identification.
each for scanning a fluorite node and a cadmium node for the first time). SAM helpfully encourages you to do it for research points once you bring up the scanner and it pings a valid object. The buildings have distinct labels on their walls to help with navigation and identification.
Just a few steps from your starting position, there's an ammo supply cache and a container. Looting the container will alert the squad there seems to be someone else in the area. Beside a nearby truck are two supply caches: ammo and health. The crate next to the health cache can also be scanned for +10![]() . The building marked S2 cannot be opened for now; between it and the Tempest is another ammo supply cache and another lootable container.
. The building marked S2 cannot be opened for now; between it and the Tempest is another ammo supply cache and another lootable container.
Following the vehicle trail from your starting position, the yellow six-wheeled cAvro/Ute PackRack can be scanned for +10![]() . The fallen cylinder beyond it is a damaged Husqani-M1 Adaptive Turbine (+10
. The fallen cylinder beyond it is a damaged Husqani-M1 Adaptive Turbine (+10![]() ). On the rocks overlooking the site's small lake is a fluorite node. Further along the vehicle trail, east of the Tempest is another damaged power turbine (+10
). On the rocks overlooking the site's small lake is a fluorite node. Further along the vehicle trail, east of the Tempest is another damaged power turbine (+10![]() ).
).
Nearby, outside the building labeled L1 is a container. Inside it is a datapad containing a door code and a terminal.
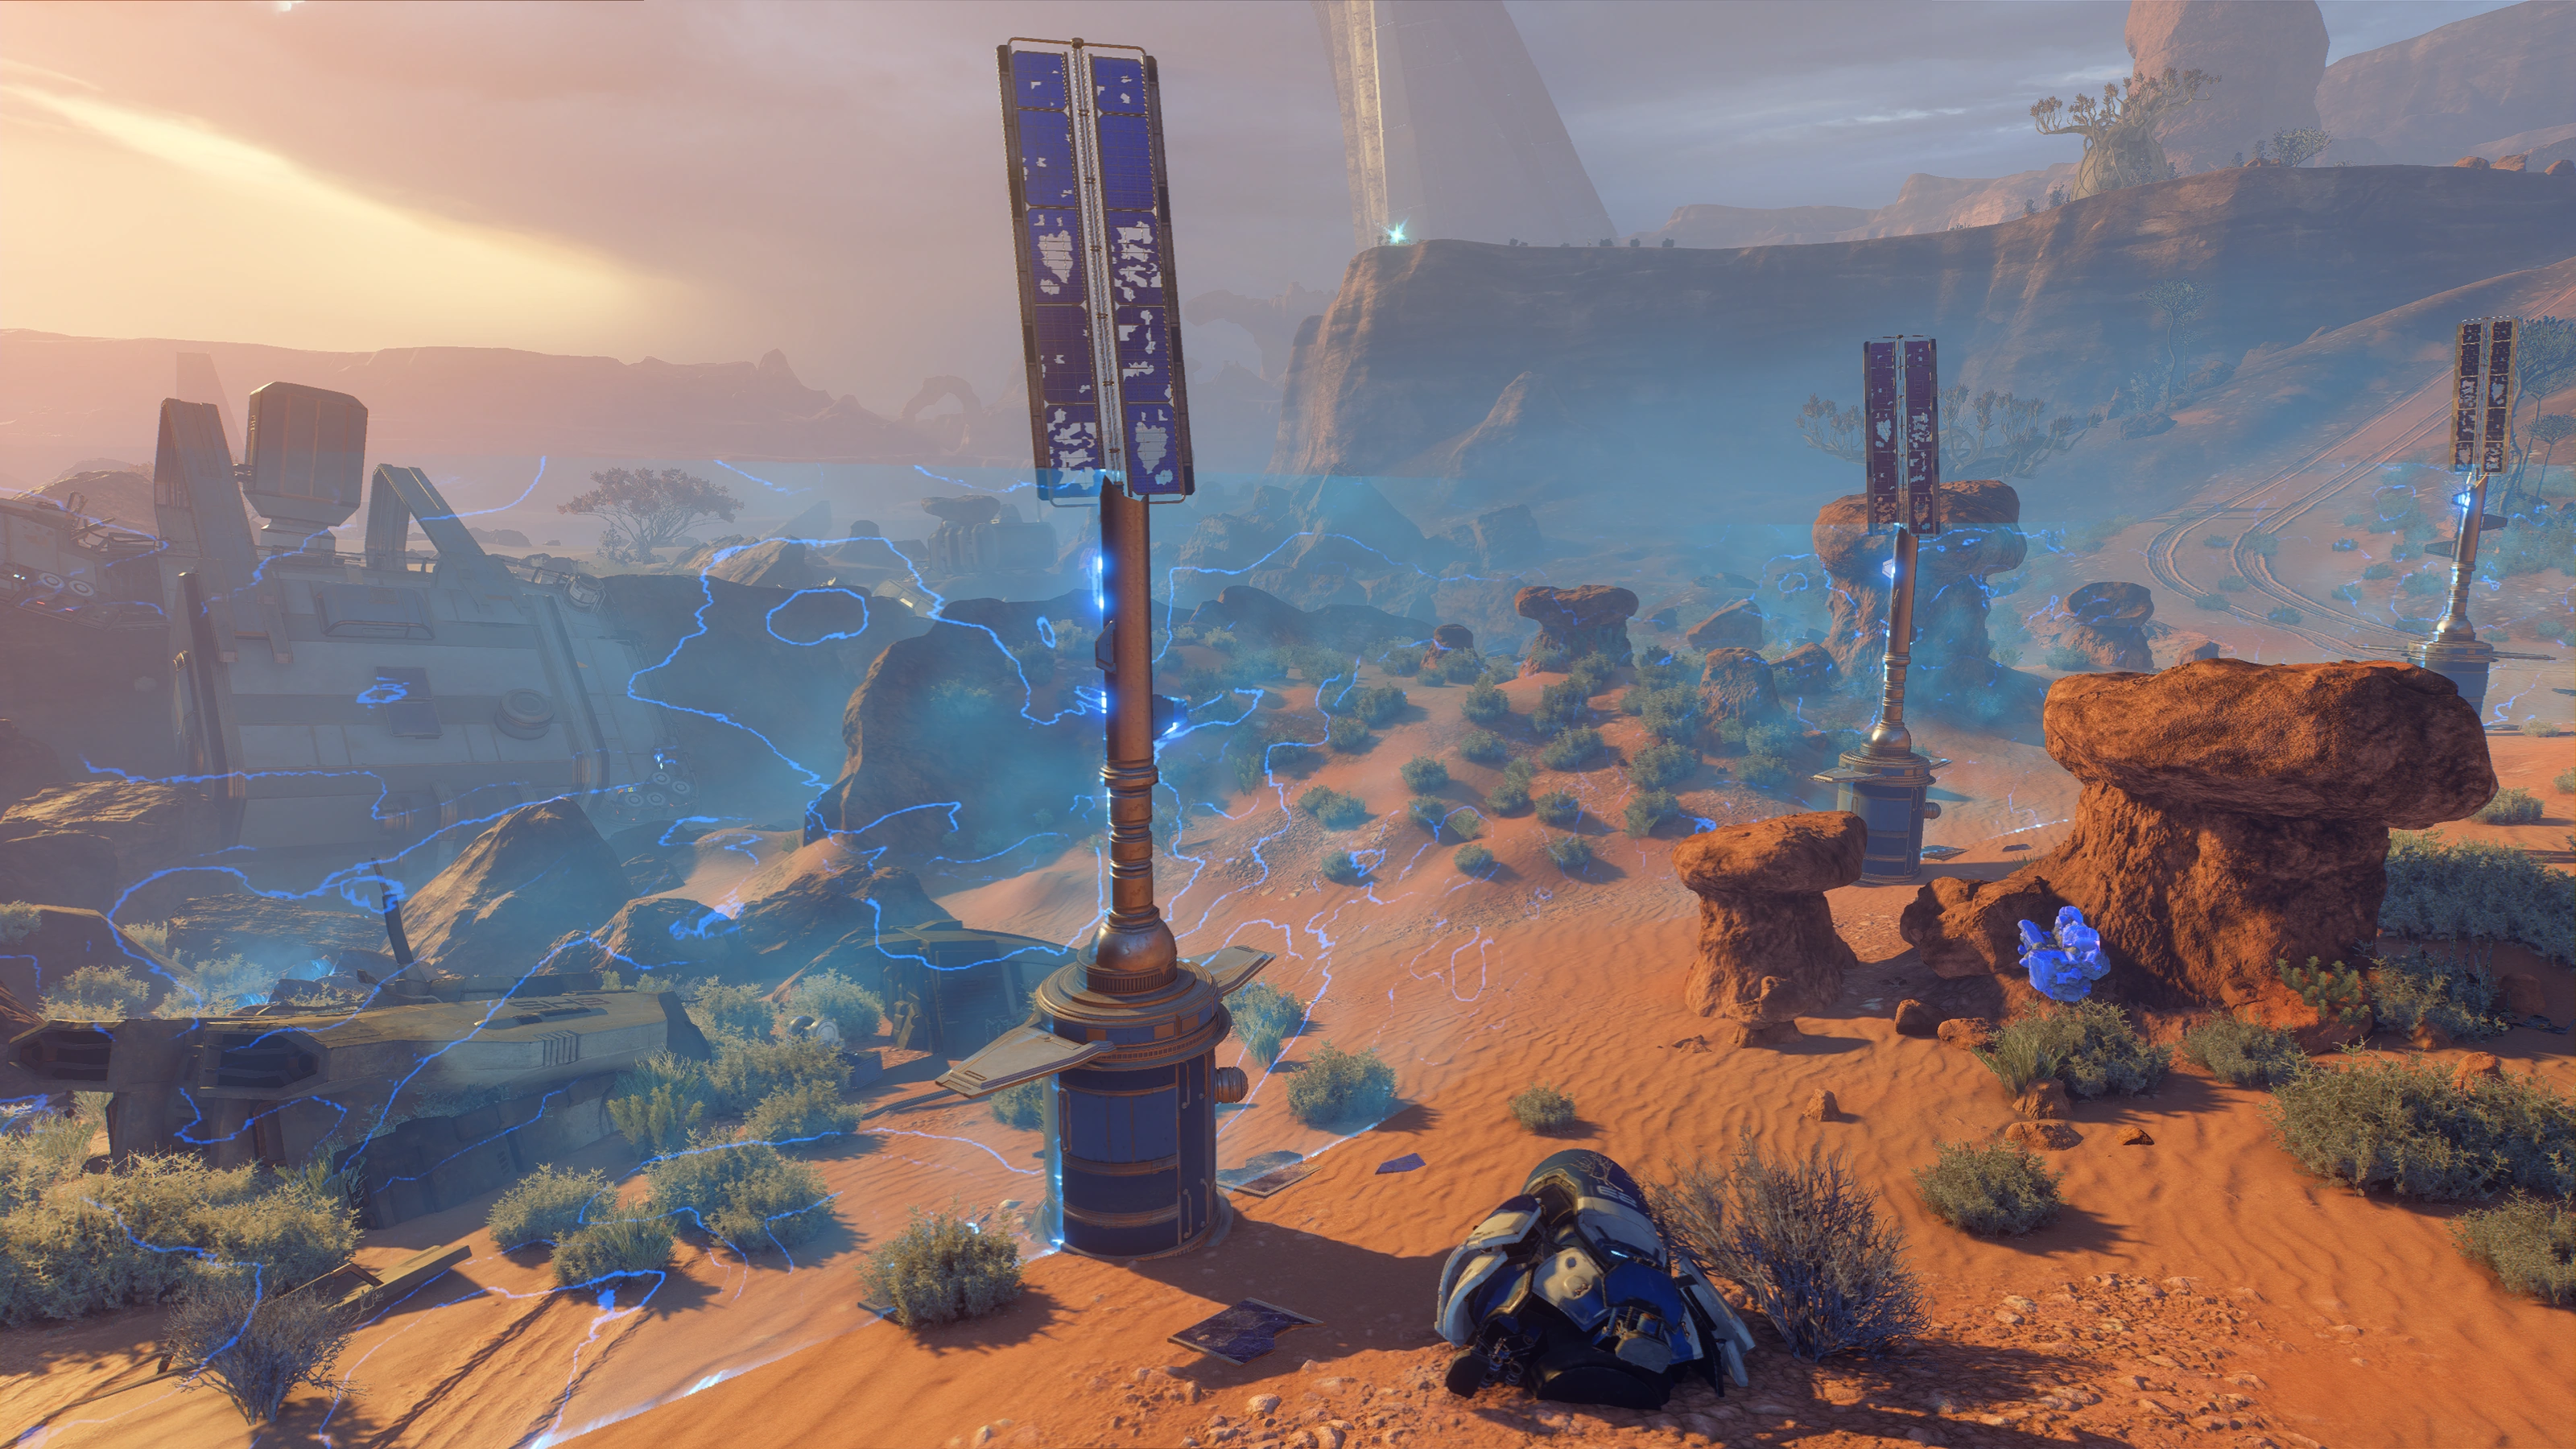
The building labeled T3 west of the Tempest has a scannable door (+10![]() ) telling you there's no power. Between the T3 building and the F5 building is an Infusion Station (+10
) telling you there's no power. Between the T3 building and the F5 building is an Infusion Station (+10![]() ). South of the T3 building, near shield masts, are fluorite and cadmium nodes as well as a destroyed Forward Station (+10
). South of the T3 building, near shield masts, are fluorite and cadmium nodes as well as a destroyed Forward Station (+10![]() ). On the other side of the anti-radiation field near the Forward Station, there's a shuttle torn in two (+10
). On the other side of the anti-radiation field near the Forward Station, there's a shuttle torn in two (+10![]() ). You won't have to leave the field to scan that one.
). You won't have to leave the field to scan that one.
The F5 building has two containers, a datapad with a door code, and another datapad containing Grace Lito's personal log.
There are two buildings labeled S2 in Site 1. One is marked as the research station in the map. North of the other S2 building is another Infusion Station (+10![]() ). East from the Infusion Station, at the base of a girthy rock formation is a fluorite node.
). East from the Infusion Station, at the base of a girthy rock formation is a fluorite node.
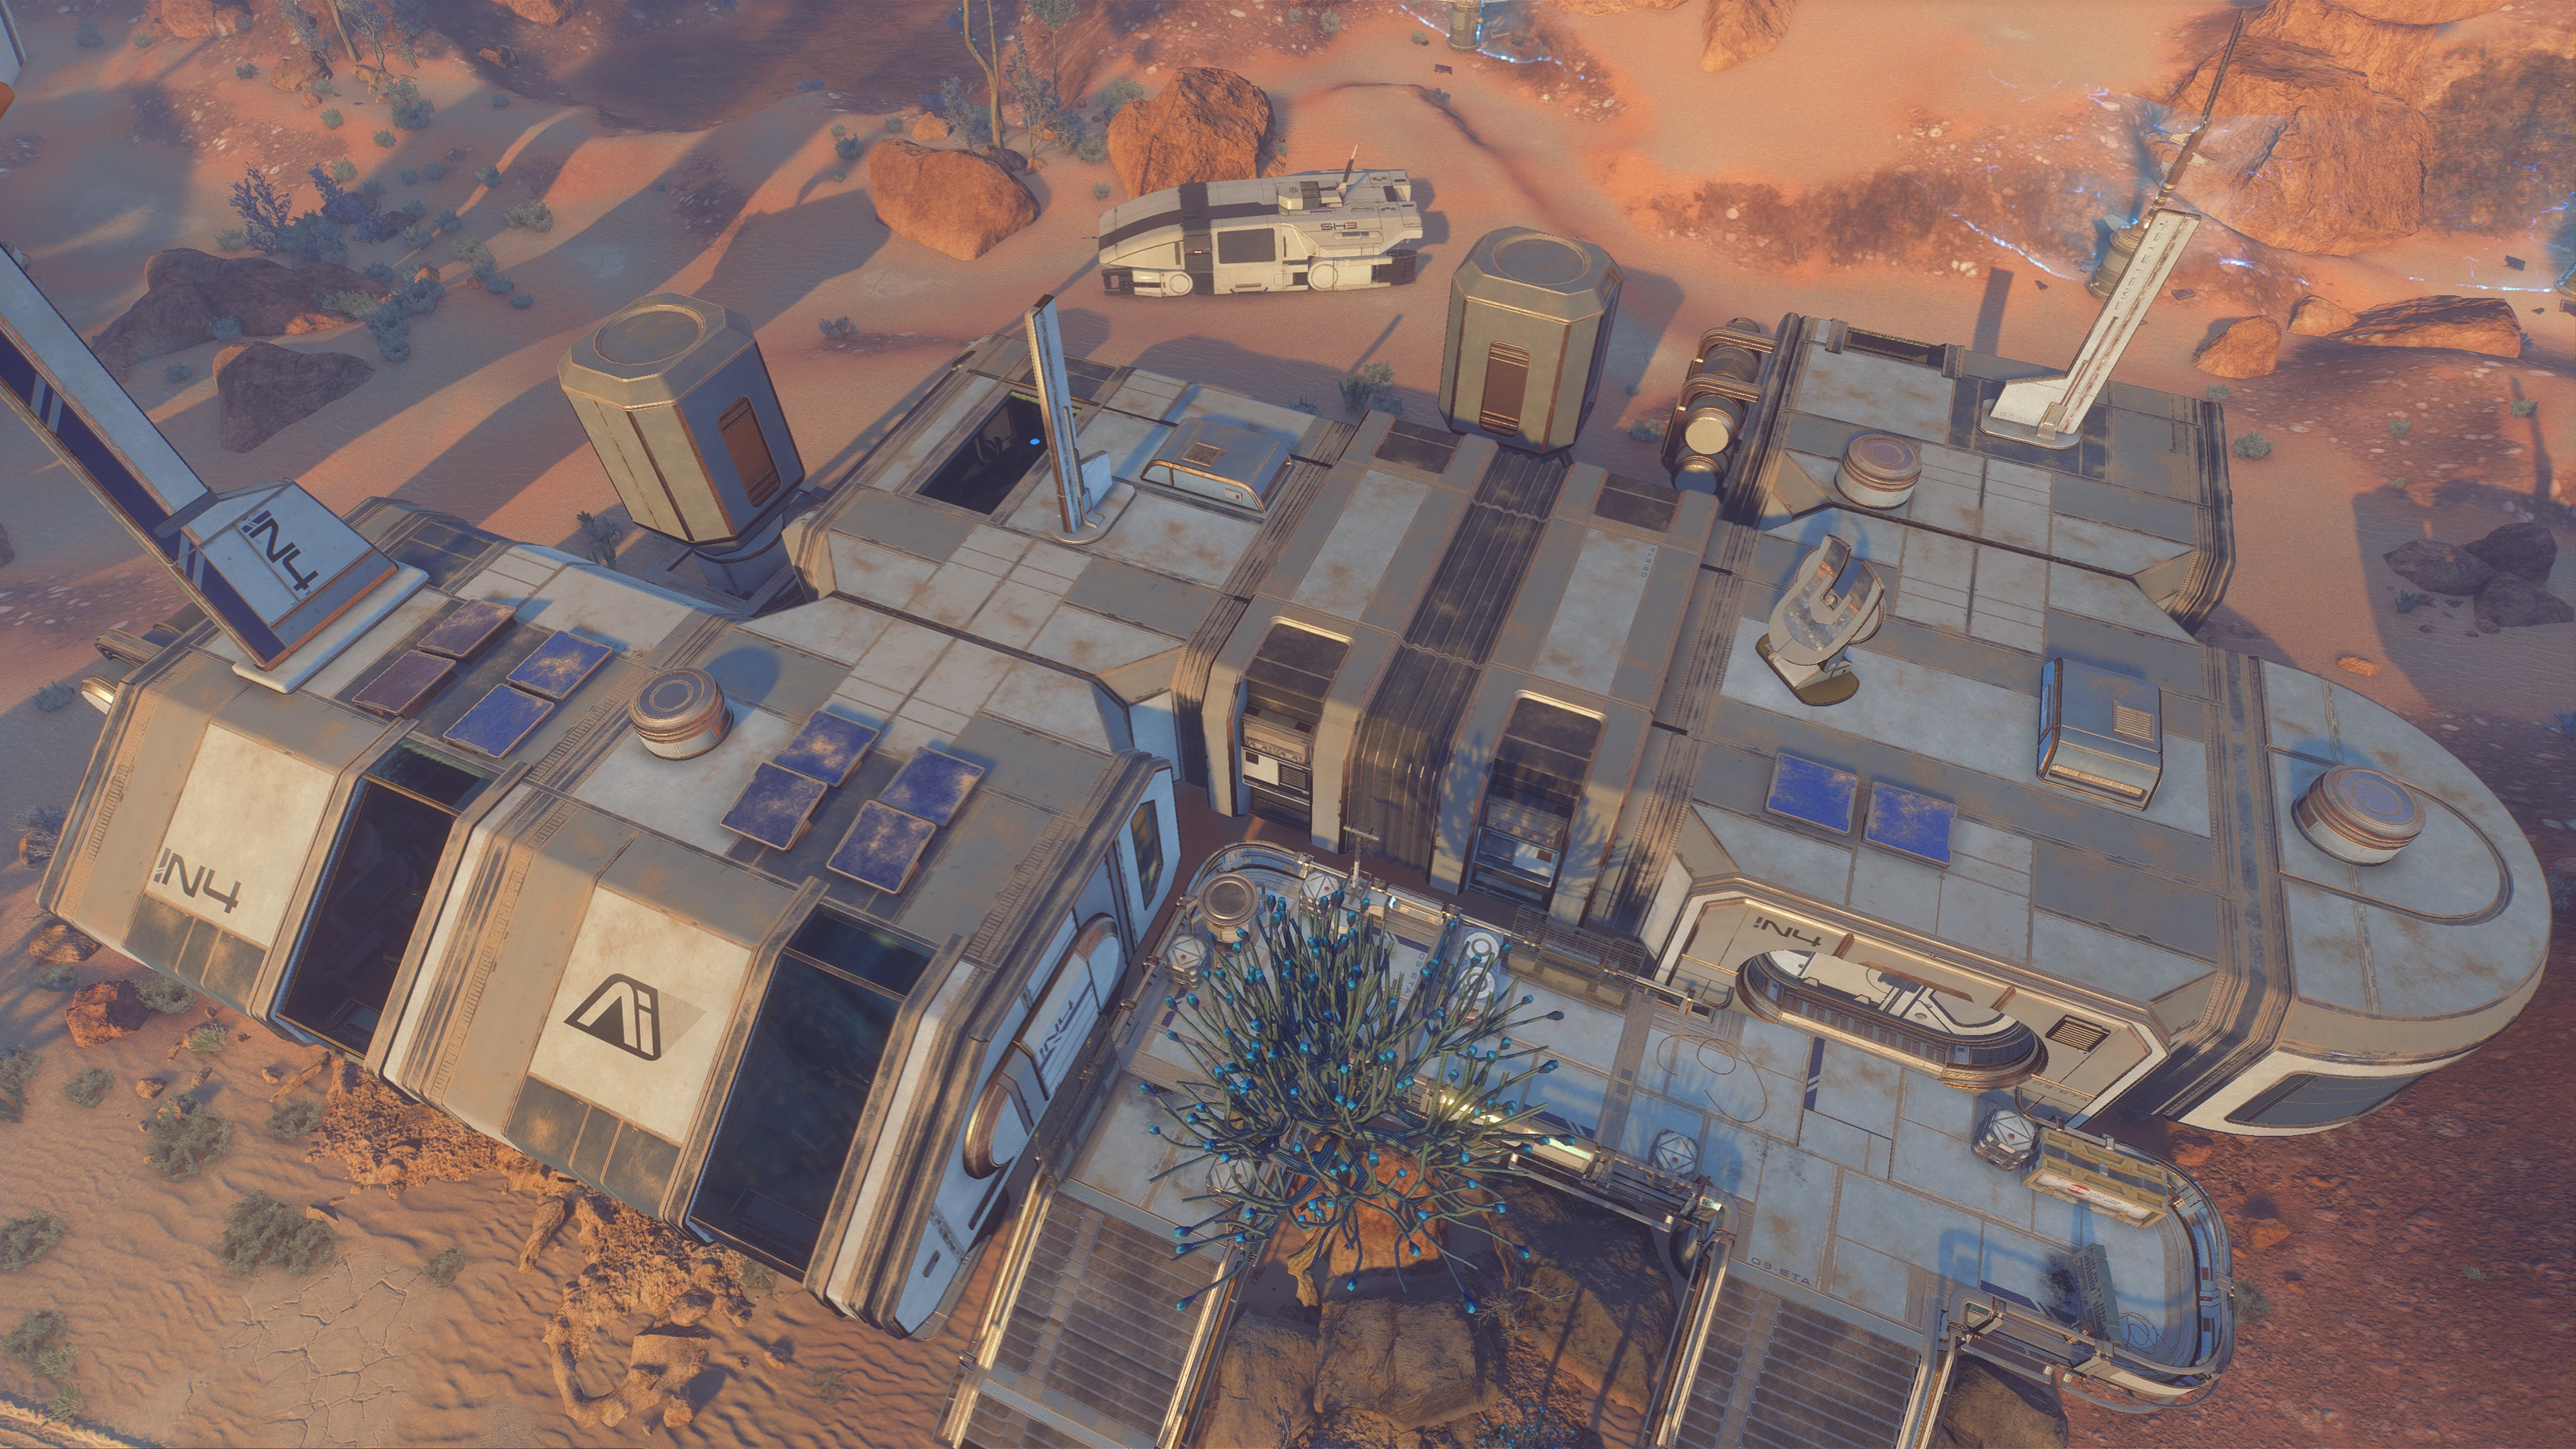
The main building complex is also labeled N4. There are two working energy storages (+10![]() each) north and east of it. A few steps north from the building is a working shuttle(+10
each) north and east of it. A few steps north from the building is a working shuttle(+10![]() ), presumably operated by someone who isn't supposed to be there. Beneath one energy storage is a scannable corpse that will give you Task: Naming the Dead.
), presumably operated by someone who isn't supposed to be there. Beneath one energy storage is a scannable corpse that will give you Task: Naming the Dead.
The giant circular complex along the vehicle trail is a water filtration system displaced by the storms. There's nothing in its surroundings except shield masts and two fluorite nodes, but be warned that one of them lies in a level 3 radiation hazard zone that will deplete your life support rapidly.
Site 1: Promise is ringed by multiple shield masts. Beyond them is a radiation environmental hazard; venturing outside will gradually deplete your hardsuit's life support systems unless you turn back. Multiple sites on Eos also have these masts: scanning them the first time will yield some dialogue about their function but no points. Scanning subsequent masts will not yield anything even if the scanner marks them red.
Search Site 1's main control building
Reach the outpost central control on the objective marker![]() northwest from the Tempest to complete this objective. It's on emergency power and it's locked, requiring a code to open.
northwest from the Tempest to complete this objective. It's on emergency power and it's locked, requiring a code to open.
Find a code to access locked buildings
If you haven't encountered the code yet, this sub-objective pops up. The objective marker![]() will point you to the building labeled L1 as it has a datapad inside that has the code, although you can also search the building labeled F5 for a similar datapad. After retrieving either, you will be able to open the main control building's door.
will point you to the building labeled L1 as it has a datapad inside that has the code, although you can also search the building labeled F5 for a similar datapad. After retrieving either, you will be able to open the main control building's door.
Restore power at Site 1
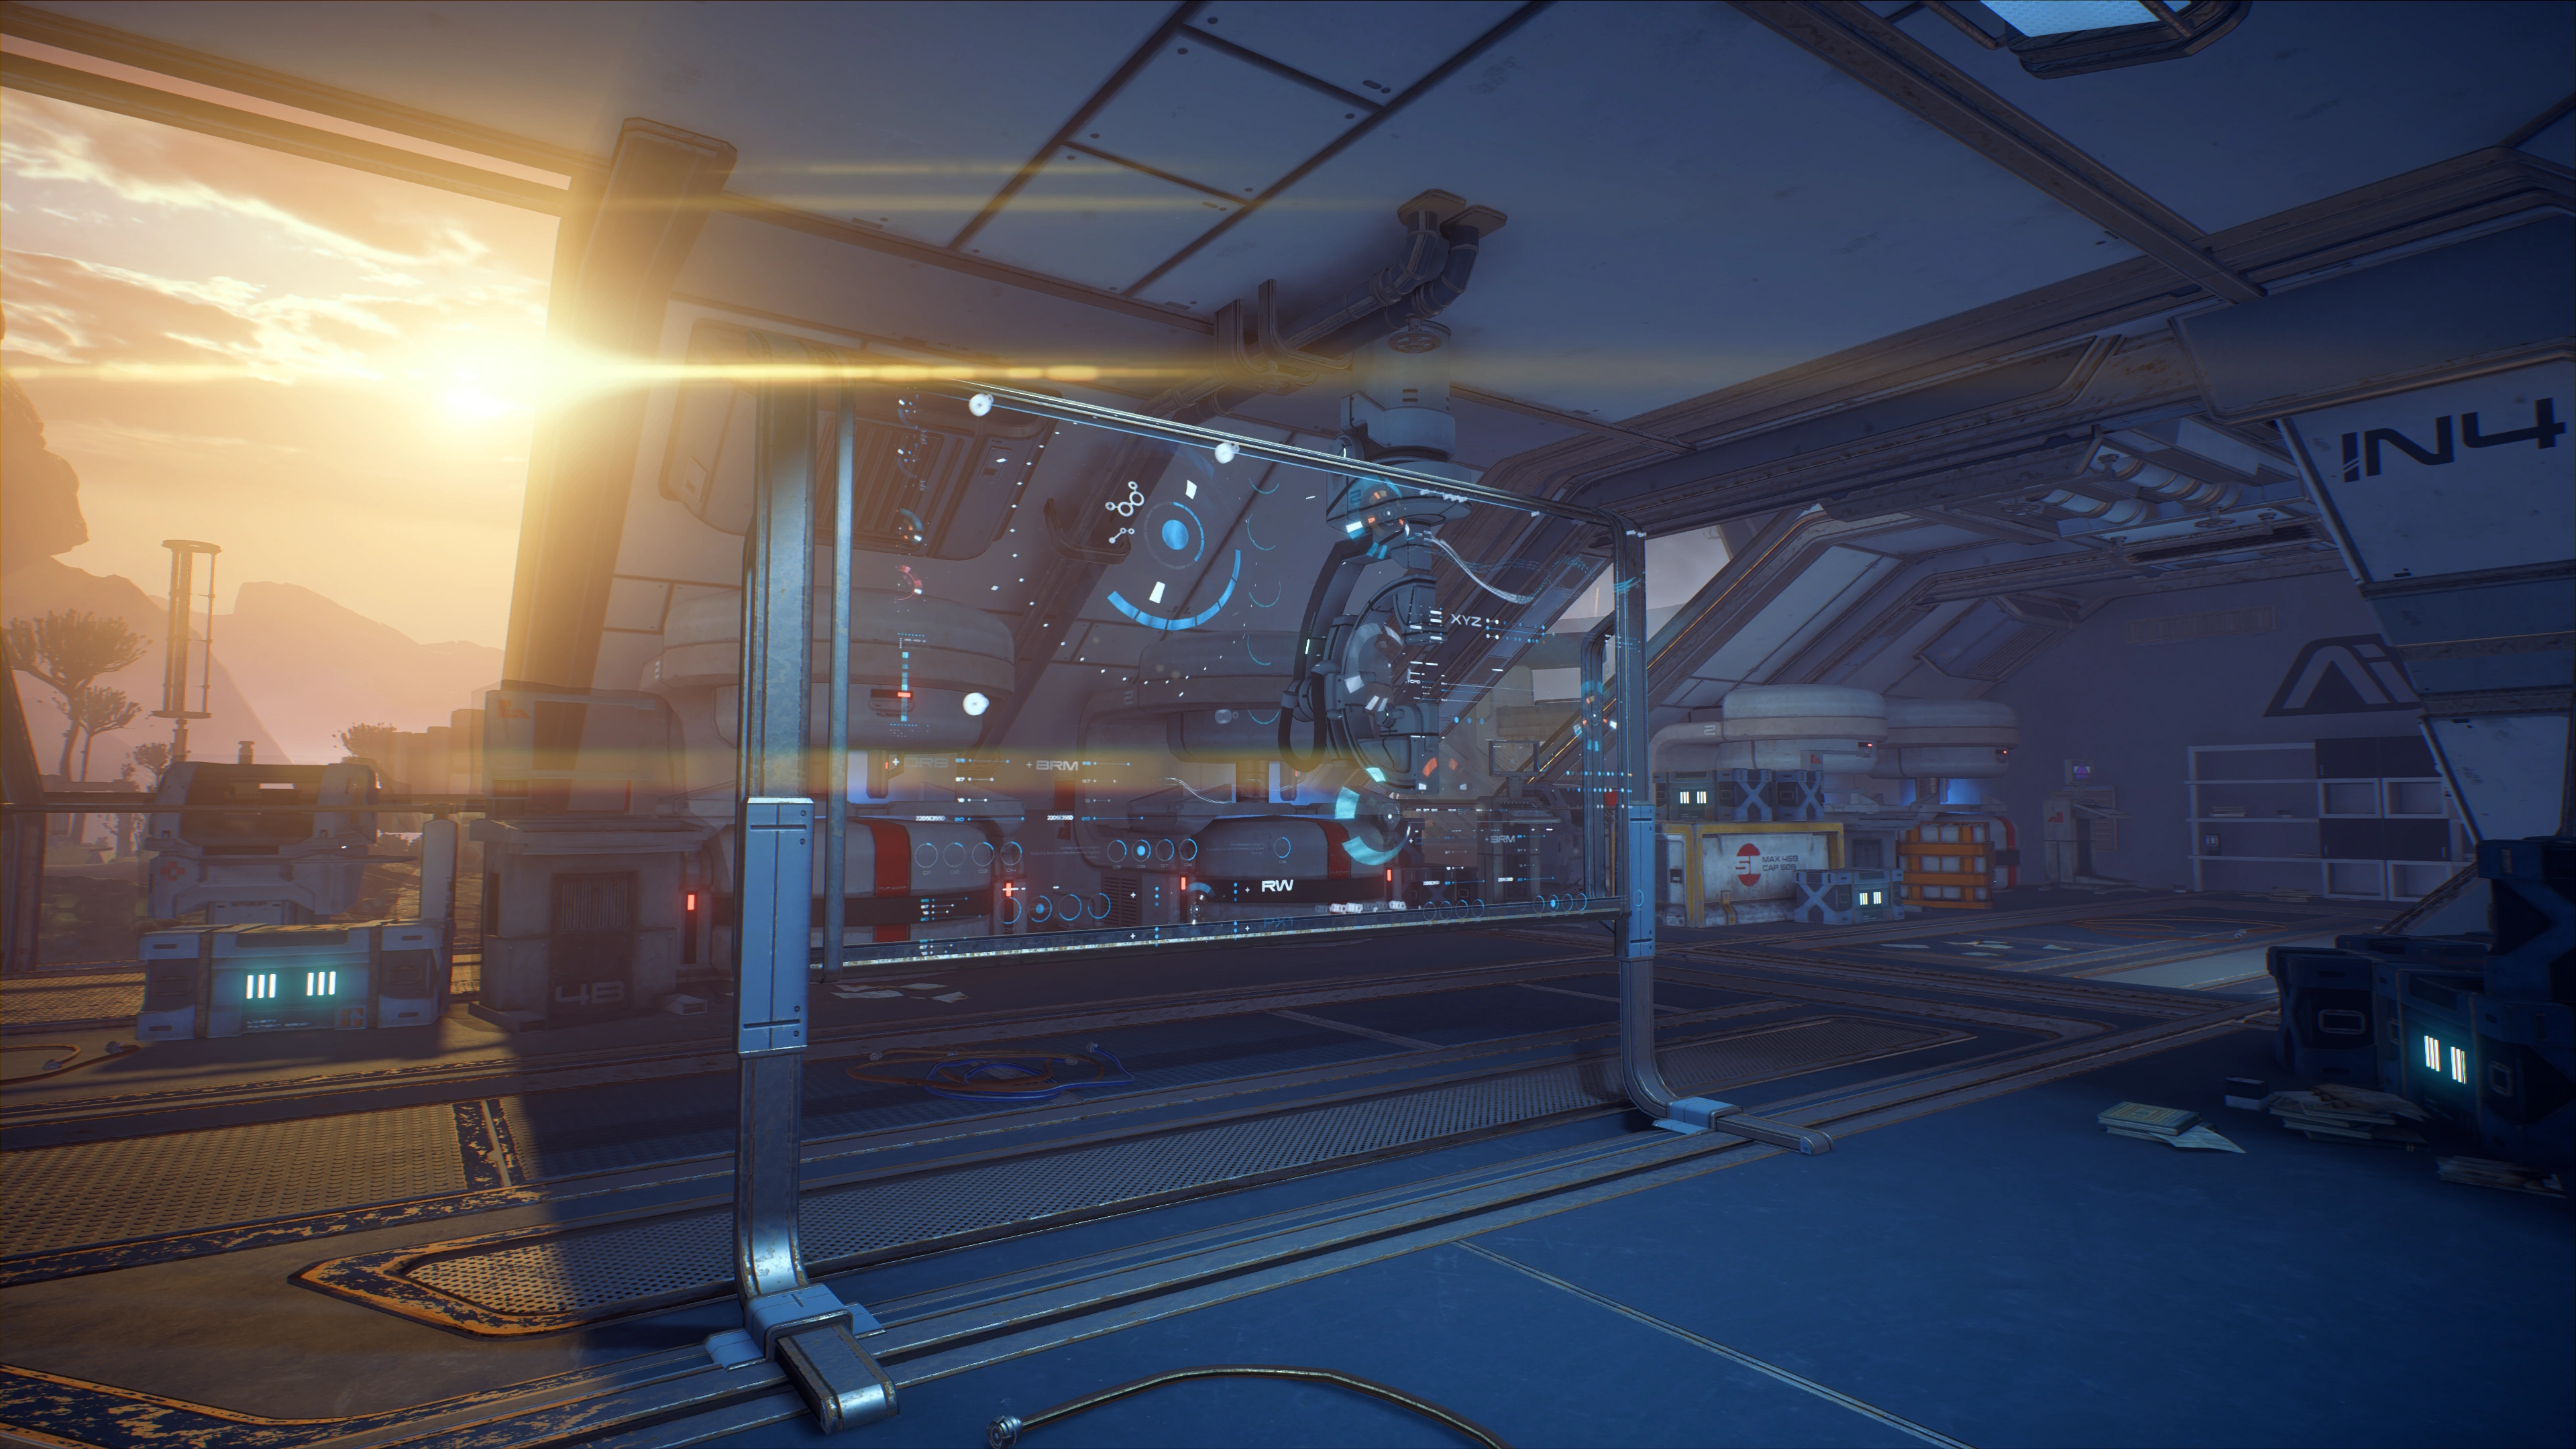
If you already have the code from searching the other buildings, upon opening the outer door you'll see two doors and a container inside. One of the doors is locked (also scannable, but won't yield points if you already scanned a similar door in the T3 building). Beyond the accessible door is a message terminal. Further in, you can scan the power interface for +10![]() . There are two containers, an audio terminal (about a complaining Zed Wilcox), and a console, but your objective is accessing the console.
. There are two containers, an audio terminal (about a complaining Zed Wilcox), and a console, but your objective is accessing the console.
After using the console, the first step at Site 1: Promise is restoring power to the abandoned outpost so that a thorough scan of the area can be completed and the source of the atmospheric disturbance can be located. Ryder finds that there is a manual override at a nearby relay station that is preventing the power from coming online.
Investigate the power relay station
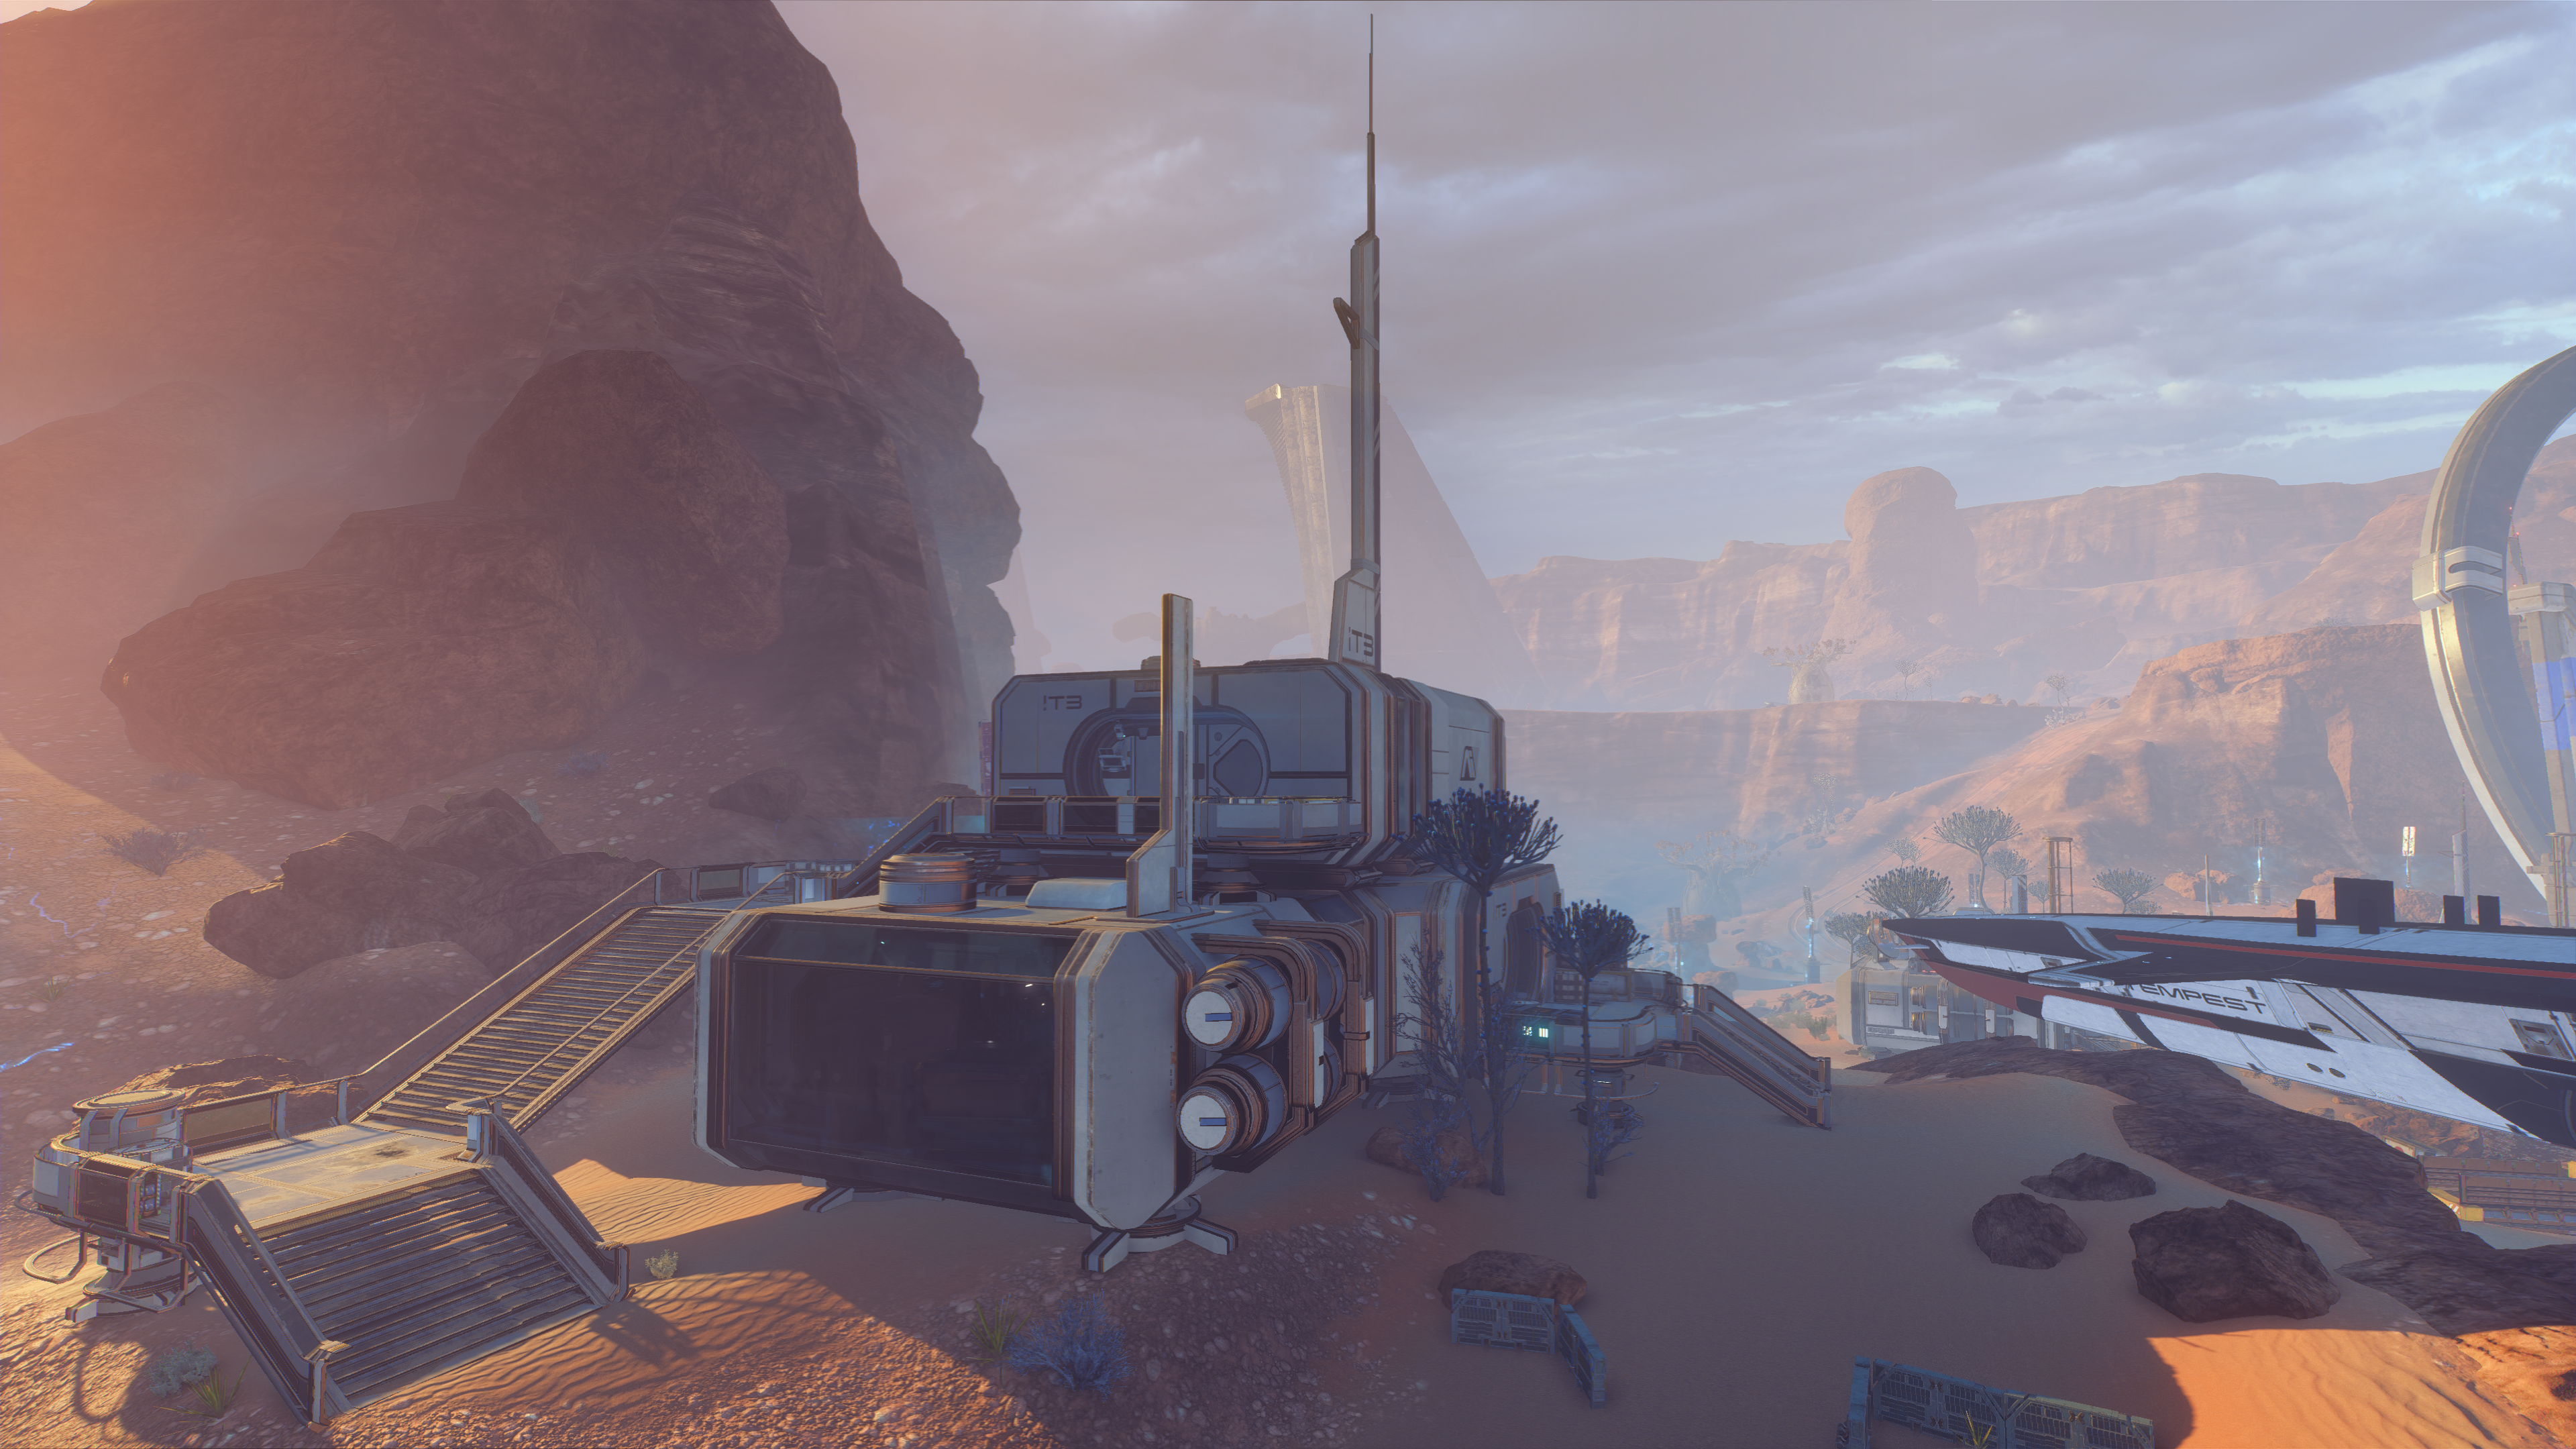
Follow the objective marker to the power relay station on the southeastern ridge, beyond the Tempest.
Follow the vehicle trail east and on some rocks before the incline there's a fluorite and a cadmium node. The trail curves upward to the power station (also labeled T3 but this building's bigger than the other one); beside two crates there's an ammo cache. The power station's lower door yields +10![]() when scanned. The pipes on the downward slope are part of a Hydro-Evaluation Station (+10
when scanned. The pipes on the downward slope are part of a Hydro-Evaluation Station (+10![]() ).
).
Beneath the stairs to the upper door there's a lootable container. Upon using the console beside the door on the second floor of the station, you will be "greeted" by Clancy Arquist, a salvager who has taken up temporary residence there. It appears that Clancy is responsible for the signs of recent illicit activity at Site 1. Clancy won't open the relay station doors just yet, but he agrees to let you turn on some of the generators to get the antenna online to locate the source of the Remnant signal. He warns, however, that doing so will attract the attention of kett patrols.
Activate the generators
You now need to activate the generators. Objective markers for two power pylons will appear: one southeast from the Tempest and one southwest from the Tempest. Either can be chosen at will.
Scan the power pylons to find an interface
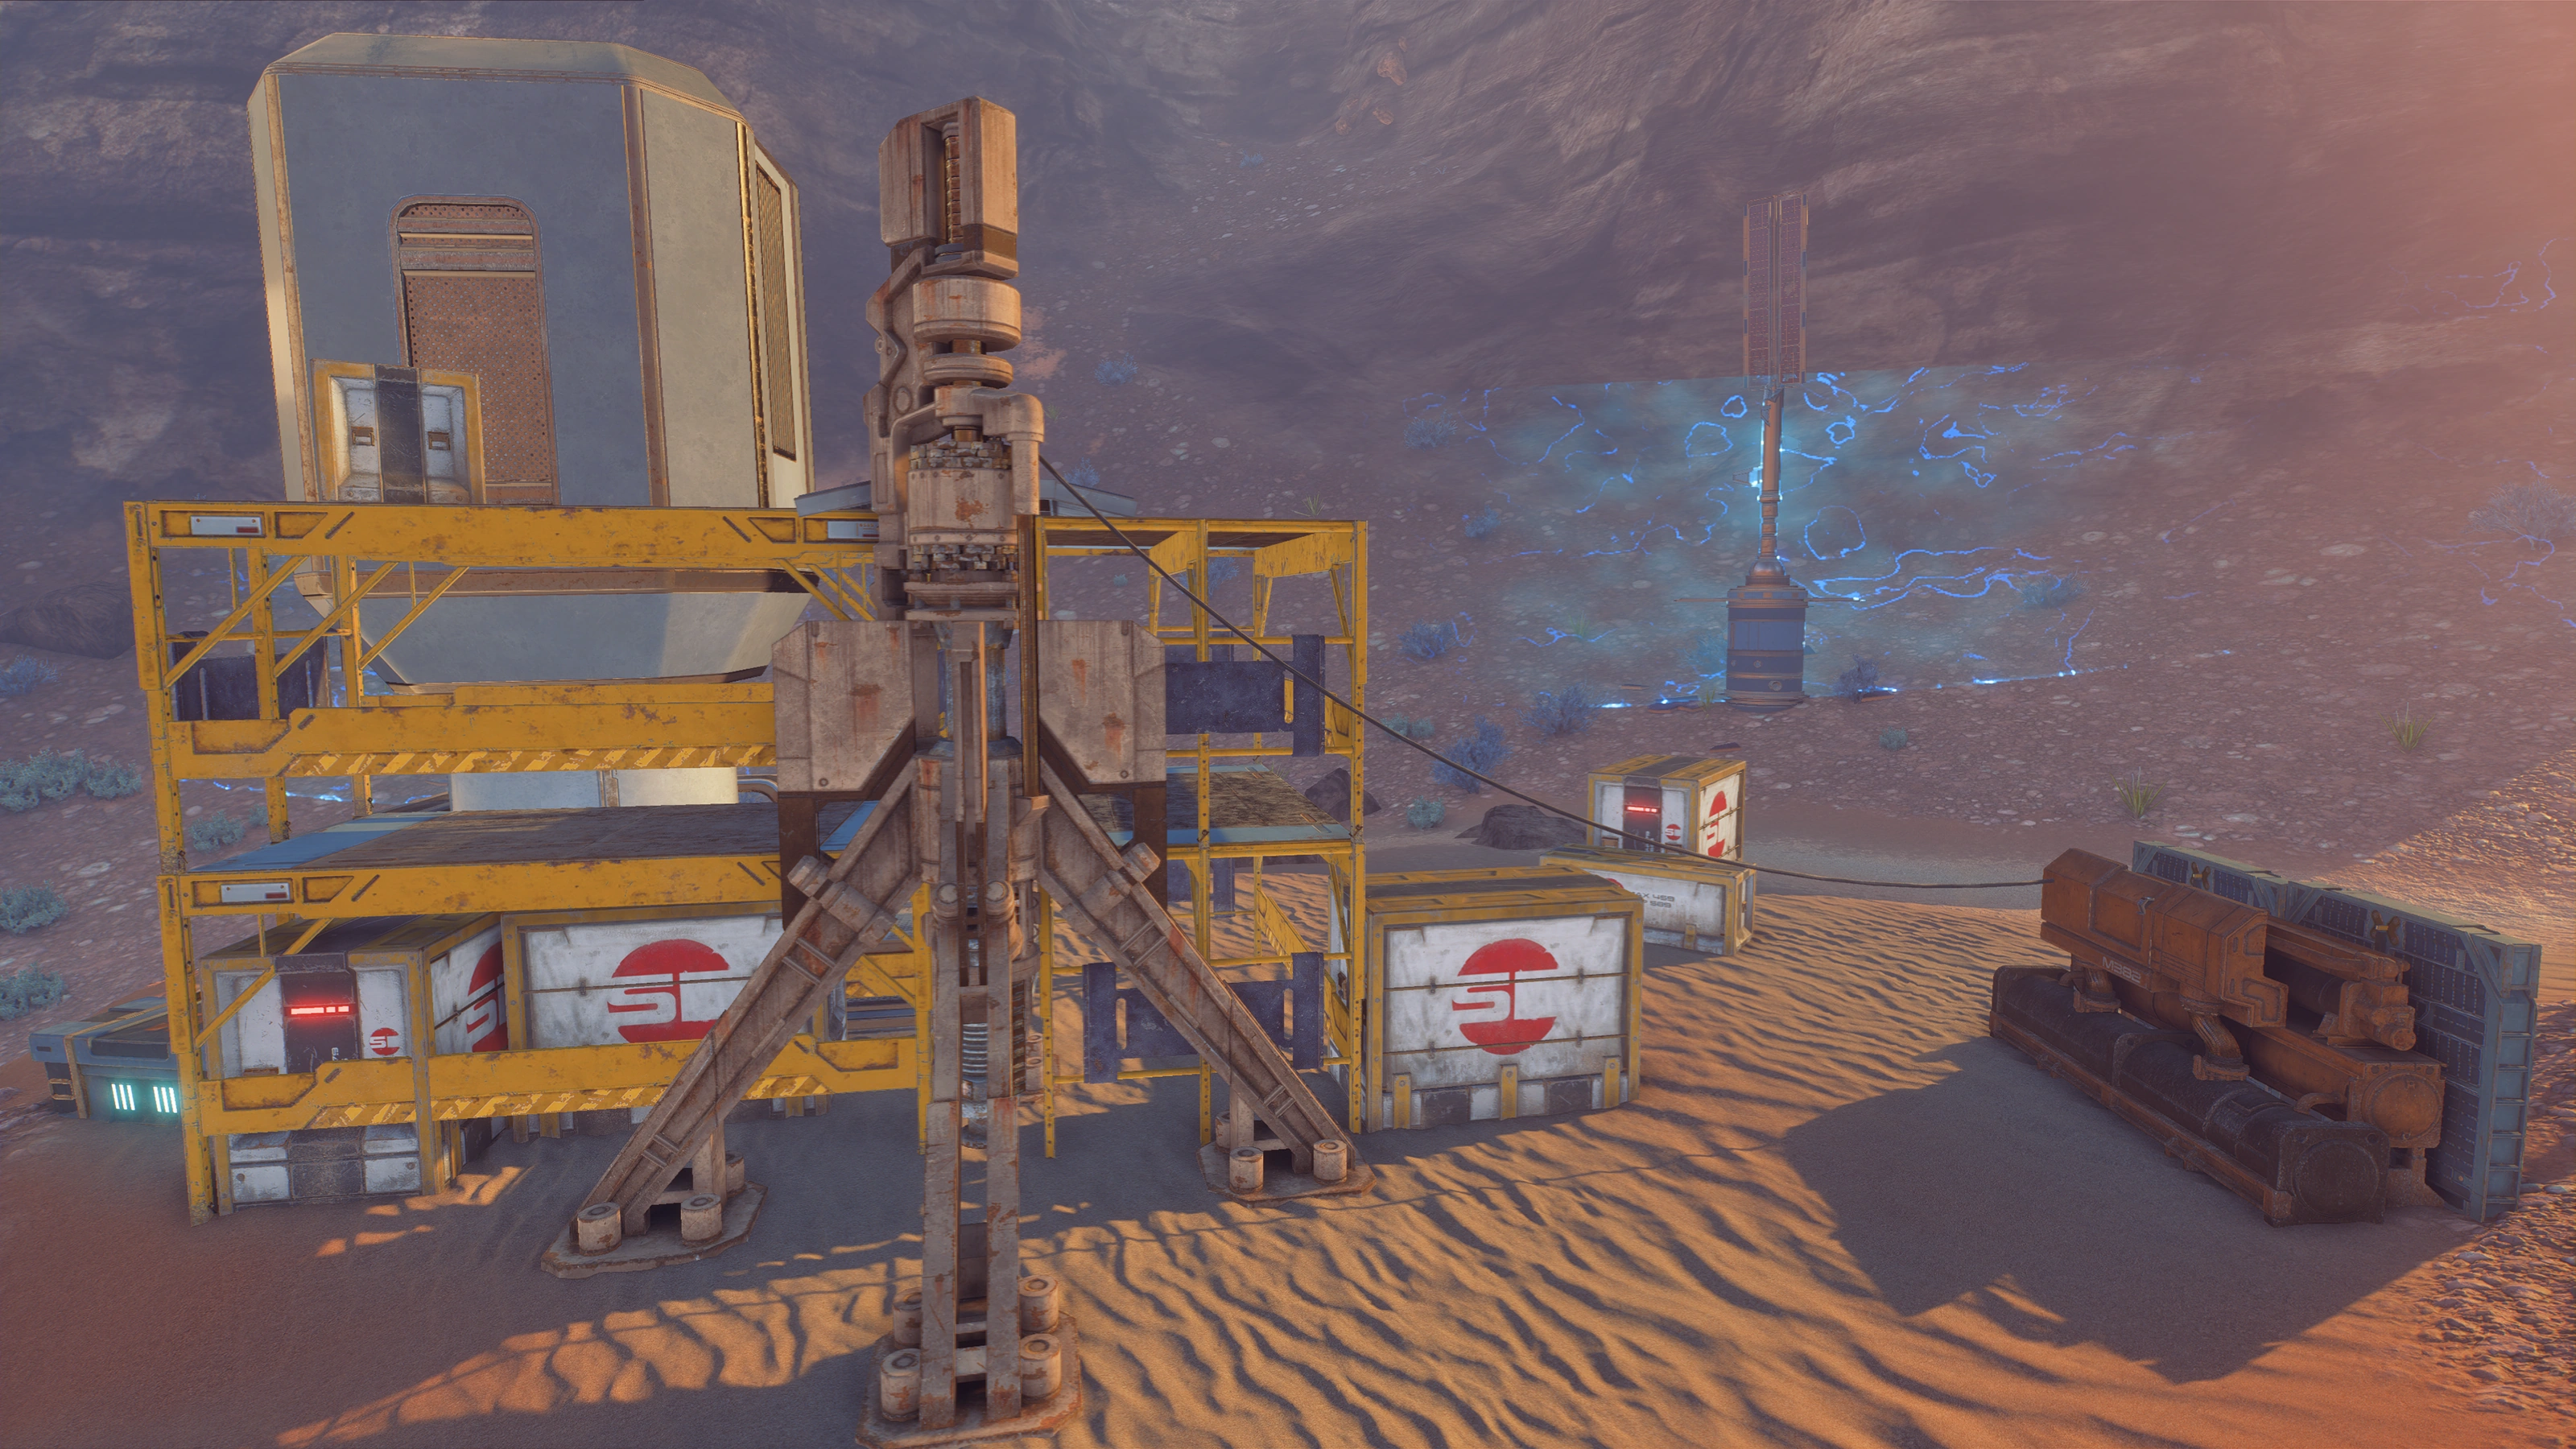
Attempting to activate the first power pylon will cause it to break down and temporarily cross out the previous objective. Scan the power pylon (+10![]() ) to determine another interface location.
) to determine another interface location.
Activate power pylons
Use the interface location information to activate the first power pylon. Repeat the scanning and activating process for the second power pylon. (+10![]() )
)
Defeat the kett
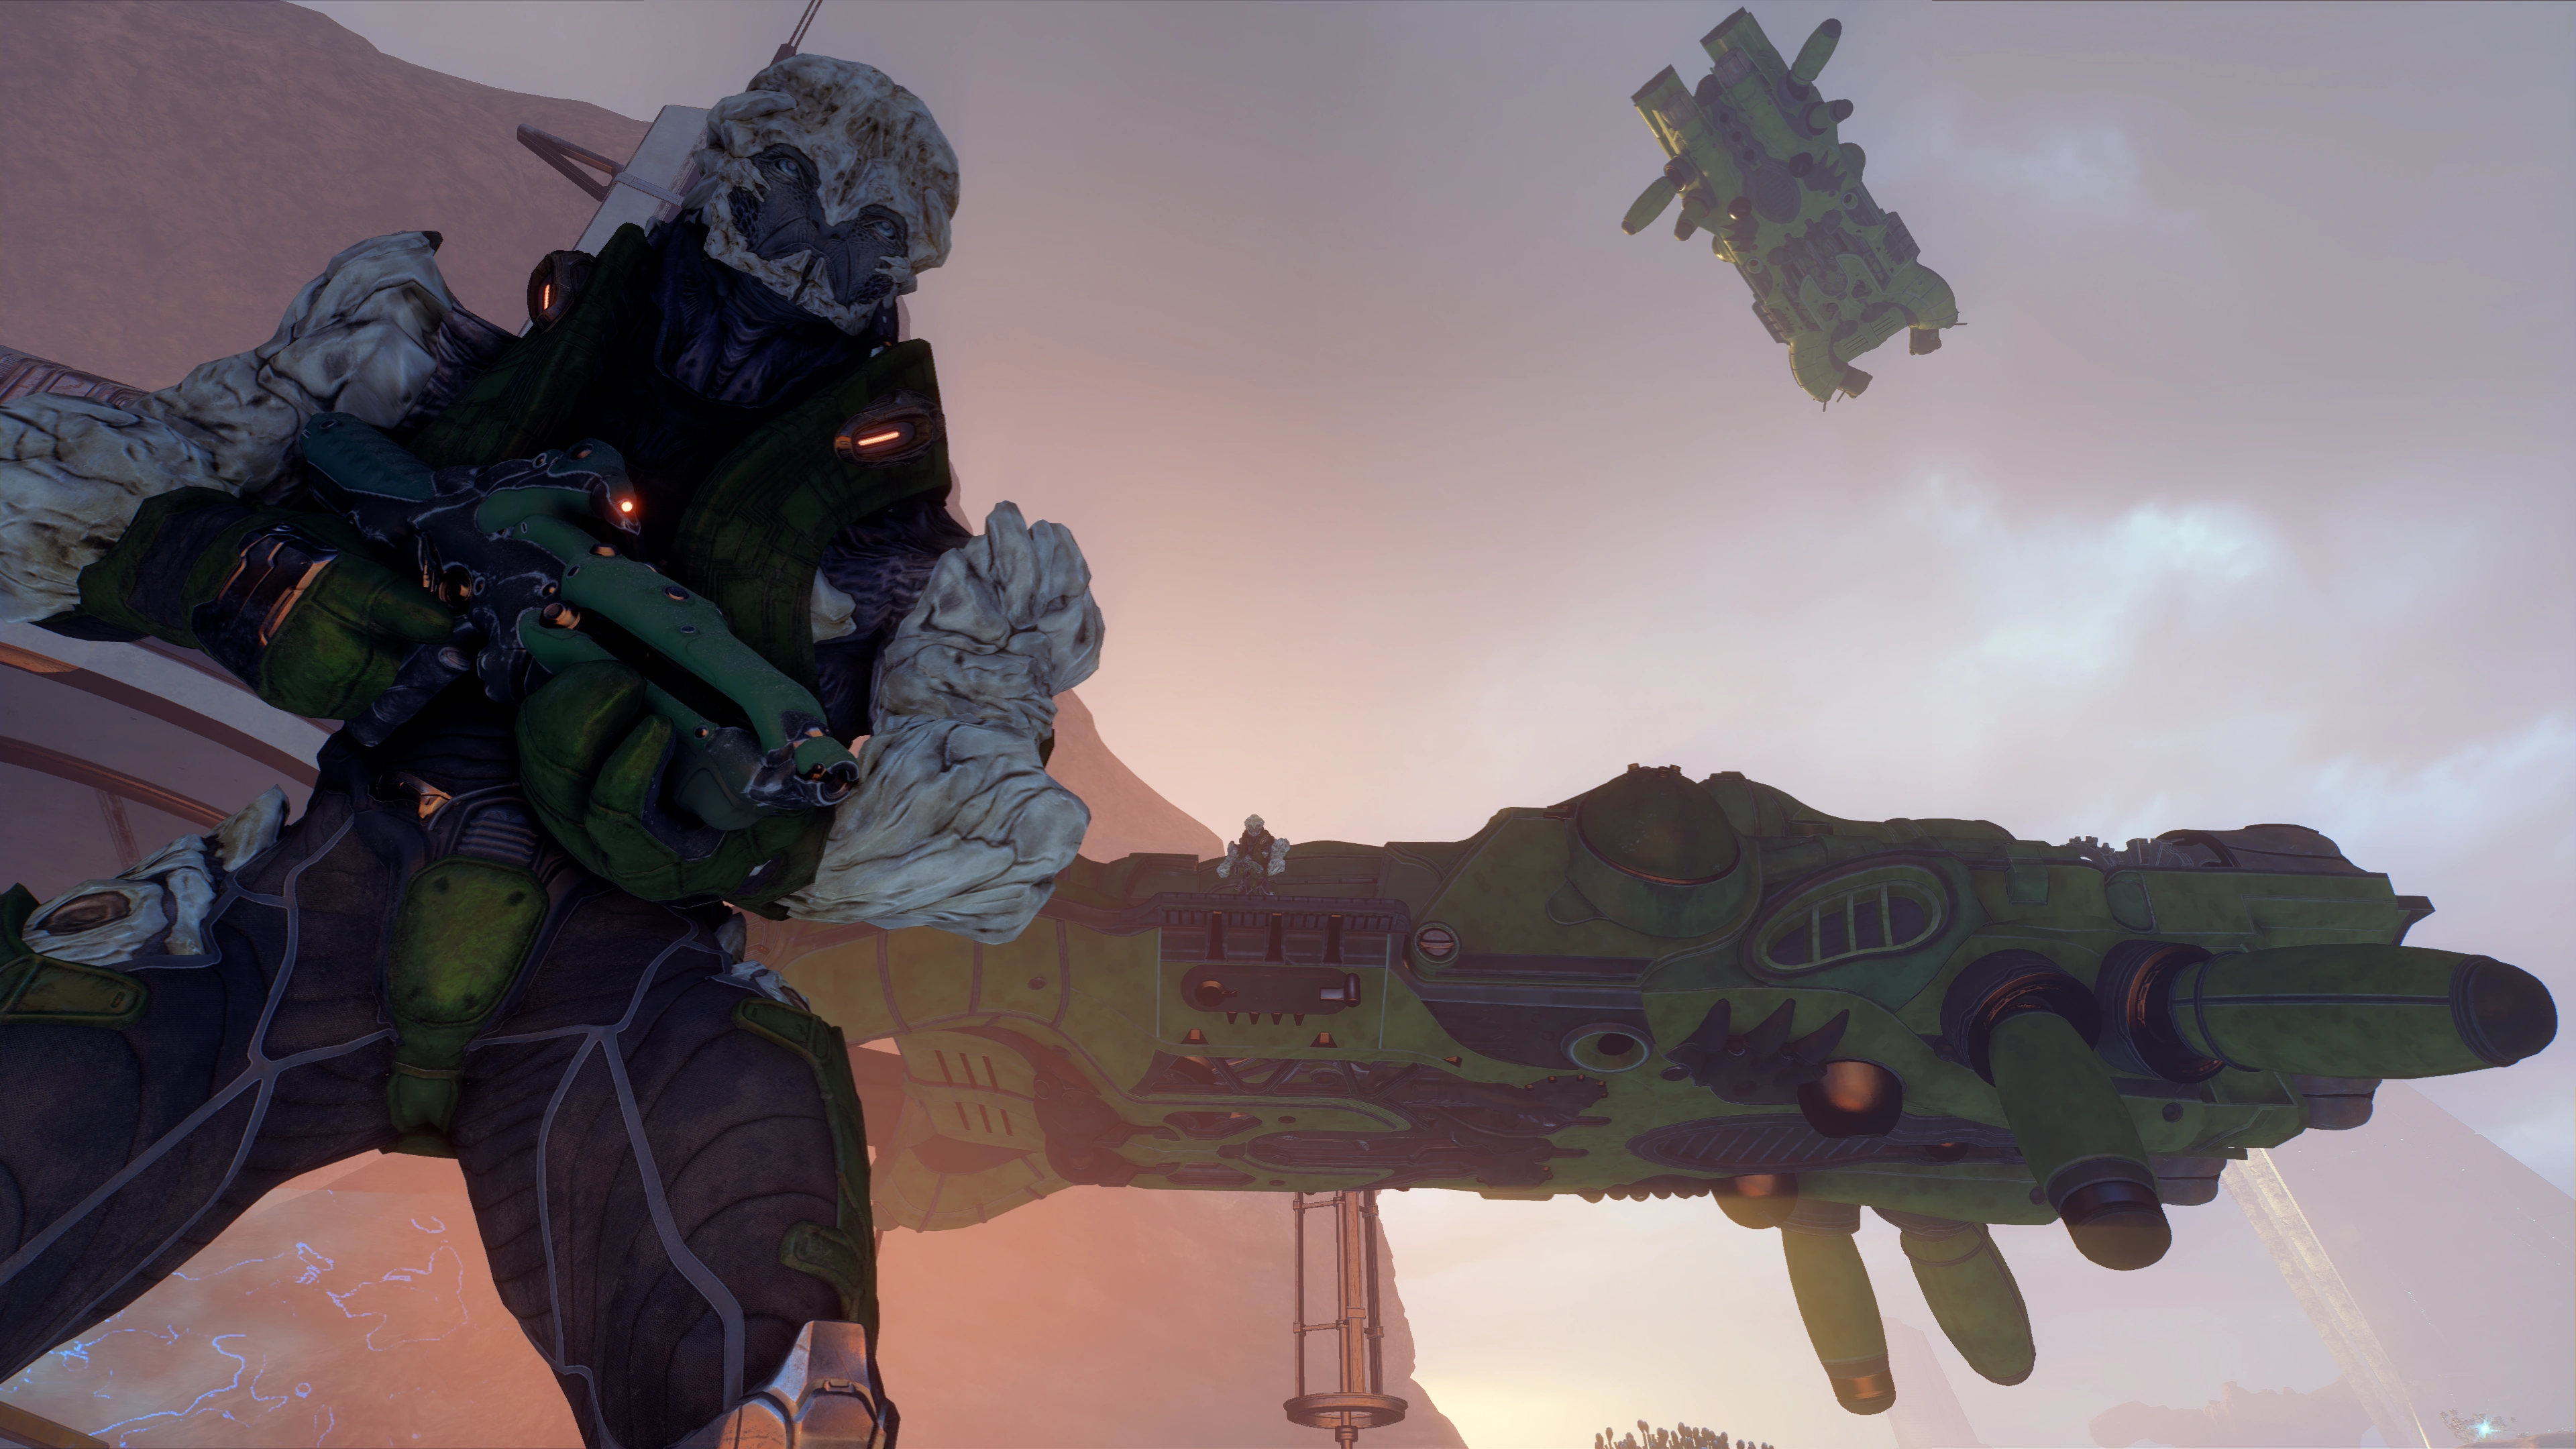
Upon repairing the second pylon, two dropships will deliver 2-3 kett Chosen each, deploying beside the Tempest's nose. Deal with them.
Reactivate the power relay station
Return to Clancy and speak to him to get information about where to find a vehicle. After Clancy leaves, use the console at the back of the room to reactivate the power relay station (+73 AVP![]() and +5% Eos viability).
and +5% Eos viability).
Note: When you return to Clancy he can buy/sell items if you immediately ask if he trades. He won't be able to do so if you advise him to get to a safe location, although later he can be found next to the shuttle behind Site 1's main building as a merchant.
The room also has two lootable containers.
Scan containers to find a vehicle
Once power is restored, Ryder will be able to access the surrounding buildings. You only need to scan the large cargo container northeast of the Tempest to complete this objective, but since we're already here might as well explore.
The now-unlocked building S2 next to the cargo container is a Research Center. Investigate the Research Center to begin Task: Research Center Development.
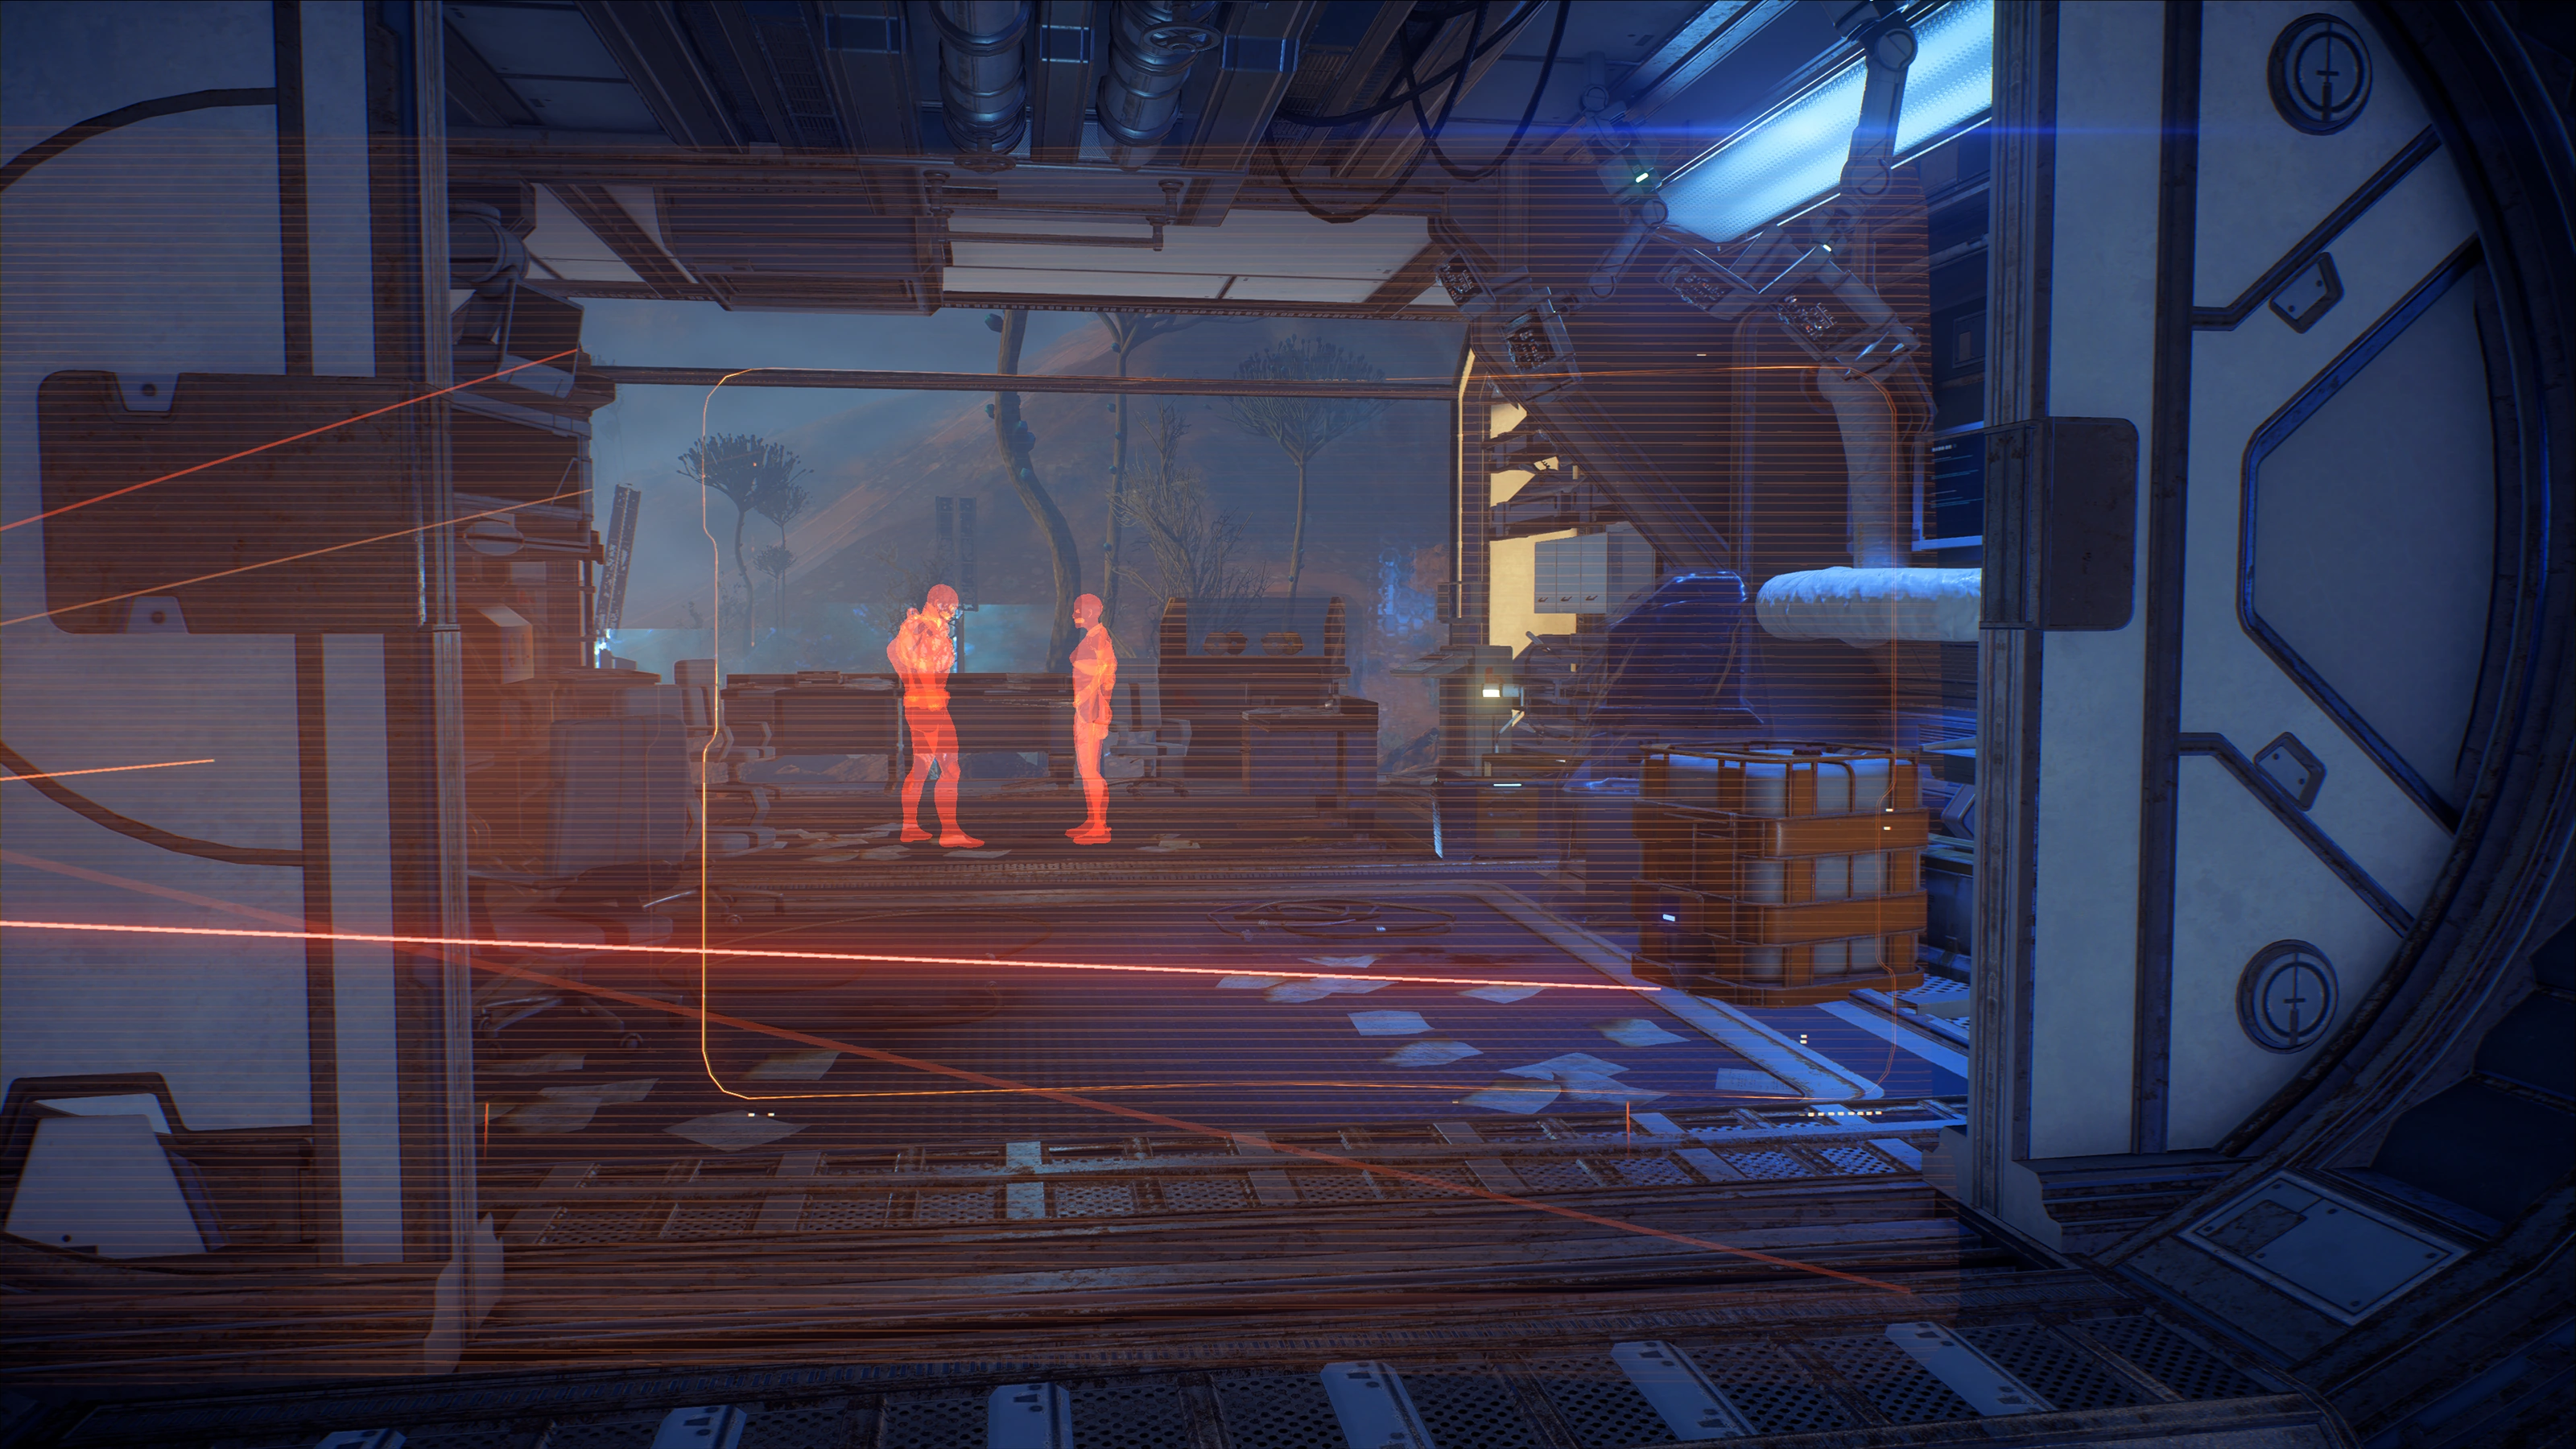
In some of the unlocked buildings, you can scan portions of recorded conversations from the former settler inhabitants. SAM is able to reconstruct the recorded conversations. In the small building marked T3 southeast from the Forward Station, there are two lootable containers as well as reconstructed images of Wilcox and Farthingale. In the big building also marked T3 south of the Tempest (first floor of power relay station) is a terminal, a container, a datapad that yields the mission The Secret Project, and reconstructed images of Wilcox and Farthingale. Scanning the reconstructed images awards +270 XP per conversation (+540 XP total).
Additionally, the formerly locked room in outpost central control has a container and a terminal containing Kay Farthingale's supply log.
Call down a forward station
Follow the objective marker to a large container with a small access panel. Scan the container to discover that it contains the ND1 Nomad, but must be opened with a code from a Forward Station. Approach the new objective marker and the Forward Station will automatically descend.
Note: The first forward station on Eos doesn't give the usual award of AVP and viability. This was awarded when Ryder first landed on the planet. Subsequent forward stations on Eos will give the correct rewards except for the Forward Station on the vault island.
Unlock the Nomad container
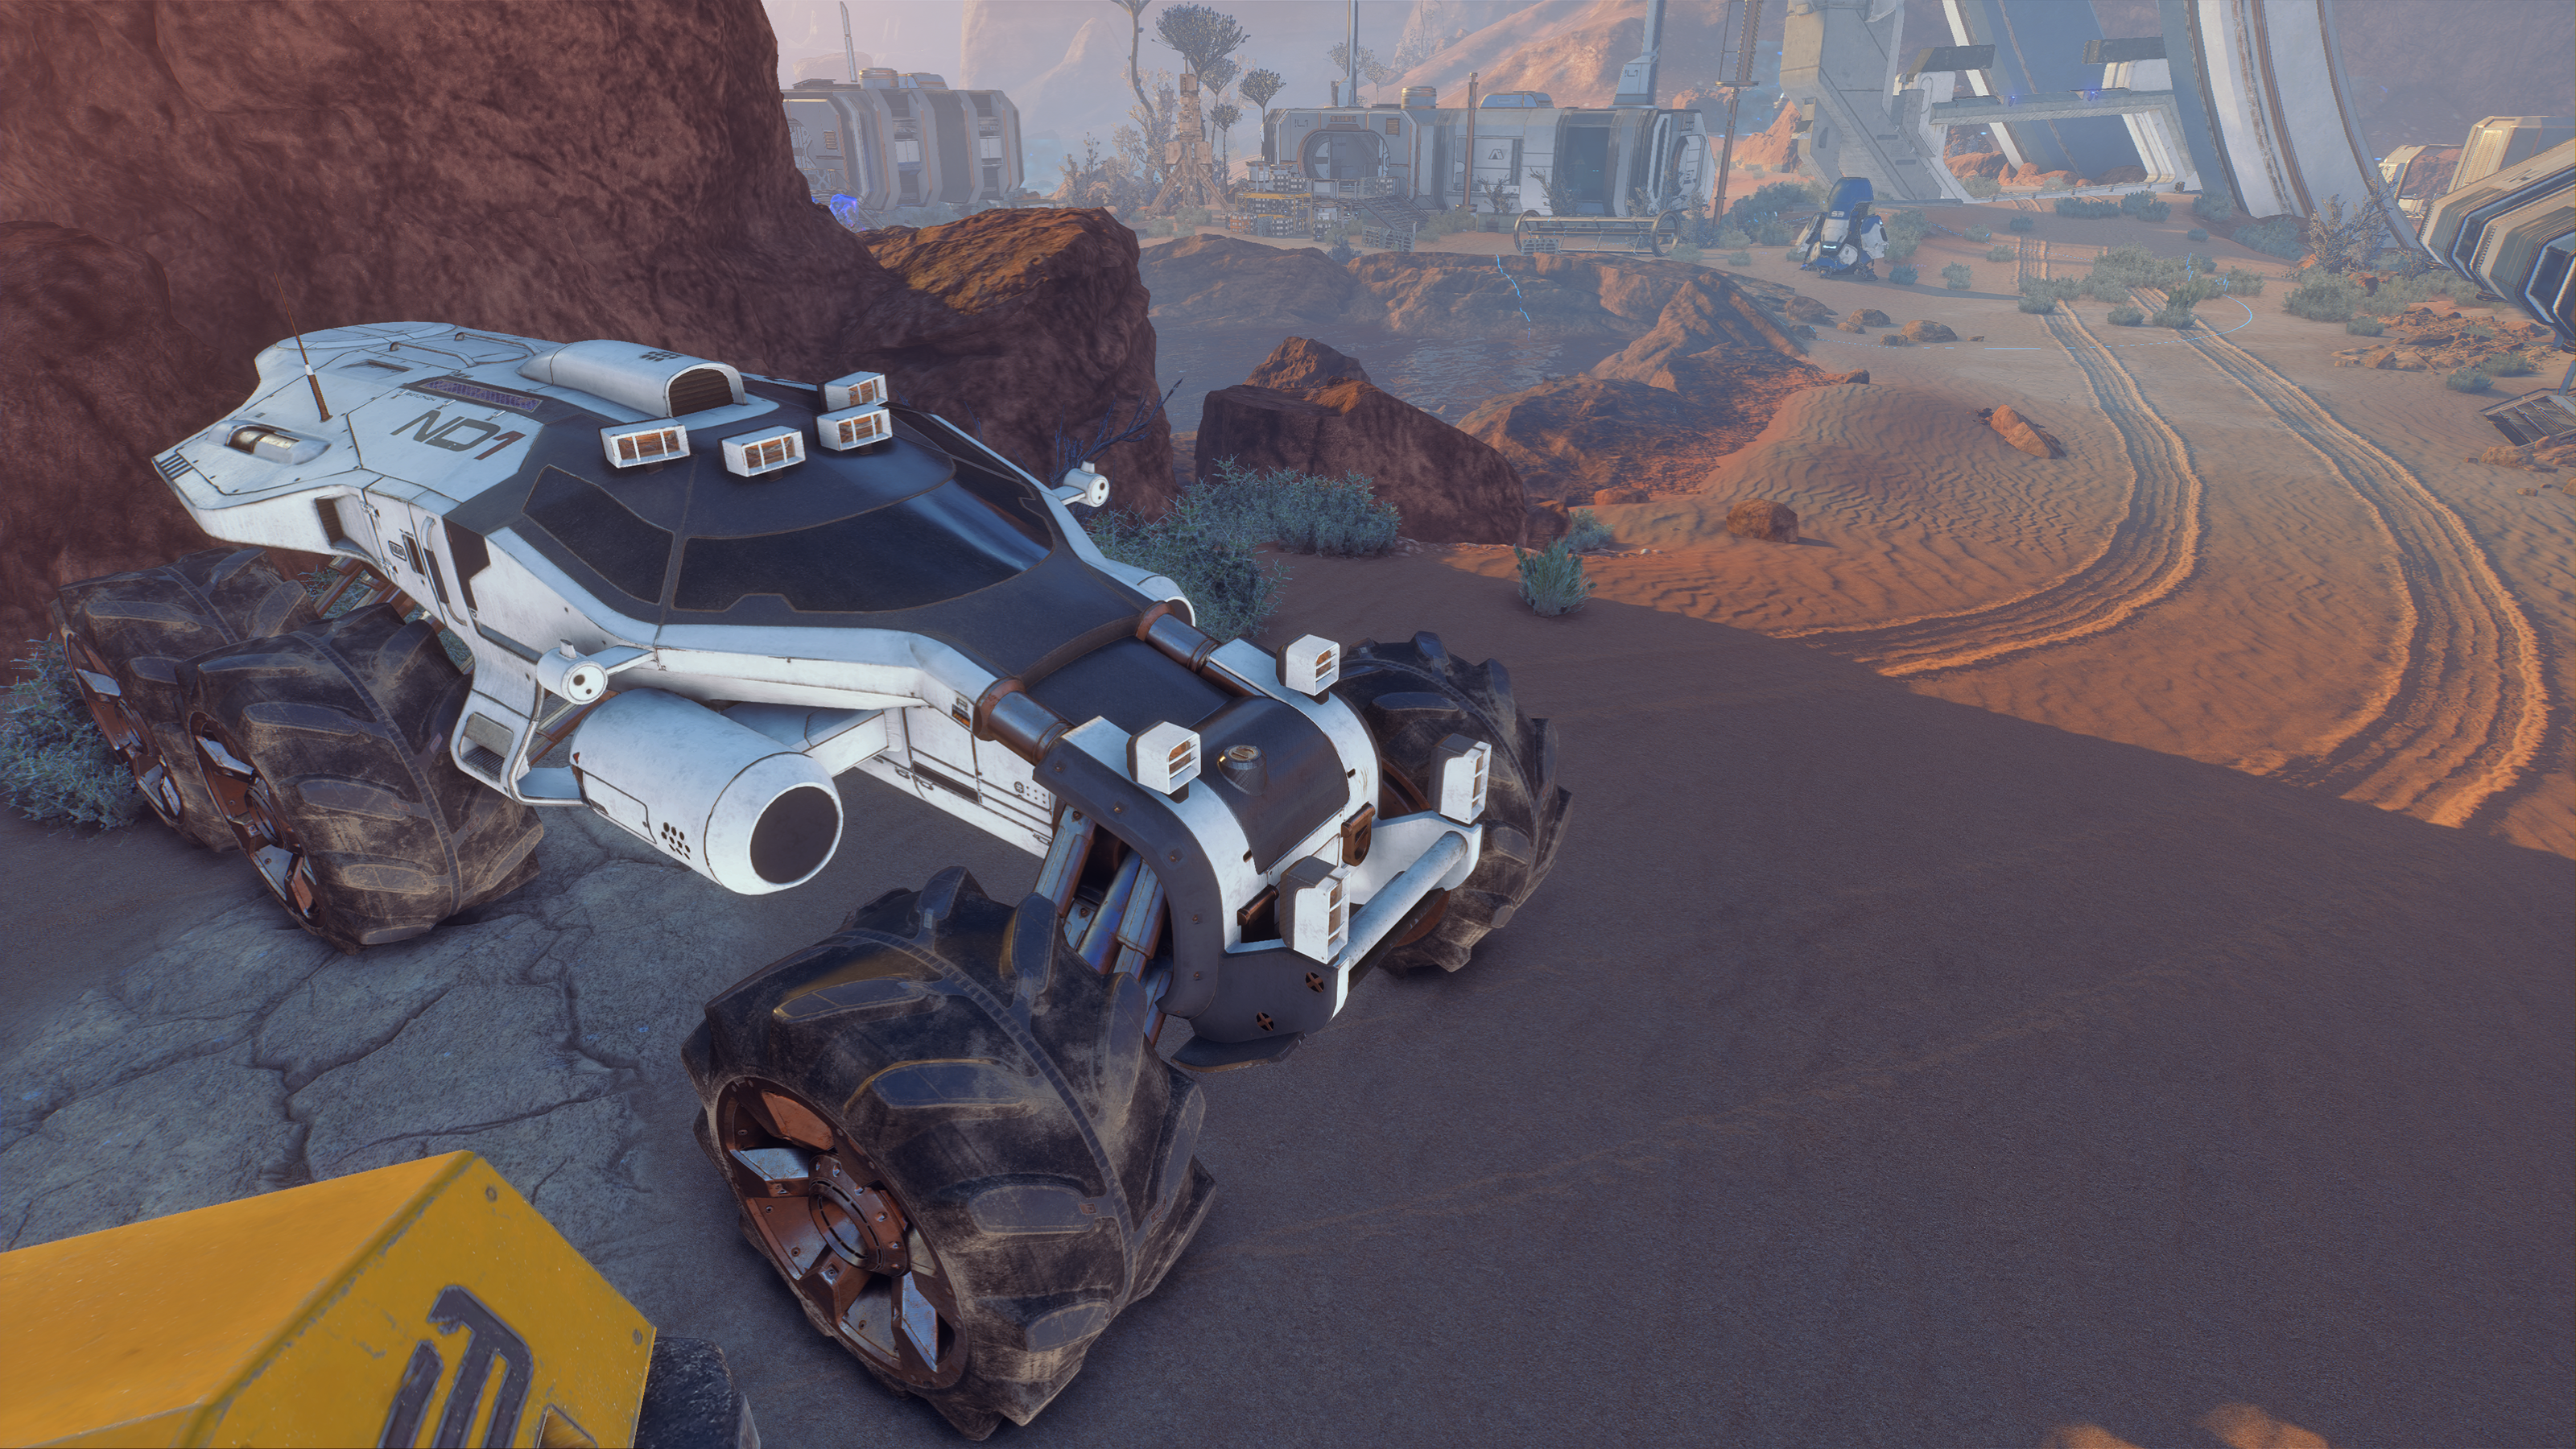
After SAM has automatically downloaded the access code, head back to the panel on the container to gain access to your new vehicle.
Get in the Nomad
Enter the Nomad to acquaint yourself with the controls of the vehicle.
Investigate strange signal
Follow the vehicle trail out of Site 1 toward the new objective marker west-southwest. You'll likely find some small hostile creatures while traveling to the objective, these can mostly be ignored and can be killed by driving over them with the Nomad. Just before entering the radiation shield on the north side of the road is a deposit of element zero.
Note: Enroute to the objective, You can pass a memory trigger which is part of the mission Ryder Family Secrets.
You will arrive at an unusual structure marked with a![]() . Once past the radiation shield, you can exit the Nomad and roam about on foot.
. Once past the radiation shield, you can exit the Nomad and roam about on foot.
Just left of the vehicle trail, there is a colonist corpse for Task: Naming the Dead. On the rocks nearby south, a platinum node (+10![]() ). Beyond the rocks, before the central platform are Initiative supplies with a small lootable container, plus health and ammo caches.
). Beyond the rocks, before the central platform are Initiative supplies with a small lootable container, plus health and ammo caches.
East from the central platform is a scourge tendril (+10![]() ). On a pile of rocks beyond the radiation shield northeast of the tendril is a fluorite node. West from the central platform, another Initiative shuttle (+10
). On a pile of rocks beyond the radiation shield northeast of the tendril is a fluorite node. West from the central platform, another Initiative shuttle (+10![]() ) implying someone else is around.
) implying someone else is around.
Lastly, before accessing the central console ("Alien Device") marked in the objective the scattering of Remnant coolant tanks around can also be scanned (+10![]() ).
).
Search for a glyph to scan
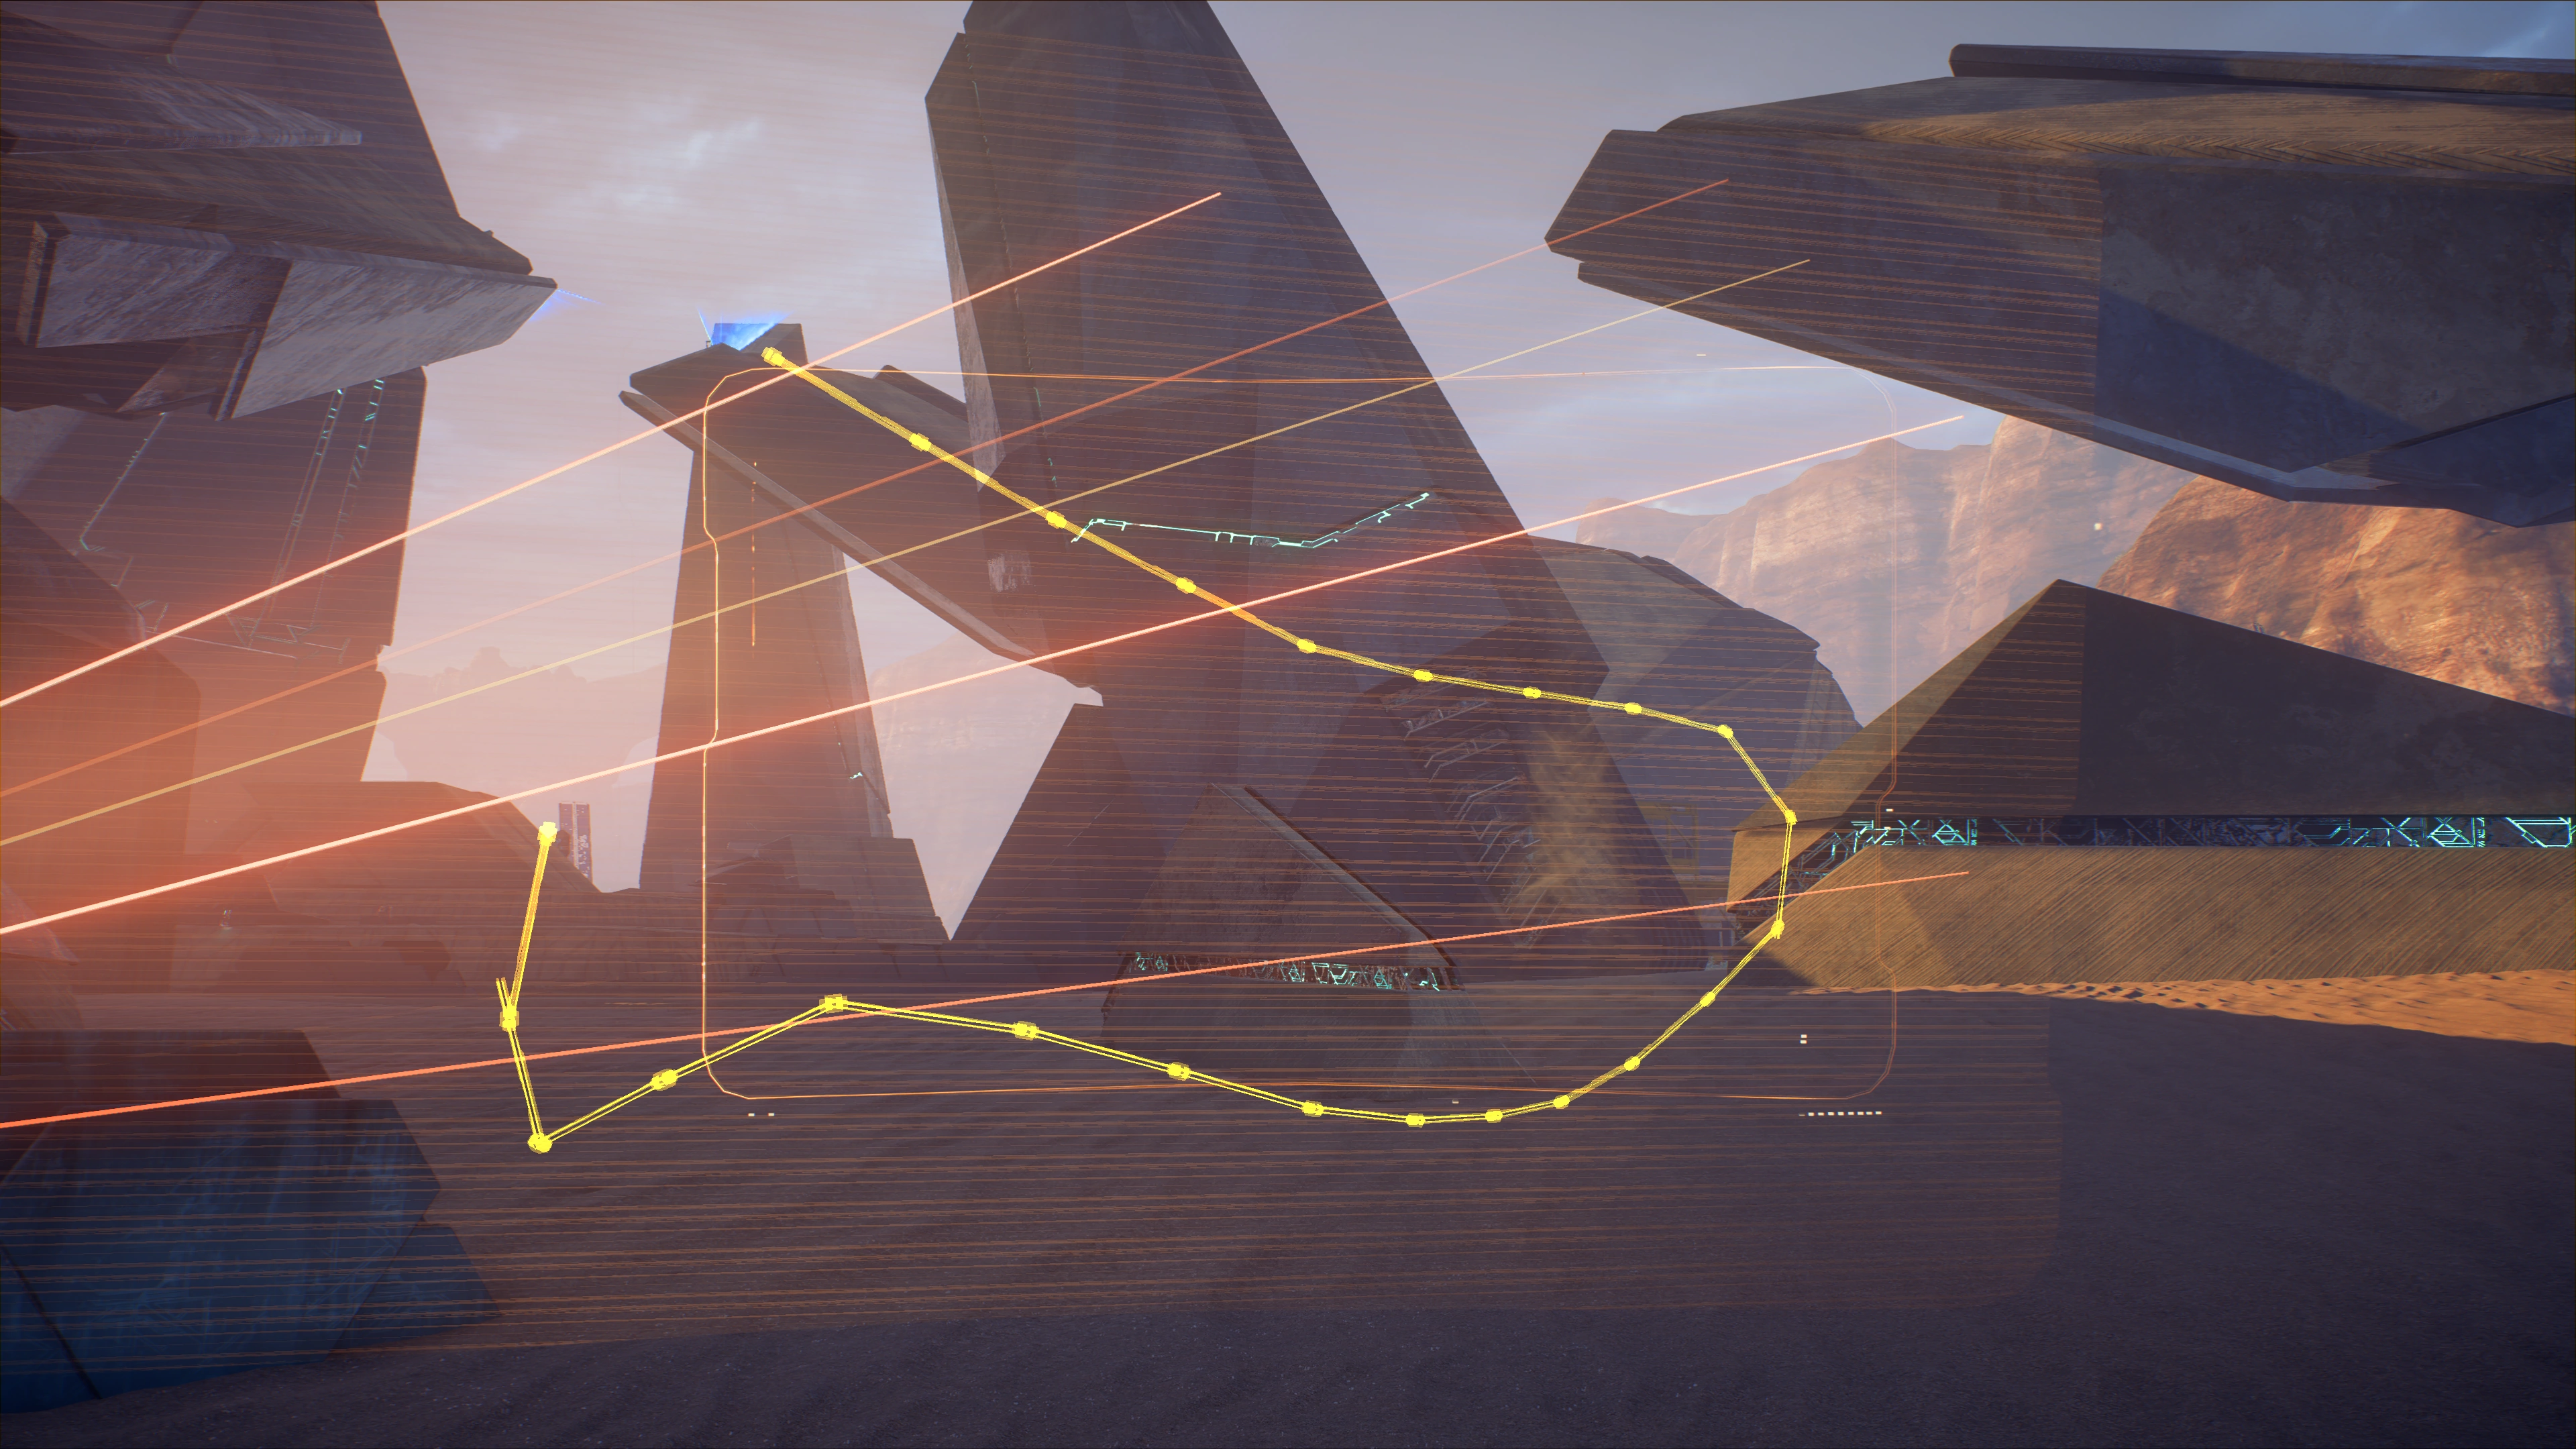
Attempting to interface with the console will introduce a key mechanic: you can use the scanner to follow hidden cables radiating from the console. In this case, there is only one cable, so follow the cable with the scanner. Alternatively, the objective marker![]() clearly shows where you should be going anyway; it's just a matter of navigation.
clearly shows where you should be going anyway; it's just a matter of navigation.
Climb up the structure with the cable, then use Ryder's scanner to read a Remnant Glyph at the top. There are two Initiative monitors on top of the structure as well; scanning them will give +10![]() each.
each.
Use the strange console
Once the glyph is scanned, you can return to the central console and interface with it to trigger a cutscene, where an asari comes out of nowhere and tackles Ryder to the ground, advising against rash actions. You can push her off or hear her out, either way before the proper introductions you'll have to fight some enemies.
Defeat the hostile bots
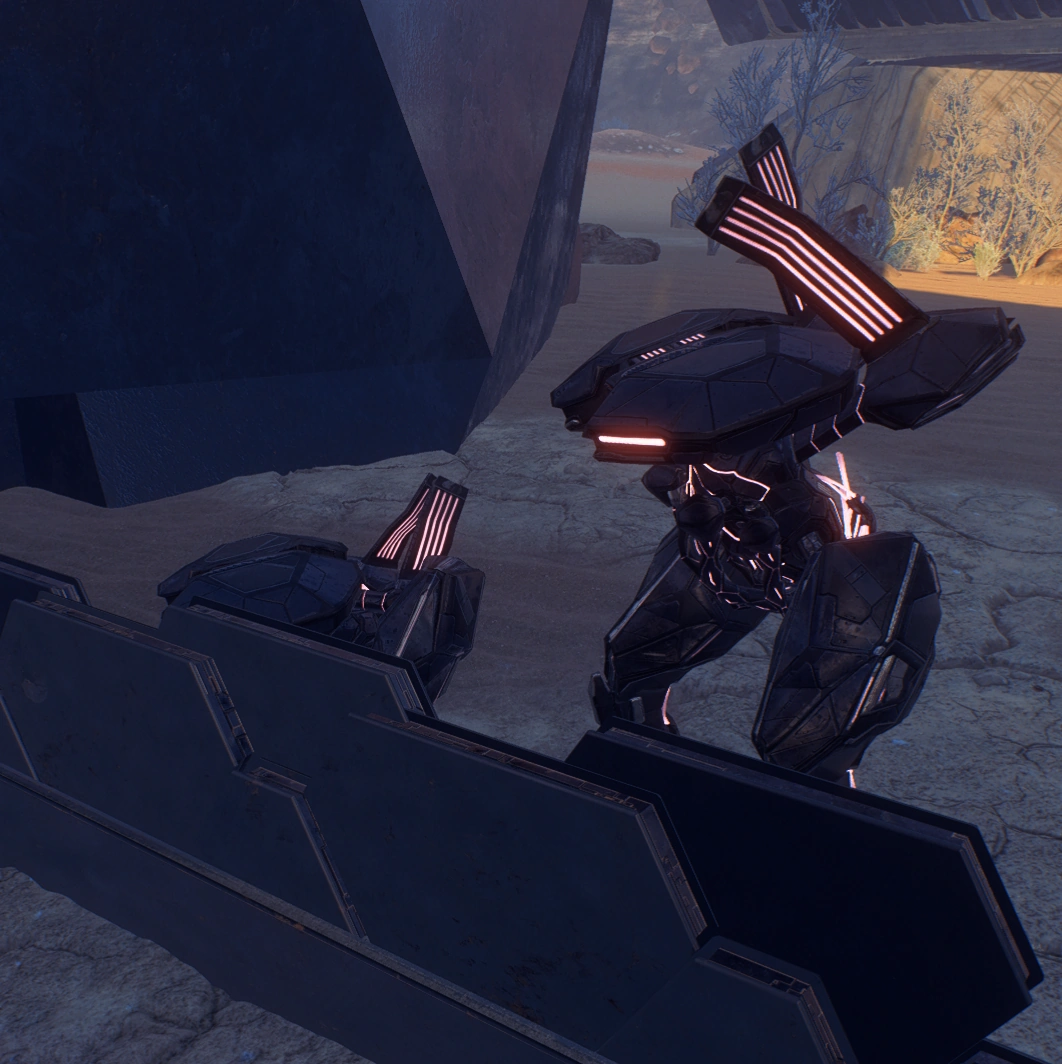
After the cutscene, the group is attacked by a group of Assemblers and an Observer. Deal with them.
After destroying the bots, the cutscene resumes where Ryder and the newcomer swap information about the Remnant. You now learn her name is Peebee, and she gives you her navpoints while she studies how you interfaced with the monolith.
After the cutscene, Peebee stays put there until you progress further into the mission. Until then, you can talk to her again for more information on herself and what she's doing on Eos. If you haven't scanned them yet, Observers yield +50![]() on first scan.
on first scan.
Activate Remnant monoliths
Next, you must travel in the Nomad to the two other monoliths - The southwestern and southern monoliths. Note: The monolith visiting order is up to you, though this walkthrough has to start from somewhere: southwestern monolith first.
Southwestern monolith
Note: The road from the first monolith (northern) to the southwestern monolith will pass a forward station drop point. Stop for a moment to allow the forward station to drop before continuing. (+2 AVP![]() and +2% Eos viability)
and +2% Eos viability)
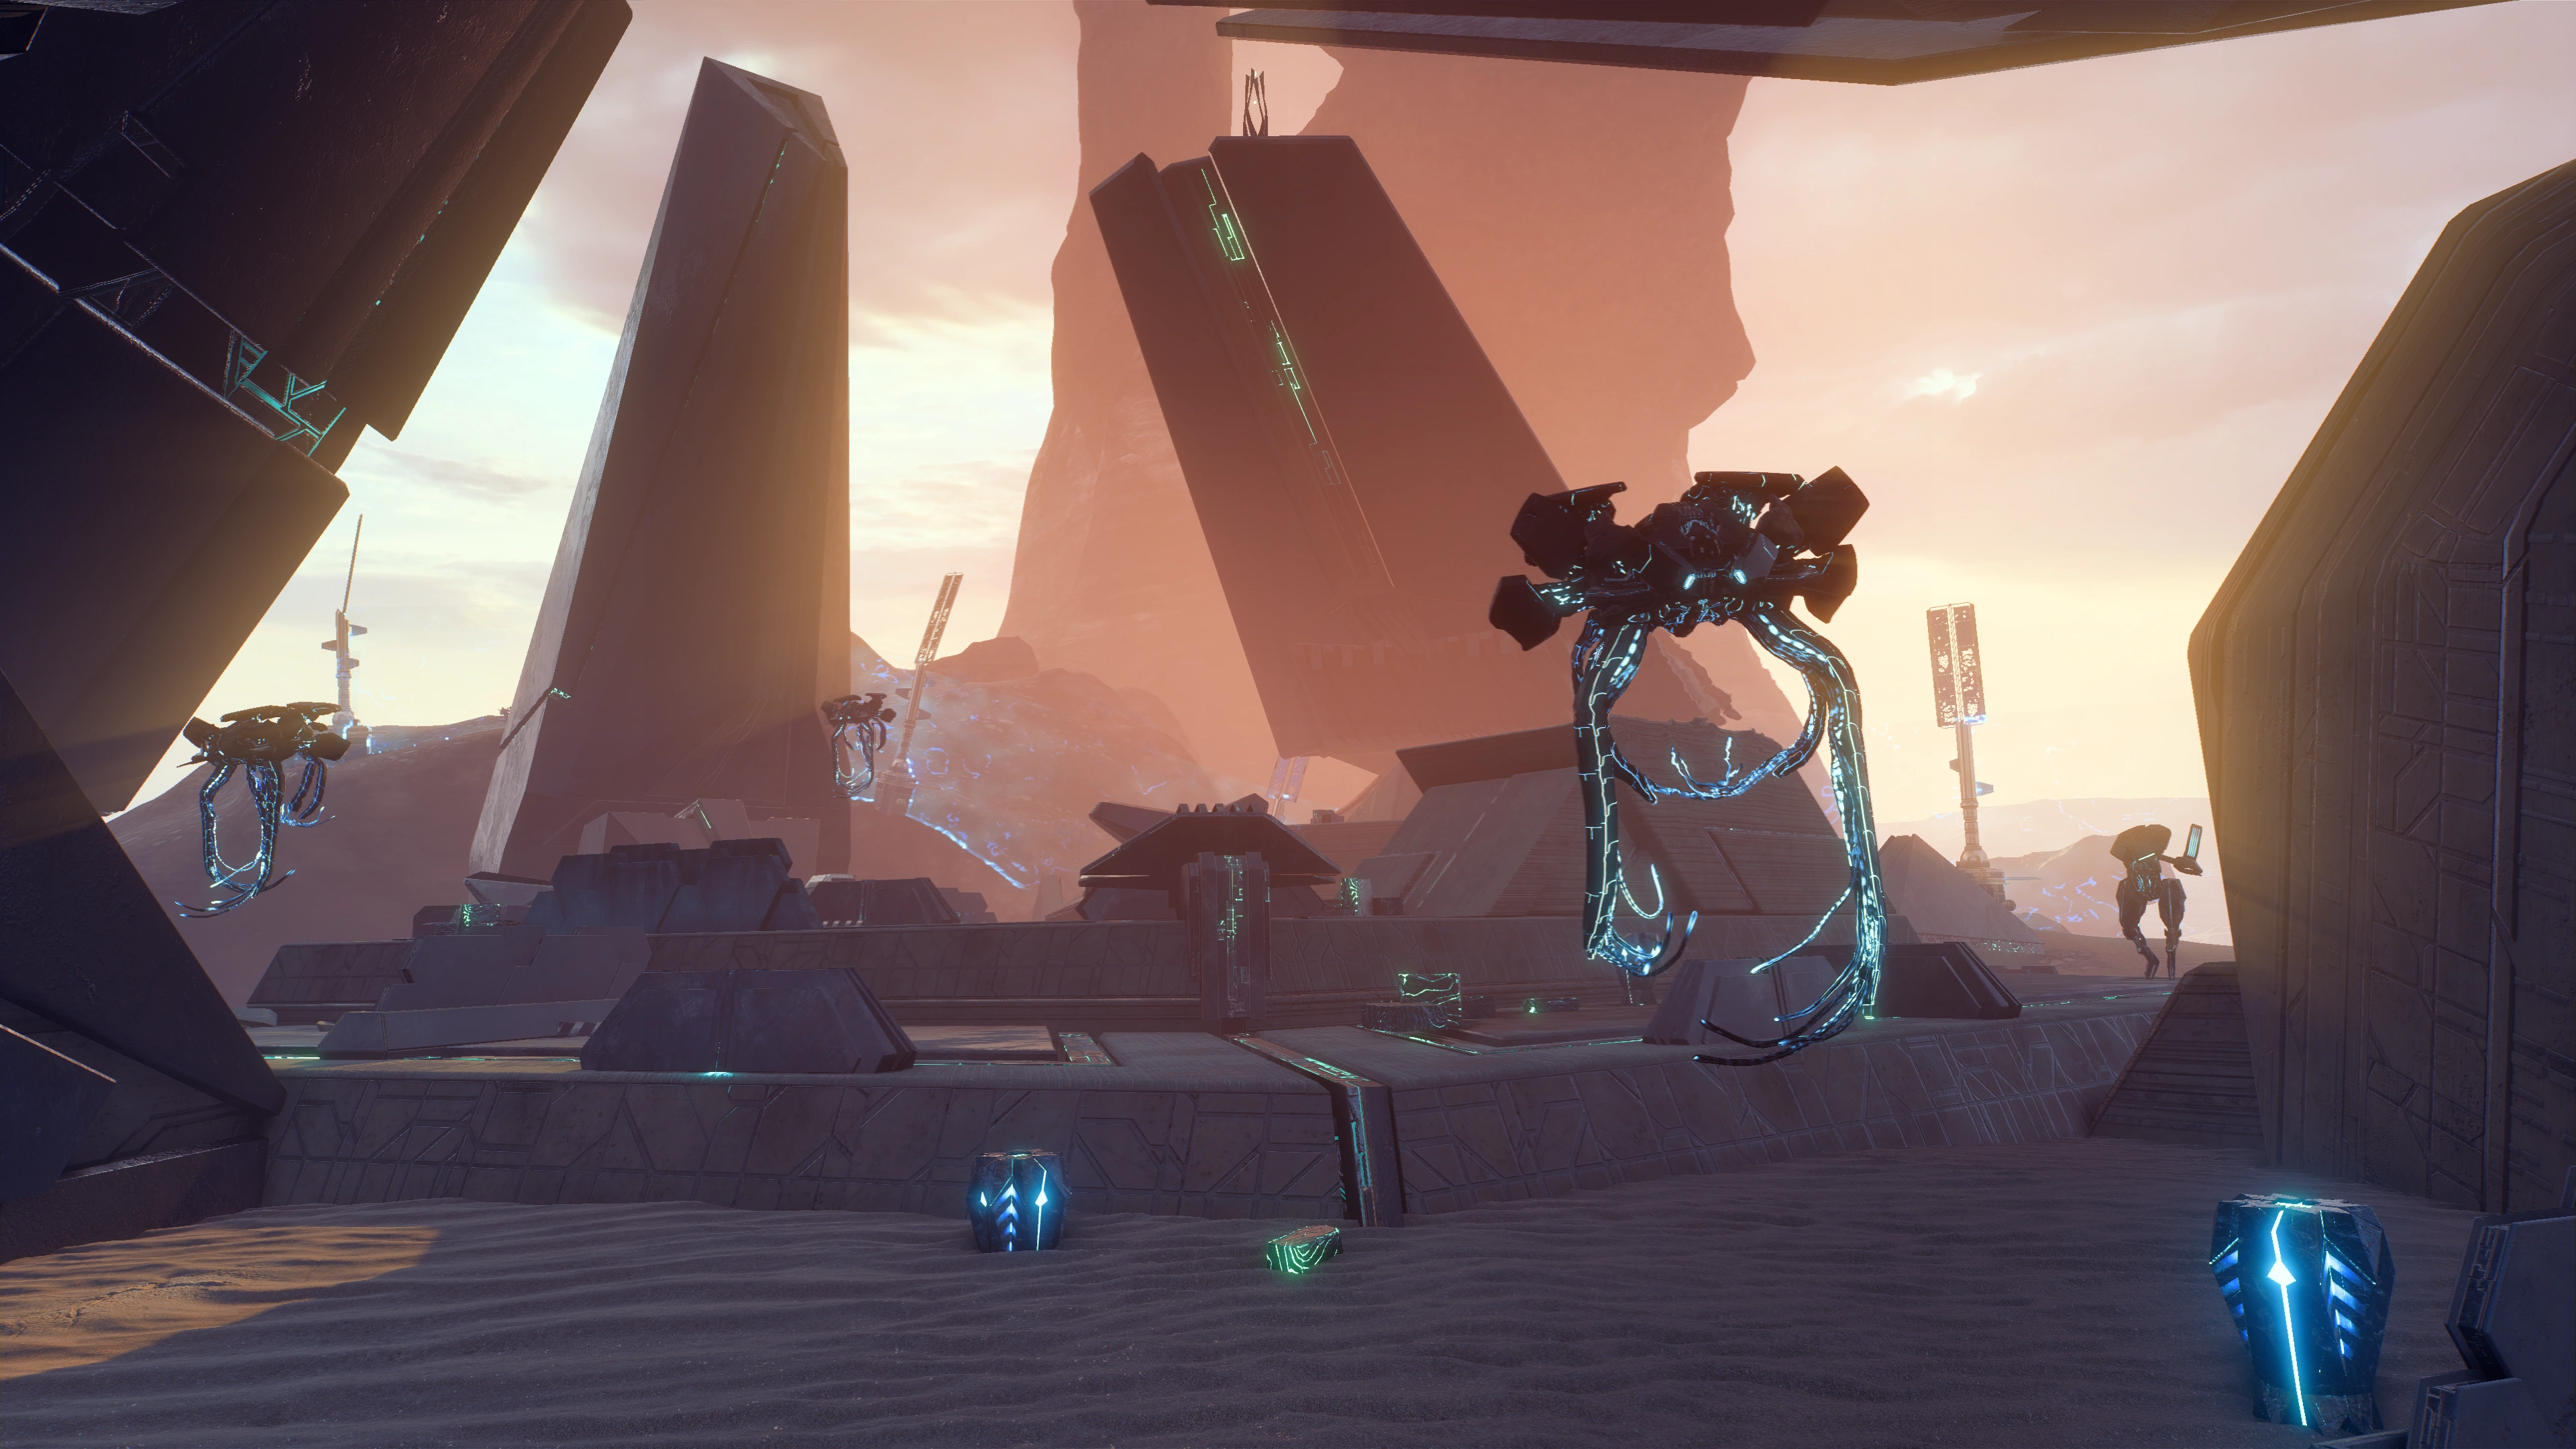
The Southwestern Monolith![]() seems to have docile Remnant bots at first, though that's soon proven wrong on approach. You'll soon have about 4 Observers and 2 Assemblers to clear out.
seems to have docile Remnant bots at first, though that's soon proven wrong on approach. You'll soon have about 4 Observers and 2 Assemblers to clear out.
The battlefield has two ammo and health caches around, plus several coolant containers, dischargeable supercapacitors and explosive materials (+10![]() each on first scan and deals damage to nearby enemies when destroyed). The two outer consoles in the central platform provide a quick tutorial on interfacing: they raise or lower nearby objects depending on configuration. These two control blast shields, though by the time you access them you'll likely have dealt with the bots already.
each on first scan and deals damage to nearby enemies when destroyed). The two outer consoles in the central platform provide a quick tutorial on interfacing: they raise or lower nearby objects depending on configuration. These two control blast shields, though by the time you access them you'll likely have dealt with the bots already.
Other objects in the vicinity is a datapad with an audio log of the last doomed colonist there, plus another corpse for Task: Naming the Dead.
The objective marker points at the central console, though you also have to scan for two glyphs highlighted in the mission tracker. If you try to access the central console without scanning for the glyphs, a puzzle appears though it isn't solvable for the moment because it requires those glyphs.
Use the scanner to reveal two cables snaking out of the central console. Each cable will pass by another Remnant console. Interface with the console to raise several pillars and provide a method of reaching the glyph at the end of the cable. Near one of the glyphs at the top an unknown resonant device can also be scanned for +10![]() . The pillars are also scannable, though they don't yield any points.
. The pillars are also scannable, though they don't yield any points.
Once both glyphs are scanned (Accretion Glyph and Nihility Glyph), return to the central console and interface with it. This time, additional encryption will require you to solve a Sudoku-like puzzle in order to activate the monolith. For the puzzle solution, see here. If you found a Remnant Decryption Key, this special item may be used to bypass the puzzle. (+270 XP for completing the puzzle.)
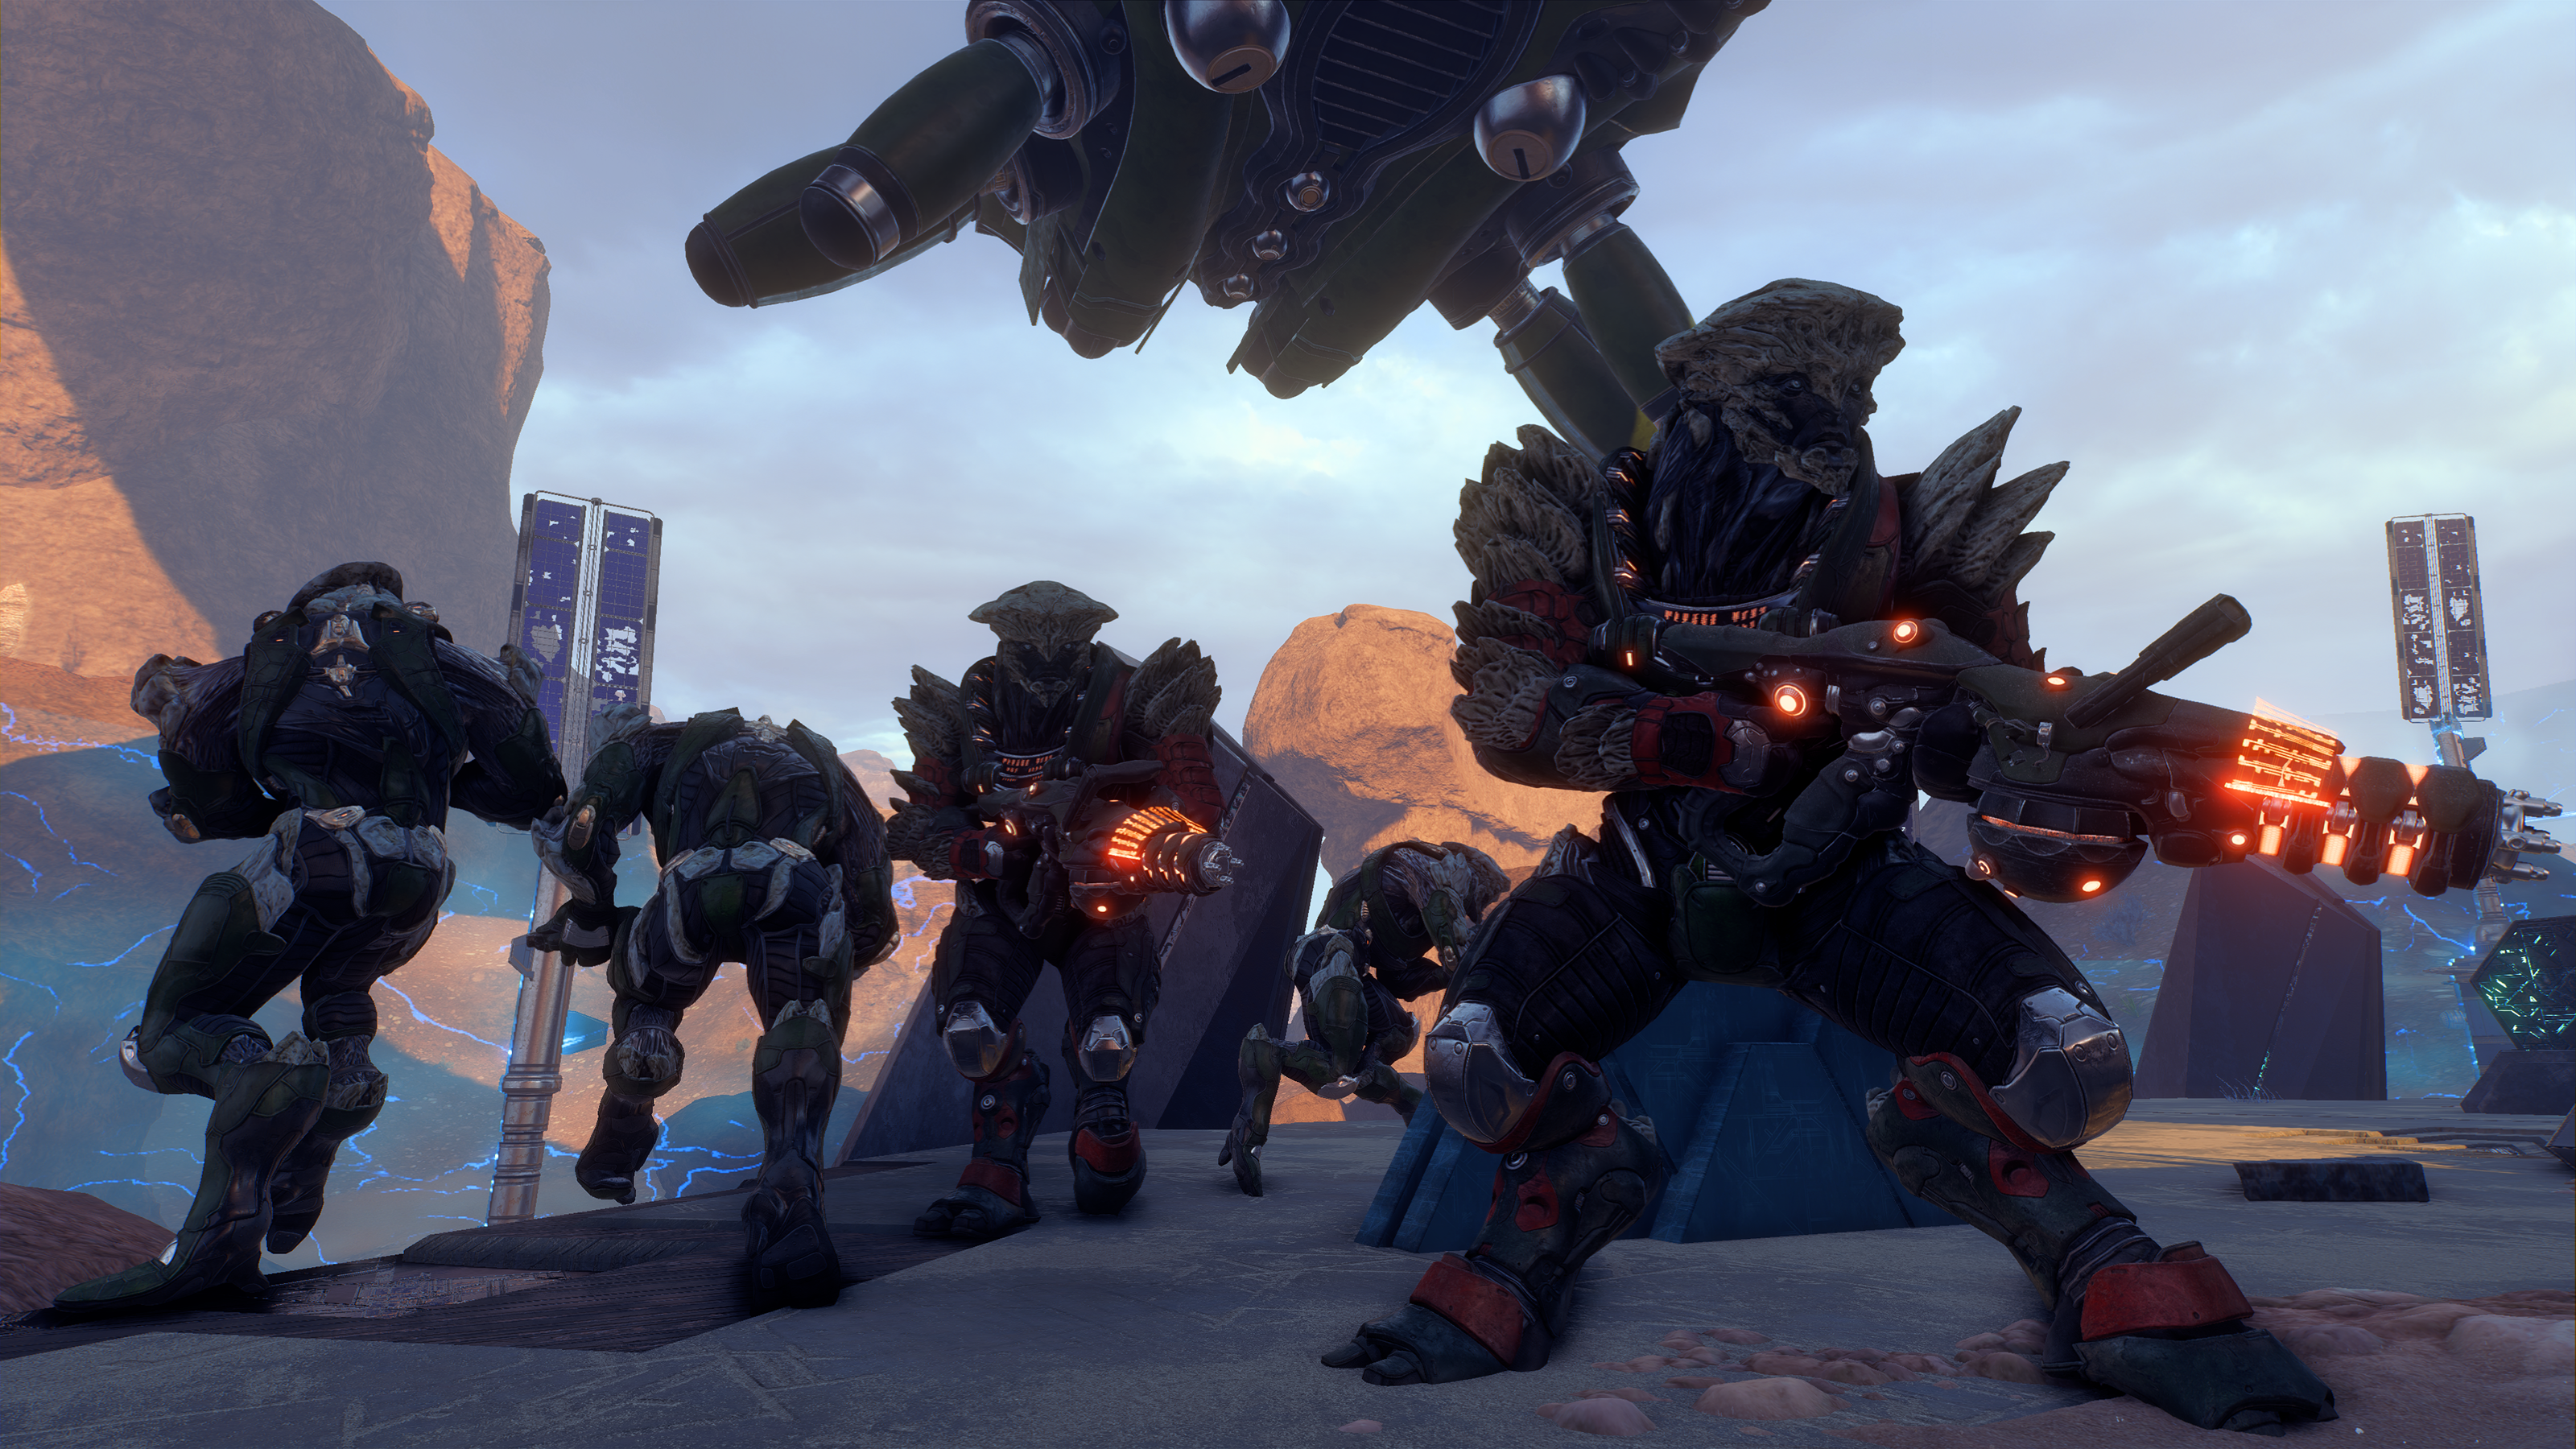
As soon as Ryder activates the monolith, a squad composed of kett Anointed and Chosen will enter the scene from a dropship. Turns out those blast shield consoles may be good for something after all. Fight them off, then scan an Anointed corpse for +50![]() if this is your first time encountering the unit.
if this is your first time encountering the unit.
Drive out to the southern monolith![]() when you're done with the place.
when you're done with the place.
Southern monolith
As you may have noticed by now, the vehicle trail from Site 1 leads to the location of all monoliths. On approach to the southern monolith, it becomes apparent the kett have erected a compound around the structure. Peebee complains the kett squatted over her best research site, and warns the team they won't let it go without a fight.
This sub-objective is marked Kett Research Center and has two further sub-subobjectives: Clear the kett, and when that's done Find and disable the generator powering the shields to access the monolith. All three do not appear in the journal upon completion.
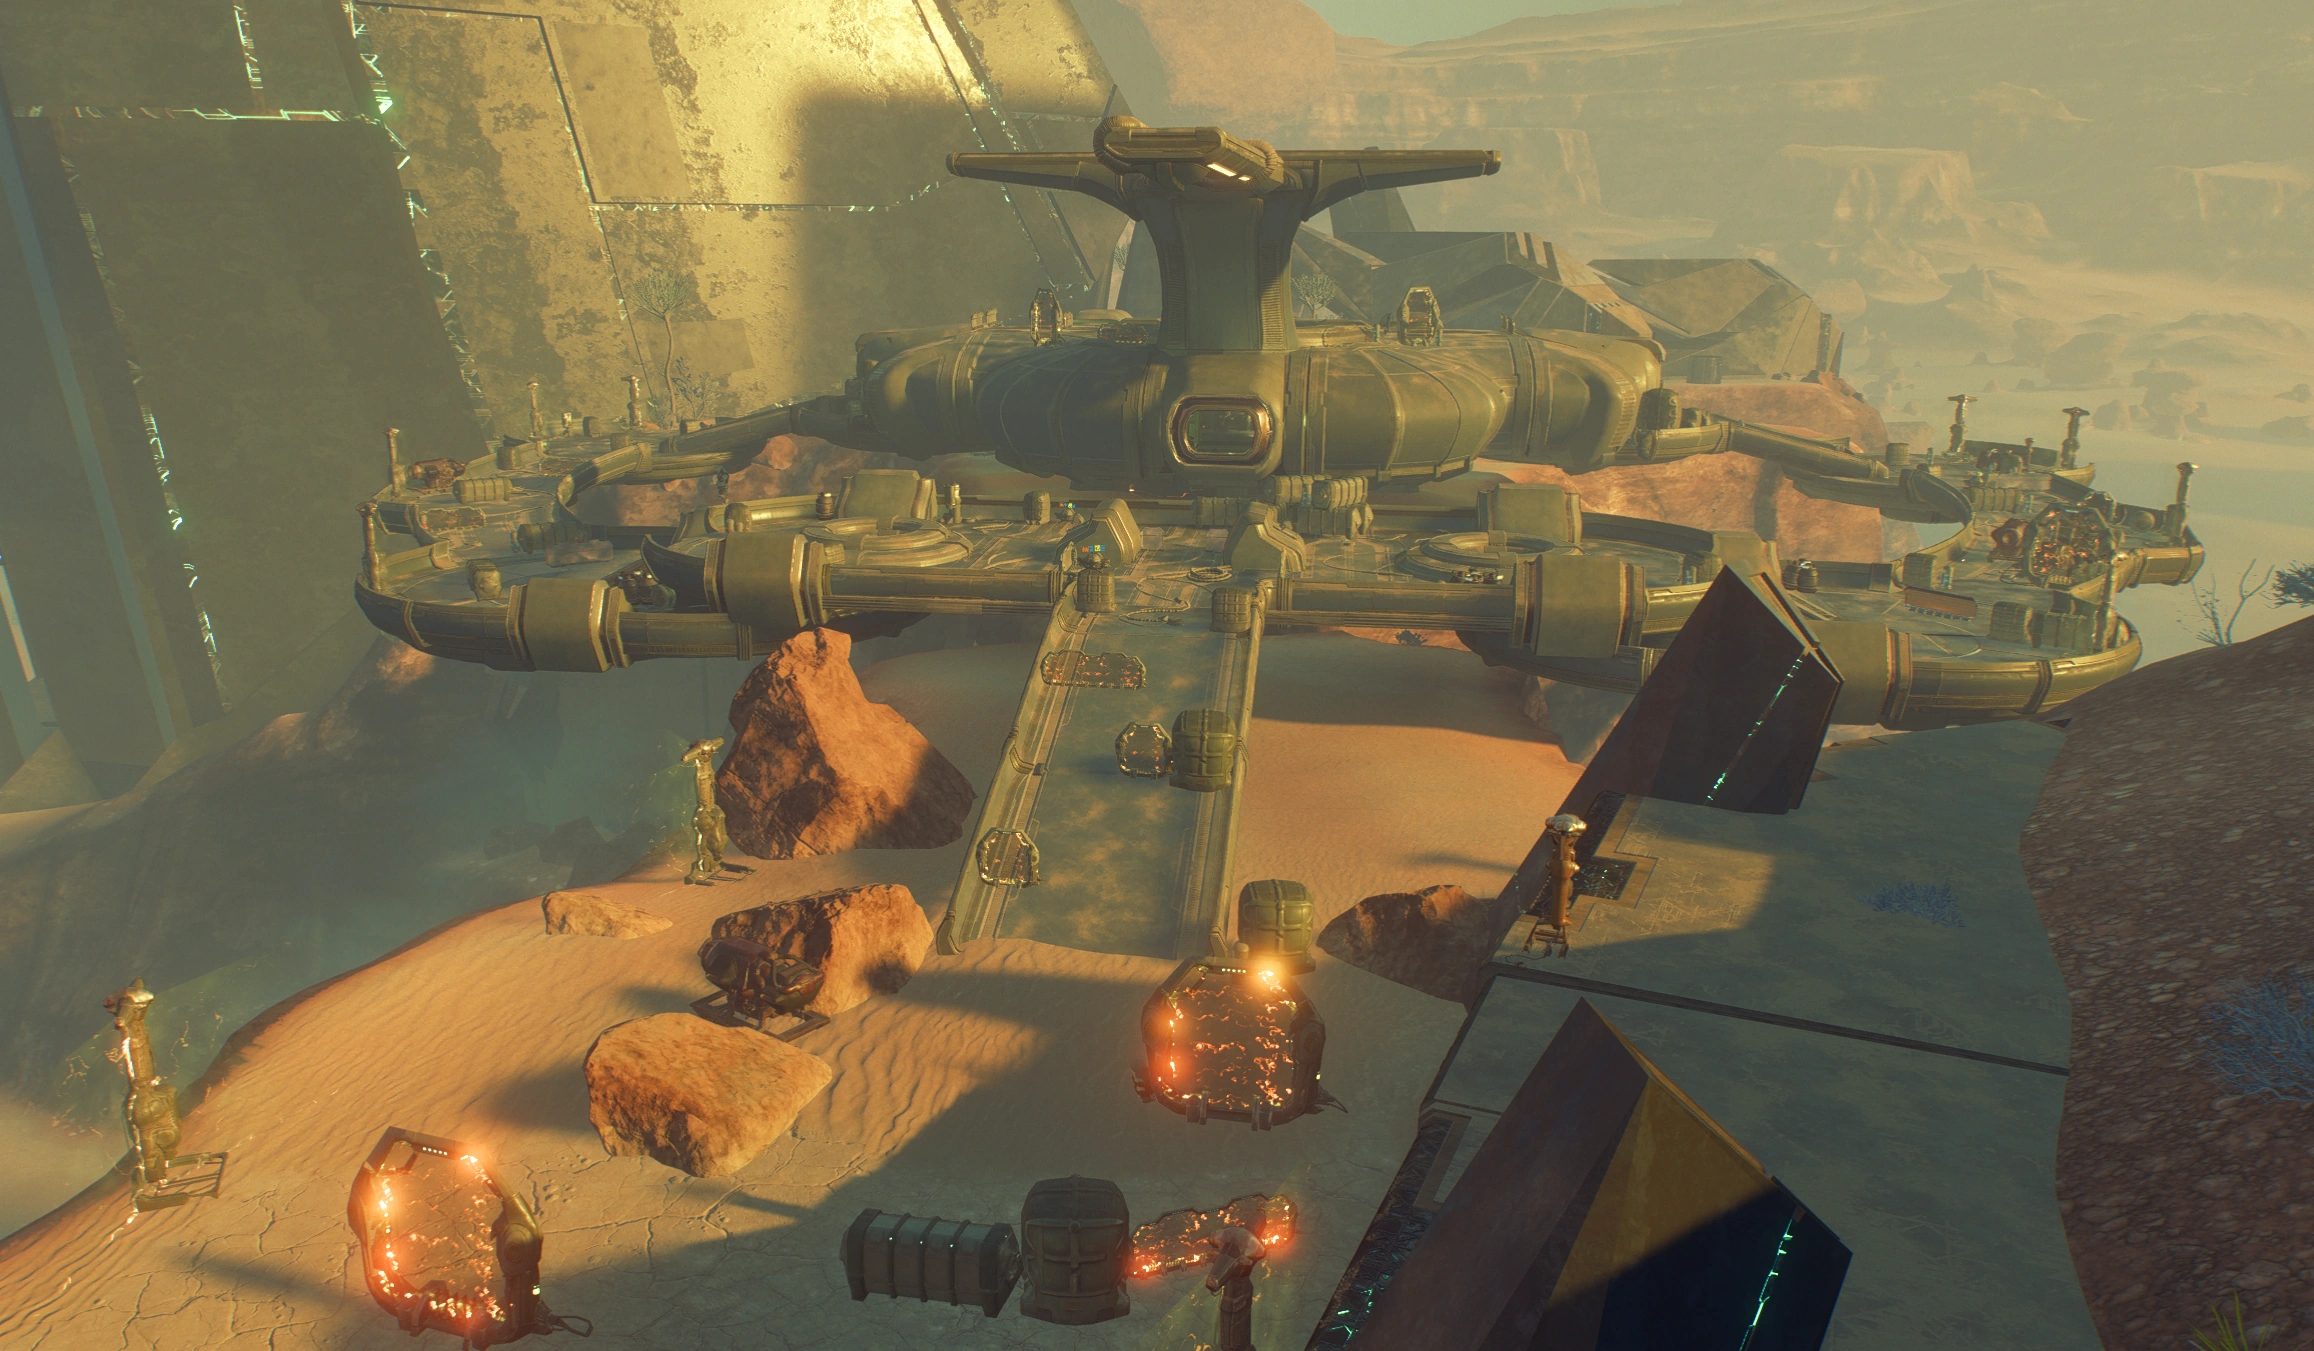
The southern monolith is heavily guarded by these aliens. Battle through the initial wave of kett and two sets of dropship reinforcements. From the entrance, the walkway splits into left and right paths: it doesn't matter which way you take, they both converge at a presently shielded central area. Before going in, take note of a Kett Core Encryption Tech (+100![]() ) on the raised platform to the right, beyond the radiation shields.
) on the raised platform to the right, beyond the radiation shields.
The enemy consists of Chosen, Wraiths, and Anointed, who have home court advantage due to all the kinetic barriers and narrow walkways in the area. The barriers can be shut down through shooting or disabling nearby power generators, and keep an eye out for explosive canisters in case some enemy wanders close. Note: Be mindful of your landing if you're jumping around in the walkways lest you suffer health and shield penalties from falling. Conversely, enemies can be disposed off in the same manner.
The walkways have four ammo caches, one lootable container in the center platform, one lootable container and an artifact crate (+10![]() ) in the left path. There are two Kett Core Encryption Tech (+100
) in the left path. There are two Kett Core Encryption Tech (+100![]() each) in the right path. Several other kett equipment in the area are scannable, though they only inform you of their function and have no research points.
each) in the right path. Several other kett equipment in the area are scannable, though they only inform you of their function and have no research points.

After the battle, you must disable or destroy the power generator noted by the objective marker. It shields both the central chamber and the monolith's central console. When the shields are down, a cutscene triggers in which Ryder meets Nakmor Drack, an old krogan with an apparent penchant for dramatic entrances. He soon leaves to hunt for more kett.
Be sure to check the whole base for other items not yet mentioned. In the immediate chamber, there are technology fragments on the floor (+10![]() ) and an artifact crate (+10
) and an artifact crate (+10![]() ), on the side of the left walkway. Beside the door to the right walkway, another artifact crate (+10
), on the side of the left walkway. Beside the door to the right walkway, another artifact crate (+10![]() ) and a terminal with kett logs. The dead Wraith left by Drack on the floor can also be scanned, though it doesn't yield any research points. The inner chamber has a component box for Site 2's The Secret Project, a terminal with an audio log, and another body for Task: Naming the Dead.
) and a terminal with kett logs. The dead Wraith left by Drack on the floor can also be scanned, though it doesn't yield any research points. The inner chamber has a component box for Site 2's The Secret Project, a terminal with an audio log, and another body for Task: Naming the Dead.
On top of the central chamber there's a lootable container beside a power generator. Underneath the central chamber there are two lootable containers around a support column.
When you've had enough of the kett base, proceed to the monolith site. The area has a health and ammo cache each, a platinum node, and two toppled Nexus-issued scanners (+10![]() each).
each).
As before, two more glyphs await Ryder. Follow the cables, scan the glyphs (Synaptic Glyph and Verdurous Glyph), then return to the central console. There is no puzzle at this monolith. Also, there is no enemy ambush after activating the monolith. (+270 XP, +73 AVP![]() , and +5% Eos viability)
, and +5% Eos viability)
Investigate the entrance
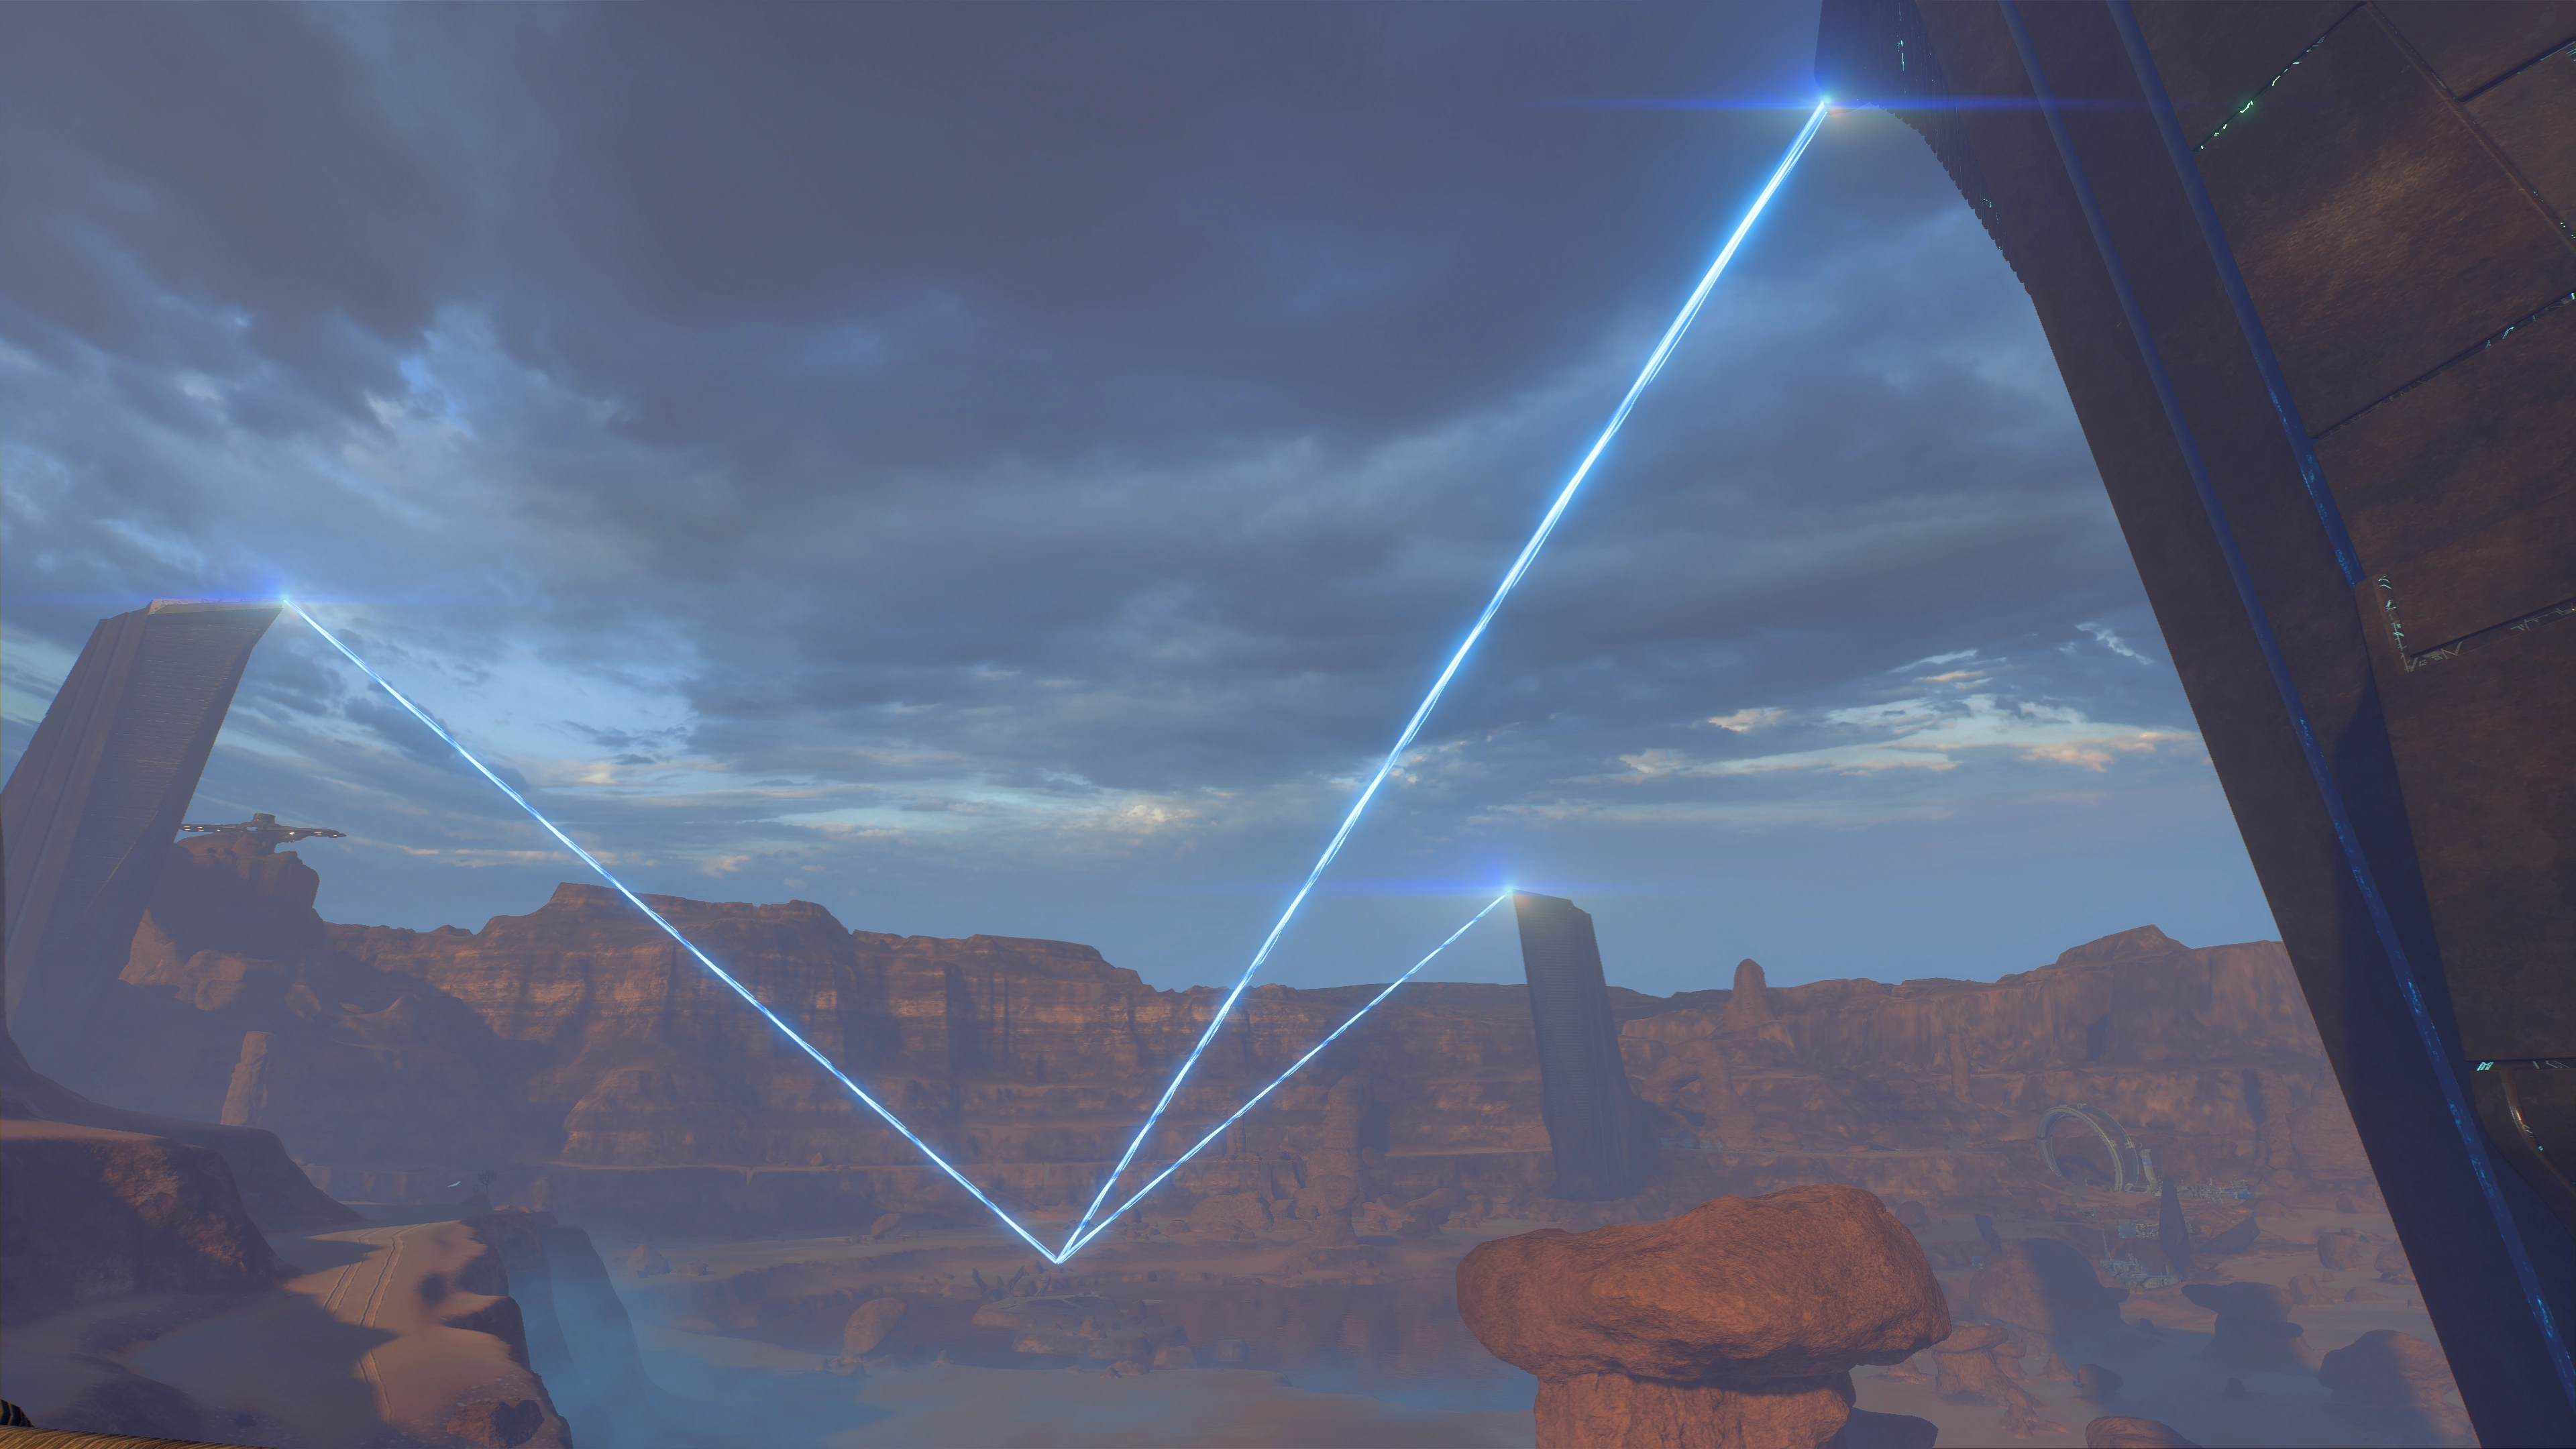
When all three monoliths are activated, their beams now converge into a single location by the lake: a secret Remnant vault for Ryder to explore, containing the necessary machinery to revive the world. This is a common pattern on most other worlds further in the game.
Go back to the Nomad and follow the new navpoint toward the vault: an island in the lake marked with![]() .
.
Note: The road from the southern monolith to the Vault will pass another forward station drop point. Stop for a moment to allow the forward station to deploy before continuing. (+2 AVP ![]() and +2% Eos viability)
and +2% Eos viability)
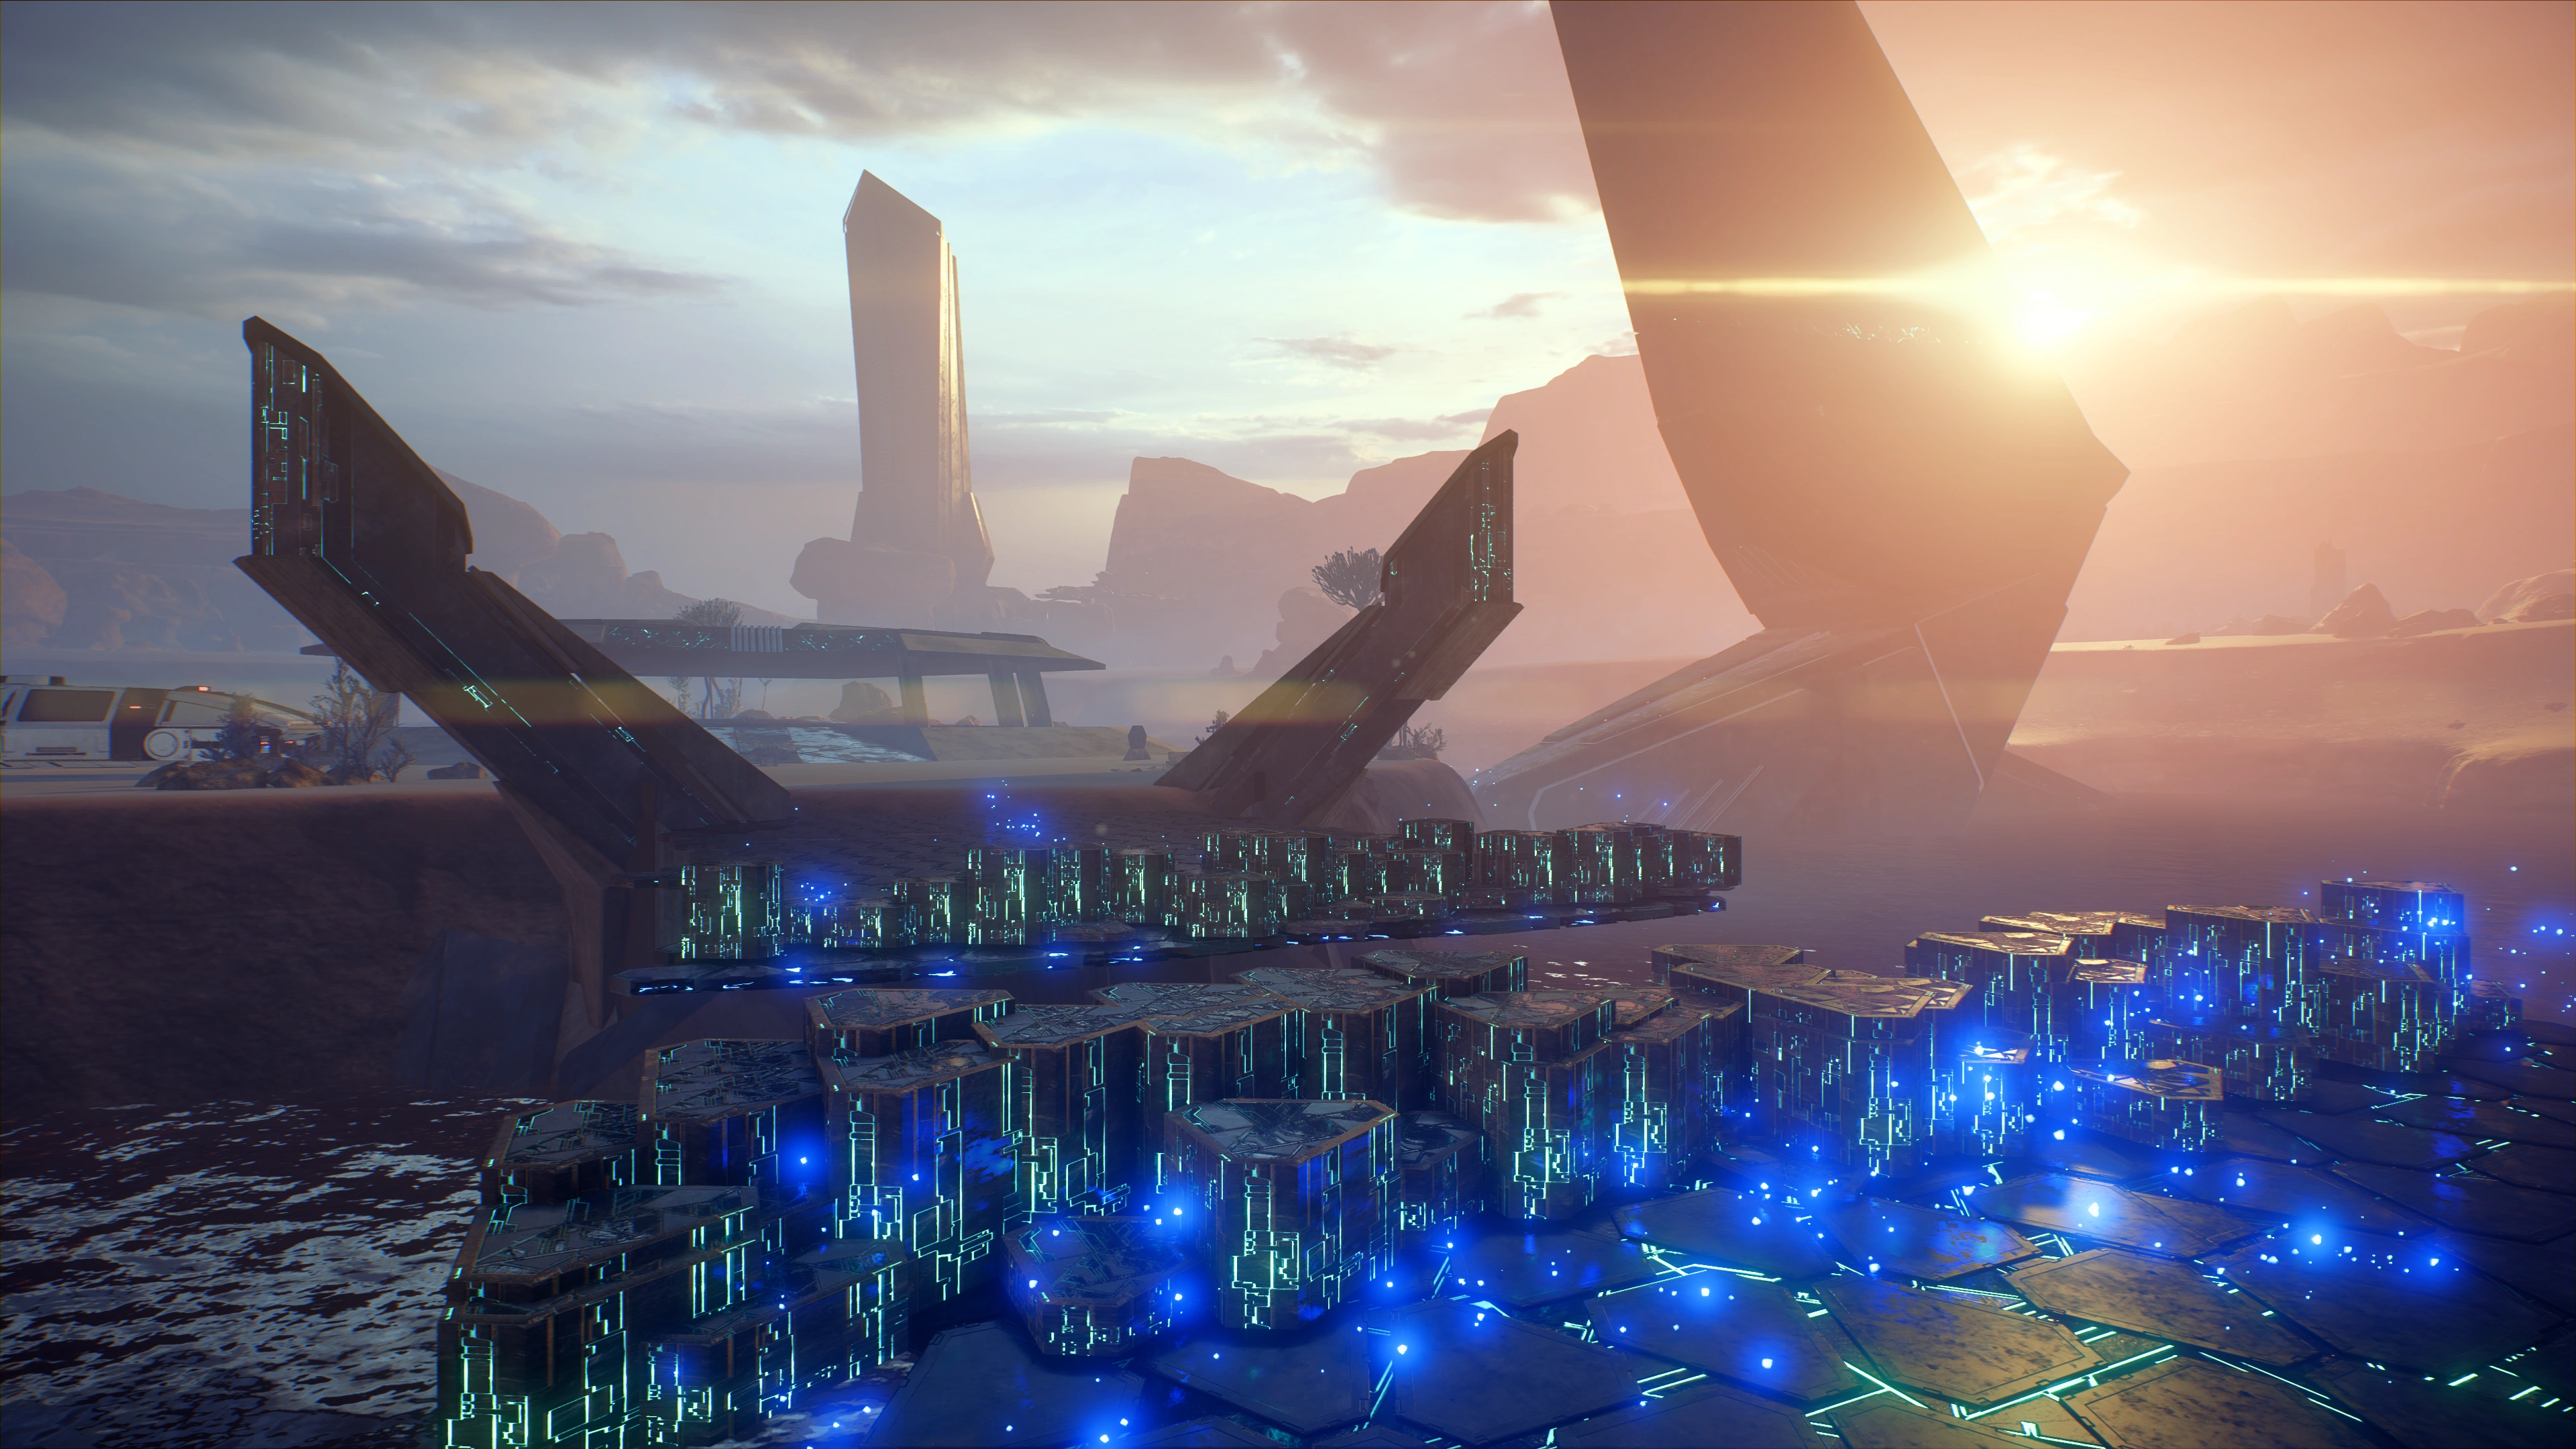
Climb out of the Nomad and access a console near the shore, which will activate a bridge, raise the Vault entrance from the ground, and deactivate the monoliths' beams. You can cross to the island on foot or by vehicle, but you will need to walk into the Vault to continue. Be careful not to fall into the lake, you'll end up on the closest shore you dropped from.
Explore the Remnant vault
Peebee will be waiting for Ryder outside the vault, insistent on joining for the adventure. Once you open the door, you will be allowed to configure your loadout, then a cutscene immediately follows that sends the gang into the vault's mysterious depths. An interrupt is available that determines who goes first.
Once inside the vault, you cannot return to it later to collect missed resources. Take all wanted items as they become available. Keeping a save before opening the door is also advised, since while there are automatic saves there is no manual saving while in the vault.

After a long (but comfortable) drop down, Ryder and company arrive at a cavernous chamber. Peebee says to be thorough; doesn't hurt to follow her advice. Not even the kett appear to have reached where you are, so expect your team to be chatty on approach to interesting things.
In this first room you will find two loot containers and two Remnant Objects for +10![]() each. After a brief discussion, you will be able to scan the Data Pattern for +10
each. After a brief discussion, you will be able to scan the Data Pattern for +10![]() . The "wall" to the south is also scannable and tells you it can function as a door, though it yields no points. If you consult your map, you'll find that the Eos overworld has been replaced for the time being with that of the immediate area, which will increase in coverage as you explore more and more of the vault.
. The "wall" to the south is also scannable and tells you it can function as a door, though it yields no points. If you consult your map, you'll find that the Eos overworld has been replaced for the time being with that of the immediate area, which will increase in coverage as you explore more and more of the vault.
When you've got all that, follow the objective marker to interface with the console.
Follow the conduit into the vault
Nothing obvious immediately happens, so SAM reports conduits filling up with ferrofluid. Turn on your scanner and you'll see pipes leading out of the room, past the door/wall to the south. It immediately opens on approach.
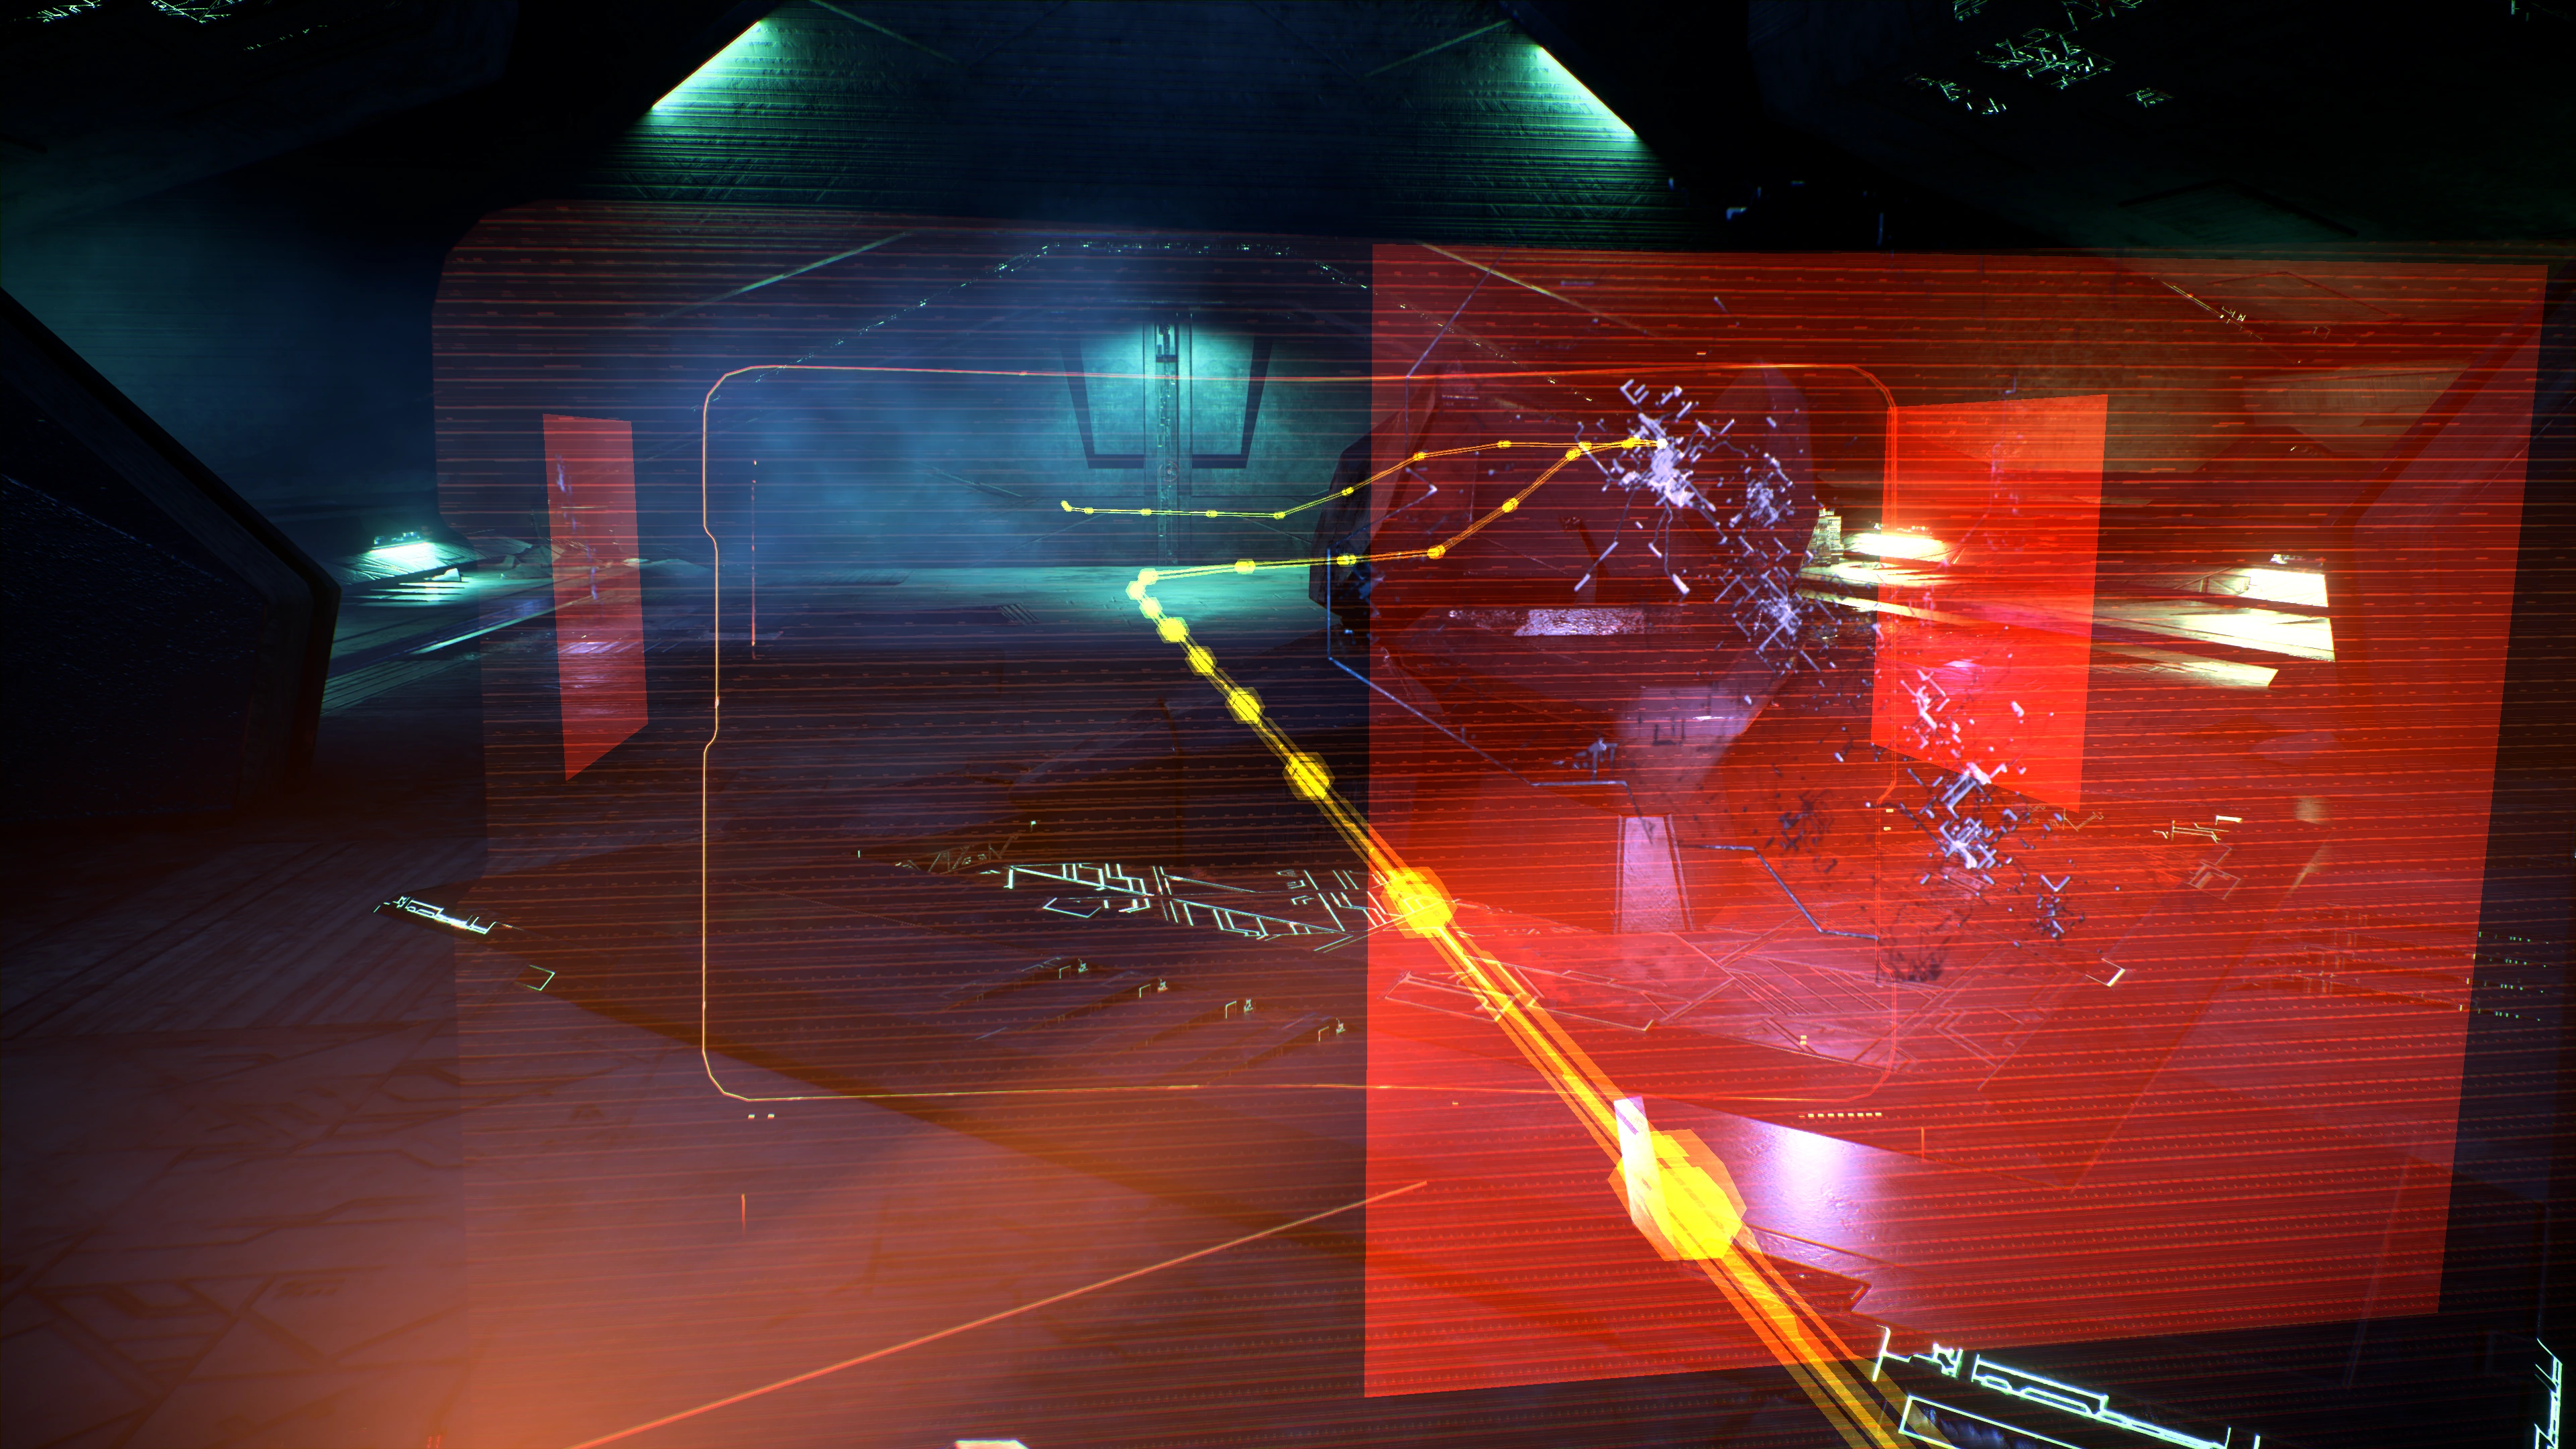
Through the newly opened door, you will find another chamber with another wall/door at the end. You can scan that door (0 points), though on approach Ryder will be perplexed as to why it isn't working. Peebee suggests investigating the Data Patterns surrounding the inoperable console. Scanning any one of the patterns triggers another discussion; after scanning all three the next door will be unlocked.
The Data Patterns in the room award +10![]() each.
each.
When you open the next door, another cutscene triggers. At this point, Peebee will decide to split up: Ryder fixes the vault; she'll investigate the relic. Task: Remnant Data Cores will be automatically given after the cutscene. Once the door closes behind you, it's permanently sealed shut.
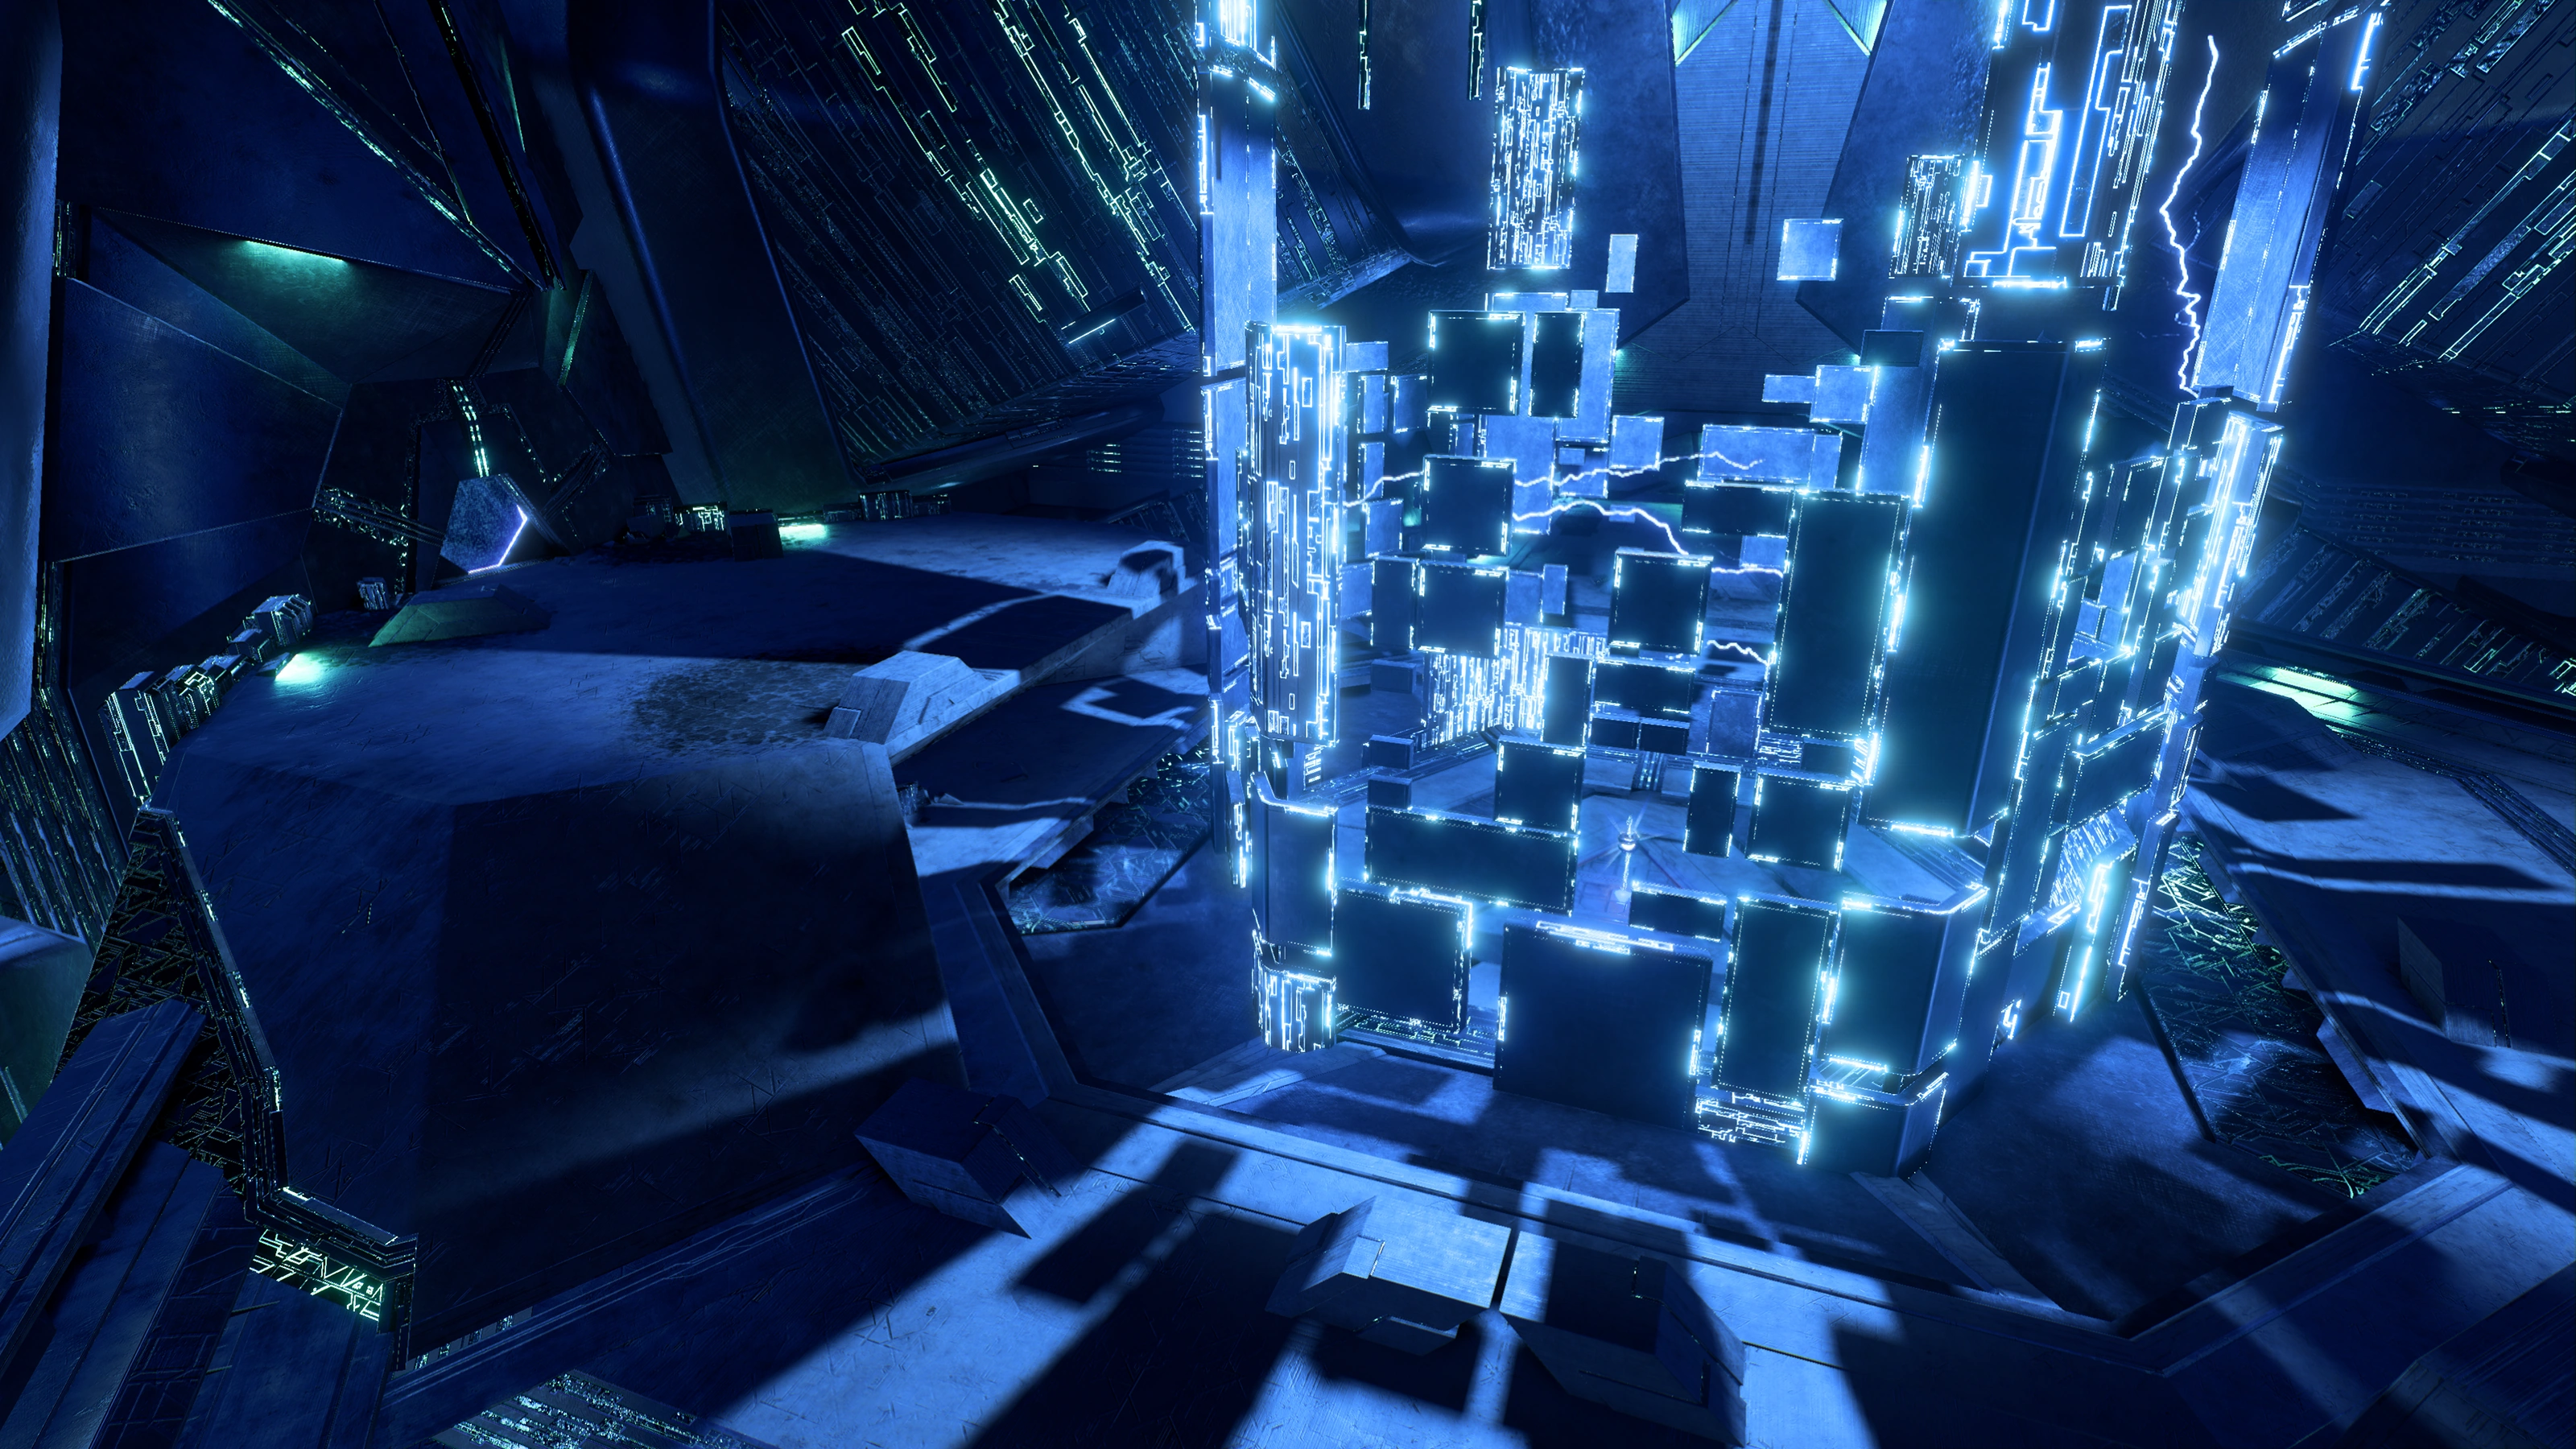
You can scan the barrier around the power beam in the center of this new room for +10![]() . It's impenetrable and a level 4 electrical hazard, so don't even try to walk through it. The door to the east will be locked and inaccessible the entire mission. The force field to the west is worth investigating. You cannot enter the room yet, so you'll order SAM to note the location on your map (See Bugs section). You will be only be able to access the room and container on the way out of the vault.
. It's impenetrable and a level 4 electrical hazard, so don't even try to walk through it. The door to the east will be locked and inaccessible the entire mission. The force field to the west is worth investigating. You cannot enter the room yet, so you'll order SAM to note the location on your map (See Bugs section). You will be only be able to access the room and container on the way out of the vault.
Head through the southern door to continue. In the next room, on the right is a container, and a Remnant console at the middle end of the platform. The console controls blast shields and nothing else.
Use the elevated pillars in the fluid to get across to the next platform with a mechanical arm. Scan the Mechanical Arm and the Unknown Ferrofluid for +10![]() each (+20
each (+20![]() total). Note: Don't fall into the ferrofluid: level 3 electrical hazard.
total). Note: Don't fall into the ferrofluid: level 3 electrical hazard.
On a cluster of pillars just next to the mechanical arm is an Adaptive Remnant Core Device (+100![]() ). Due northeast among the terraced steps, before passing the navpoint, is a container.
). Due northeast among the terraced steps, before passing the navpoint, is a container.
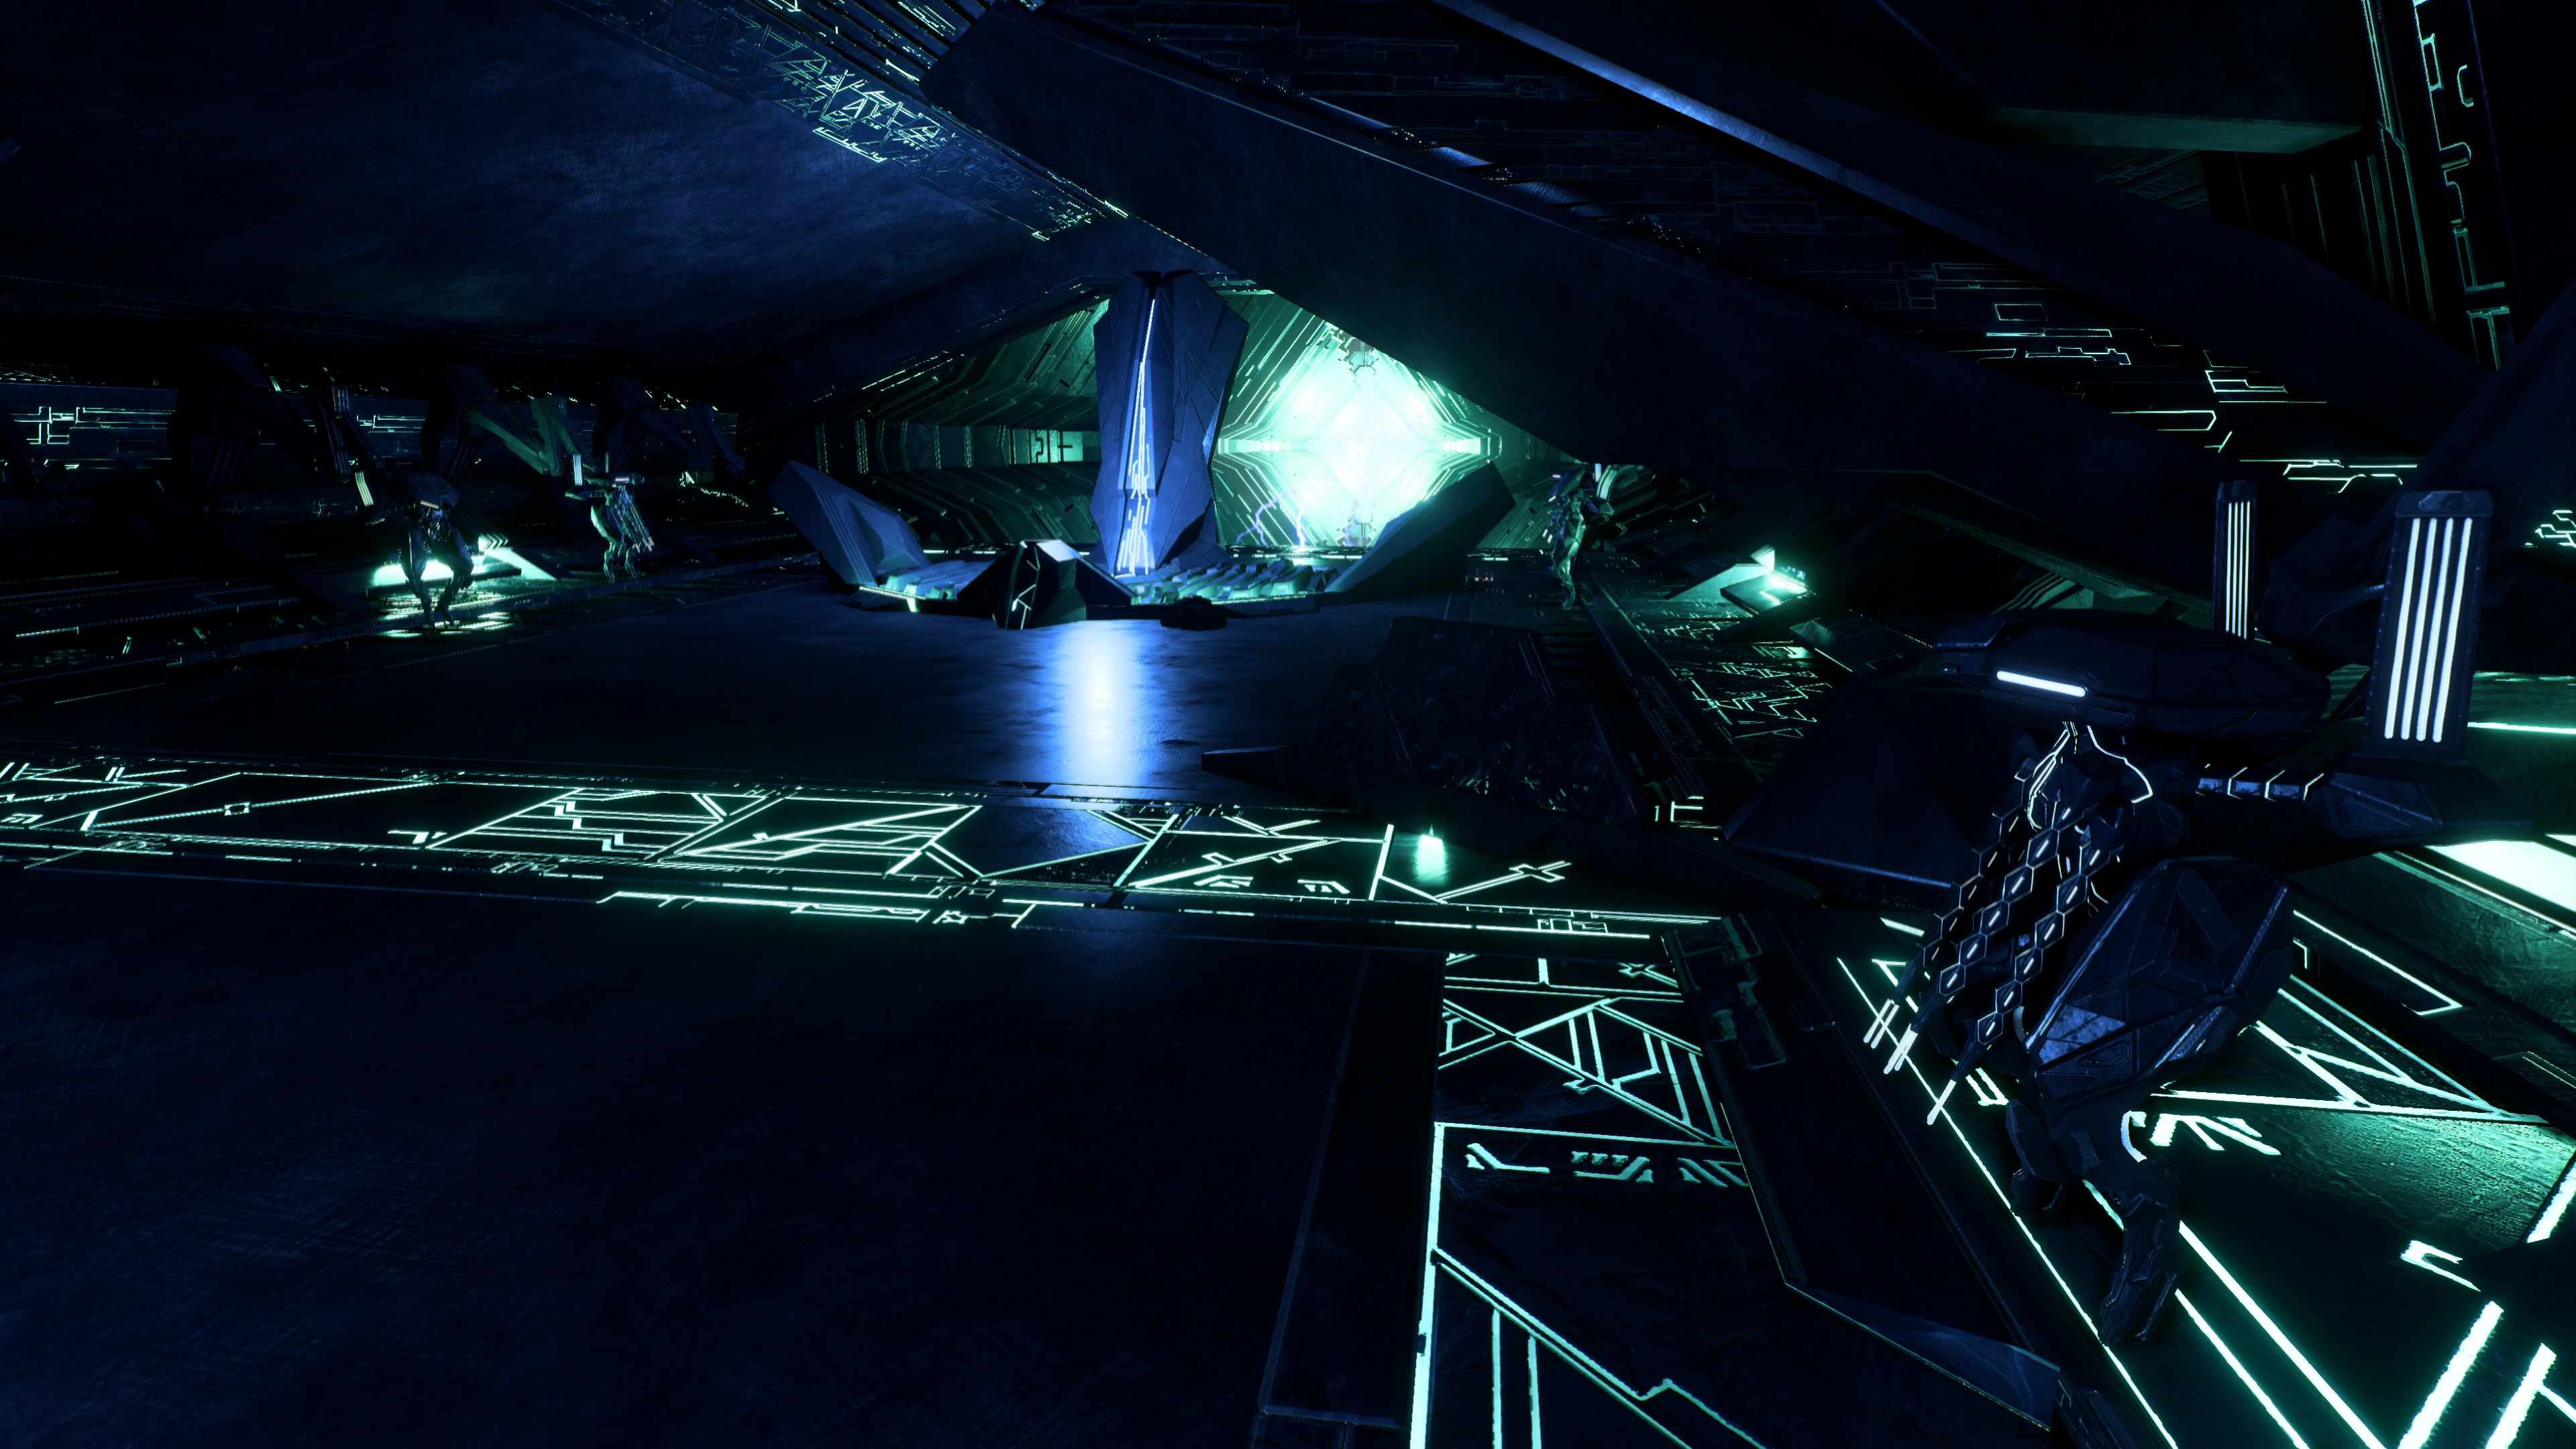
South from the pillars, there's a door. Open it and head into what appears to be a storage room. You'll be attacked by two hostile Assemblers. The remaining 3 Assemblers in the room will remain inactive.
After defeating the enemies, scan one of the Inactive Assemblers for +10![]() and loot the nearby container. Head back out when you're done.
and loot the nearby container. Head back out when you're done.
Following the navpoint again across the deadly pool to the eastern side of room, there are several territorial Assemblers. Defeat them to roam the area freely. There are ammo and health caches to the east in case you run low.

A container is located on the lower level of this area, below the Remnant console and beside a ferrofluid waterfall. The console does not control anything useful, only blast shields again.
To the south across some pillars, there is another container. There is also a locked door in this location; it can't be unlocked and the other side is empty anyway.
Further east, Ryder and the gang observe cyclopean Remnant machinery from the cliff all the way to the horizon, making them wonder what the place is really about. The ferrofluid falls off here, and there are two paths. To your left (north) ends in a door with a container inside. To your right (south) is the continuation of the conduit trail, another ammo cache, and a side door with another container.
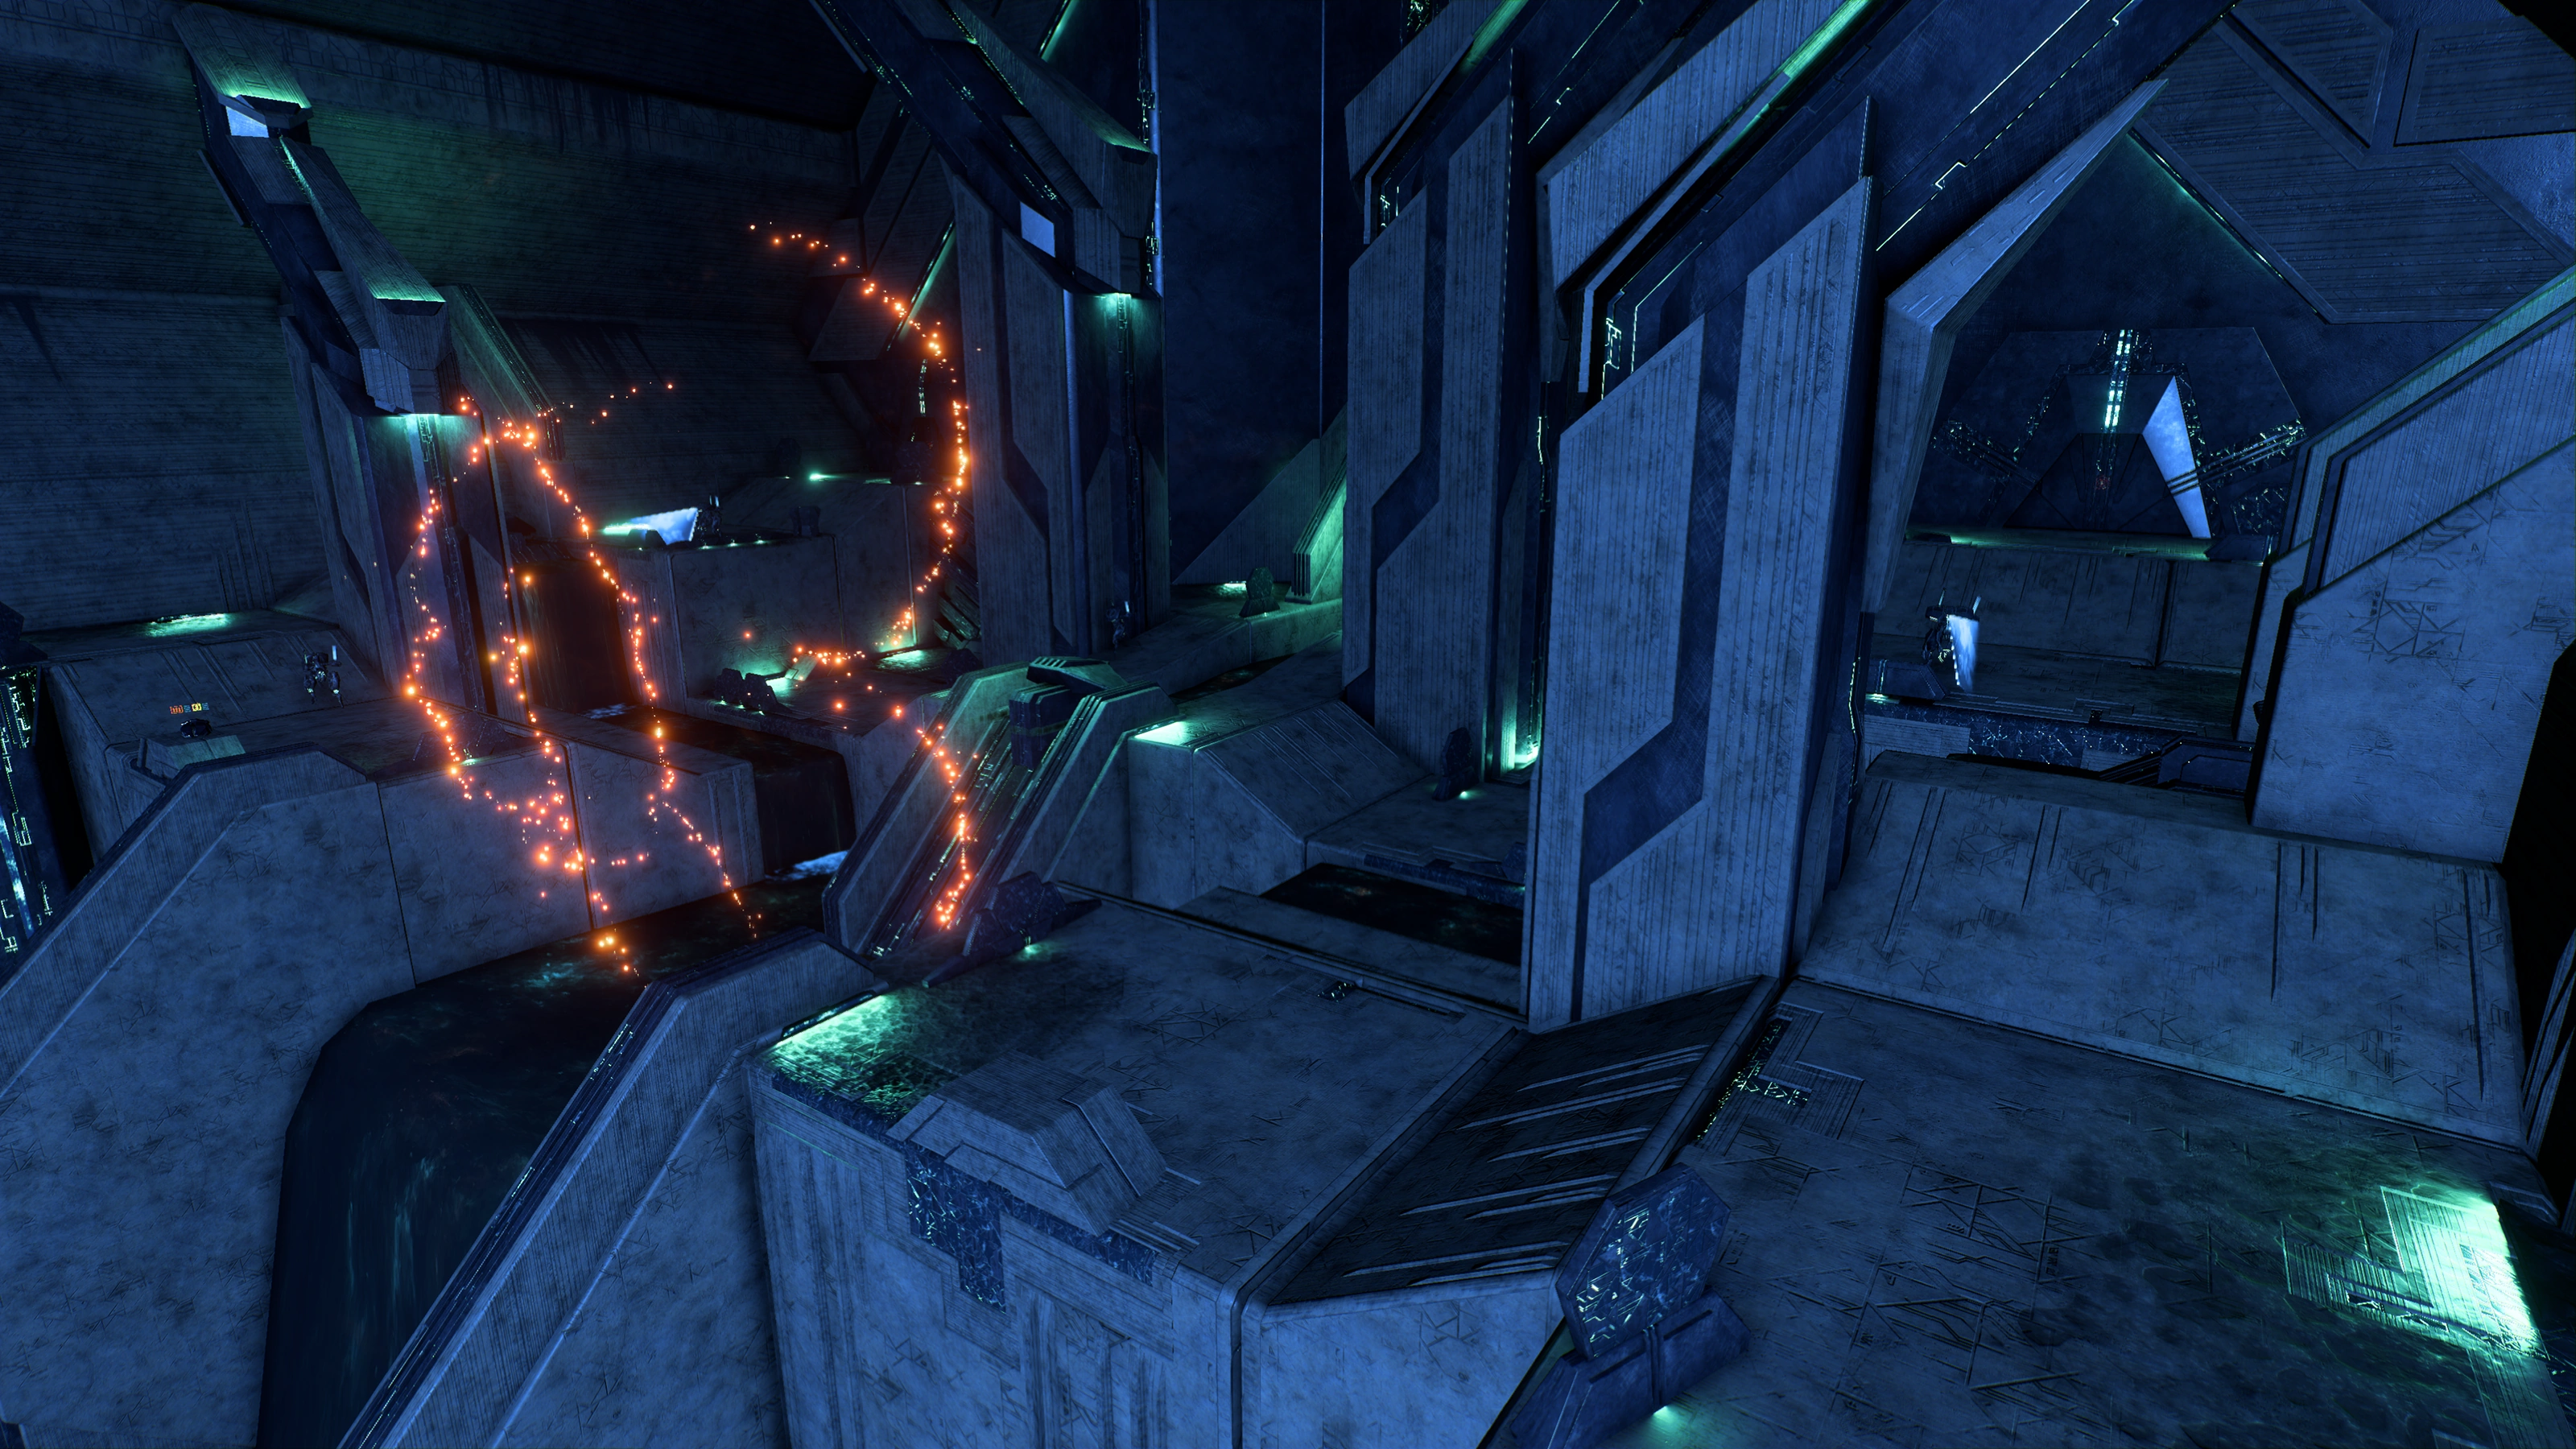
In the next room, there are five more hostile Assemblers. Deal with them. There's a health and an ammo cache along the cliff path south for emergencies.
The room has two doors along the wall with visual glyphs on their surfaces in an apparent interface. Don't be fooled: they're just set decoration, cannot be opened, and again empty anyway. Near the southwest door is a container though. There are also two consoles that are linked to each other: for controlling blast shields again.
After finishing with this room, proceed to the south into a corridor. There will be a brief interaction with Peebee who can be seen on a distant ledge to the east. Don't even try jumpjetting to her position, there's no point and it cannot be reached through normal means.
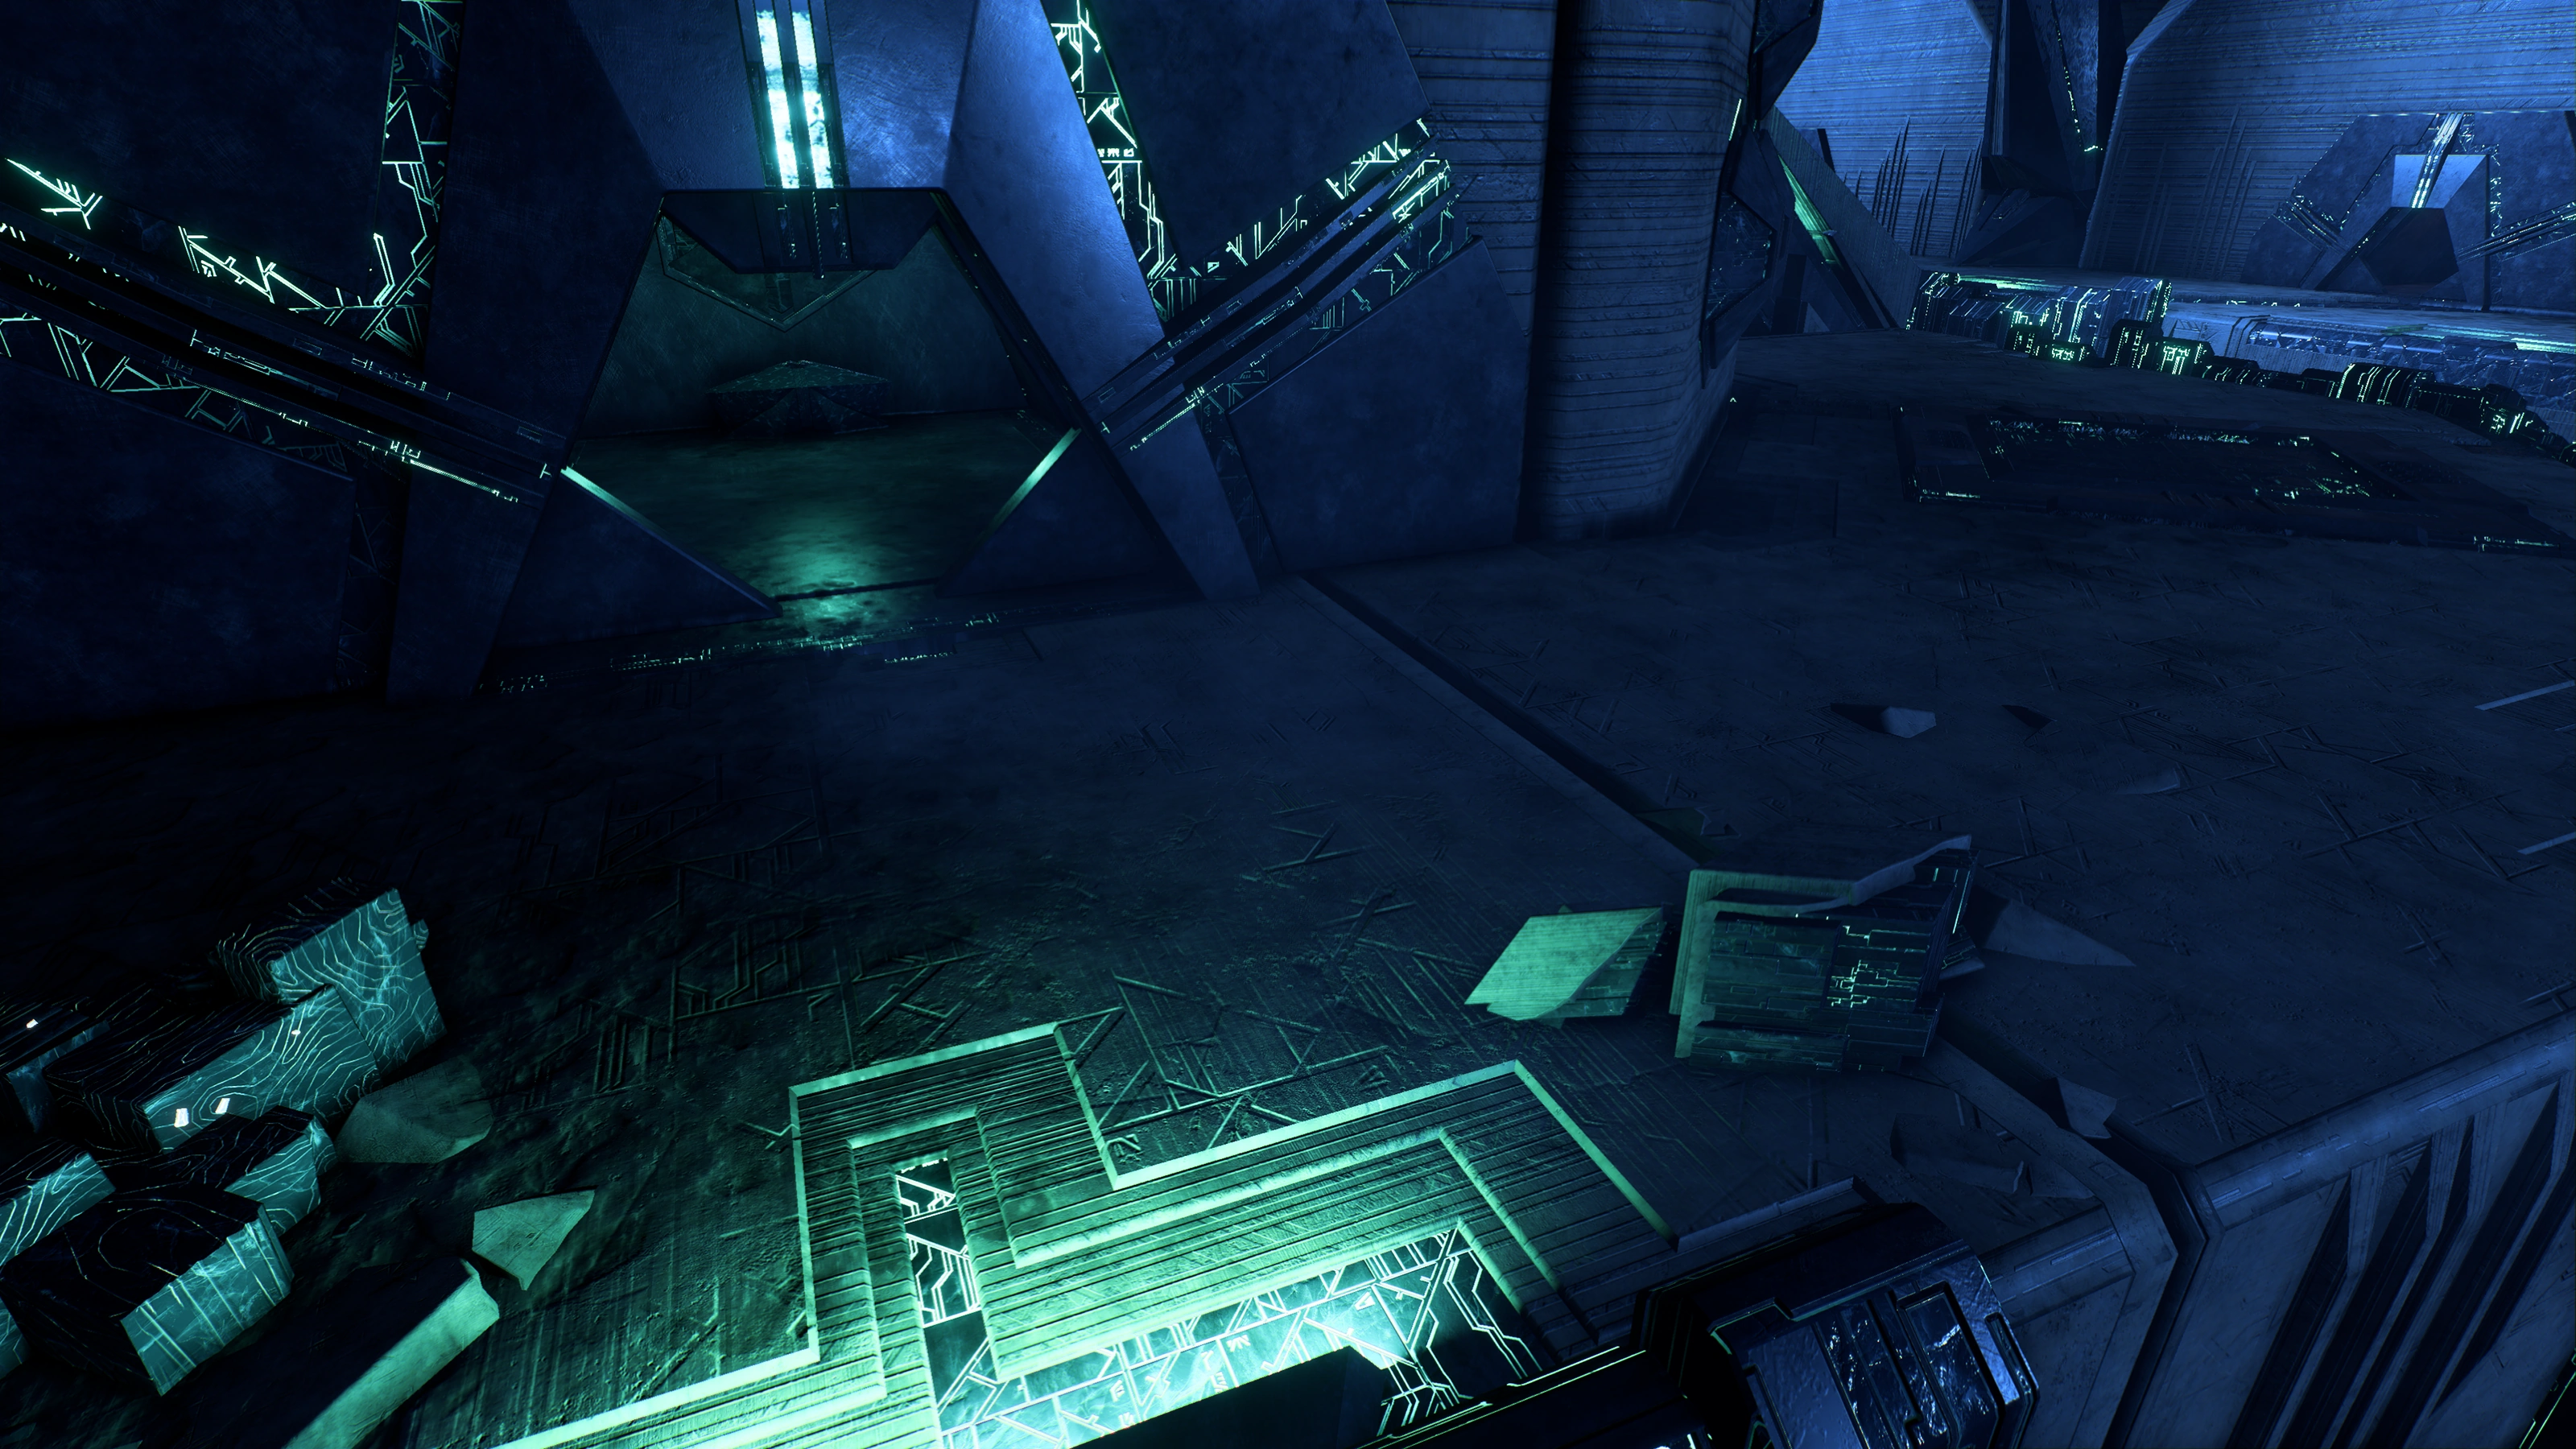
The conduit goes through a large door nearby. Before entering it, follow the ledge till you hit the dead end. Therein lies a container, in addition to a door that can be opened to reveal another container. Head back to the main door when you're done.
After going through the main door, Remnant Lights rise up from the floor. You can scan one of them, though they don't give any points.
The passage ends in another door. The final navpoint is in the next room; reaching it causes Ryder to surmise there's an inactive gravity well that can be turned back on.
Activate the gravity well
This room contains some Remnant forces, which you'll have to fight. Accessing the two consoles in the area will raise a gravity well, though you'll have to deal with the bots first.
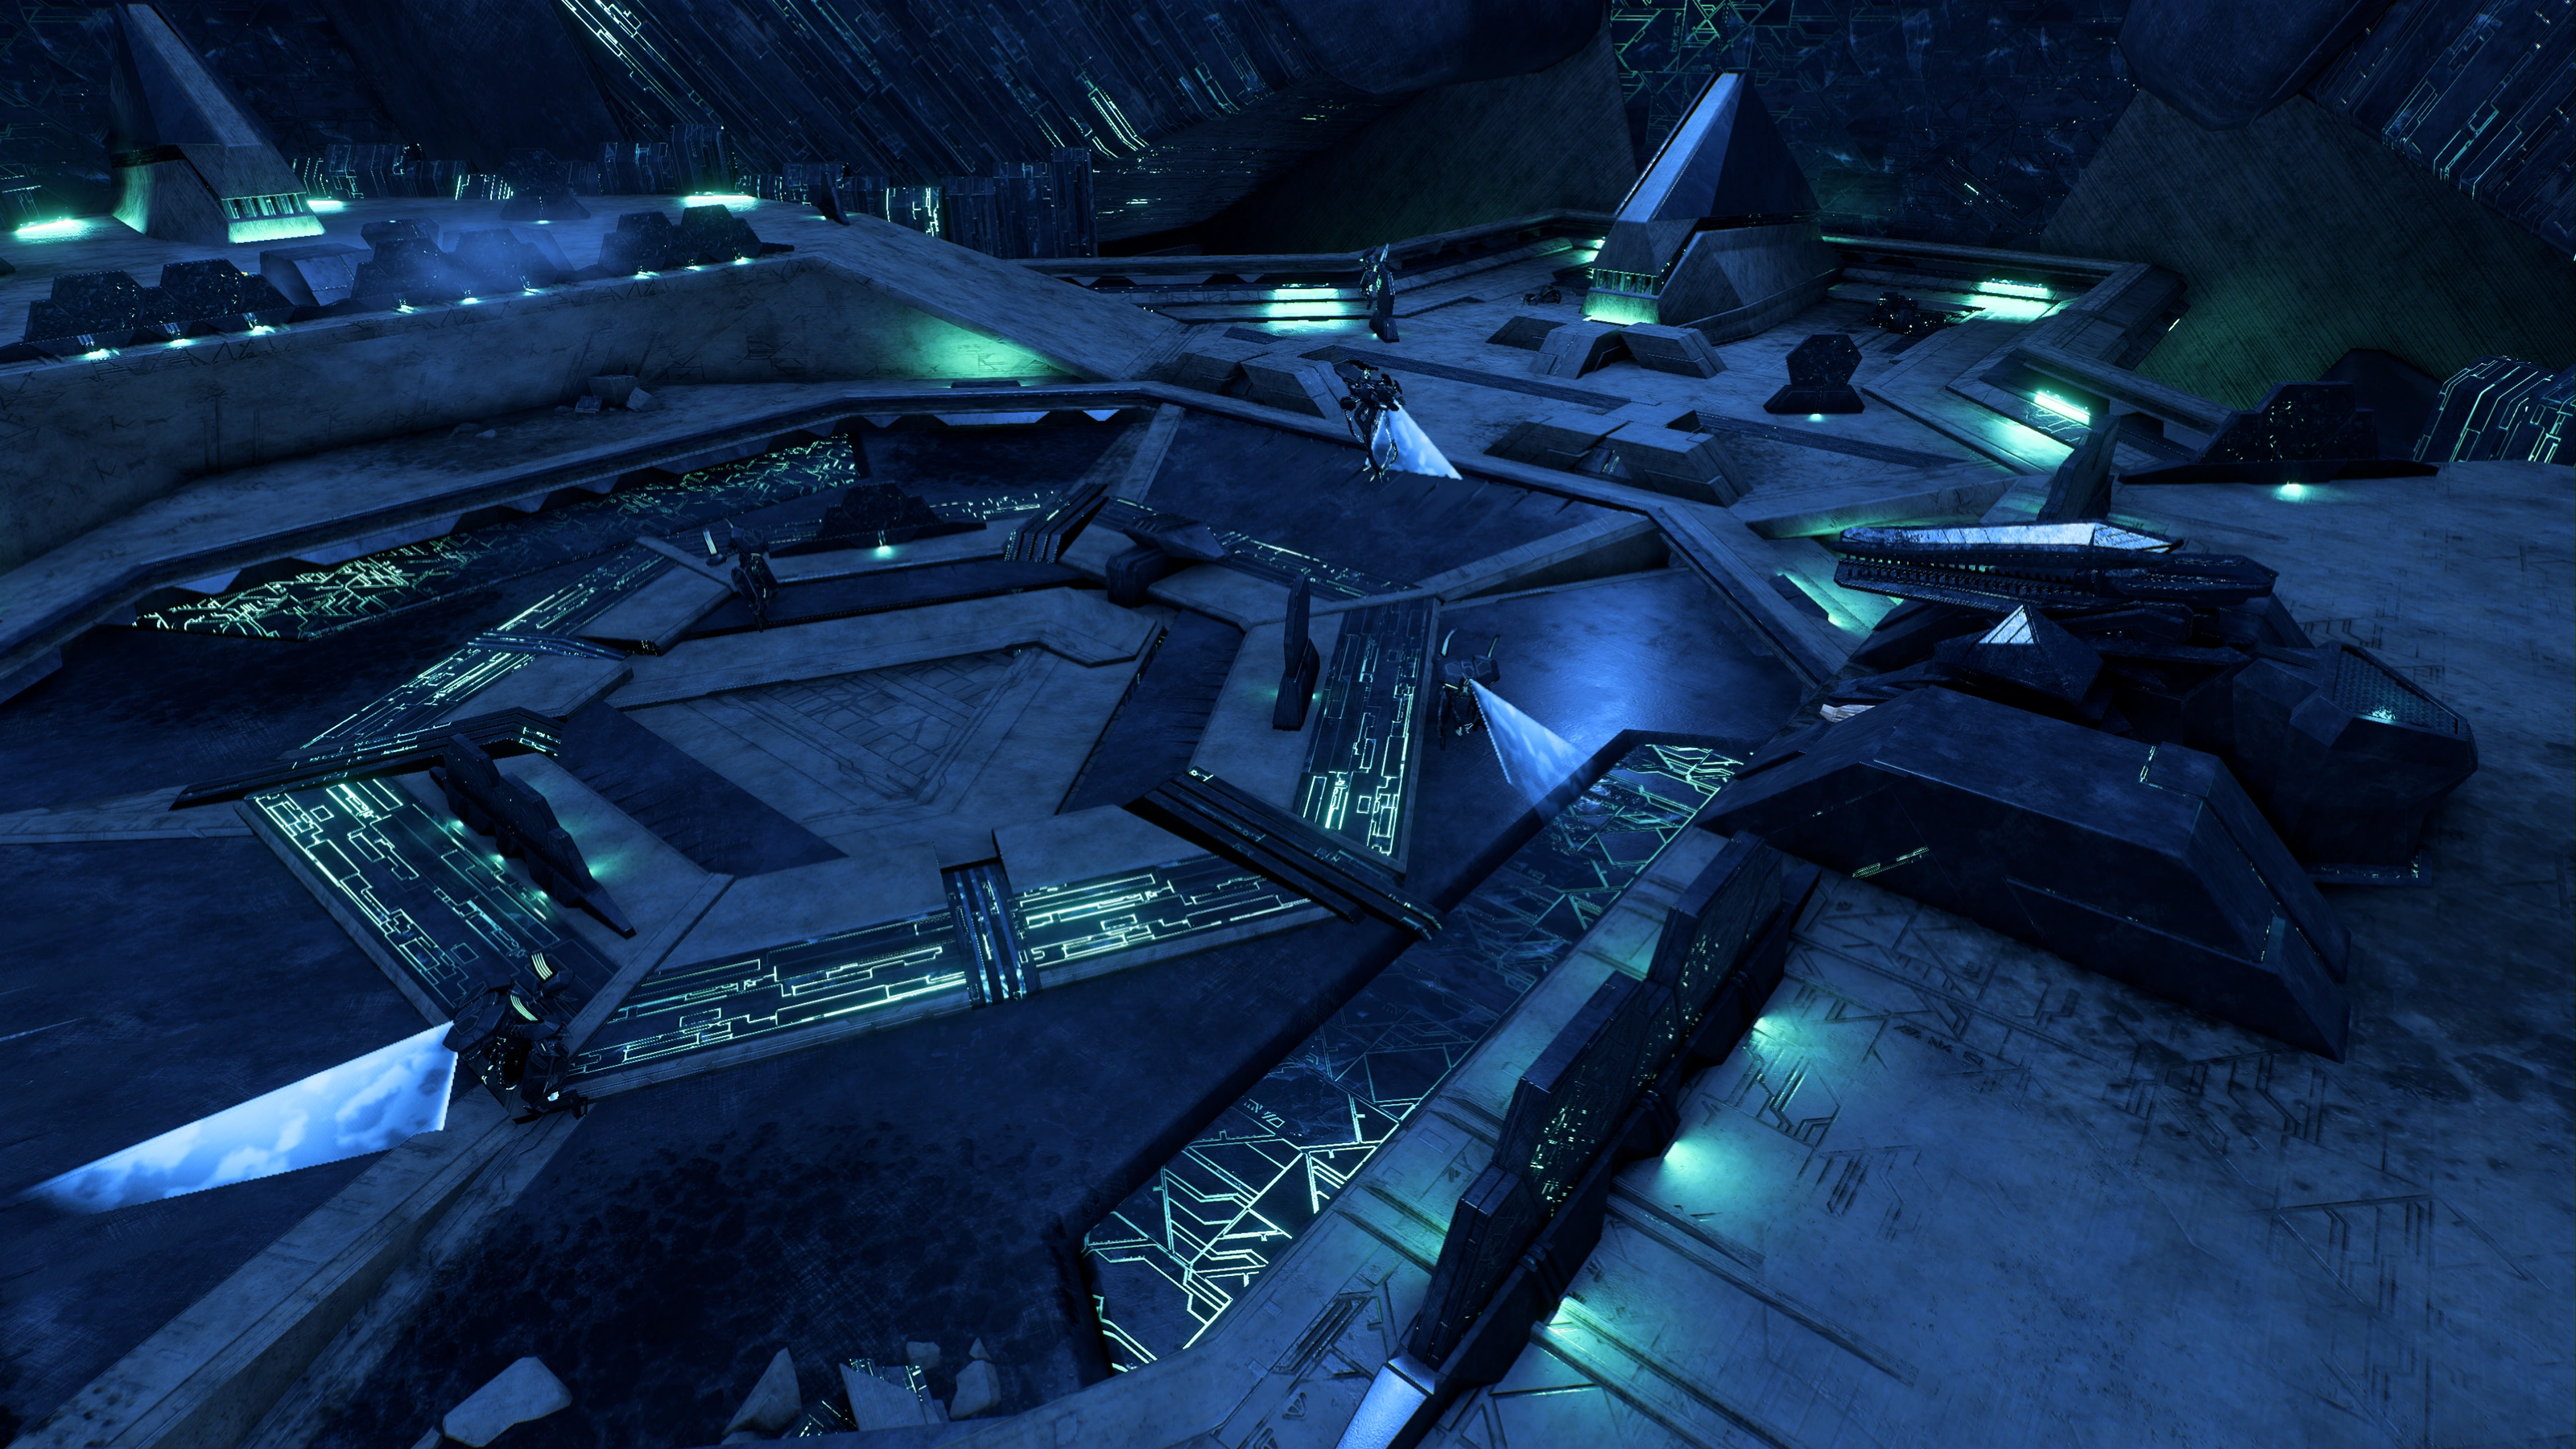
Note: If you want to stack the odds further in your favor, before rushing headlong into battle, proceed up the ramp to the right (north ramp) without attracting the attention of the Remnant forces. The console there controls the nearby Remnant turret. Start by scanning the turret (+50![]() ), then interface with the nearby console to convert the turret into an ally, and then begin the battle.
), then interface with the nearby console to convert the turret into an ally, and then begin the battle.
There are two ammo caches in the area: one near the turret, and the other on the opposite side, near the other objective console that's also tied to a Remnant Shield Charger (scannable, but yields no research points). Enemy composition is Assemblers and Observers.
After beating the bots, the entrance to the chamber seals up and the only way out is forward. Before leaving, you can loot the container to the west, and scan the nearby inactive Observer (+10![]() ) to trigger a conversation about the nature of the bots.
) to trigger a conversation about the nature of the bots.
After collecting all needed items in the room, activate the gravity well to reach the second level of the vault.
Follow the conduit farther into the vault
You arrive at yet another cavernous chamber in Floor 2, with a console on one side and a wall/door on the opposite side. Problem is, the console turns out to be leaking ferrofluid, so there's no power going to the door.
Repair the conduit flow
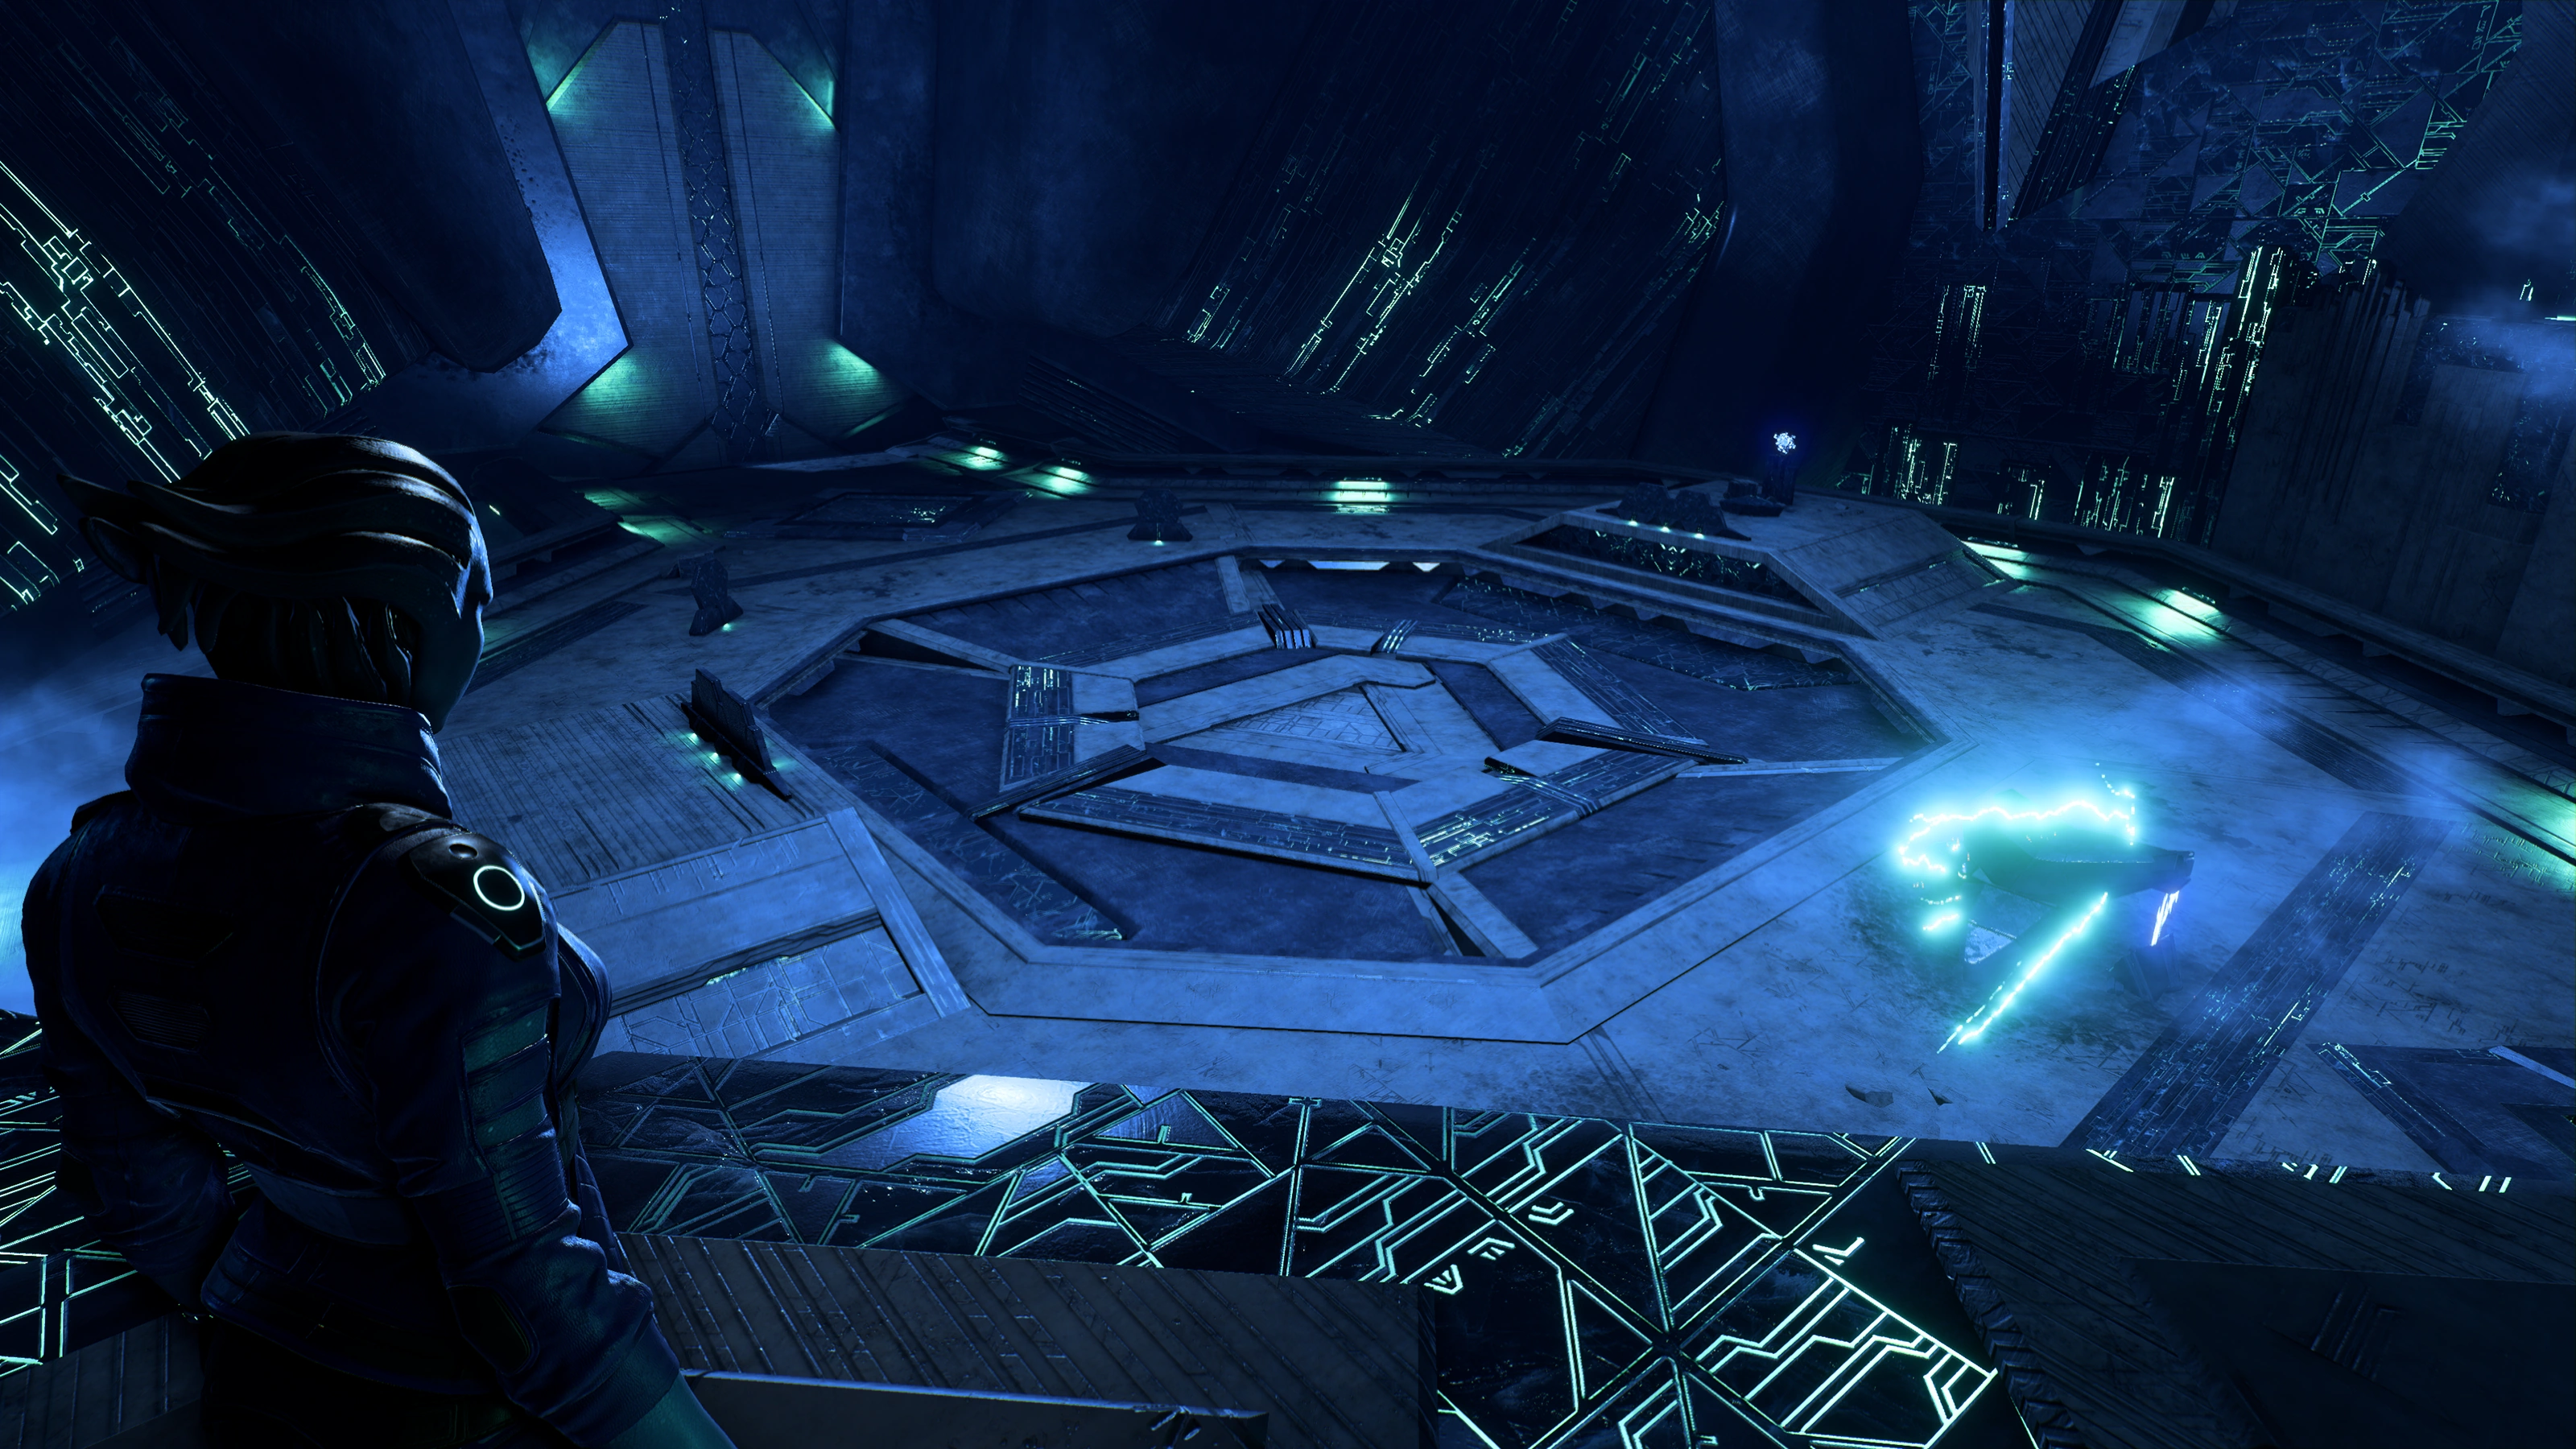
Peebee shouts out from an unreachable ledge, also complaining she can't access any doors. She sends you an omni-tool patch mimicking laser frequencies Observers use to fix things. You can now repair the console. Scanning the Ferrofluid Leak is optional, though it awards +10![]() .
.
After fixing the leak, interface with the console to unlock the door. Peebee gains access to a Remnant bridge and speeds off on her own again. Before leaving the room, loot the two containers there; the one beside a Remnant light has a guaranteed Remnant Cryo-Gauntlet.
Note: Fixing the conduit is the last autosave for a while. Try not to die if you don't want to lose items you'll be looting later.
Find a way through the caverns

The giant door opens to a literally cavernous chamber, much of it chasms and some platforms like the one you're standing on. Immediately look to the left for an Adaptive Remnant Core Device (+100![]() ).
).
The gap between your platform and the next is impossible to cross unaided or even with jumpjets. Fortunately, the Remnant console on your starting platform can raise some pillars.
Use the pillars to reach the platform with the Unknown Plant and scan the plant for +10![]() . There's a health cache here in case you need it. Interface with the nearby console on the platform to elevate pillars to the southwest, which simultaneously lowers the pillars to the starting platform.
. There's a health cache here in case you need it. Interface with the nearby console on the platform to elevate pillars to the southwest, which simultaneously lowers the pillars to the starting platform.
Cross the pillars to the southwest platform, where after a few jumps up a couple of Observers plus four or five Assemblers show up to hassle the squad. There are two ammo caches here.
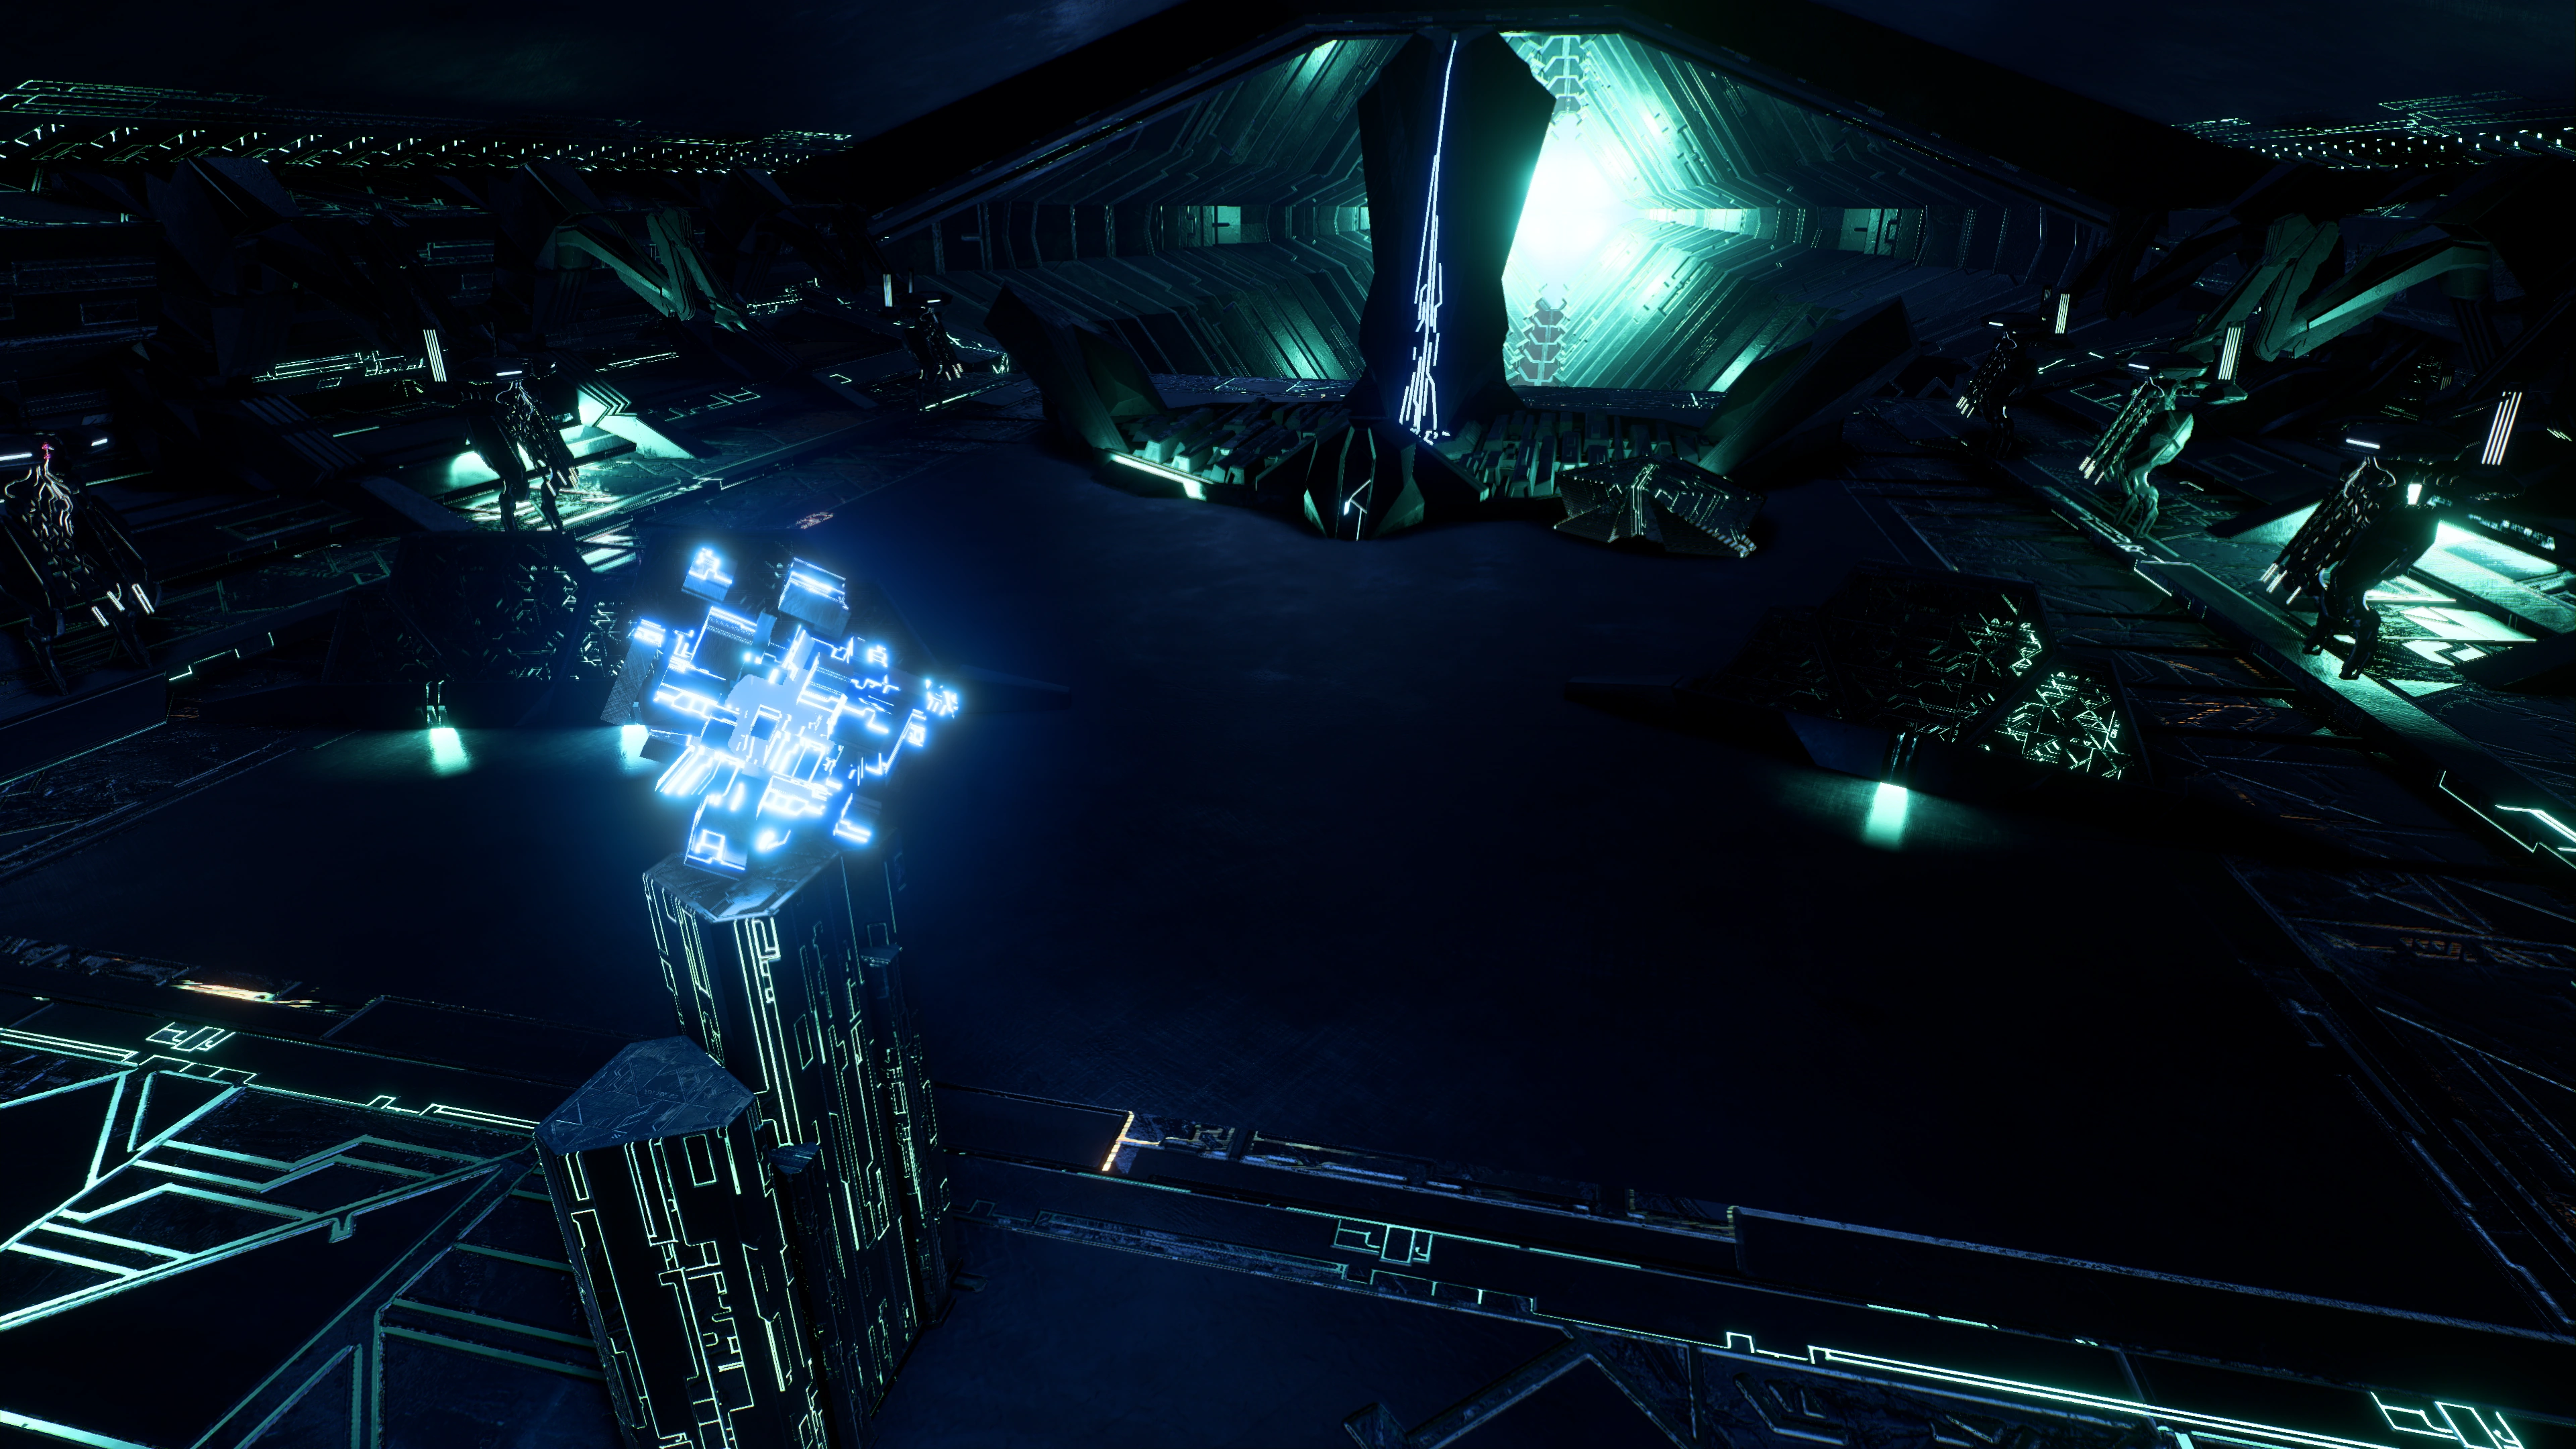
After the battle, you can explore the nearby ledges for lootables. Southwest from the Unknown Plant platform, on the top ledge beside a Remnant light is a container. On the upper ledge next to the green-hued pit is another container.
Head through the door to the west into another Assembler maintenance bay (or your first, if you didn't explore the earlier one). The squad are nervous about the inactive machines; fortunately none of them go online and there's only a lootable container here. A sharp sound suddenly interrupts on your way out: false alarm, some machine part probably fell somewhere.
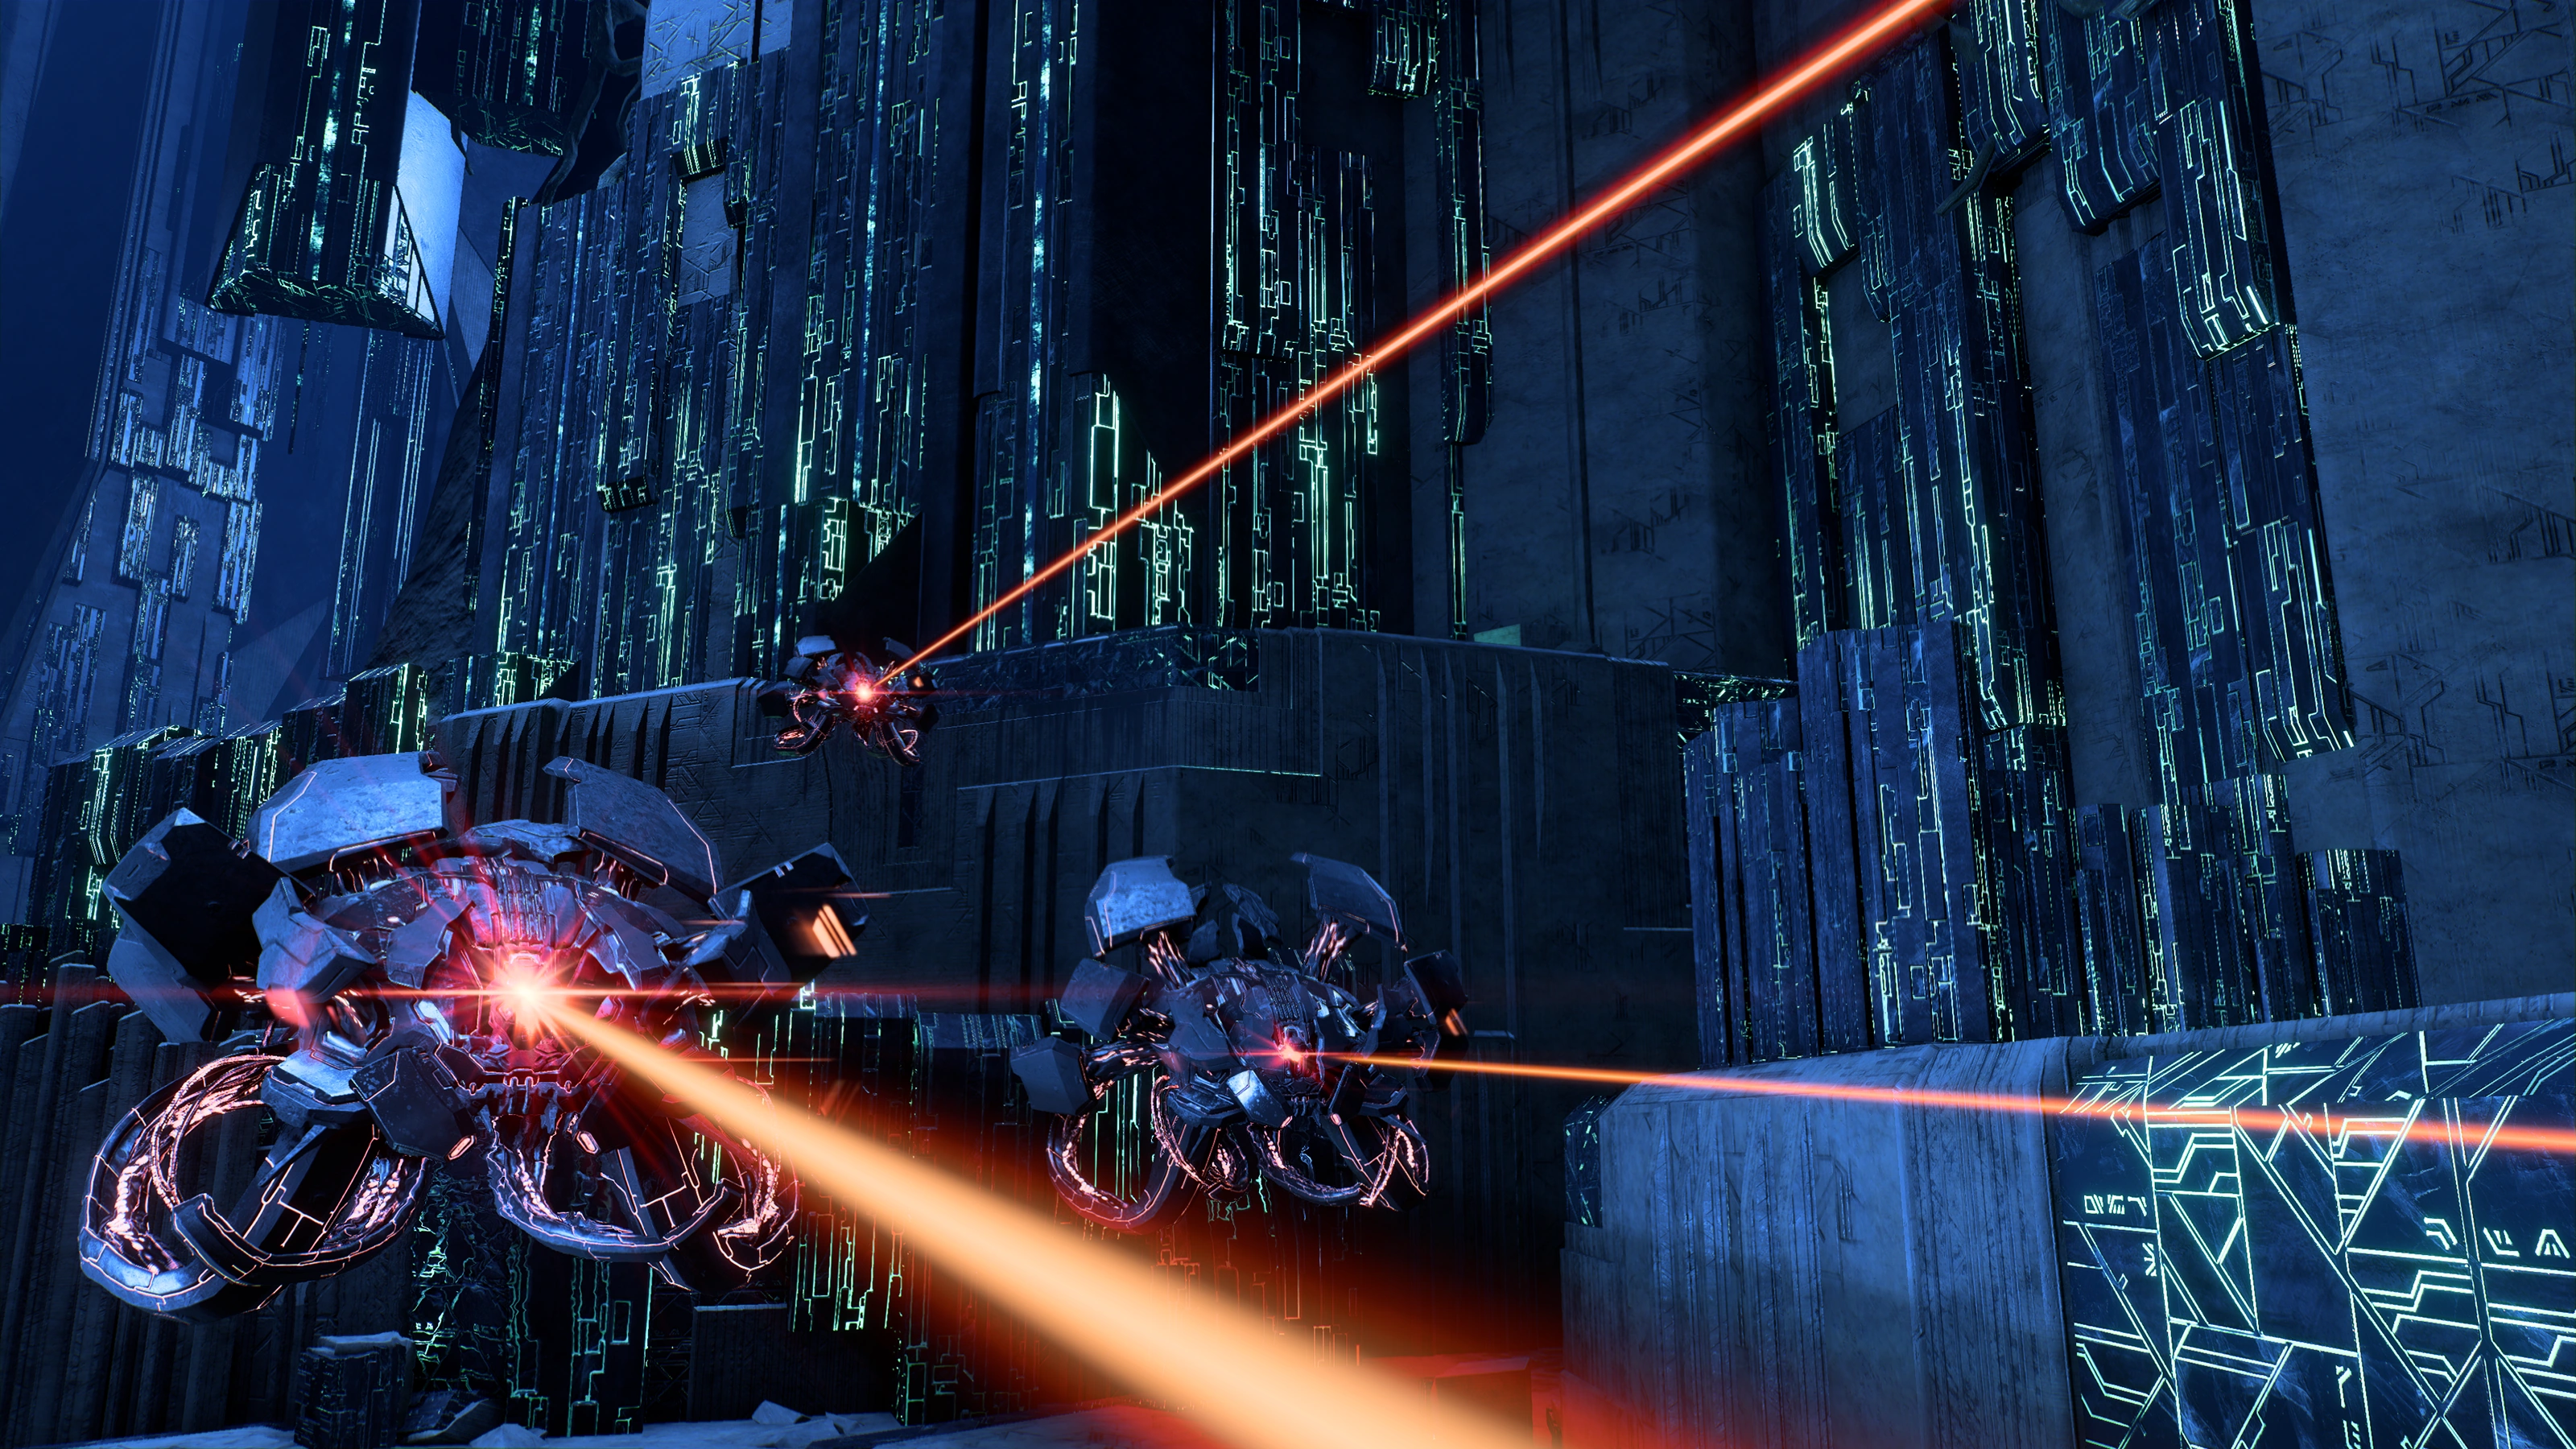
When you're out of the room, use the nearby console. This console will provide access to the northern section of the vault. Ryder thinks you should backtrack, so best follow your own advice. A trio of Observers pop up on your way though, so you'll have to deal with them first. There's a bunch of blast shields here you can crouch behind, though better move fast or they'll float and fire at your flank.
Head back to the tree platform and take the newly-accessible northern path to a new platform.
Follow the conduit to the source
On setting foot at the northern platform, this objective pops up. You can follow the objective marker![]() immediately by interfacing with the western console to start a trail, though if you want to explore further ignore it for the moment. There's an ammo cache here if you need it. The locked door nearby cannot be opened by any means; pay it no attention.
immediately by interfacing with the western console to start a trail, though if you want to explore further ignore it for the moment. There's an ammo cache here if you need it. The locked door nearby cannot be opened by any means; pay it no attention.
Immediately jump up to a ledge to the north-west to access another container and another console. This console will open a path to the southern section.
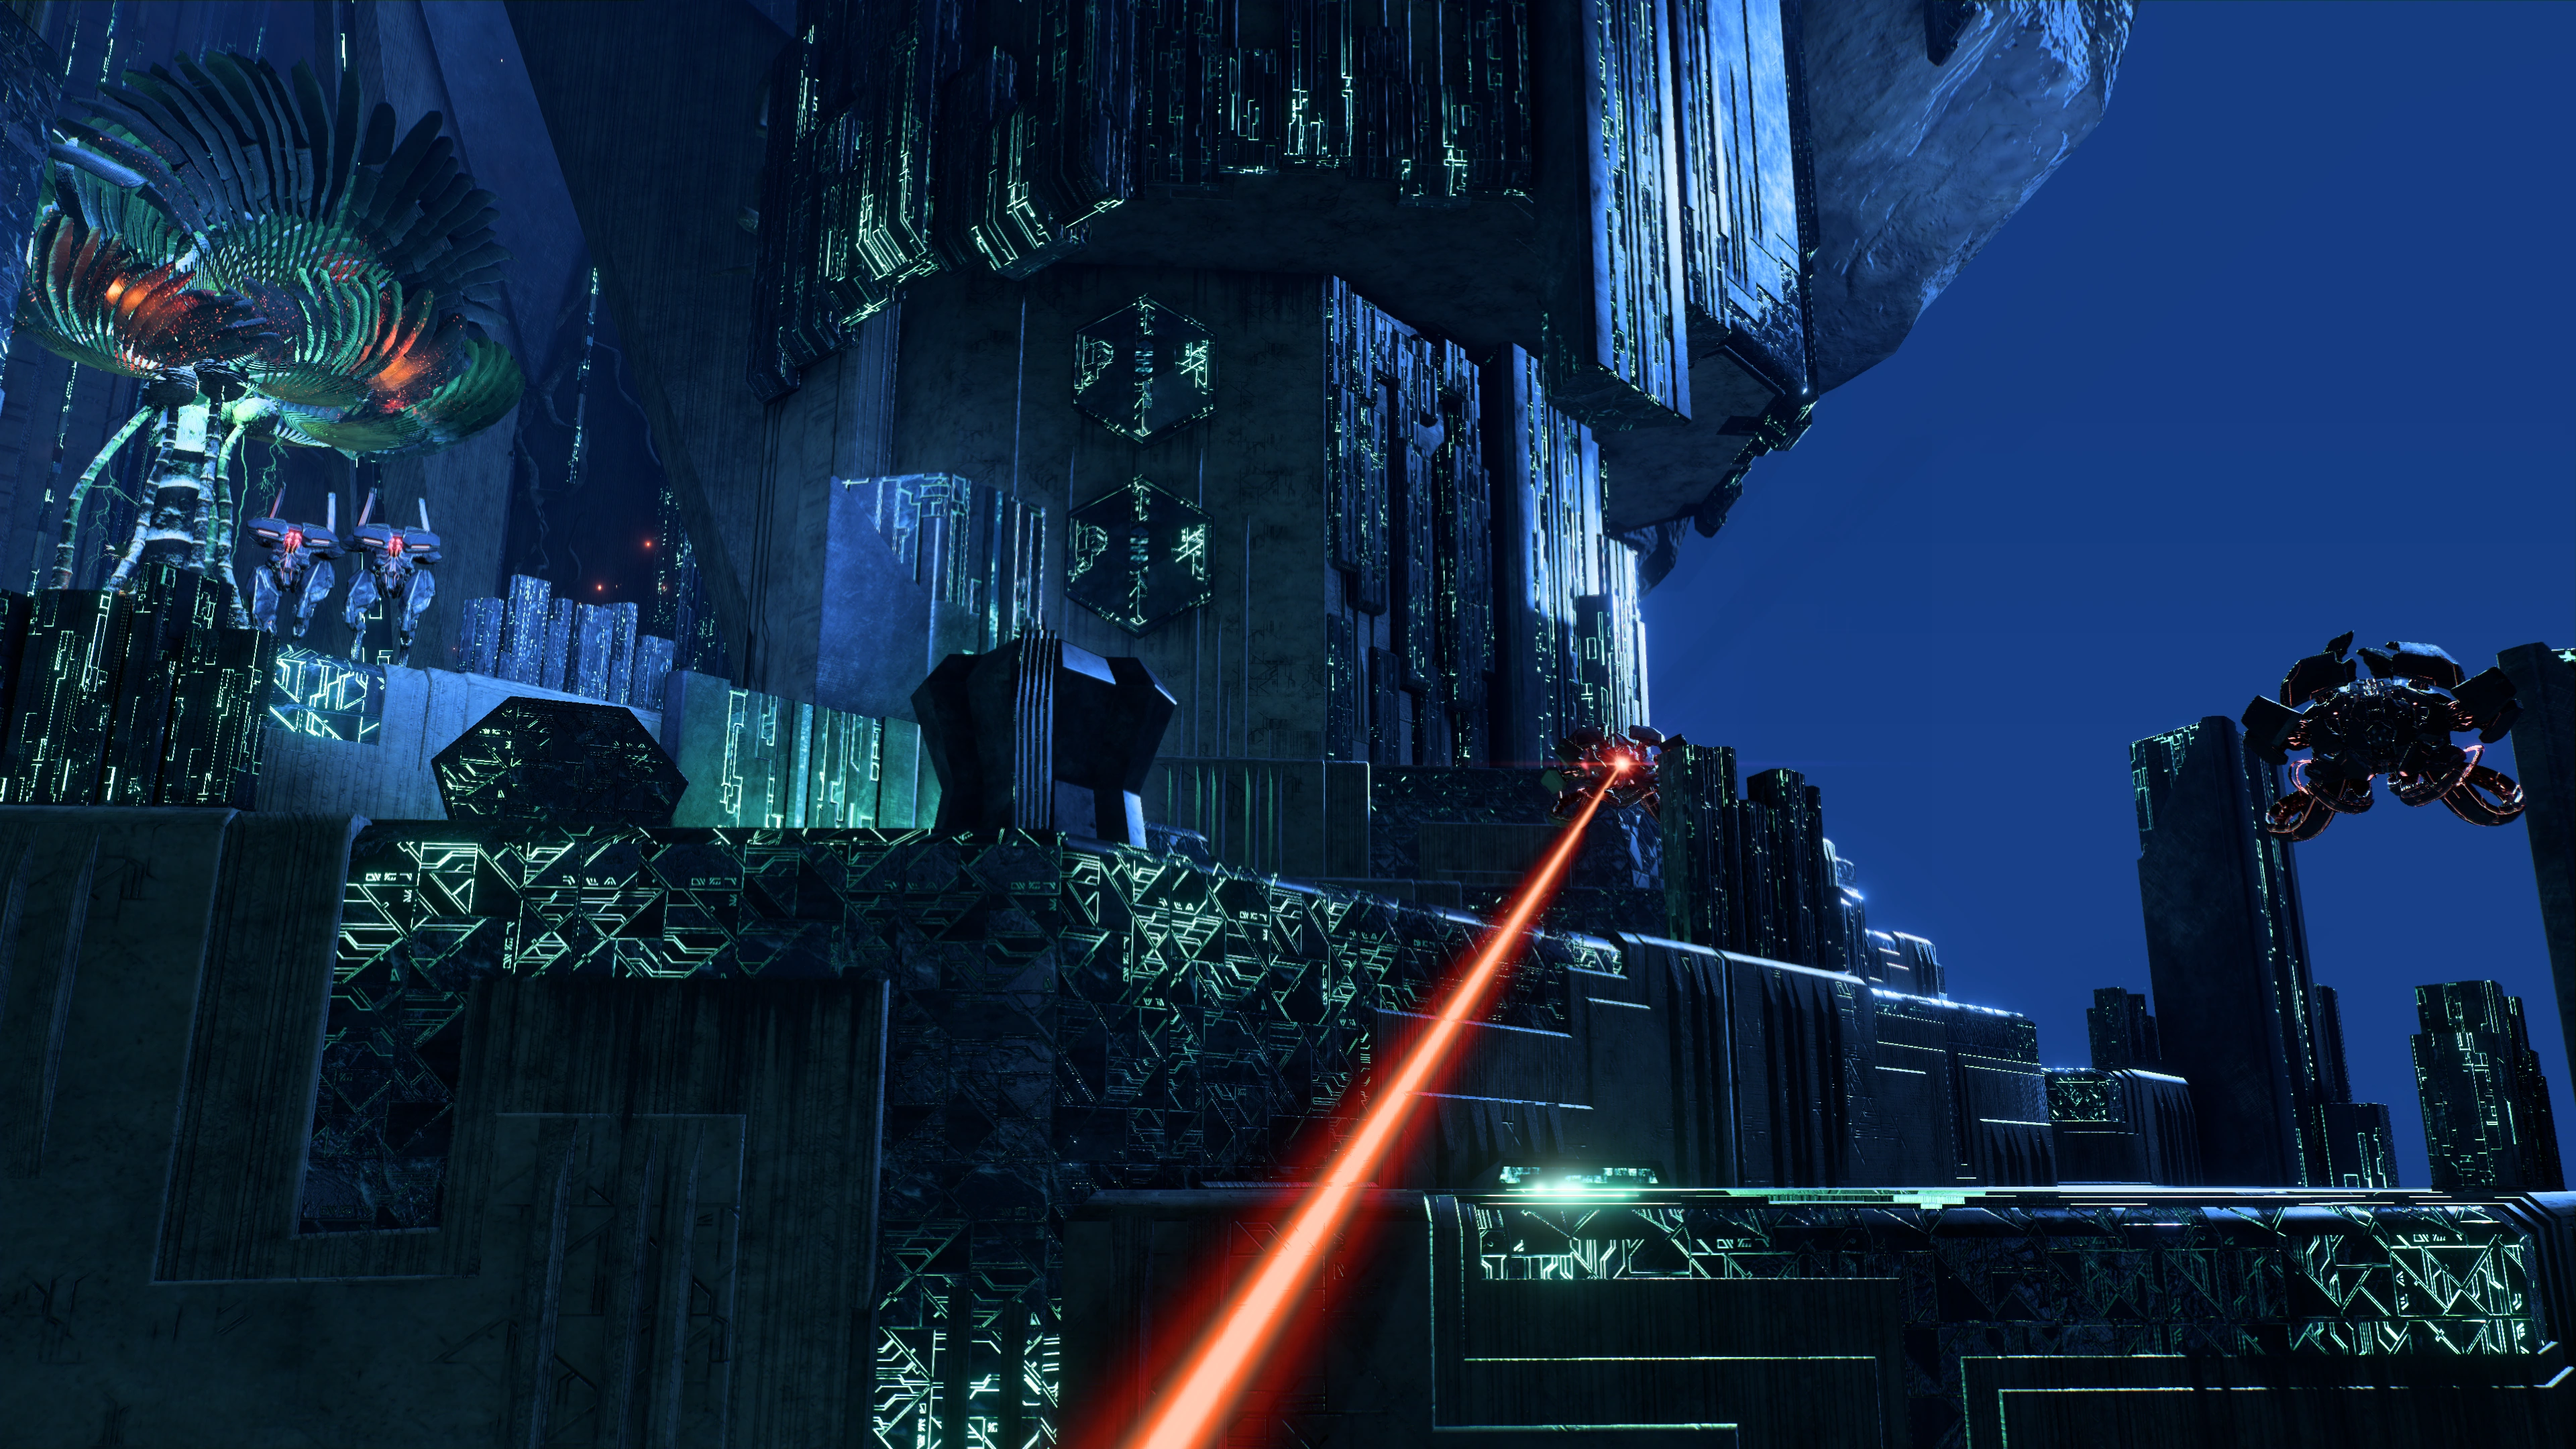
Go back to the tree platform and continue to the southern path. On the southern platform, a welcoming party of Observers and Assemblers greet your arrival. Take your time dealing with them; plenty of cover and fallback positions around.
After dealing with them, before going into the area with another tree there are three containers. One is just next to a blast shield. Another is up on the ledges, requiring climbing and jumpjets to reach. The last one is at the promontory overlooking the southwesternmost reaches of the map; one of your squadmates may have something to say here.
Now head back to the nearby tree-area that Ryder describes to be some sort of library. In this location, you will find six Data Patterns that can be scanned for +10![]() each (+60
each (+60![]() total). This location also has two glyphs (Reflection Glyph and Nihility Glyph) to be scanned that allow access to the puzzle container. (This puzzle is required for the Cryptographer Achievement). For the puzzle solution, see here.
total). This location also has two glyphs (Reflection Glyph and Nihility Glyph) to be scanned that allow access to the puzzle container. (This puzzle is required for the Cryptographer Achievement). For the puzzle solution, see here.
Once you've collected all of the items, jump back over to the first tree platform and onto the northern platform once more.

Interface with the western console (on the northern platform) to raise pillars to open a new pathway. Doing that, however, attracts the attention of another Observer trio plus an Assembler. Defeat them. The cover spots are near the bots, so shooting (or powers) from afar may be more prudent.
The pillars lead to another tree platform. Again it isn't possible to jump across to the final platform without using the console; Ryder confirms on approach to the edge. Interface with the console on this platform to activate a bridge.
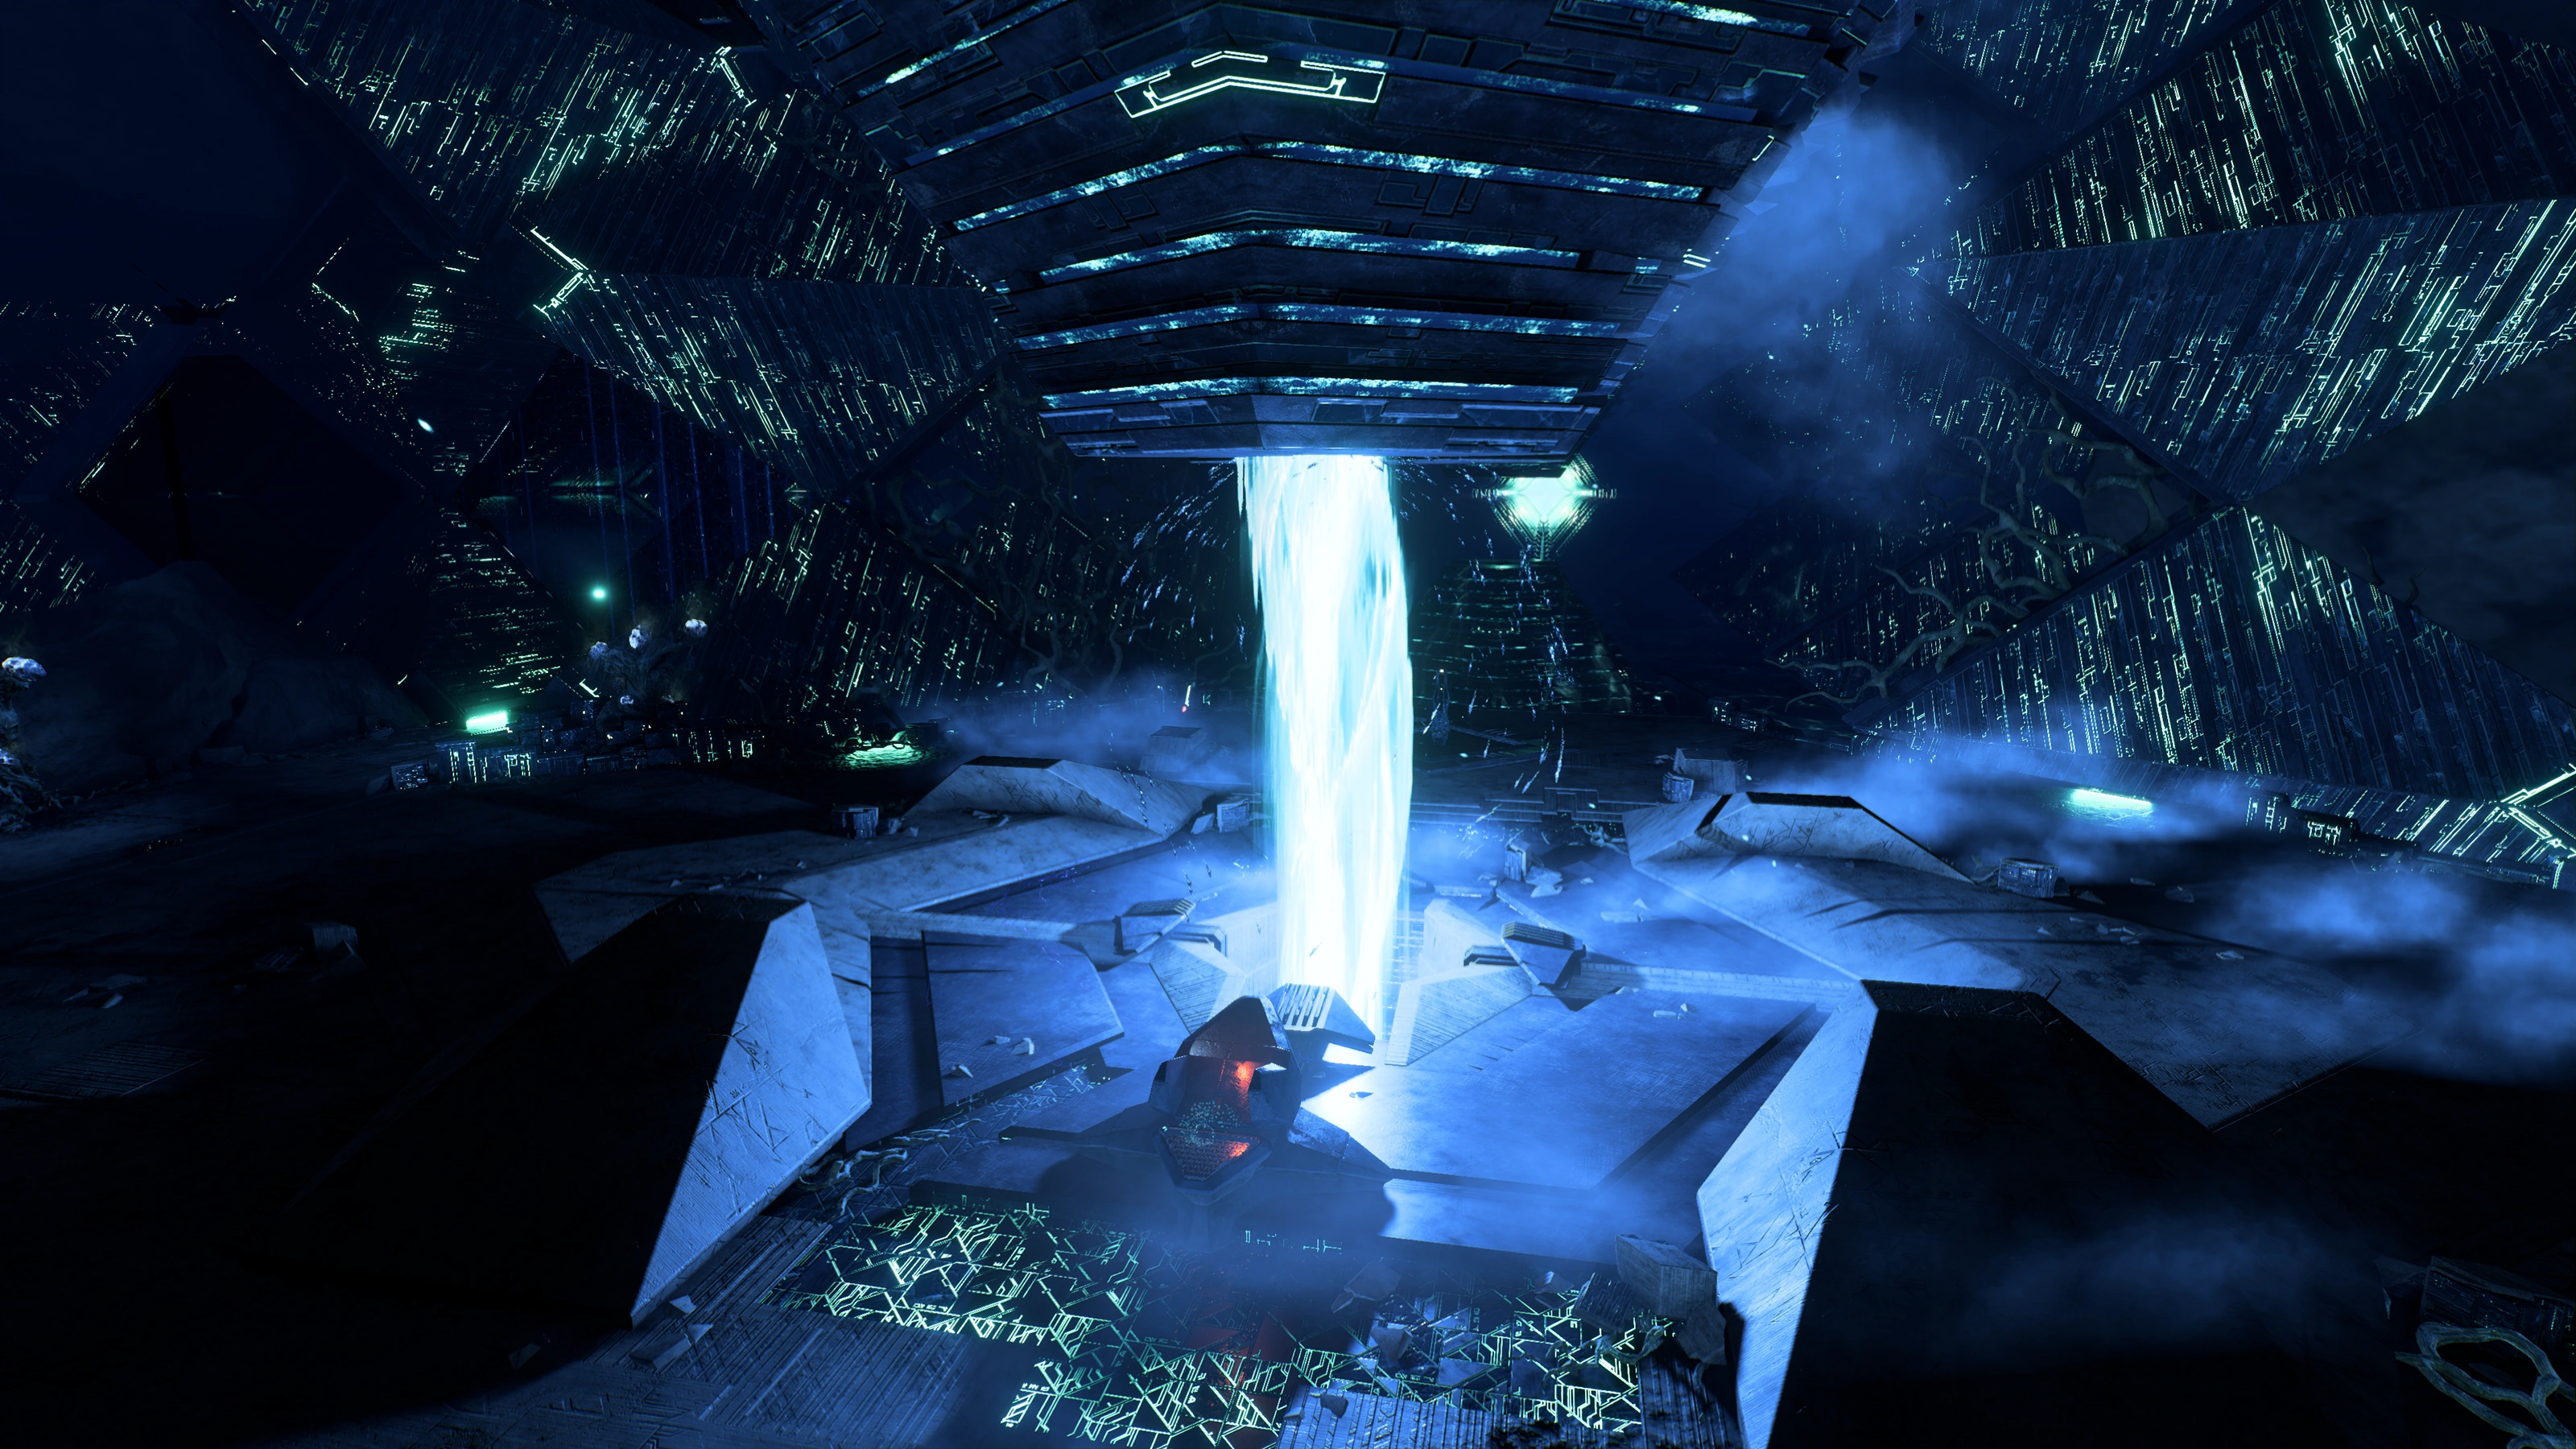
Cross the bridge and loot from the container on the left before going through the main door to the north. The main door takes Ryder to the heart of the vault.
The giant energy beam cannot be scanned but an Adaptive Remnant Core Device to the right can (+100![]() ). The nearby Remnant Barrier can also be scanned, though it has no research points. There is also a nearby container and a health cache.
). The nearby Remnant Barrier can also be scanned, though it has no research points. There is also a nearby container and a health cache.
If, for some reason, you are compelled to go near the beam, don't. It's a level 4 electrical hazard.
Escape the vault
Once you've collected everything you need, and are ready to finish the mission, access the main console highlighted by the objective marker, and get ready to run. Activating the console starts a purification field that you must outrun. The final autosaves in the vault record here, and the Fusion Mod of Shielding is automatically awarded.
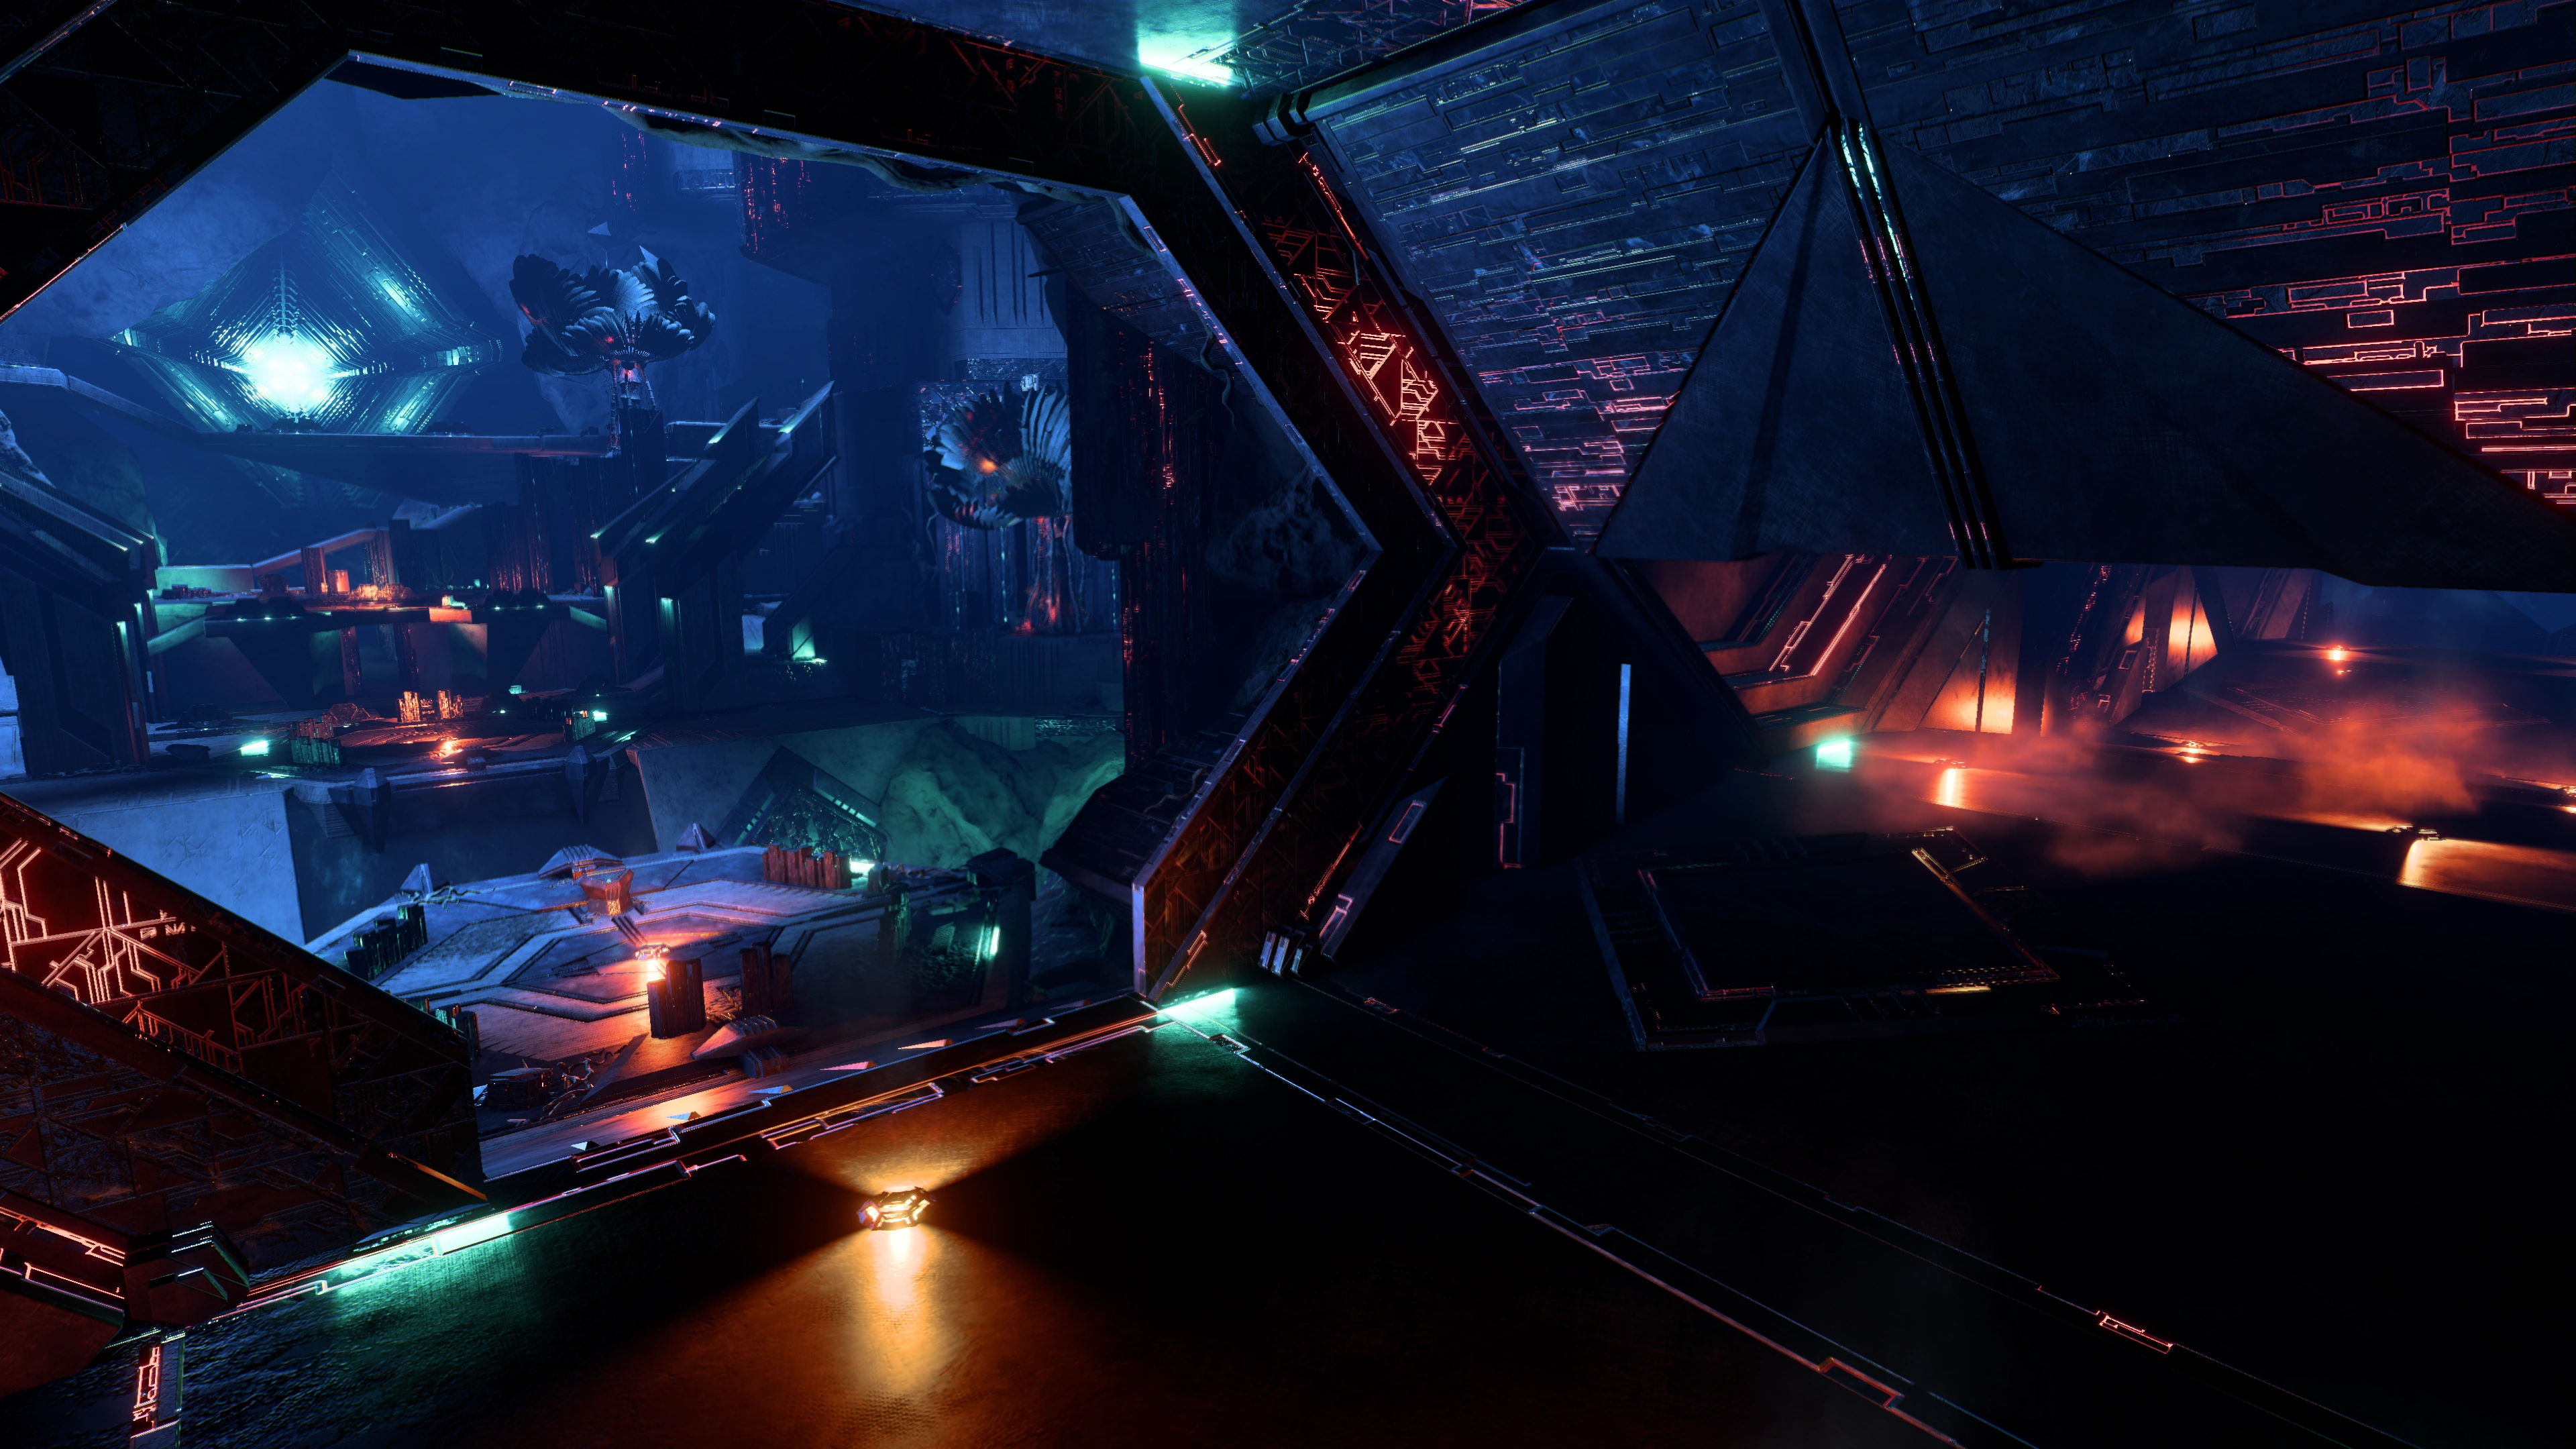
Simply have Ryder follow the objective marker to exit the vault, and always move forward. The purification field will always be behind you, but if you dawdle to take a look for a few seconds too long it will consume you along with everything else. Several obstacles can delay the escape: avoid the square (or diamond) floor vents, they'll spew hazards, and immediately use the first console you see to activate a bridge.
At the end of the path, behind a door is a gravity well. Use it and it will deposit you back to Level 1.
Quickly do the objective below, or ignore it. Whatever you decide, run for the door to the north afterward. Once you open it a long cutscene will trigger. Peebee barely makes it with some Observers on her heel, the final door to the surface won't budge, and Ryder has a desperate idea to interface with the nearby console, though the purification field recedes on its own. Vault restart complete, and you can choose how to react on the team's experiences in a conversation.
Afterward, SAM reports some interesting connections between the Remnant and the Heleus Cluster, and you have further opportunities to steer the conversation.
When Ryder exits the vault, +1330 XP, +1150 AVP![]() , and +50% Eos viability are awarded. The skies are also clearer, thanks to superfast terraforming. Peebee confirms Ryder is her ticket to the Remnant and requests to join the team. She won't take no for an answer, and here's your new squad member.
, and +50% Eos viability are awarded. The skies are also clearer, thanks to superfast terraforming. Peebee confirms Ryder is her ticket to the Remnant and requests to join the team. She won't take no for an answer, and here's your new squad member.
Note: A forward station is established on the vault island after the vault is activated, but unlike other forward stations, no additional AVP or planet viability is awarded. Peebee, although she just flew out of the area through her shuttle, can immediately be selected as a squadmate in the loadout section.
Optional: retrieve the unsealed item
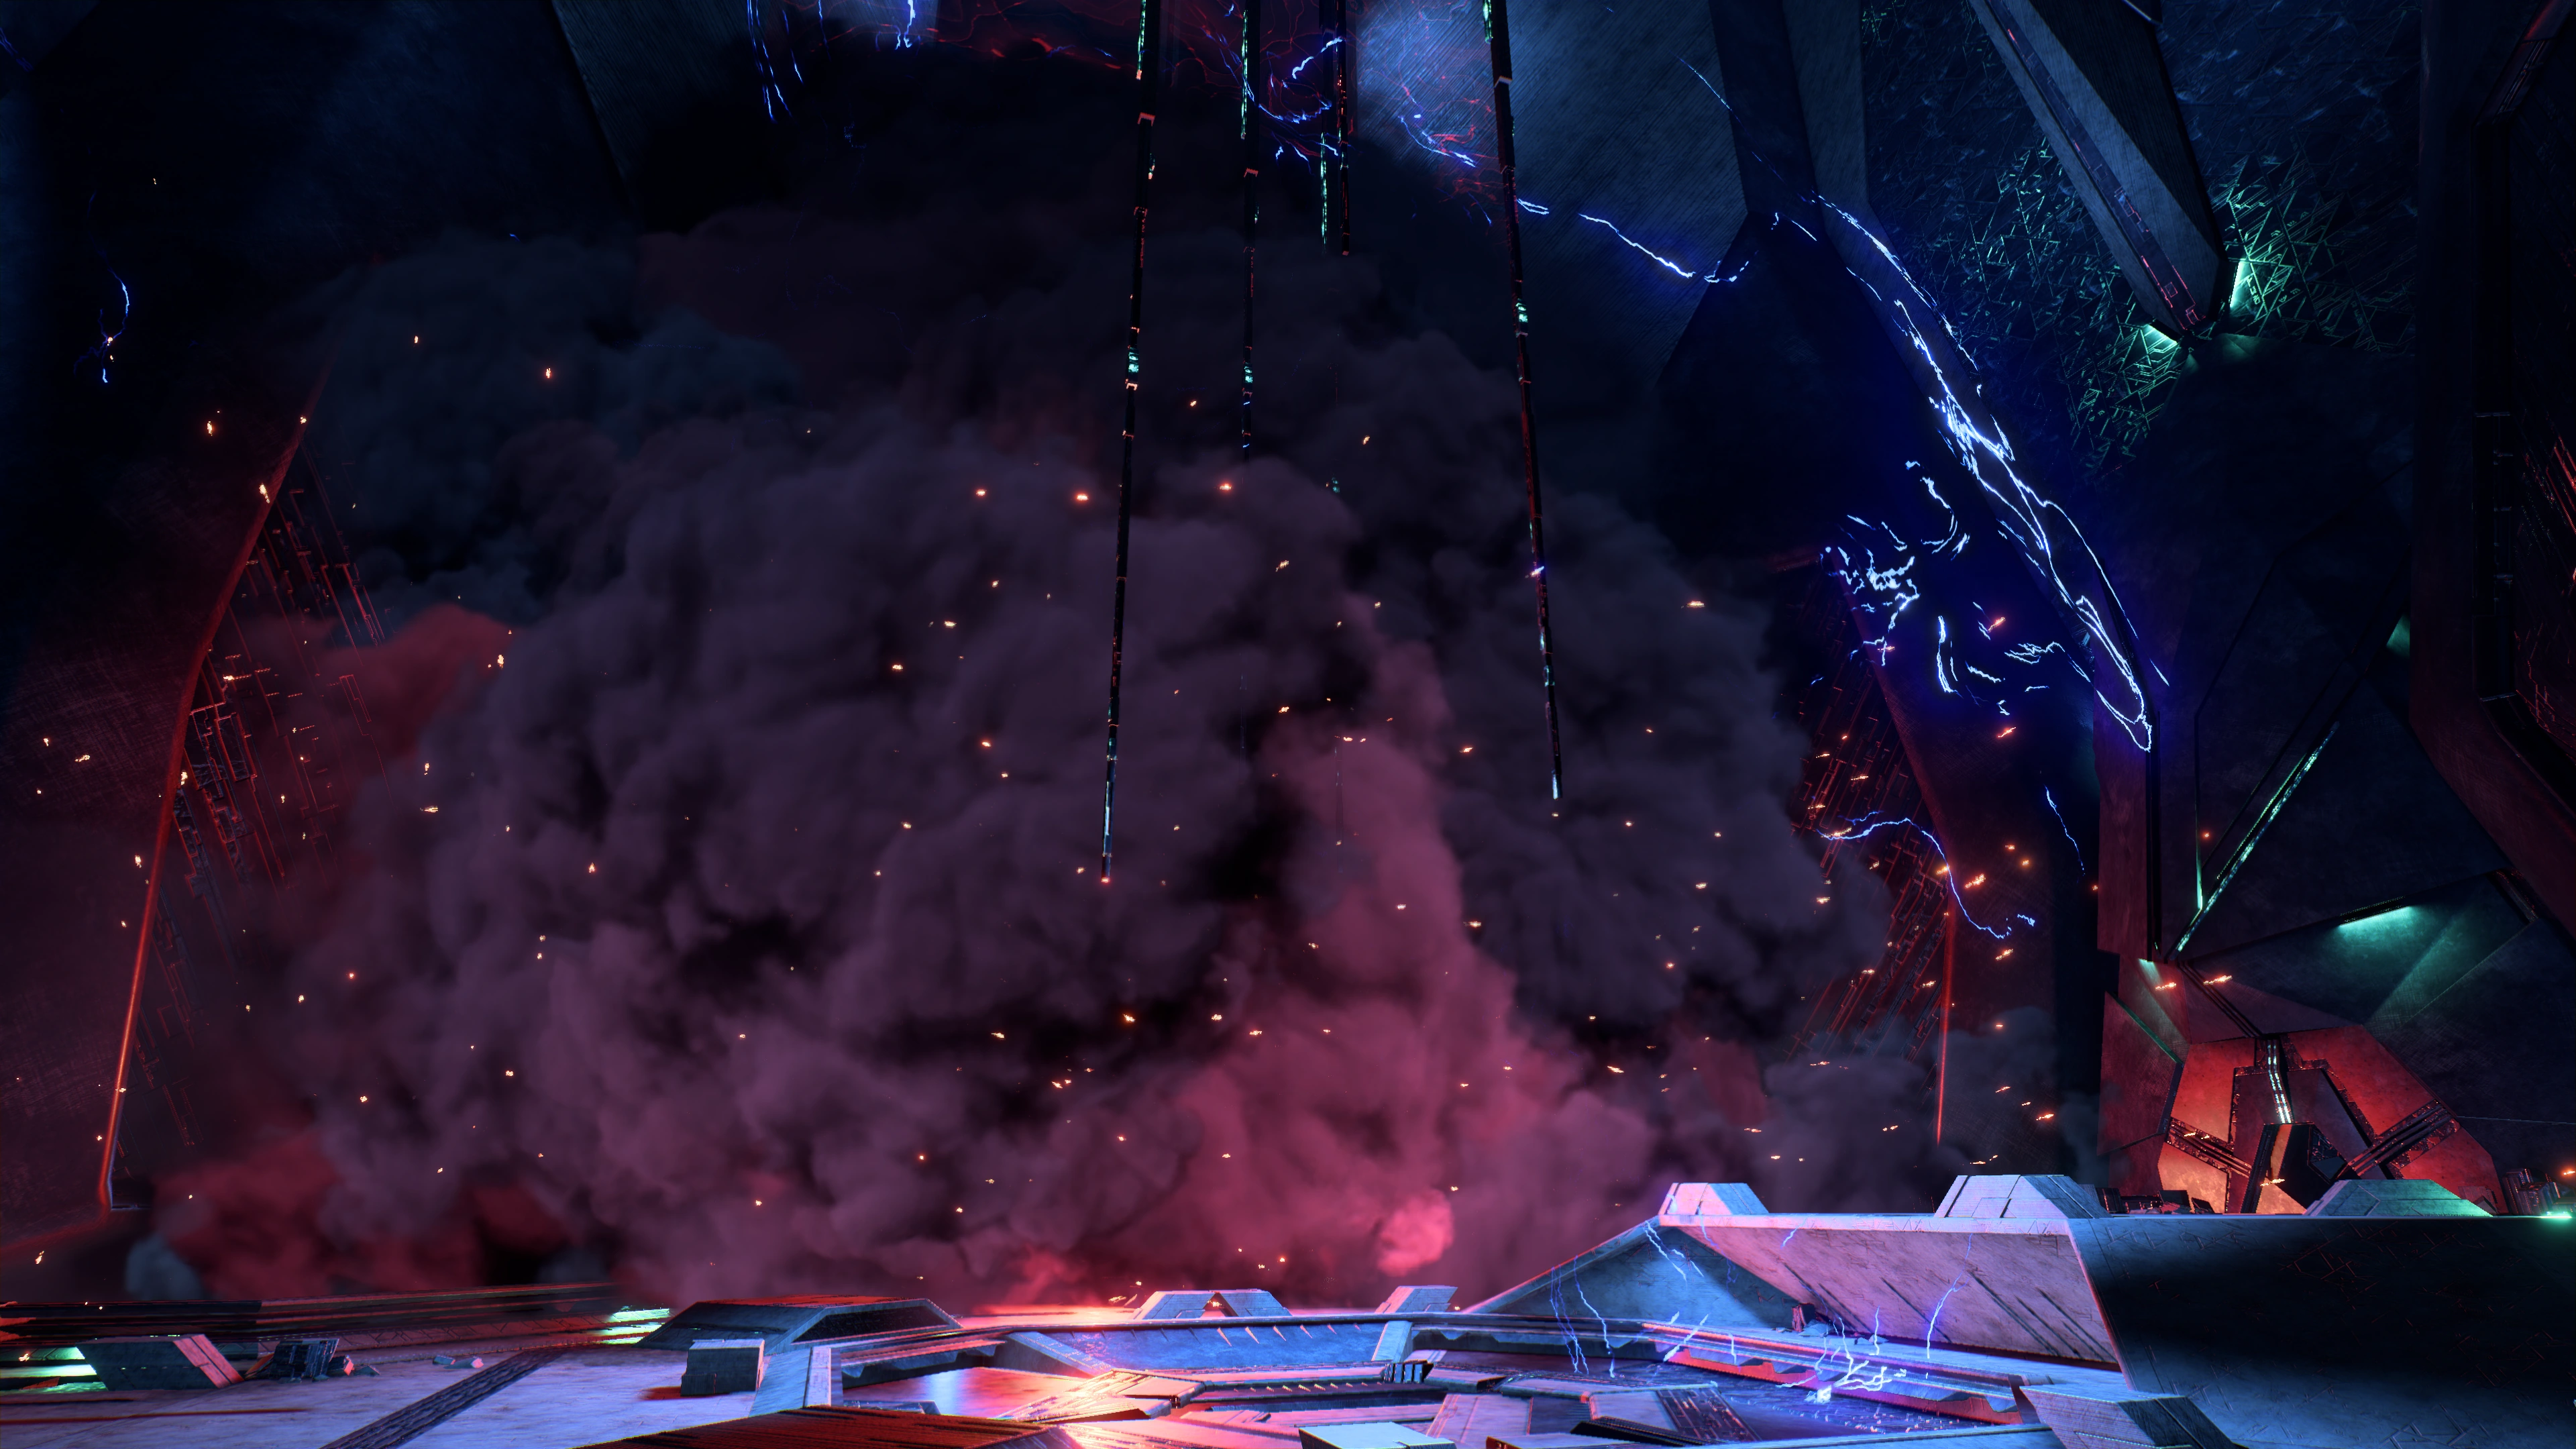
As soon as you return to Level 1, after using the gravity well, Ryder will comment that the force field from earlier in the mission is deactivated (the area will now be marked on the map with![]() ).
).
Quickly jump up the ledge to the west and loot the container for +142 XP and a large array of miscellanea, plus three guaranteed Remnant Cores.
To emphasize, you aren't required to complete this objective given the time constraints, though it's a trade-off between escaping alive or some valuable loot. It's merely a matter of your own dexterity if you can pull it off.
Establish an outpost at an appropriate site
Use the Nomad to travel to the objective location. If you activated the forward station near the southern monolith, you can use the forward station to fast travel very near to the site.
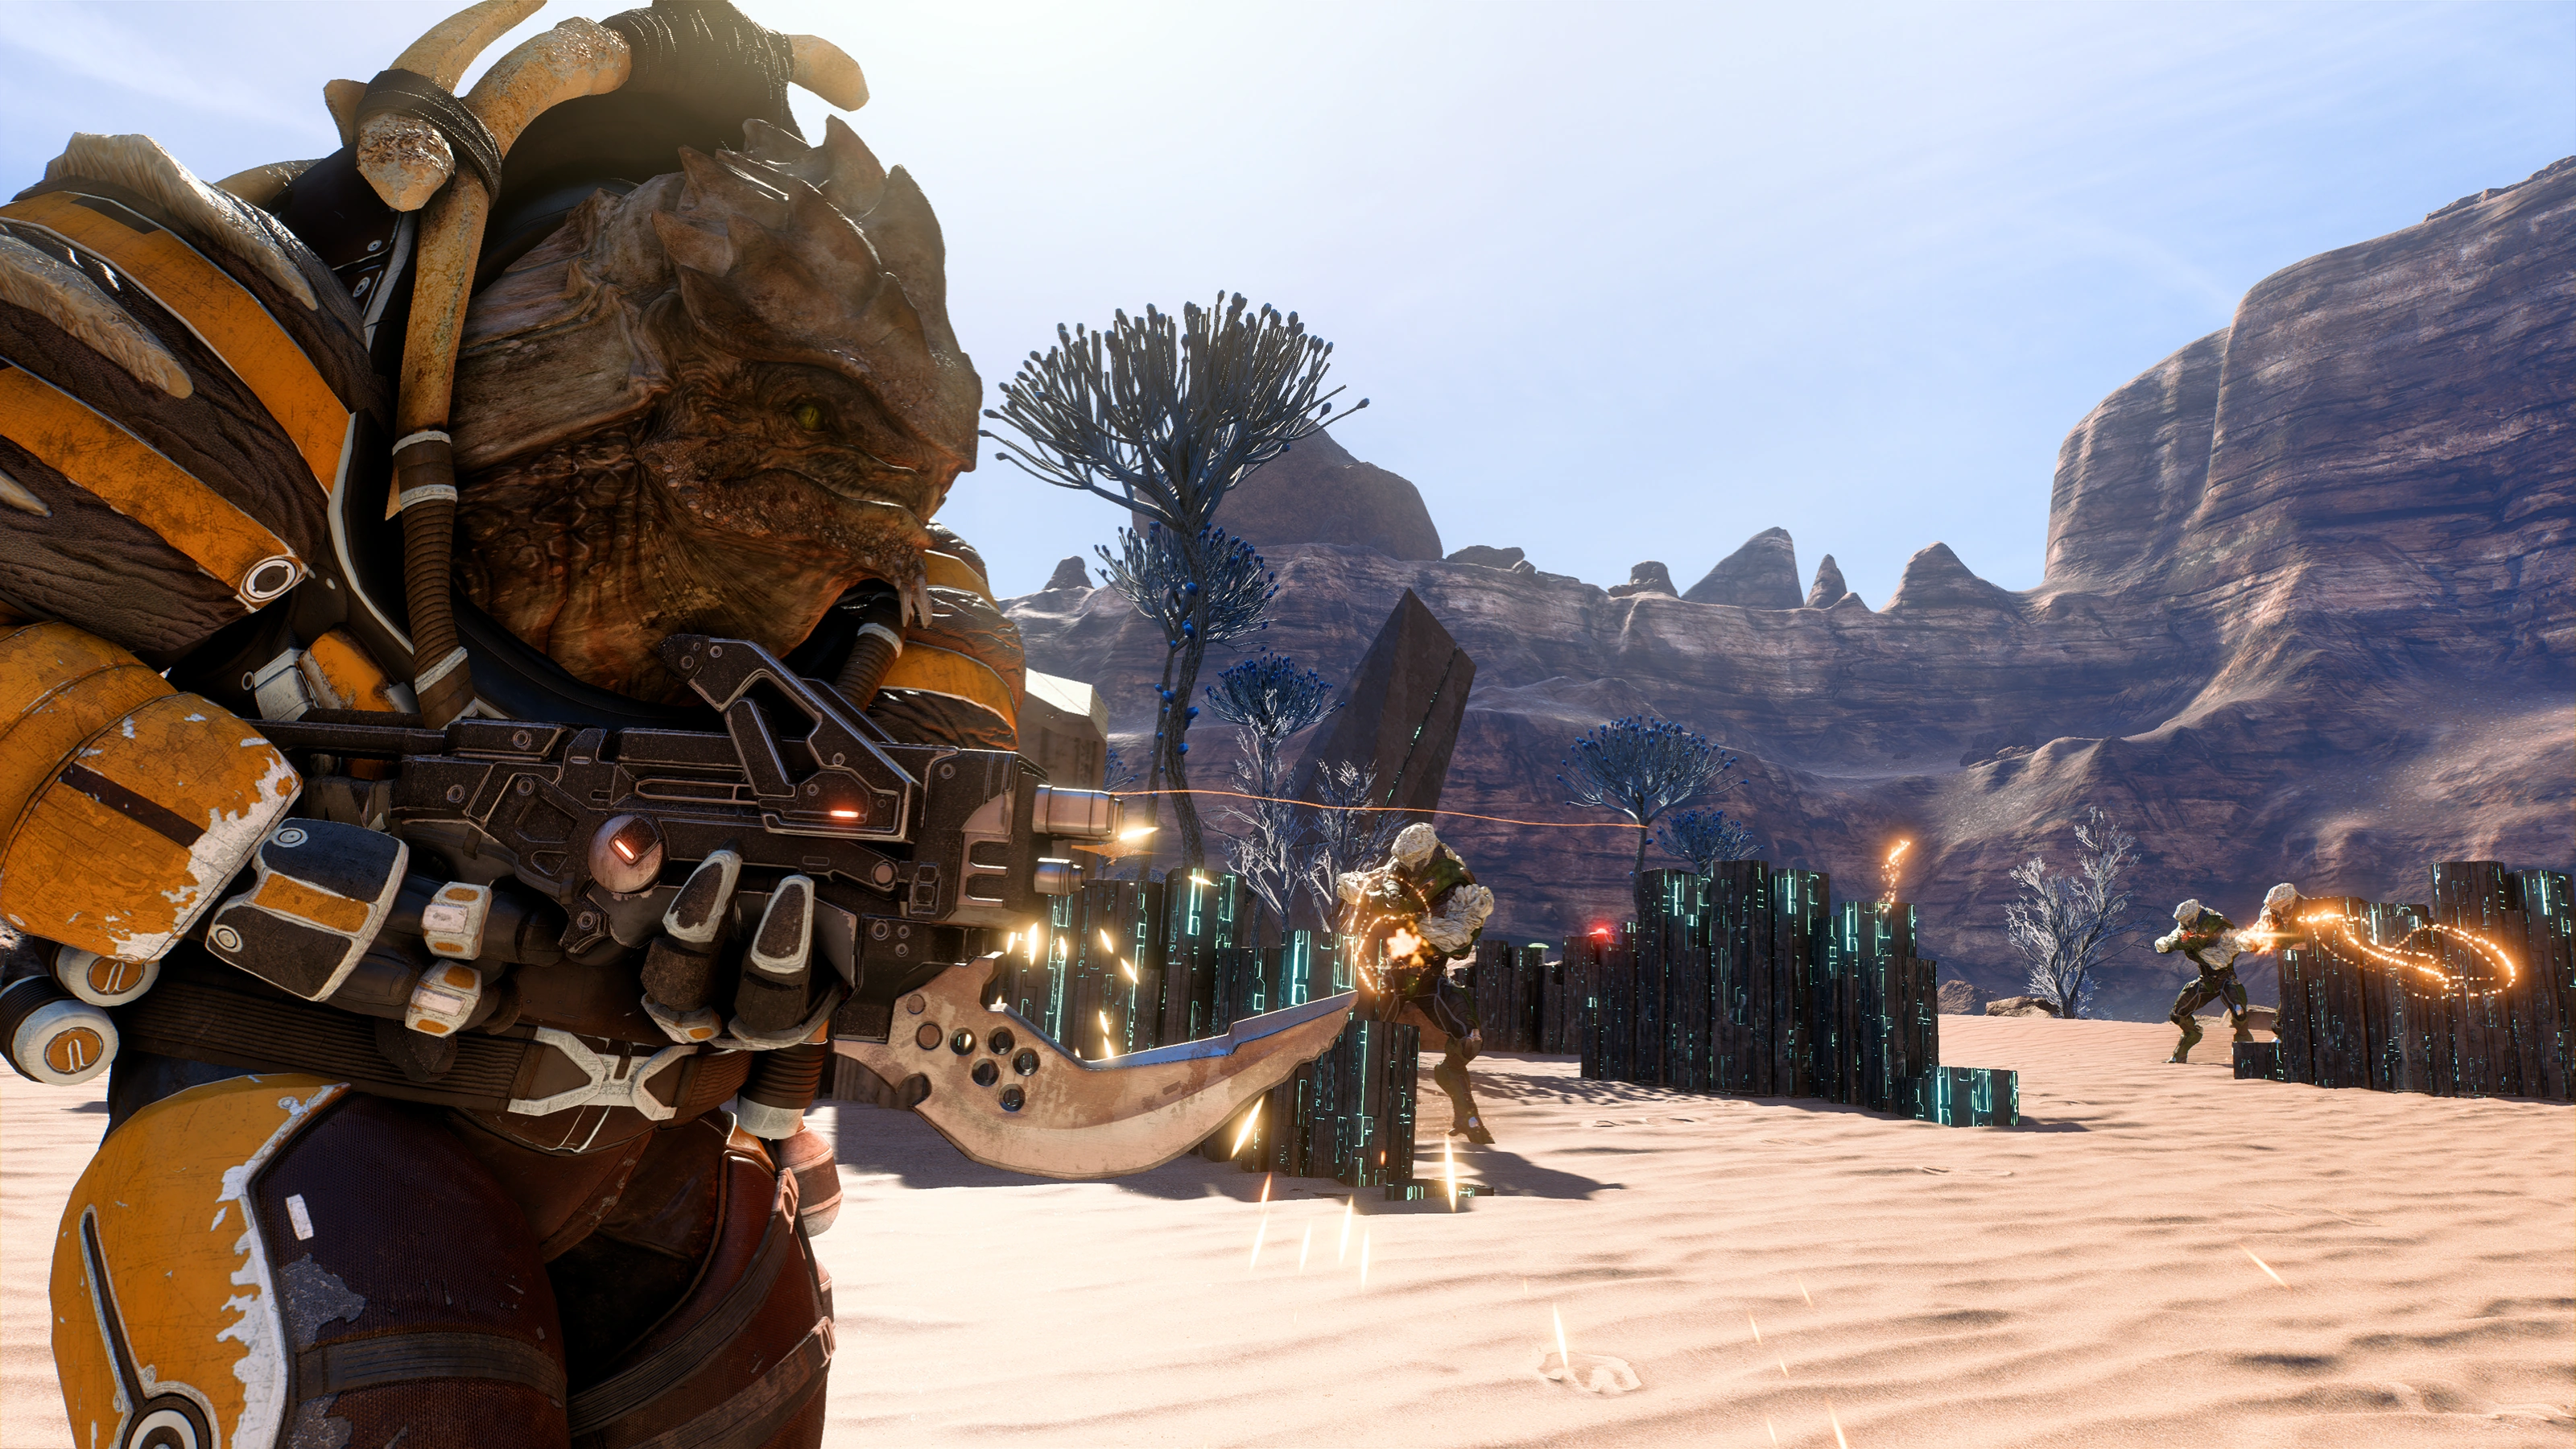
Upon approach, Ryder spots Drack in battle against a kett platoon. Drive over and exit the vehicle to help him fight the kett off: 4-6 Chosen initially deployed from two dropships, then joined by another dropship with Anointed and more Chosen after your arrival. Note: Don't worry about Drack dying; he and the kett are invincible before you enter the fray.
When the dust has settled, Drack revises his opinion of Ryder after being impressed by the squad's combat abilities, and decides to join the crew.
After talking to Drack, interact with the outpost beacon to initiate the settlement procedure. Ryder will be faced with an important decision about the nature of the new outpost![]() : should it have a scientific or a military focus? Warning: You do not make the decision for each individual outpost further down the game, only this one. Whatever you choose will become the focus of all future outposts. Either decision will please some and upset others.
: should it have a scientific or a military focus? Warning: You do not make the decision for each individual outpost further down the game, only this one. Whatever you choose will become the focus of all future outposts. Either decision will please some and upset others.
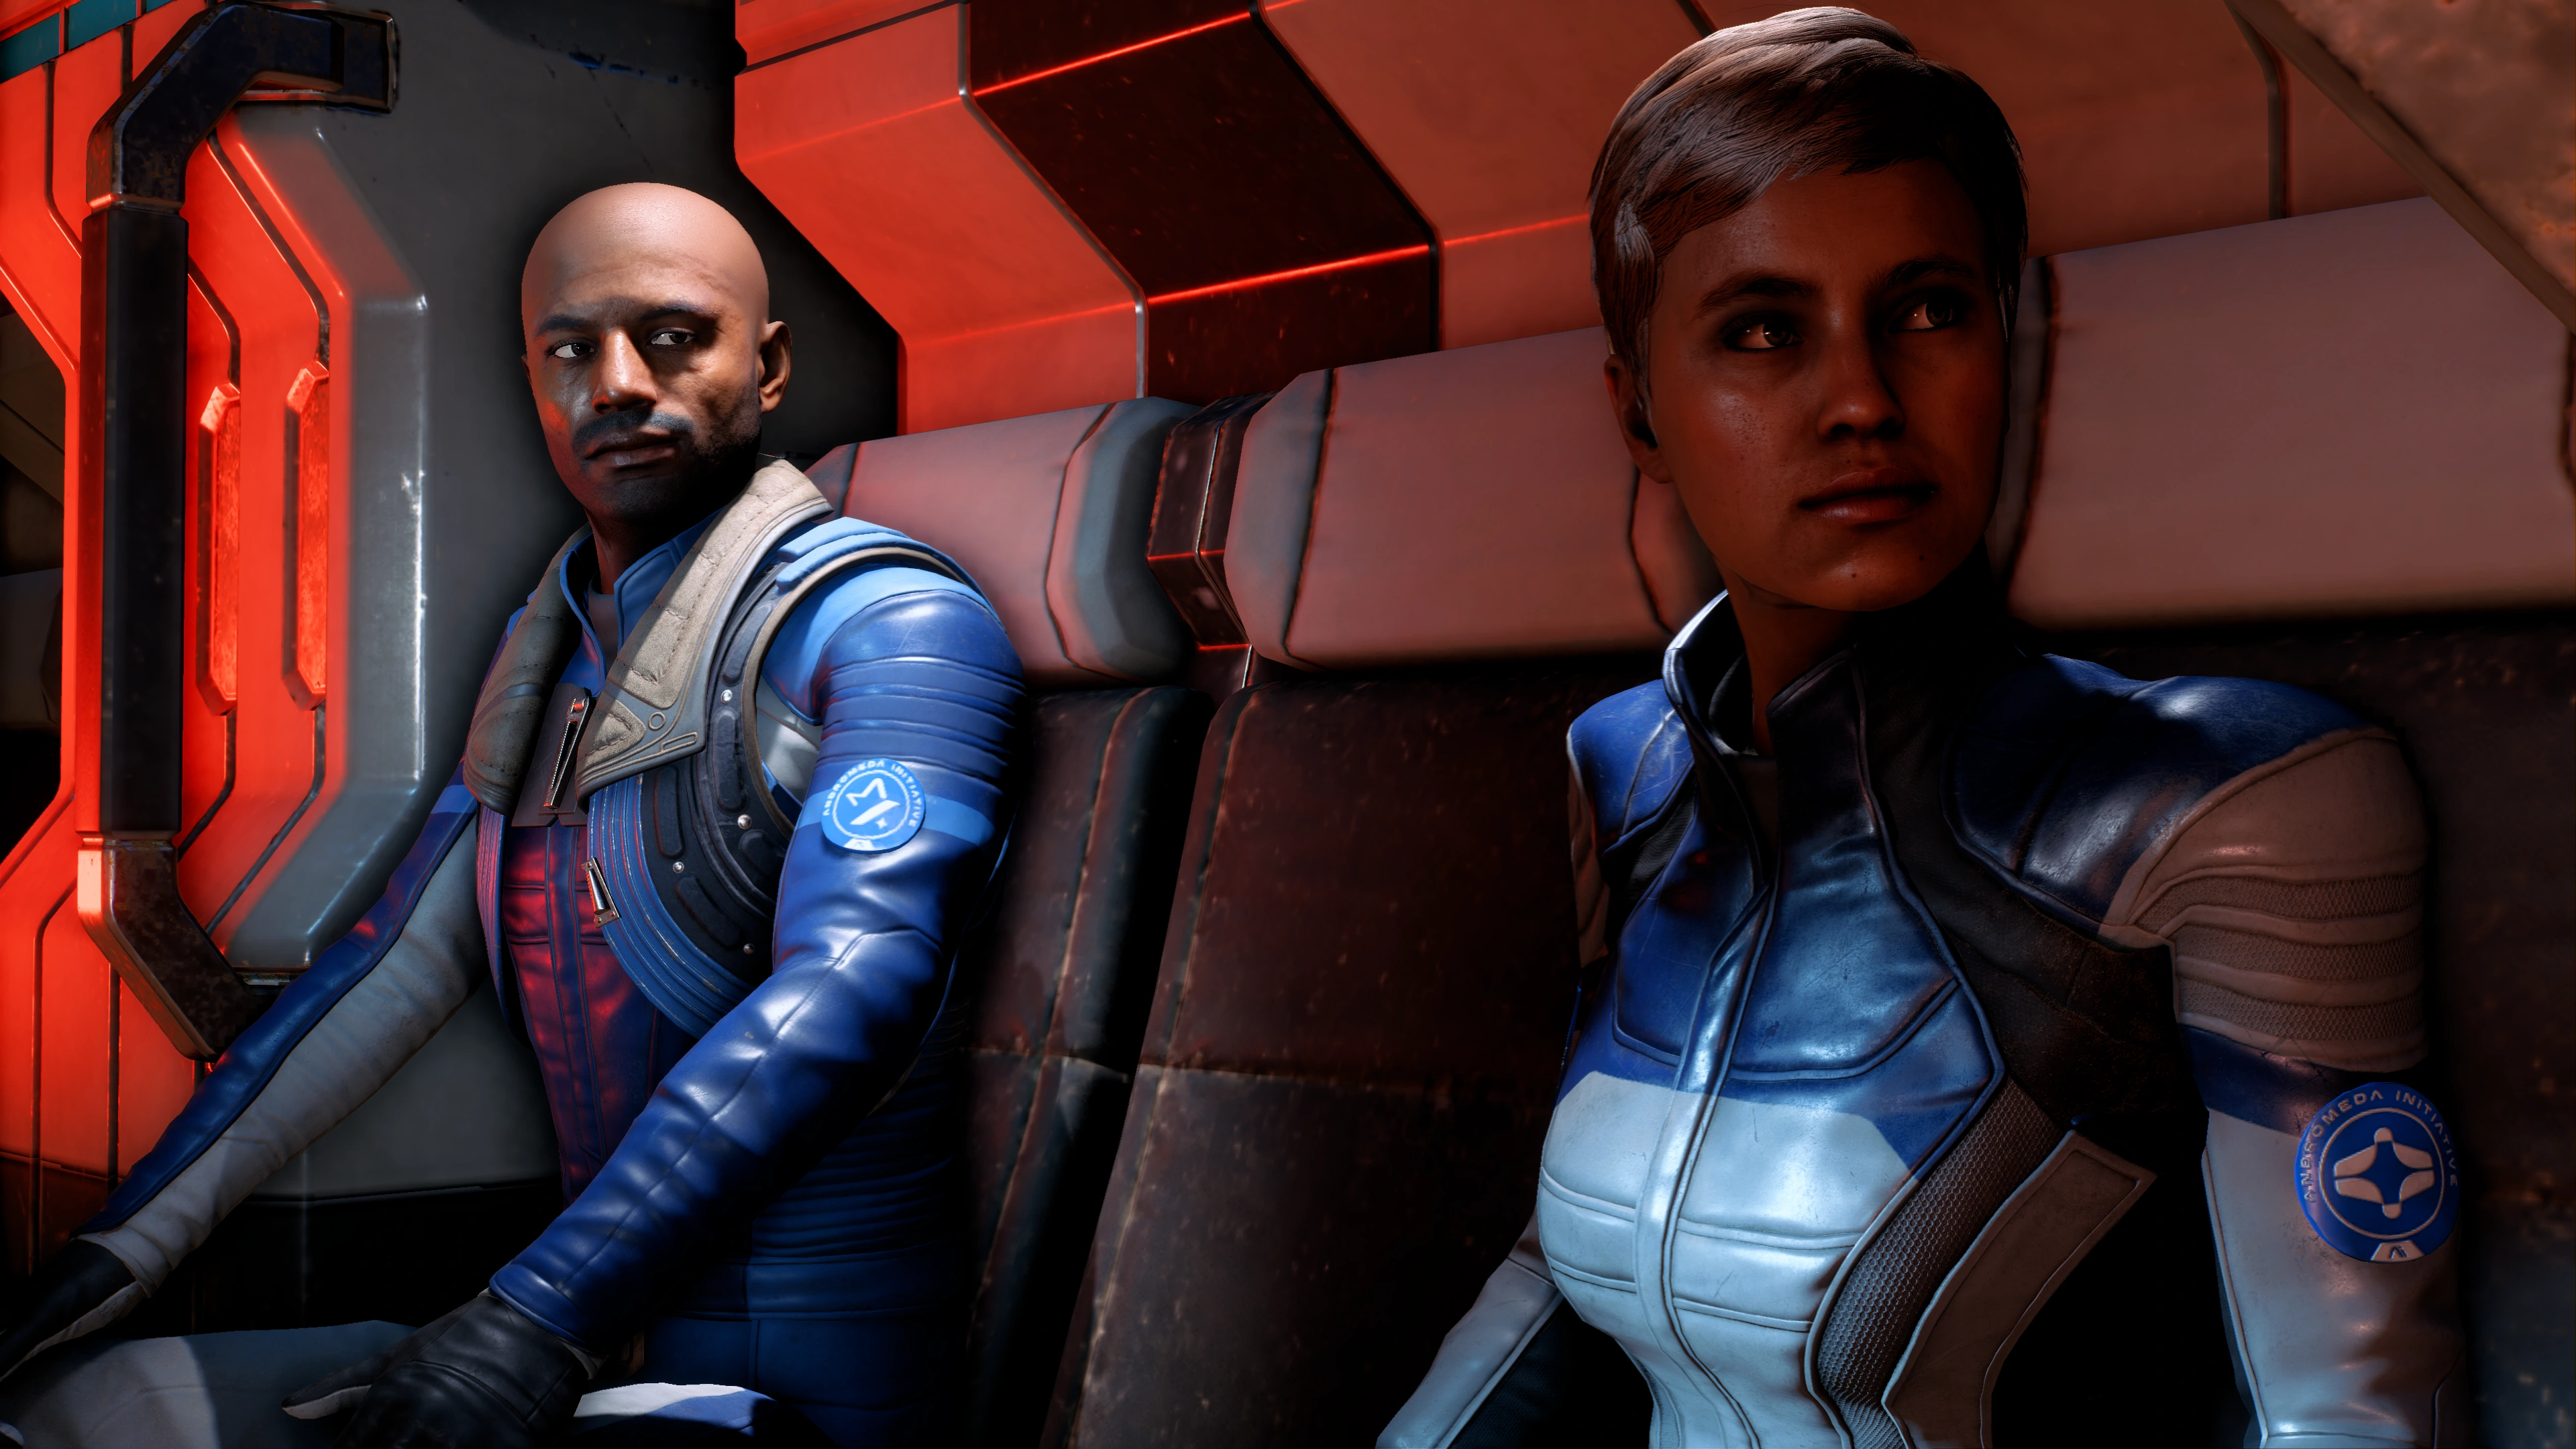
Once you decide, shuttles begin bringing colonists down to the surface, and many prefab buildings are deployed. August Bradley is assigned as the mayor of the new settlement, which the inhabitants call Prodromos.
Foster Addison promptly takes Ryder aside to discuss the situation. After a few ambiguous compliments and reprimands (where you can steer the conversation twice according to your opinions on her), she departs for the Nexus, leaving you overlooking the home you've just made possible.
Feel free to head down to explore and socialize. From this point forward, The Tempest now parks in Prodromos instead of Site 1 when revisiting the planet. When you're ready, return to your ship.
Setting up the outpost will award +300 AVP ![]() and +10% Eos viability. The mission AVP Cryo Deployment Perks also becomes available after the talk with Addison.
and +10% Eos viability. The mission AVP Cryo Deployment Perks also becomes available after the talk with Addison.
Speak with Tann at the Nexus Pathfinder HQ
On the Tempest, after a quick introductory meeting for the Pathfinder team's two new members, you will have free reign of the ship. Take the opportunity to get to know the crew, who are no longer too busy to talk. Use the email terminal to pick up some side missions.
When you're ready, use the Galaxy Map to travel back to the Nexus, greet the crowd headed by Professor Herik and Lieutenant Sajax, then take a tram from the Docking Bay to Operations.
Enter the door to the Pathfinder HQ to discover that it has been transformed from a storage closet into a large office and meeting room.
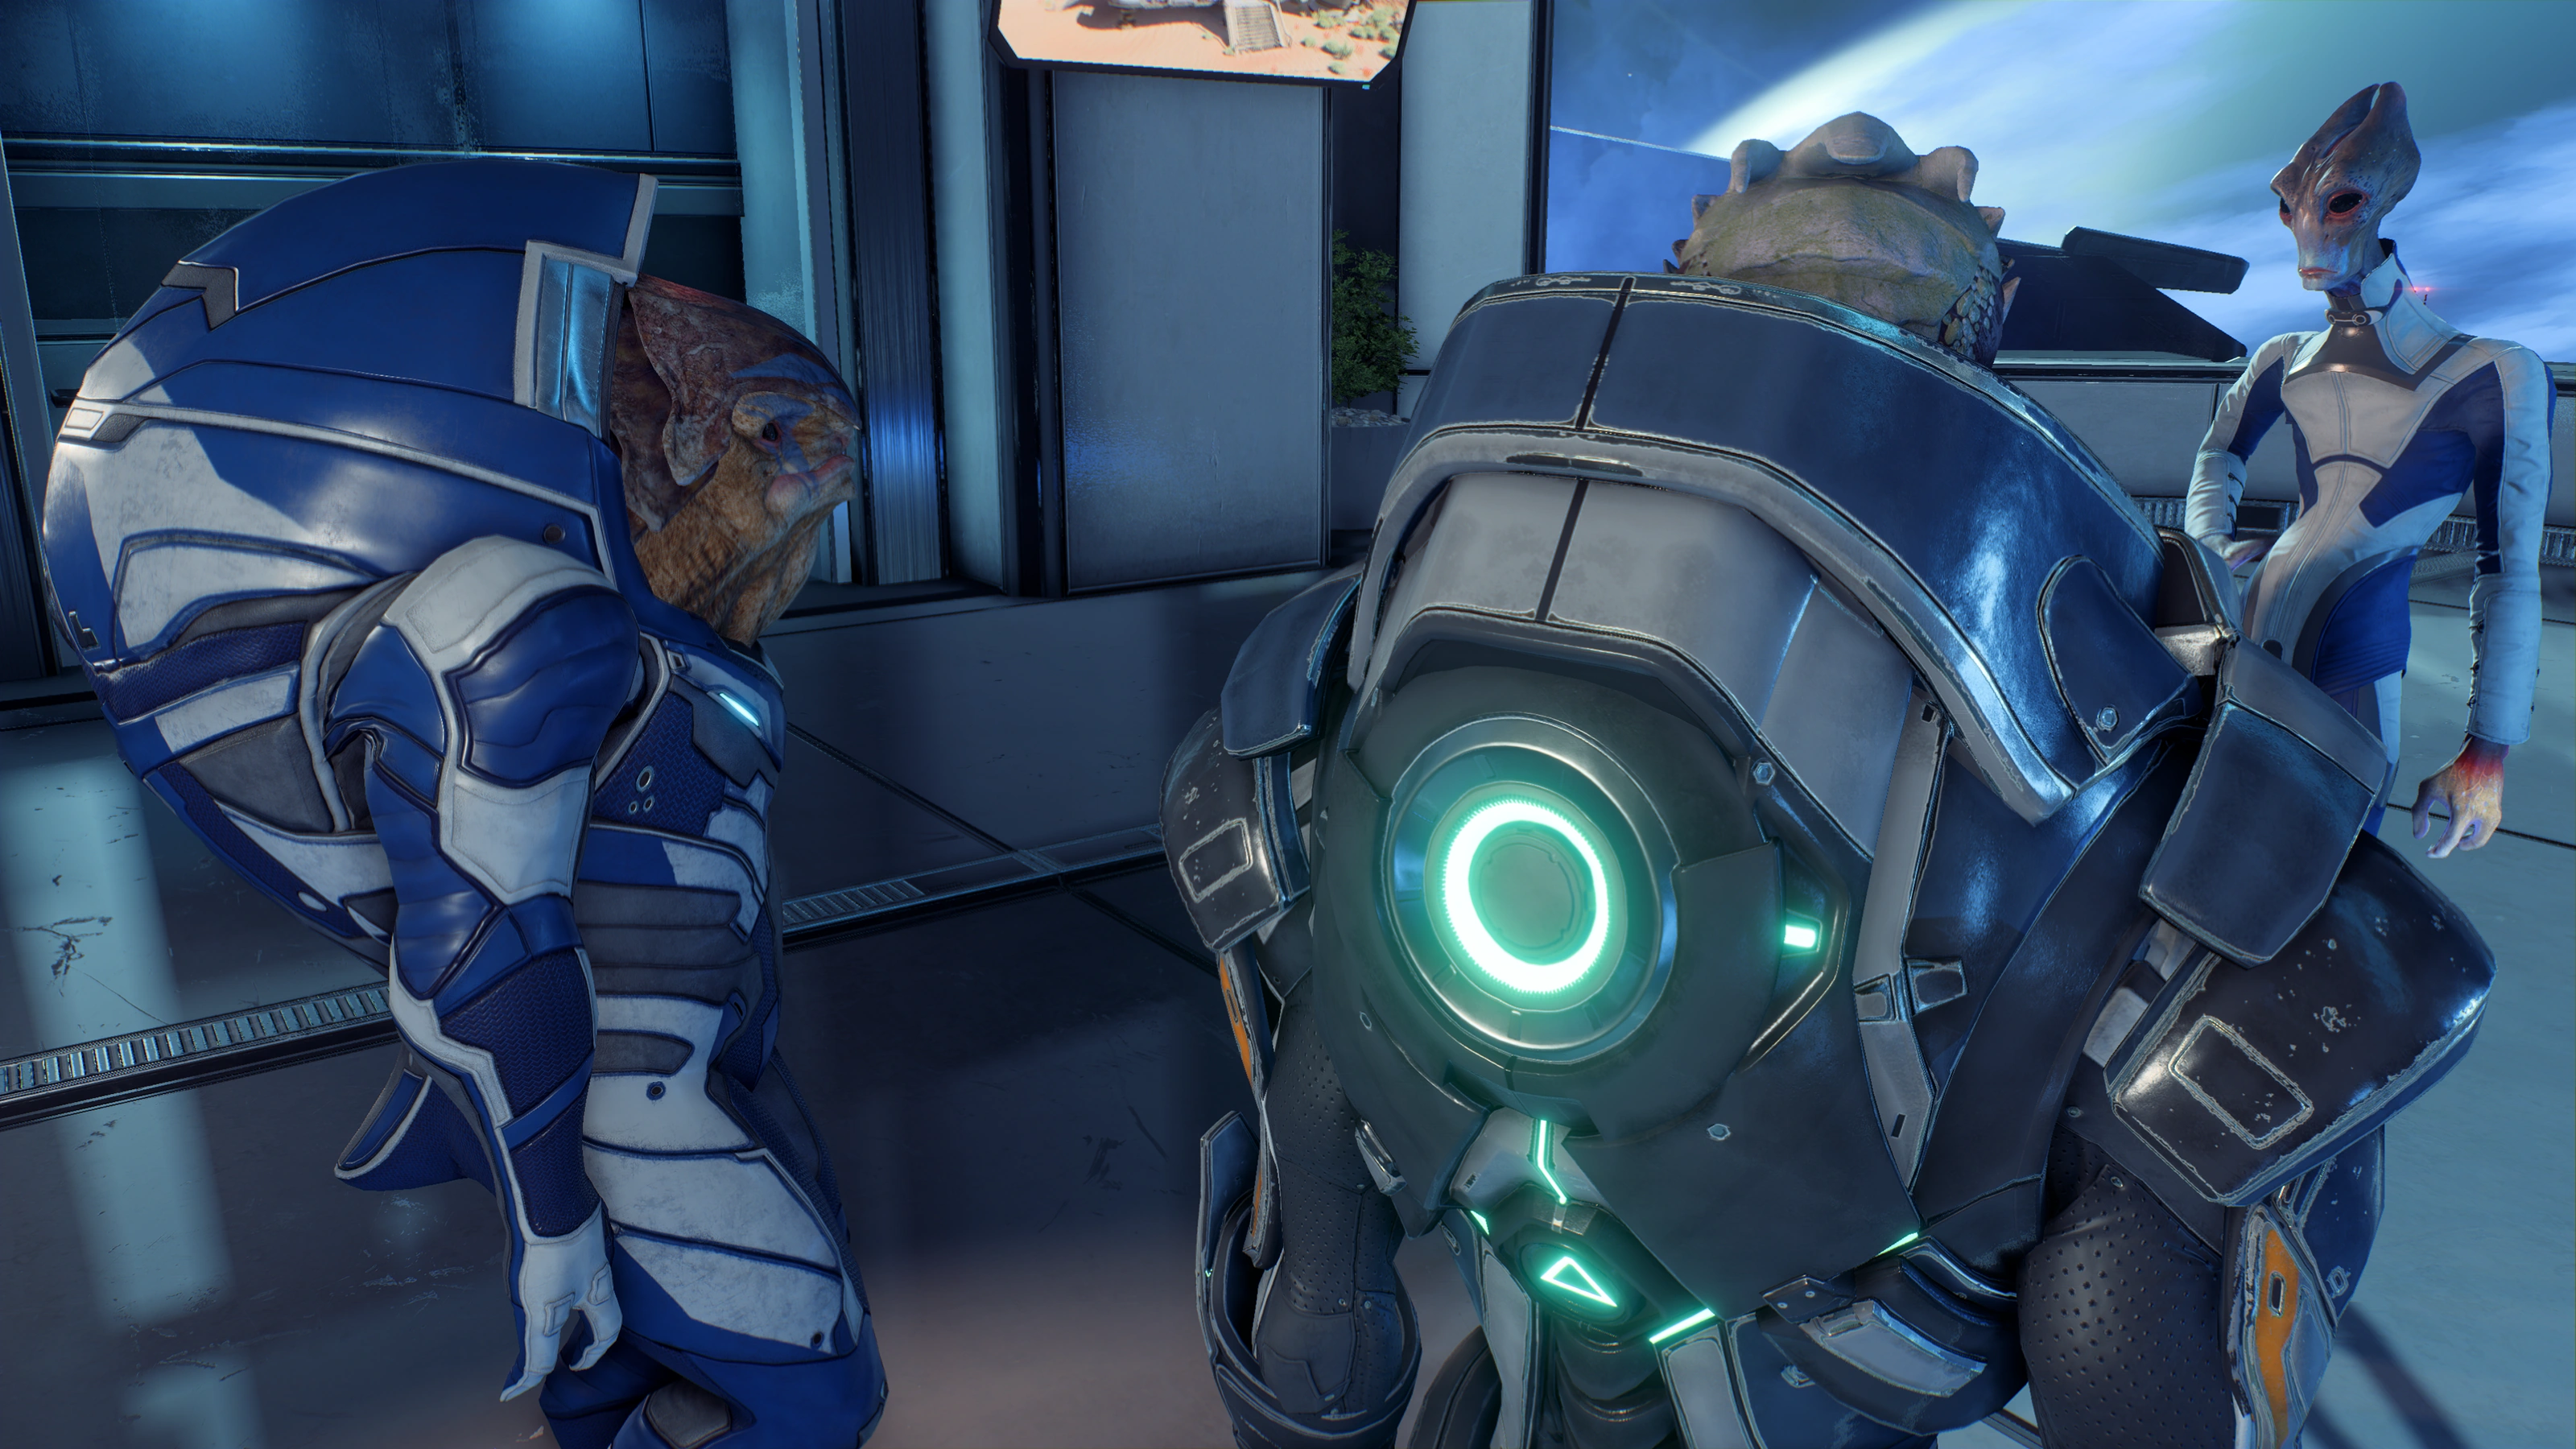
Tann initially meets with and congratulates Ryder alone. Whatever your opinions on him, he will reframe it in a way that paints him in a conciliatory light. He then explains the Pathfinder HQ's purpose to you before Tiran Kandros and Nakmor Kesh, his "staff", arrive (although they both prefer "colleagues").
The next topic of the conversation revolves around your choice of focus for Prodromos: Kandros raises concerns if you opted for the scientific outpost, and Kesh raises concerns if you opted for the military one. Either way Tann will send you out to continue along the lead discovered in the first vault.
Finishing the meeting will complete this mission despite the objective below. The next Priority Op, A Trail of Hope, is also automatically awarded.
Give Eos radiation time to clear
Even though the skies are clear above Eos, many areas are still inaccessible due to lethal radiation levels. It is recommended that you return once the radiation has cleared.
The radiation gone after your first visit to Aya during A Trail of Hope. Just go to Aya directly after "A Better Beginning" has completed, and then return to Eos.
Aftermath
Ryder has taken command of the Tempest and is falling into the role of Pathfinder. Eos, after two failed former attempts at settlement, has finally been deemed viable, and Ryder has founded the Prodromos colony, governed by Mayor August Bradley. The colony's focus was determined by the Pathfinder, and the standard has been set for the whole Initiative going forward.
The consequences of your decision between a scientific or military focus for the first colony has minor effects on dialogue and which members of the Nexus leadership are supportive. There are no major plot changes because of this choice however.
If Military Focus is selected, a squad from Prodromos will help during Meridian: The Way Home.
You can now optionally visit your sibling in the Cryo Bay for the mission Ryder Family Secrets if you haven't yet.
Keri T'Vessa, an asari journalist and potential love interest, can be found outside the Pathfinder HQ, linked to Task: Path of a Hero.
You will be reminded to speak to Addison about mission AVP Cryo Deployment Perks, even if it has already been completed.
With the radiation cleared, a much larger portion of Eos is now available for exploration. It is recommended to complete A Job for Danny Messier as there are bug issues with this mission.
Rewards
- +1400 XP
Puzzle Solutions
- Main article: Remnant Decryption Puzzle Guide
 |
 |
| Vault Container Reward: Valuable Loot |
Southwestern Monolith Reward: Game Progression |
Bugs
- Even though Ryder asks SAM to mark the location of the "rem-tech" behind the force field at location on the first floor of the vault (so that the loot can collected upon escape), the location is never added to the map. On close proximity to the loot, an orange empty hexagon will appear and lead to it. This function works correctly in all other vaults.
- The map of the second floor does not map correctly to Ryder's location when viewed in-game.
Trivia
- As Ryder nears the gravity well to the vault's second floor, SAM says that "direct intervention was necessary" on Habitat 7, a possible reference to Harbinger from Mass Effect 2.
| ← Previous Mission | Mission Index | Next Mission → |
|---|---|---|
| First Strike | Missions (Mass Effect: Andromeda) | AVP Cryo Deployment Perks |