m (z) |
m (pt1) |
||
| Line 123: | Line 123: | ||
Aboard the Tempest, the Moshae divulges what she knows about exaltation and her experiences in the facility. Since Jaal told her why she was rescued, whichever way you justify it she agrees to take you to the Aya vault. |
Aboard the Tempest, the Moshae divulges what she knows about exaltation and her experiences in the facility. Since Jaal told her why she was rescued, whichever way you justify it she agrees to take you to the Aya vault. |
||
| − | The Moshae is allegedly happy to answer any further questions you may have, but she'll spend |
+ | The Moshae is allegedly happy to answer any further questions you may have, but she'll spend one session in the Tempest recuperating in the med bay and isn't actually in a talkative mood. If you have other destinations beside Aya, the Moshae will be able to talk by the time you return to the Tempest after debarking and conducting your business elsewhere. |
| + | |||
| + | You can use this time to check up with the Tempest crew and some people beyond the ship, since '''''a lot''''' of them will have opinions on exaltation. |
||
On emails, you will receive four messages. Acknowledging one of them leads to the acquisition of [[Know Your Enemy]]. |
On emails, you will receive four messages. Acknowledging one of them leads to the acquisition of [[Know Your Enemy]]. |
||
| Line 142: | Line 144: | ||
== Aftermath == |
== Aftermath == |
||
Ryder lets [[Tann]] know that Aya has opened an embassy for the Initiative. There will also be an angaran delegation on the [[Nexus]]. |
Ryder lets [[Tann]] know that Aya has opened an embassy for the Initiative. There will also be an angaran delegation on the [[Nexus]]. |
||
| + | |||
| + | After the Moshae's rescue, concerned citizens show up on the Nexus and request the Pathfinder's opinions. In the [[Common Area]] below the stairway near [[Avina]] a woman harbors some doubts about the angara. You can encourage her to have some trust in two slightly different ways. In [[Operations]] below the stairway near [[Nakmor Kesh]]'s office, a salarian wants to know if there can be peace with the kett. |
||
Saving the facility provides aid from the Angaran Resistance during [[Meridian: The Way Home]]. Destroying the facility provides no benefit for the final mission. |
Saving the facility provides aid from the Angaran Resistance during [[Meridian: The Way Home]]. Destroying the facility provides no benefit for the final mission. |
||
Revision as of 11:04, 24 October 2020
Evfra has heard of your help for the angaran cause and he seems willing to trust you, at least a little more. Jaal says that Evfra has better information on the location of the Moshae, which could lead to getting access to the vault on Aya. You should reach out to him.
Acquisition
The continuation of A Trail of Hope is acquired after gaining the angara's trust on either Havarl or Voeld.
Walkthrough
Call Evfra from the Tempest's meeting room.

Evfra is still reluctant to trust the Pathfinder, but says that the Resistance has tracked the Moshae down to a kett facility on Voeld. However, it is protected by a shield that they haven't been able to break through.
SAM privately tells Ryder that his processing power could make the difference. You can choose to be up-front with Evfra about SAM, or simply say that Initiative scientists can help the Resistance breach the shield. Either way, Evfra says that a team will meet Ryder on Voeld to take them to the facility.
You will automatically receive the mission Jaal Ama Darav: Friend or Foe? I after the vidcall.
Meet the Resistance on Voeld in the Nol System
Travel to Voeld. Once off the Tempest, head to the Angaran Resistance Base, following the lights and heaters. There will be a shuttle next to Commander Heckt, Owwin, and a Resistance Pilot; talk to the Pilot and confirm the mission embarkment.
Jaal is a mandatory squad member for this section. You can configure your loadout and choose your other squadmate at this juncture.
Infiltrate the kett facility
During the shuttle ride to the facility, Ryder wonders why nobody has ever seen the inside of that kind of base. The angara explain nobody ever returned from places like it, and even though they tried to assault them the casualty count was always too high. Jaal later states death is preferable to slavery, and you can agree or take another view.

The infiltration party lands at the exterior drop zone according to your map. Owwin remarks that disabling the shield could give the team an advantage. Follow the objective marker![]() to find a service panel to hack; prior to the service panel there's a small container in the pass. SAM is able to make a small hole in the shield, though two kett Wraiths will attack almost immediately.
to find a service panel to hack; prior to the service panel there's a small container in the pass. SAM is able to make a small hole in the shield, though two kett Wraiths will attack almost immediately.
If you don't immediately enter the hole, you can make out the telltale shimmering of the cloaked Wraiths near one of the facility's exhaust vents and take them out long-range before they detect your presence.
Enter facility through the vent
There are no clear doors, but two vents make alternate entrances into the facility: into the Research Quarters according to the map. Scanning an Exhaust Vent awards +10![]() . The vents can be destroyed either by gunfire or melee attacks. The northern one leads to a smaller chamber with two containers, while the southern one leads into the main building. Once you cross a certain threshold in the southern vent with guns drawn, the Resistance team will gleefully rush in and engage the enemies in the spacious chamber beyond.
. The vents can be destroyed either by gunfire or melee attacks. The northern one leads to a smaller chamber with two containers, while the southern one leads into the main building. Once you cross a certain threshold in the southern vent with guns drawn, the Resistance team will gleefully rush in and engage the enemies in the spacious chamber beyond.
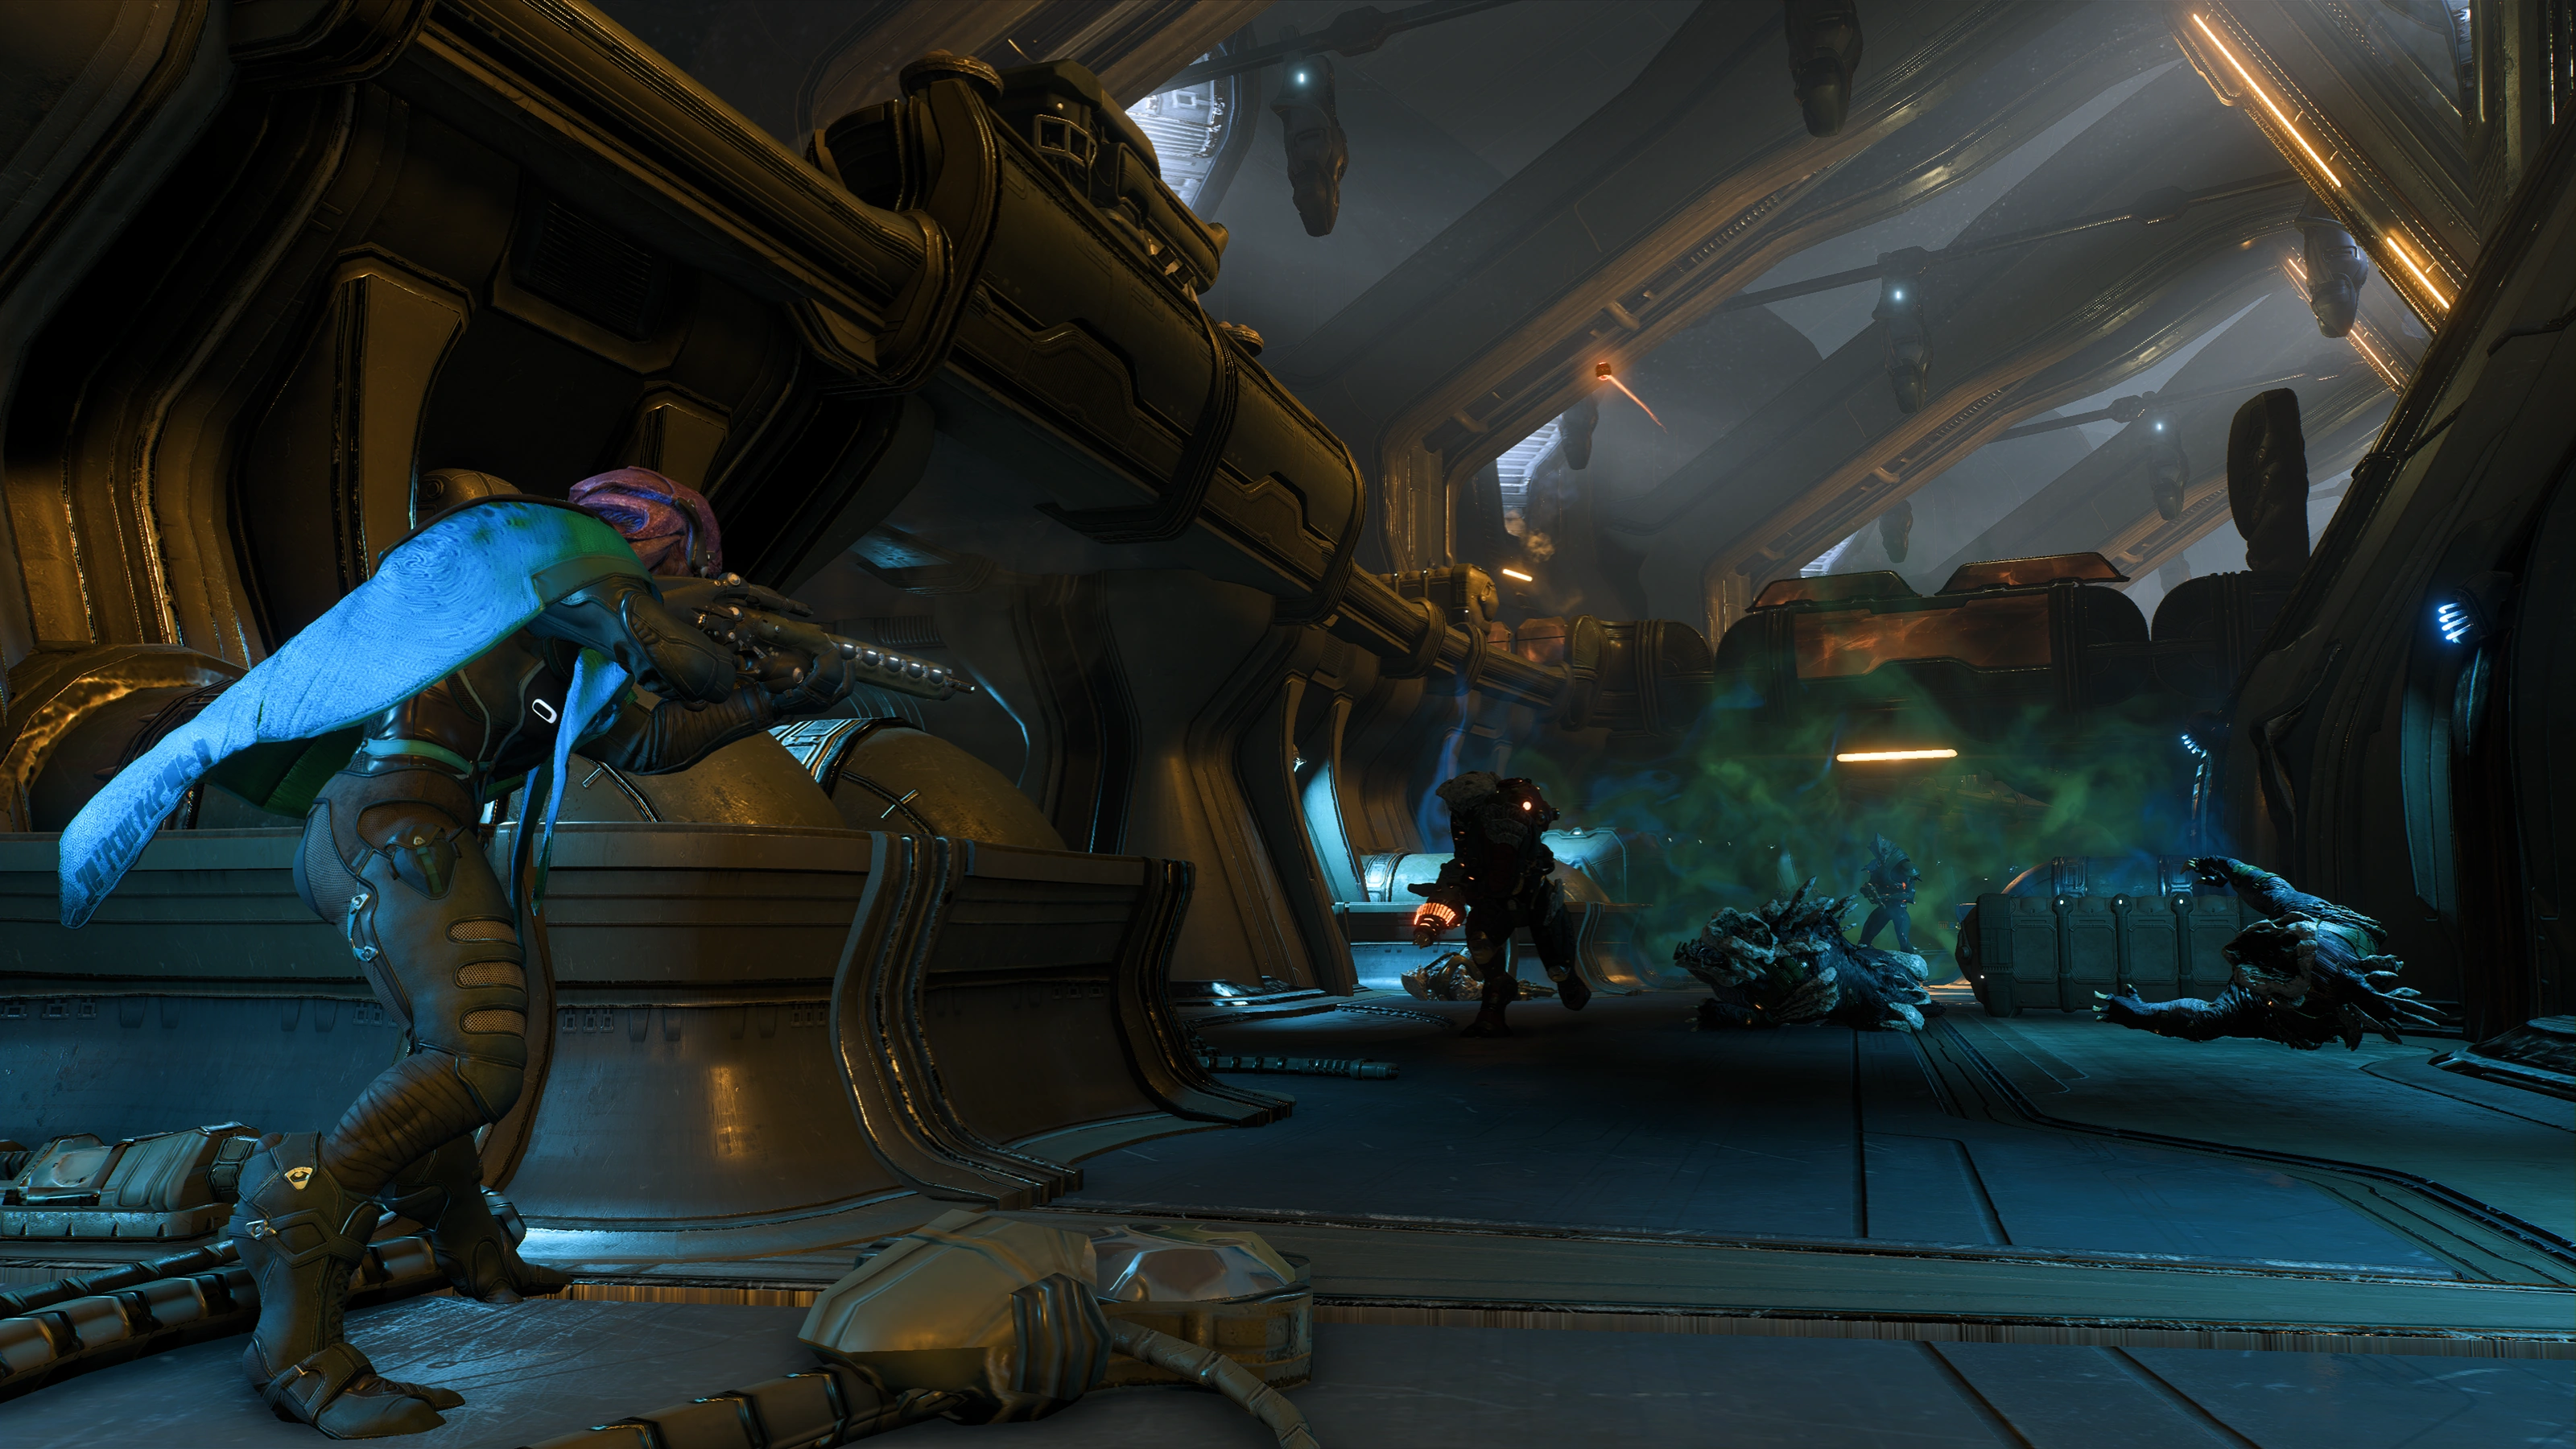
This room is filled with kett: Chosen, Destined, and Wraiths. The Resistance members assist in taking them out, doing battlefield banter all the while.
Once clear, Skaelv from the Resistance team goes to work hacking a path into the heart of the facility, giving you as much time as you need to inspect the room before continuing. Which means grabbing loot and scanning: three containers, ammo and health supply caches, and a datapad. Next to a loot container is a Half-Open Container of Clothing (+10![]() ), another one on the table at the far end (+10
), another one on the table at the far end (+10![]() ), and Bottles of Nutrient Paste in the adjacent table +10
), and Bottles of Nutrient Paste in the adjacent table +10![]() ). A recording of the Archon displayed by the Kett Holographic Projector nearby spouts messages seemingly intended to be a welcome (+10
). A recording of the Archon displayed by the Kett Holographic Projector nearby spouts messages seemingly intended to be a welcome (+10![]() ).
).
Talk to the Resistance squad
When you're done looting the place speak to Commander Heckt to continue the mission. He says that Ryder has the best chance of finding the Moshae, so his team will provide a distraction. After going their separate ways, SAM notes that the method he used to hack the shield of the facility could also be used as a pulse to destroy the base; however, it would be lethal to angara as well.
Search for the Moshae
Head upstairs and take the door, which leads to a decontamination room. Its window is scannable (+10![]() ), and basically tells you it's unbreakable. Let it run its course, then exit into the hallway, where there's an ammo cache if you need it. This hallway splits in three directions: north, south, and center, according to map orientation.
), and basically tells you it's unbreakable. Let it run its course, then exit into the hallway, where there's an ammo cache if you need it. This hallway splits in three directions: north, south, and center, according to map orientation.
Down the southern path (or the path to the right when entering the hall), there is what seems to be a classroom, containing a scannable stasis pod (no RD points), two containers, and two datapads.
Up the northern hall, there is a Wraith in front of the door, though you can see it right after exiting the decontamination chamber and kill it promptly. The room it's guarding appears to be some sort of communal space, with scanable sleeping cots, chairs, and personal items. The Probable Gather Place, Possible Rest Cots, and Possible Personal Lockers each award +10![]() (+30
(+30![]() total). There is also a container and three datapads.
total). There is also a container and three datapads.
Continuing through the main door, there are two Chosen and one Destined near the giant glass window. There's an ammo cache near the northern door, Kett Core Encryption Tech (+100![]() ) next to the cache, a container below the stairs of the locked southern door, and another container on top of the large crate left of the entrance.
) next to the cache, a container below the stairs of the locked southern door, and another container on top of the large crate left of the entrance.
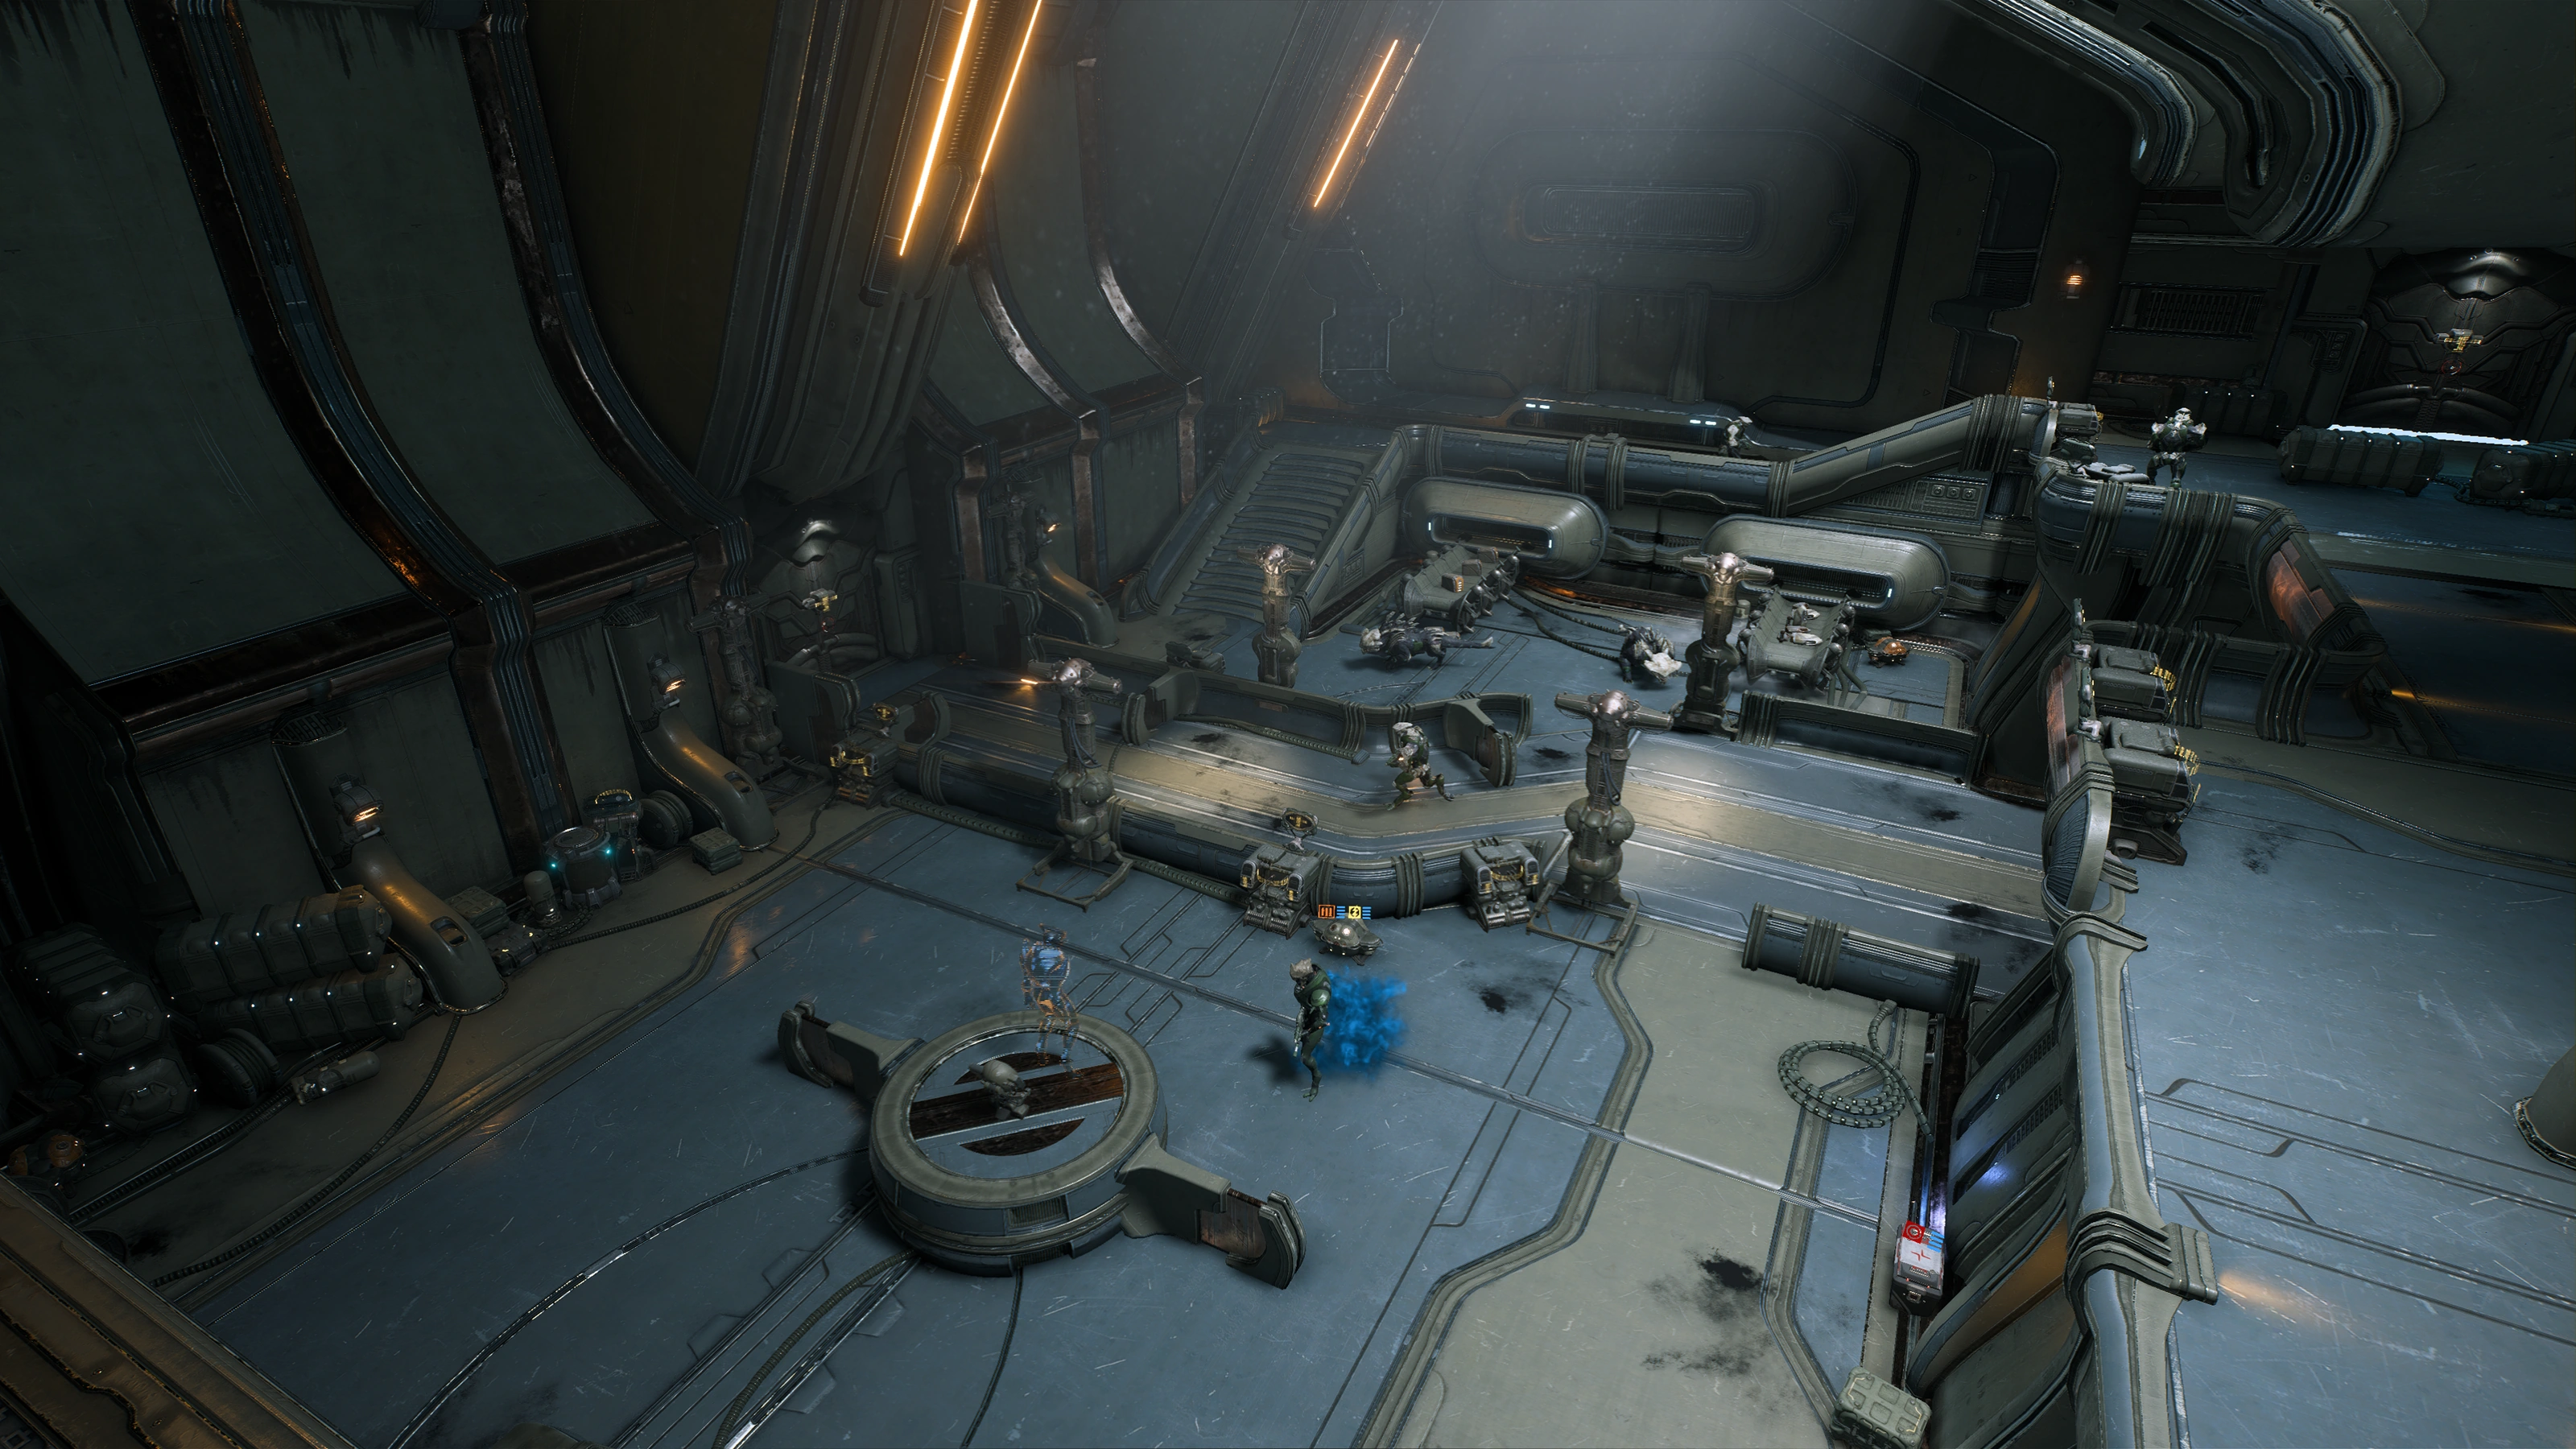
Once the enemies are down, you can head into the northern room, which seems to be used for communication. There is a container and another Kett Holographic Device displaying the Archon (+10![]() ), which doubles as a console to interact with. Tinkering with it a few times cycles through a few phrases from the Archon that lends insight on how the kett actually view their occupation of Heleus.
), which doubles as a console to interact with. Tinkering with it a few times cycles through a few phrases from the Archon that lends insight on how the kett actually view their occupation of Heleus.
Back in the main room, use the console in front of the window. A cutscene shows angara being guided into pods by the Cardinal. The Moshae is not among them; she may be in one of the other pods. Elsewhere, the Resistance squad detonates an explosive, creating the distraction, but causing the Archon to contact the Cardinal and demand that the Moshae's "final exaltation" be hurried. Jaal is just as bewildered as you are about the events that just transpired, and you have two opportunities to reply to him according to your Ryder's personality.
Find out where the pods go
The southern entrance leads to the area labeled corridors on the map. Go there, and before you proceed to the transparent walkway there's a container and an ammo cache if you need it.
While traversing the walkway you can see the Resistance members fighting the kett below. Commander Heckt contacts Ryder, saying that more Resistance members are being sent to the facility. Continue down the hall and, before leaving through the door, there's another ammo cache and two containers among large stacked crates (Jaal wishes they could ransack them more).
This leads to a two-story hallway with a sizeable number of enemies: Wraiths, Chosen, Destined, and now Anointed. Take cover among the numerous crates and corners around if your playstyle isn't aggressive enough, or these Anointed will make swiss cheese out of your kinetic barriers fast. There are two pairs of health and an ammo cache to the north (on the upper and the lower levels) if you run low.
This particular area is an interstitial between the corridors and the Exaltation Quarters, and your map will switch to either depending on your location. Pods are overhead, being taken somewhere. On the lower level hidden in a corner is a Kett Core Encryption Tech (+100![]() ). On a bridge above a stack of crates is a lootable container.
). On a bridge above a stack of crates is a lootable container.
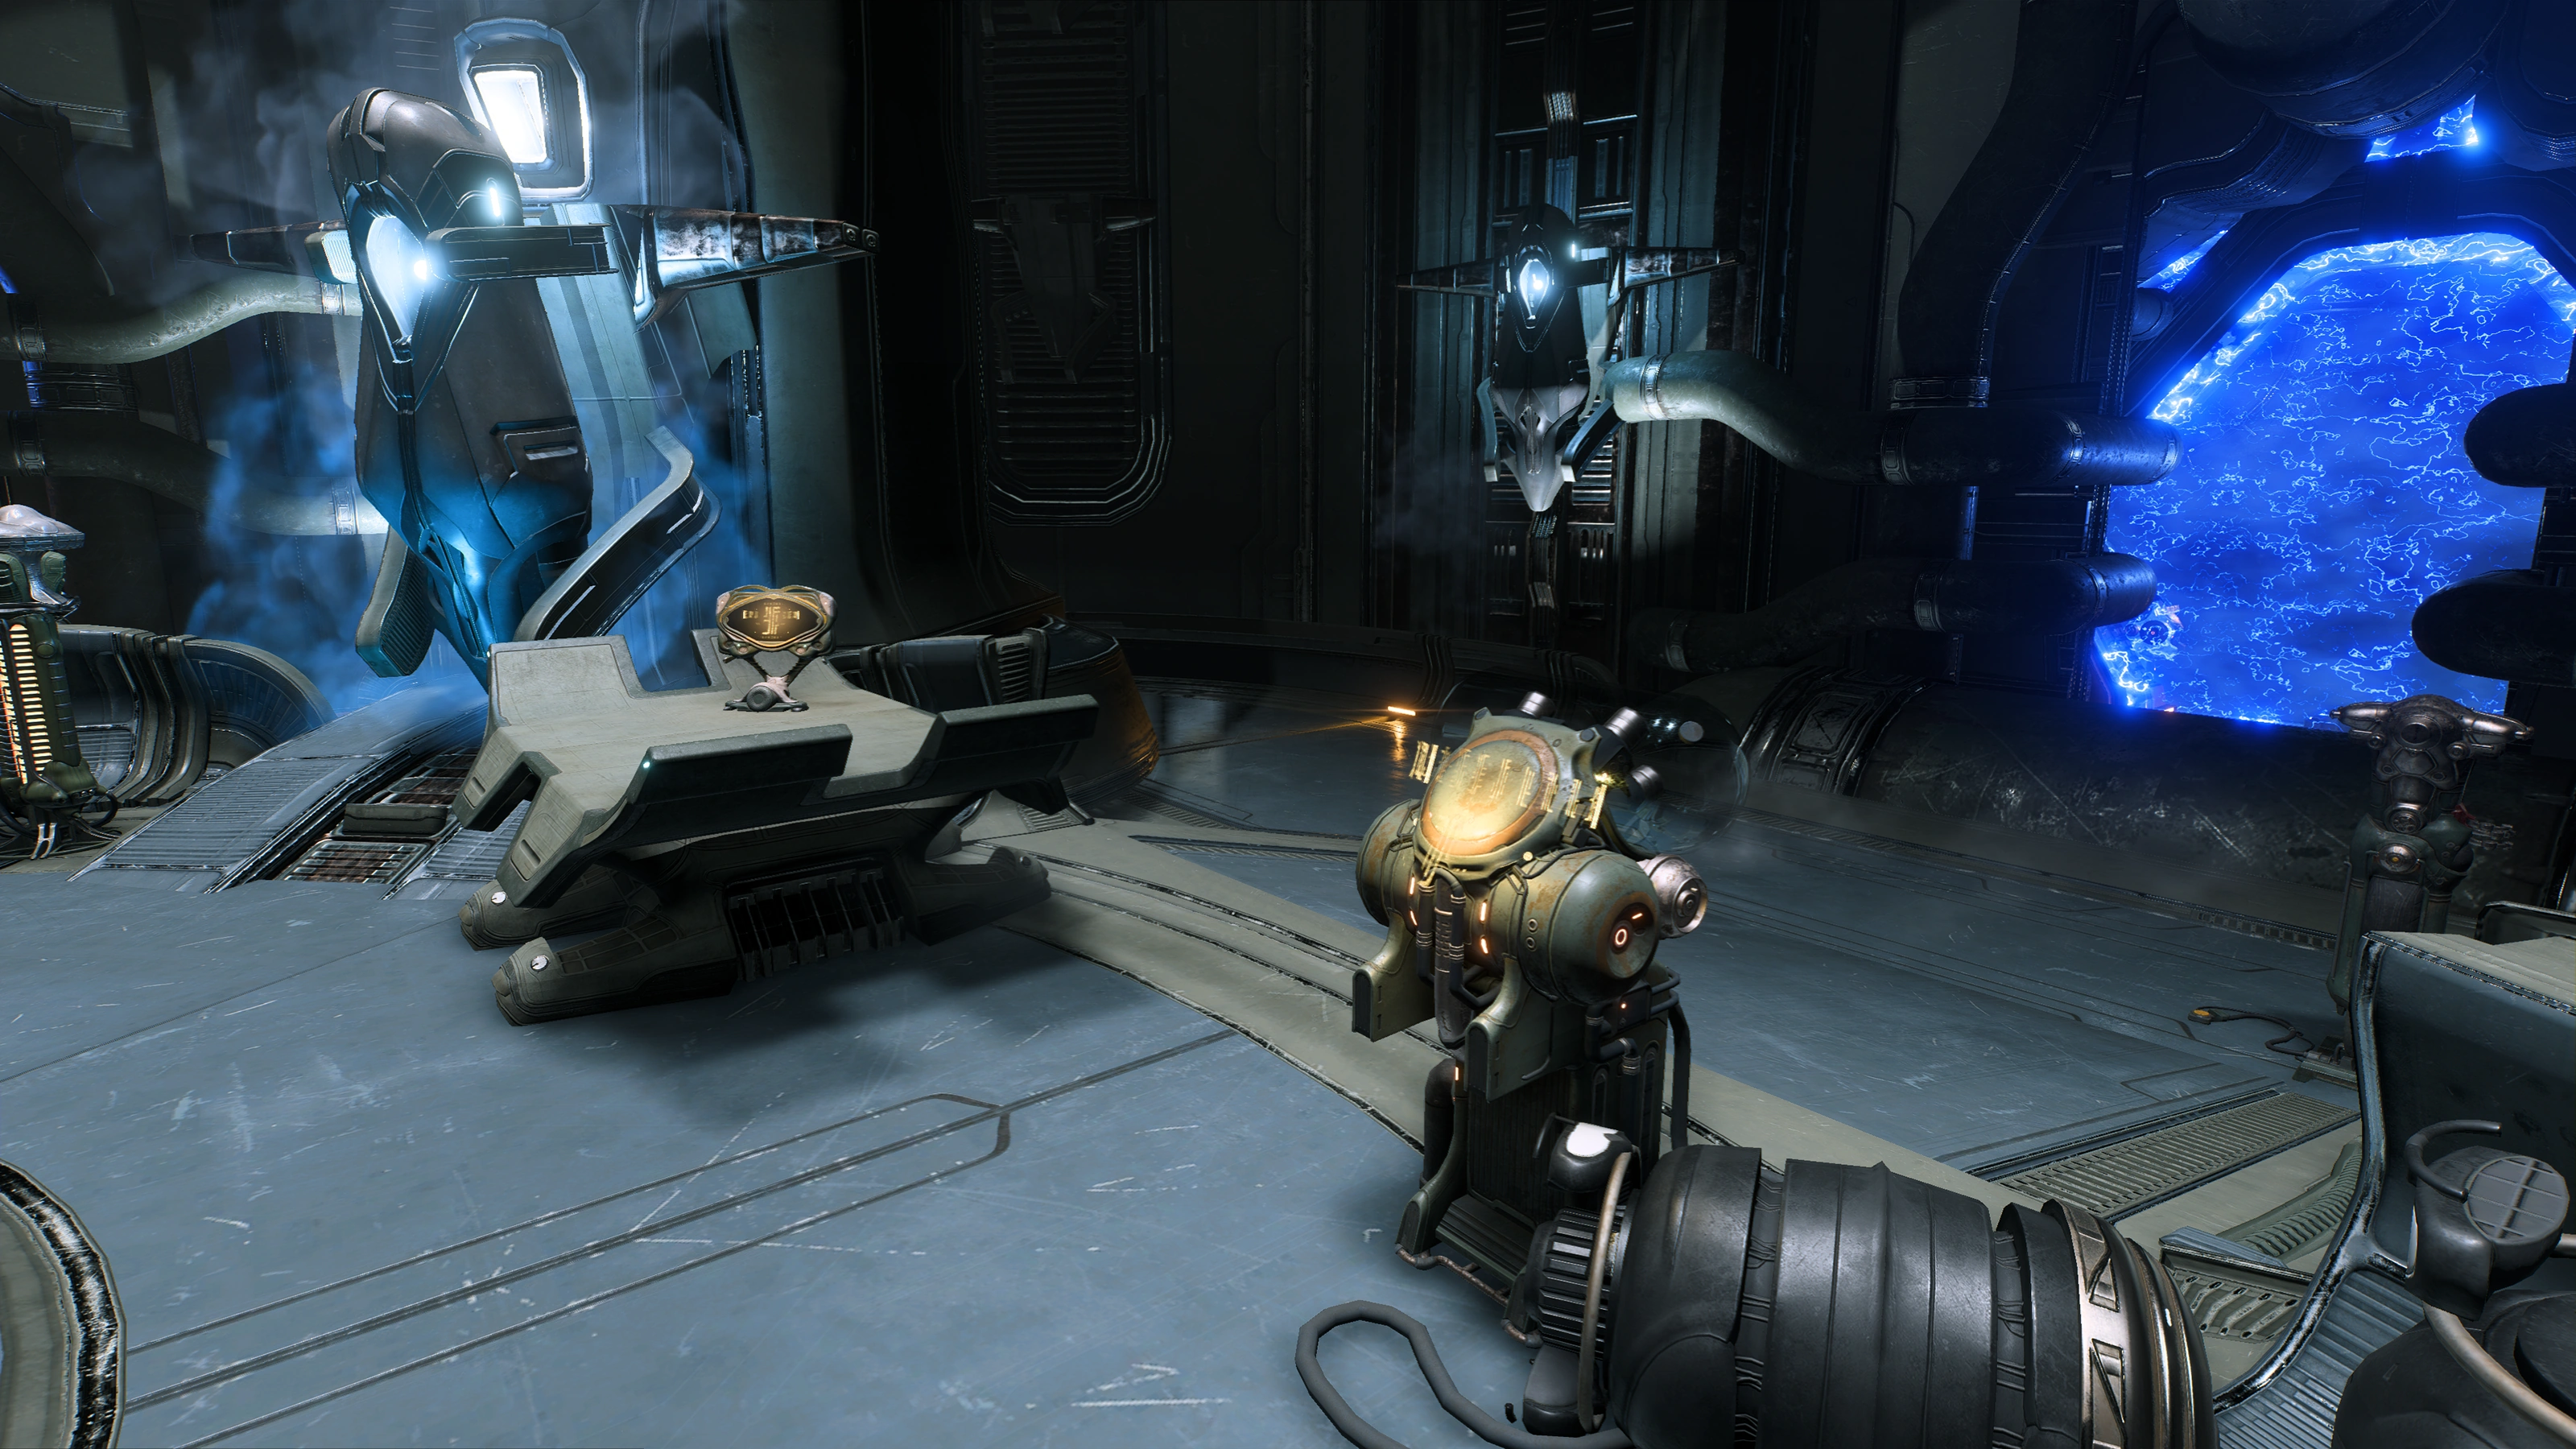
The northern part of the hallway leads to a vent that you can break through. There is a shield in the way; use the console to hack it. The next room is filled with stasis pods, going on and on far above. They're scannable, but they don't yield any RD, though other goodies here are another Kett Core Encryption Tech (+100![]() ) and a lootable large container. There are no other exits in the area; they're all shielded.
) and a lootable large container. There are no other exits in the area; they're all shielded.
Scan for the Moshae's pod
After scanning three pods in an attempt to find the Moshae, SAM suggests using a console to find her instead.
Interface with a nearby console
Warning: This is a point of no return. The passageway you came from becomes blocked by a shield once you interface with the console. Only continue when you're certain you have no need to backtrack to previously explored parts of the facility.
When you access the console, SAM deduces that the pod with the Moshae was here, but has just been removed. Immediately afterward the shield to the passageway in front of the console drops, and you must press onward (northeast orientation on the map).
Locate the Moshae's pod
Head out the now-available exit to a dark hallway, which forks into two. The left path leads to a dead end with two containers (the smaller one has an assured weapon/armor, eliciting a reaction from Ryder), while the right path ends in another breakable vent and an autosave point.

Past this is another fork in the road: to the right is a dead end, but there's a hidden container near the locked door. To the left is a strange room containing syringes and empty pods, as well as two containers. The Kett Syringe Device and Kett Pod can each be scanned for +10![]() (+20
(+20![]() ).
).
The next door leads to another decontamination room, but while trapped inside, the Pathfinder team witnesses an Ascendant transform an angara into a Chosen. If you've been paying attention to the various things scattered around the base, this is the confirmation of your suspicions.
A fight with the kett in the room ensues: four Destined and one Chosen. When the battle's over Jaal moves next to the corpse of the recently-transformed kett. There are two ammo caches and two lootable containers here to check out.
Talk to Jaal
Jaal is understandably distraught and horrified by the revelation that the kett were once angara. You can either empathize or shift the blame to the kett. The other squadmate interrupts the brief conversation, however; they have found the Moshae. She is past yet another decontamination room, which SAM is able to bypass, and she's about to be grabbed by the Cardinal.
Chase the kett Cardinal
The Cardinal flees with the Moshae, leaving two Destined behind to delay your pursuit. There's nothing else in the room except for an ammo cache.
Once they are cleared, continue through the doors and take the lift. It arrives at the Shuttle Bay level and deposits your team to an antechamber, a safe place for an autosave. The Moshae is just behind the next door, but so is the Cardinal and a waiting transport ship.
Defeat the kett Cardinal
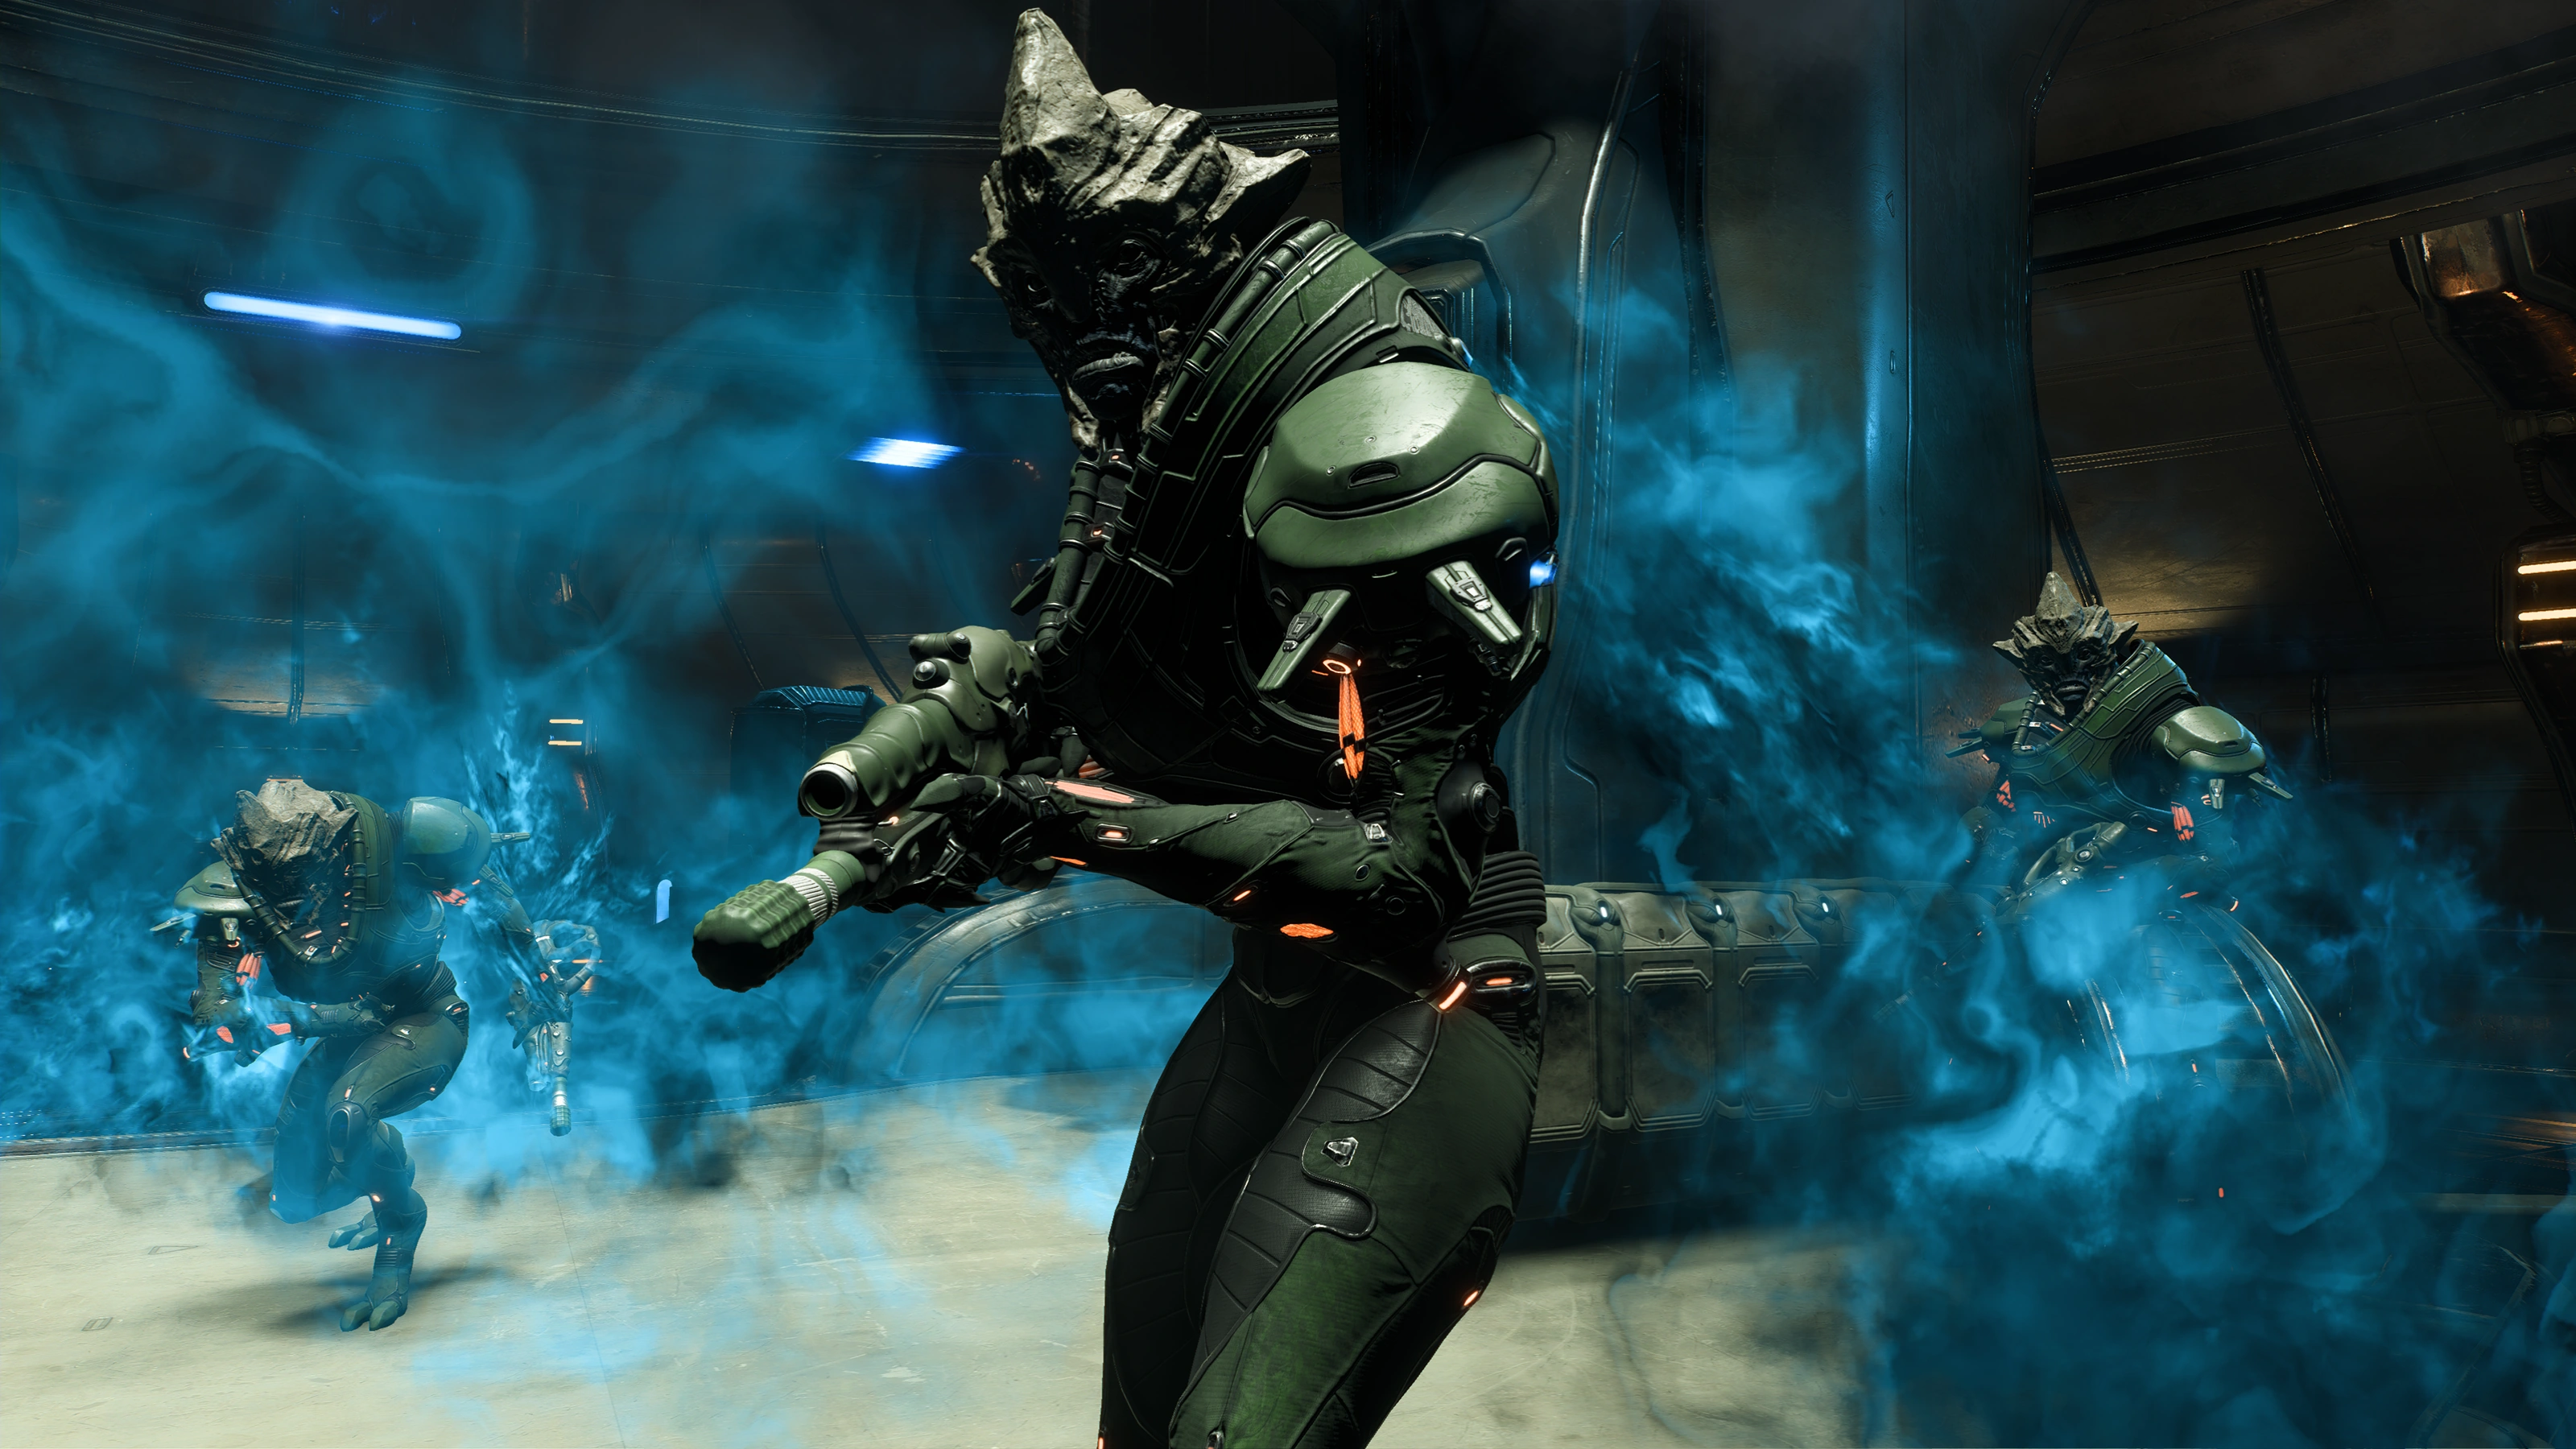
The Cardinal has many minions at her disposal: Chosen, Destined, and when her health drops low, Anointed. There's a finite number of them per wave, but she can call for backup indefinitely, meaning you should focus your efforts on her and not the troops.
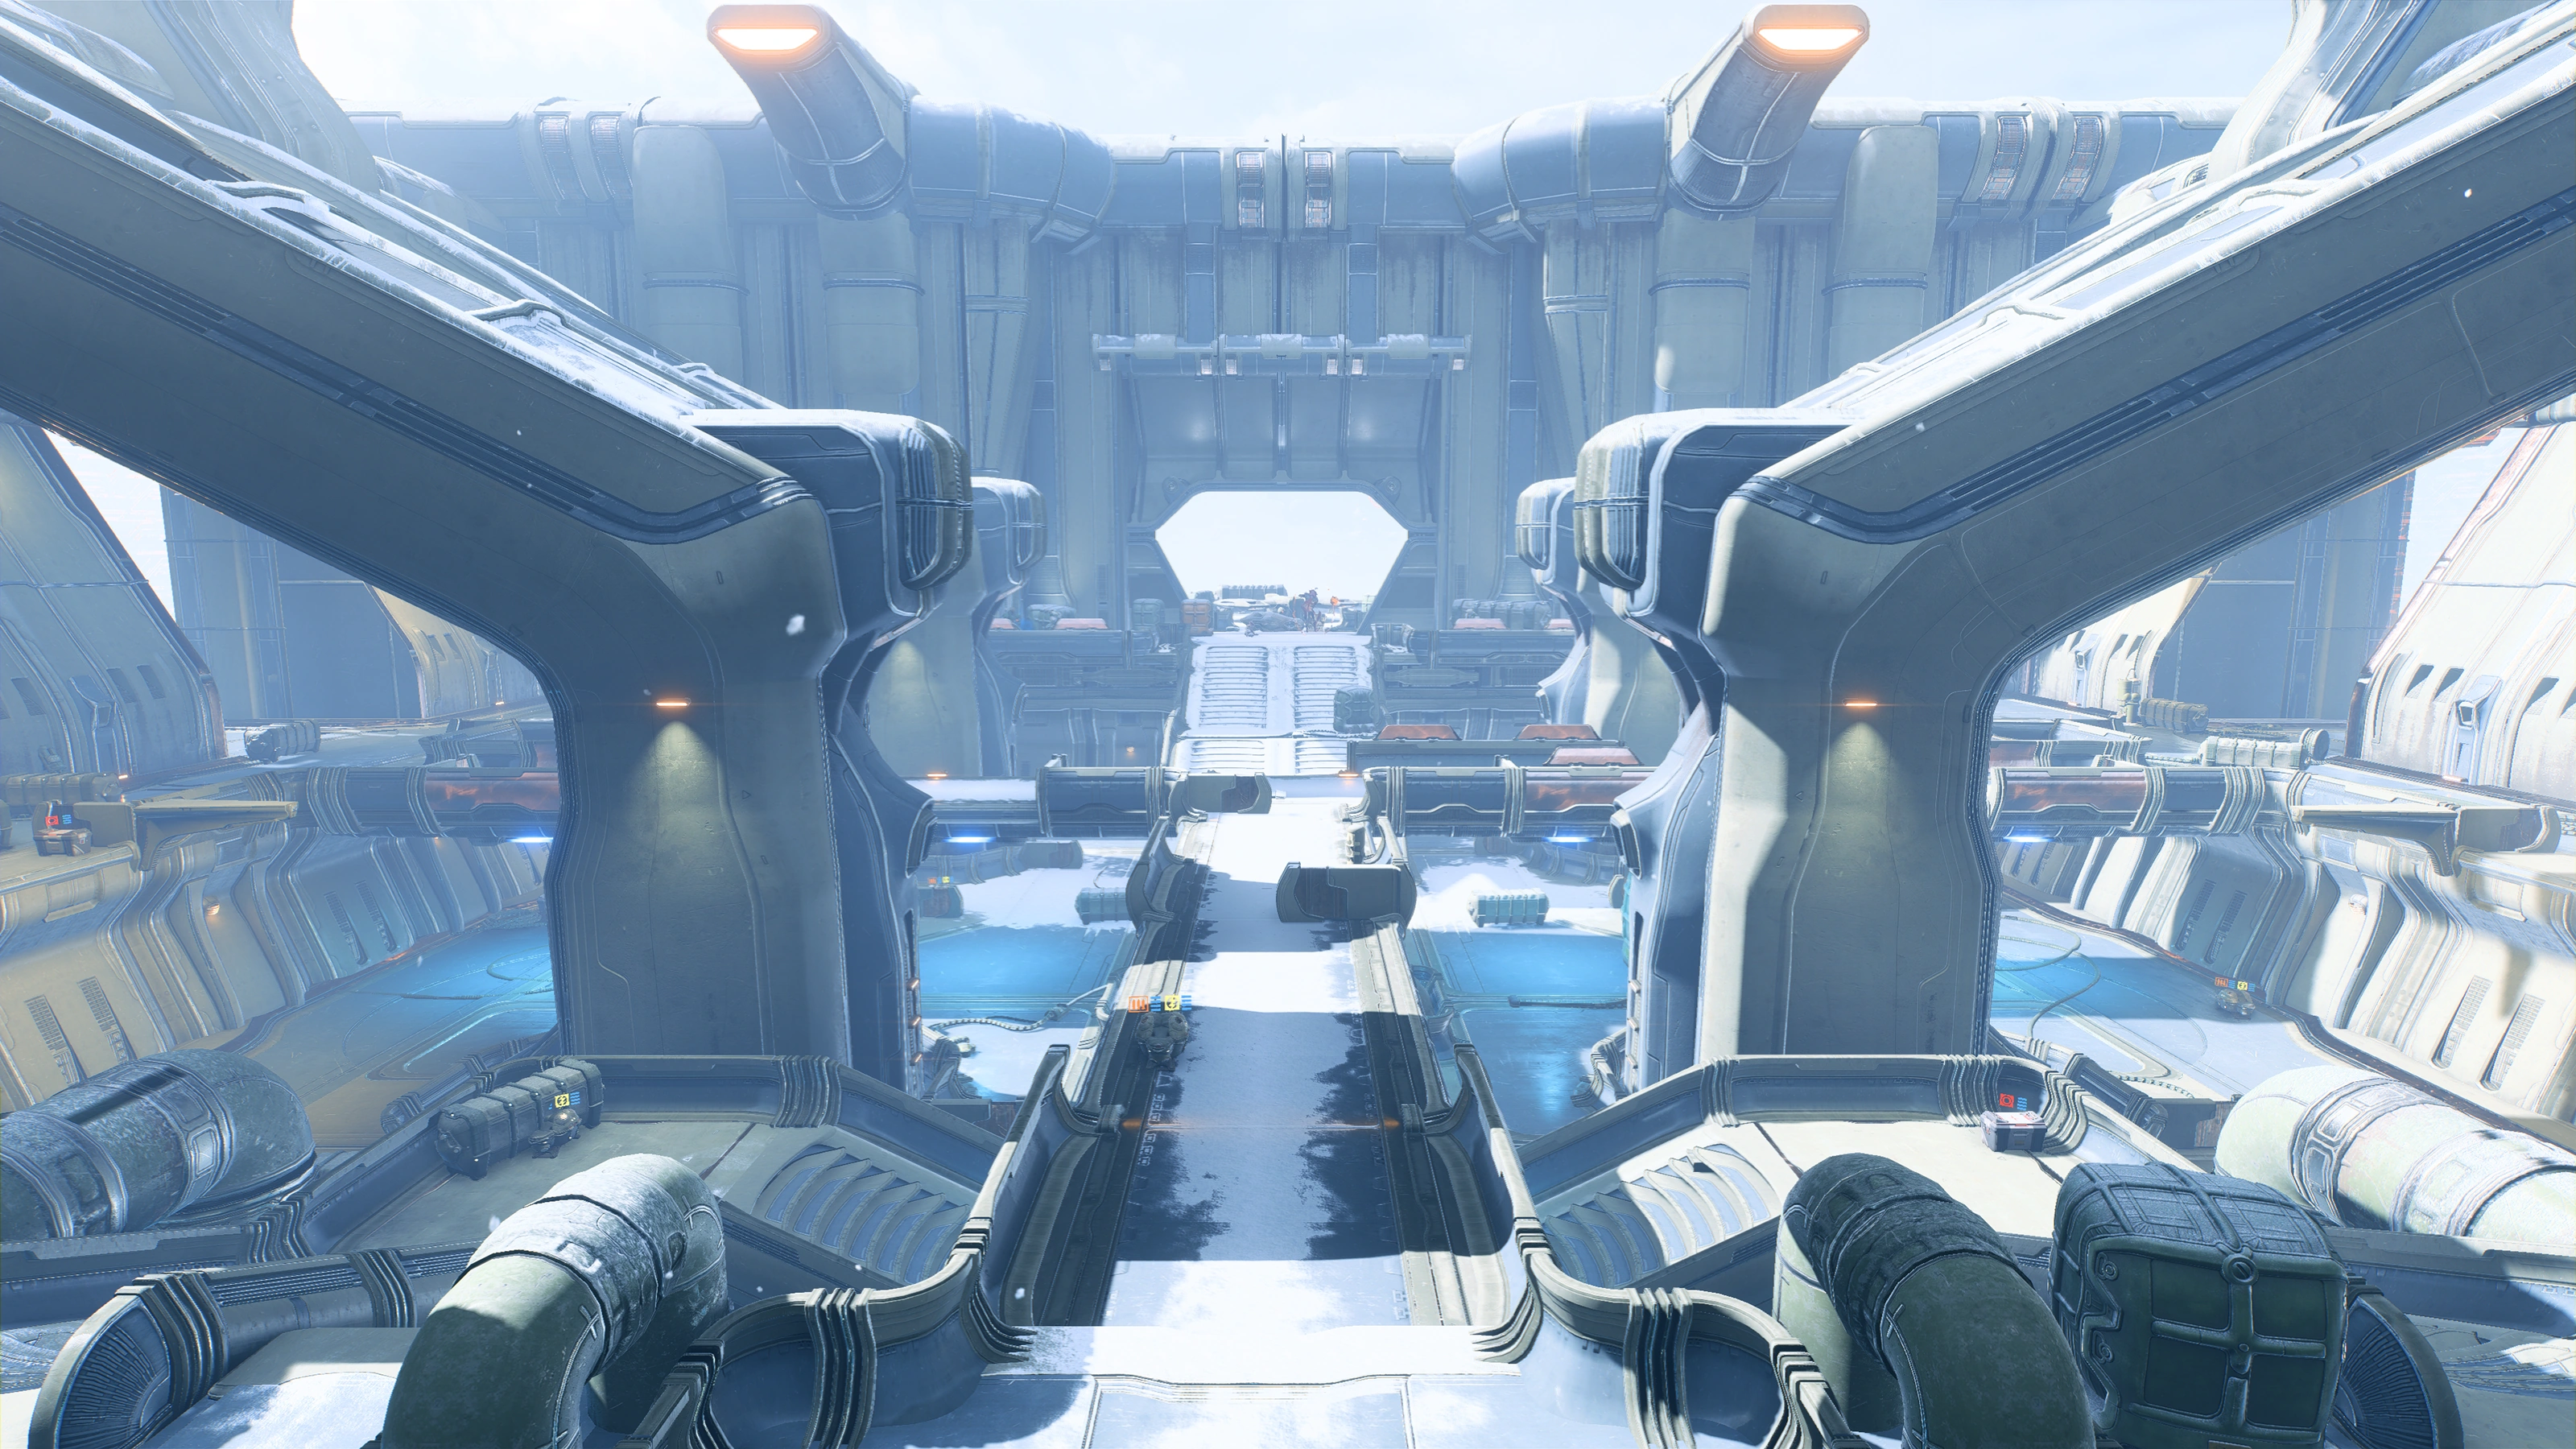
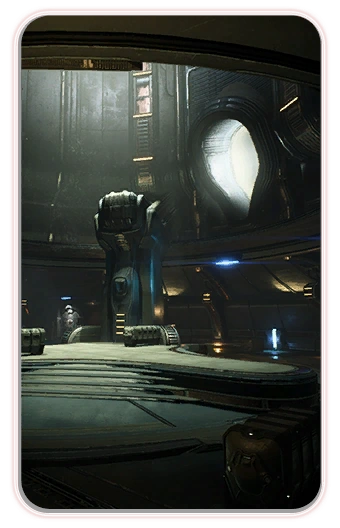
The area has two tiers connected by stairways and a T-shaped walkway connects three sides of the upper tier. It's a wide open space conducive to sniping and darting around, and there are numerous crates and barriers to get behind on in case of heavy enemy fire. Make use of them to avoid the many kett and the Cardinal's approach.
The Cardinal is protected by a shield that drops temporarily once the Cardinal's Orb has been destroyed. As the Cardinal can teleport short distances, make sure she does not get too close, as she can deal instant death at close range. Once you bring down the Cardinal, you must also wipe out the remaining troops before the next objective appears.
As this is a "boss fight" level, there are a lot of ammo and health supply caches around. There are two lootable containers in the upper tier: one southwest and one next to the Moshae. Downstairs there's a lootable container sandwiched between two stairs, below a fat curving tube at the northeast, or left of where you entered the area.
Talk to Moshae Sjefa
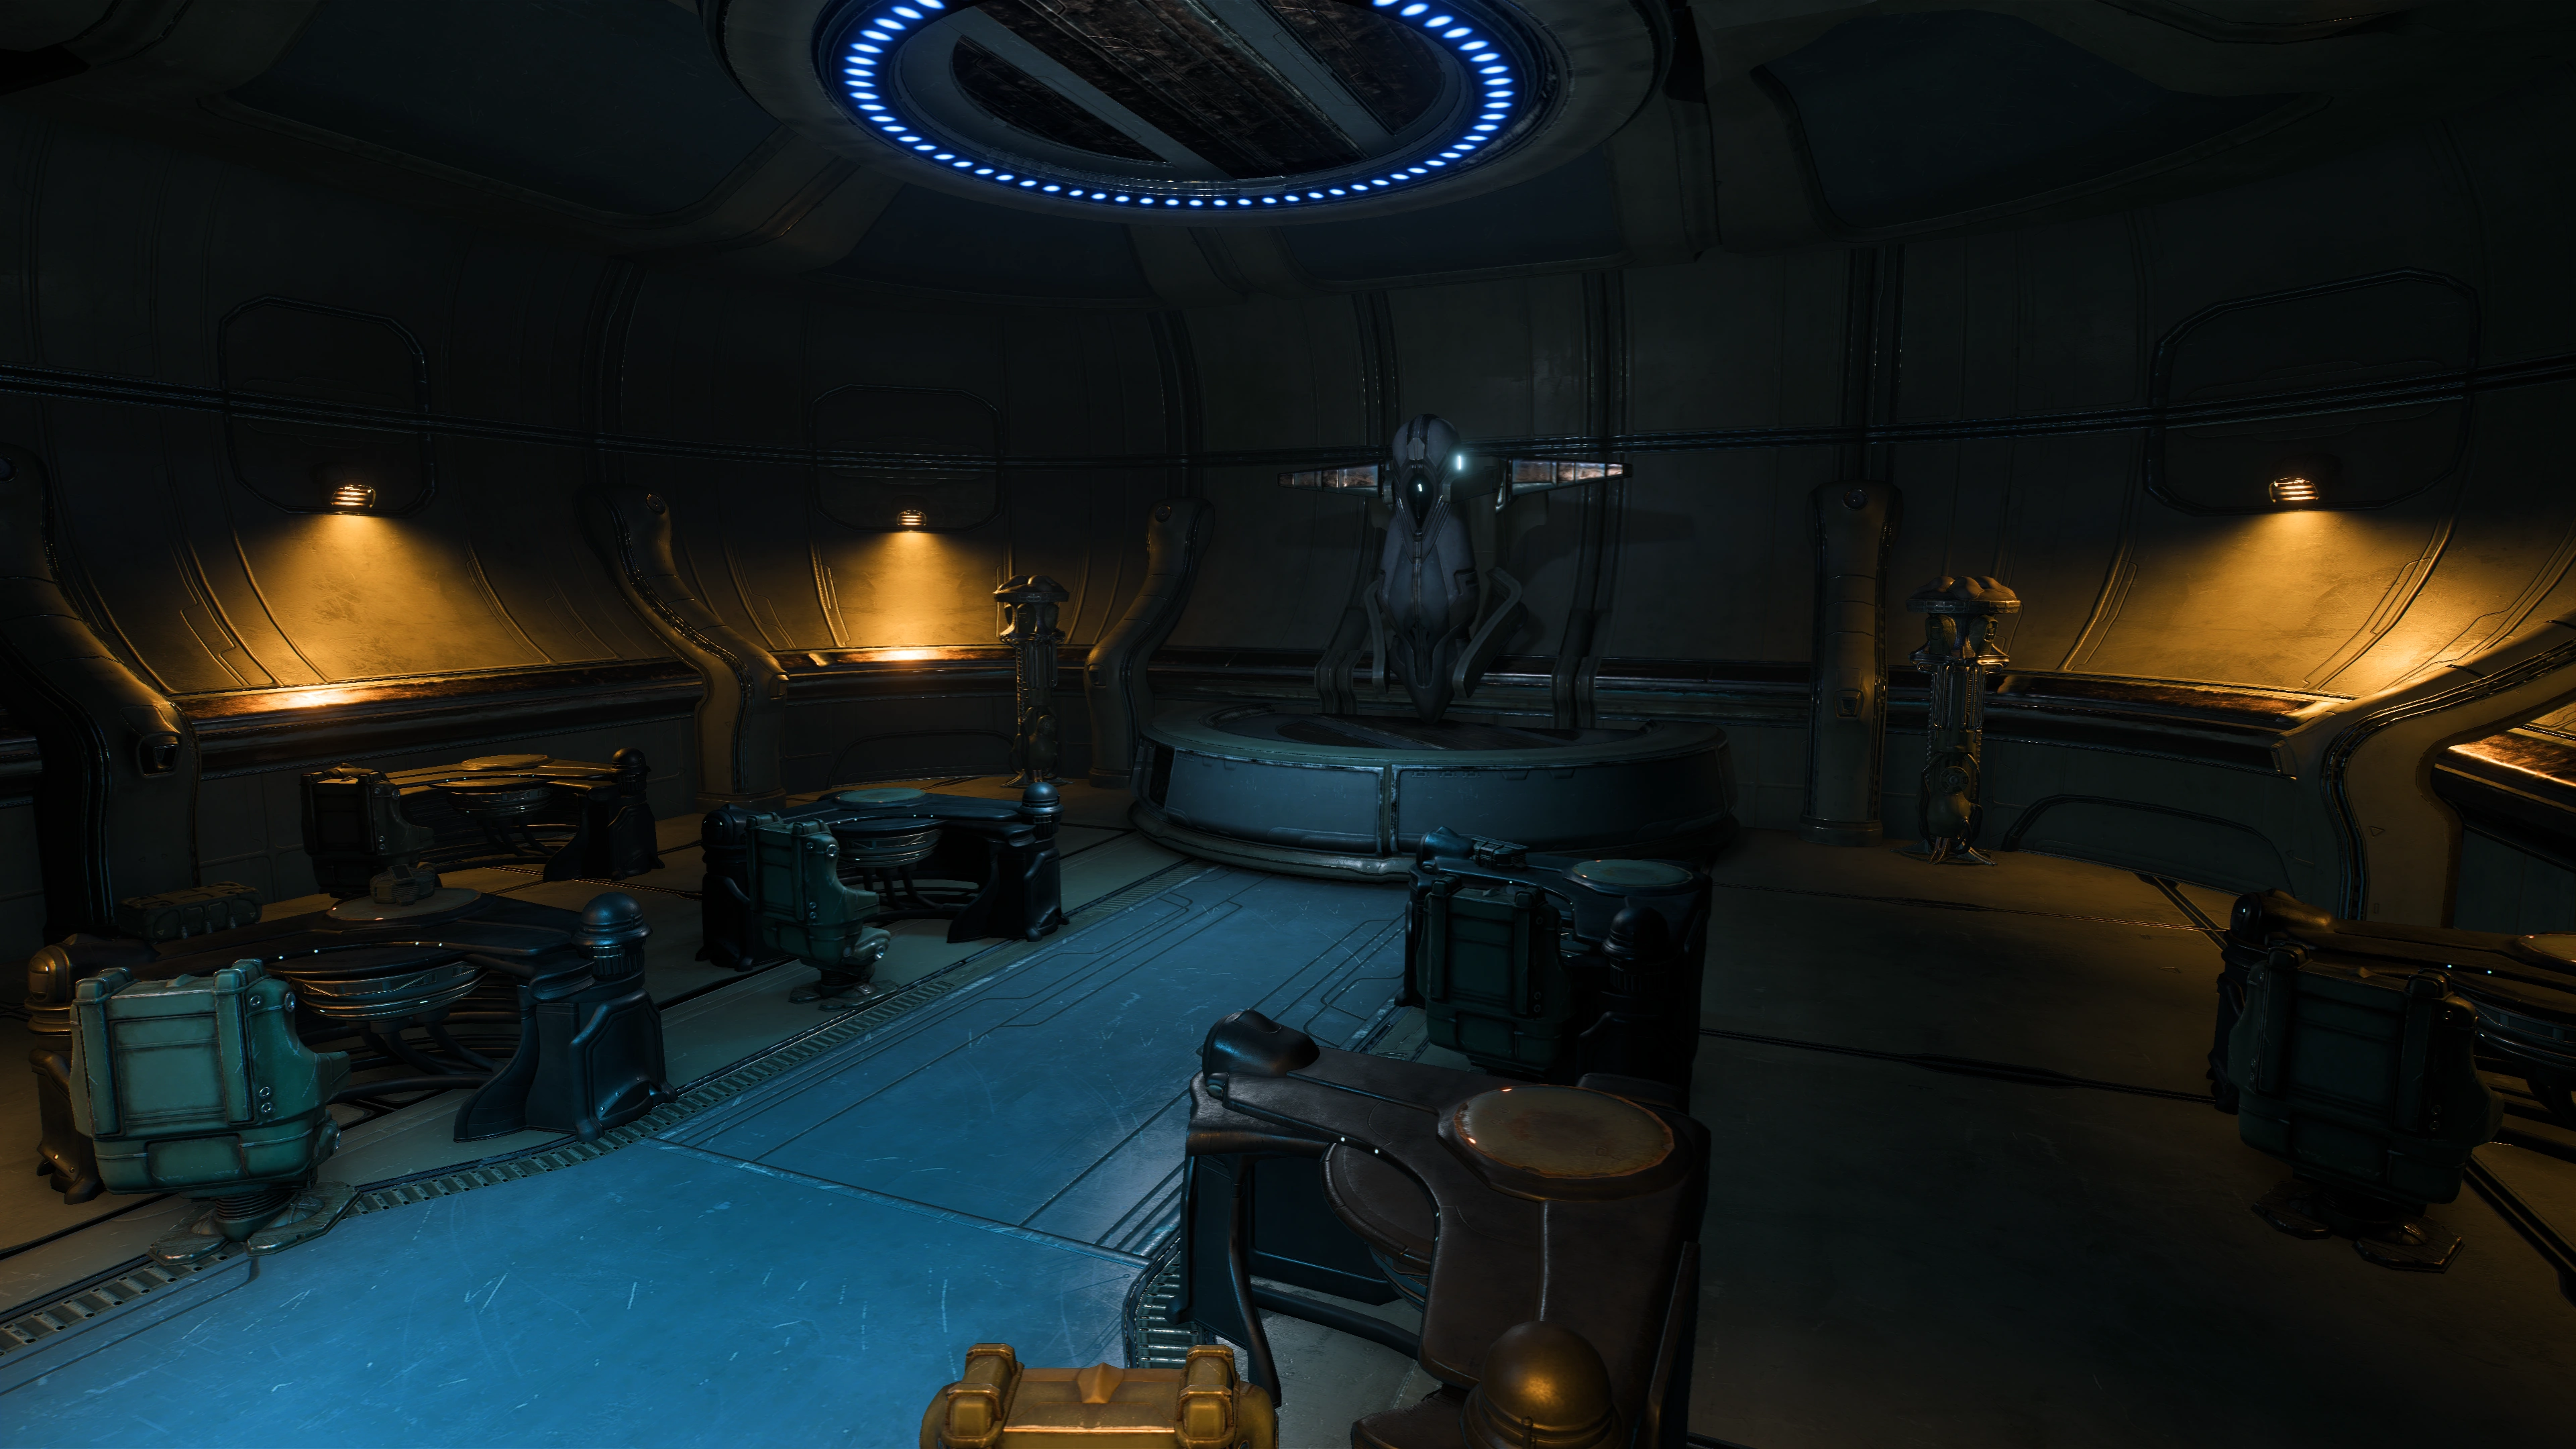
When you're ready to proceed, speak to the Moshae. While trying to get her out, the Cardinal shows up, not quite dead yet. While talking, SAM detects multiple kett cruisers inbound to the facility. The Cardinal offers to release the angara in the base so long as the facility is left standing. The Moshae wants the facility destroyed, but doing so would kill all the angara still inside, which Jaal protests against.
You are now given the option of saving the angara or destroying the facility. If you choose the former, there's an opportunity to kill the Cardinal as she thinks you're starting to appreciate the kett mindset (she otherwise leaves if you don't take it). If you choose to destroy the facility, Jaal will shoot the Cardinal instead.
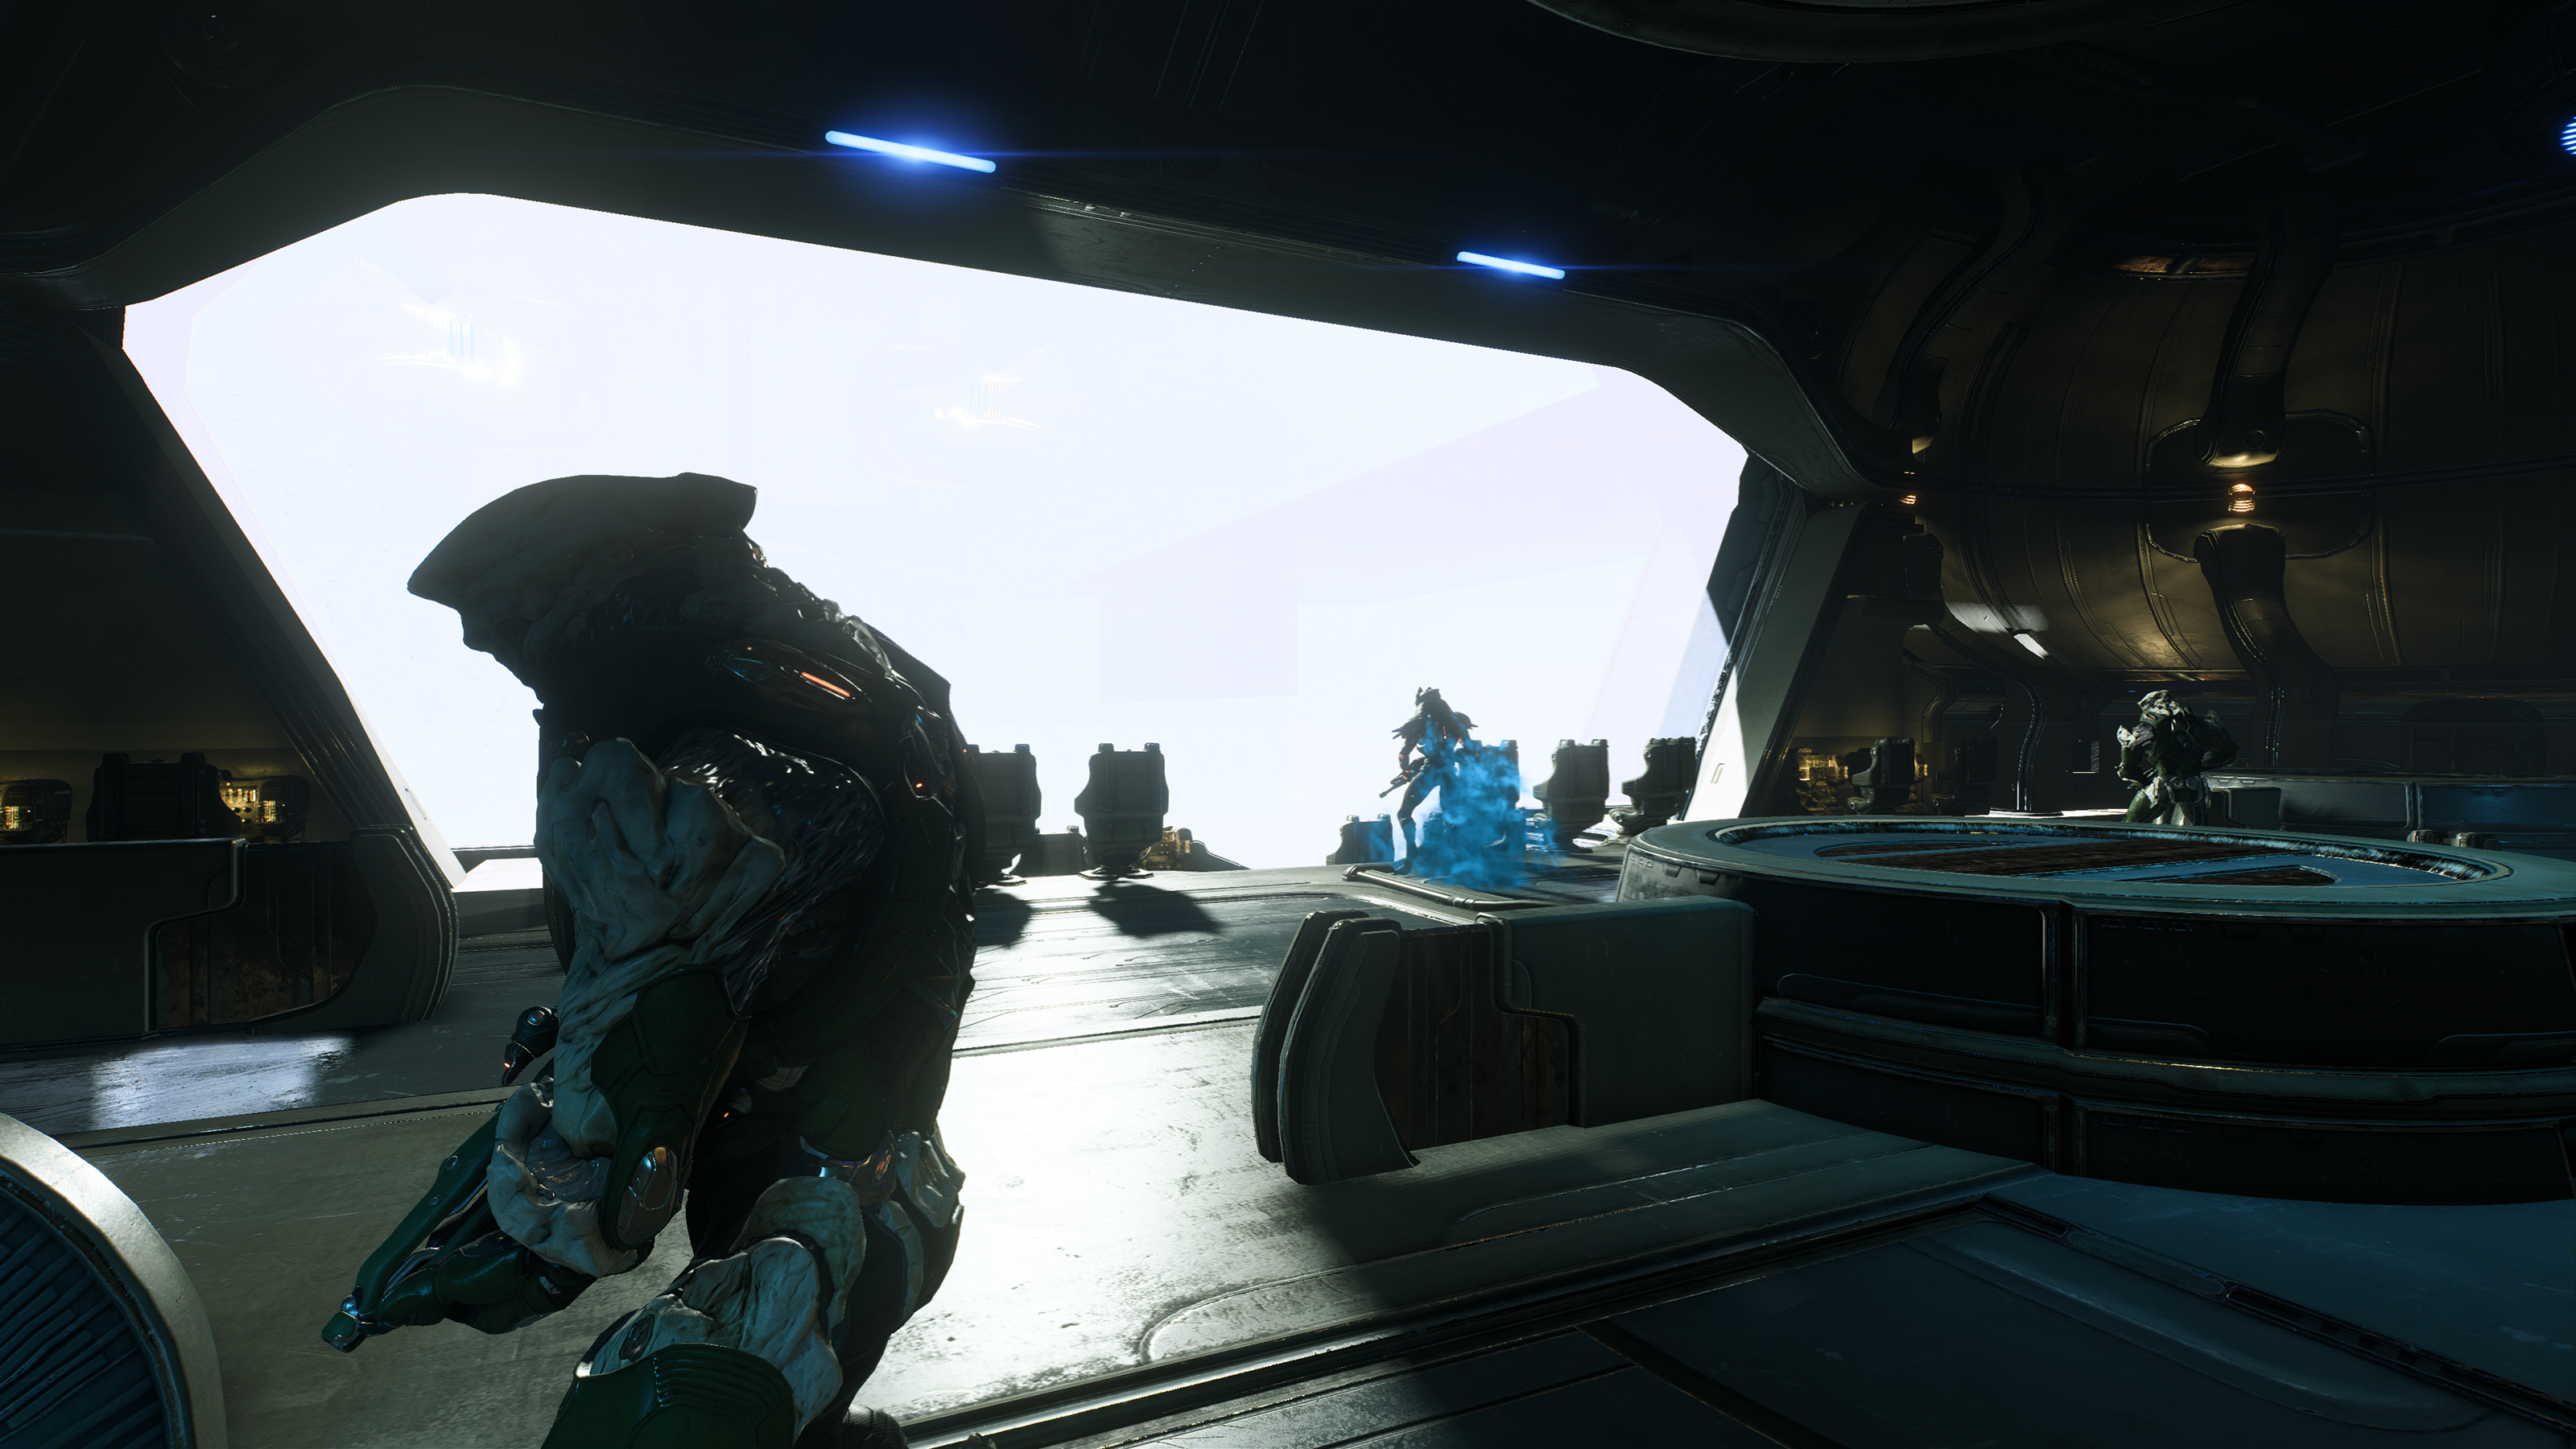
Escort the Moshae to the edge of the roof
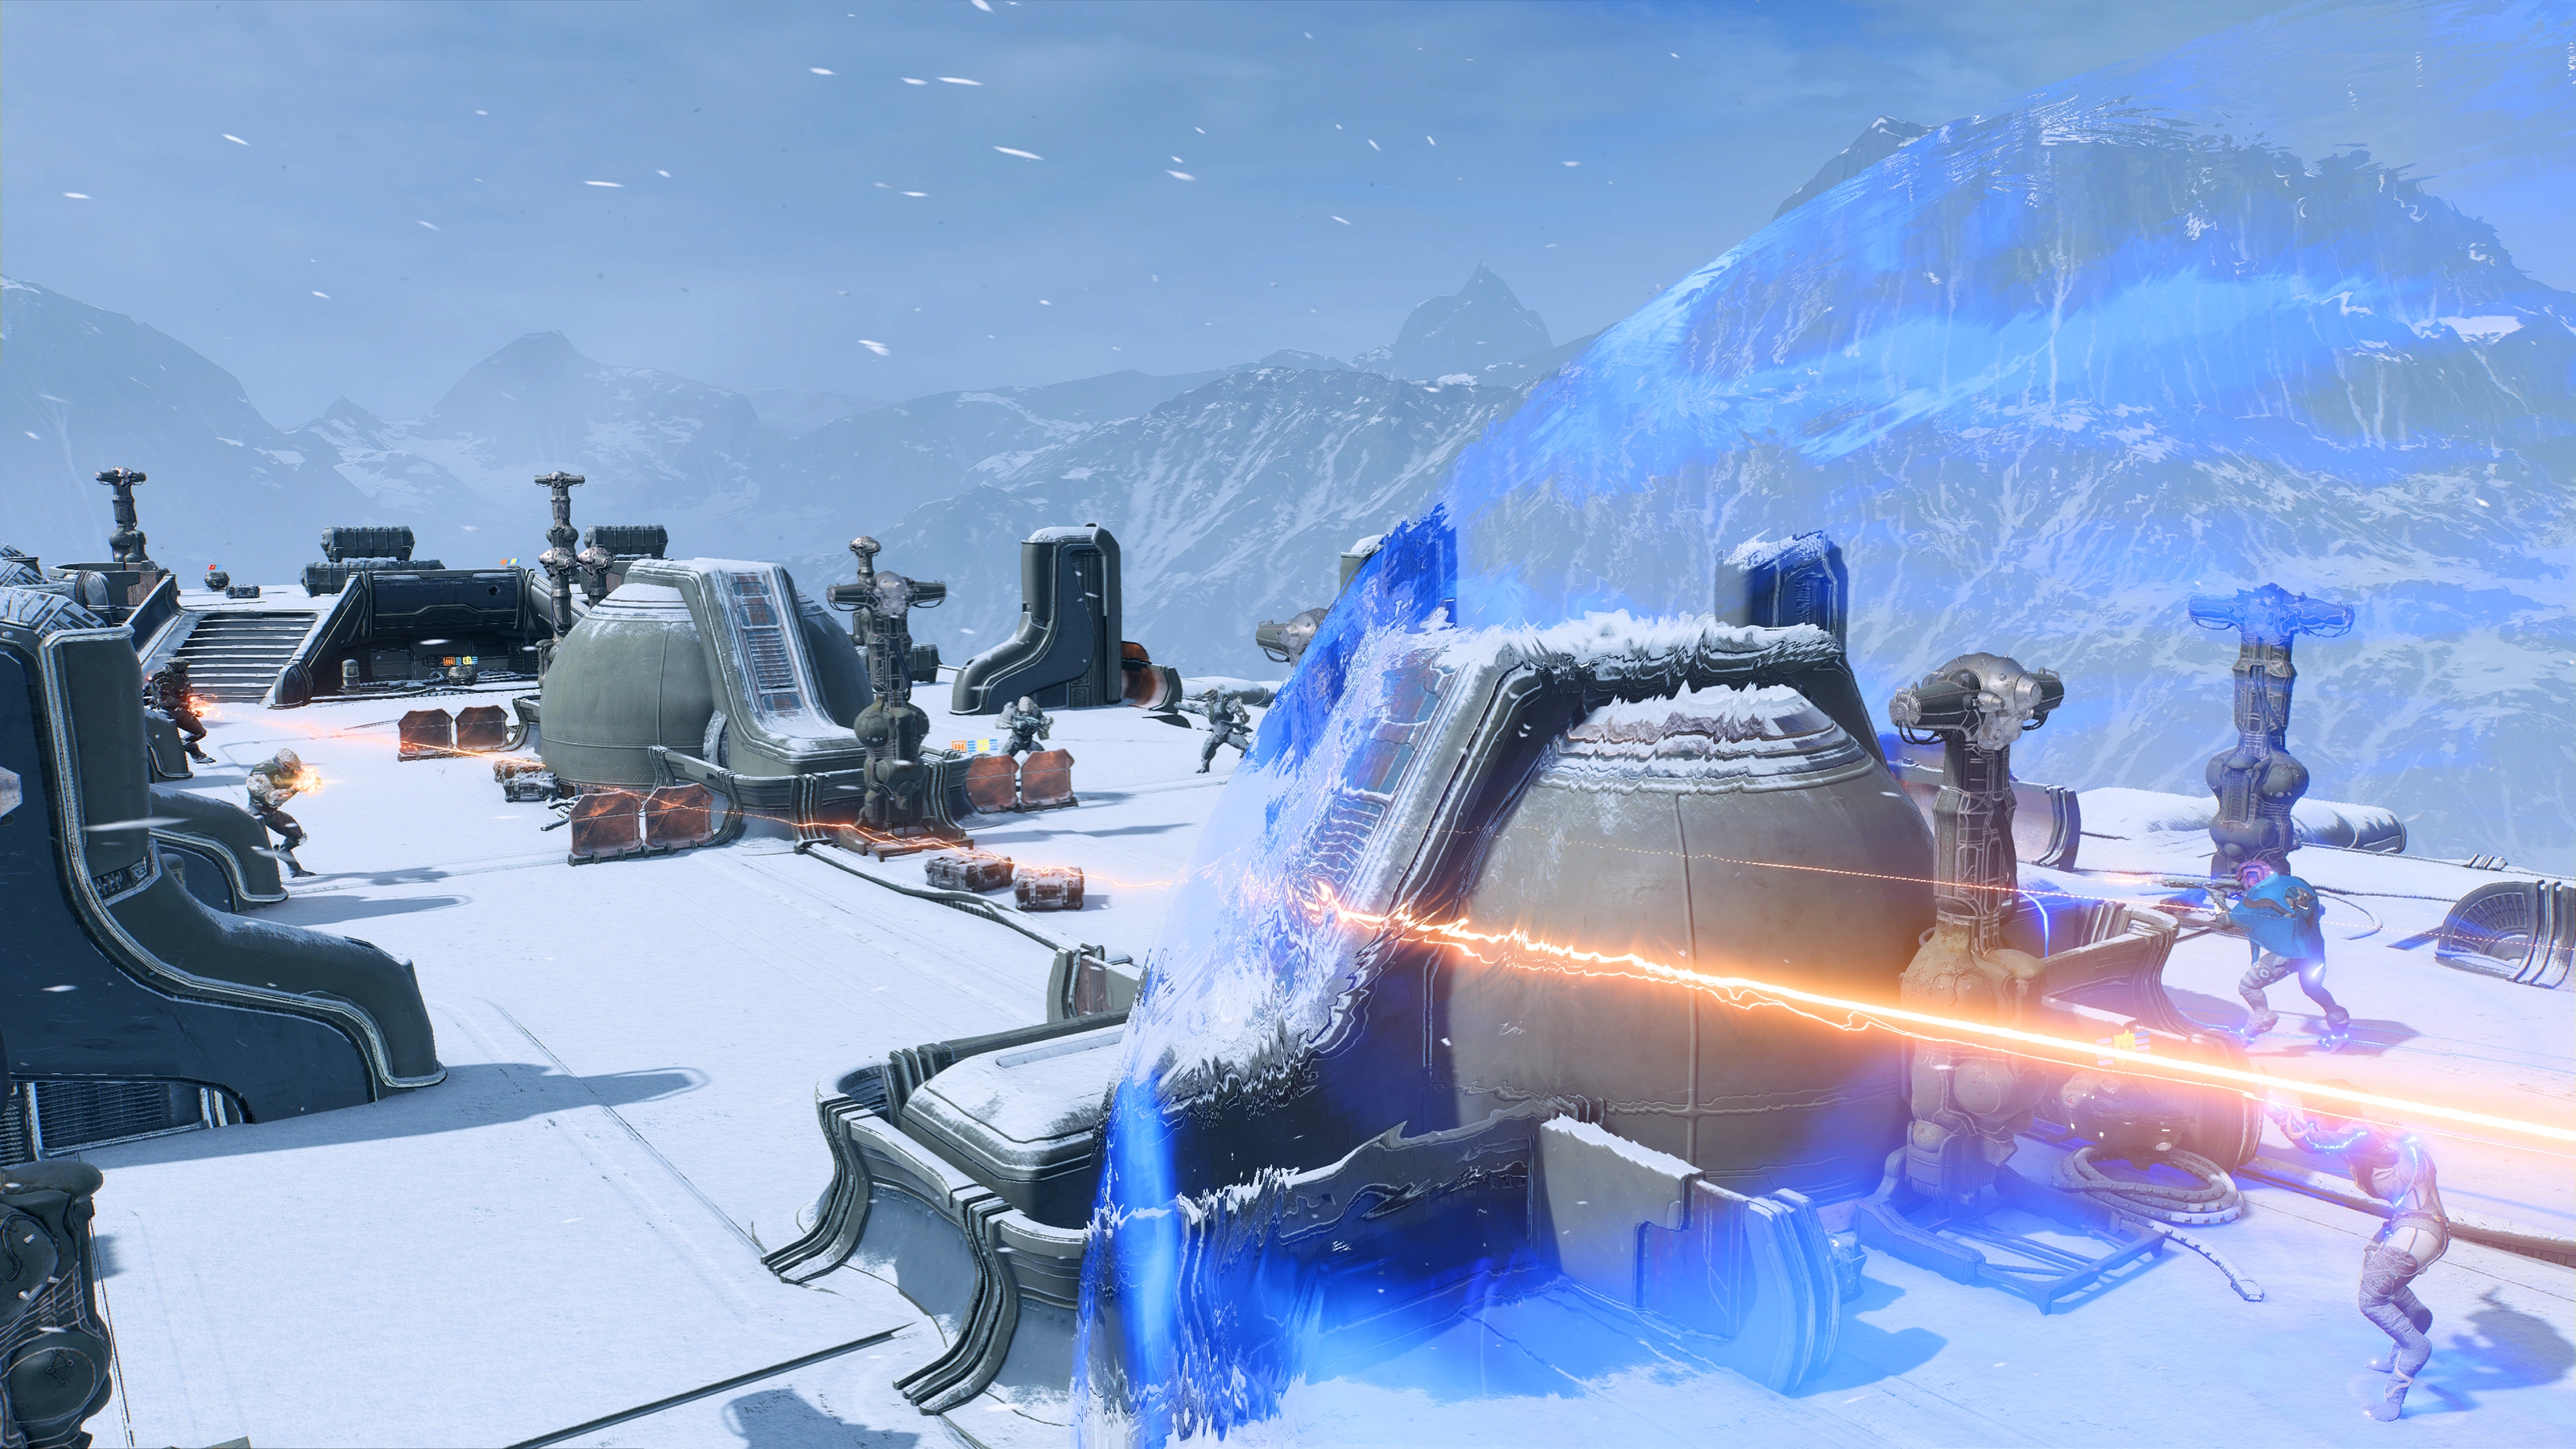
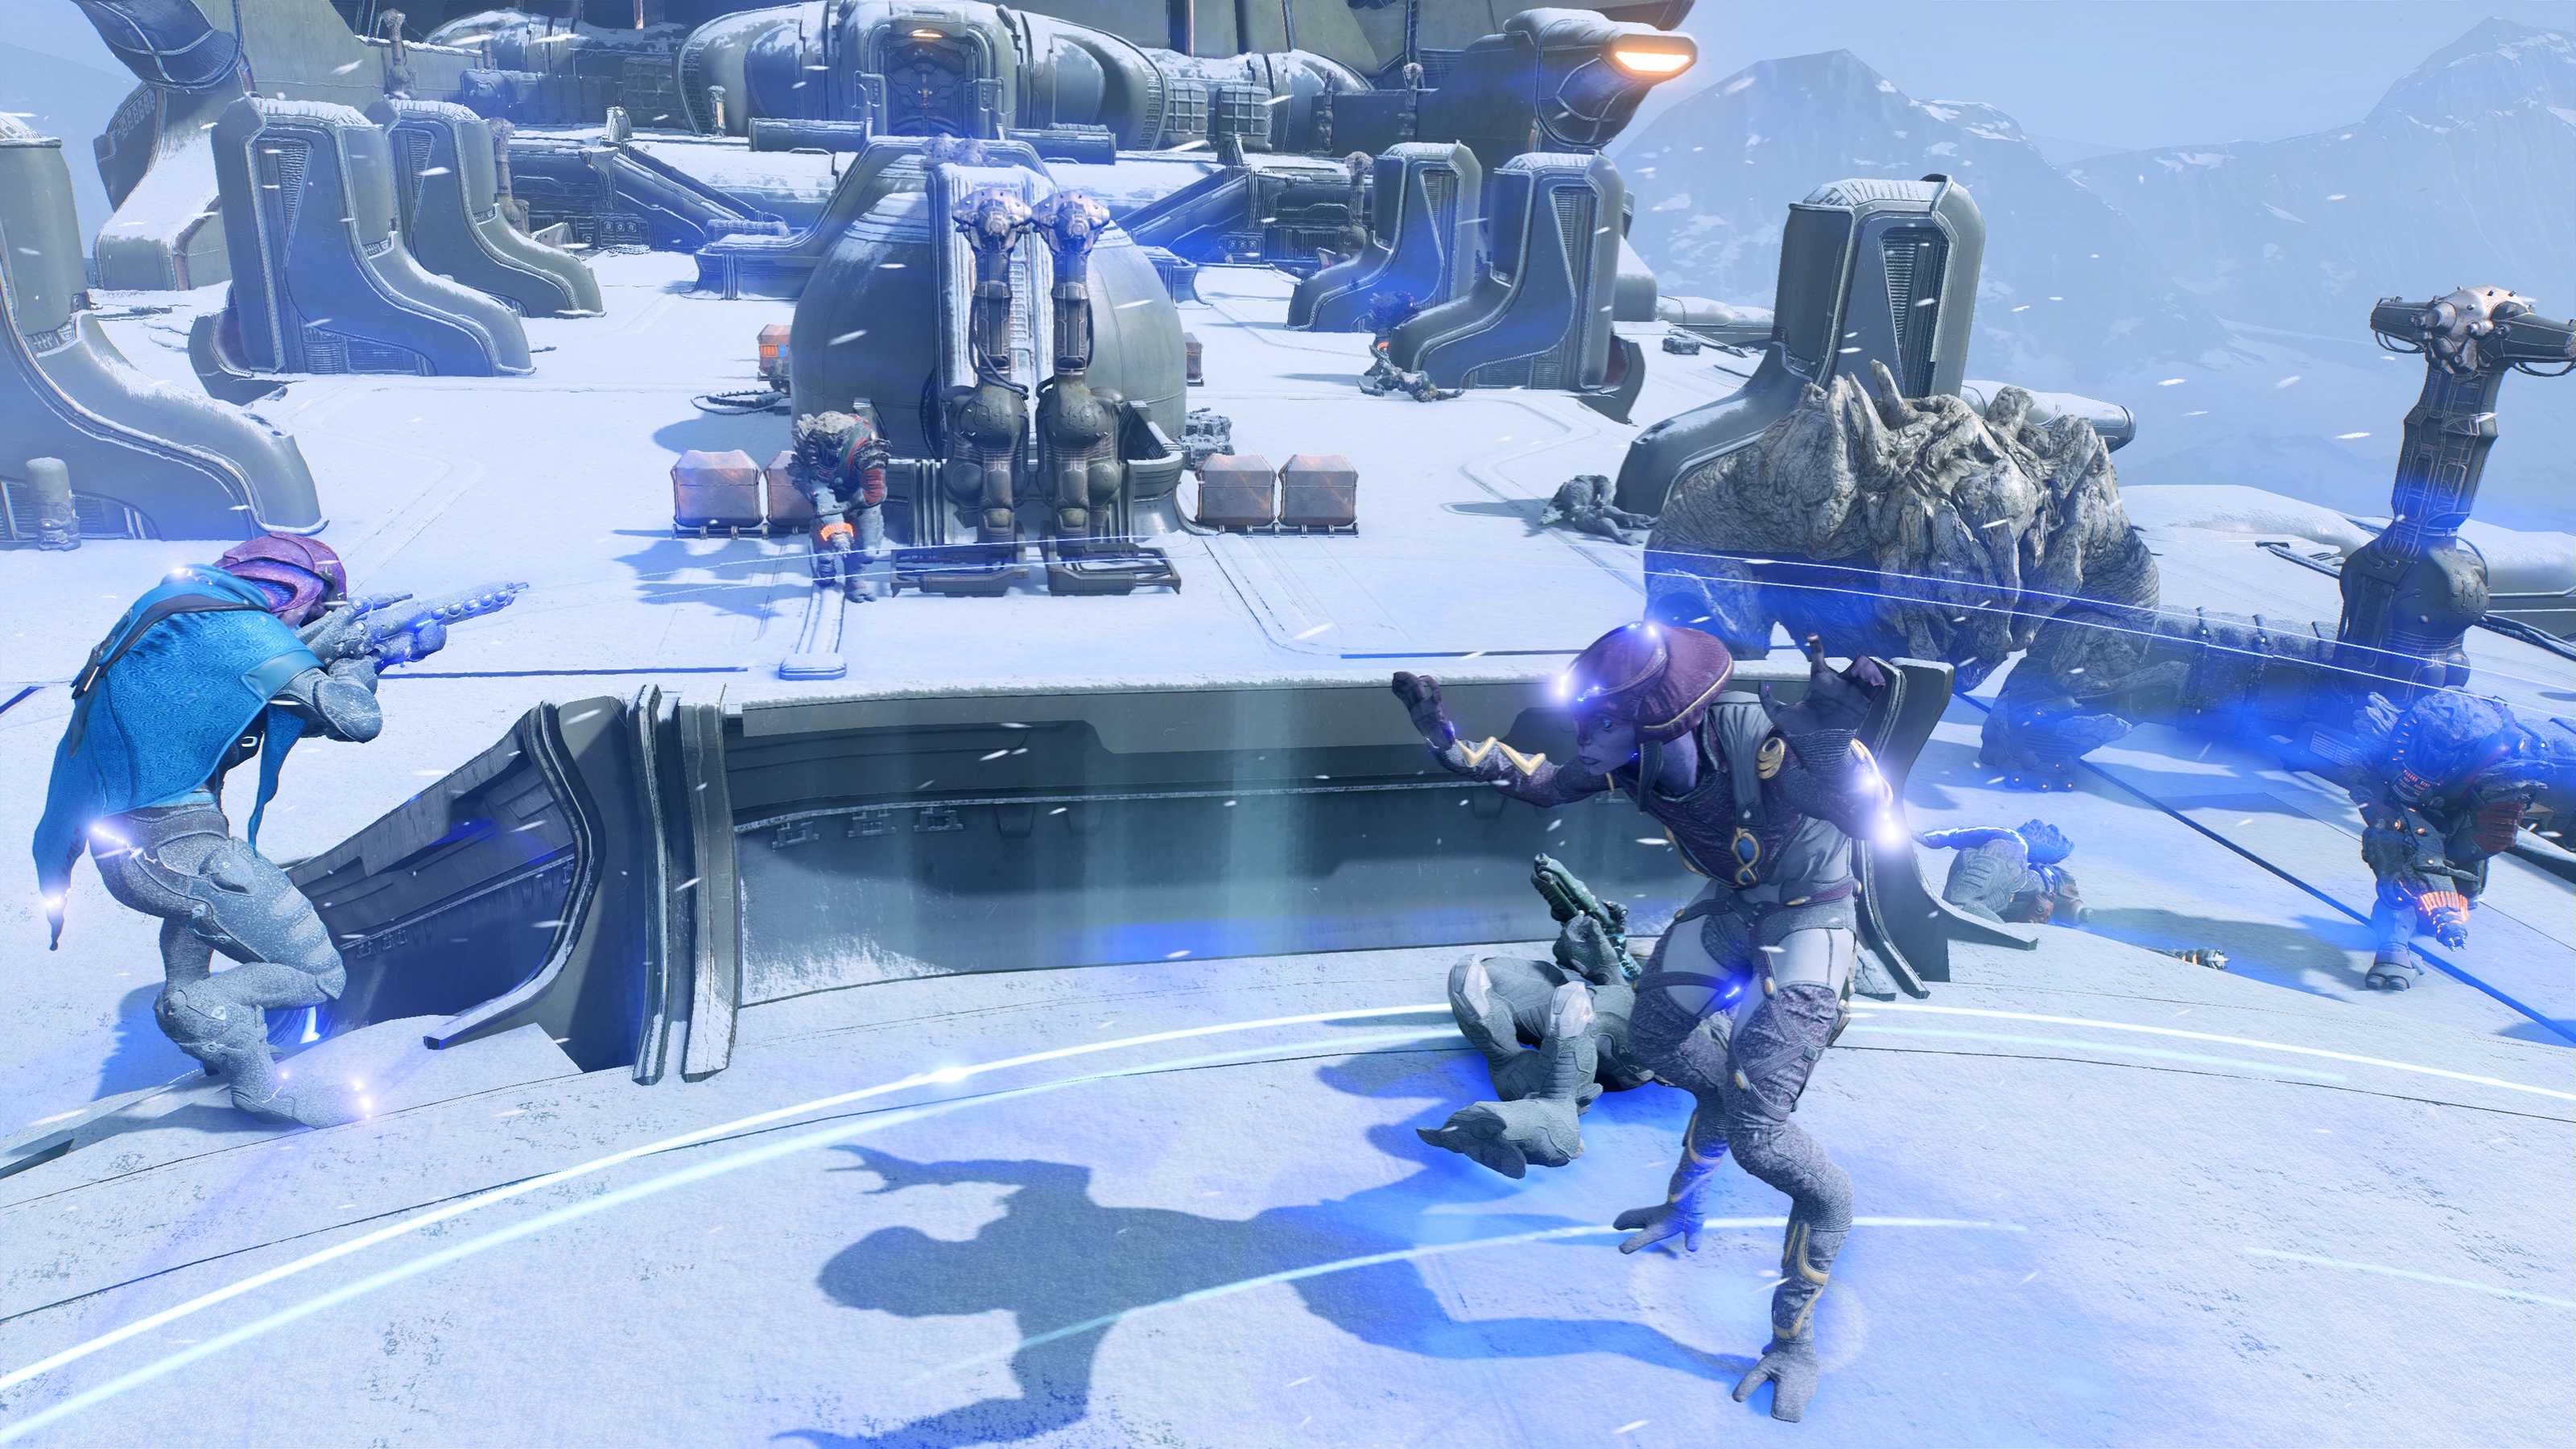
Your team and the Moshae arrive at the facility's Rooftop, where you will have to fight many kett. This is also the final autosave in the kett facility. Head to the end of the roof to await evacuation and battle against Chosen and Anointed. Despite being weakened, the Moshae puts up an angaran bioelectric field reminiscent of the biotic specialist's bubble in Mass Effect 2's Collector Base: The Long Walk, though her field is more about greatly increasing shield regeneration.
The Moshae can get hit and she may complain about being injured, though she technically cannot die in this segment. She moves forward as a certain number of enemies are killed, always beelining for the nearest cover. When there's nobody left she turns off her field and runs for it. Unlike in Mass Effect 2 there are no Seeker Swarms to worry about if you leave the bubble, so feel free to mow down enemies at your own pace.
If you have been playing multiplayer, the level topography is similar to Firebase Vertigo's, give or take a few things. There are no lootable nor scannable items in the rooftop, just strategically-placed supply caches.
Hold out for the shuttle extraction
When your squad and the Moshae have reached the other side of the rooftop, instructions dependent on your decision about the exaltation temple are relayed to Commander Heckt. More Anointed emerge from the way you came in, and now they're bringing a Fiend (possibly more, if it is defeated quickly).
A 1 minute 29 seconds timer for shuttle arrival starts shortly after the deployment of the Fiend. Simply do your best to survive until the ship arrives. The Moshae will put up a field again to help, but if she gets shot or the Fiend (or Fiends) manages to reach the platform, she will move further toward the back, taking her regeneration field with her.
As with the Cardinal, stay out of a Fiend's melee range as it can deal insta-kills. No wonder even the Moshae is spooked.
Reach the shuttle
Once the timer is done, run to the shuttle that has appeared.
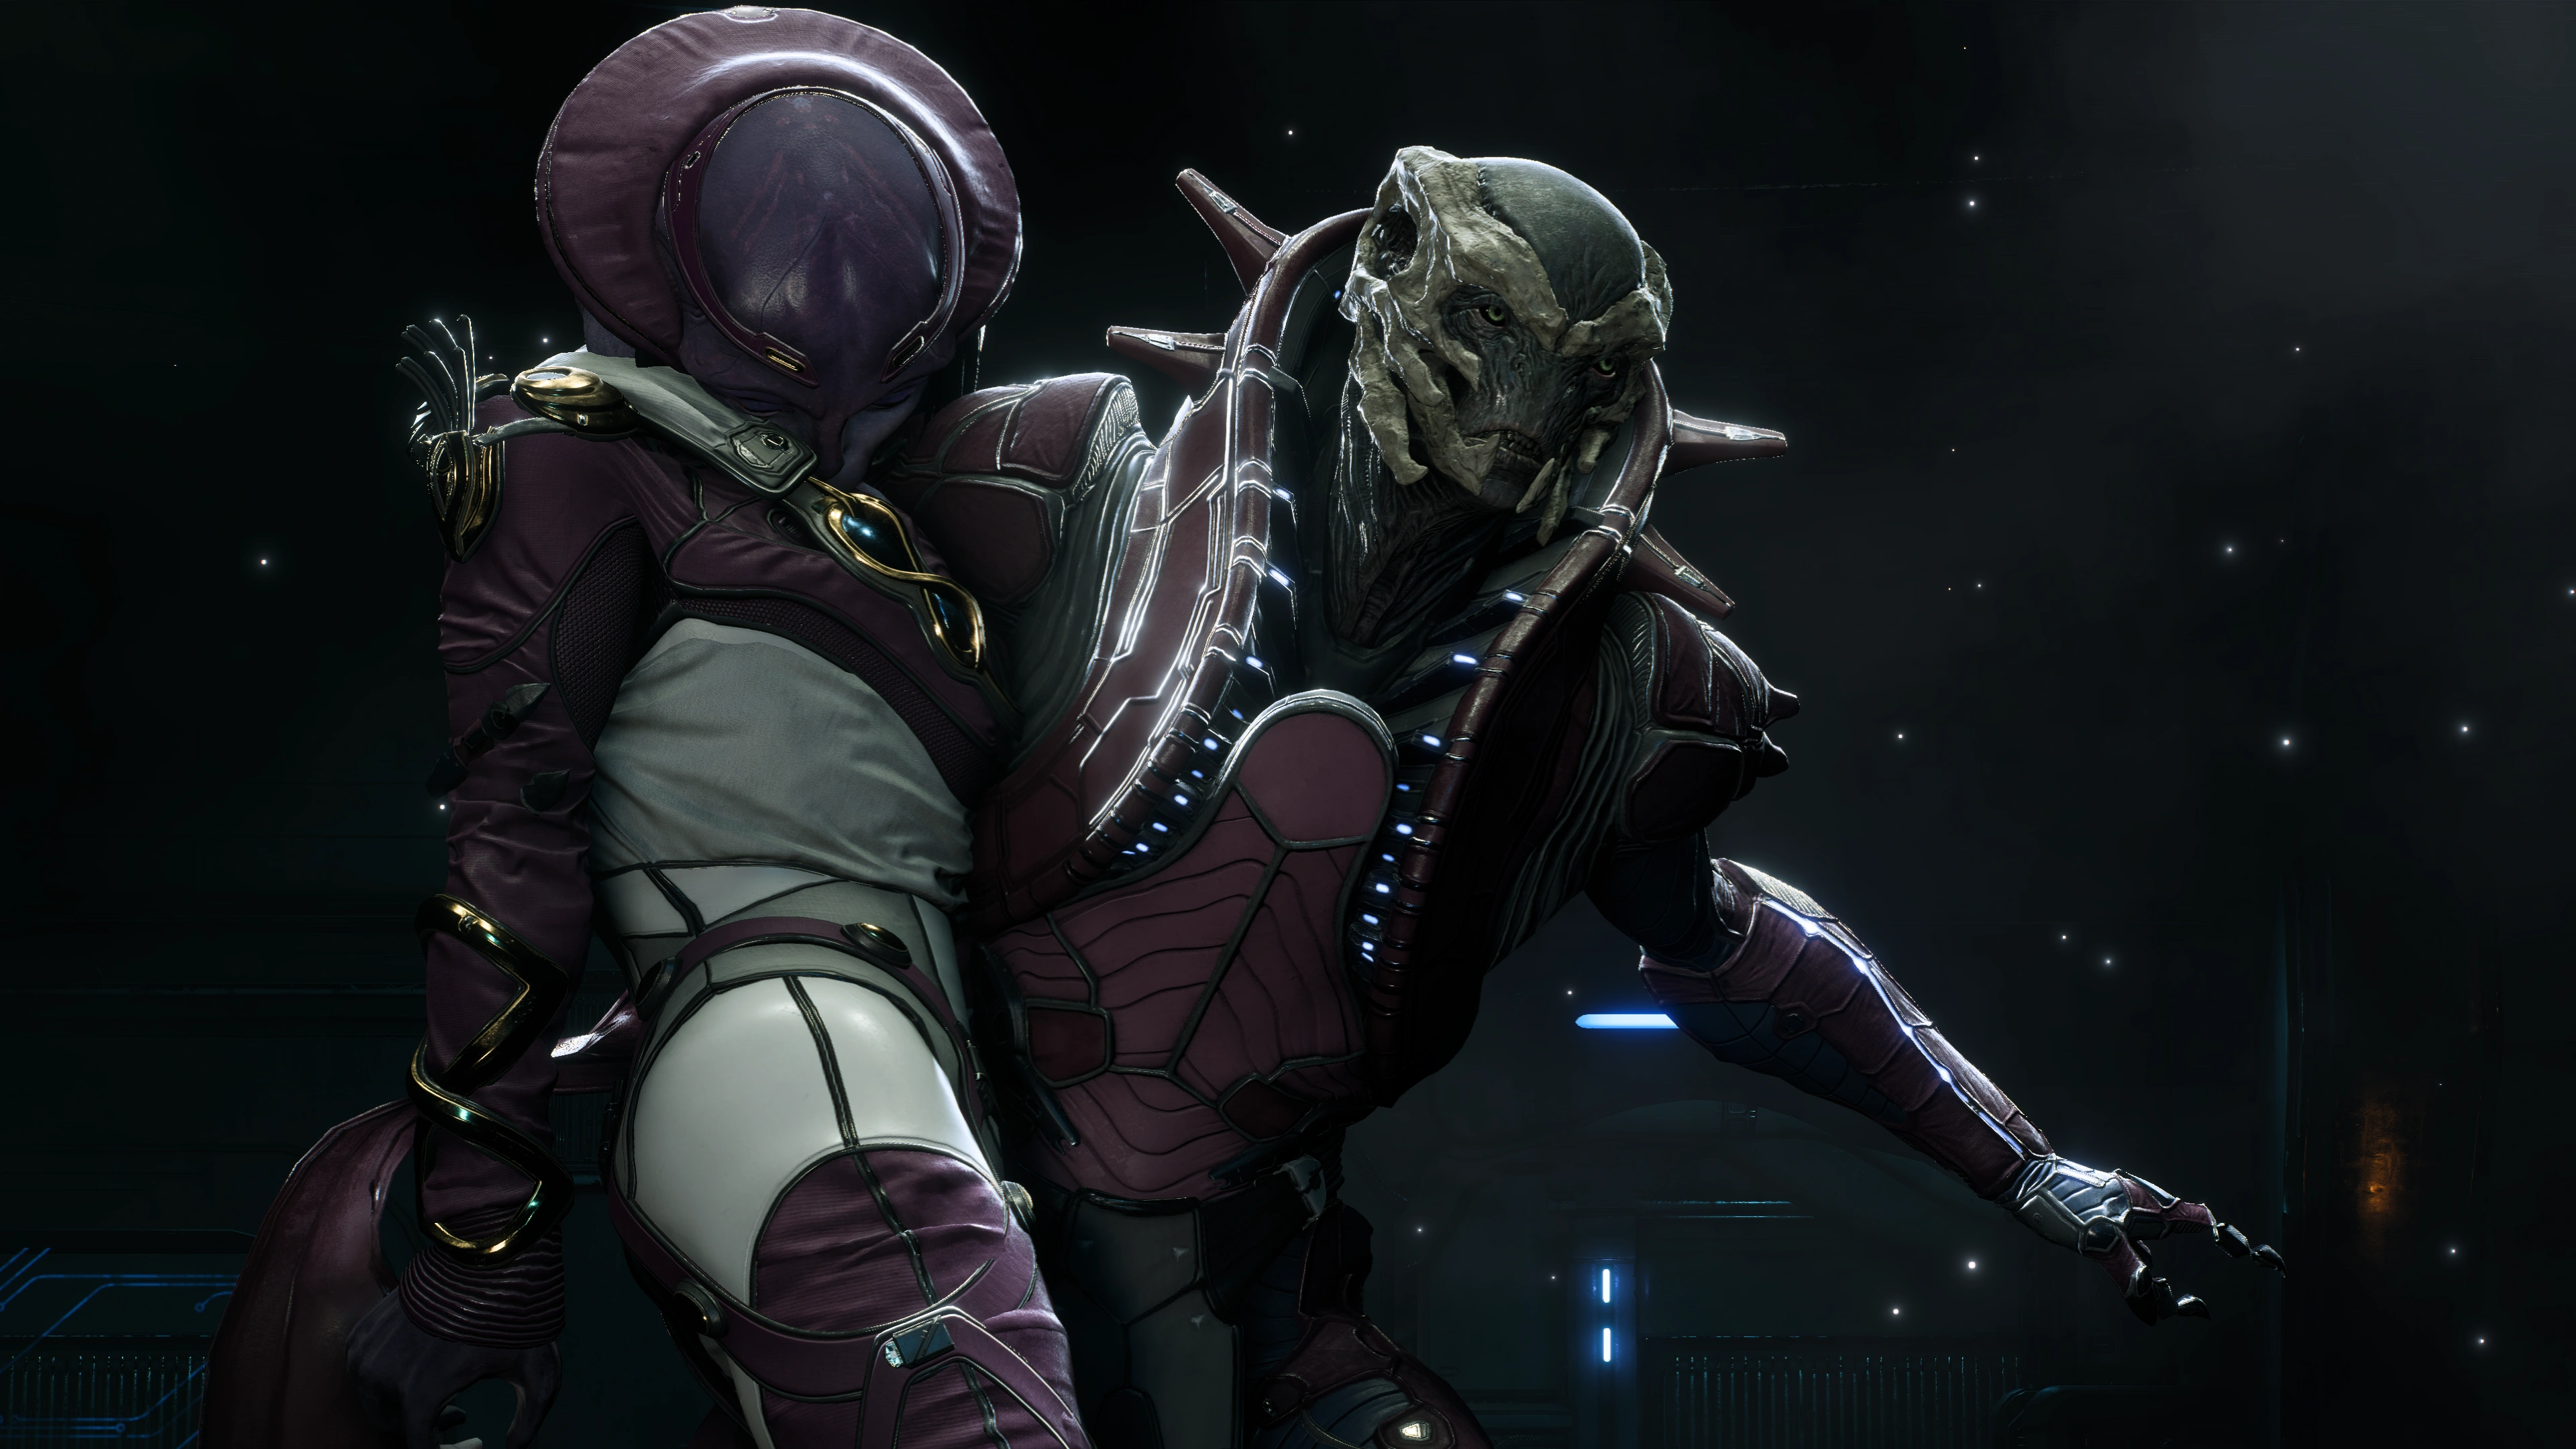
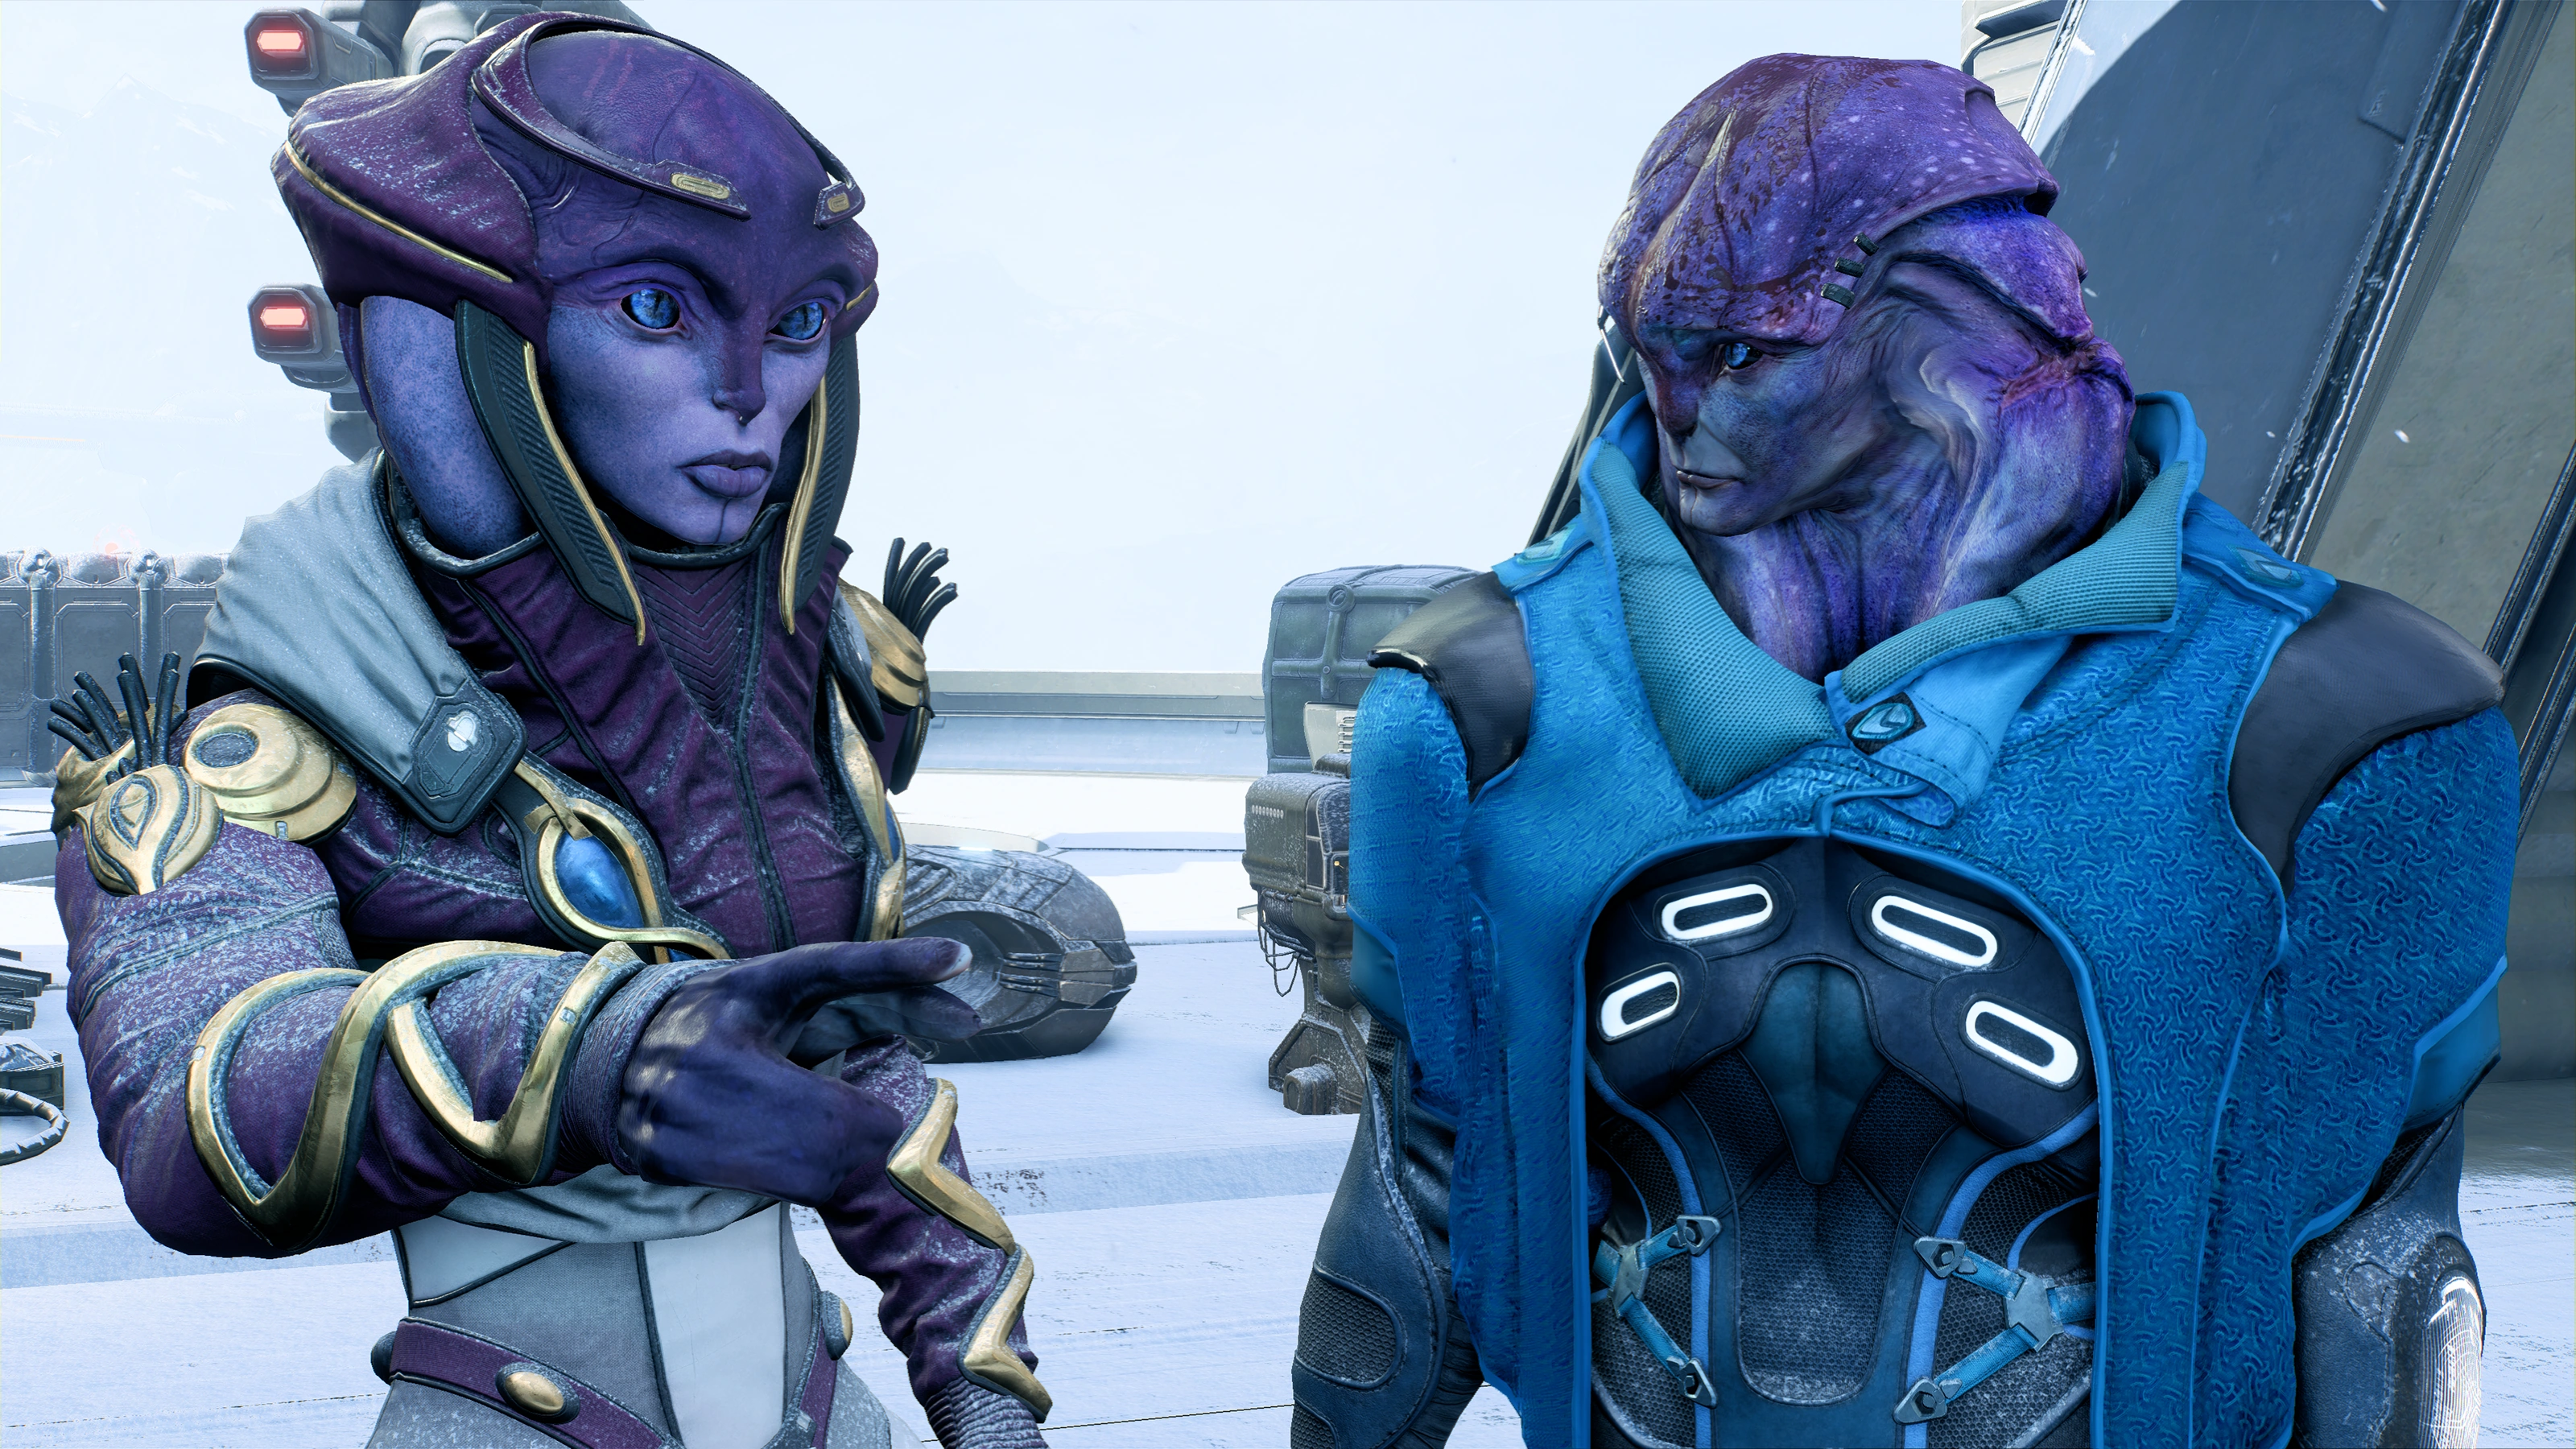
Back on the Tempest, the Moshae is in the medbay. She informs Jaal and Ryder that the facility is for "exaltation," which involves the kett stealing and manipulating the genes of other species. She adds that, despite the purpose of the facility, she was instead regularly questioned by the Archon about Remnant tech. She knows that Ryder wishes to see Aya's vault, and agrees to take them.
Once the conversation is over, you receive +2500 XP, +500 AVP![]() , and 10% Voeld viability.
, and 10% Voeld viability.
Return with the Moshae to Aya
Aboard the Tempest, the Moshae divulges what she knows about exaltation and her experiences in the facility. Since Jaal told her why she was rescued, whichever way you justify it she agrees to take you to the Aya vault.
The Moshae is allegedly happy to answer any further questions you may have, but she'll spend one session in the Tempest recuperating in the med bay and isn't actually in a talkative mood. If you have other destinations beside Aya, the Moshae will be able to talk by the time you return to the Tempest after debarking and conducting your business elsewhere.
You can use this time to check up with the Tempest crew and some people beyond the ship, since a lot of them will have opinions on exaltation.
On emails, you will receive four messages. Acknowledging one of them leads to the acquisition of Know Your Enemy.
When you land on Aya, Paaran Shie declares that Aya is open to the Initiative from now on, and also invites the Initiative to an alliance.
You may now explore Aya freely.
Take the shuttle to the Aya vault
When you're ready, this one is self-explanatory.
Investigate the Aya vault
When Ryder lets SAM activate the vault's console, it shows a galaxy map where all vaults are connected to a central vault called Meridian. Unfortunately, the Archon has already been there, but has not been able to figure out how to use it, according to Moshae Sjefa. She promises to gain Evfra's cooperation to combat the Archon.
Meet Evfra at the Resistance HQ
Evfra reveals that a member of the Resistance named Vehn Terev helped the Archon capture the Moshae. His trail leads to Kadara Port. The priority mission Hunting the Archon starts automatically.
Aftermath
Ryder lets Tann know that Aya has opened an embassy for the Initiative. There will also be an angaran delegation on the Nexus.
After the Moshae's rescue, concerned citizens show up on the Nexus and request the Pathfinder's opinions. In the Common Area below the stairway near Avina a woman harbors some doubts about the angara. You can encourage her to have some trust in two slightly different ways. In Operations below the stairway near Nakmor Kesh's office, a salarian wants to know if there can be peace with the kett.
Saving the facility provides aid from the Angaran Resistance during Meridian: The Way Home. Destroying the facility provides no benefit for the final mission.
The following emails can be received upon return to the Tempest right after rescuing the Moshae:
The following emails can be received once Aya is freely explorable:
Rewards
- +2300 XP
Datapads
In the first room beyond the entrance vents:
In the classroom-like chamber:
In the living quarters:
Trivia
- During the battle immediately after the first observation of an angaran exaltation, dialogue and head count makes it appear it is the only Chosen in the room. Its corpse can actually be seen on the ground even if the Chosen enemy unit is still alive.
| ← Previous Mission | Mission Index | Next Mission → |
|---|---|---|
| A Trail of Hope I | Missions (Mass Effect: Andromeda) | Hunting the Archon |