An unknown mercenary group is attacking. Escape their ambush and get to safety.
Acquisition
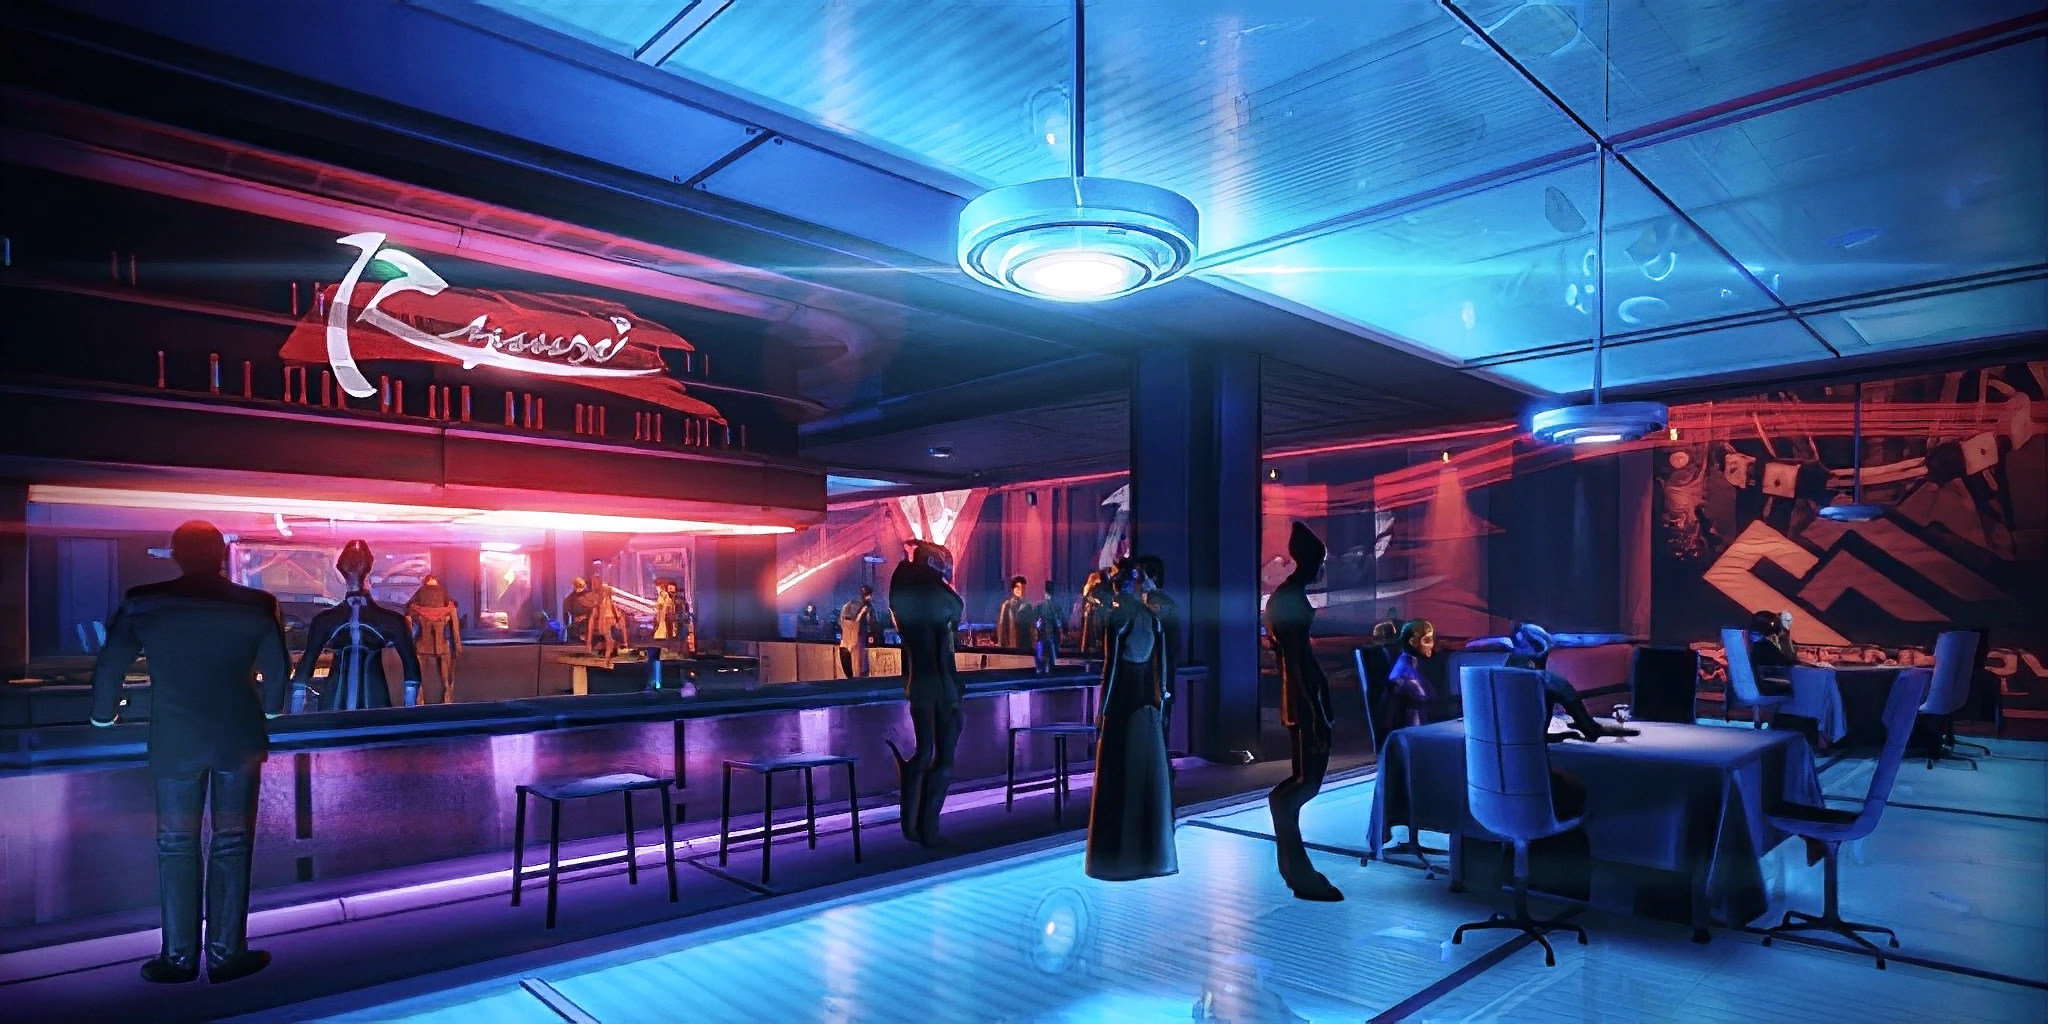
Your conversation with Joker immediately devolves into a shootout upon arrival of uninvited armored guests at Ryuusei's Sushi Bar.
Preparation
As you cannot change anything about Shepard upon receiving this mission, see the preparation notes for the previous mission in terms of loadout customization.
There are limited ammo pickups in this mission. Make every shot count, and rely on your powers more than your weapon.
Walkthrough
Shepard's inquiry about the situation is interrupted when several armed mercenaries stroll into the bar, and one knocks the host unconscious. They proceed to fire their weapons at the ceiling, causing the restaurant patrons to panic and scatter. Shepard grabs Joker, pulls him down and flips the table over for cover.
Brooks hides behind another table but one of the mercenaries finds and drags her away. Shepard orders Joker to get the crew while the Commander goes after Brooks. When Joker starts moving away, one of the mercenaries notices him and moves closer to the overturned table. Shepard grabs the enemy and uses a heavy melee to kill him. (Joker complains about being used as bait but makes an escape.) Shepard recovers the mercenary's pistol, a M-11 Suppressor, and tells Brooks to hold on; now the fight begins.
Find Brooks
Because you are outnumbered and without armor or squadmates, use cover as much as possible. The pair coming around from your left is the greatest initial danger, as the ones in the bar will tend to hit ceiling obstructions if they try to throw grenades at you. The bar also makes a nice receptacle for your own grenades if Shepard comes equipped with such.
The mercenaries will deploy Disruption Drones, which will charge at you and then self destruct, overloading your shields; take them down before they can do that. The mercenaries and drones also all have shields. This initial wave of enemies will test your shield-stripping capabilities.
Fortunately, the M-11 Suppressor in your hands does superb damage and features the highest headshot modifier in the game. Its major downside is its lack of ammo, but on Insanity difficulty it can kill an unshielded enemy in three or four shots (one for headshots).
Since the goal here is to revive Brooks and not to survive the infinitely spawning enemies, it's recommended that you make a beeline for her once the area is considerably cleared. If you approach by climbing over the bar counters in succession, you will always have cover from any new mercenaries who spawn on the staircase. Infiltrators can cloak and run straight around the bar to tag Brooks right away at the beginning of the fight. Vanguards may also want to Charge at the enemy that is nearest to Brooks, and then rush to her for an equally quick solution.
Find an Exit
A short cutscene plays out where another mercenary targets Shepard with a Mattock, but Brooks notices, shoves the Commander out of the way, and takes the bullet herself. Shepard tries to get to her, but the mercenary's bullets end up shattering the restaurant's glass floor. Shepard is sent on a wild ride down into the lower Ward. After several repeated attempts to stop, the Commander finally manages to fall onto a platform and stops.
Clearly injured, Shepard recovers the M-11 Suppressor and manages to get up. Brooks contacts the Commander, saying she has found a secure terminal. Shepard asks how Brooks is okay and Brooks says she used all the medi-gel, and now everything is a little bit bouncy. Shepard makes the comment that she probably used too much. Brooks asks if she can be of assistance, and Shepard tells her to alert C-Sec while the Commander looks for a way out.
Be extra cautious: Shepard has only one Health Bar segment thanks to that drop through the floor, and remains that way throughout the rest of the mission. One workaround is that if you die, Shepard starts with an extra segment.
Proceed out the door and jump across to the next platform, down the ladder to your left, and then across to the next platform. There you will find a datapad about new temperature units. Head down the next ladder and Shepard will notice a landing pad. Brooks checks the area and notices it is a pad for Cision Motors. Shepard orders Brooks to get a shuttle there, but Brooks says that C-Sec had the entire area locked down and it will be difficult. Shepard orders her to keep trying. Brooks tells the Commander to stay off the comm as it is probably hacked, which she notes is probably how they found Shepard in the first place. Shepard asks who they are; Brooks replies that she doesn't know, but they clearly don’t like Shepard. Head down the next ladder and into the fish storage area on your right.
The room doesn't contain much except frozen fish, crates of "authentic European sushi", and a salarian fish worker on a smoking break. Ignore him and head up the ladder if you're in a hurry, otherwise if you keep returning to his location he'll be slightly creeped out by your actions.
Get to Skycar Lot
Above the ladder you get a new NavPoint. Turn left, then across the gaps. Once you reach the end, there is a group of three enemies down on the lower level. Head down the ladder and hide behind the market stall counter before they spot you (fortunately this stall appears to sell ammo).
Shooting is not advised. At this point, your best idea is to use stealth as you will quickly find yourself in a whole world of enemies if you don’t. Use tactics to pick them off one by one until you get discovered, then shoot the rest as quickly as possible. Keeping them off their feet with grenades, stun effects, etc, will minimize the number of drones and grenades you will face. Make sure to take them all out before you move up - fortunately they will not receive reinforcements until you advance down the market.
Tips: An Infiltrator at this point can cloak and dash the full length of the market to the point where it turns a sharp left and nears the bridge described below. Sentinels and Engineers should make full use of chain Overload to destroy Disruptor Drones while simultaneously popping stunned mercenaries out of cover.
As you progress, someone from the crew (either Liara or Shepard's love interest) will contact the Commander and ask if Shepard is okay, explaining that they are on foot but not far and that Joker filled them in. If you were expecting your love interest and it is Liara who contacts you, it may be that your romance is not yet locked in in the main game.
Brooks then cuts in and asks who they are as it is an unsecured channel and they are putting Shepard at risk. The crew member (hence forward referred to as "Crewmate 1") is confused until Shepard says that it is Brooks and orders everyone to play nice. Once you are clear, continue forward and you will find another datapad from EZ meat, and some thermal clips. Grab as many as you can. There is no autosave at this point so it is recommended that you use the quick save or a hard save.
As you head past the large U-Forge-it stall beyond the meat kiosk, get ready to take cover because, you will encounter more enemies and this time they brought a nasty sniper. There are multiple decent cover locations on either side of the U-Forge-it. Just be ready to move quickly if they throw Cluster Grenades: one evasive plan is to retreat back around to the other side passage. Use the available cover, dodge the drones, and take out all of the mercs.
Once you are done, another crew member ("Crewmate 2") will contact you saying they just heard, and that everyone is on the way. In the shop called Ryuisi at the very end of the market you will find a Pistol Power Magnifier and a terminal with 2,250 credits. Here you will also find the very first grenade resupply of the mission.
Head back out and around to the left. At the end is another stack of credits (1,500) and another datapad from a stall with less than acceptable sanitation standards. At the end is a bridge, locked down of course, but you can bypass it. Before doing so, there is a room to your left with a terminal with more credits (2,250). Also be sure to refill your ammo fully at this point, returning to the market if needed, as you won't be able to return here once you open the door.
Once you start the bypass, the door asks for a C-Sec code, but Shepard's Spectre authorization overrides it. However this also sets off an alarm which alerts everyone to you. Move fast, stay in cover. Crewmate 1 and 2 will both contact Shepard claiming to hear the alarm. Make sure to clean out the area before stepping beyond the door as it seals behind you when you do.
Get to Car Lot
Upon reaching the next area you receive a slightly shorter NavPoint description. Get in cover because you are heavily outnumbered and outgunned. There are both troopers and snipers, appearing initially from an overhead platform, so keep to cover if you can. It might be best to stay near the door that you enter from and pick them off as they try and come around. Remember that you have limited ammo and that pickups are few and far in between. Use powers as much as possible here. Keep them in front of you, prevent flanks and you should be fine. Just remember that headshots are always nice.
Tip: An Infiltrator can again simply cloak and dash down the passage - keep going past the narrowing where another group of troopers emerges, and look for the spot where you can turn right and head through a classic "green button" doorway to relative safety. From that point it's even easy to turn around and "kill your way back" to any items and credits you'd like to pick up - plenty of cover and ammo supplies.
Once you have cleared the way, advance. As you round the corner another wave will appear with another sniper. Once you clear them out, along the right side will be a series of stores with useful terminals, datapads and an Assault Rifle Ultralight Materials mod. Grab them all, there will be three sets (each is 1 datapad + 1,500 credits), plus the final grenade resupply of the mission in the pink Van Allen Belts store, and then continue. When the path narrows, be warned there are more enemies coming. This time troopers only, so just keep an eye on the drones, and your ammo. Again using powers can really help you here. Especially if they are the throw-the-enemy-off-the-walkway type.
Once you have finished, Brooks will contact you saying there is a C-Sec shuttle on the way to the lot, and that you need to get there. Head down and to the right, another terminal (2,250 credits) and some much needed ammo await. Head inside the door, and you will find Crewmate 1 holding off two mercenaries, which are quickly dispatched.
Locate Gate Controls
Once you have completed a conversation with Crewmate 1, they will join you as a squadmate and you can now search the car lot to find the control panel to unlock the landing pad door. The cars all have information on them, which you can ignore or investigate. There is a Sniper Rifle Ultralight Materials near the door which you entered from, so don’t miss it. There is a terminal with credits (2,250) near a door at the back of the showroom.
As you approach the door to open it, it suddenly locks. Shepard prepares to shoot the lock a gun but your squadmate puts their hand on the gun and pushes it down; the squadmate calmly knocks on the window and politely asks the volus manager to open the door, which he does. The squadmate thanks him and the frightened volus tells them to please leave.
Get to Extraction Zone
Head out the doors and the C-Sec shuttle arrives, but it is yet another ambush by the mercenaries who open fire with normal weapons as well as a Geth Spitfire. Shepard and the squadmate duck behind cover. Fortunately, help arrives. Urdnot Wrex smashes through a window, slams into the shuttle and crashes it onto the platform; Wrex then heads inside shuttle and cleans out the ambushers. Alternatively, if Wrex is dead or you sabotaged the genophage cure, James Vega shows up with a rocket launcher and shoots the shuttle down. When Shepard asks what Wrex is doing there, he claims to have been butting heads with the Council over krogan expansion. Wrex tosses Shepard the Spitfire (if James is present, Shepard will pick it up) just as another group of mercs pour in.
Because you start in cover and have a full squad, don’t forget to level Wrex up - Wrex prefers getting close to the action and takes down enemies with melee, and a fully leveled-up Wrex easily tips the balance towards your side. Obviously, he likes to roam around, and that's an example you should feel free to follow: it's an open area, conducive to rerouting and flank attacks.
The enemies will pour in non-stop from the ceiling in two locations, so you can actually move inside the showroom and set up position in between the two LZ and slaughter them as they come. If you prefer to play things conservatively, the cover you start behind is quite safe, and though a bit obstructed it allows you to slide back and forth between each side of the battlefield.
The Spitfire has 1,000 rounds available, so feel free to be liberal with your firepower. Without absolute constant firing of the weapon, it is nearly impossible to use all the ammo before Joker calls for you to get to the extraction zone.
A good spot to hide is behind the engine pylon of the destroyed shuttle, as this will channel the enemy reinforcements in on you. Be advised that the cars in the lot *can* explode, the spitfire sending them up into fireballs pretty neatly.
Joker and Brooks are on the comm the entire time; Joker has obtained a shuttle, picked up Brooks, and is on his way to you. Once you hear Joker tell you to get to the shuttle, fall back to the extraction zone behind the engines of the destroyed shuttle. Once the squad is on board, Joker pulls away.
Enemies
Datapads
Cars
| ← Previous Mission | Mission Index | Next Mission → |
|---|---|---|
| Citadel: Shore Leave | Missions | Citadel: Identity Theft I |