No edit summary Tag: sourceedit |
No edit summary Tag: sourceedit |
||
| Line 82: | Line 82: | ||
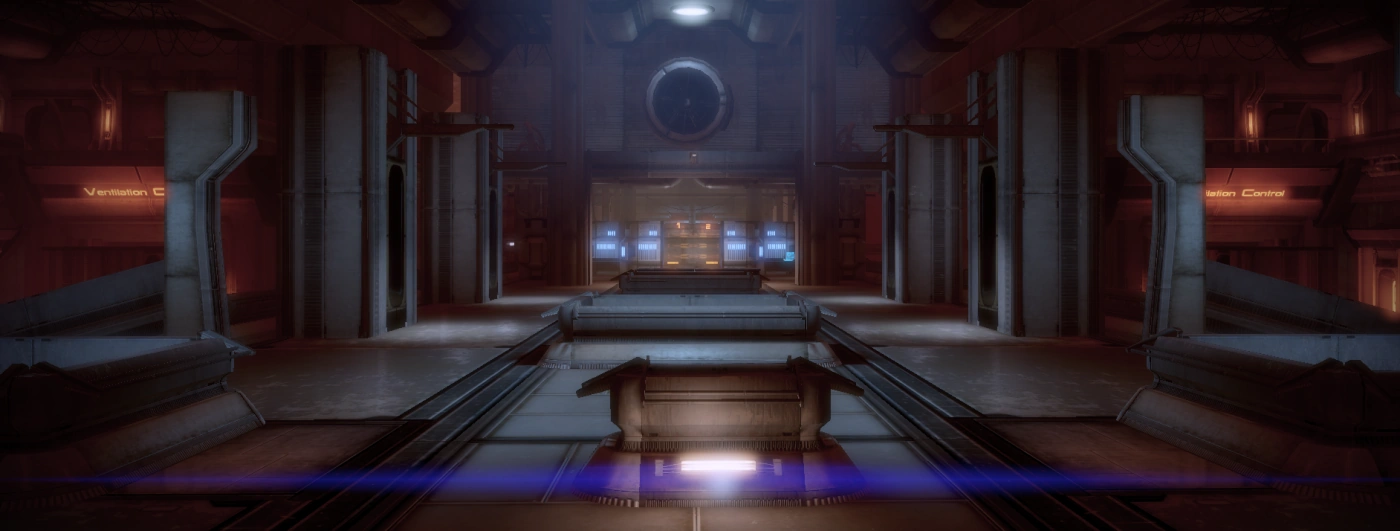
[[File:Dossier Prof - Ventilation Control wideshot.png|left|250px|View of the main environmental system, with the fan-control rooms on either side]] |
[[File:Dossier Prof - Ventilation Control wideshot.png|left|250px|View of the main environmental system, with the fan-control rooms on either side]] |
||
| − | + | Option 1: ---The "Careful Slow Method For Turning On The Fans". --- {{note|General Tips / Insanity Tips:}} Once you have cleared out all of the enemies on the main level you are on, you will be able to see both the left and right fan ventilation room paths on the lower levels. Don't go down onto the lower levels yet! Place your squadmates into cover on either the right or left side on the higher level so that you can see a fan ventilation room door down below. Get as close to that door on the higher level as you can. (Whichever fan ventilation room/lower level you want to clear out first, it doesn't matter which one. Stick to finishing one side until you've cleared it out). Take Shepard and go slowly down onto the lower level you have picked. Move forward towards the fan ventilation room door. As soon as you see it open, run back up to the higher level where your squadmates are located at and snipe/use powers to kill the 2 vorcha and 1 pyro that came out of the door. If your sqaudmates are in cover far enough forward on the higher level, and in view of the door on the lower level, the enemies will stay in cover on the lower level and you can kill them easily. |
|
Once the enemies on the lower level die, put your squadmates back into cover (if they have come out of cover), go back down to the same lower level fan ventilation room door, and repeat the process again of drawing out the enemies, running back up to the higher level, and killing the bad guys. You will know the process is complete when no new enemies spawn when you approach the fan ventilation room. |
Once the enemies on the lower level die, put your squadmates back into cover (if they have come out of cover), go back down to the same lower level fan ventilation room door, and repeat the process again of drawing out the enemies, running back up to the higher level, and killing the bad guys. You will know the process is complete when no new enemies spawn when you approach the fan ventilation room. |
||
Revision as of 16:50, 13 August 2017
Dr. Mordin Solus is a salarian biological weapons expert whose technology may hold the key to countering Collector attacks. He is currently operating a medical clinic in the slums of Omega.
Acquisition
This recruitment mission is acquired automatically after the completion of Freedom's Progress.
Preparation
Because it unlocks the Normandy's tech lab on the CIC deck, it is highly recommended that you undertake this recruitment mission first. Prior to completing this mission you will be unable to utilize the valuable tech upgrades you find in any of the others.
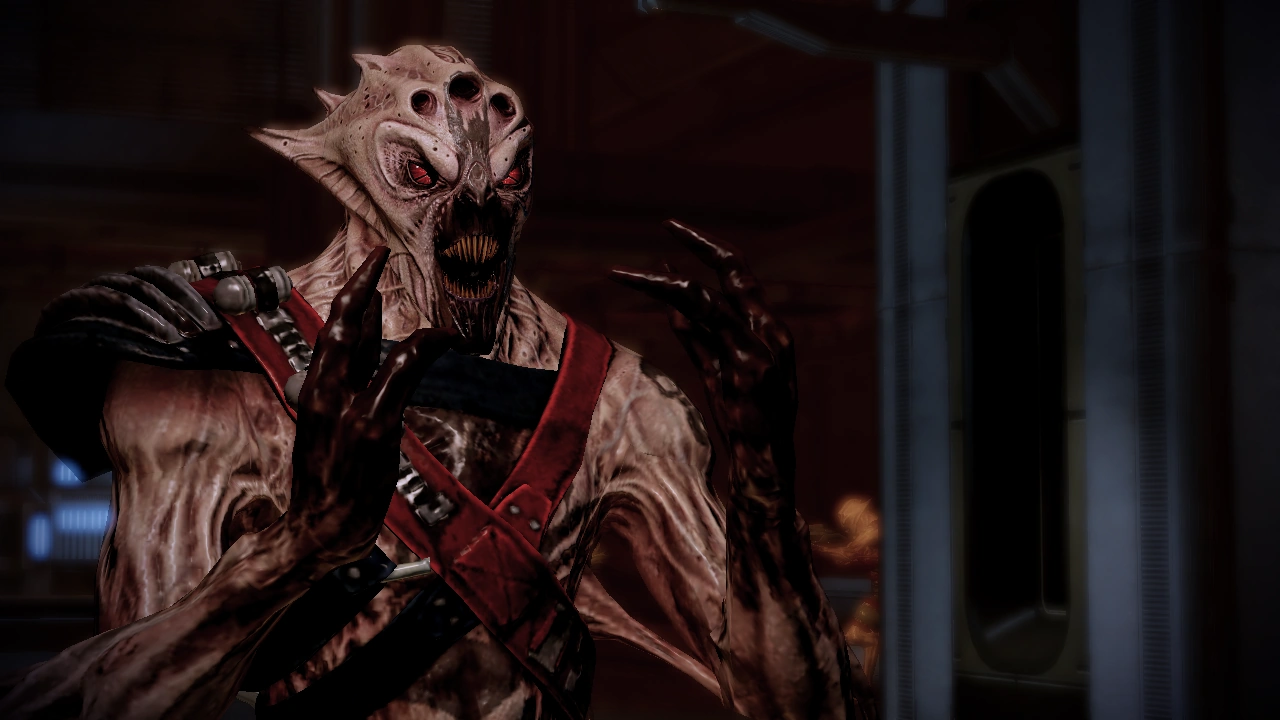
As you will encounter numerous krogan and vorcha enemies in this mission, consider how best to arrest their regeneration abilities -- Incinerate, Incendiary Ammo, and Warp are some of the classic candidates. The Squad Incendiary Ammo evolution will come in particularly handy, making it very difficult for enemies to regenerate. If you have Stasis as your advanced training power it will stop a krogan or pyro in its tracks at any range, a very useful "emergency" power for this mission as there are plenty of both and encountering them at close range can otherwise be deadly.
Insanity Tip: If you're starting a new game on Insanity you may want to think carefully from the beginning about what order you want to do things because it will affect what level you are during important later events.
Walkthrough
Arrival on Omega

When Shepard arrives on Omega, EDI cautions that the section housing Mordin's clinic is quarantined due to a plague outbreak, and that gaining access may be difficult. While she advises visiting Afterlife to get more information, it is possible to head directly to the quarantined area near the apartments and start the mission. If you choose to stop by the club, you need not proceed there immediately if you wish to explore, since there are several minor assignments available in the area, as well as a few merchants.
At Afterlife, the bouncers wave you through immediately, while a human is fruitlessly antagonizing the elcor bouncer about the long wait. In the entrance hall you can earn some morality points depending on your dealing with some batarian thugs. Once inside the main bar, you can head to the back and up the stairs to the platform where Aria T'Loak, the de facto ruler of Omega, sits watching over her domain. You can ask her about anything to do with Omega, but be sure to eventually ask about Mordin and Archangel. Once you get the information, you can excuse yourself from the club. Eventually make your way to the turian guarding the shuttle dock to the quarantine sector.
Into The Plague
Before speaking with the turian, you may wish to save in case you do not have enough morality points to get past him without having to shoot up the place. As you approach, a human woman is incensed at the turian, as she is not being allowed back into the slums to protect her possessions from looters. Asking about the plague reveals that it affects everyone but humans and the vorcha. You can use the morality options to get the guard to call ahead and tell the other guards to stand down. Alternatively, if you want a firefight, then use the right dialogue options. If you get past the turian using diplomacy, the human woman will exasperatedly ask why she can't also be let in, and the turian will point out she is distinctly lacking a grenade launcher.
The Slums of Omega
Upon entering the slums and depending on your options with the turian guard, either you will be shot at or the guards will stand down. Either way, first move straight across to retrieve the crate of 250 refined eezo. Then go back a little, turn toward and go around the barrier; be sure to pick up the medi-gel on your way. Open the only door and go down the stairs where you'll confront a couple of Blue Suns mercs, and be prepared for some grizzly conversation from your squadmates. From where you enter run across to get access to a terminal with credits; there are power cells in the nearby room, in which you can bypass a door to get access to 4 audio logs describing how some turians were sealed in by the local Blue Suns mercs to prevent the spread of the plague. The logs describe their final, tragic days.
Go back out and to the batarian victim on the ground. He is not happy to see humans since humans are not affected by the plague, from which fact he has convinced himself that humans are the cause of the plague. Ask him some questions and eventually he will go into a coughing fit, whereupon a Paragon interrupt will use one of your medi-gel to help him (+5 Paragon points). An additional 2 Paragon points can be earned after the Paragon interrupt by saying, "I'm here to help," or 2 Renegade points can be earned by saying "I need information" or by simply ignoring the interrupt and letting him die. He does indeed have a lot more information he can give you, so if you save him you can ask about the professor, particularly his rather unorthodox methods and skill with weapons. Apparently the Blue Suns pressed him for protection money, and he popped them all before they could even respond. When you get to the clinic, ask Mordin to send someone to escort him back to the clinic as this will net you some experience points. There is no journal entry associated with this, however.
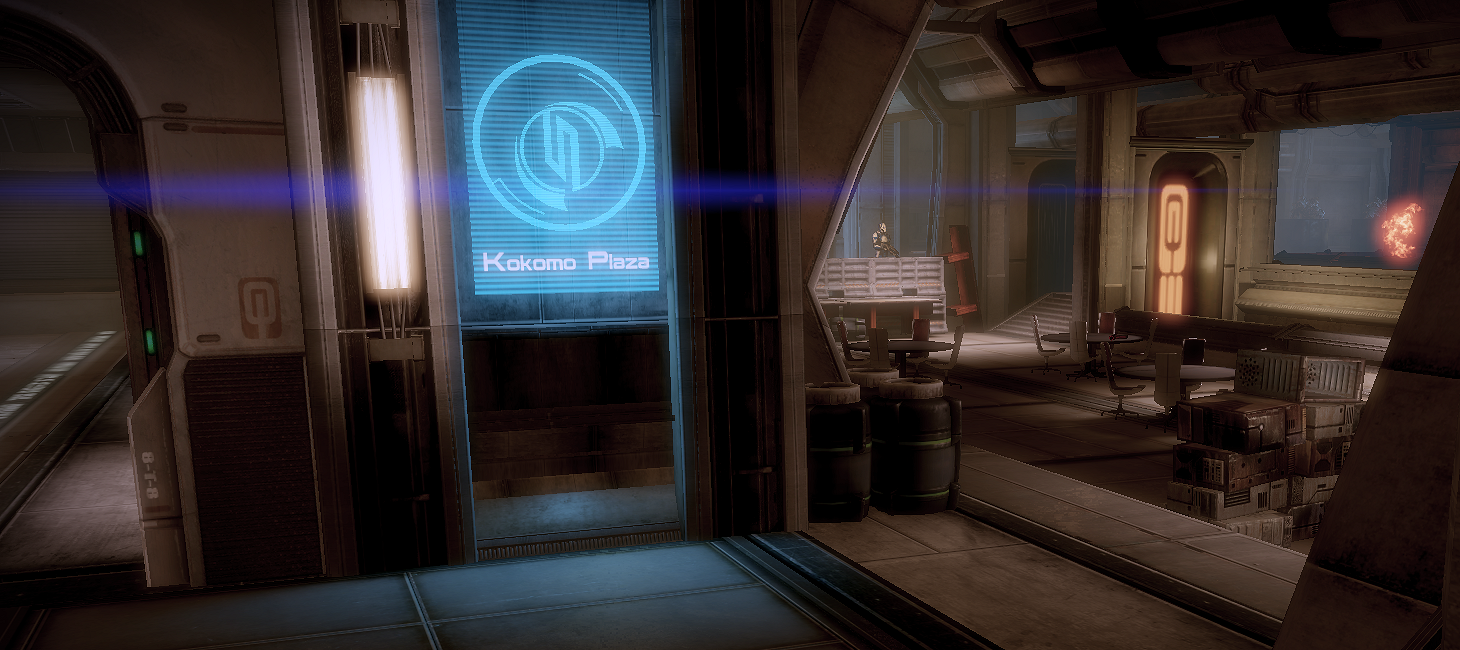
Moving past the now healthier or dead batarian, bypass the nearby door and go down to discover another batarian; unfortunately there is nothing you can do for this one. Access his logs to find out what happened to him, and you can loot his wall safe for a sum of credits. Go back upstairs through the door, head to the right, and you enter the beginning of what is apparently called Kokomo Plaza, where you will soon come under fire from several Blue Suns mercs. You can fight them from the first floor, or you can run up the stairs (on the left) and take them out from the height of the second floor. If you're an Engineer, be sure to send your Combat Drone over early, as it will prevent the appearance of more enemies, shortening the fight significantly. After taking them out, if you did not go to the second floor, retrieve the medi-gel and spare parts located there.
On the opposite side of the plaza from where you entered, to the right of the barricade, bypass a door and enter the apartment of two human refugees. They tell you about how the Blue Suns, even though corrupt, still ran a tight ship and had reasonable rates, at least for Omega. You can persuade them by using moral speech that staying in their apartment is not the best idea, but they will not come with you. They say if you can clear a way to Mordin's clinic, then they may take their chances and go to the clinic. Any way you decide to take the conversation don't forget to access the safe for more credits; there is also a medical kit on their kitchen table.
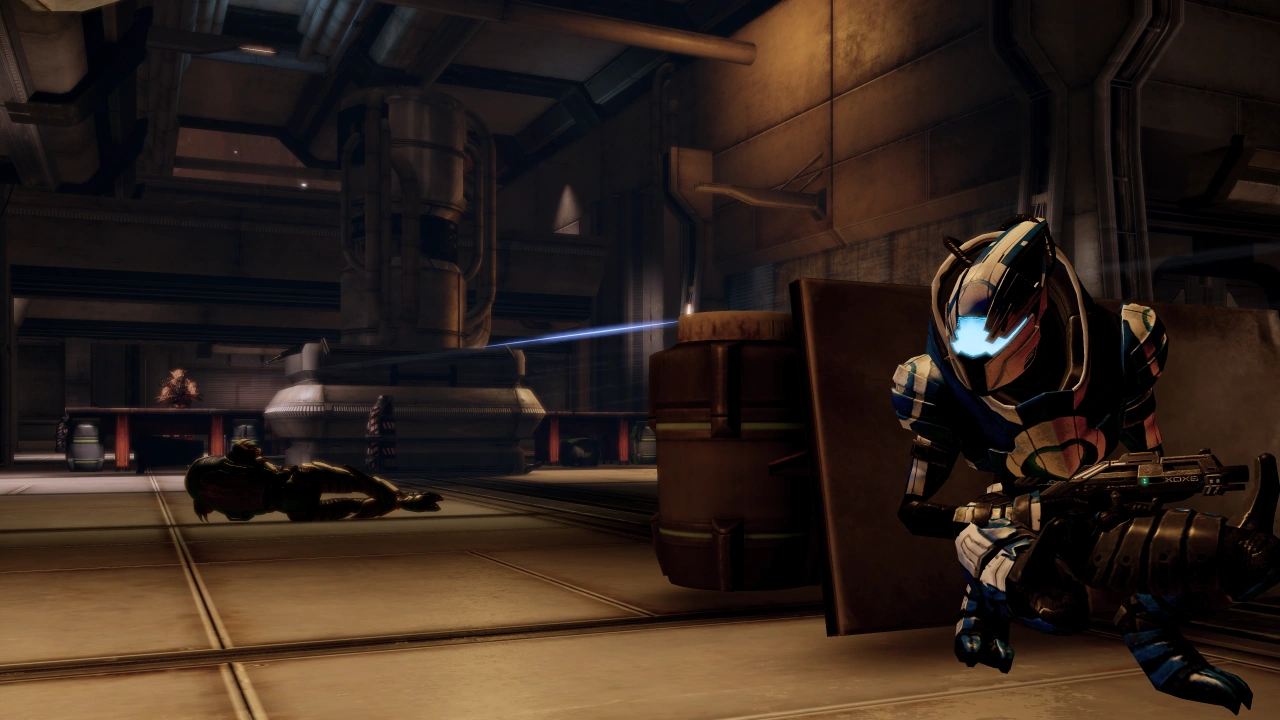
Go behind the main barricade of the plaza (where you destroyed the Blue Suns) and scan the dead merc for an assault rifle upgrade. It is recommended that you save the game at this point: the next area is hard, especially on higher difficulty levels. Go down the stairs and through a door, entering the remainder of Kokomo Plaza, and you start hearing gunfire. Apparently the Blood Pack is moving in on Blue Suns territory. Using the ongoing battle as a distraction, backtrack and go up the stairs. Position your squad quickly because the Blue Sun mercs won't last very long, and then the pack will turn on you (note that the Blue Suns can also attack you). Use your elevated position for an advantage, and have someone guarding the stairs. The vorcha will stay at a distance, but the Blood Pack's varren and krogan will not stay away but rather will charge up the stairs. Destroy the Blood Pack, watch for the pyro members, and then move down the stairs.
Insanity Tips: Manually ordering your squad up the stairs will prevent them from knocking out the Blue Suns too soon, which will in turn make your early battle with the Blood Pack easier -- varren are easier to pick off when they're trying to eat somebody else. The two Pyros hiding behind the central pillar can be safely sniped early on from upstairs if you move to the far left and right ends of the window and shoot their flame tanks. The two krogan usually appear one at a time in the middle of the battle, and you should concentrate fire and powers from your whole squad when they do show up.
Warning: Attempting to use an Infiltrator's Tactical Cloak to "dash past" into the room with the looters will result in an awkward surprise: when you return the Blood Pack will be heavily reinforced with as many as four Pyros. Although it is possible to evade them and reach Mordin's Lab without fighting anything, it's a low-odds proposition and tends to take longer than just fighting everything.
On the left side of the large room is another room that links to an apartment. In the other room grab the container of eezo, then head inside the apartment proper. The apartment has some unwanted tenants: human looters. You can let them go, or shoot them. Either way ask them questions first. They will fill you in on what happened and how the plague spread. Once done asking your questions, make your decision on the looters, and then leave. Head back out and down the stairs, following the signs to the clinic.
Mordin's Clinic
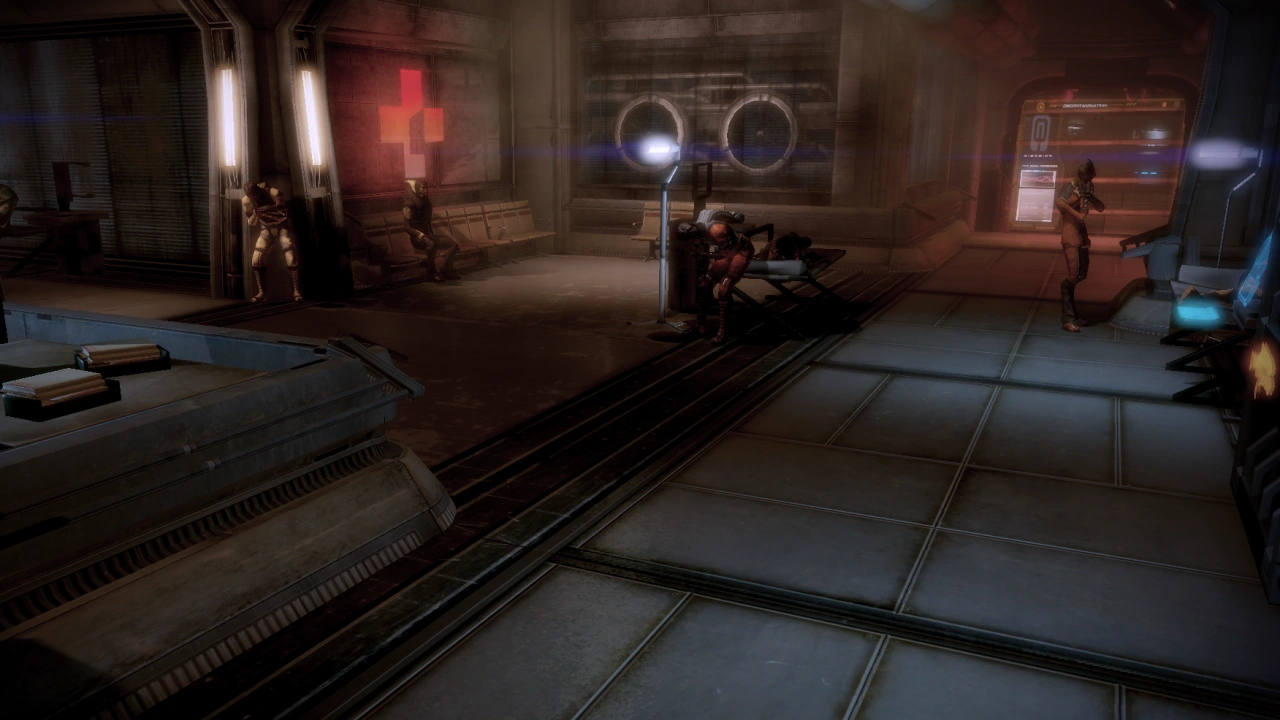
Outside the clinic there is a detachment of human and mech guards. The guards if questioned tell you not to make any trouble unless you want to deal with the mechs and the professor himself. Head in and question as many people as you can; although there is no actual conversation, they tell stories of how the professor seems to be helping them and how he defended the clinic from a few attacks, and so forth. Head down the back hall and head to the left first, pick up two crates, some medi-gel and access a computer for a research item: the crates contain palladium and platinum, the research increases your medi-gel capacity after the mission. Once done in here go into the other room and before talking to Mordin pick up the medi-gel, power cells, and more resources: this time the other two, iridium and eezo. Once the items are acquired, talk to Mordin.

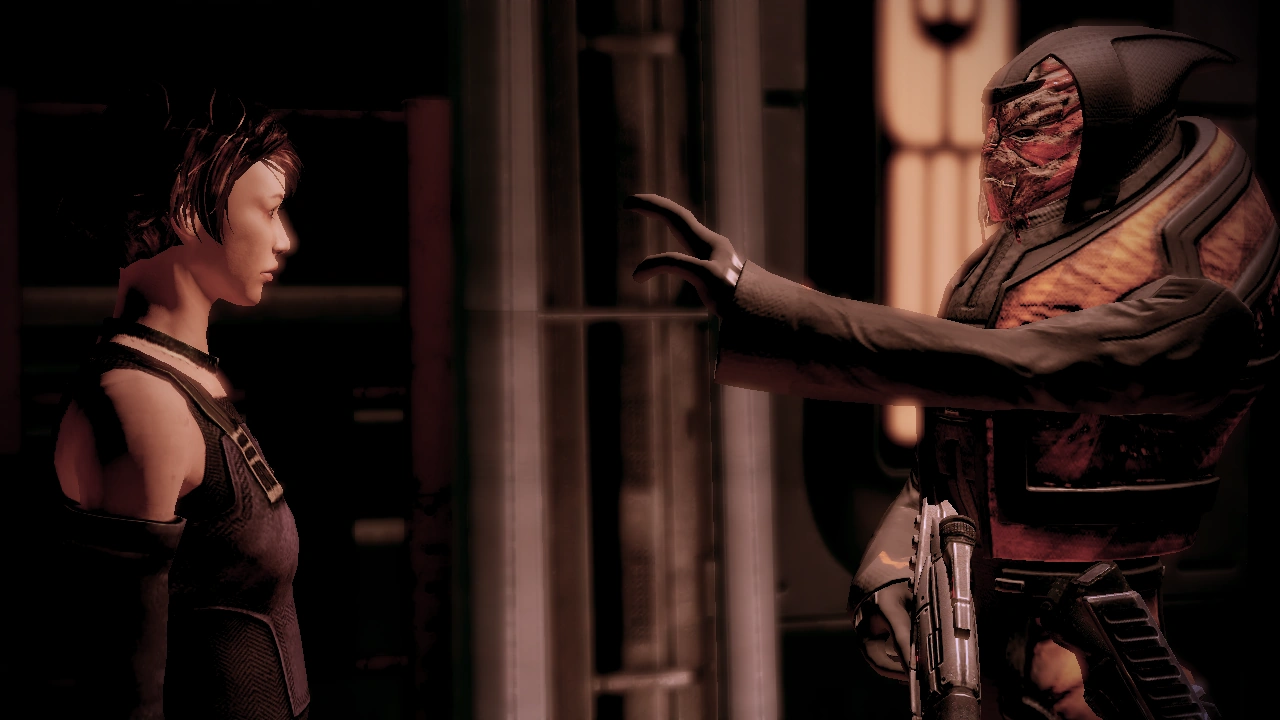
Aria was right: Mordin likes to talk, and fast -- he reasons quickly and out loud. This fact enables Shepard to perform the occasional interrupt (once here, and once on the Normandy). Mordin is friendly, however, which is a change of pace for this district. He states that he has found a cure for the plague and needs a way to distribute it. You can ask Mordin to come with you but he declines for the moment because he wants to cure the plague first. He plans to spread the cure via the air system, though there is a catch: the air-control facility is guarded by Blood Pack vorcha. Just as Mordin finishes, the air system shuts down; now a new set of problems on top of those you already had. Mordin will tell you that once the plague is cured he will join you. You can ask a few more questions, particularly that Mordin send someone for the sick batarian you met (if you didn't allow him to die), then choose to end the conversation. At this point Mordin will do two things: he will give you a new gun, the M-6 Carnifex Hand Cannon, and he will ask you to keep an eye out for his assistant Daniel. He would appreciate it if you could find him alive; Daniel went into vorcha territory to find some batarians and give them the cure.
To Environmental Control
This is a good save point. Once you're ready (there is one more medi-gel next to the clinic exit), go out of the clinic, up the stairs, and be ready for a fight. Get into cover and use it to take out the attacking Blood Pack. If Shepard goes in first then you have a chance to catch them off guard and take out one of them. Using a sniper rifle to target the flame tank on the nearby Pyro makes the most dramatic entrance. Try not to let the vorcha get in cover, because their regeneration will allow them to completely regenerate their health. If your squad has Incinerate or Warp, then they can be applied to a vorcha (once its armor has been stripped) to permanently prevent regeneration. Be careful because the two krogan which eventually appear will charge you while the vorcha stay put. In addition, this area sometimes has a little "glitch" (one might call it a tactic) insofar as Pack members will sometimes not move and stay out of your line of sight, requiring you to go hunting for the Pack.
General Tips / Insanity Tips: After the entering the door from the clinic and the loading screen ends, order your squad members to take cover/stay put at the bottom of the stairs. As mentioned above, snipe/use powers/kill the pyro quickly then run back down the stairs. From this point on, the rest of the battle is poking your head out/around the archway to snipe or use powers on the remaining enemies. The krogans/vorcha when they appear will get stuck in a pattern of running next to the left side of archway, out into the middle of the room, then the right side of the room. If you stay low on the stairs, pop out and chip away at the enemies, they will eventually all die. They won't come down the stairs after you if you stay glued to the bottom of the stairs. This will also give you time to recharge your shields. You may have to go out into the room to get a vorcha or two that hunker down and won't come out but the rest is playing the long and slow patient game. Once you have killed off all of the bad guys, a second pyro will show up from the left side of the screen with a few other vorcha. Take the pyro down quickly then repeat the same run and hide strategy. This strategy makes the battle so much easier as you can take your time and use whichever weapons/powers you want to finish this battle without wasting ammo or getting dead quickly on insanity with a room full of bad guys.
Once they are all down look around for a gambling terminal, which can be hacked for a few thousand credits, and a medical station for another medi-gel.
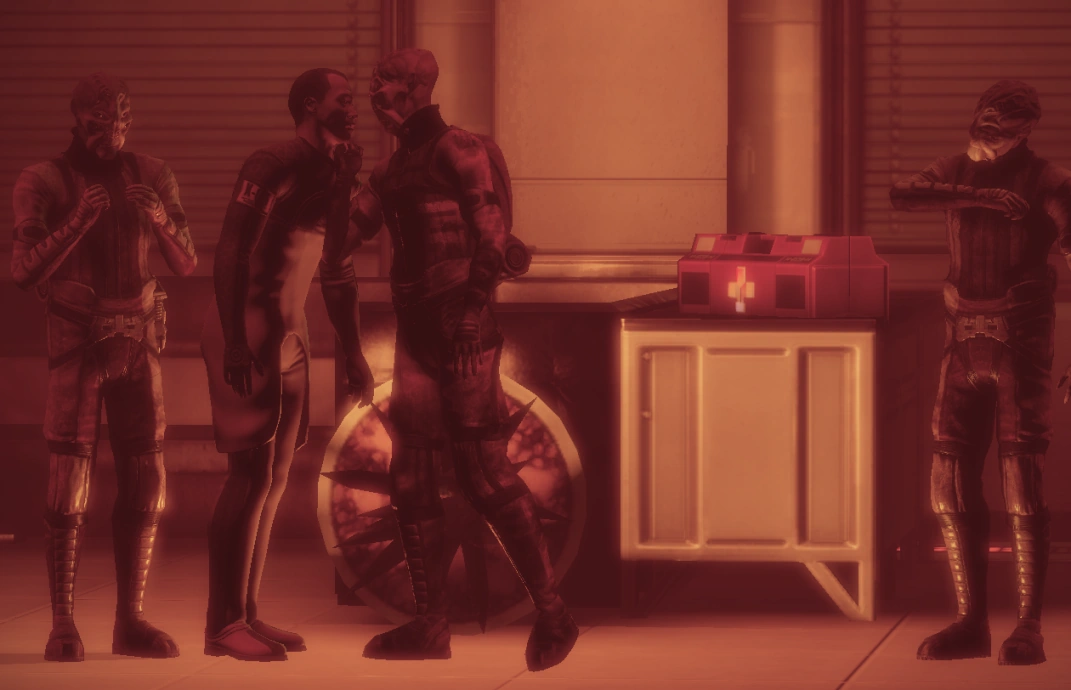
After stocking up, move and go up the nearby and long set of stairs; hack the terminal for some more credits. Go up the next flights of stairs where you find a short hallway with two doors. The door on the right advances the mission, but the door on the left has some upset batarians and Daniel. Save before you enter because one wrong move will result in Daniel's death. Enter the room and the situation immediately turns into a standoff. You can persuade the batarians that Daniel is there to help, earning Paragon points. Once they've agreed to let Daniel go, you can either let them leave, or break your promise and kill them (Renegade). Either way, Daniel will survive. If Daniel survives this encounter he will return to the clinic, and you will get an email at your personal terminal thanking you.
Once the decision is made, leave the room and open the other door at the end of the hall. The next room has Blood Pack. Apparently the Pack has moved closer to the clinic than Mordin realized, and they have taken a lot more territory than originally thought. In any case, fight through the Blood Pack as you come across them, head down some stairs, and move on until you reach a very large room where there is no ceiling.
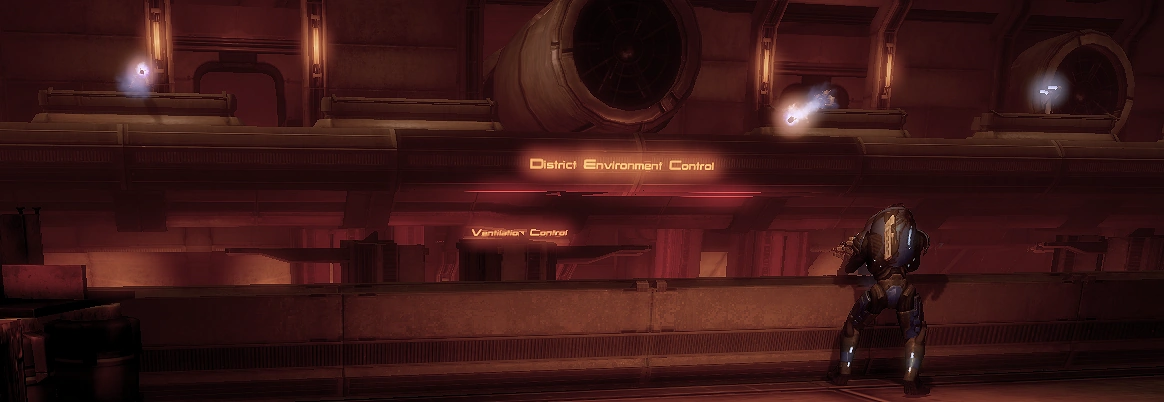
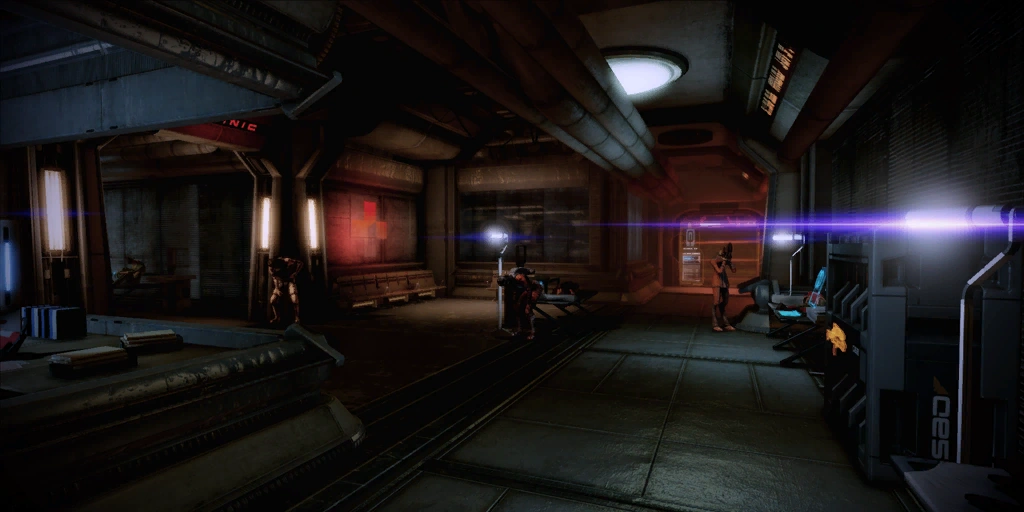
This room – apparently the entrance to the Environmental Control facility – has three interior staircases, all leading to the lower level. Stay on the upper level for now; it's safer for your squad's health and life-expectancy. Where those large fans are across the way from you, Blood Pack Heavies will appear. Up to 6 of them will show up, depending on how long it takes you to take out the vorcha and krogan on the lower level. A safe bet is to stay on the upper level until all the Heavies are taken out; then you can either head down or stay up top, as you choose.
Insanity Tip: As you enter the room if you take cover behind the first box ahead on the right you will be able to pick off the rocket-firing Boom-Squad's up on the left balcony without being exposed to fire from those on the right. Once the left balcony is taken care of you can move up to the front of the balcony - then take the Boom-Squads on the right out before engaging with the vorcha down on the floor. The downstairs vorcha will almost never come upstairs so you can shoot them from a distance. Also, if you fight the whole battle from upstairs no krogan will spawn.
After the first Boom-Squad, the remainder may not fire at all if you are far enough away. You therefore have the opportunity to safely neutralize them with powers such as biotics, which can be arced behind cover and which have target-homing qualities.
Making your choice, take out the remaining Blood Pack. If you wish to save here, make sure to go in past the doors and inside. If you don't, then when you reload you will have to fight all over again. Moving inside you will soon confront a few more Blood Pack in a small room; take cover and put them down (beware the krogan). On the right you can find some spare parts and some medi-gel. The gel is valuable because the upcoming fight is a hard one. Go up the stairs and before opening the door save the game (some PC users have found that this is the last place in the mission that the player can save the game). Once saved, open the door.
Environmental Control
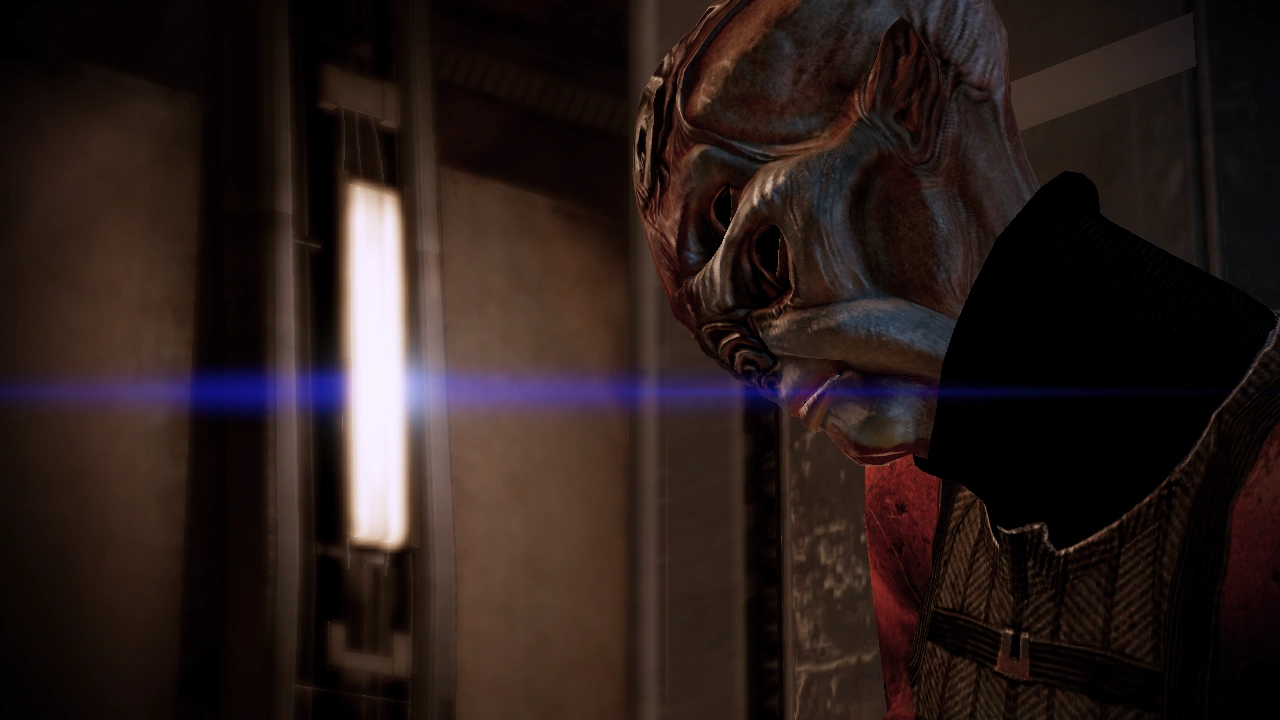
When you enter you encounter an unusually talkative vorcha, who makes clear that he and his accomplices are in league with the Collectors. Once the vorcha are down, EDI will come over your comm and tell you where to start the ventilation process by inserting the cure, but you need to start the main system and inject the cure before continuing.
Before inserting the cure, save and put your squad into cover (as noted above, some have reported being unable to save here and for the remainder of the mission [PC version]). As soon as you activate the main system by inserting the cure, vorcha and krogan will stream in from the general direction whence you entered. Vorcha Heavies will also appear on the catwalk across from your position (above your original entrance). Usually you can take out the Heavies across the way first and let your squad deal with the Pack members streaming in. Alternatively, if you clear the ground and advance on their position, you can approach closely enough that you are outside of their firing angle. If you are far enough away, they might not fire at all.
After you've taken out the Heavies and other threats, pick the ventilation-control room to attack first. Each of two ventilation-control rooms, where the fans are activated, flank the main system on either side, but on a slightly lower level.
There are 2 options to turn on the fans to complete the mission. Depending upon the level of difficulty you have selected and how much of a challenge you want, you can make the choice of which option you choose below:
Option 1: ---The "Careful Slow Method For Turning On The Fans". --- General Tips / Insanity Tips: Once you have cleared out all of the enemies on the main level you are on, you will be able to see both the left and right fan ventilation room paths on the lower levels. Don't go down onto the lower levels yet! Place your squadmates into cover on either the right or left side on the higher level so that you can see a fan ventilation room door down below. Get as close to that door on the higher level as you can. (Whichever fan ventilation room/lower level you want to clear out first, it doesn't matter which one. Stick to finishing one side until you've cleared it out). Take Shepard and go slowly down onto the lower level you have picked. Move forward towards the fan ventilation room door. As soon as you see it open, run back up to the higher level where your squadmates are located at and snipe/use powers to kill the 2 vorcha and 1 pyro that came out of the door. If your sqaudmates are in cover far enough forward on the higher level, and in view of the door on the lower level, the enemies will stay in cover on the lower level and you can kill them easily. Once the enemies on the lower level die, put your squadmates back into cover (if they have come out of cover), go back down to the same lower level fan ventilation room door, and repeat the process again of drawing out the enemies, running back up to the higher level, and killing the bad guys. You will know the process is complete when no new enemies spawn when you approach the fan ventilation room.
Reposition your squadmates to the opposite side of the higher platform once you have cleared one side of the fan ventilation room/lower level. Repeat the same process this time on the opposite side fan ventilation room/lower level by having Shepard run down to the lower level, draw out enemies, run back up to cover, kill them, and repeat until they are all dead. You will know you are done when nothing spawns when you approach either fan ventilation room. This strategy greatly reduces the amount of enemies you have to fight next when you turn on the fans and you can do this slowly and carefully without wasting ammo. The enemies seem less/to not show up in hordes if you clear both sides first. The heavies mentioned below in the "I Enjoy Pain" method don't spawn for some reason.
Save your game before you turn on the first fan (if it will let you do so). Before you pick a side to turn the fan on, get your squadmates into cover in the fan room on the sides of the doorway as enemies will spawn outside on the lower level when you turn on the fan. Some enemies will stay in cover, some will charge you depending upon how far forward you move on the lower level. If you get the enemies out of cover, run back to the fan room and use your squadmates for help. Be patient! If you take your time, you can draw out/snipe and kill everything. Focus on krogan or pyros when they show up as they will close quickly and kill you fast. Normal vorcha are annoying but they tend to stay put in cover usually unless you flush them out by getting close to them. Clear everything out and then move over to the other fan room lower level. Take your time and watch your radar for hidden enemies. Make sure you get any medi-gel or ammo you want before you start the second fan because it goes straight to the clinic when you activate fan two.
Option 2: --- The "I Enjoy Pain Method For Turning On The Fans" --- No matter which side you want to turn the fan on the process is the same. Move downstairs toward a control room and quickly put your squad in cover; the control-room door will open on its own as several Blood Pack members will pour out. Insanity Tip: There will be lots of Pyros, so don't let them close. Shooting their flame tanks, easiest done with a sniper rifle, can make them explode and damage their friends. Likewise an Incinerate applied to a Pyro from which the armor has been stripped will instantly create a helpful explosion.
Once you put them down, move into the control room and activate the fans for that side (know that there's a medical kit in each control room). Once the fan is activated, go back out of the room and take cover behind one of the nearest pillars - more enemies usually confront you here. Don't try to advance back up the stairs until the enemies stop coming to you, as the other side will already be teaming with Blood Pack and multiple Heavies will have mounted the upper catwalks.
Approach the stairs carefully, because a krogan sometimes charges down them at this point, and a Pyro often spawns here as well. Keep both at a safe distance and avoid coming up the stairs into target range of the Heavies before you've dealt with them.
Now move up the stairs and take cover from the barrage of rockets which will be fired at you from the opposite balcony. Note that the first fans clearly cause strong winds; with well-used powers (such as Pull, Throw, or Shockwave), the squad can knock enemies off their feet, who will then catch the wind and be blown around. This tactic is particularly useful for getting rid of the Heavies on the catwalks, who can literally be blown away. In any event, once you can head down to the remaining control room, the door opens again revealing even more enemies. Once they are all down move in and activate the fans (but not before claiming the medigel). Your squad will say some things but you are quickly transported back to the clinic.
Mordin's Clinic Round 2
Once back in the clinic Mordin tells you that the plague levels are dropping throughout the district. He says that he is satisfied and ready to join your team; he mentions working with Cerberus and how unexpected it is that they are working with aliens. You can now head back to the Normandy or stay in the clinic. Stay if you want to get any of the things mentioned earlier, but you can also see and talk to several of the people you encountered earlier, if you saved them (the sick batarian and Daniel) or convinced them to go to the clinic (the human refugees). You can talk to many patients and employees for their new perspectives. When you are done, return to the Normandy.
Normandy
Mordin arrives ready to work. Jacob is there with the two of you and he brings the professor up to speed on the Collector situation; Mordin needs only a well-equipped lab, at which point EDI chimes in. After these interactions, you have access to the tech lab where you are able to research upgrades for the Normandy, for your squad, and for yourself.
Now is a good time to start going around and asking about upgrades. Start with Miranda because her upgrade makes planet scanning a whole lot easier, and much faster.
If he survives, Daniel (from the Omega clinic) sends Commander Shepard an email with the header Things are quiet again, regarding the state of the clinic since Mordin joined Shepard.
Enemies
- Blood Pack Boom-Squad
- Blood Pack Pyro
- Blood Pack Trooper
- Blood Pack Warrior
- Blue Suns Trooper
- District Guard (Optional)
- Human Looter (Optional)
- Varren
Mission Summary
Recruited Dr. Mordin Solus for the team. Examination of Omega plague cure confirms Dr. Solus's expertise. Can also use work on Omega as leverage against Aria if necessary.
- Experience: 1,000 (1250)
- Credits: 50,000
- Cerberus Funding: 25,000
- Credits found: 23,000 (+2,000 by getting the datapad if you let the first plagued batarian die)
- Weapons:
- Resources
- Element Zero: 1,000
- Palladium: 2,000
- Platinum: 2,000
- Iridium: 2,000
- Upgrades
Trivia
- Despite their non-human physiology, bringing Garrus or Grunt into the area has no lasting impact on their health, although it does give extra dialogue and an extra scene when you first meet Mordin.
- When rescuing Daniel, the batarian holding him at gunpoint is wearing a Purgatory prisoner jumpsuit.
- In a conversation with looters in a turian's apartment, Shepard can say, "Stealing from the dead. That's pretty low." This might be BioWare's staff making fun of themselves: as a prominent maker of RPG games, BioWare most certainly opens ample opportunities for the Player Characters to loot from the dead. In fact, looting is one of the biggest attractions for RPG fans.