A krogan team has gone missing, and Normandy has received the NavPoint with their last-known coordinates. Investigate the missing team and find out what happened.
Alternative journal entry:
A krogan scouting team has gone missing while investigating rumors of activity at the rachni relay. Investigate the missing team and find out what happened.
Acquisition[]
The mission is acquired automatically upon return from Sur'Kesh. The journal entry is alternatively named as Attican Traverse: The Rachni, depending on your decision regarding the Rachni Queen in the original Mass Effect.
The Urdnot leader reports that some of his men went missing, the details of which he'd rather discuss "in private" (Urdnot Wreav) or "somewhere else" (Urdnot Wrex). A NavPoint for this mission is already on the galaxy map, but if the Urdnot leader is talked to in the War Room regarding this, you learn just enough to change the wording of the journal entry. The krogan heard troubling rumors about activity beyond the rachni relay. Scouts were dispatched, but have not reported since.
Preparation[]
The enemies for this mission are basic unshielded melee infantry, but with heavy long-range units and barrier-generating devices appearing potentially for the first time. Biotics, long-ranged weaponry, and anti-armor powers and ammo powers all tend to be useful on this mission. Grenades can also prove useful throughout.
The Reaper modus operandi here is inundating your position with herds of fast-moving melee units, given barriers by Barrier Engines while the heavy hitters deal long-distance barrages. You may want to give some thought to that, particularly if your combat strategy relies on slow-firing weapons. As usual, splash damage is key to neutralizing enemies that rely on numbers. You may also find Defense Drone a worthy bonus power choice for its ability to protect you from melee attackers even while you are pinned down or distracted, especially with its Chain Lightning evolution.
Environmental Obstacles: This mission contains a variety of obstacles that must be destroyed with weapons or powers to progress. Since thermal clips do not drop from many of the enemies you'll encounter, wasting too much ammunition clearing these obstacles should be avoided. Luckily, the M-451 Firestorm heavy weapon will frequently be available to temporarily equip and use against both enemies and environmental destructibles at your discretion. This is the only mission in the game to feature the weapon.
- On higher difficulties, the Firestorm is less effective against enemies and is primarily useful as an ammo-saving and efficient way to deal with obstacles.
- Weapons with regenerating ammunition such as the Particle Rifle or the M-7 Lancer can be an alternative to relying on the Firestorm to save ammo.
- Powers and weapons with large areas of effect such as the Scorpion, M-37 Falcon, Venom Shotgun, Nova, Tech Armor, and Flare can also be efficient ways to clear your path.
Walkthrough[]
Meet up with the Krogan team[]
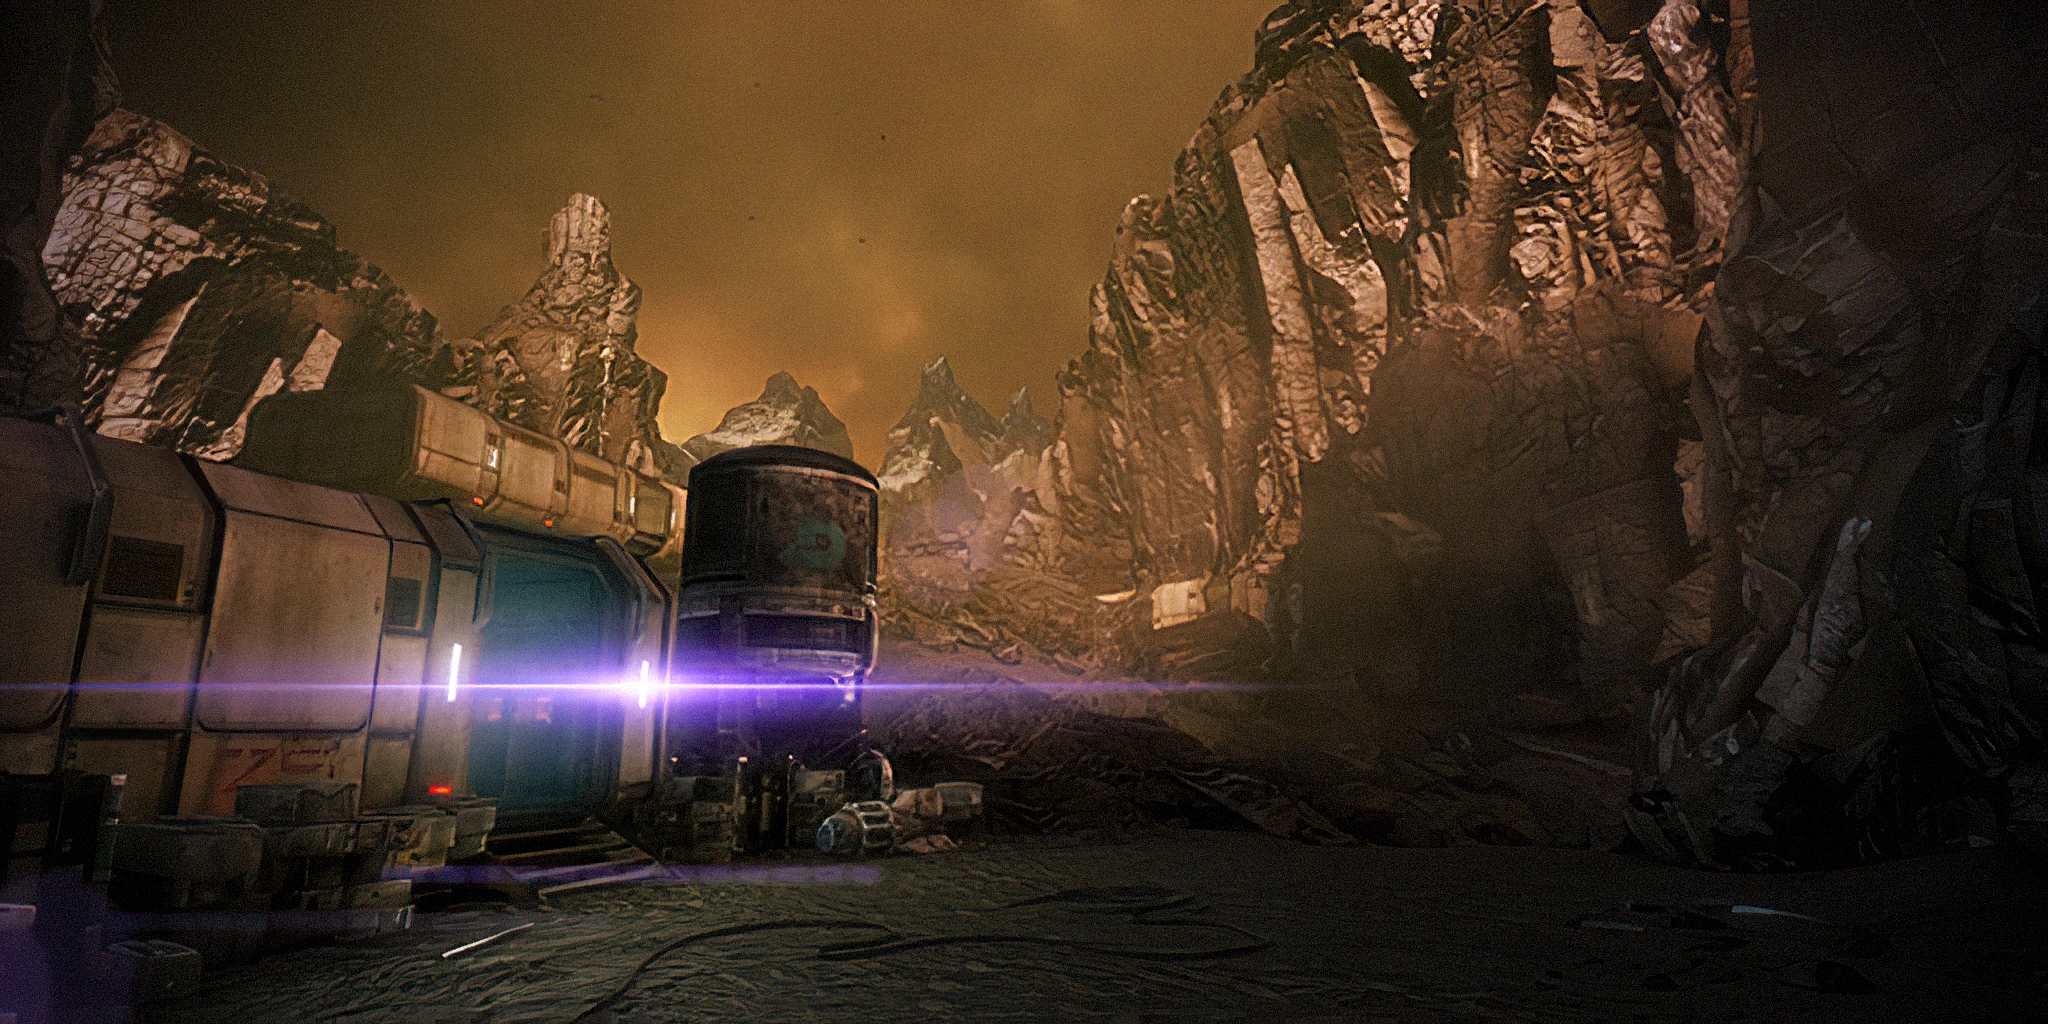
Travel to the planet Utukku (Mulla Xul, Ninmah Cluster). Upon investigation you will meet up with Aralakh Company, led either by Grunt or (if he did not survive the suicide mission, or was never released from his tank in the first place) Urdnot Dagg.
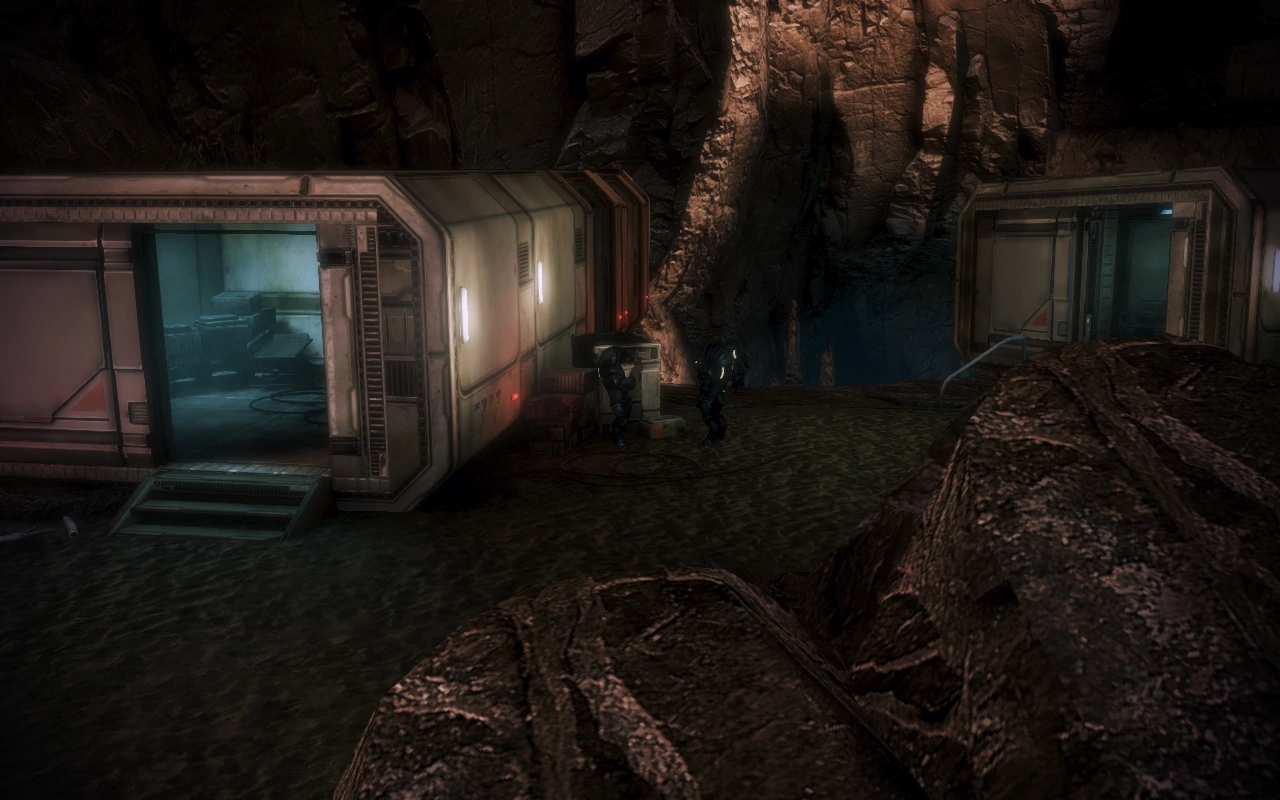
At mission start, check the krogan temporary barracks structure on your left for the M-300 Claymore shotgun, a Pistol High-Caliber Barrel upgrade, and spare parts that you can salvage (+1625 credits). Further down the slope you come to a cluster of krogan structures, enter the leftmost building with the weapon bench to find an SMG High Caliber Barrel upgrade, as well as spare parts for salvage (+875 credits) outside the same structure, near two krogan soldiers. If you come close to the edge, one of your squadmates will comment about the drop.
You can talk to Grunt/Dagg before entering the other building on the right. Once inside far enough, the building will fall down to the level of the tunnels and you will not be able to get back up to the krogan squad. You can only proceed forward, where you will find the body of a krogan scout and your first Firestorm.
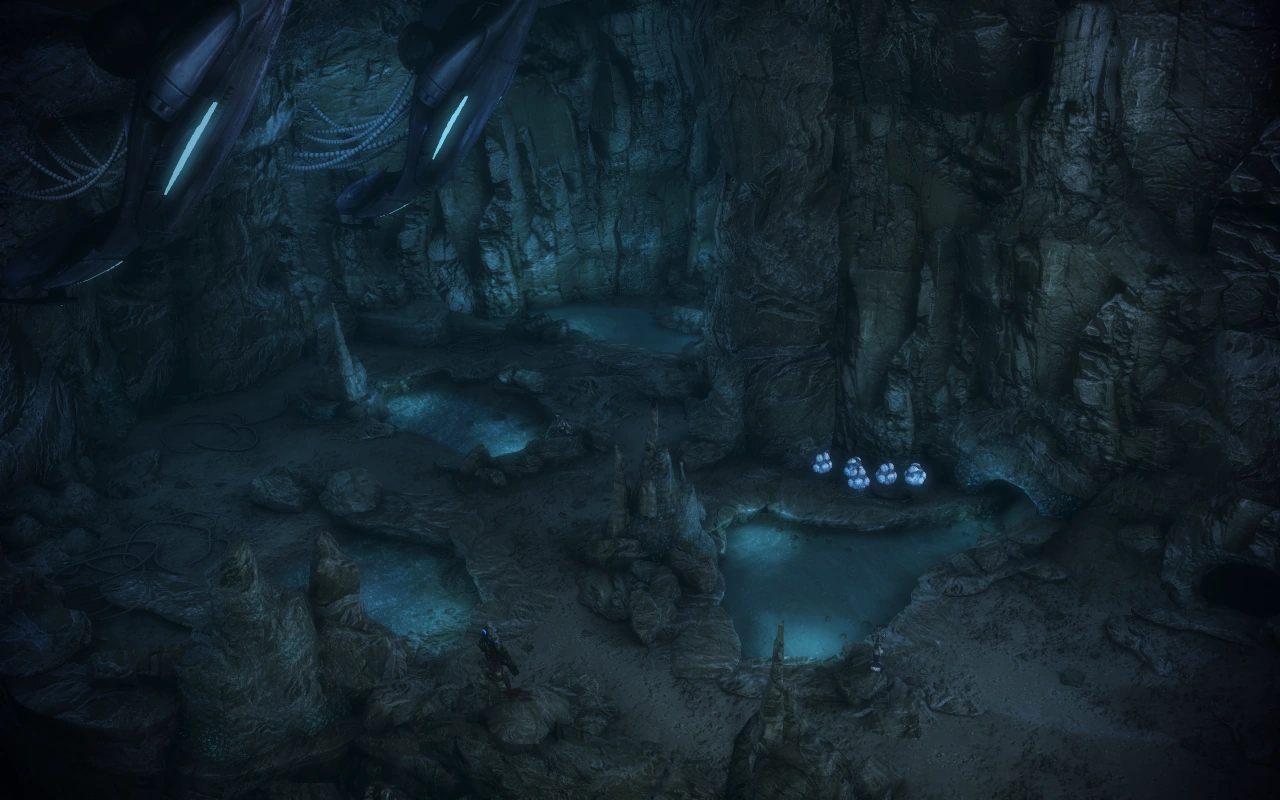
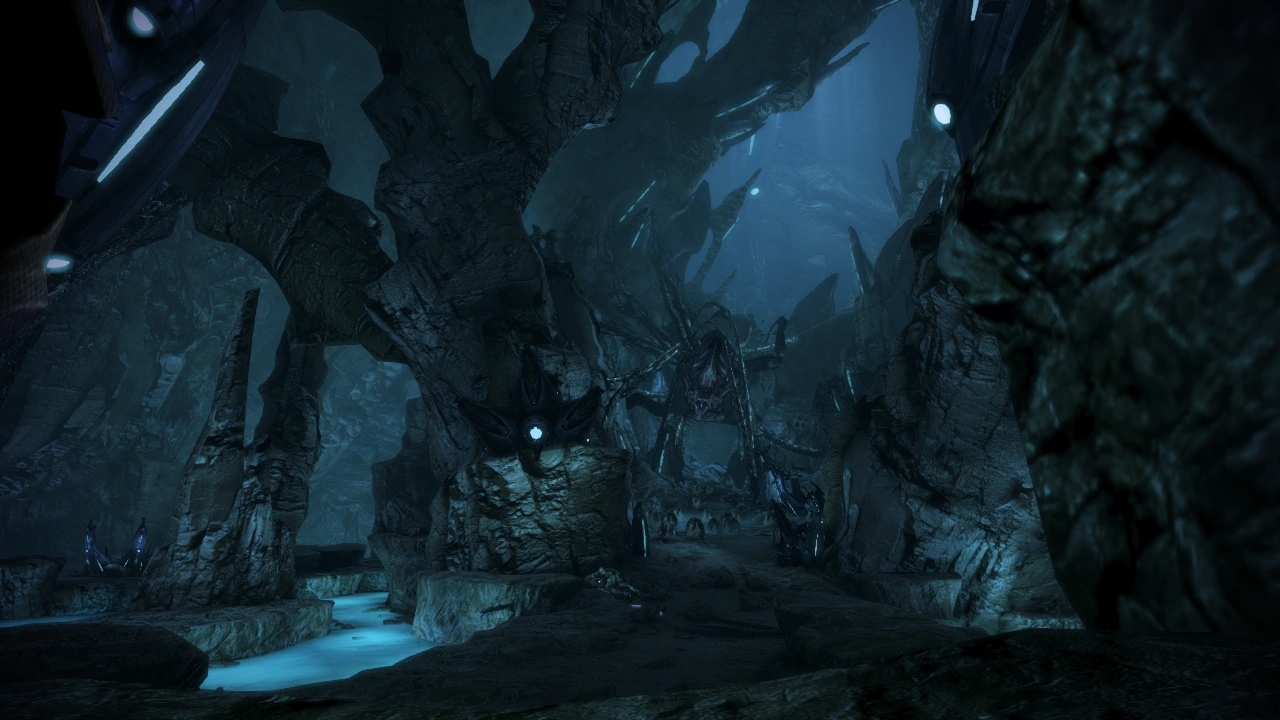
Explore the tunnels[]
Drop down over the ledge to use the Firestorm against the webbing; if you switch weapons, you will drop the Firestorm to the ground. Past the ledge and a few more webbings on the left, you will find spore pods. Destroy them from a distance with weapons or powers or they will damage your shields. Continue on and go up the ramp to find more spore pods, and in the hollow behind the second webbing another dead krogan scout with another Firestorm. Continue through the blue glowing goop, and take out a webbing. Tip: Before dropping down over the ledge, shoot out a Barrier Engine you can spot in the center of the large cavern ahead.
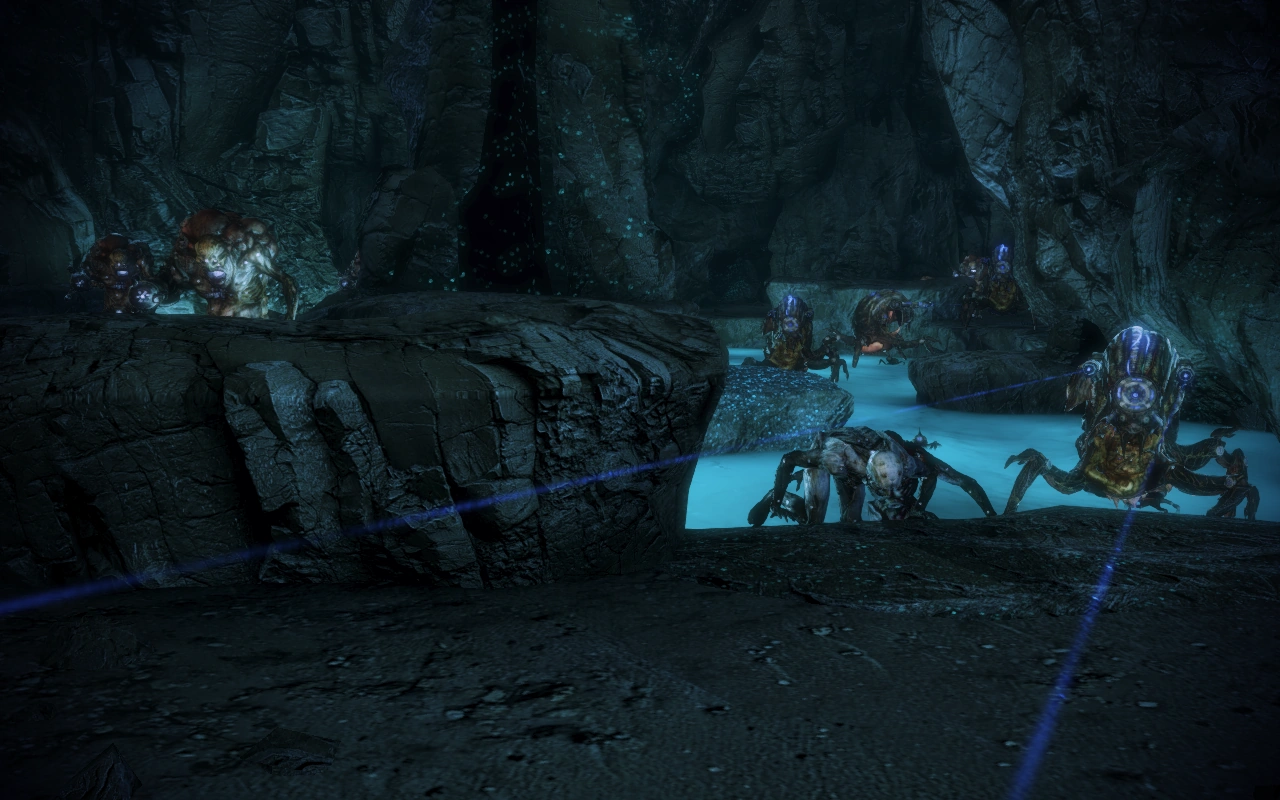
Encountering the Ravagers[]
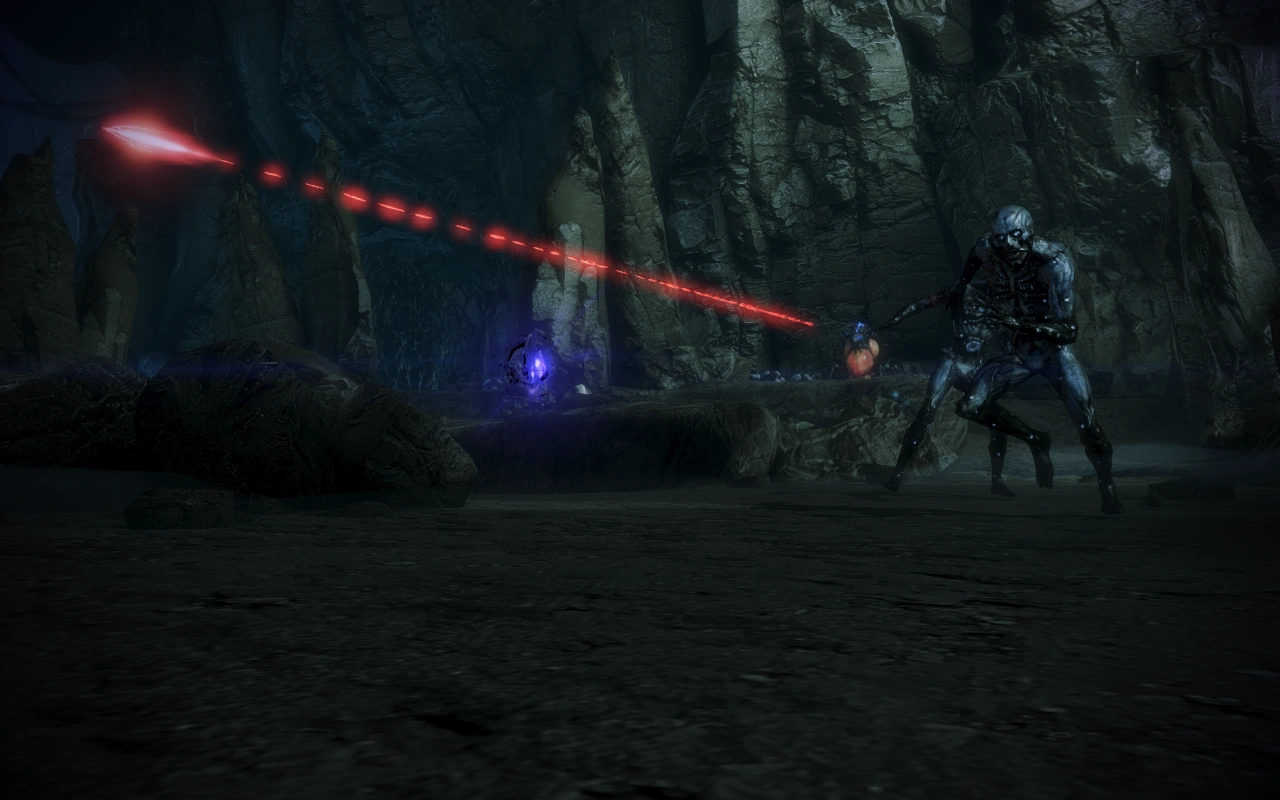
Following a brief cutscene, you will now fight a Ravager and several Husks that may be protected by a barrier from a Barrier Engine. If you are playing through the campaign for the first time, this will likely be the first Ravager you have faced, so the quick rundown is: (1) when you see the blue laser-sighting glare, it means a triple burst from its deadly guns will soon follow; (2) when a Ravager goes down, do not step in the smoking acid pile left behind; and (3) do not ignore the spider-like Swarmers they create, as their damage can add up quickly and prevent your shields from recharging.
Beware the Ravager's powerful long-range shot while the Husks are attacking you. The strange rock shapes of the cover provided will increase the difficulty of this battle as well, and it's easy to get knocked out of cover by a Husk and then finished by the Ravager. Tip: If your party has area effect abilities and grenades, applying them immediately and liberally to the Husks will help simplify the situation and will vastly increase your chances for survival. There will be further grenade resupply opportunities before the final battle, so don't hoard them all.
Once you win the battle, you can find a Shotgun Shredder Mod along the left-hand wall. Proceed across the room, along the right is another scout next to some ammo, and in the center is a scout next to a Firestorm. At the top of the ramp are a lot of spore pods. You will get a view cue that confirms that reapers have been here. You will pass a blocked door on your left, and past more webbing will be a Reaper Node that you can destroy (400XP) to open the door. Take out the webbing past the door and the ceiling collapses trapping you on the far side.
Find the krogan team[]
Proceed forward, either up or down, it will take you to the same place. Then take out the webbing on the left so you can salvage some Reaper Tech (+3750 credits).
Note: For the rest of this room, until a single Husk charges you, it is recommended that you burn off every spore pod from a safe distance before moving forward. This is because the Husk isn't dangerous by itself but it appears by surprise and can easily stampede you into a fatal encounter with a group of spore pods.
Past the Husk, take out the webbing on the left to find a dead krogan scout that will make Citadel: Krogan Dying Message available, though it will not appear in your Journal. The second webbing on the right will have another scout behind it with a replacement Firestorm. Drop down into the large area ahead. Note: There's another Barrier Engine here that you can shoot first if you spot it - across the lake and a bit back.
Ravager Fight[]
This fight comprises a Ravager plus several Husks and Cannibals. Finish them off, and be careful moving forward because a second wave will appear. If you are careful, you can take out the Barrier Engine before they appear ‒ stay to the right as you leave the first water area, and hugging the right wall you will eventually come to a lake with a dead krogan and some ammo in it. Before you enter the lake look across to the room beyond and you will see the third Barrier Engine on a rock. Tip: You may find it expedient to drop your Firestorm for the moment, so that you can take out the Cannibals at range before they start raining grenades on you.
Head across the room, but before you go down the ramp, pick up the Shotgun Spare Thermal Clip. Drop down over the ledge. Take out the gestation pods and your squad should take out the swarmers inside.
After taking out the pods on the left, salvage the Reaper Tech (+3125 credits). Keep moving forward, taking out pods. You will find another Firestorm next to a dead krogan. Jump across the chasm, take out some more pods, and further up the hill, next to another dead scout you will find Ariake Technologies Shoulder Guard right after a conversation about how the Reapers are breeding an army of rachni down here.
Climb up a series of ledges taking out the gestation pods as you go. Jump across a second gap and head down to where you will see Aralakh company on the other side of a chasm holding off Reaper forces. If Grunt is leading the company, there will be an optional view prompt that lets you see Grunt break cover to suplex a Ravager while shouting his trademark battlecry. Don't let the Aralakh commander talk you into rushing forward too quickly though, as it's easy to blunder into the gestation pods ahead and there is no actual urgency. Take out the gestation pods and the webbing and then destroy the Reaper Node. Grunt/Dagg will come through and tell you that the rachni have backed off, but will be coming back. He will defend this position so that you can "finish this." Make sure to pick up the med kit and the Pistol Piercing Mod before leaving the room. You can also swap out your Firestorm.
Find the central chamber[]
In the next room, behind the clutch of gestation pods is more Reaper Tech to be salvaged (+3125 credits). Examine the narrow passage to crawl through it.
Reaper fortifications will then extend upward out of the ground and encase you on the walkway. To bypass the walls, you must disable a Reaper node that's above eye level and to the left of the forward fortification.
The left wall will retract once disabled, so be prepared to fight the waiting Reaper forces. Once they have been defeated, proceed toward their position and disable a second Reaper Node, which will retract barriers behind you. Now turn back toward your original position and exterminate a second wave of Reaper forces. When they are down, return to your original position (but before you climb up there you can shoot the fourth and final Barrier Engine up ahead on the left if you spot it) and take cover again, because from beyond it yet another wave of Reaper forces will appear. Now you can destroy the third Reaper Node, but be ready because you will have to fight against one last (and even larger) wave of Reaper forces. When those have finally been defeated, a cutscene will commence.
Combat Tips: The second and third nodes are heavily defended by a mixture of Husks, Cannibals and Ravagers. Since the Ravagers will force you to stay in cover, the principal danger consists of being driven out of cover by Husks or grenades from Cannibals. Husks you can at least keep track of and if a squadmate has some grenades they can be disposed of instantly, sometimes in groups of 2 or 3, whereas grenades from Cannibals can show up any time from many directions: nailing as many Cannibals as possible early in the combat therefore becomes a strong survival consideration. Remember your grenades and your fire explosions!
New enemies will spawn in the center area once each node is destroyed, apparently assuming the player is standing near the node in order to accomplish this. It is possible to use a grenade to destroy a node from a distance but this may result in the player being suddenly surrounded by newly spawned enemies. If for any reason one or both squad members do not follow the player closely to a node, they may be trapped in the open area and quickly knocked out.
Rachni Queen[]
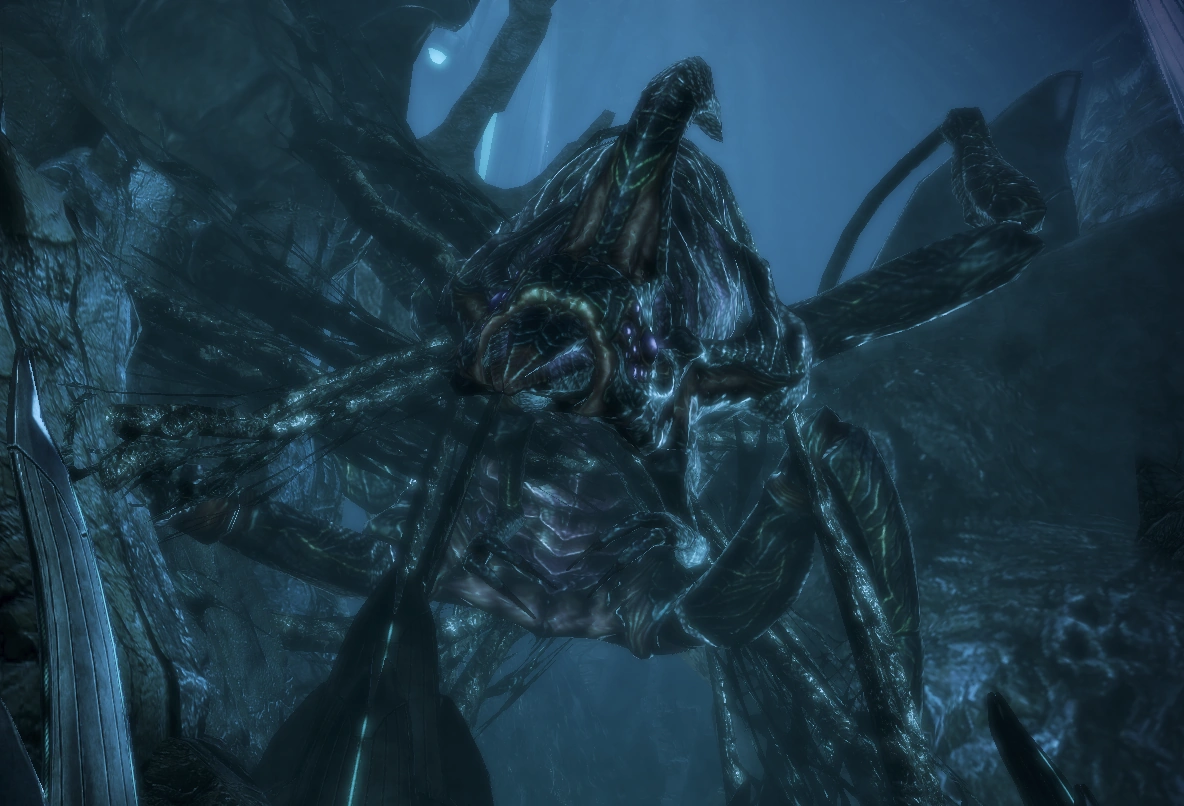
If you saved the rachni queen in Mass Effect, you will speak to her during this cutscene. If not, you will converse with the Breeder, a different rachni individual who was revived by the Reapers and has become indoctrinated. Either way, you may choose to either leave her or help her to survive (note that your decision will not affect the Reapers' supply of Ravagers one way or another).
- If you leave the rachni to die, you will gain Aralakh Company as a war asset worth 25 points, but no rachni assets.
- If you choose to rescue the original queen from Noveria, Aralakh Company will suffer grievous losses in the holding action, reducing their strength by 25 points. However, the queen provides rachni workers worth 100 points.
- If you choose to rescue the new Breeder, you gain the Aralakh Company and 100 points of rachni workers; however, the Breeder proves untrustworthy after Priority: Thessia, taking away her war asset and removing 100 points from the Alliance Engineering Corps.
No matter what you chose with the rachni queen, Grunt or Urdnot Dagg will stay behind to hold off Ravagers while Shepard's party runs for the shuttle.
Grunt can survive this if you completed his loyalty mission in the previous game (if you did not, Grunt will mention his outsider status in his dialogue outside the falling prefab). If you spare either Queen, Grunt dies if he was disloyal. If he was loyal, Grunt survives regardless of your decision. Dagg, however, will die regardless of your choice.
Grunt adds 25 points to Aralakh Company's war asset as its leader if he survives the mission and an additional 25 points as representative of Clan Urdnot should you have earned his loyalty. Additionally, he will himself be added as an independent war asset worth 25 points. You gain 12,500 credits from the Alliance after returning to the Normandy.
Aftermath[]
Following this mission, Garrus will be found in the Port Observation Lounge regaling a young crew member (Ensign Copeland) with stories of the rachni.
If Diana Allers is aboard, she can be overheard talking with Specialist Traynor about what a scoop revealing the rachni would be.
Enemies[]
Emails[]
Shepard receives this mail from Urdnot Wreav if he is the clan leader and the rachni queen was freed after Priority: Tuchanka:
If Shepard left the rachni to die, Wreav sends this message instead:
If Urdnot Wrex is the clan leader, he sends Shepard this message if the rachni were left to die:
If the rachni were spared again with Wrex as the leader:
Trivia[]
- Similarities have been noted between elements of this mission and the film Aliens, including the use of flamethrowers, alien eggs, victims cocooned to the walls, and even the structure the Queen/Breeder is attached to. Joker also references the movie if the Queen/Breeder is killed, saying "You wanna nuke it from orbit? It's the only way to know for- ah forget it, it's probably fine."