


You have followed Saren to the Citadel. He is trying to transfer control of the station to Sovereign so the Reaper invasion can begin. You must stop him and find a way to destroy Sovereign once and for all.
Acquisition[]
This mission is acquired after the trip through the Conduit on Ilos. Its journal entry is the final rename for the Race Against Time mission series.
Walkthrough[]
Presidium[]
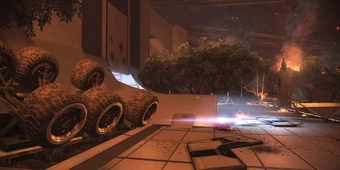
Upon using the Conduit the scene shifts to the Presidium where Avina is going on about the damage to the Citadel. As the camera rotates to show two geth the Conduit’s end point begins powering up and the core activates. The geth move to investigate, but the Mako exits the mini Mass Relay and crushes the geth before rolling over against the far wall. Shepard and the squad crawl out of the wreckage and after looking around you regain control.
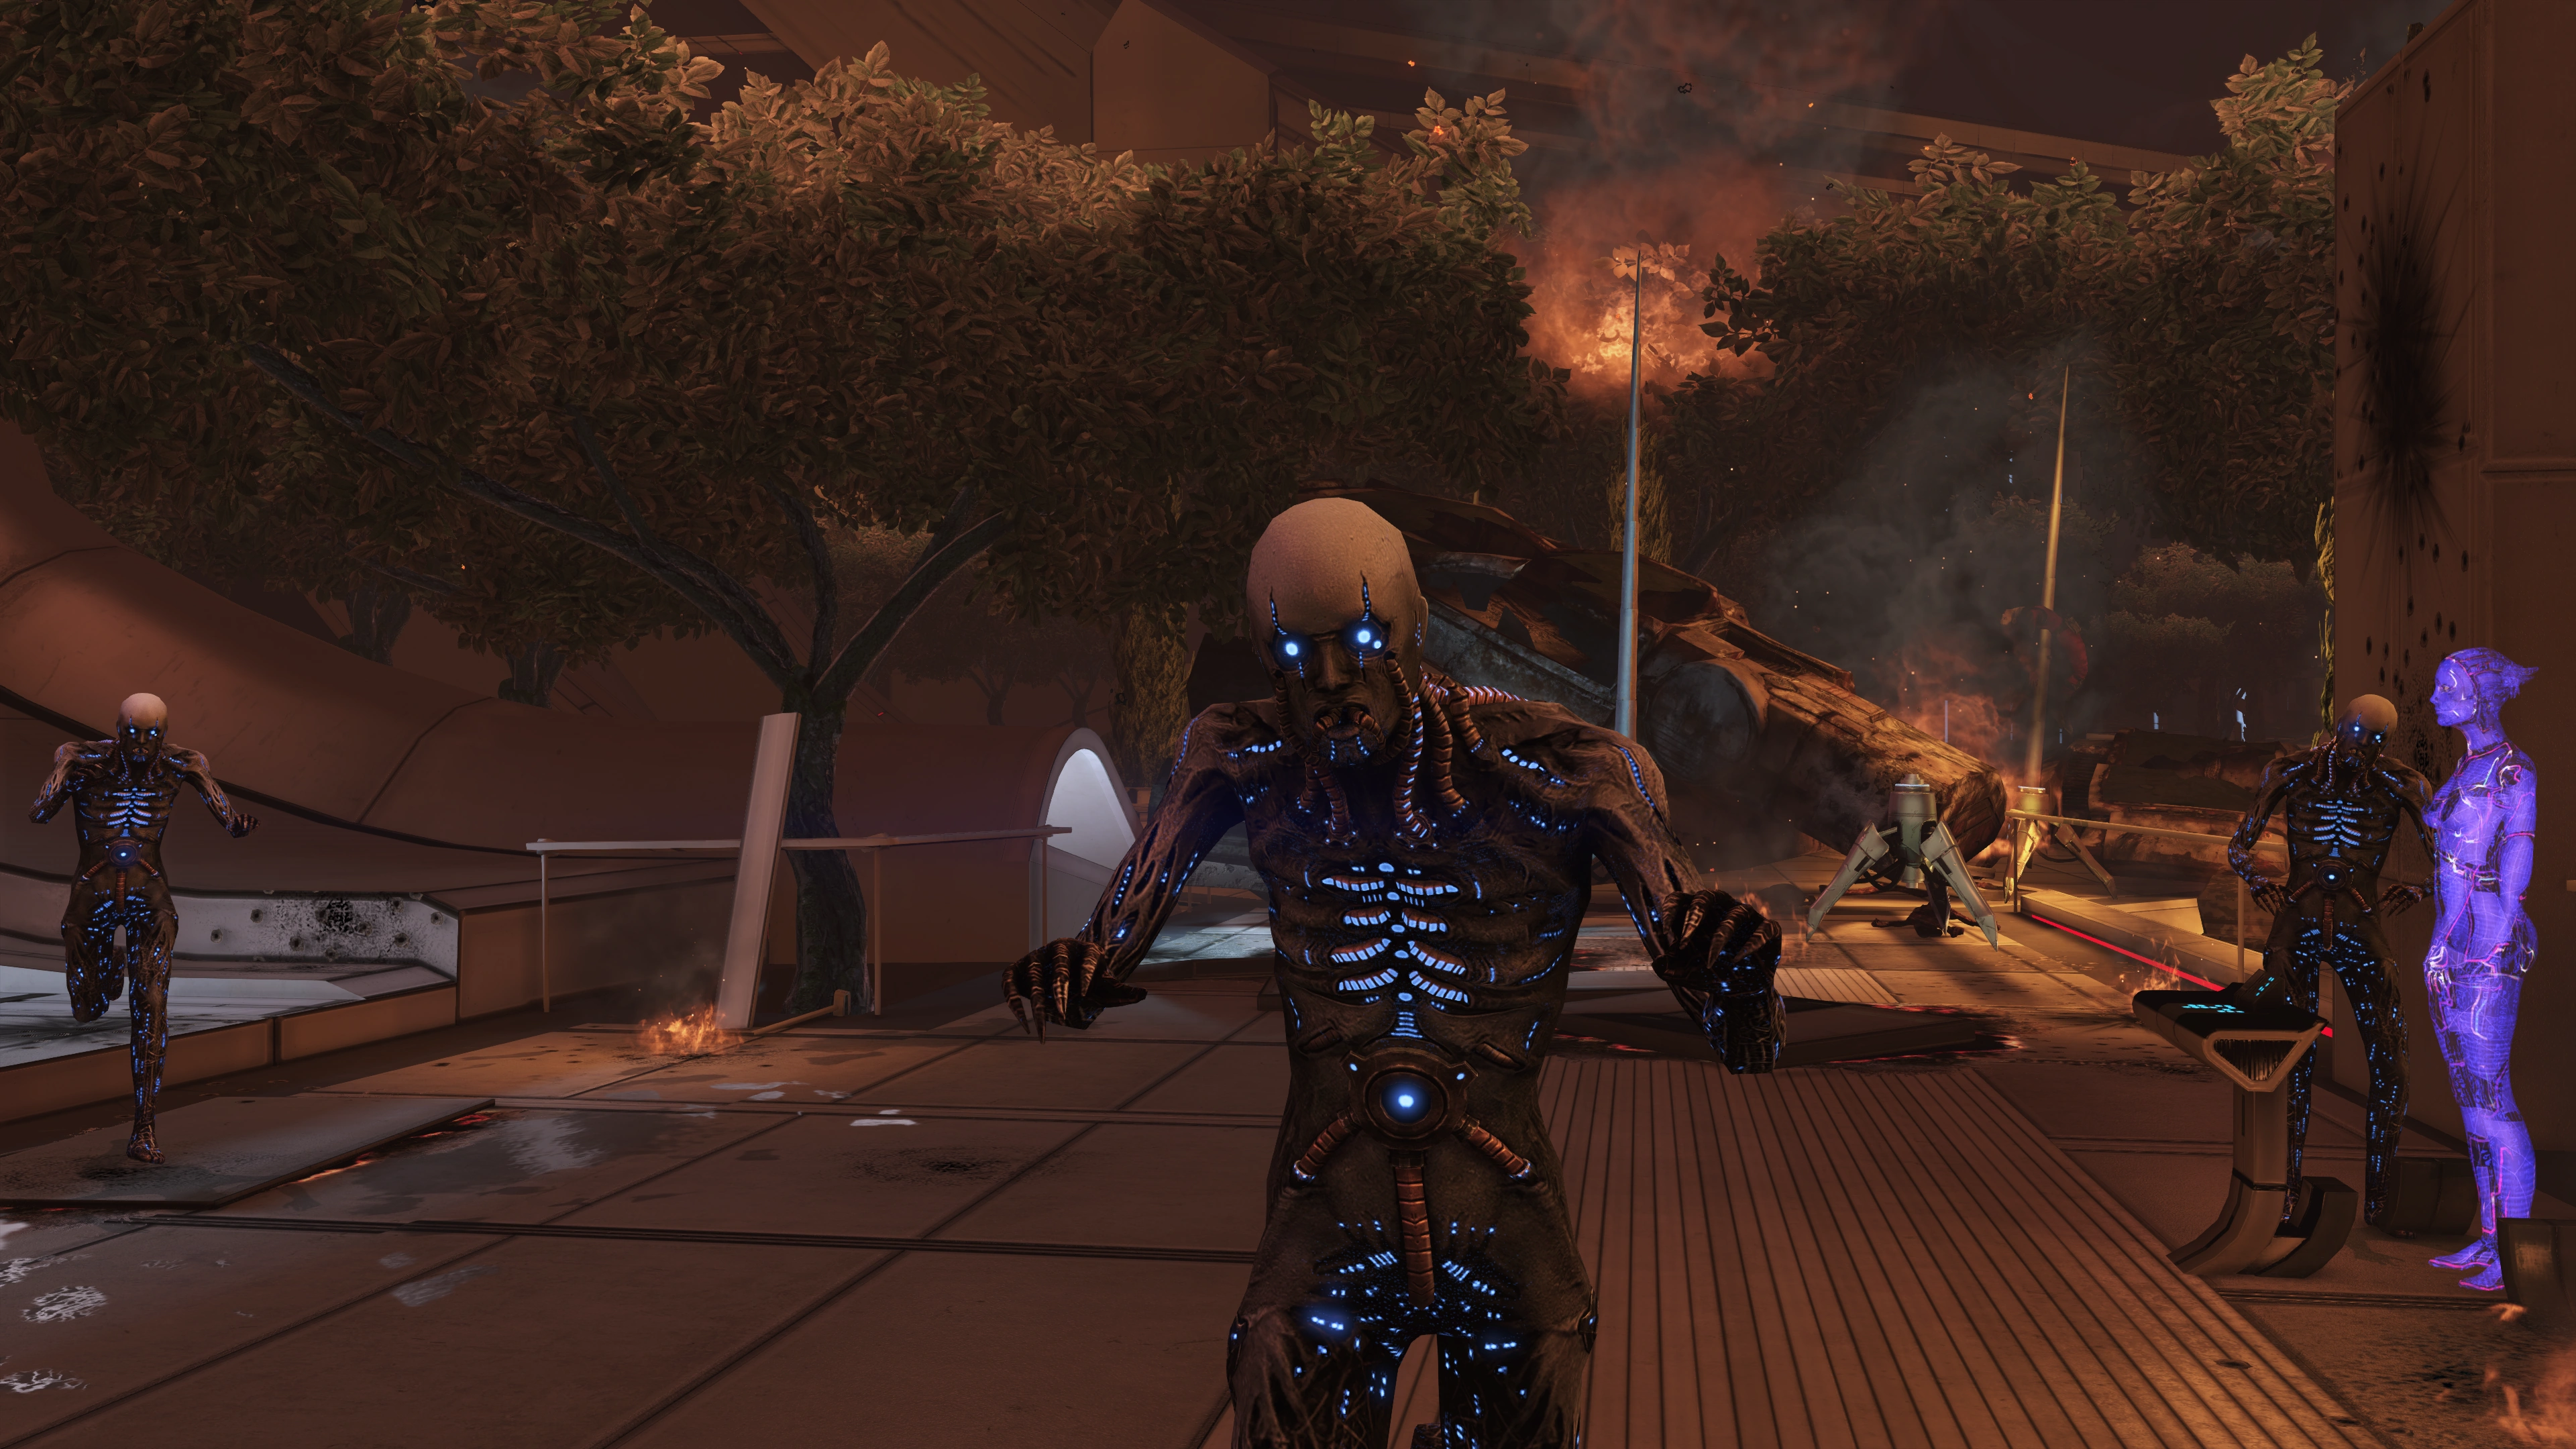
Take the med kit next to the overturned Mako. When you walk over to the elevator, three Dragon's teeth come down and release their husks. Just make sure they don’t get too close. You must kill the husks before the elevator becomes accessible.
When you are done with the husks, you can talk to Avina, or skip the interactions and head straight for the elevator.
Avina tells you only a few things, like the fact you need to evacuate the Presidium and how much damage to the Presidium there is. However, she does provide some useful information: Saren is approaching the Council Chambers, and C-Sec is currently unable to respond to the threat. She also tells you that there are a lot of geth on the station and the Citadel Tower. She also tells you that the Citadel Council (along with nearly 10,000 citadel inhabitants) was evacuated to the Destiny Ascension per emergency procedures. If you ask about Anderson and Udina, Avina says that she can’t give the locations on specific individuals.
After you activate the elevator, the scene shifts to the Council Chambers where Saren is walking across and blows two keepers away as he goes. He goes up to the Petitioner's Stage: a platform extends, a holographic panel appears, and Saren goes to work.
Citadel Tower Maintenance Shaft[]
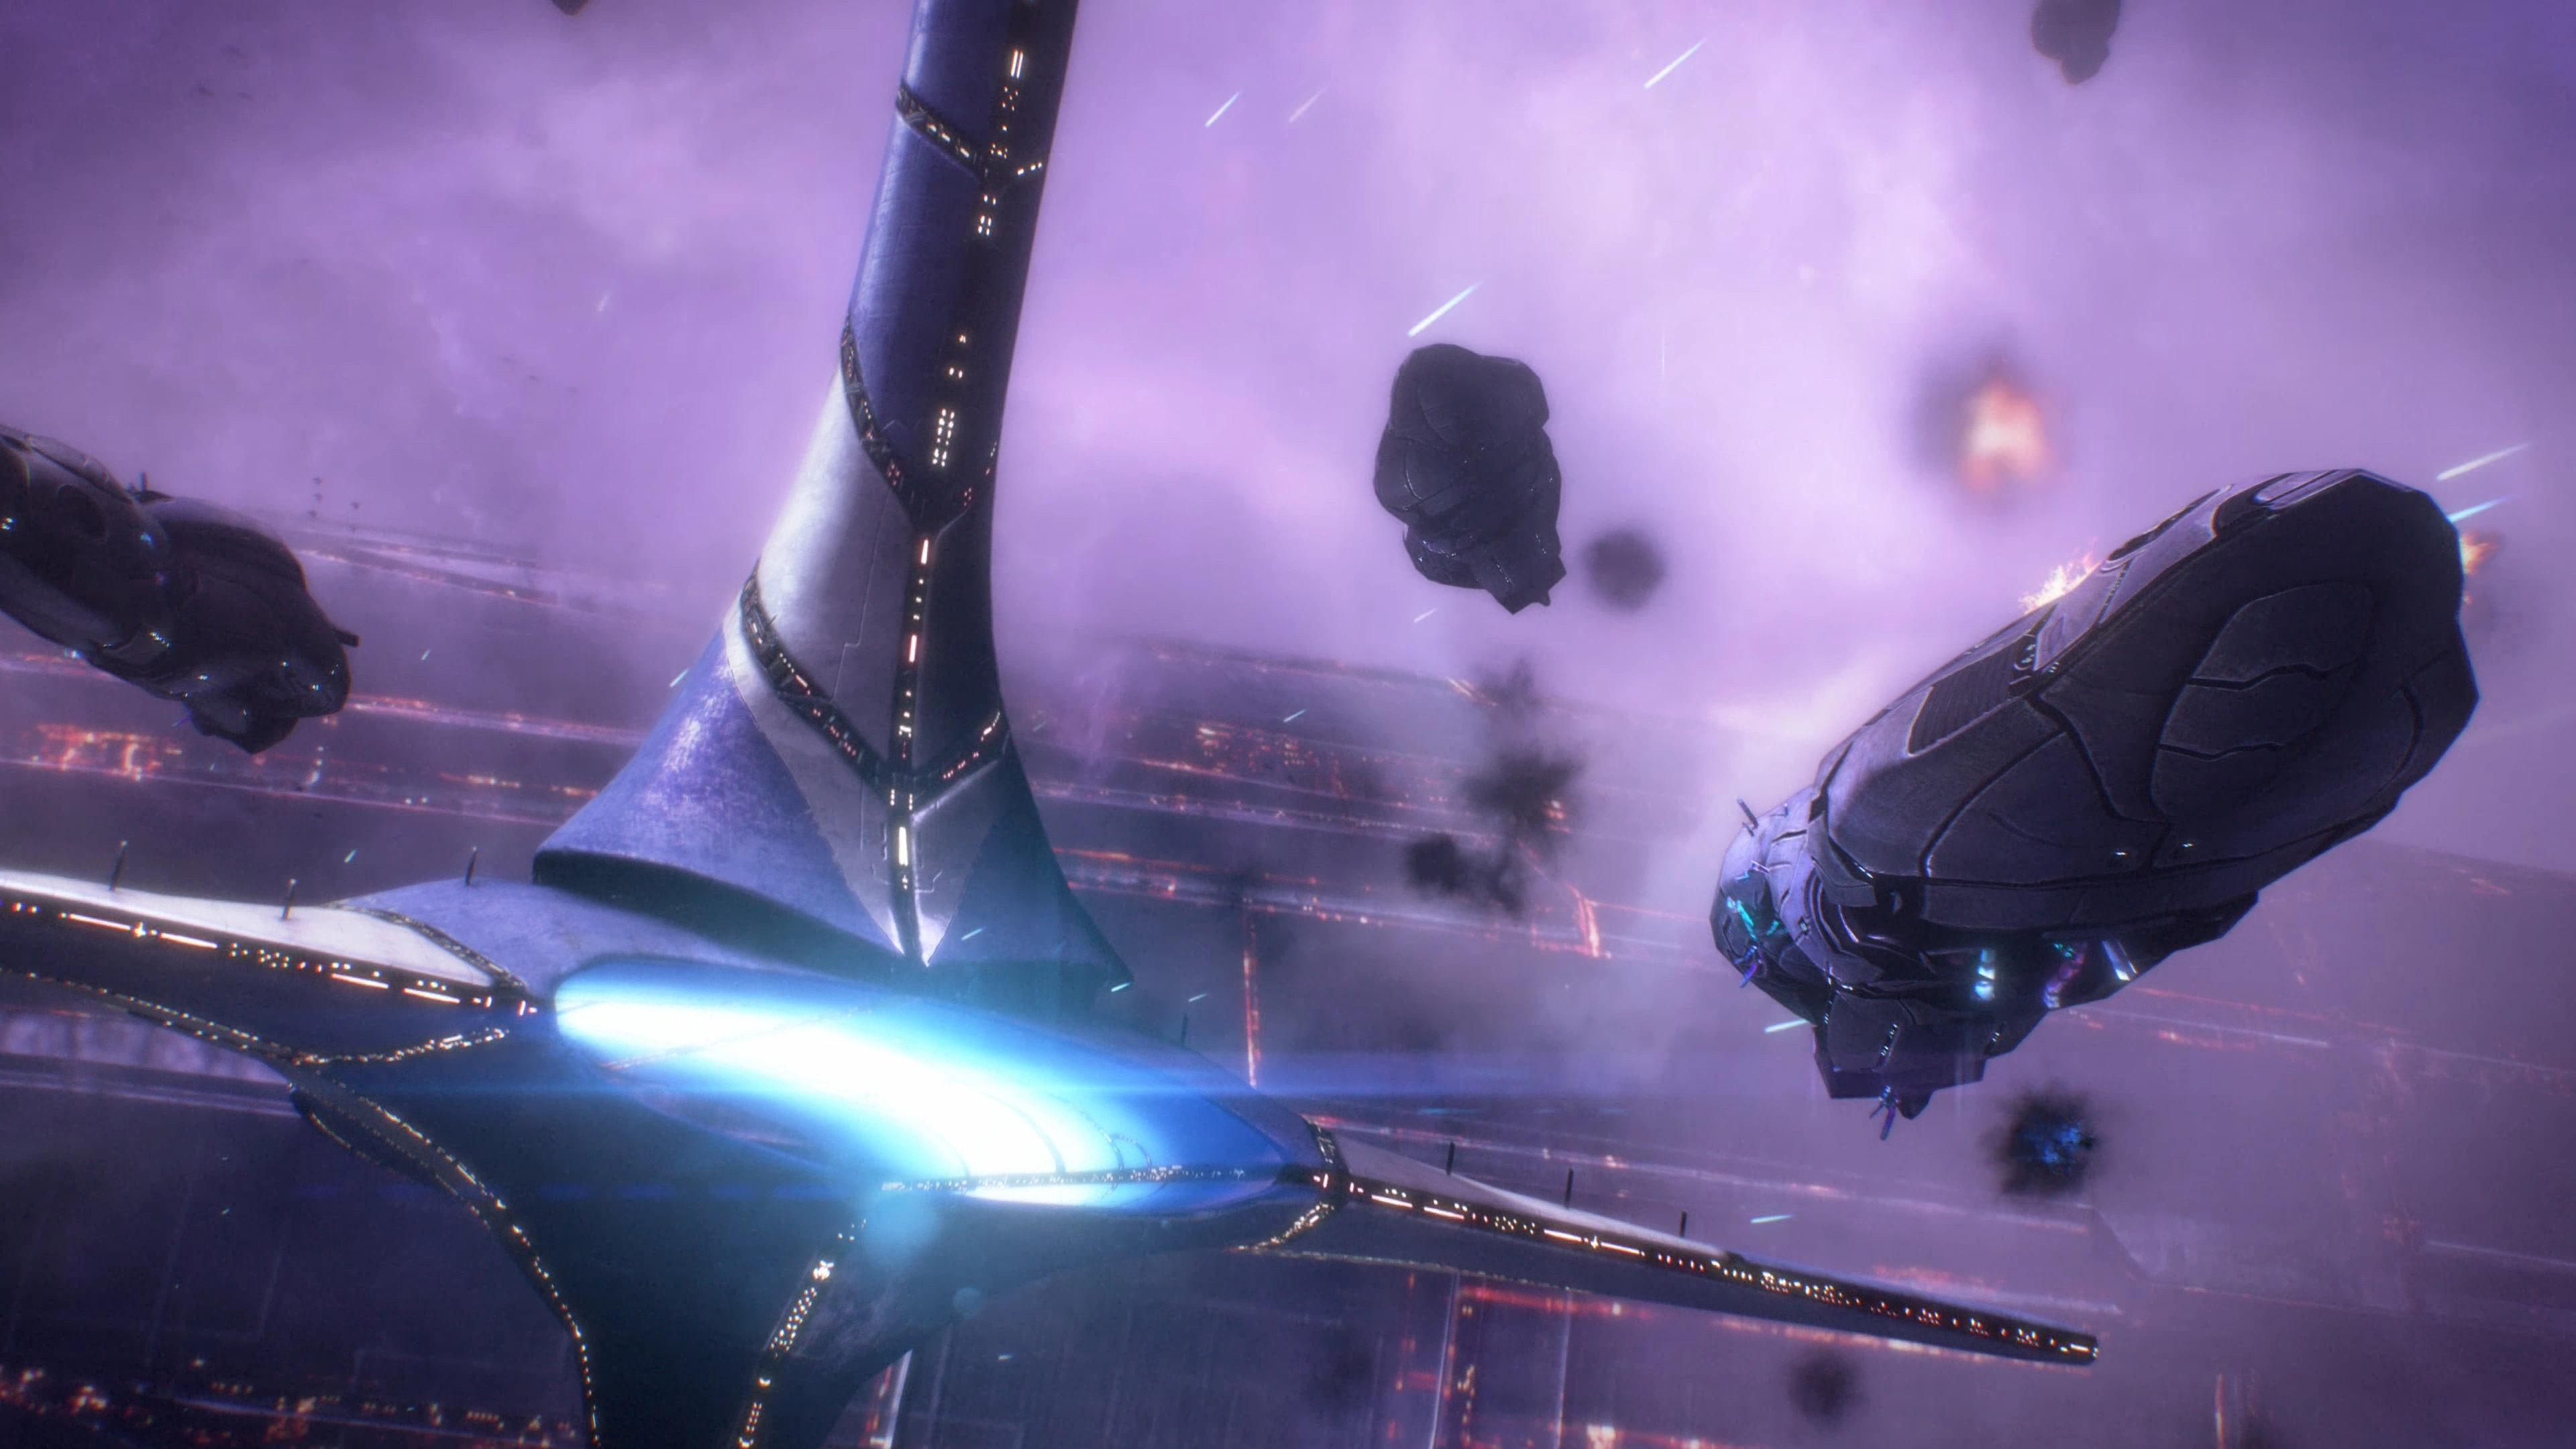
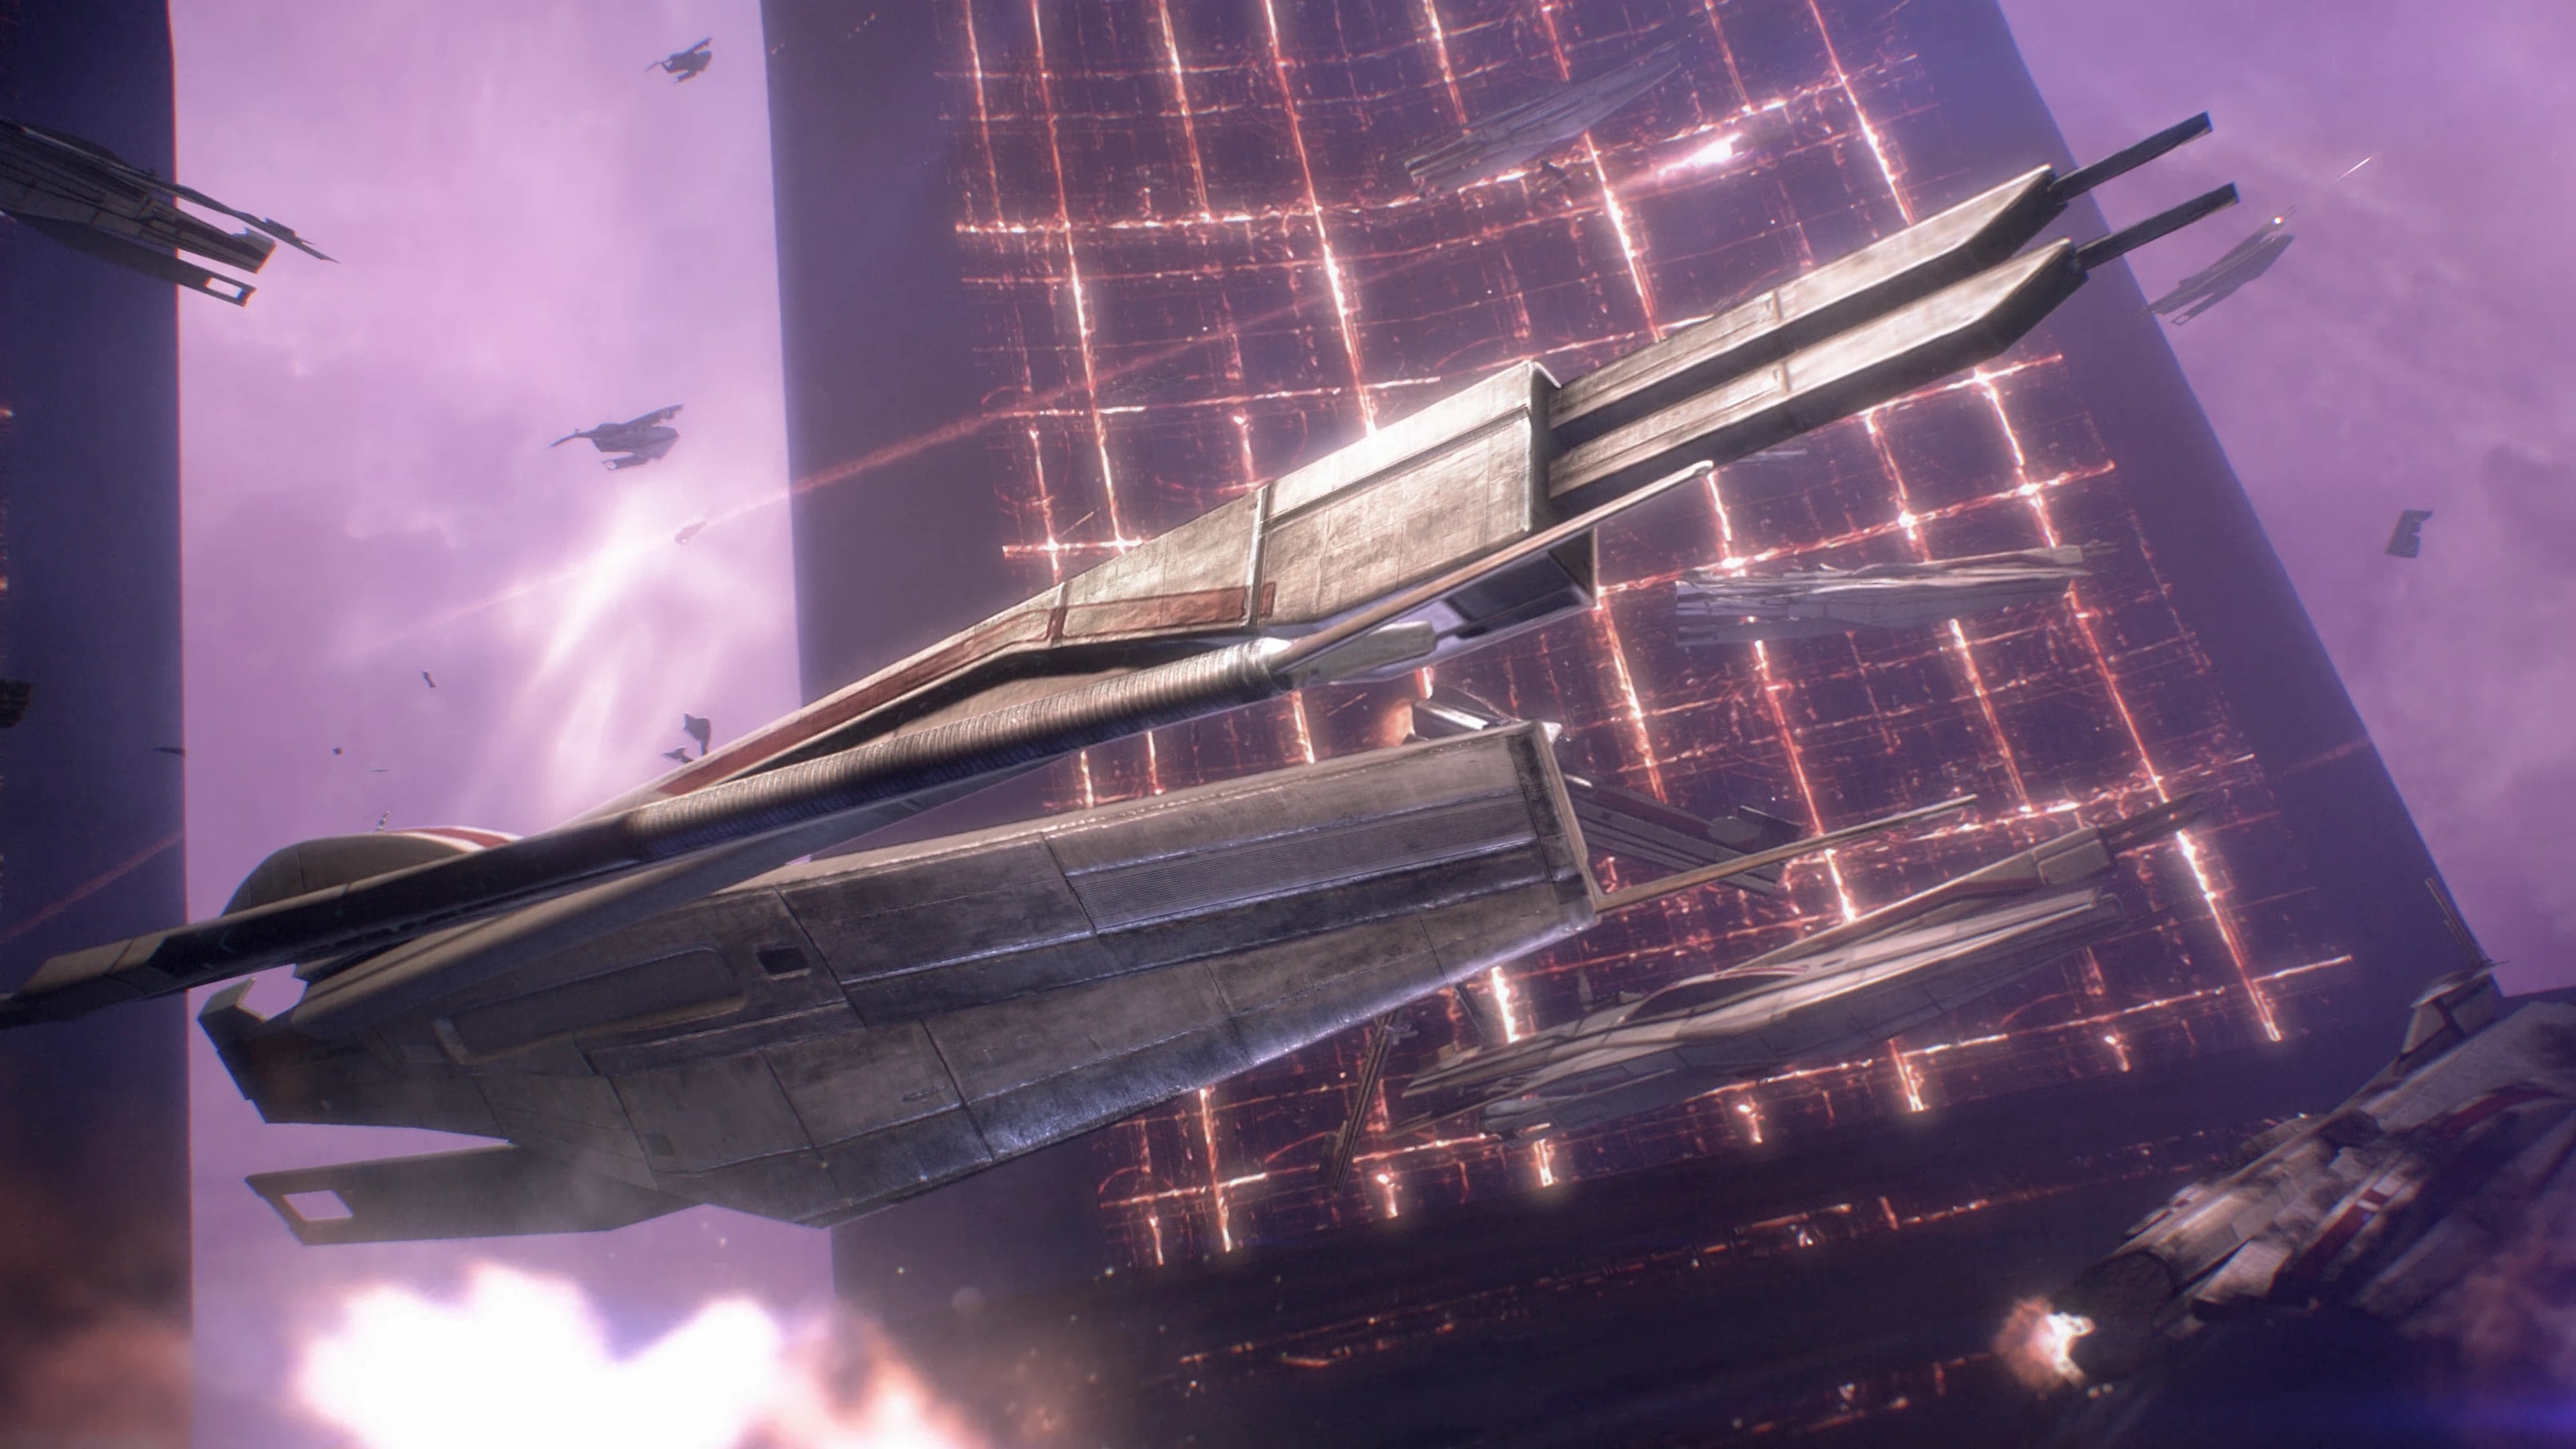
The scene shifts to the exterior where the Citadel's arms begin to close and Executor Pallin orders what ships are left to not let Sovereign inside the arms. Several turian cruisers are in position and open fire on Sovereign. However, their shots do nothing and Sovereign forces its way in, destroying a cruiser in the process. Sovereign goes straight to the tower and wraps its limbs around the structure.
The scene shifts again to the elevator you're using to ride up to the tower. It shudders to a stop and after looking around for a second, Shepard orders the squad to suit up because they are going outside. After a second a shot shatters the glass on the side of the window and Shepard and the squad, fully sealed in their combat suits, step out and onto the exterior of the elevator.
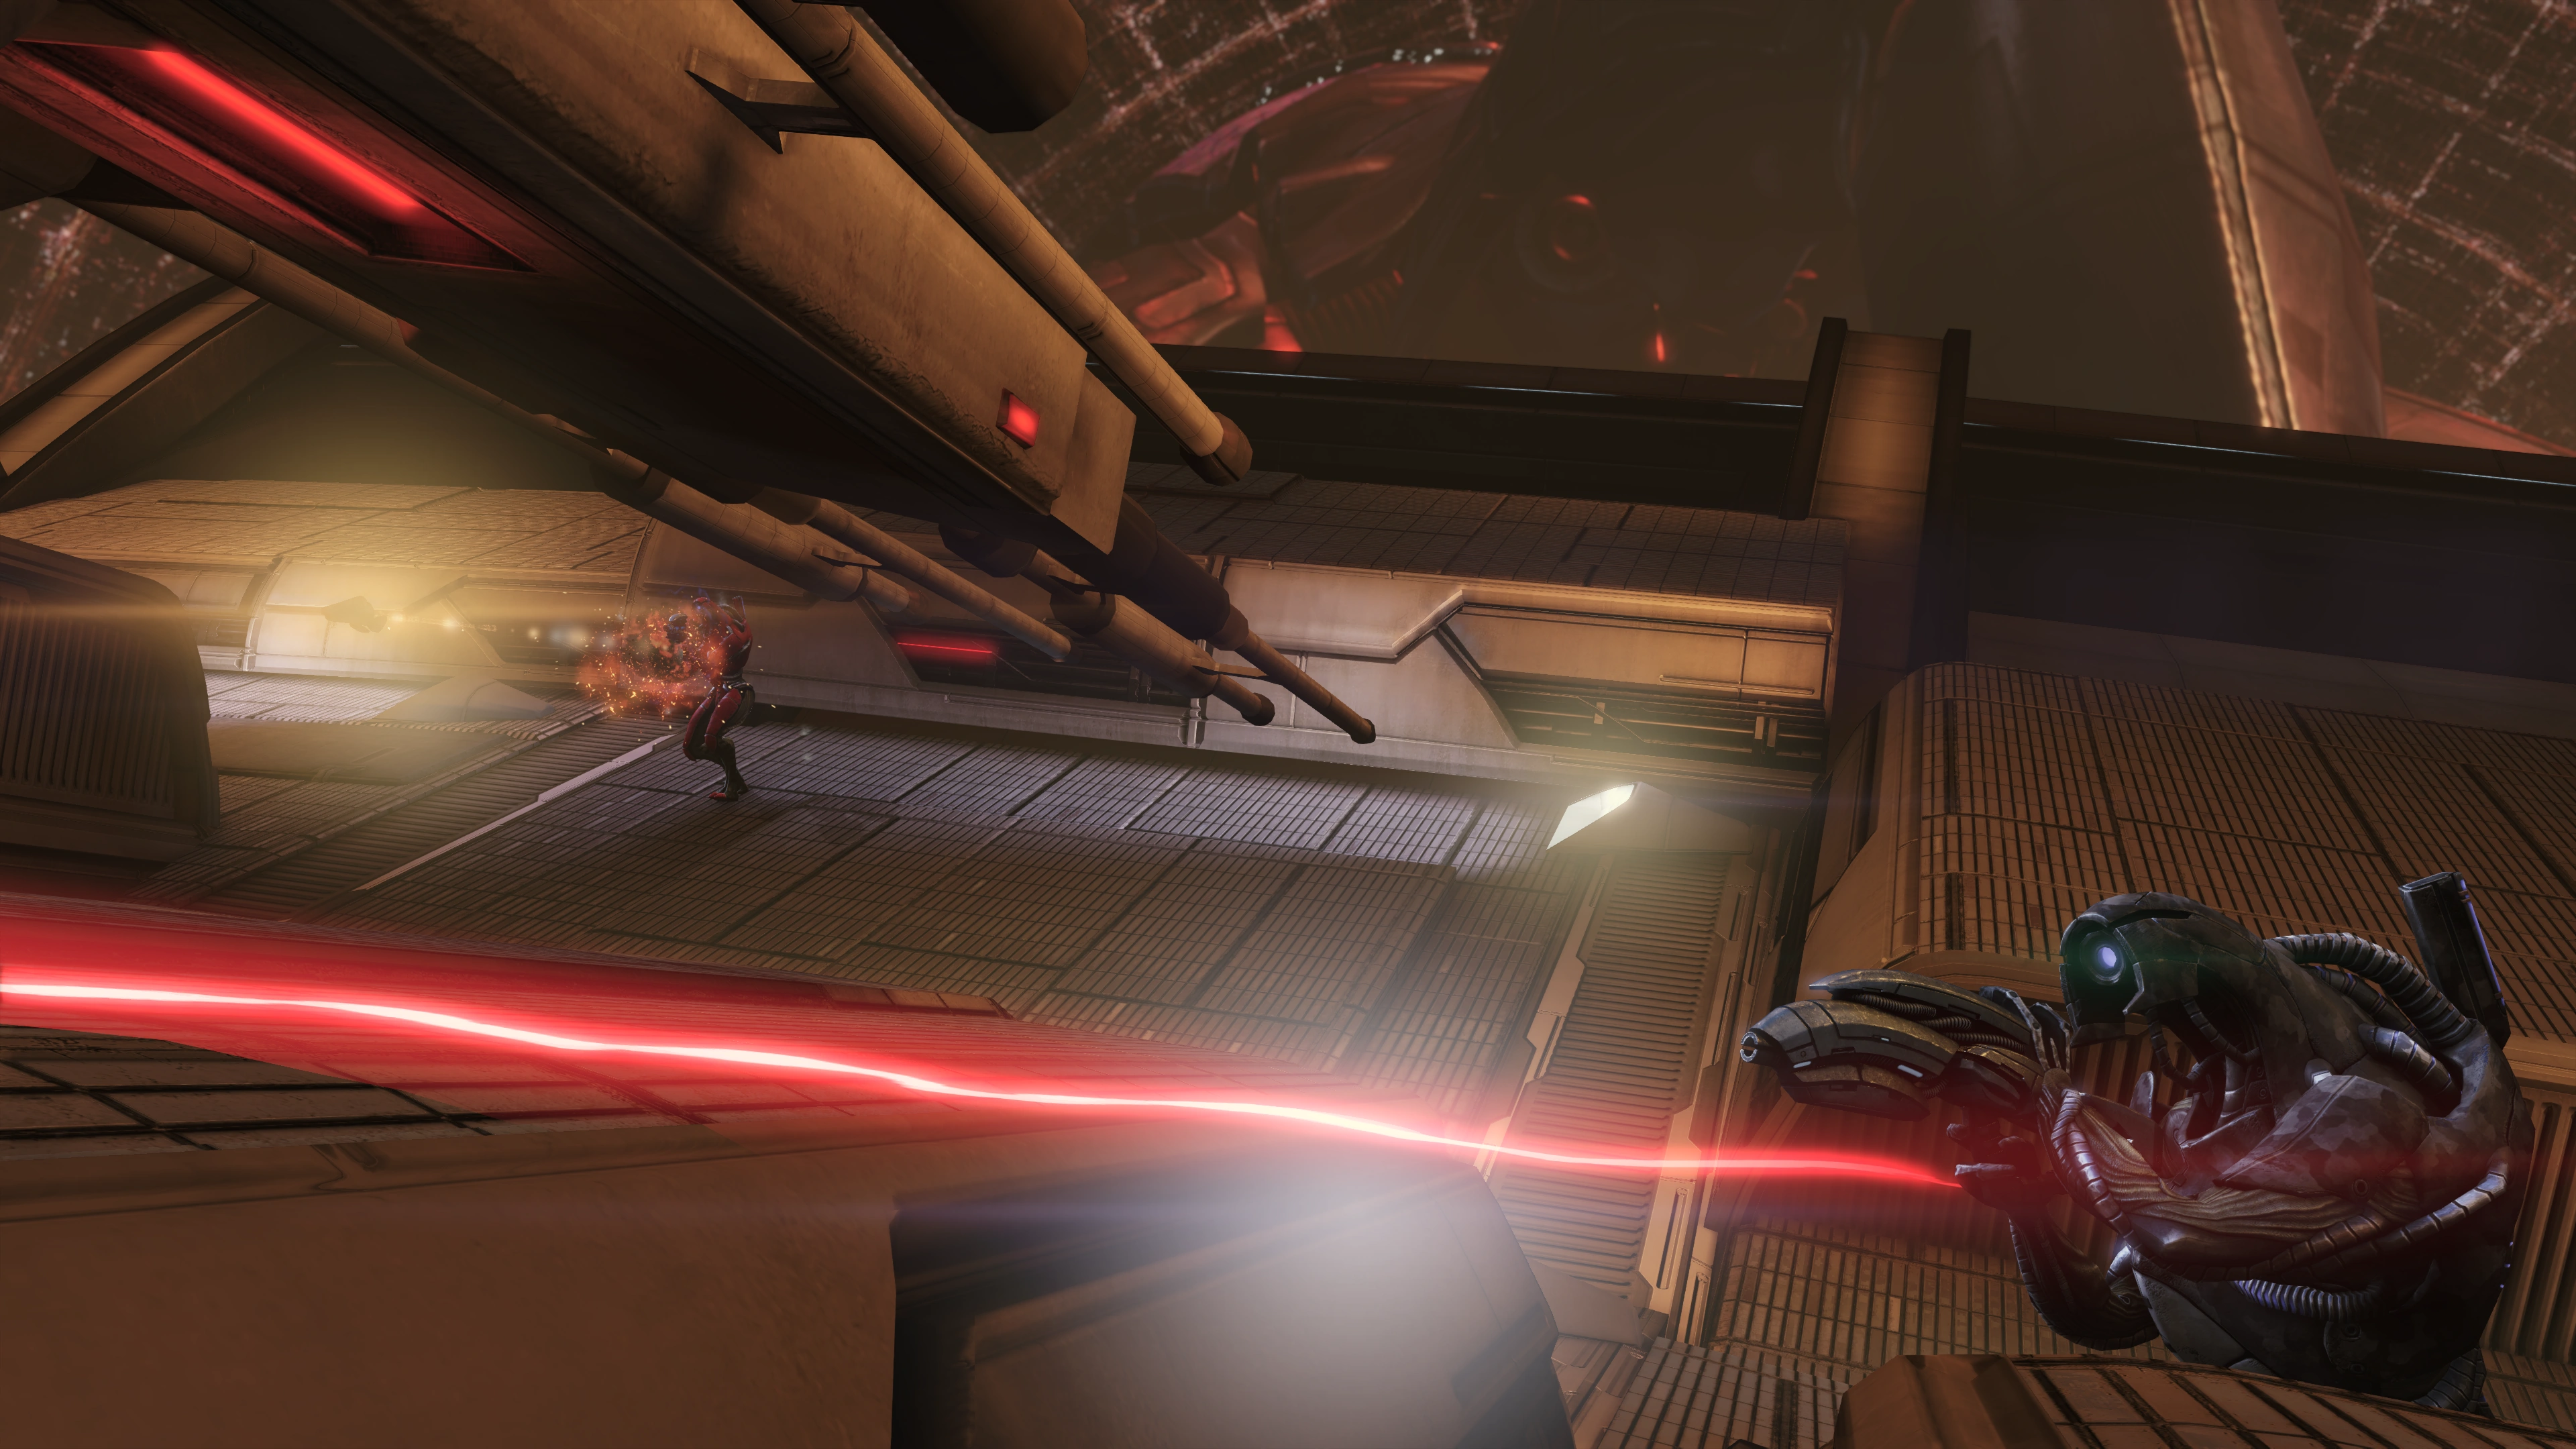
Sovereign is looming on the horizon. It periodically brings down a massive leg, which results in some wobbling and can potentially throw off your aim.
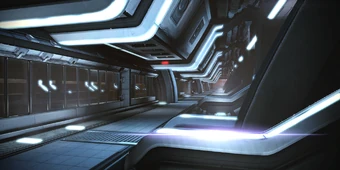
Because the elevator is no longer an option you must use the exhaust plain of the Citadel Tower to get to the Council Chambers before Saren can turn the station over to Sovereign. Consulting your map, you're in the Citadel Tower's Maintenance Shaft, and it's a straight walk all the way towards the south. Head forward and keep going until you reach a downward ramp. When you walk down be careful because there will be problems shortly. Because the elevators are locked down, there is an elevator stuck in the tube to your left. Another elevator comes screaming up the tube and crashes into the stationary one.
The elevator contained some Geth Troopers. Further along the corridor is a Geth Rocket Trooper and a Geth Shock Trooper. There are plenty of protrusions and corners in the corridor, use them to take cover and scrap the geth. When they are down, head up the ramp and onto the next area.
Tips:
- Most of the mission takes place in the Citadel Tower's exterior, which is in zero-g; you and your enemies are only walking on the surface via magnetic boots. A highly leveled Lift, Throw, or Singularity is often enough by itself to propel enemies (even heavy ones) off into space, killing them without the need for further fighting.
- Anytime you can Throw an enemy against a sloped 45 degree wall, such as the elevator tube in this first encounter, it is almost certain to sail harmlessly off into the "ceiling", or into space in more open areas.
- Consider equipping Sledgehammer Rounds or High Explosive Rounds even if you're using a pistol, since it will not only occasionally knock enemies down, it will also allow you to push floating enemies further and more quickly off the map, adding even more certainty to the Lift/Throw strategy. Plus Sledgehammer Rounds in a Shotgun or Sniper Rifle will knock plenty of enemies helplessly off their feet.
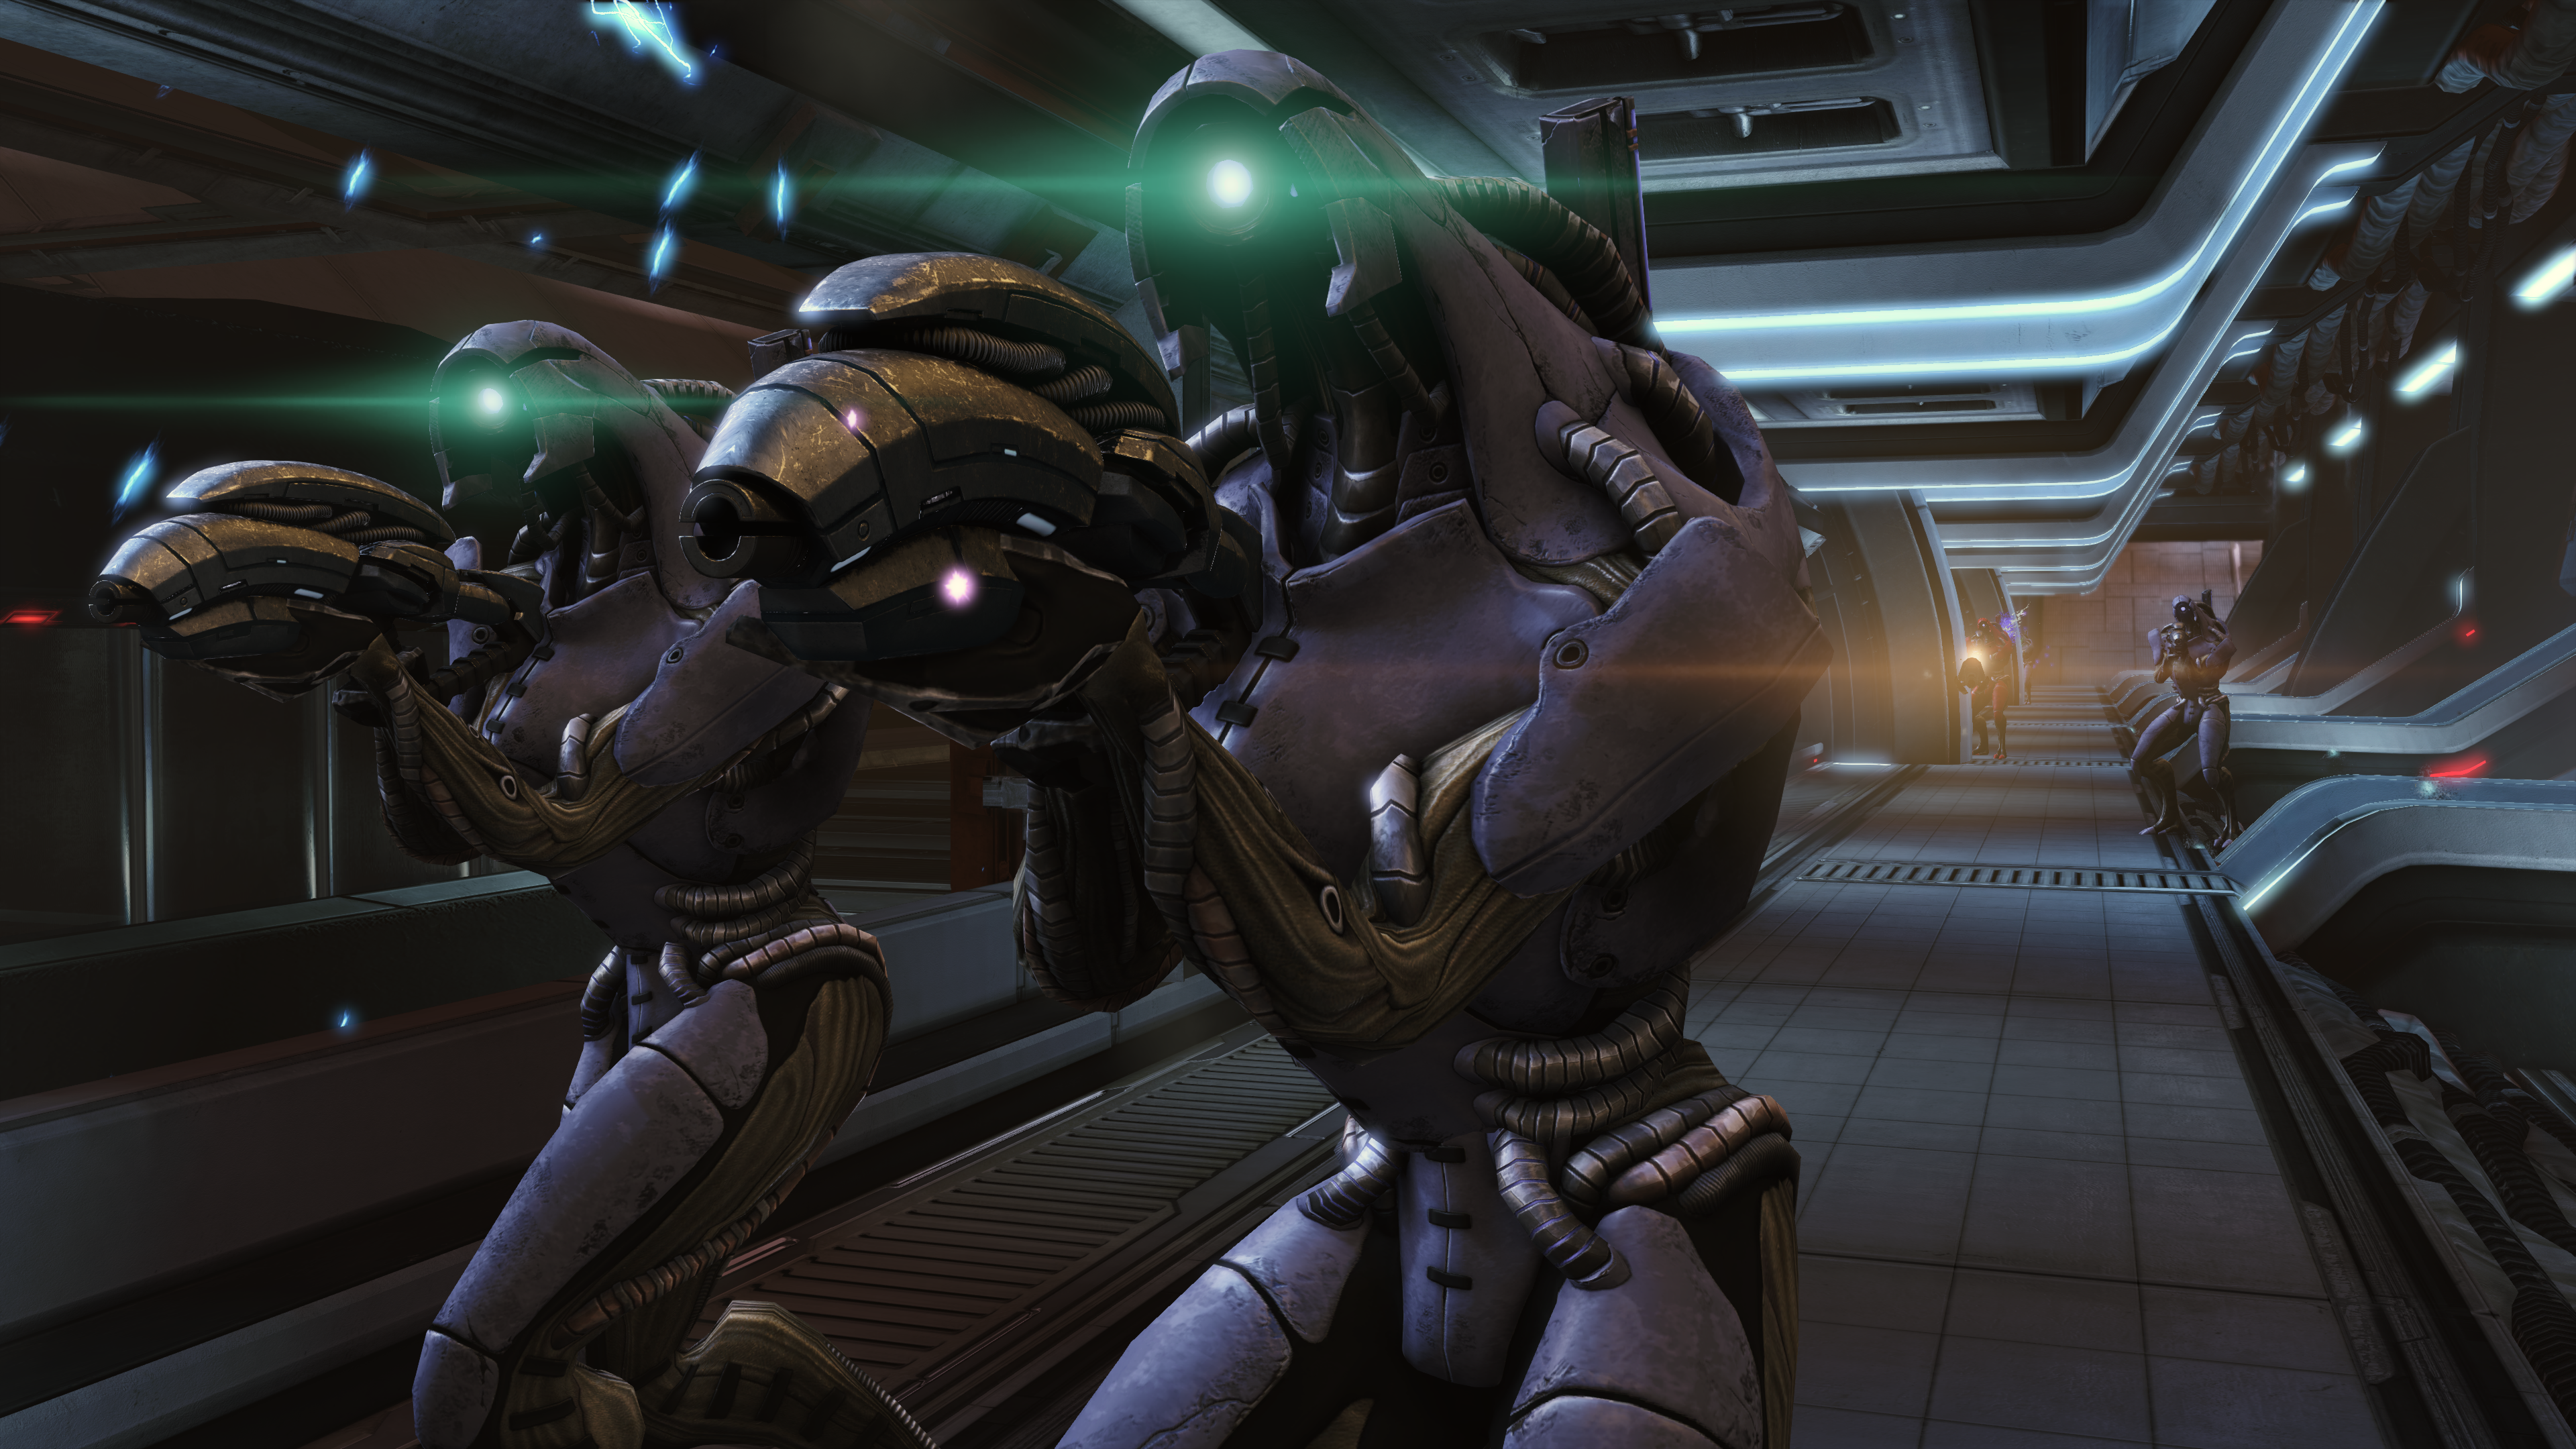
After the ramp is another corridor. There's a single Trooper, then a Krogan Warlord. Use Lift on the krogan, and if it is powerful enough, the krogan will just float away. A Geth Destroyer also spawns to help the Warlord out. Beyond them is another uphill ramp studded with geth barriers as well as Troopers and Shock Troopers, beyond which is the exhaust plain of the tower.
Note: If you stay back and do not approach the upward ramp yet, a series of as many as 5 Destroyers will appear one by one and attack you. This is the first of several upcoming opportunities to gain additional experience by standing back and killing a whole series of Destroyers. Obviously if you're looking to fight the minimum number of enemies, you should cross toward the krogan sooner rather than later as the spawning of additional Destroyers seems based on how far down the path you've moved.
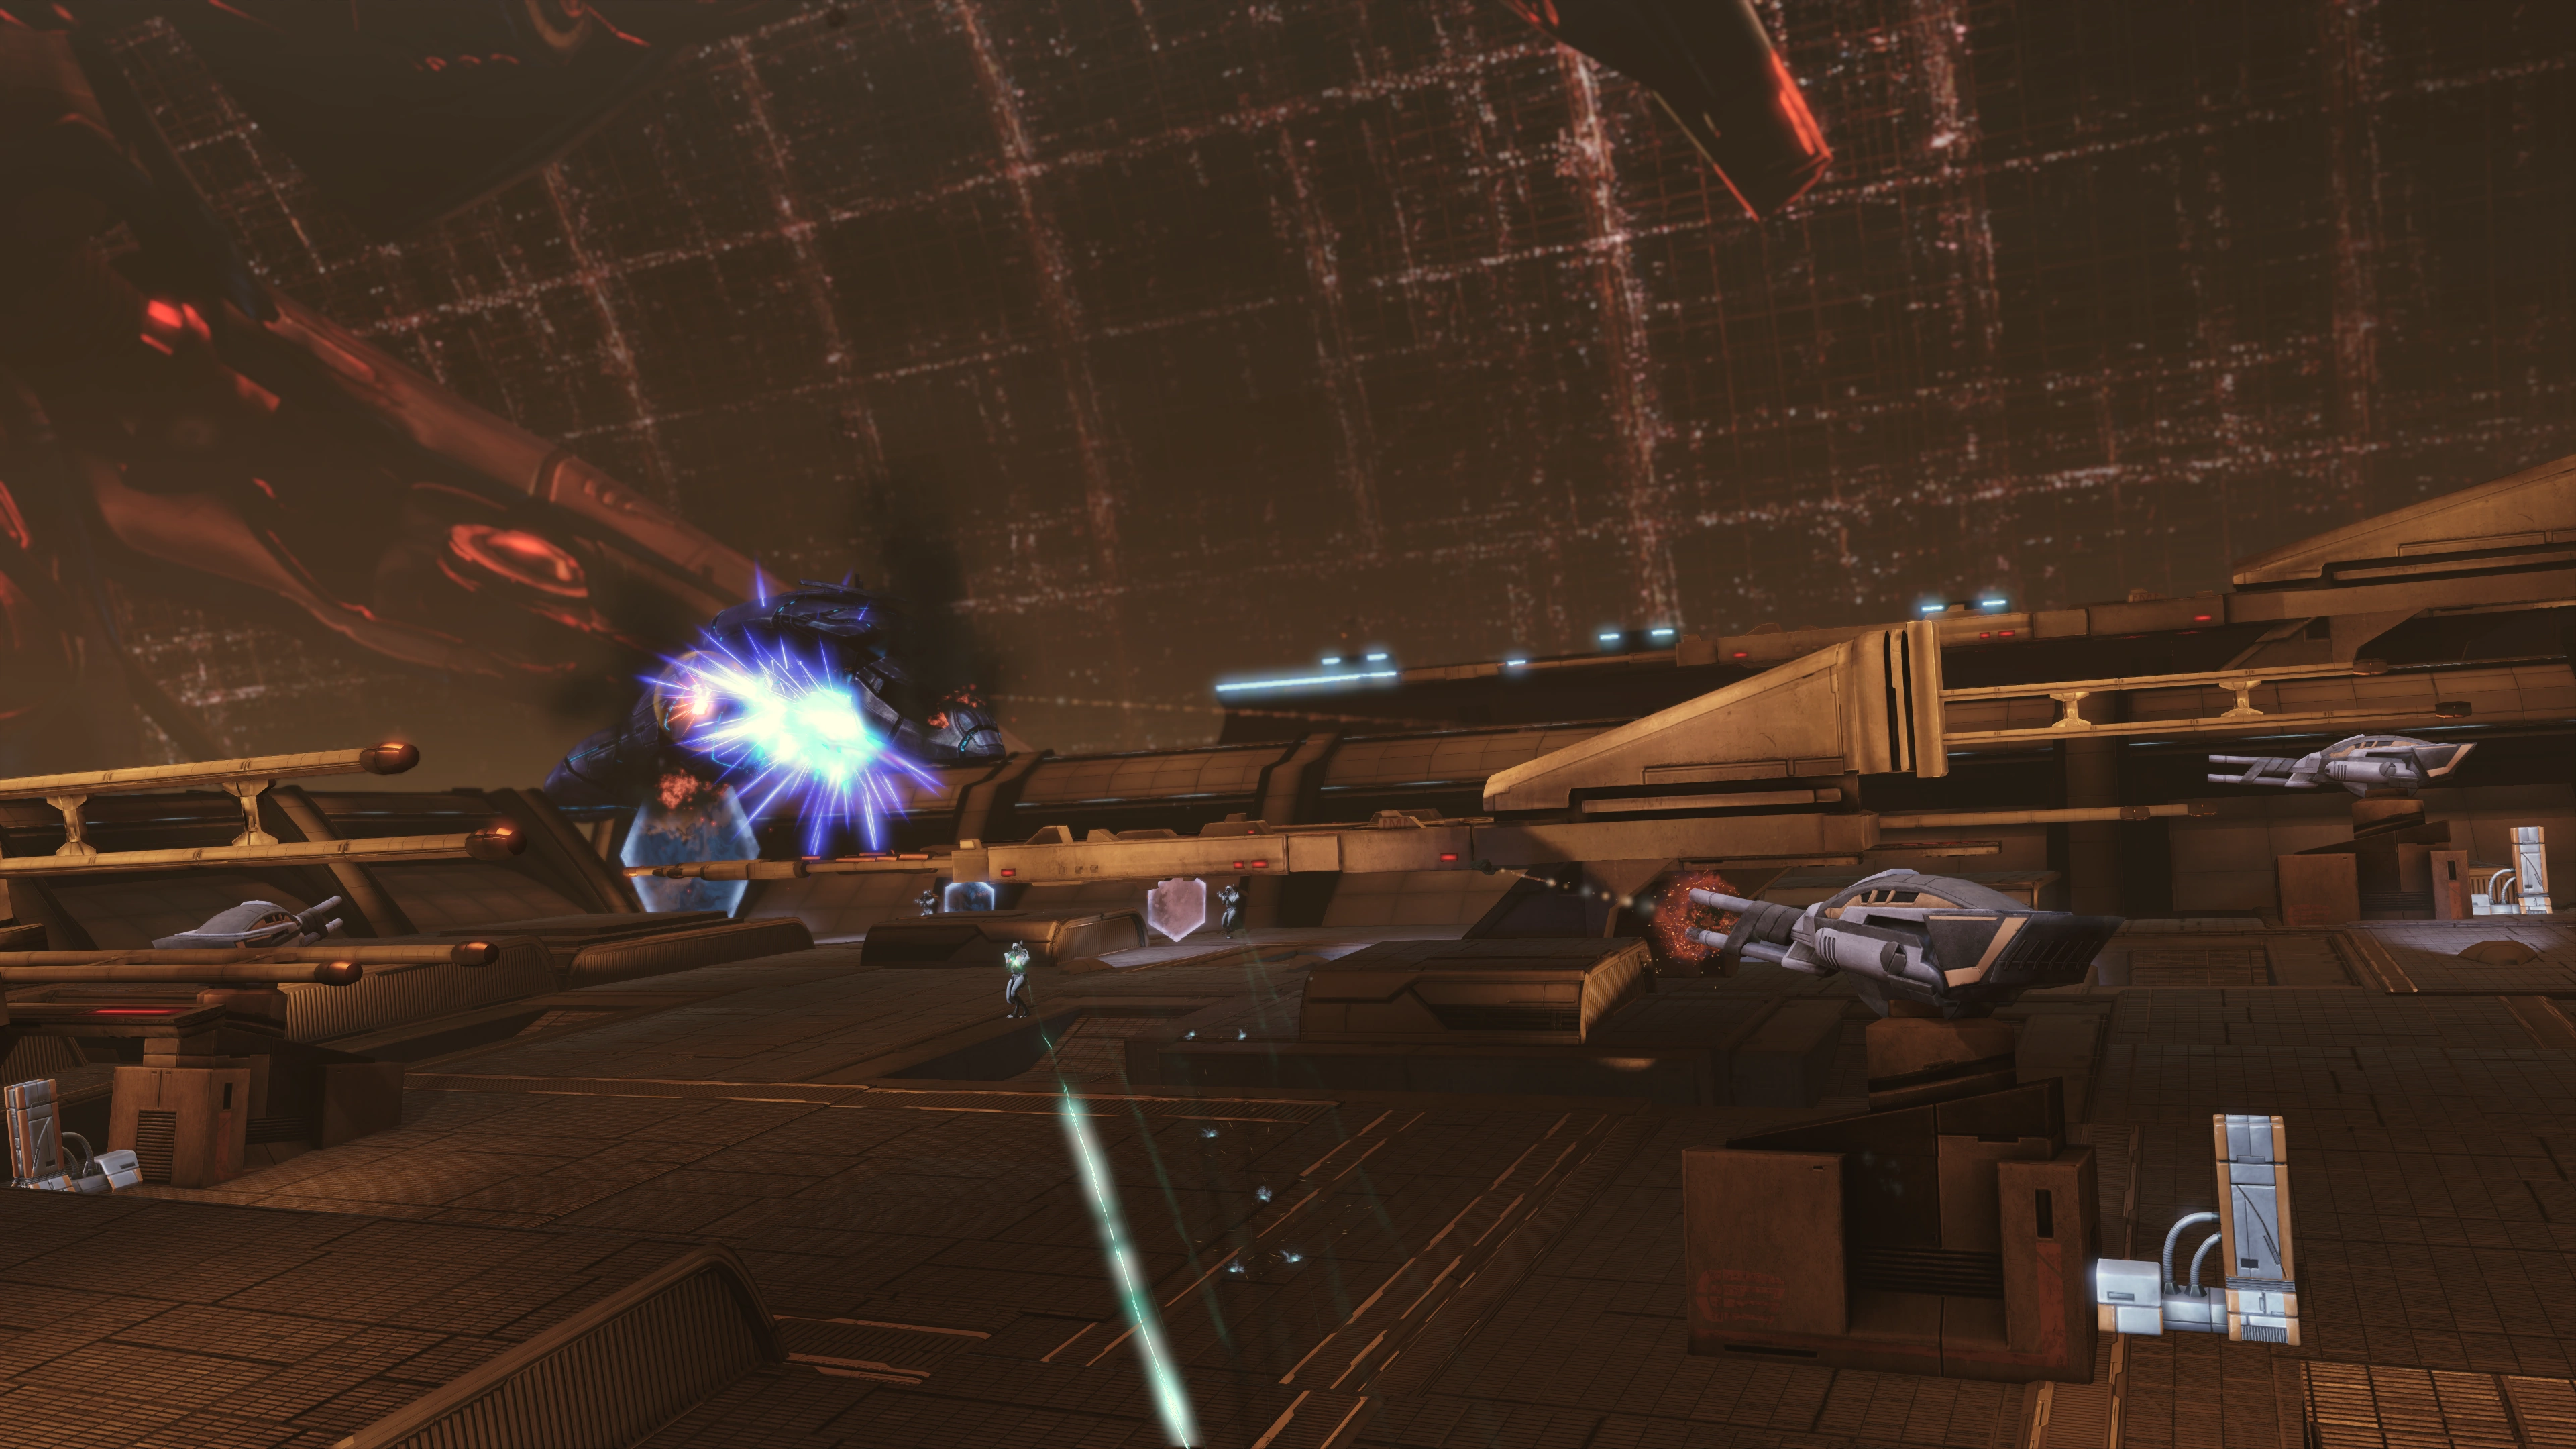
Citadel Tower Exhaust Plain[]
Once you proceed up the ramp you are now in the exhaust plain, and the terrain is slightly tilted. Consulting your map, your path will take you southeast to a corridor, then another open area, then southwest.
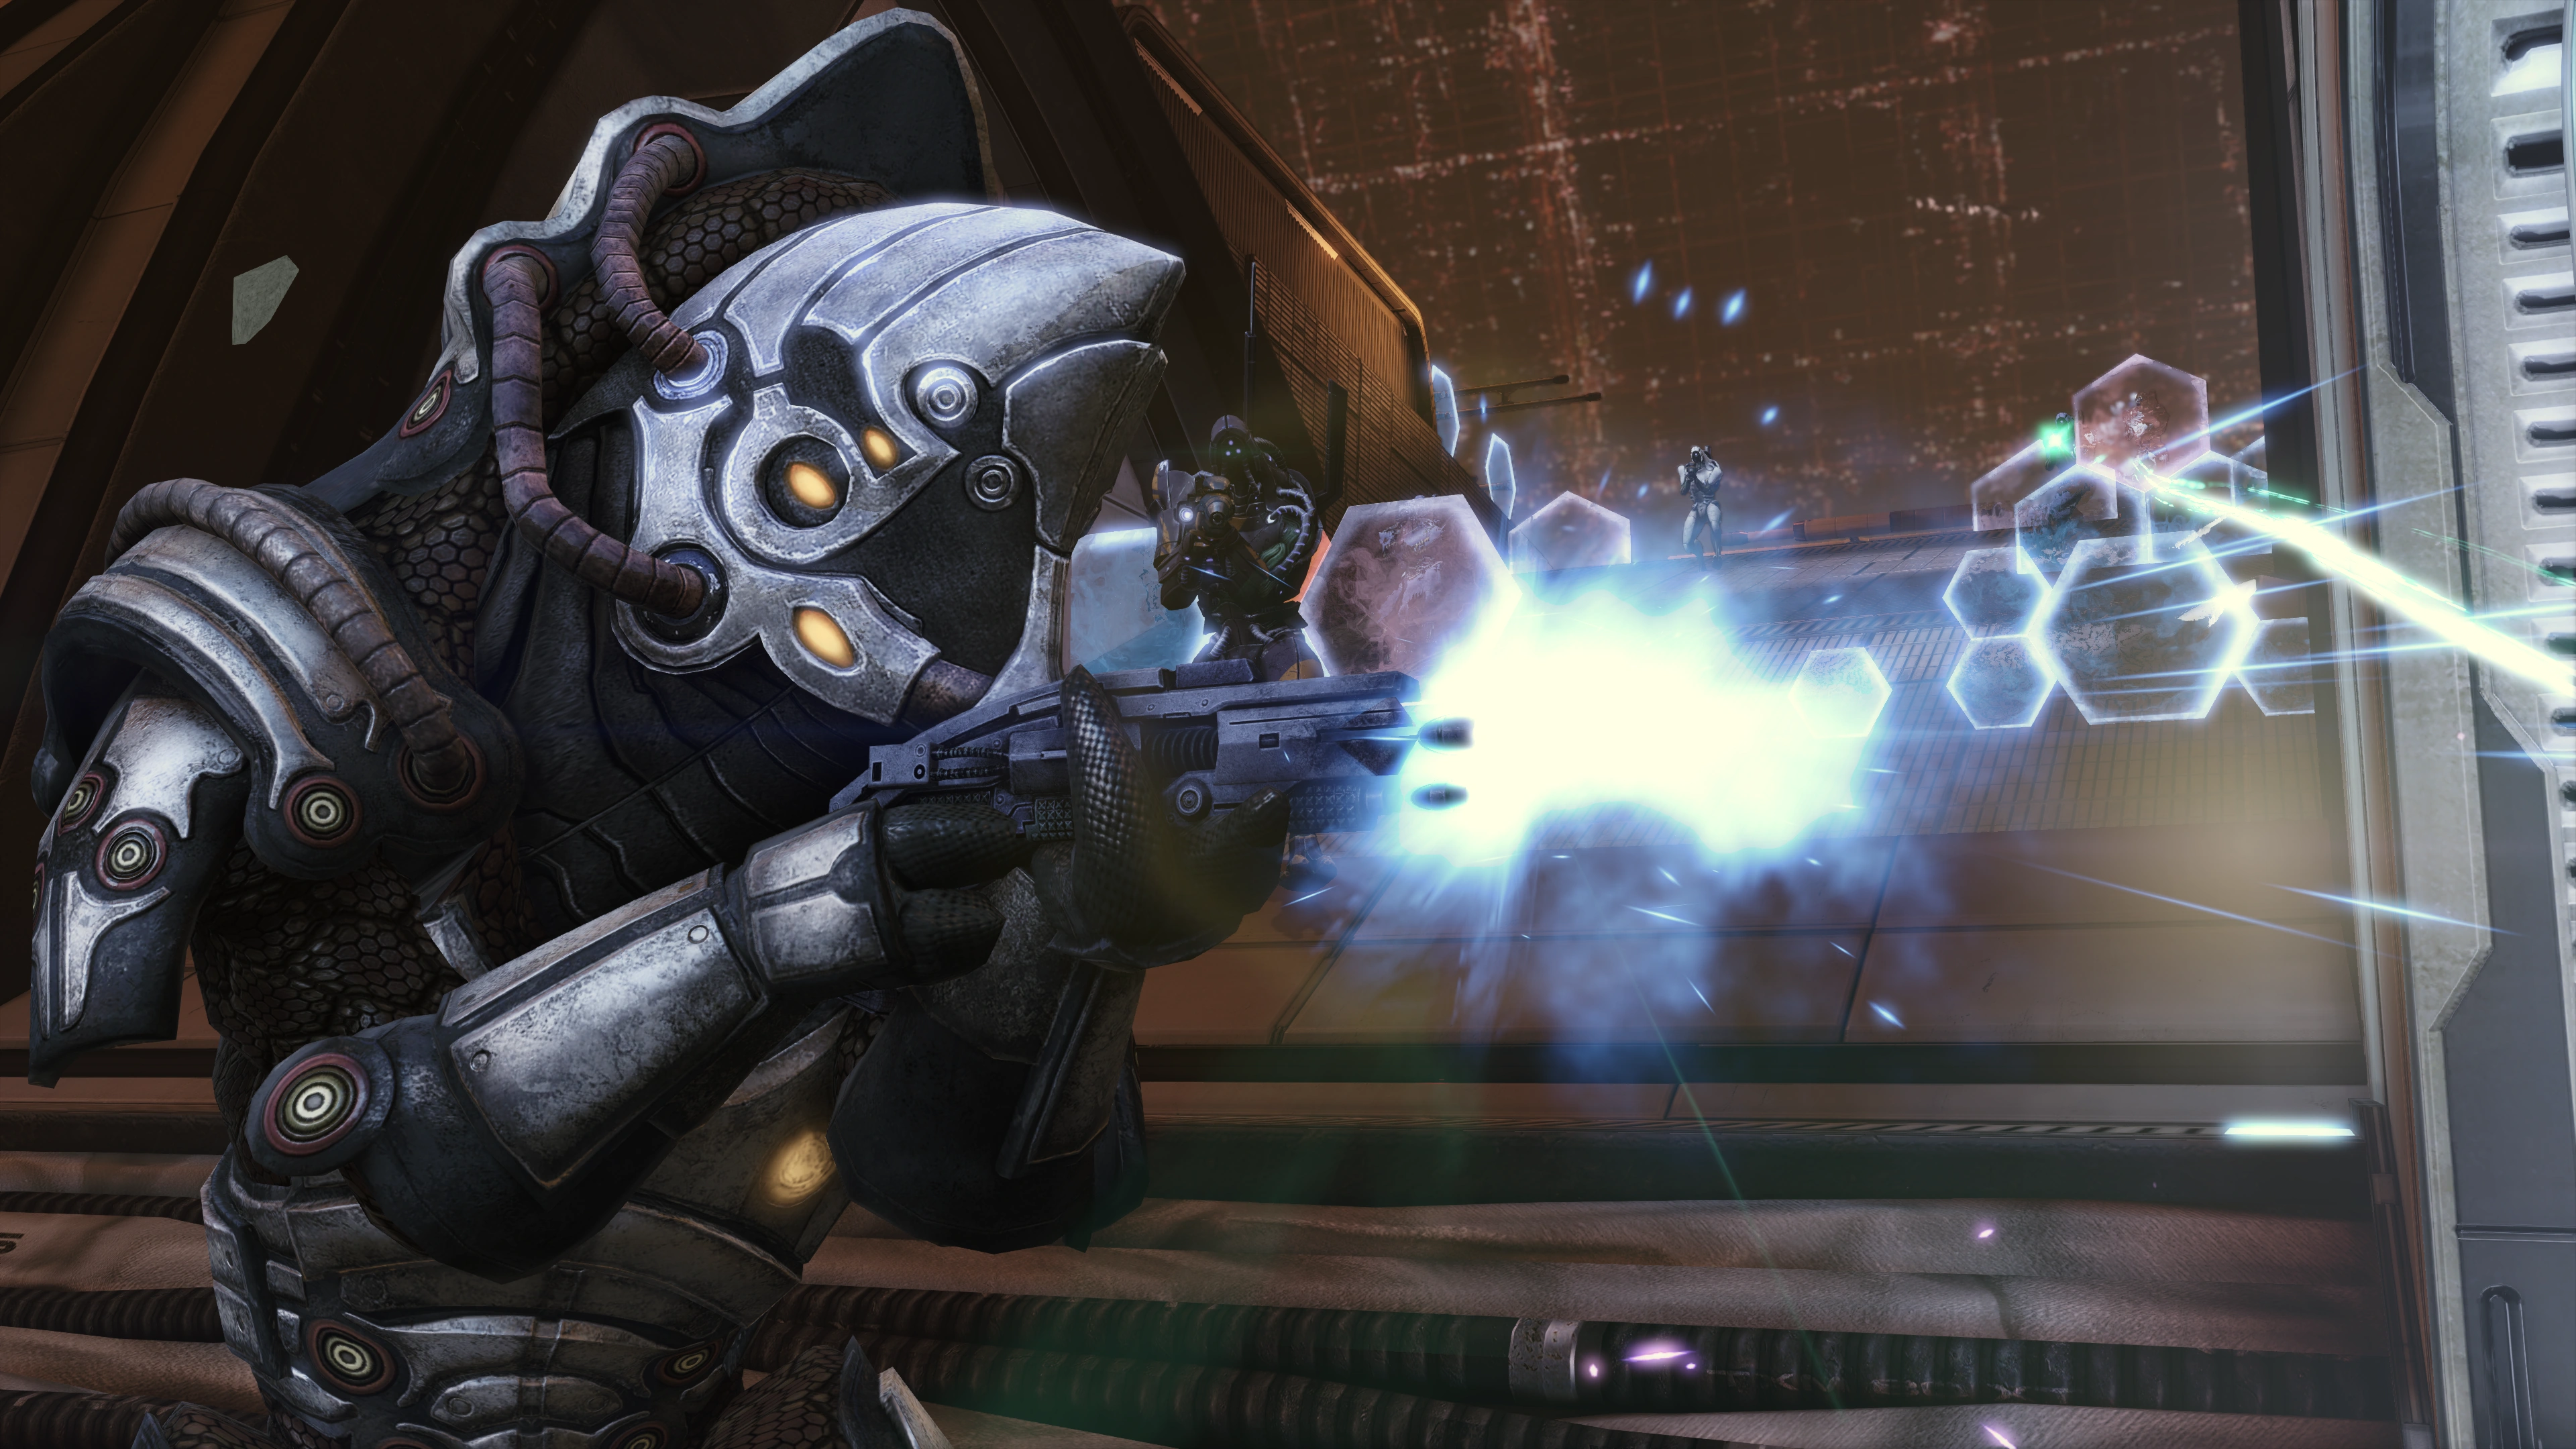
You will see a few Shock Troopers, Rocket Troopers, and a Geth Sniper. Outdoors is the place to make your biotic abilities shine, so go to town on the synthetics with physics attacks as needed. As usual, the Sniper poses the greatest threat of instant death, so deal with it immediately.
When they are dealt with, take a left from the top of the ramp, head to the wall, take another left, and continue on. When you reach the corridor, there are some more geth on it. Get into cover and deal with the Shock Troopers but stay in cover.
Geth Destroyers will come from the other side and charge. If you remain at your end of the corridor, 10 Destroyers will eventually spawn, one at a time. If you use Lift on them as they charge, they will sail straight over your head off the station and provide full experience (for extra style points try to get their corpses to bounce off Sovereign's arm above and behind you). If you'd rather not fight 10 Destroyers (or wait for them to spawn), you can charge toward the end of the corridor which prevents further spawning -- but be ready to deal with one more Destroyer if it spawns.
As you approach the end of the corridor an autosave is generated. When you round the corner a Citadel Defense Turret is right in front of you. Don’t worry because it is currently inactive and even if activated it won’t attack you. When you enter the next area, a Geth Dropship flies over and starts dropping troops. You have two options here: either activate the turrets, or if you're going for maximum experience points just shoot the Geth Shock Troopers.
If you activate the turrets then the dropship will take damage over time and eventually fly away. There are three turrets, one of them requires average Electronics. You only need to activate one turret, though the dropship will take longer to bring down. If you choose to ignore the dropship and shoot the geth it will gradually drop about 15 – 20 Shock Troopers and then just sit there forlorn. You can then activate the turrets to drive it away for an additional experience award. Tip: If you're looking to gain the most experience from this encounter, avoid activating the turrets as this increases the total amount of geth that spawn. If you're in a hurry or trying to play it safe, use the turrets.
When you have defeated all the geth and the dropship is gone, move up and around to where the dropship was dropping off the troopers and head down the path.
Citadel Tower Exterior Defense Grid[]
Before you proceed around the corner another autosave is generated. You are now exiting the exhaust plain and entering the defense grid through a corridor. Your next waypoint is finally revealed in the map, but first things first, deal with the corridor hostiles.
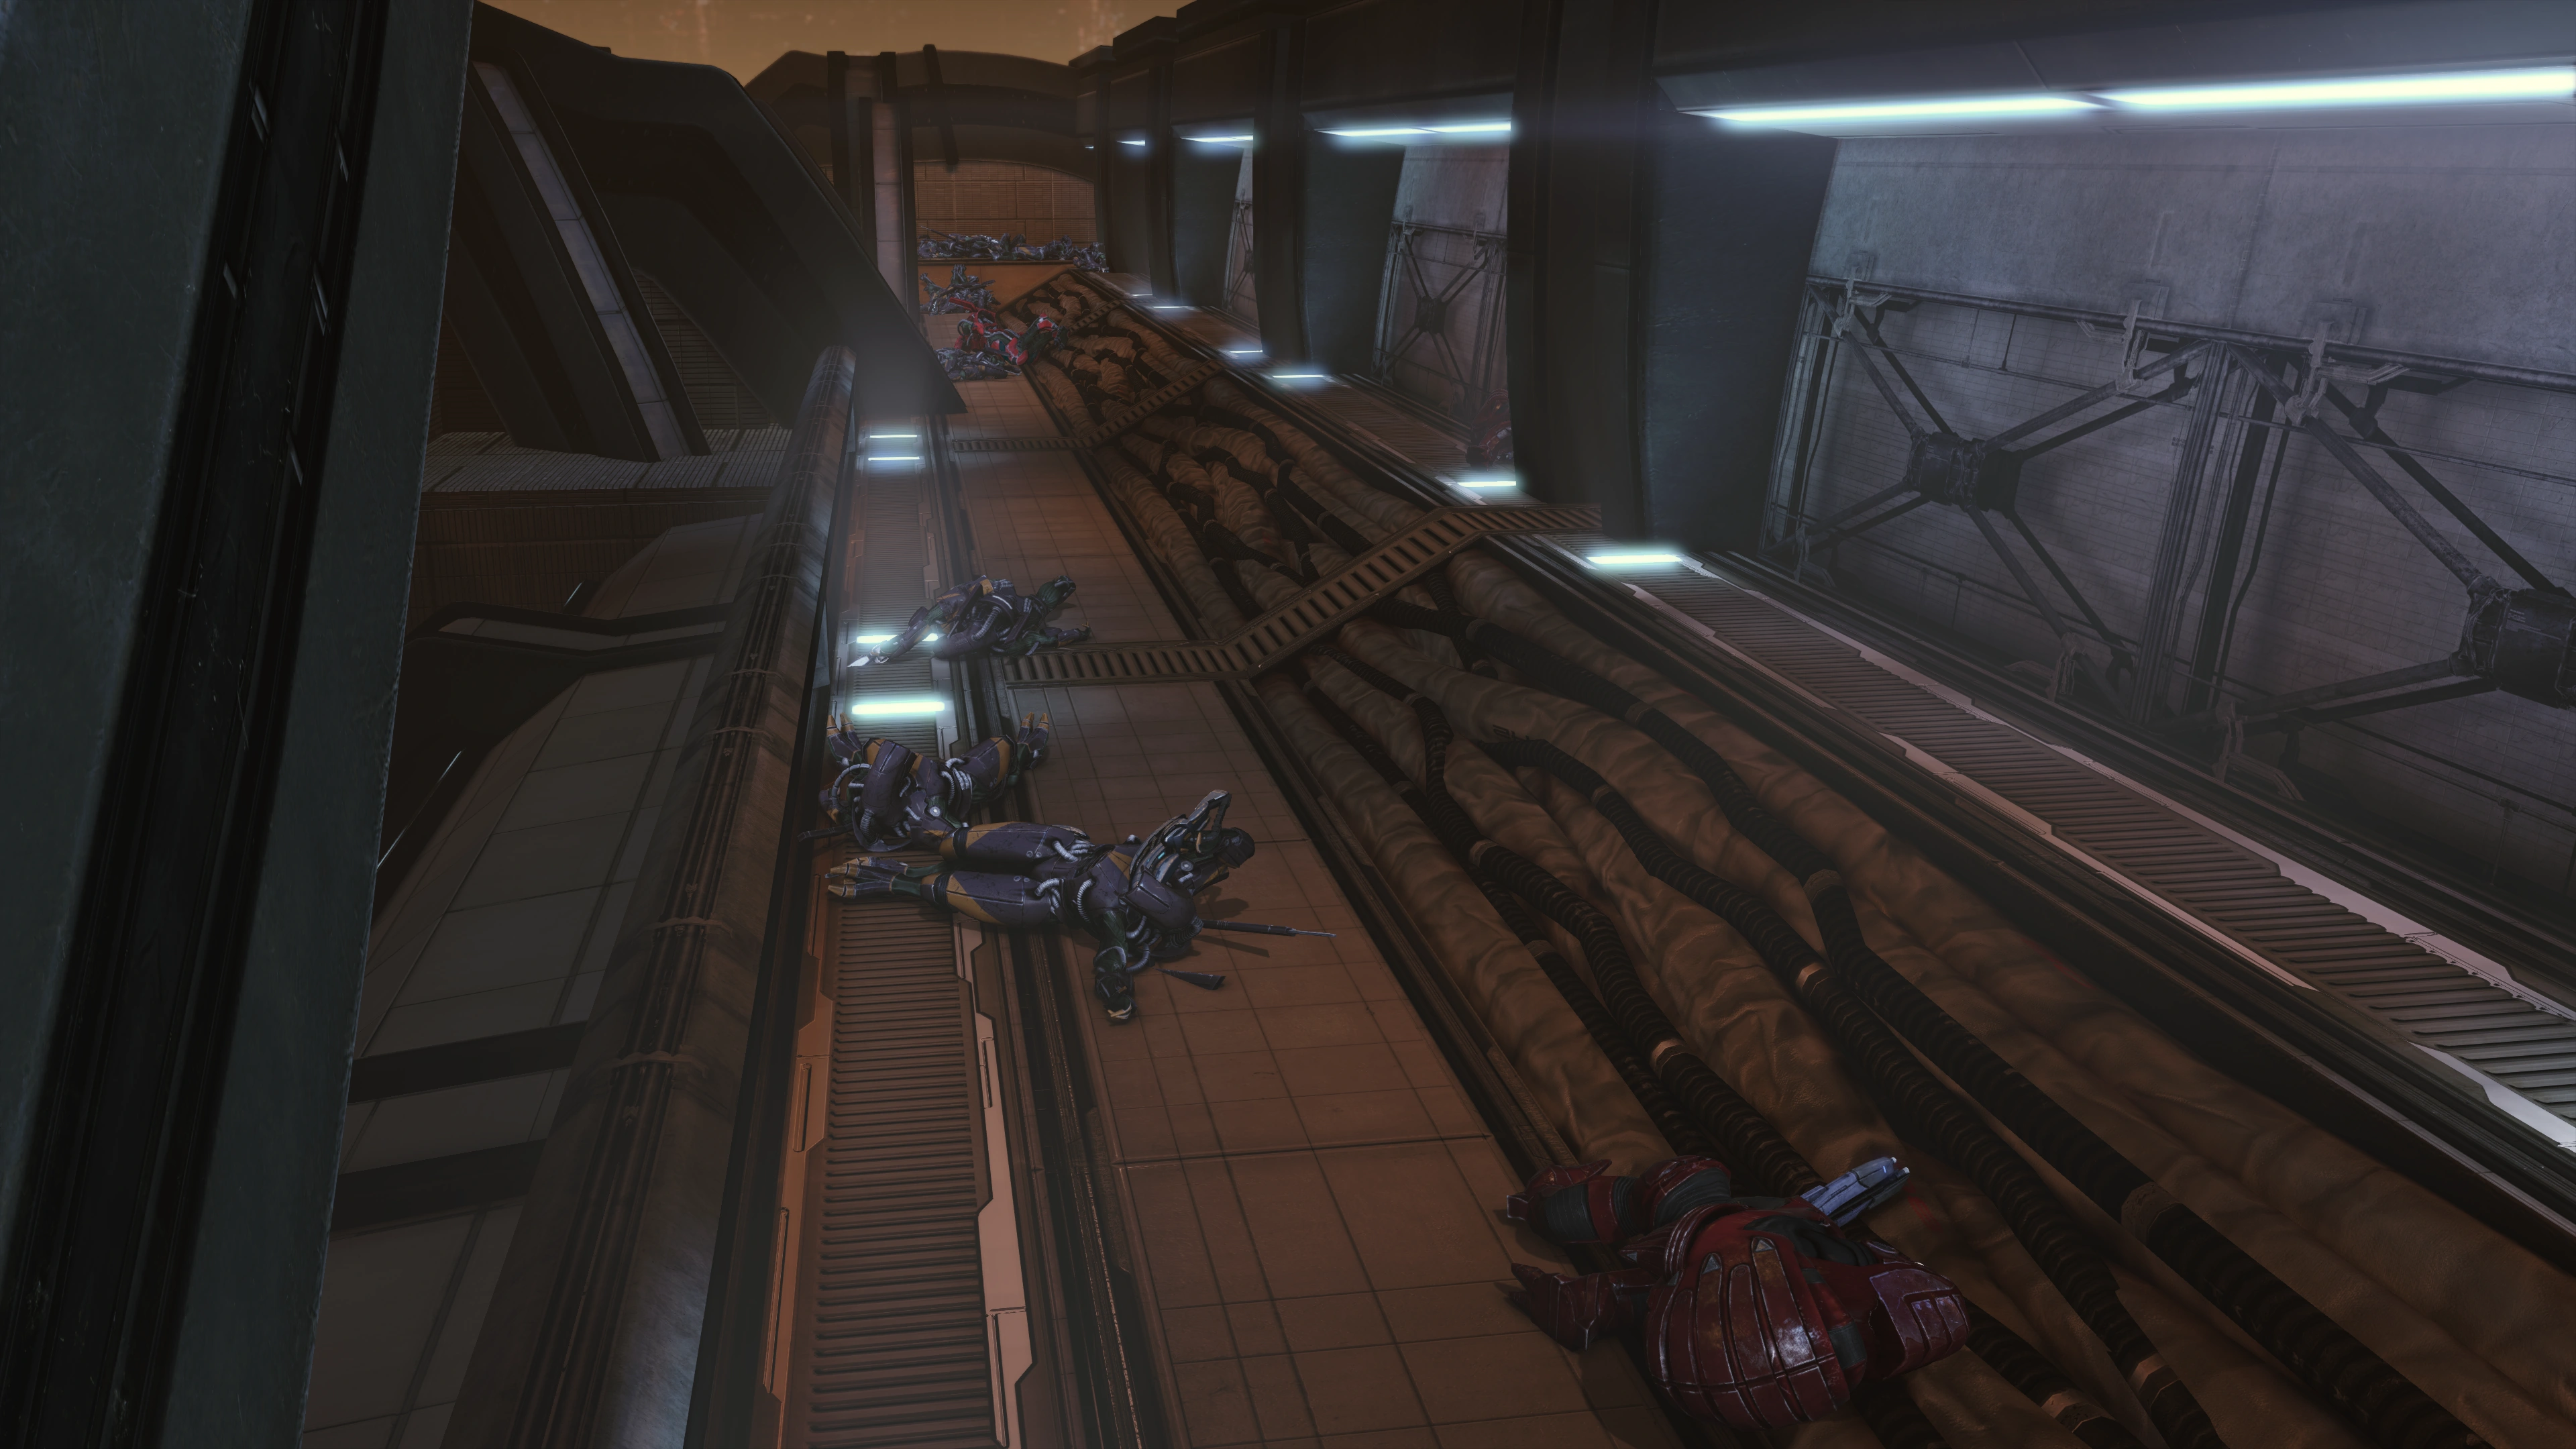
You will find two Krogan Warriors waiting for you in this last hall of unending charging Destroyers; this time up to six Destroyers will spawn, though they usually won't spawn until you've killed at least one of the krogan, and they will stop spawning entirely if you kill the second (Legendary Edition: Up to a whopping 14 Destroyers spawn now). As usual, Lifting the krogan or destroyers, especially when charging, will invariably send them off into space and give you the experience.
Also as before you can press forward toward the end of the corridor to stop the spawning of Destroyers BUT when you approach the other end of the tube, whether all the Destroyers spawned or not, a Geth Juggernaut will come around the corner suddenly so be prepared to deal with it. Once you're done here, more problems await you around the corner.
Consulting your map, there are two ways to get to the plot waypoint to the south: through the wide area, or the narrow area. Each have their own set of enemies, though if you're feeling bloodthirsty or hungering for XP why not deal with both before proceeding.

The wide area is open-air but deadly because you not only have to deal with a few geth but also four Geth Turrets. The turrets ignore your shields and can kill you in one shot depending on your difficulty level so stay in cover or on the move at all times. After taking down the initial geth and the first turret, you have the choice of pressing on through the rest of the turrets, or circumventing them by following the ramp down and to the left to the narrow area: another elevator trench/corridor. This area is full of krogan, but you don't have to dodge usually instant kill rockets, so make your choice.
When taking on the turrets in the open area put Shepard in one place and the squad in another. The turrets will target the two positions at random so you are not constantly under attack. When taking on the turrets, use Overload, Warp, Marksman, Carnage, Assassination, Overkill, or anything else to take them down one by one. Keep moving around and up as you need to, but keep the squad separated to divide fire between them and Shepard. Again, the wide open space is very conducive to physics attacks, so you better have not gone to Ilos without at least one relevant biotic talent on your team. If you or your squad have sniper training, it's also your time to shine.
Combat Tips:
- When multiple turrets are attacking you, a safe (if slow) plan is to put Shepard behind one of the long horizontal wall. Peek out from the edge to snipe the nearest turret from afar, but then move Shepard back away from the corner of the wall once you take your shot to shelter from the "splash damage" of incoming rockets.
- As long as you keep on the move it's pretty unlikely a rocket will hit you, so a closer range strategy is indeed possible if you're feeling like a cowboy. In this case use Sabotage where possible to silence turrets temporarily, and keep moving a LOT.
- Master level Hacking works on turrets, so you can have them help take out geth (or each other) for you but be careful of when it wears off.

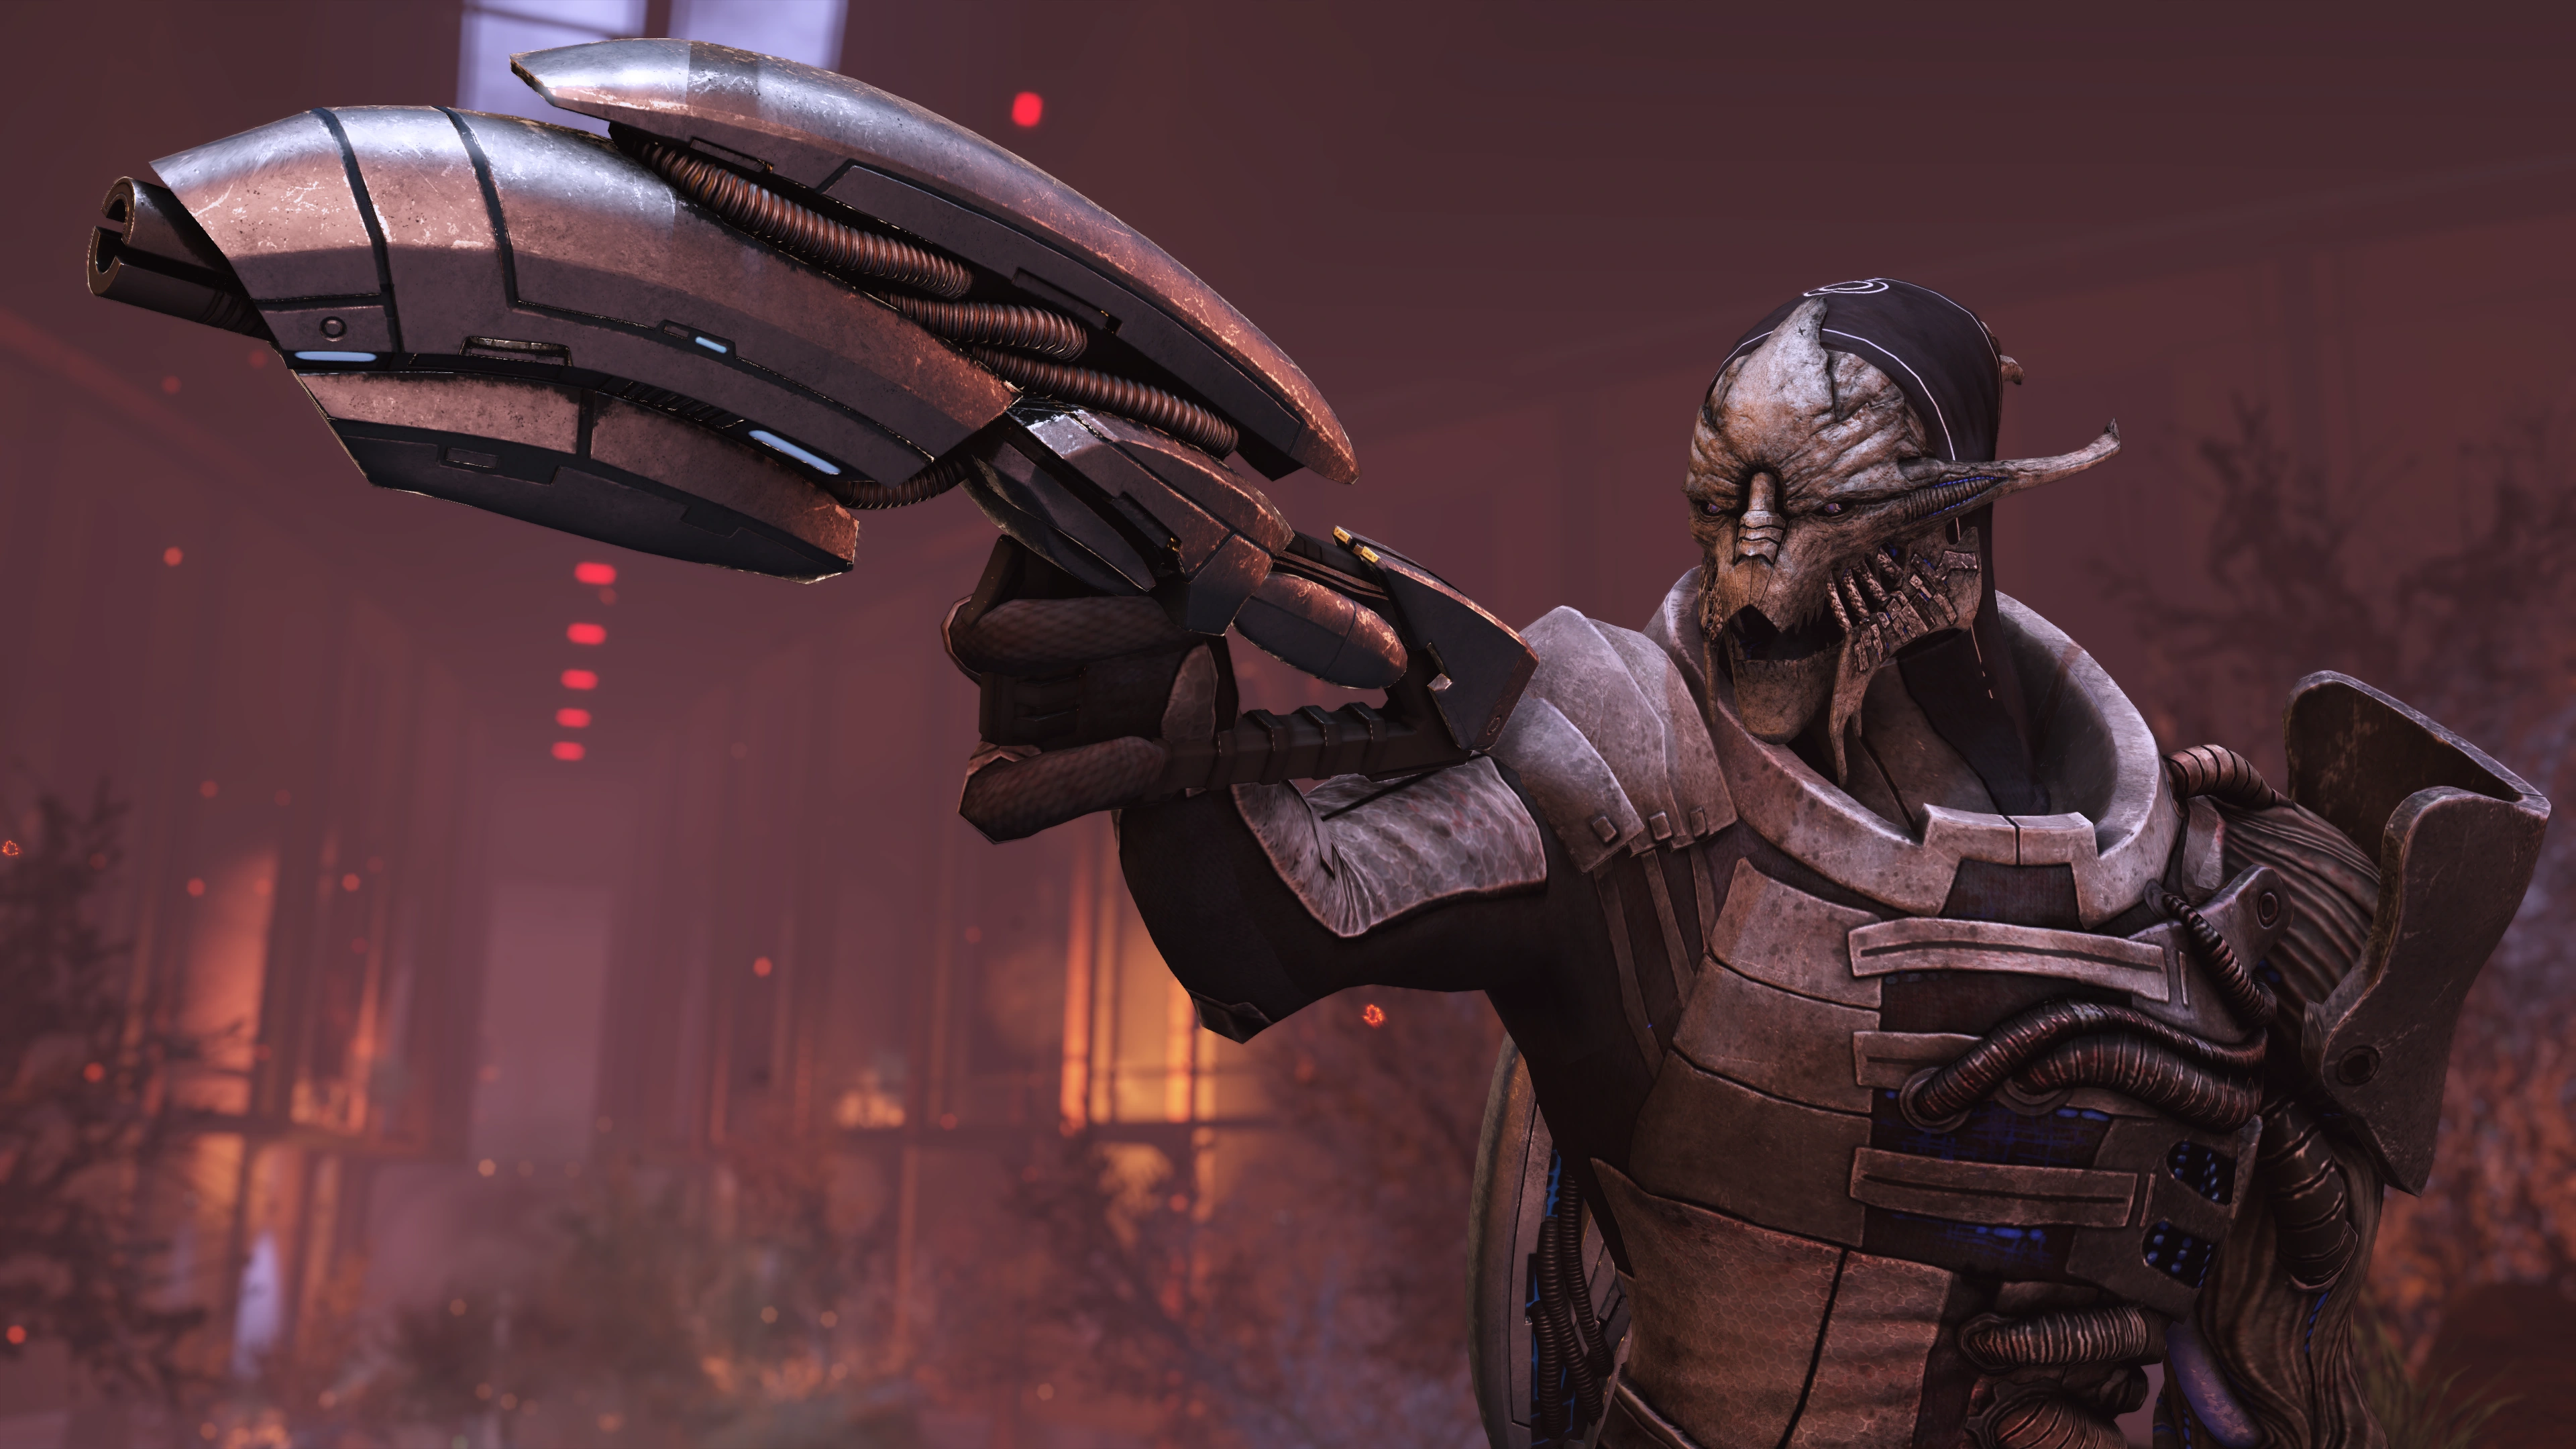
If you want to deal with the trench, expect two Krogan Warriors, one BattleMaster, and two Warlords. The BattleMaster and Warlords always spawn opposite from the way you came in, meaning if you went through the southern entrance from the open area they'll spawn at the other end, up north.
The Battlemaster can use a biotic throw to knock you off your feet, which is quite dangerous with krogan around, so use Damping or try to keep knocking him down as much as possible. Unlike his brethren he prefers to hang back, although if you cross his distance threshold he will also charge at you like the others. This particular corridor also has a ceiling meaning you can't simply Lift them into space, though along with Throw and Neural Shock these are effective ways to keep them off their feet.
When you're ready to proceed, head down the far ramp and proceed to the southern end of the plain to enter the Council Chambers.
Citadel Council Chambers[]
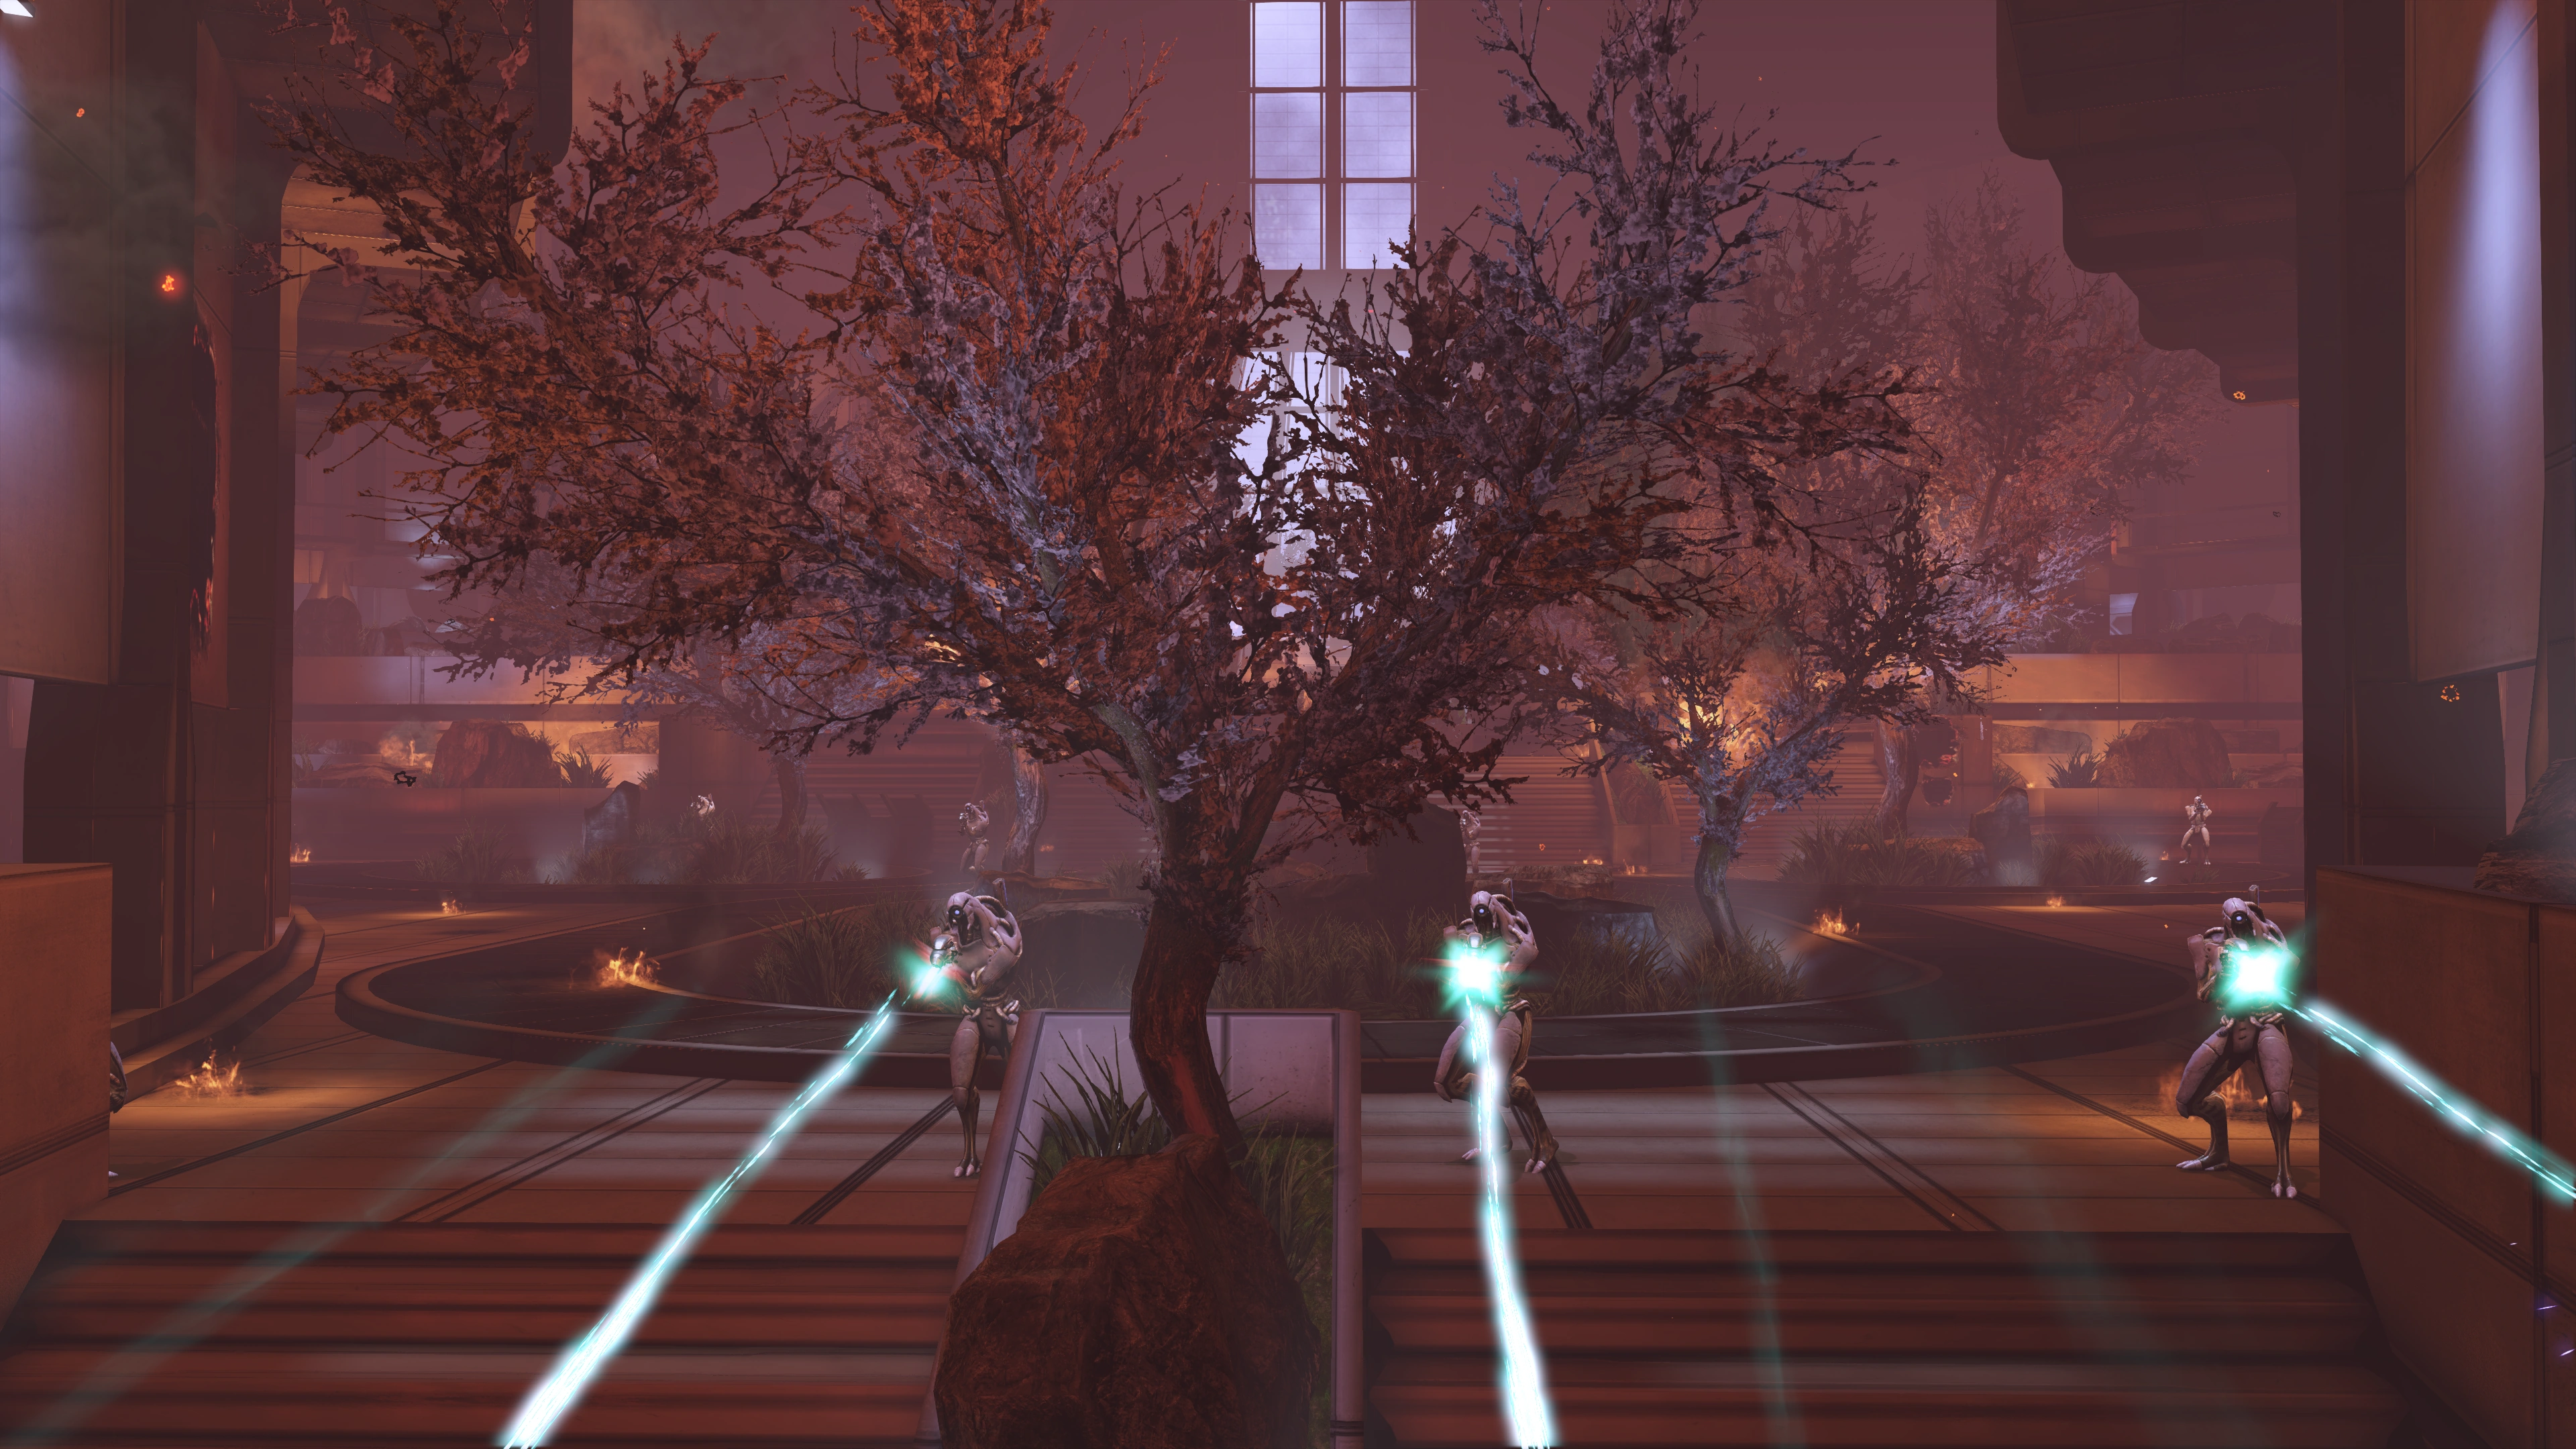
When you enter the Council Chambers, everything is on fire and alarms are going off, very different from the last time you were here, though with fewer arrogant people. Head up the stairs and grab the med kit as you go. When you reach the large courtyard, you can see Saren's last line of defense, seven Geth Troopers and two Geth Shock Troopers, not really much of a final defense. Use the rocks all around for cover and then shoot the final geth full of holes.
Note: When you are done, save your game, because this one of the last times you can make a manual save. It's also a good time to check your equipment and make sure you have all the right ammo and armor upgrades.
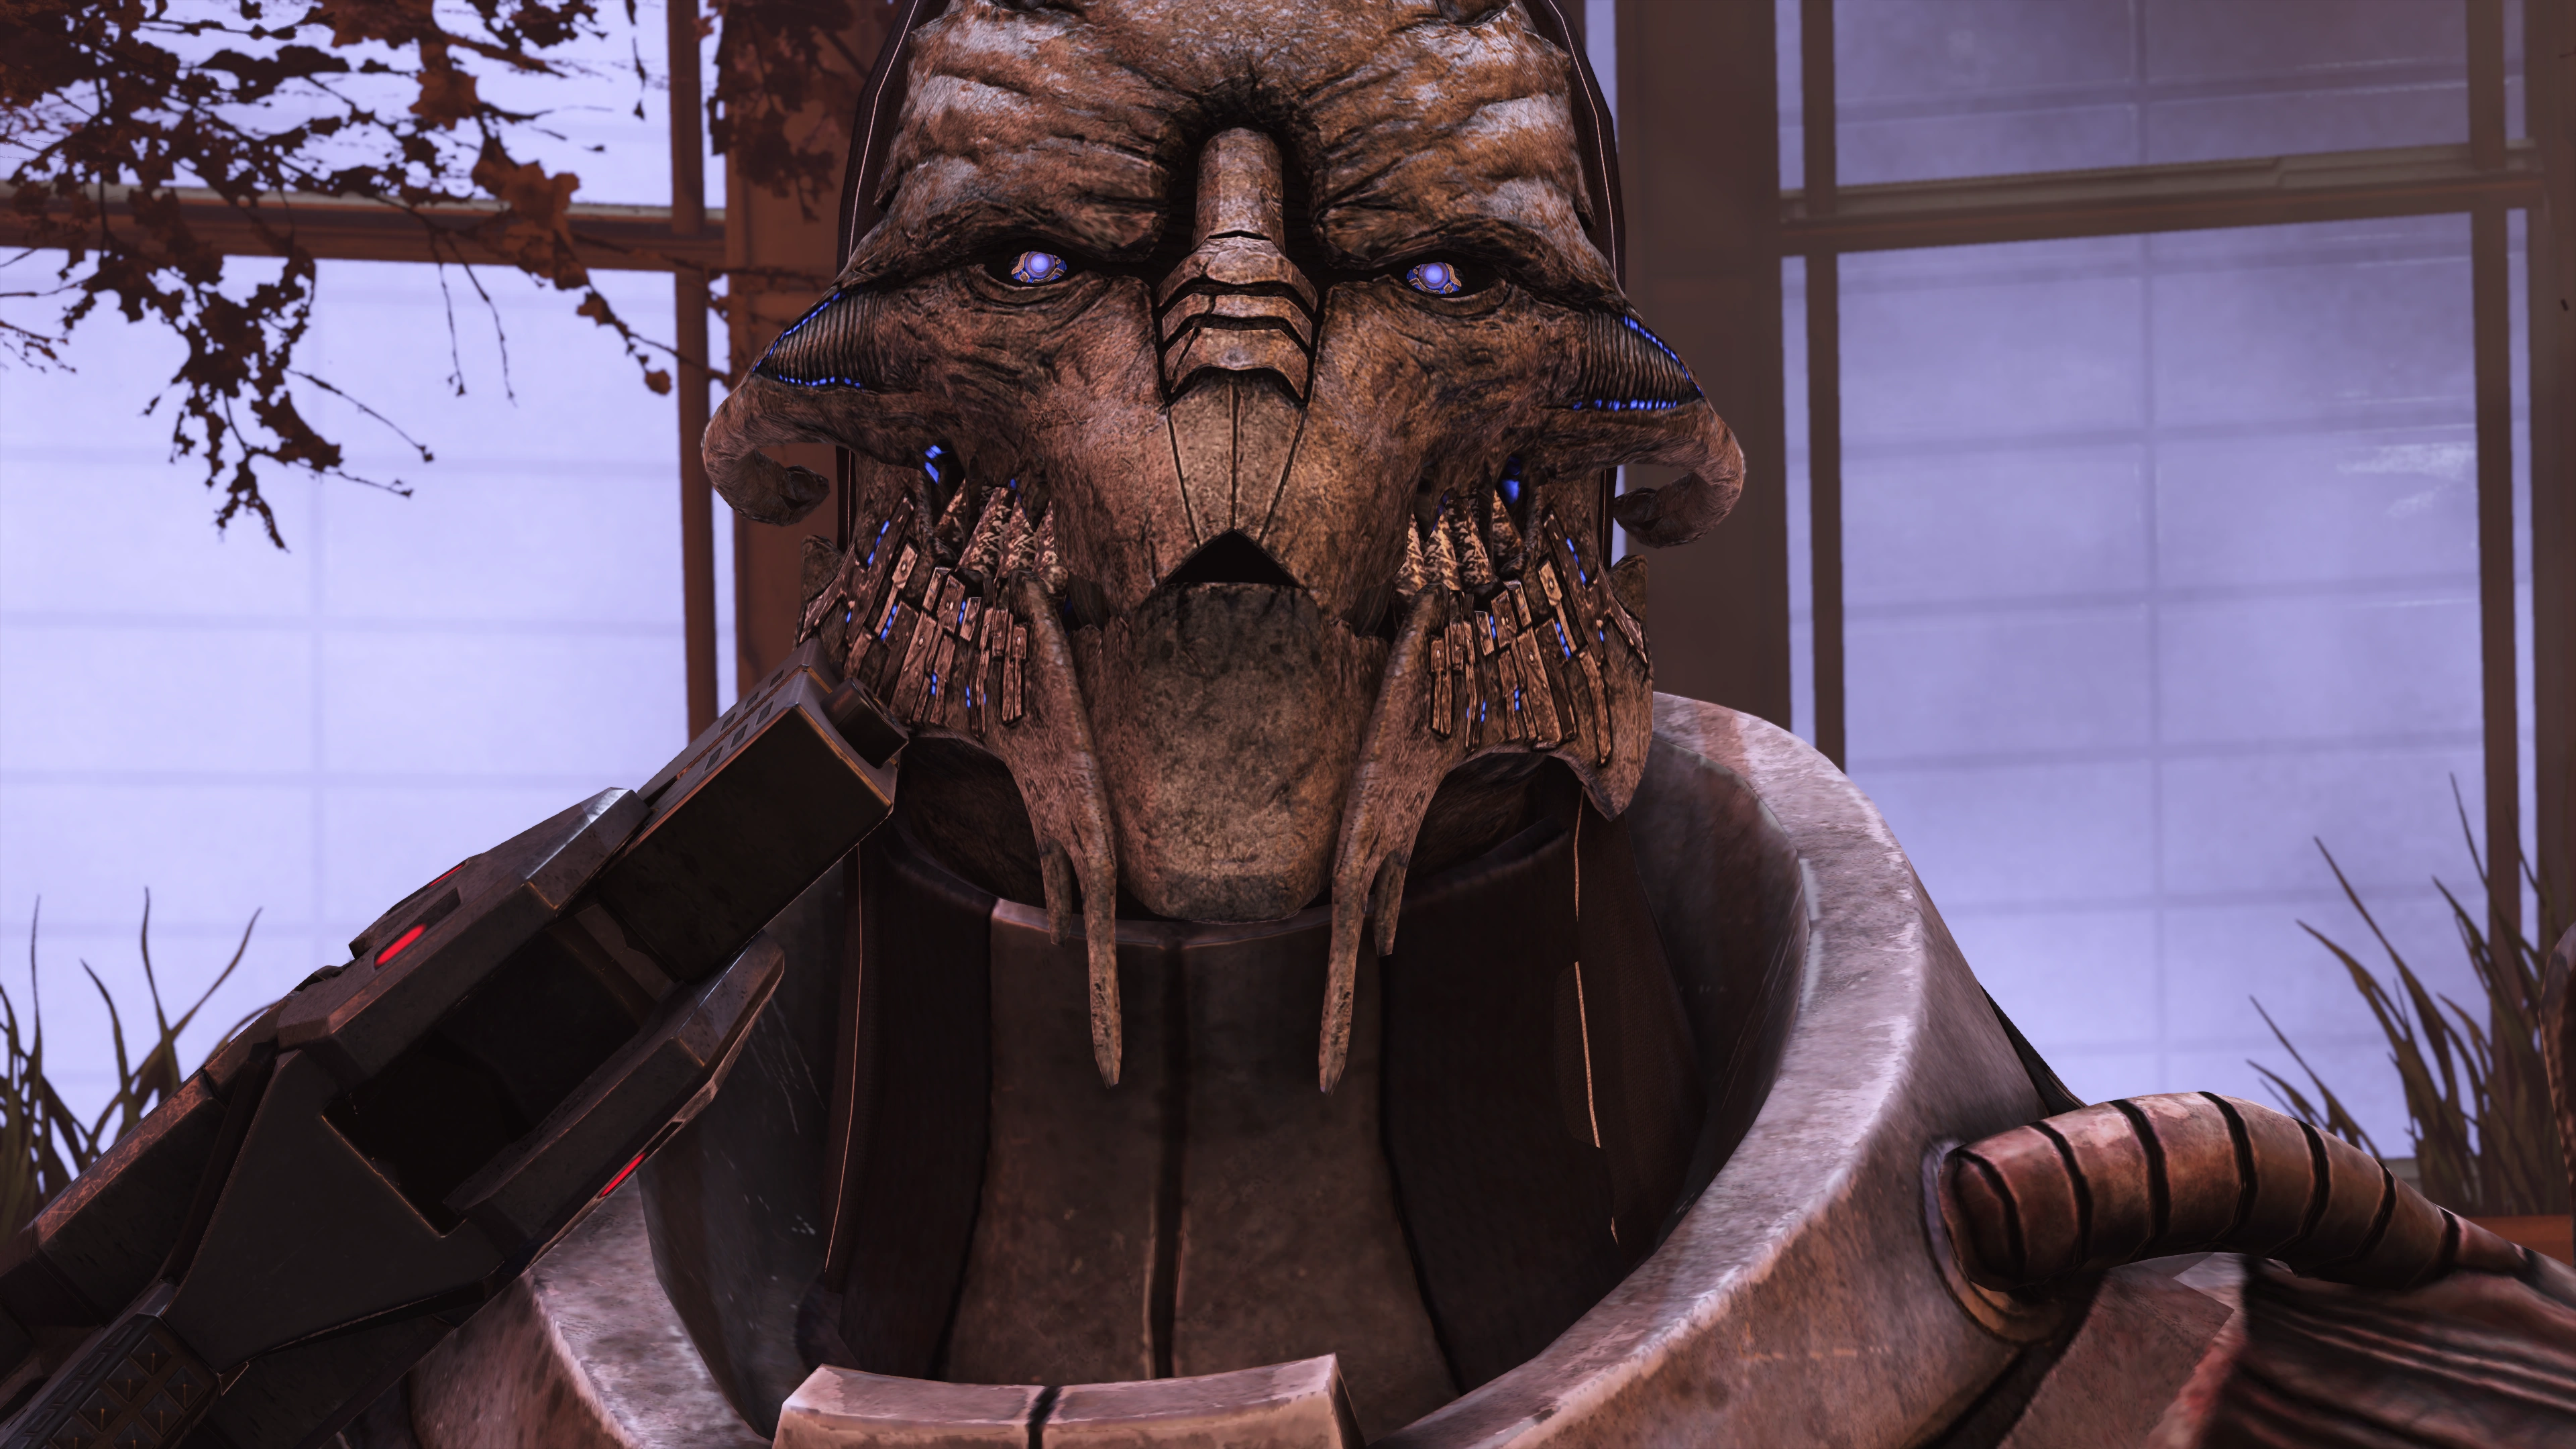
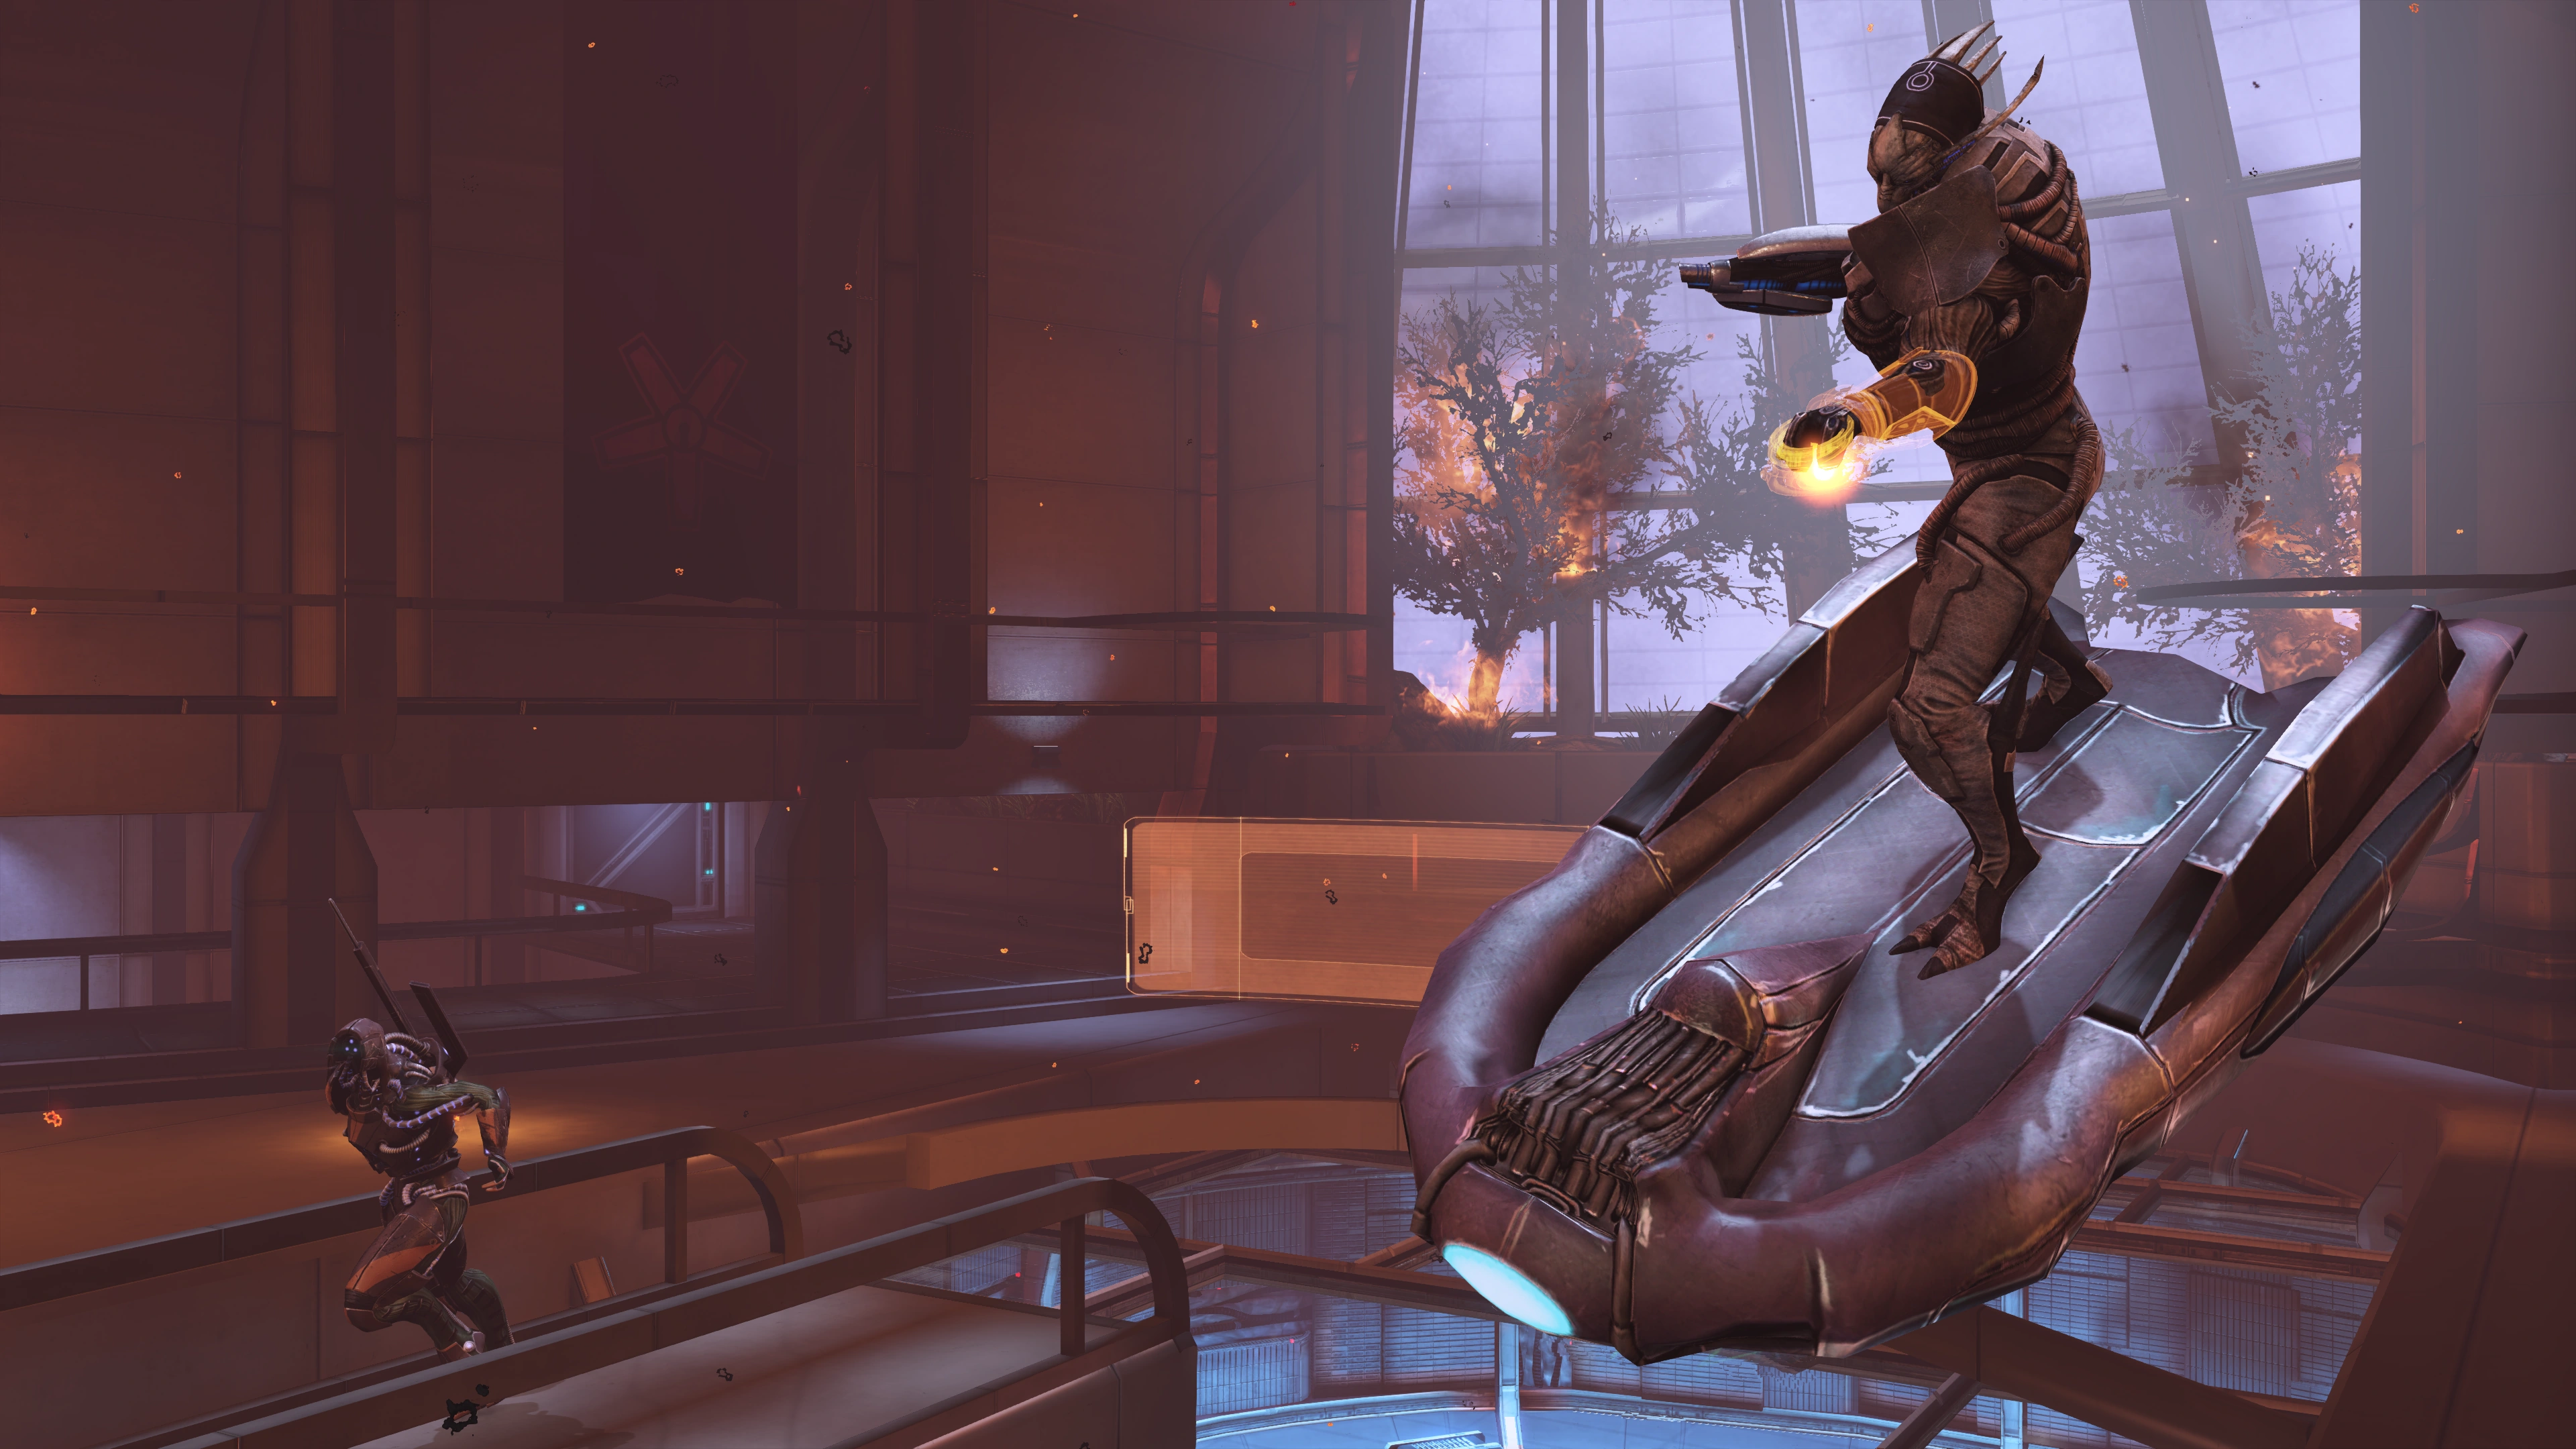
Walk up the Master Control Terminal and a cutscene will play showing Saren punching a few buttons then jumping off the platform. After a few seconds he reappears on his flying platform and throws a grenade at the squad, sending them leaping for cover.
Saren was apparently worried that Shepard wouldn't make it in time to see him help Sovereign take control of the Citadel and bring back the Reapers. After talking back and forth a few times, Saren reveals that Sovereign implanted him, and now he is fully committed to the cause of the Reapers.
If you managed to convince Saren on Virmire then he says that it was because he couldn't stop thinking about what Shepard said, and because Sovereign sensed his hesitation, the Reaper implanted Saren. If you didn't then he just skips that part and tries to get Shepard on the Reapers' side because they need organics.
Saren goes on to warn Shepard that the Reapers can't be stopped and they will return eventually. If you have enough Paragon or Renegade points your response can get an interesting reaction out of Saren. Additionally, if you convinced Saren on Virmire about indoctrination, another set of persuasion options opens up where you can convince Saren to fight his implants, though they resist and Saren says it's too late.
If you managed to persuade him on Virmire then you have a final set of dialogue options. If you use either, Saren will pull his pistol and shoot himself in the head. If you don’t, then you have to fight him, or you can choose that option anyway.
Legendary Edition: If you choose the Paragon option then you will receive an experience reward. If you choose to fight Saren, killing him will not be rewarded with any XP; however, killing the waves of geth Saren summons during the fight does reward experience. Killing all of the geth waves rewards about 50% more XP than choosing the Paragon option.
Fighting Saren[]
Full tactics for fighting Saren can be found in his article, but the executive summary is fairly simple: fill him full of holes. Because of the hover platform again, he is immune to most biotic powers, though tech and combat powers still have an effect. Stay in the cover you start in because there really isn't any other good cover around.
Legendary Edition: To spice things up, geth troops now periodically spawn around Saren: Troopers, Shock Troopers, and even Destroyers, anywhere in the Council Chambers. Staying in one place is not an option if you don't want surprise rifle butts to the head from Destroyers. The spawns don't stop until Saren's dead, so as with the original game prioritize hammering away at him despite the number of targets now gunning for your team.
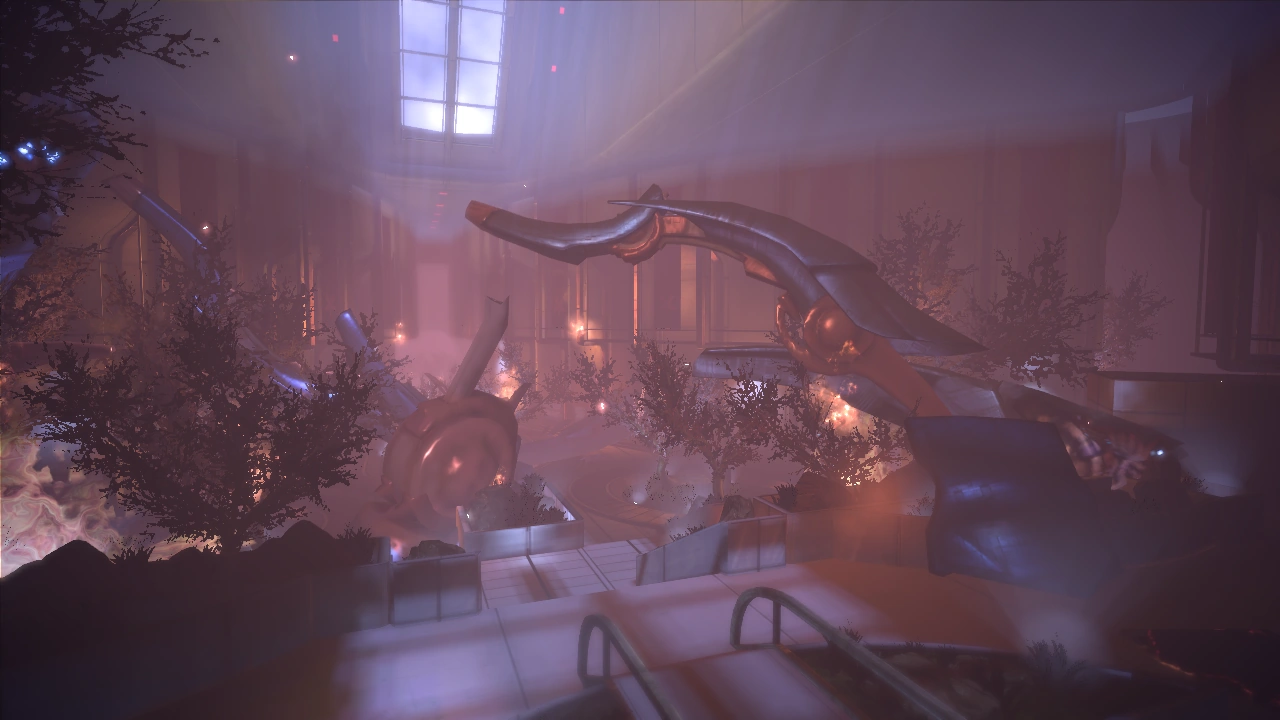
Eventually when Saren takes enough damage he falls from the platform and crashes through the skylights of the park below.
The Big Decision[]
Note: This is the absolute last chance you have to make a manual save so take advantage of it.
Walk up to the Control Terminal and Shepard pulls out an Omni-tool and uploads Vigil’s data file, which gives control of all the Citadel’s systems. One of your squadmates says to open the arms, quickly, while the other says to get a comm channel open.
As Shepard gets the comm channel open the first thing is a mayday call from the Destiny Ascension. Their shields are failing and their engines are offline. They also mention that the council is on board. Then Joker cuts in and hopes that he is contacting the Commander. Respond and Joker will say that he is sitting in the Andura sector with the entire Arcturus Fleet and that they can save the Ascension if Shepard opens the Relays to the Citadel.
Your squadmates have a few comments on that note. One says to let the Council die because of what they have, or rather haven’t done for humanity. The other will counter that the situation is much larger than humanity and that Sovereign is a threat to the entire galaxy. The first squad member counters with because of that, saving the Ascension will waste reinforcements. Make your choice and be prepared to live with the consequences.
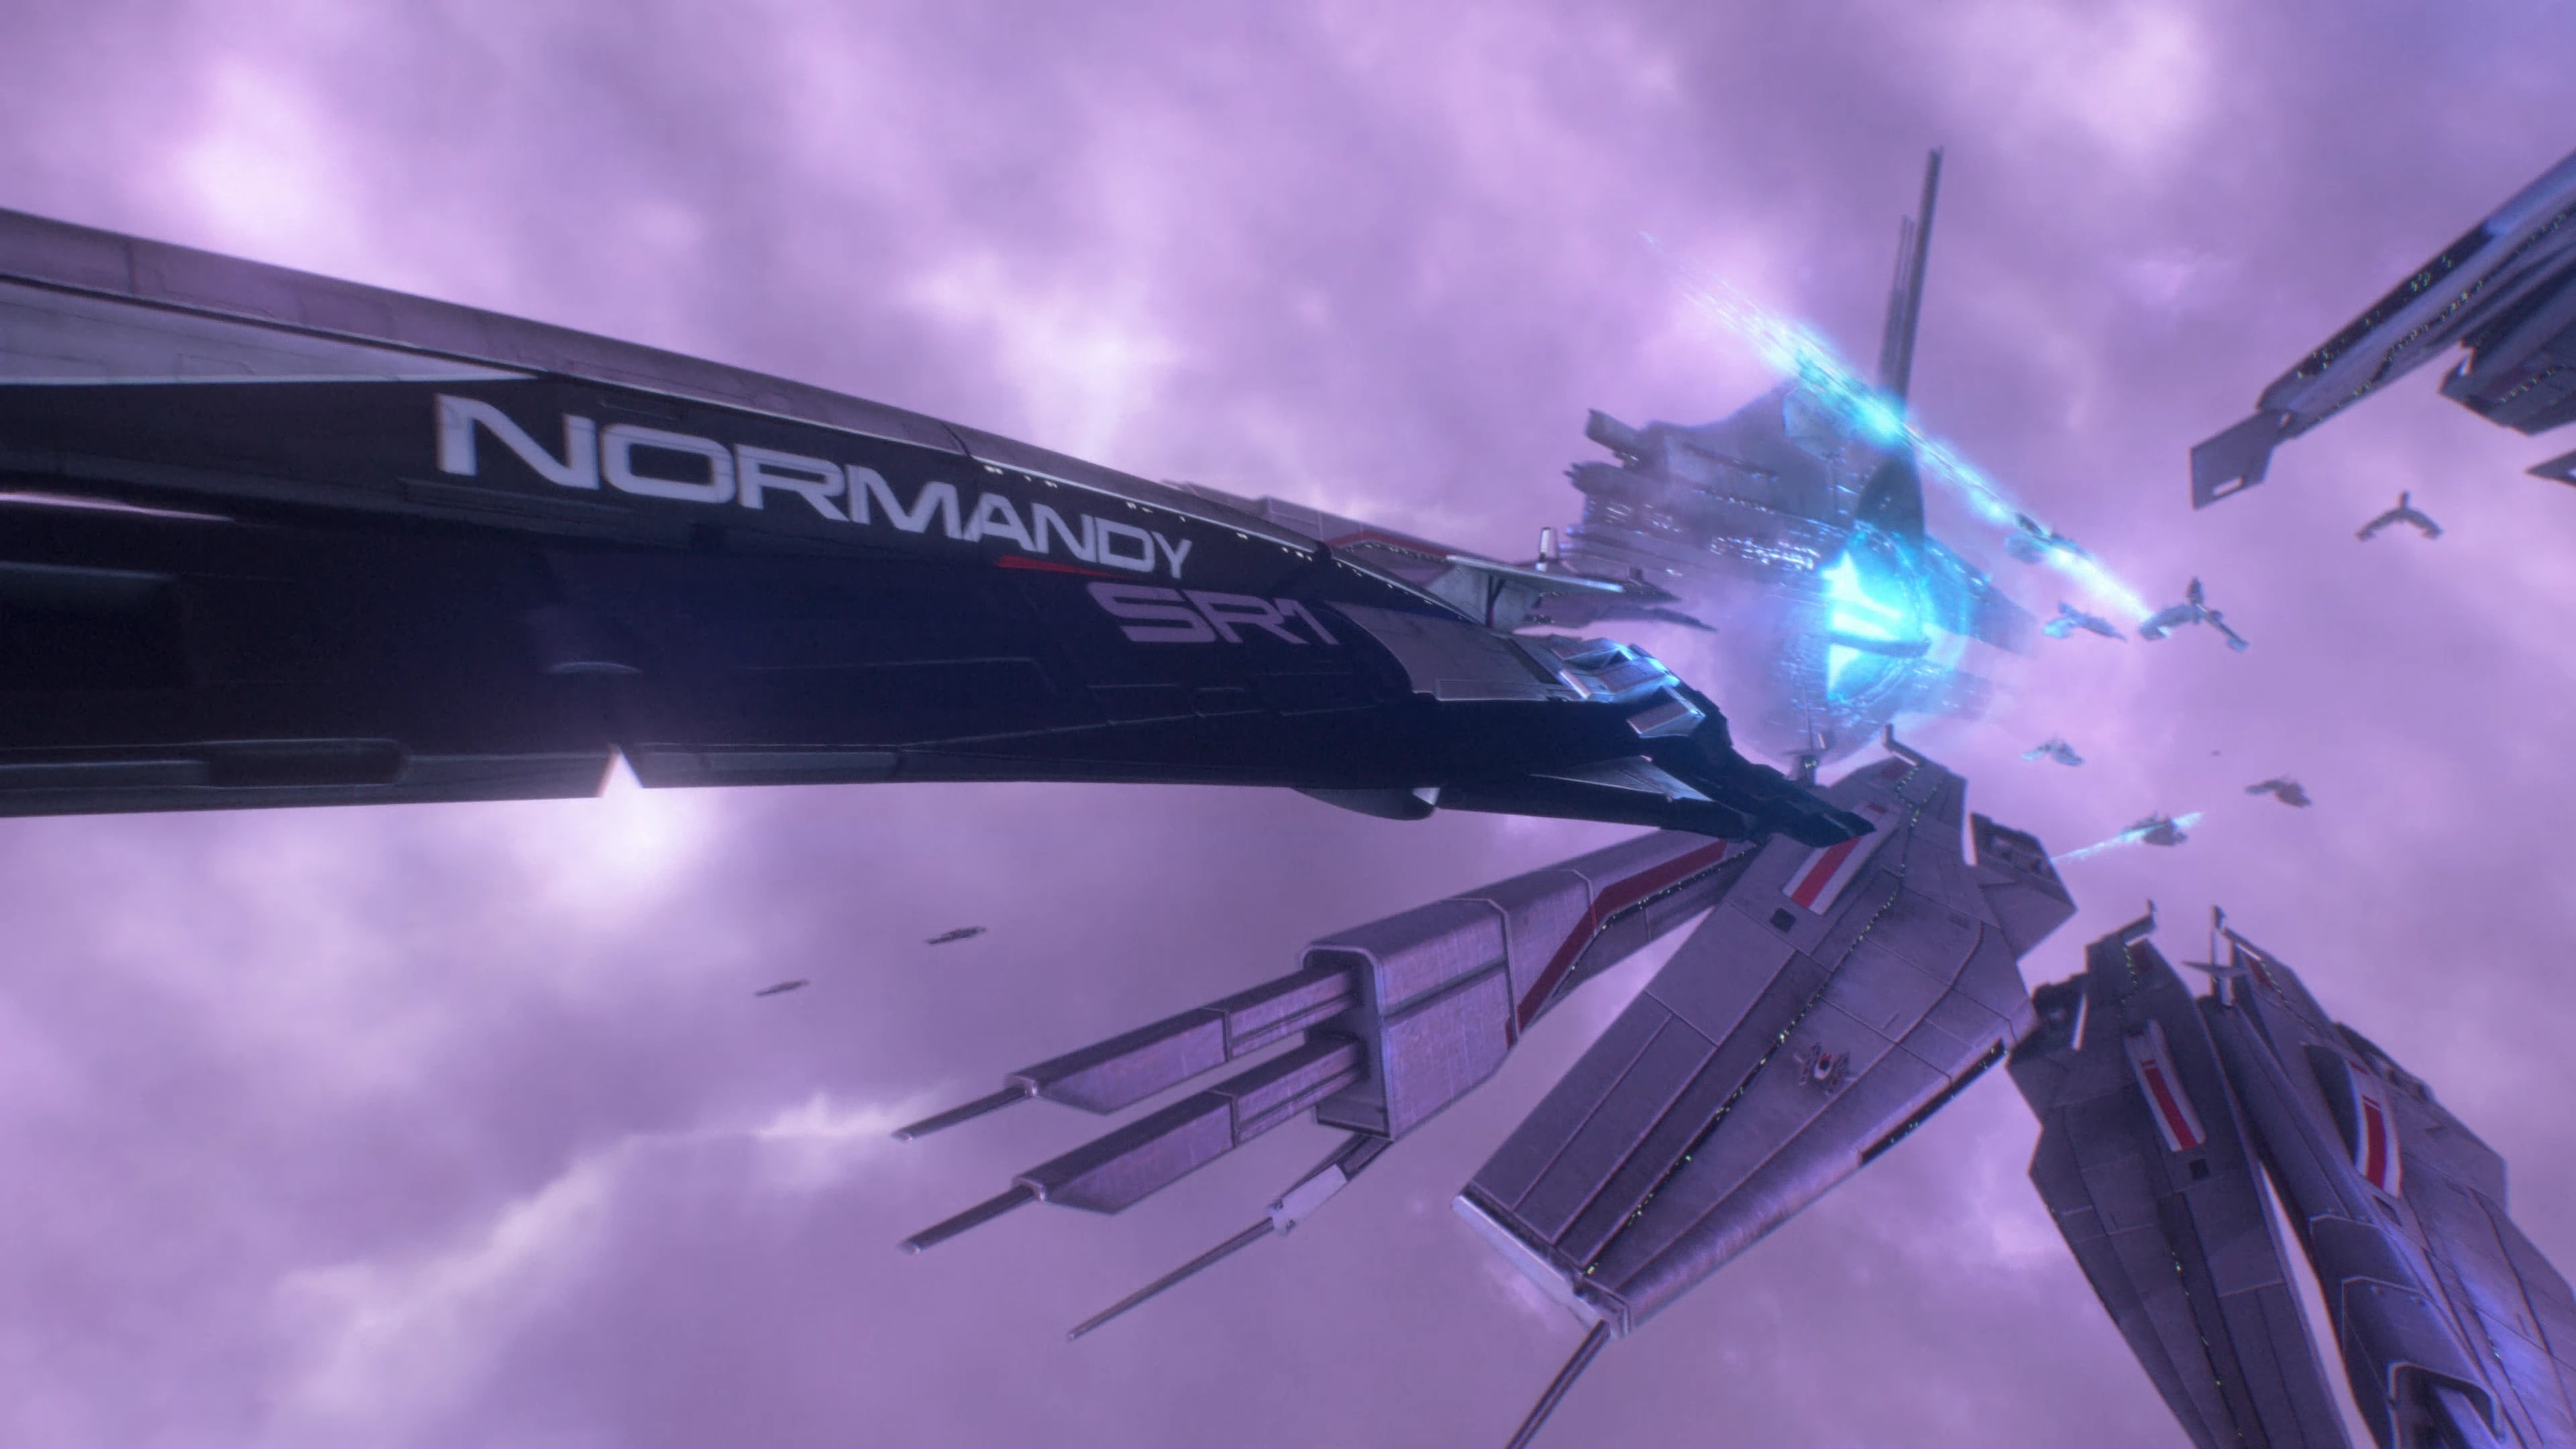
Paragon Option: If Shepard orders the Alliance to save the Ascension; the Alliance Fleet, led by the Normandy, screams through the relay and Admiral Hackett orders all Alliance ships to save the Flagship. Alliance vessels open fire on the geth ships attacking the Ascension, and while they take some casualties, they do manage to destroy the remaining geth ships. Joker radios that the Ascension is all clear and when the Citadel’s arms open, Hackett orders all remaining ships to focus their fire on Sovereign.
- Renegade/Neutral Option: Choosing either "Let the Council die" or "Concentrate on Sovereign" causes the Alliance fleet to come through the relay but Hackett orders all Alliance ships to hold back. The Ascension opens a comm channel to the Alliance fleet, but the human forces close the channel. The Ascension is destroyed by the geth as the Alliance Fleet passes by. The Citadel’s arms open and Hackett orders all remaining ships to open fire on Sovereign. Choosing "Let the Council die" maximizes Renegade point gains, whereas picking "Concentrate on Sovereign" awards an equal mix of both Paragon and Renegade points.
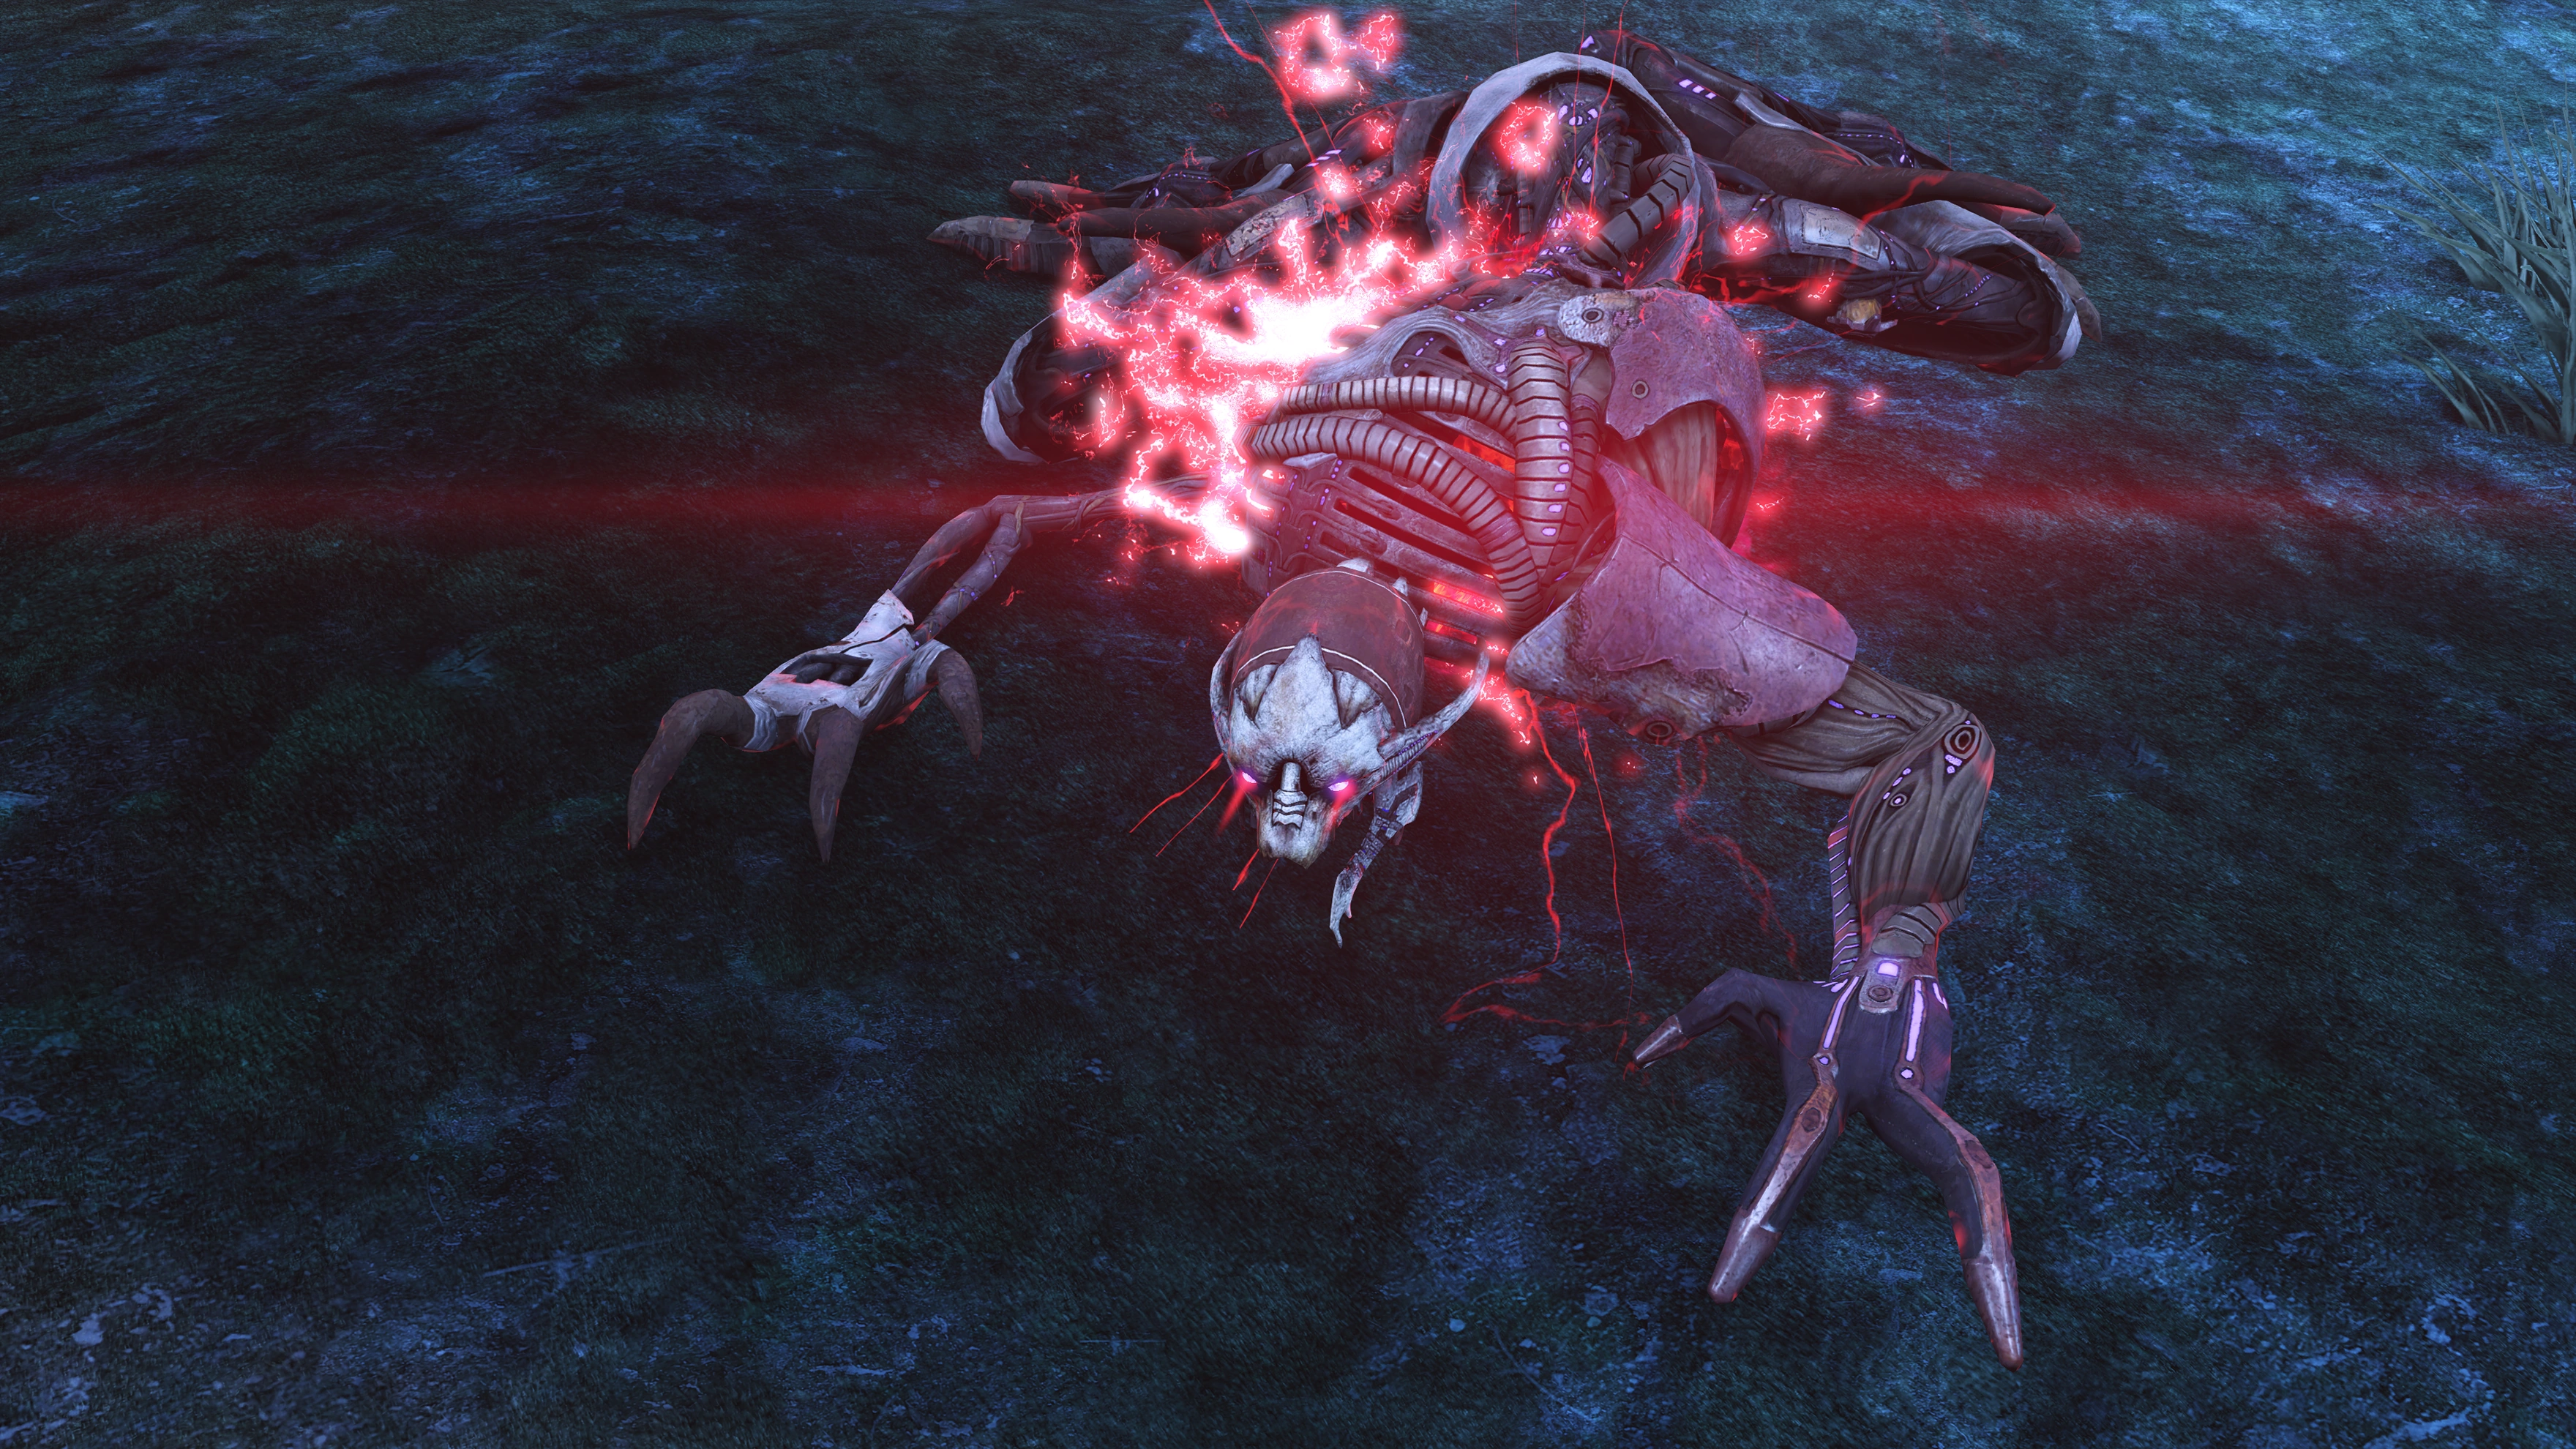
The scene shifts back to the Council Chambers and Shepard orders the squad to make sure Saren is dead. They jump down and one walks up to the corpse and pumps another shot into it, while the other radios that Saren is dead. However, the station suddenly rocks and red lightning bolts are seen all around. Saren’s body becomes infused with the bolts and an explosion sends your squadmates against walls. The platform Shepard is standing on drops and dumps the Commander into the field below. Meanwhile the implants in Saren's body come to life and strip away the flesh that covered them. Eventually all that is left is a metal skeleton that jumps out of sight.
The Final Battle[]
When you regain control begin moving instantly because this is a fight of maneuverability and not from cover. There is no good cover around, and you can’t be behind any for very long so just keep moving. The bigger set of rocks to the upper left can provide temporary cover against most of Saren's attacks if you need to heal and recharge, but you won't be able to damage Saren very quickly from there.
This reincarnation of Saren is much like a Geth Hopper and jumps around frequently. As the endgame boss bring nothing less than master-level talents against him: Powers like Throw and Lift are a great help because they can keep him off balance allowing you to pepper him with bullets. The thing is to keep on the move because he keeps jumping and using abilities such as carnage, assassination, overload, sabotage, and damping. Keep moving until Saren's husk is down to 25% health.
At that point, a short cutscene plays showing the remnants of the Citadel and human fleets desperately attacking Sovereign in space, but Sovereign shrugs off their firepower while retaliating with devastating effect. A human officer calls for a retreat, but Hackett countermands this, ordering his ships to keep firing as it is their only chance.
You regain control and Sovereign has restored Saren's shields but not his health. Just keep moving, using powers, and shooting until the Saren husk finally falls dead. When it does, it turns to dust and you are rewarded with the final cutscene.
Legendary Edition: Although the Saren husk again plays the leading role, the final battle has been revised in Legendary Edition.
- More cover has been added to the battlefield.
- Saren summons waves of Geth Troopers, Geth Shock Troopers, and Geth Snipers. You will have to fend off these waves while also whittling down Saren's health.
- The cut scene of the Citadel Fleet attacking Sovereign occurs when Saren reaches 50% health.
- At least four waves are summoned by the avatar.
- The battle ends instantly when Saren's health is reduced to zero.
- An autosave is created just before Sovereign says "This station is mine." and Saren transforms into hopper form.
Epilogue[]
The second the Saren husk dies, Sovereign’s shields drop and the massive ship releases its grip from the station. Joker radios to the fleet that the shields are down and they now have a chance. Hackett orders all ships to open fire with everything they have.
The fleet opens fire and Joker swings the Normandy into a hard turn. The ship fires one missile that goes straight through Sovereign. The missile damage causes secondary explosions that tear Sovereign apart and it explodes.
The scene shifts to the Council Chambers and a large piece of Sovereign is heading for the large windows. Shepard and the squad, who have climbed out of the recent battlefield, turn to look. Shepard orders them to run as the debris crashes through the window. The camera shifts to an overview showing the devastation of the attack and the damage that the debris did. An Alliance team lead by Anderson combs through the wreckage looking for survivors. The team comes across Shepard’s squadmates and call for Anderson, who asks where Shepard is. The squadmate just gestures towards the debris and Anderson’s face falls as the team helps the other squadmate stand up.
As they begin to leave, something catches their attention: a figure is seen approaching, its identity still hidden by wreckage; Anderson smiles in recognition as the figure emerges. Injured and exhausted but triumphant, Commander Shepard climbs over a pile of debris and limps over to join the group.
The scene shifts to one of two locations depending on your Paragon and Renegade scores. If Paragon is higher, then it shifts to the Presidium and the background music is Vigil's theme; if Renegade, to an antechamber with Sovereign's theme playing. Who is there is also dependent on your actions: if you saved the Council, then they will be present; if you let the Council die, then Udina is there to greet Shepard and Anderson.
Council Lives[]
- The Council's comments vary depending on your morality alignment. In both variations, the councilors offer thanks and praise to humanity, honoring its sacrifices in the battle against Sovereign. If your Renegade score is higher, they describe humanity as ruthless and savage but strong, acknowledging that strength is needed in the coming battle against the Reapers. The councilors speak of the war on the horizon with fear and pessimism. Udina assertively accepts humanity's seat on the Council to add its strength to the other races. If your Paragon score is higher, the councilors instead laud humanity's nobility, and they offer a seat on the Council to humanity as a reward earned by selfless heroism as opposed to strength; Udina is more gracious in accepting. The councilors speak of the future struggle against the Reapers with greater optimism.
- The Salarian Councilor states that they will need a list of candidates to fill humanity’s seat. The Asari Councilor says that with everything that has happened, Shepard’s vote will go a long way. You can choose Anderson or Udina. If you choose Udina, the Council will be hesitant, but he is the obvious choice. If you choose Anderson, Udina will joke and say that he believes that Anderson always lets his fists do the talking; Anderson counters that he only does that with Udina. You have one last opportunity to change your mind and give Udina the seat instead, or you can reaffirm your nomination of Anderson. The Council will welcome Anderson; in the Paragon variation the Asari Councilor calls him an "inspired choice", whereas in the Renegade version she notes Anderson's military background suits him to the role as "the shadow of war darkens our future". Alternatively, you can chose neither and state that the politicians should make this decision, leading to Udina becoming Councilor. In that case, both Udina and Anderson will approve of your decision.
Council Dies[]
- Udina summons Anderson and Shepard and says that Shepard has given humanity a great opportunity to usurp the Council. You can either talk Udina down or go along with the plan. Depending on whether your Paragon or Renegade score is higher than the other, Udina will either plan to assemble a new Council that is entirely human (Renegade) or a multi-species but human-led Council (Paragon). You can try to persuade Udina, but it won't affect his decision. He then asks for Shepard's opinion on who should be the new human chairman/councilor. You can choose Udina or Anderson. If you choose Udina, Anderson thinks it the right choice as he is a politician. If you choose Anderson, Udina may not like the idea, but goes along with it because they are going to war. Udina will still become Chairman if you disclaim interest in politics.
Either way, Shepard gives a short speech then marches off, determined to find a way to stop the Reapers. The chosen human leader also gives a speech, affected by the Commander's morality alignment and if the Council is present or not, about stopping the Reapers and driving them back into dark space.
Mass Effect 2 Consequences[]
If the Council is saved, the same members will appear again; if they are killed, new representatives take their place; non-human councilors will still be present even if an all-human Council is formed at the conclusion of the previous game. David Anderson will appear on the Citadel at the human embassy regardless of whether he is chosen as the Human Councilor, but if he is not chosen for the position he appears in his Alliance military uniform and serves as Councilor Donnel Udina's advisor. If Anderson is the councilor, Udina is Anderson's advisor instead, and Anderson's close relationship with Shepard gets the Commander a face-to-face audience with the rest of the Council.
The events of the Battle of the Citadel are referenced in various reports that can be overheard on the Citadel. The outcome of the battle and its political repercussions is discussed in an interview with Khalisah al-Jilani and will also influence the dialogue of several characters throughout the game, including certain non-human merchants like Etarn Tiron, as well as Captain Bailey.
Mass Effect 3 Consequences[]
If the Council is saved, the same members appear again, and their increased trust in Shepard makes it easier to de-escalate the confrontation with the Virmire survivor at the end of Priority: The Citadel II. Additionally, if the Salarian Councilor (Valern) survives that mission, he will be able to rally the Salarian Third Fleet to your war effort. If the Council is killed and the replacement Salarian Councilor (Esheel) survives the same mission, she will only send the weaker STG Task Force.
The Destiny Ascension's survival means it also becomes a War Asset, eventually taking part in the final battle at Earth. However, the 1st, 3rd, and 5th Fleets are reduced in strength due to their losses and being unable to rebuild in time before the Reaper War.
Donnel Udina assumes the position of Human Councilor regardless of who held that office in Mass Effect 2.
Enemies[]
- Geth Destroyer
- Geth Dropship
- Geth Hopper
- Geth Juggernaut
- Geth Rocket Trooper
- Geth Shock Trooper
- Geth Trooper
- Geth Turret
- Husk
- Krogan Warrior
- Krogan Battlemaster
- Krogan Warlord
- Saren
Bug[]
When making the decision to save or sacrifice the Council, some have encountered a bug that causes one of your squadmates to disappear. The remaining squadmate will essentially develop a split personality and simultaneously argue both for and against saving the Council.

|
The following information is drawn from cut content and is not to be considered canon in any way. |
Cut Content[]
- There are a number of unused squadmate lines related to the Citadel Tower elevator.[1]
- An unused dialogue suggests Captain Kirrahe could assist Shepard while climbing the Citadel Tower, provided he had survived the events on Virmire earlier.[2]
- Another unused dialogue had Saren/Sovereign hold one final conversation with Shepard after Saren's metamorphosis, allowing the Reaper to taunt the organics one last time before its defeat.[3]
- An alternative cutscene for Shepard coming out of the rubble had Anderson explain that all charges against him were dropped. The scene also featured Executor Venari Pallin, whose survival would also be the subject of cut content in Mass Effect 2.[4]
References[]
- ↑ Mass Effect Cut Content/Ilos and Ending Voicelines#end70_elevator, Mass Effect Cut Content/Ilos and Ending Voicelines#end70_airlock
- ↑ Mass Effect Cut Content/Ilos and Ending Voicelines#end80_salarians
- ↑ Mass Effect Cut Content/Ilos and Ending Voicelines#end90_saren2
- ↑ Mass Effect Cut Content/Ilos and Ending Voicelines#end90_final_cutscene
| ← Previous Mission | Mission Index | |
|---|---|---|
| Race Against Time: Conduit | Missions |