
The Outlaws discovered a Remnant device in a Remnant conservatory on H-047c that they believed would unlock vast quantities of helium-3 to exploit. Attain that supply for the Initiative.
Alternative journal entry:
You have found a Remnant conservatory on H-047c. Its contents are unknown.
Acquisition[]
Acquired upon completion of the outlaw mission chain above or by directly exploring the world and entering the Remnant conservatory in Crater: Santiago.
Walkthrough[]
Find the Remnant conservatory[]
If the mission was obtained after dismantling Krex's operation, this section appears first. Otherwise, the next section comes first and this one does not appear.
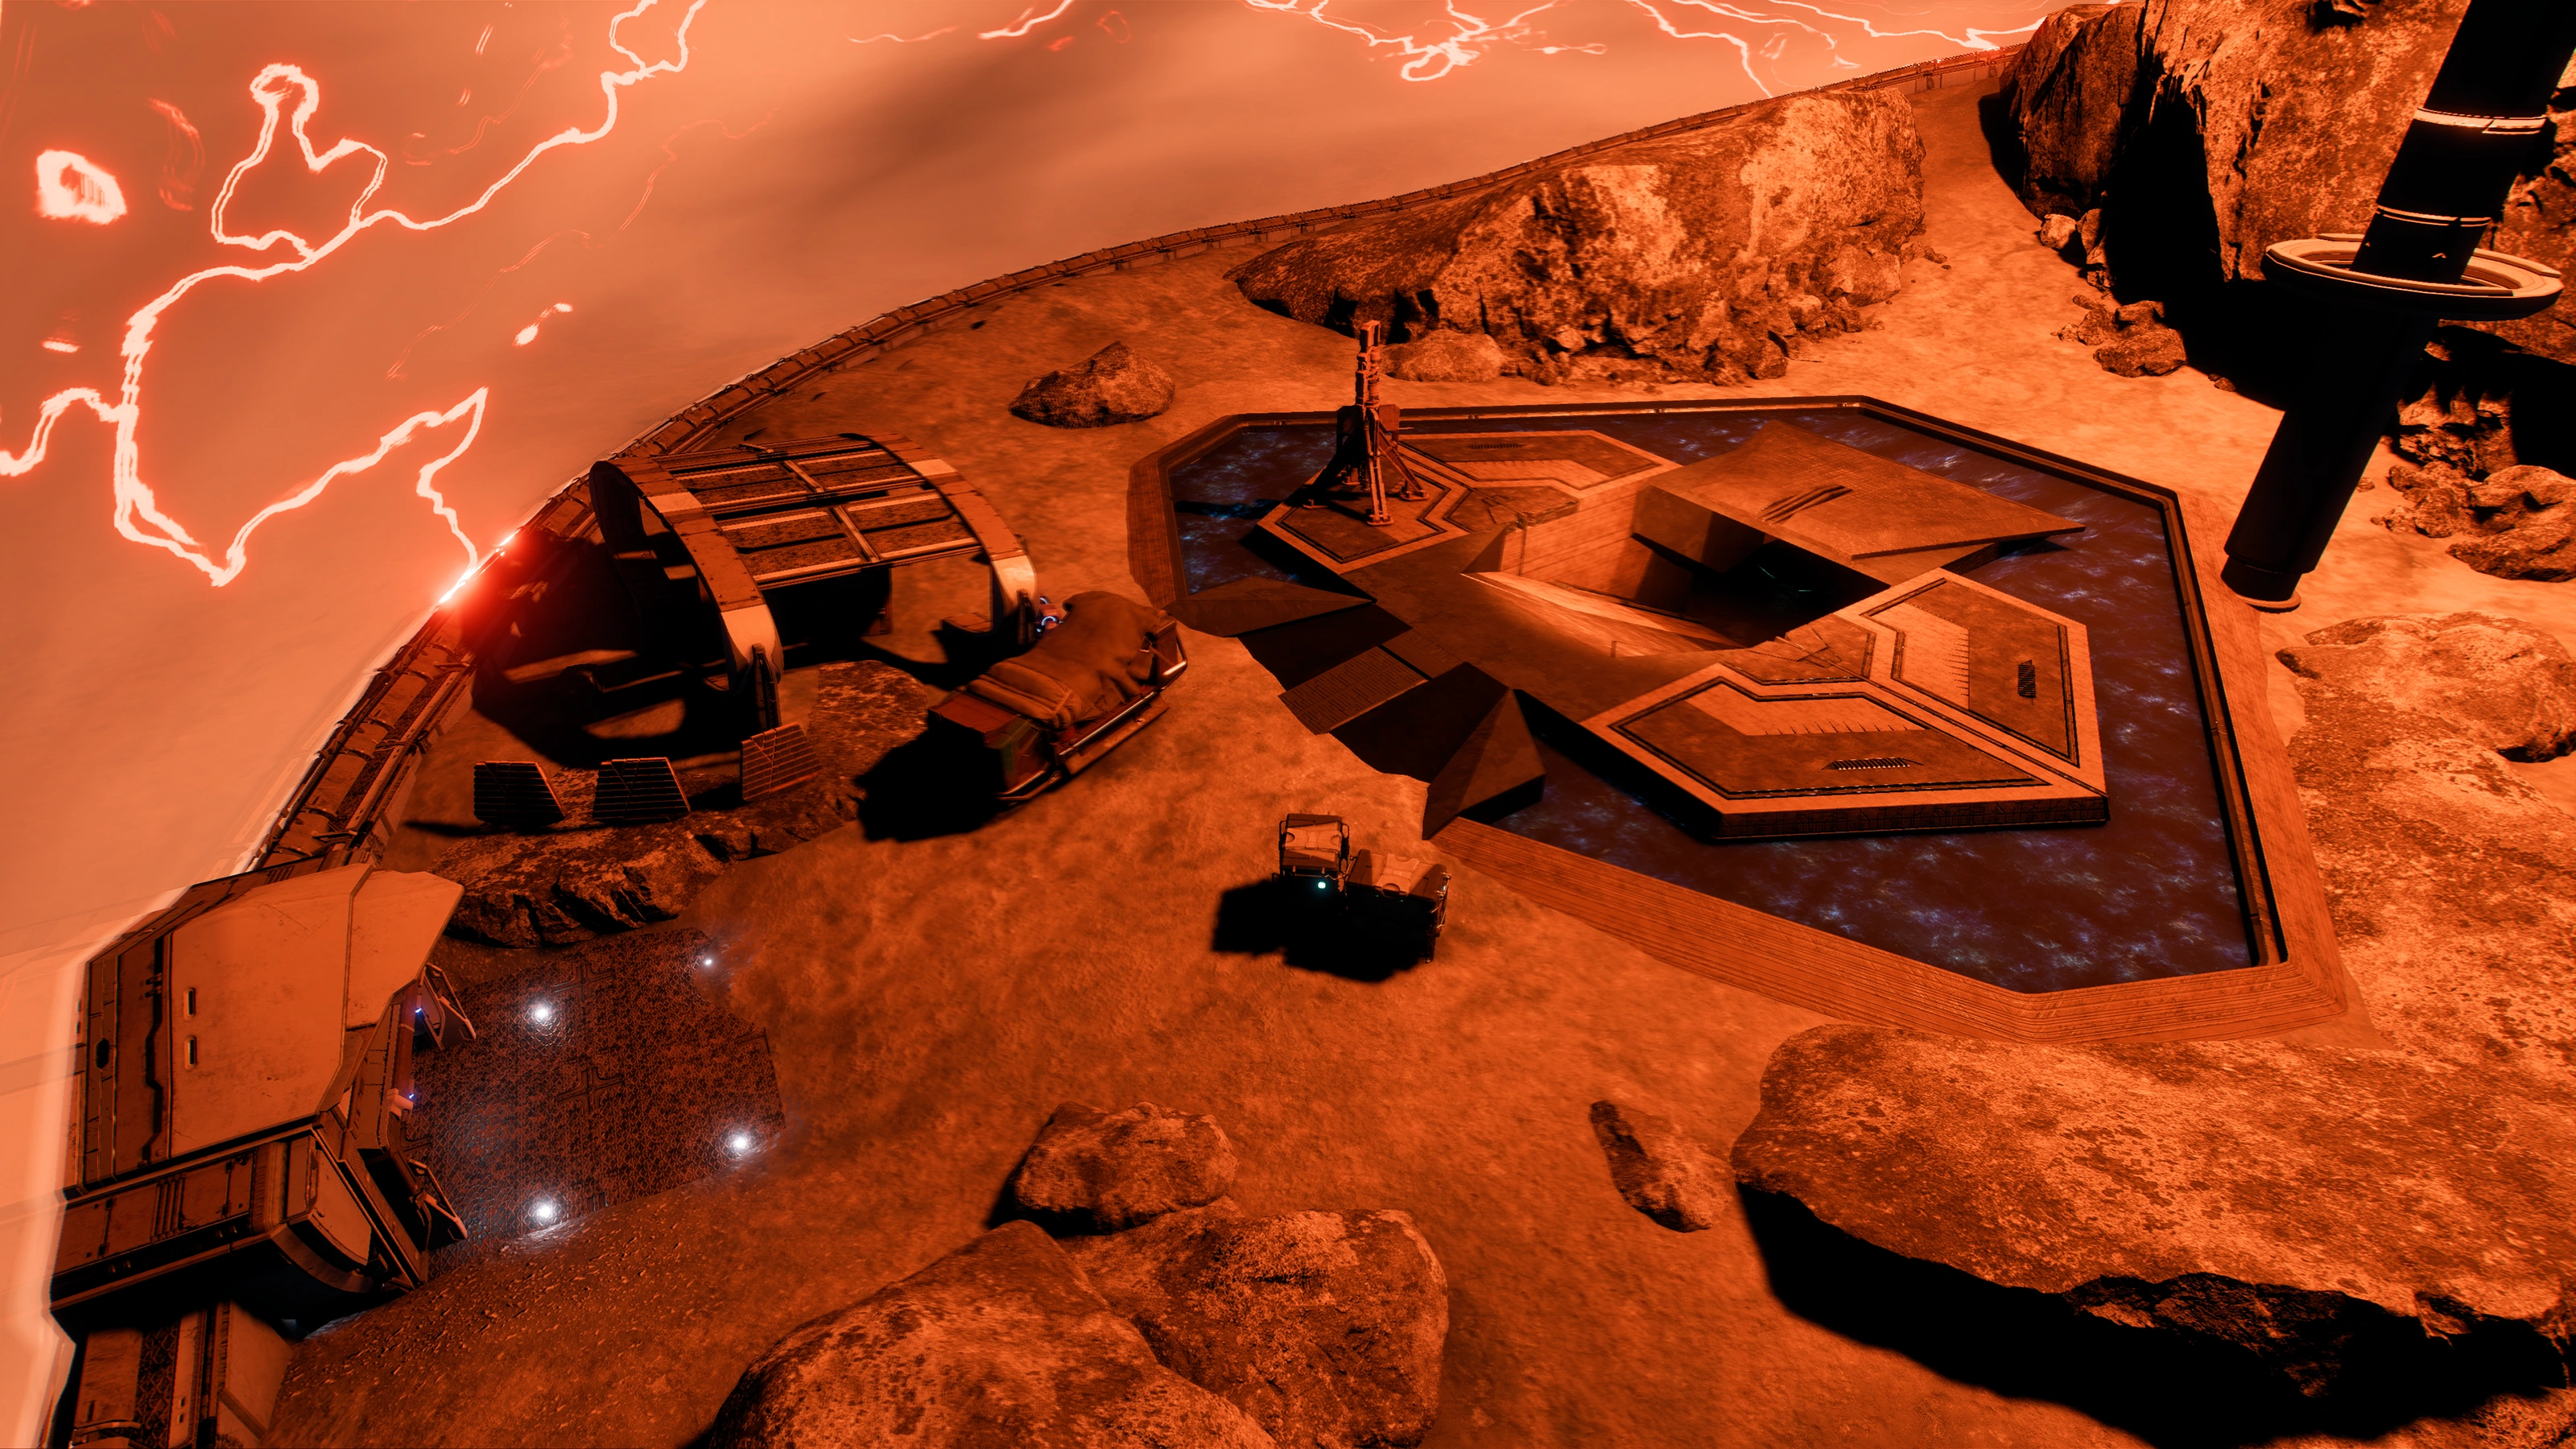
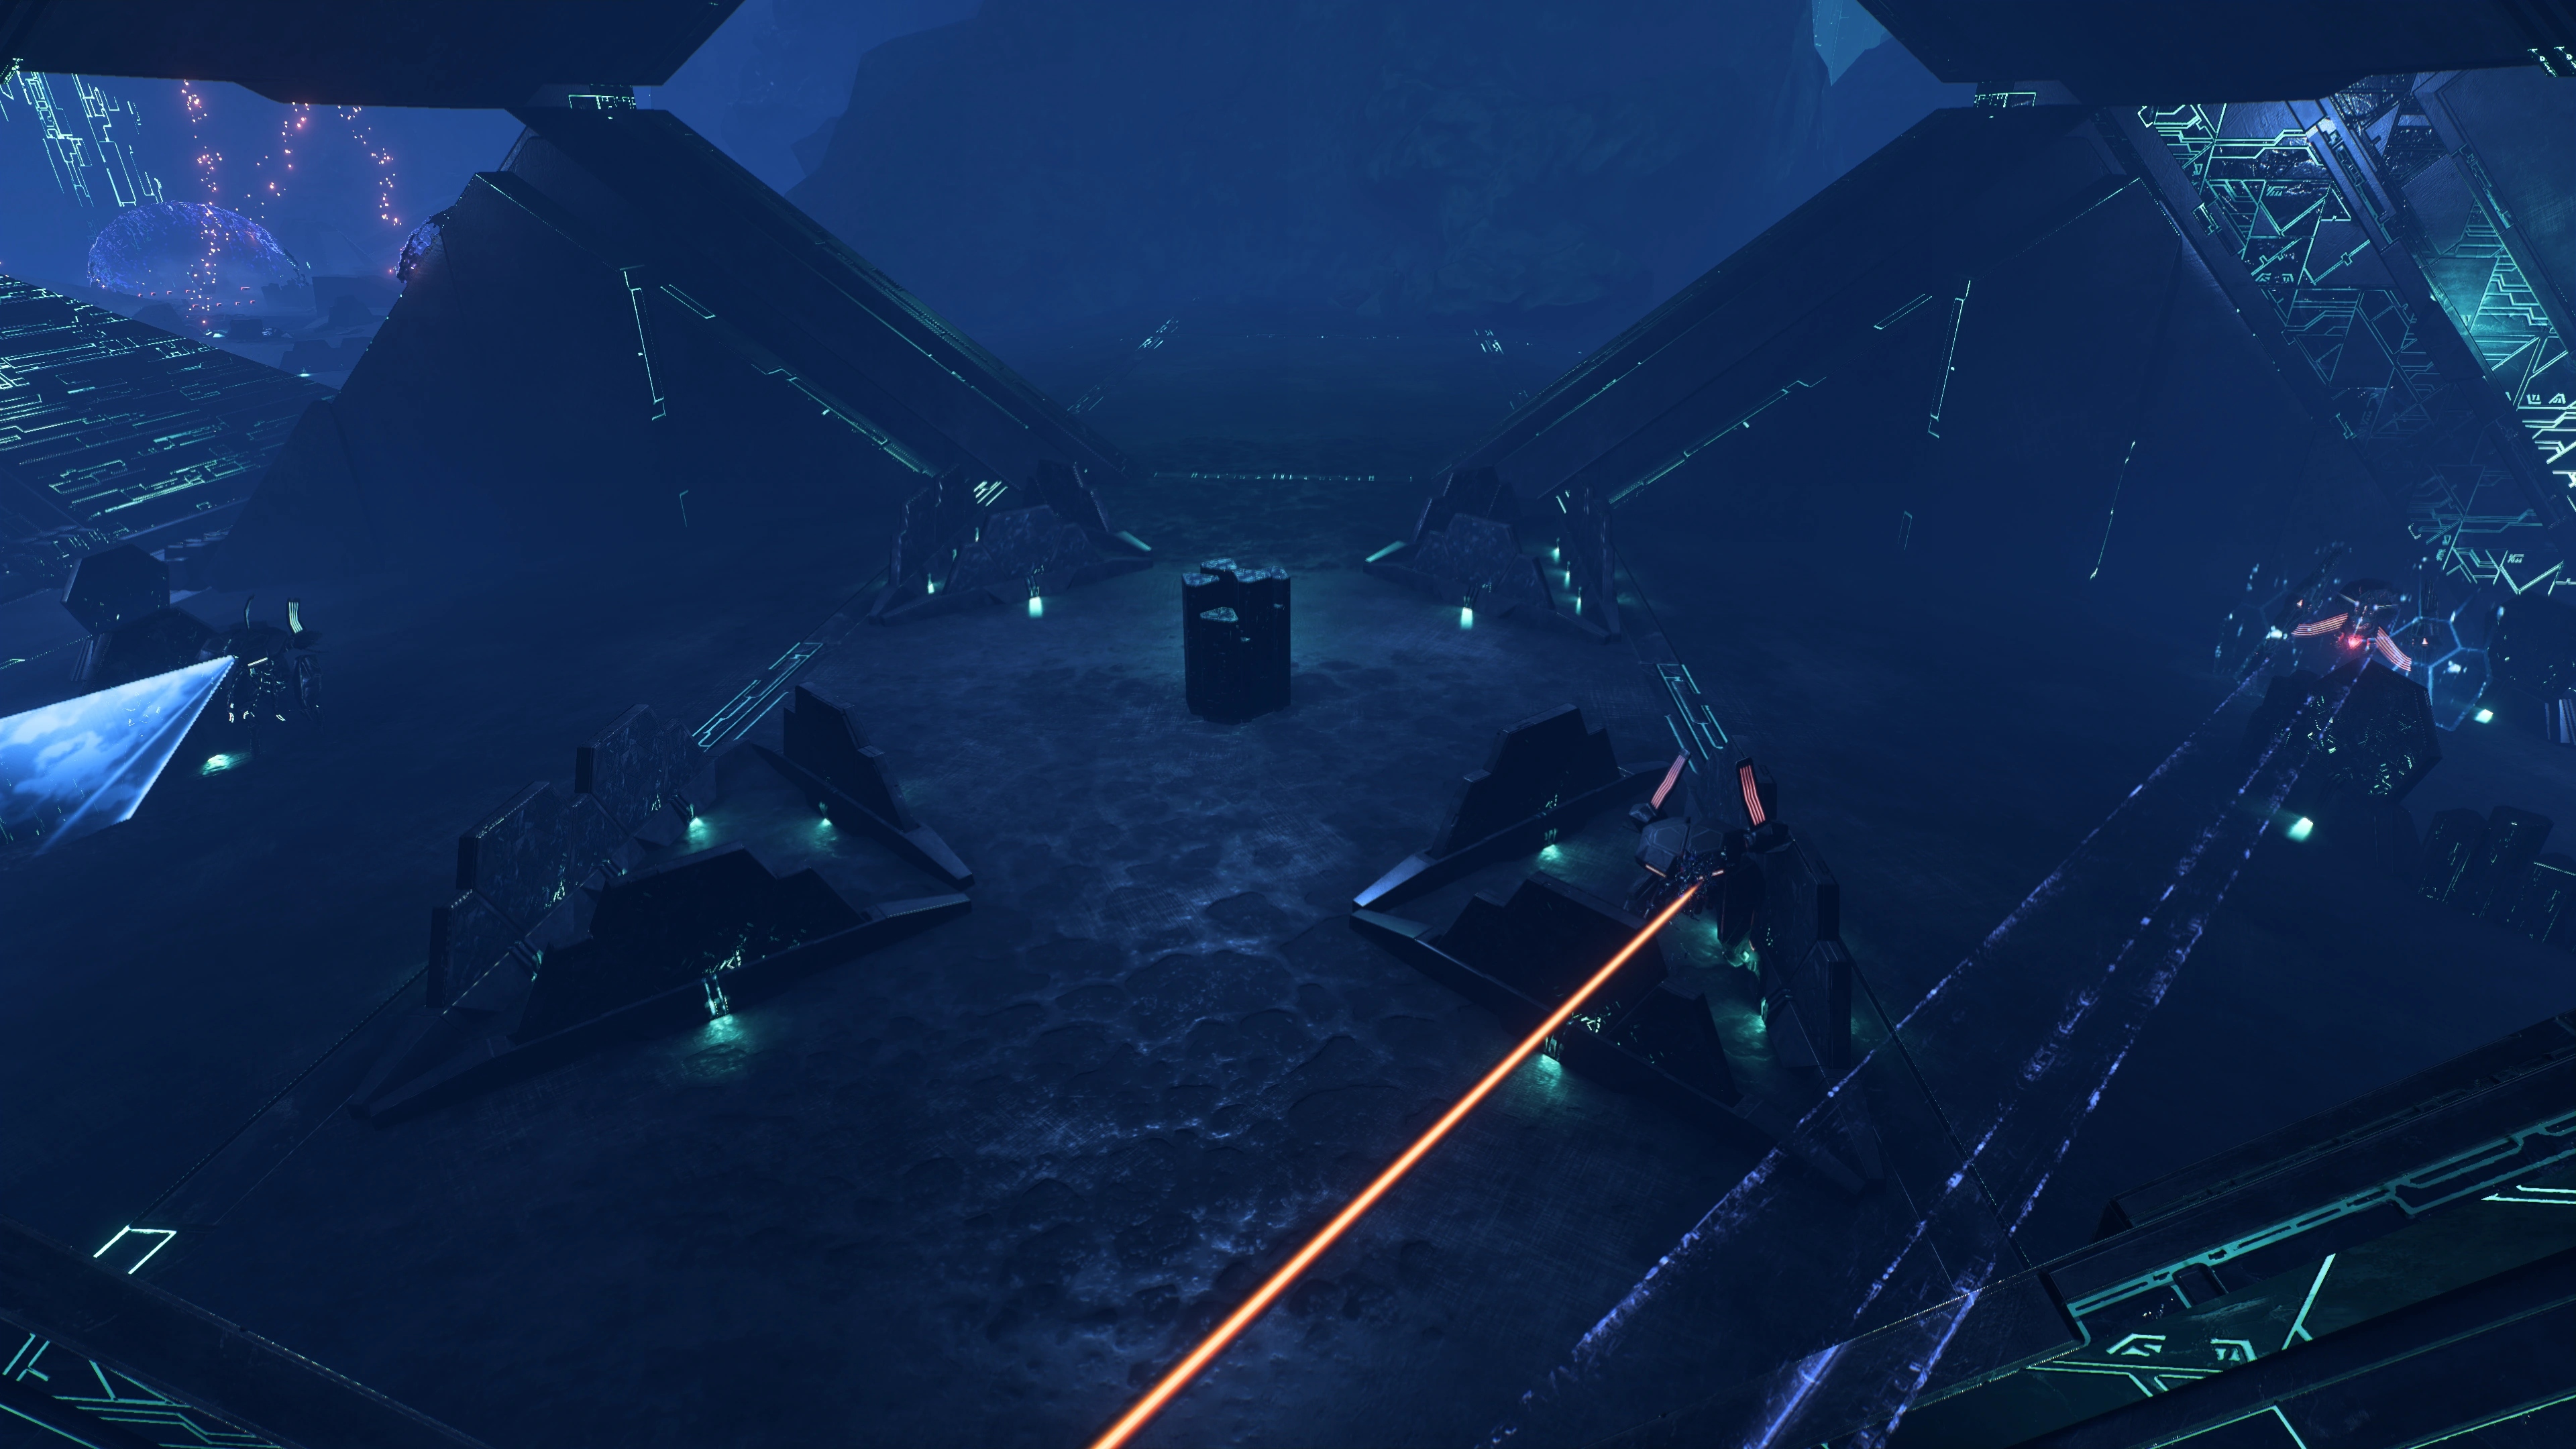
The conservatory is in a navpoint![]() in the western part of the map. It is below an orange shielded dome in Crater: Santiago.
in the western part of the map. It is below an orange shielded dome in Crater: Santiago.
Head to the dome and enter. Upon entry on the left, inside a scannable Shipping Container is a large lootable crate.
Down the ramp is a doorway to yet another underground Remnant facility that somehow survived H-047c's destruction. Use the Gravity Well to enter the conservatory.
Explore the Remnant conservatory[]
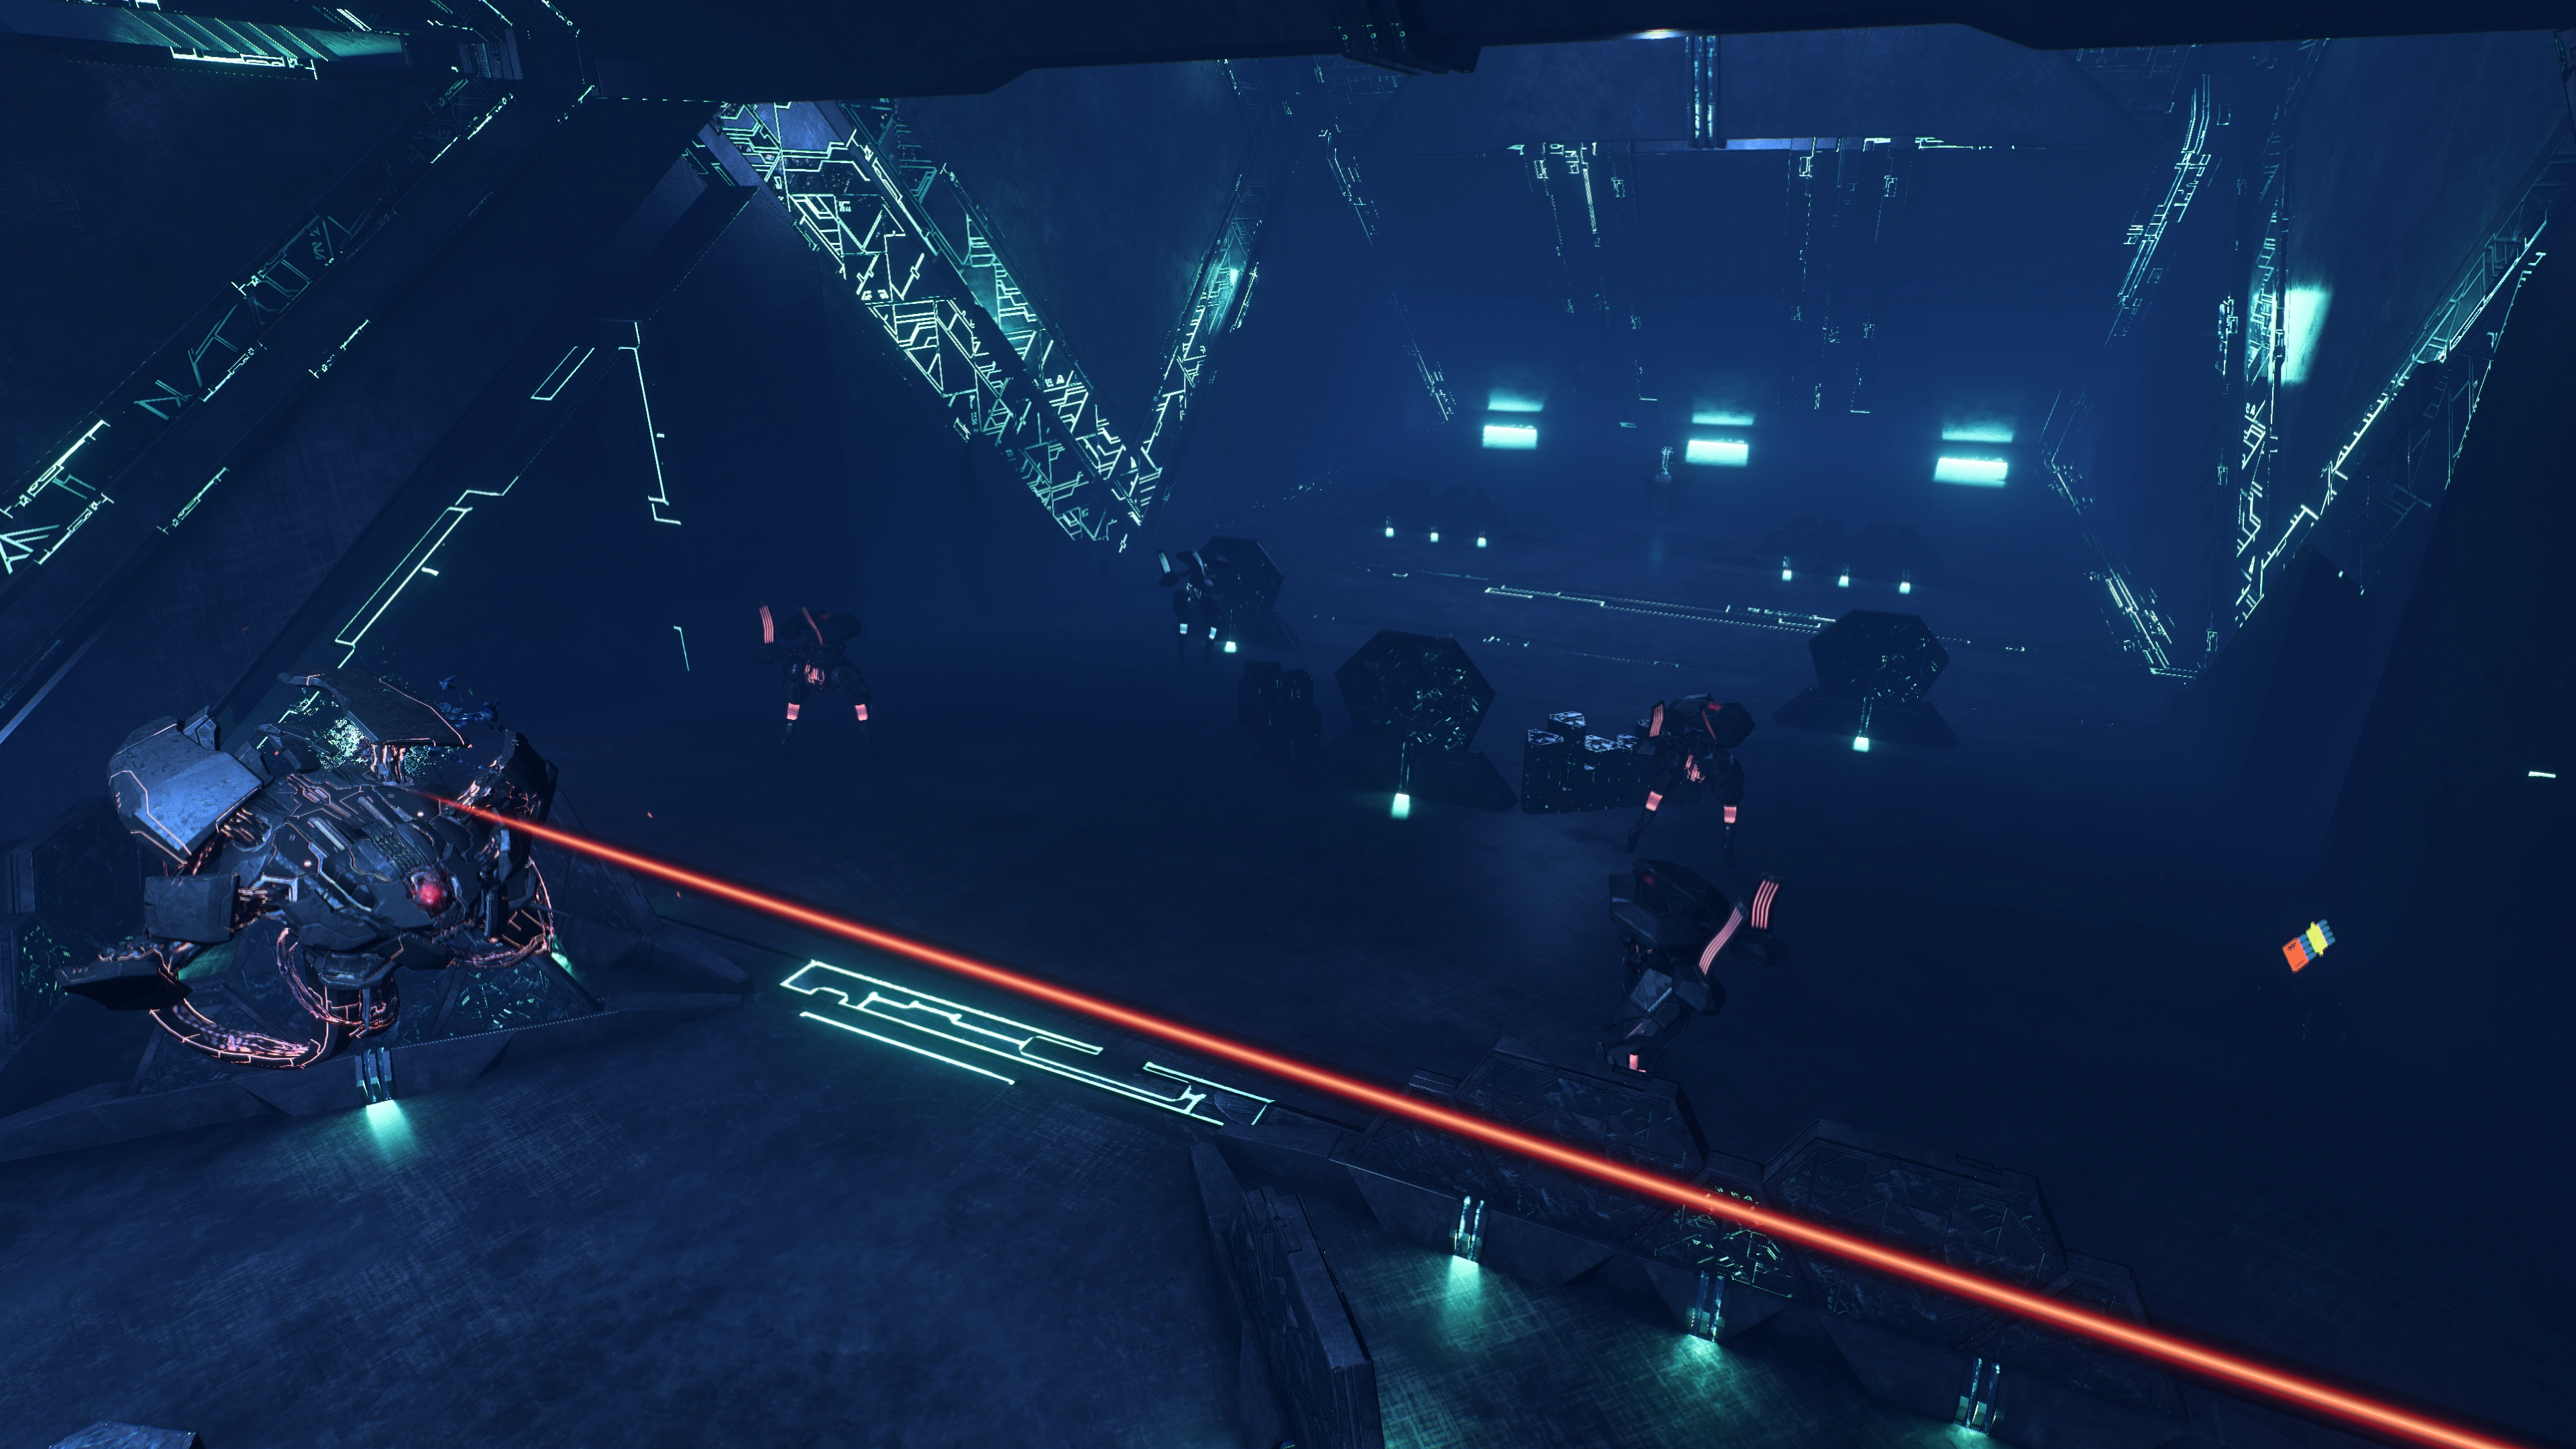
The squad will come under fire from two Remnant Observers right after landing from the Gravity Well.
After the battle, on an elevated ledge is an Adaptive Remnant Core Device that can be scanned for +100 ![]() . SAM informs Pathfinder Ryder that the facility can be started from a console deeper into the facility.
. SAM informs Pathfinder Ryder that the facility can be started from a console deeper into the facility.
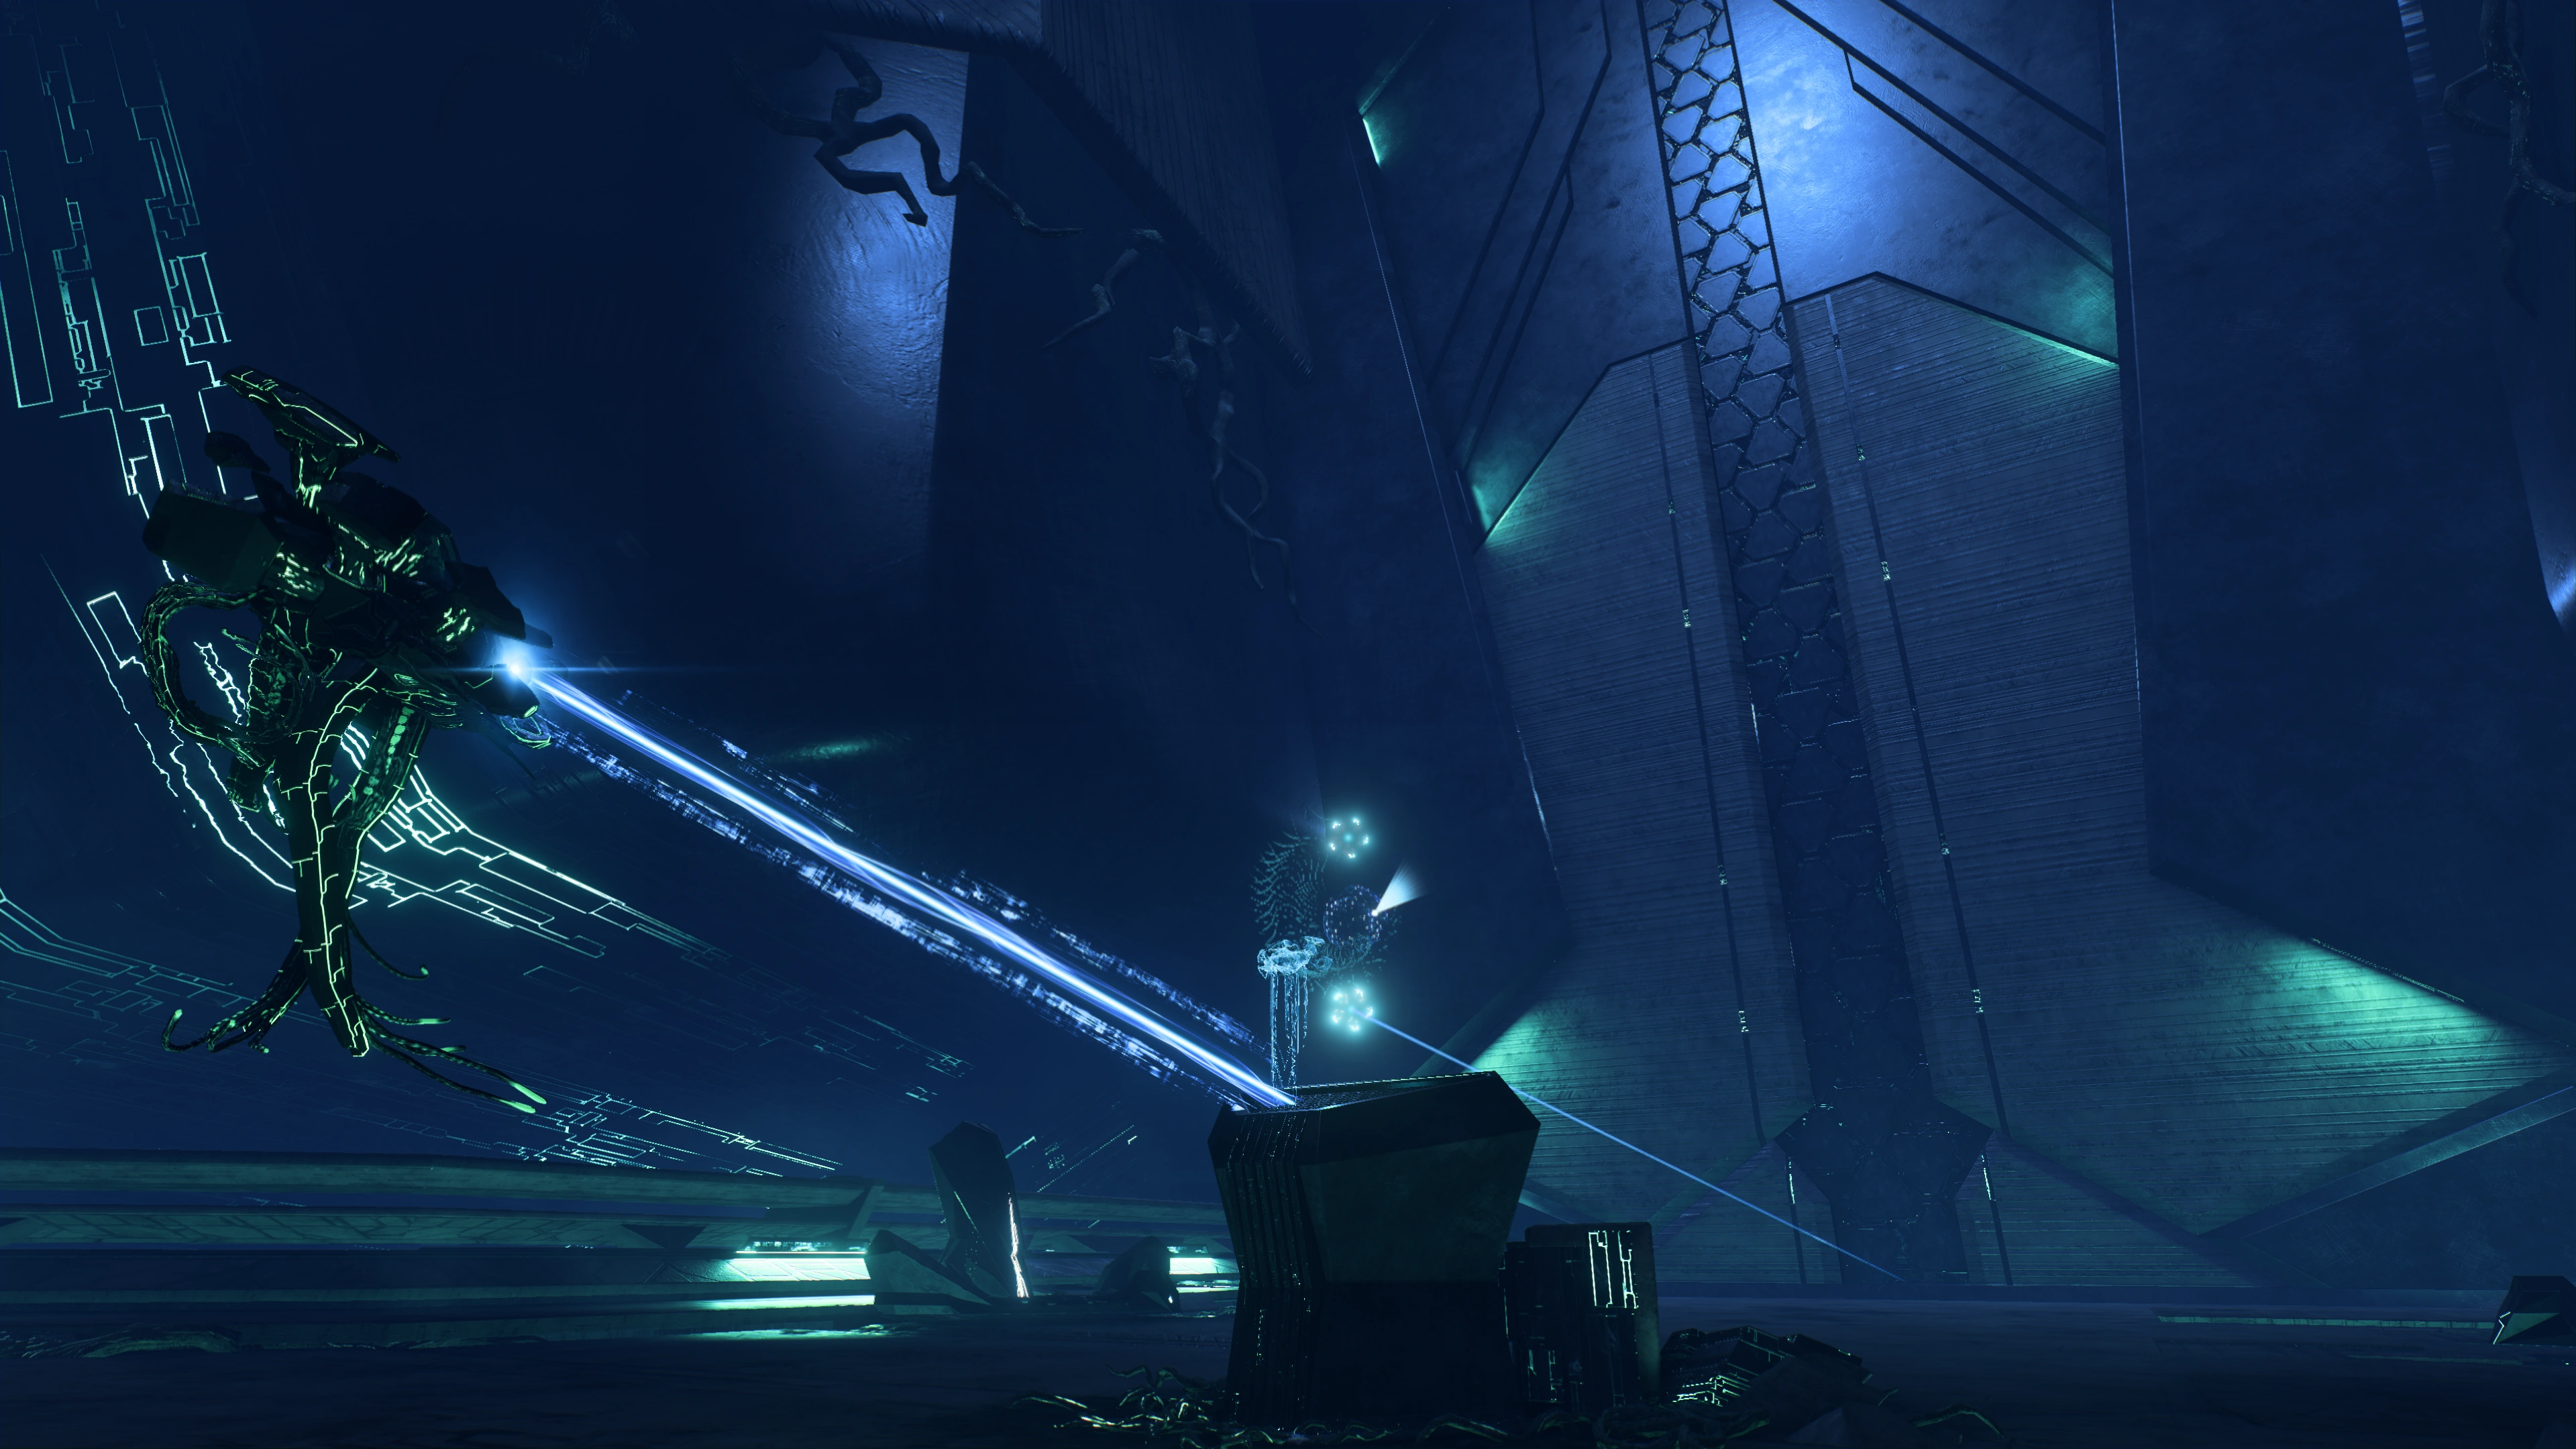
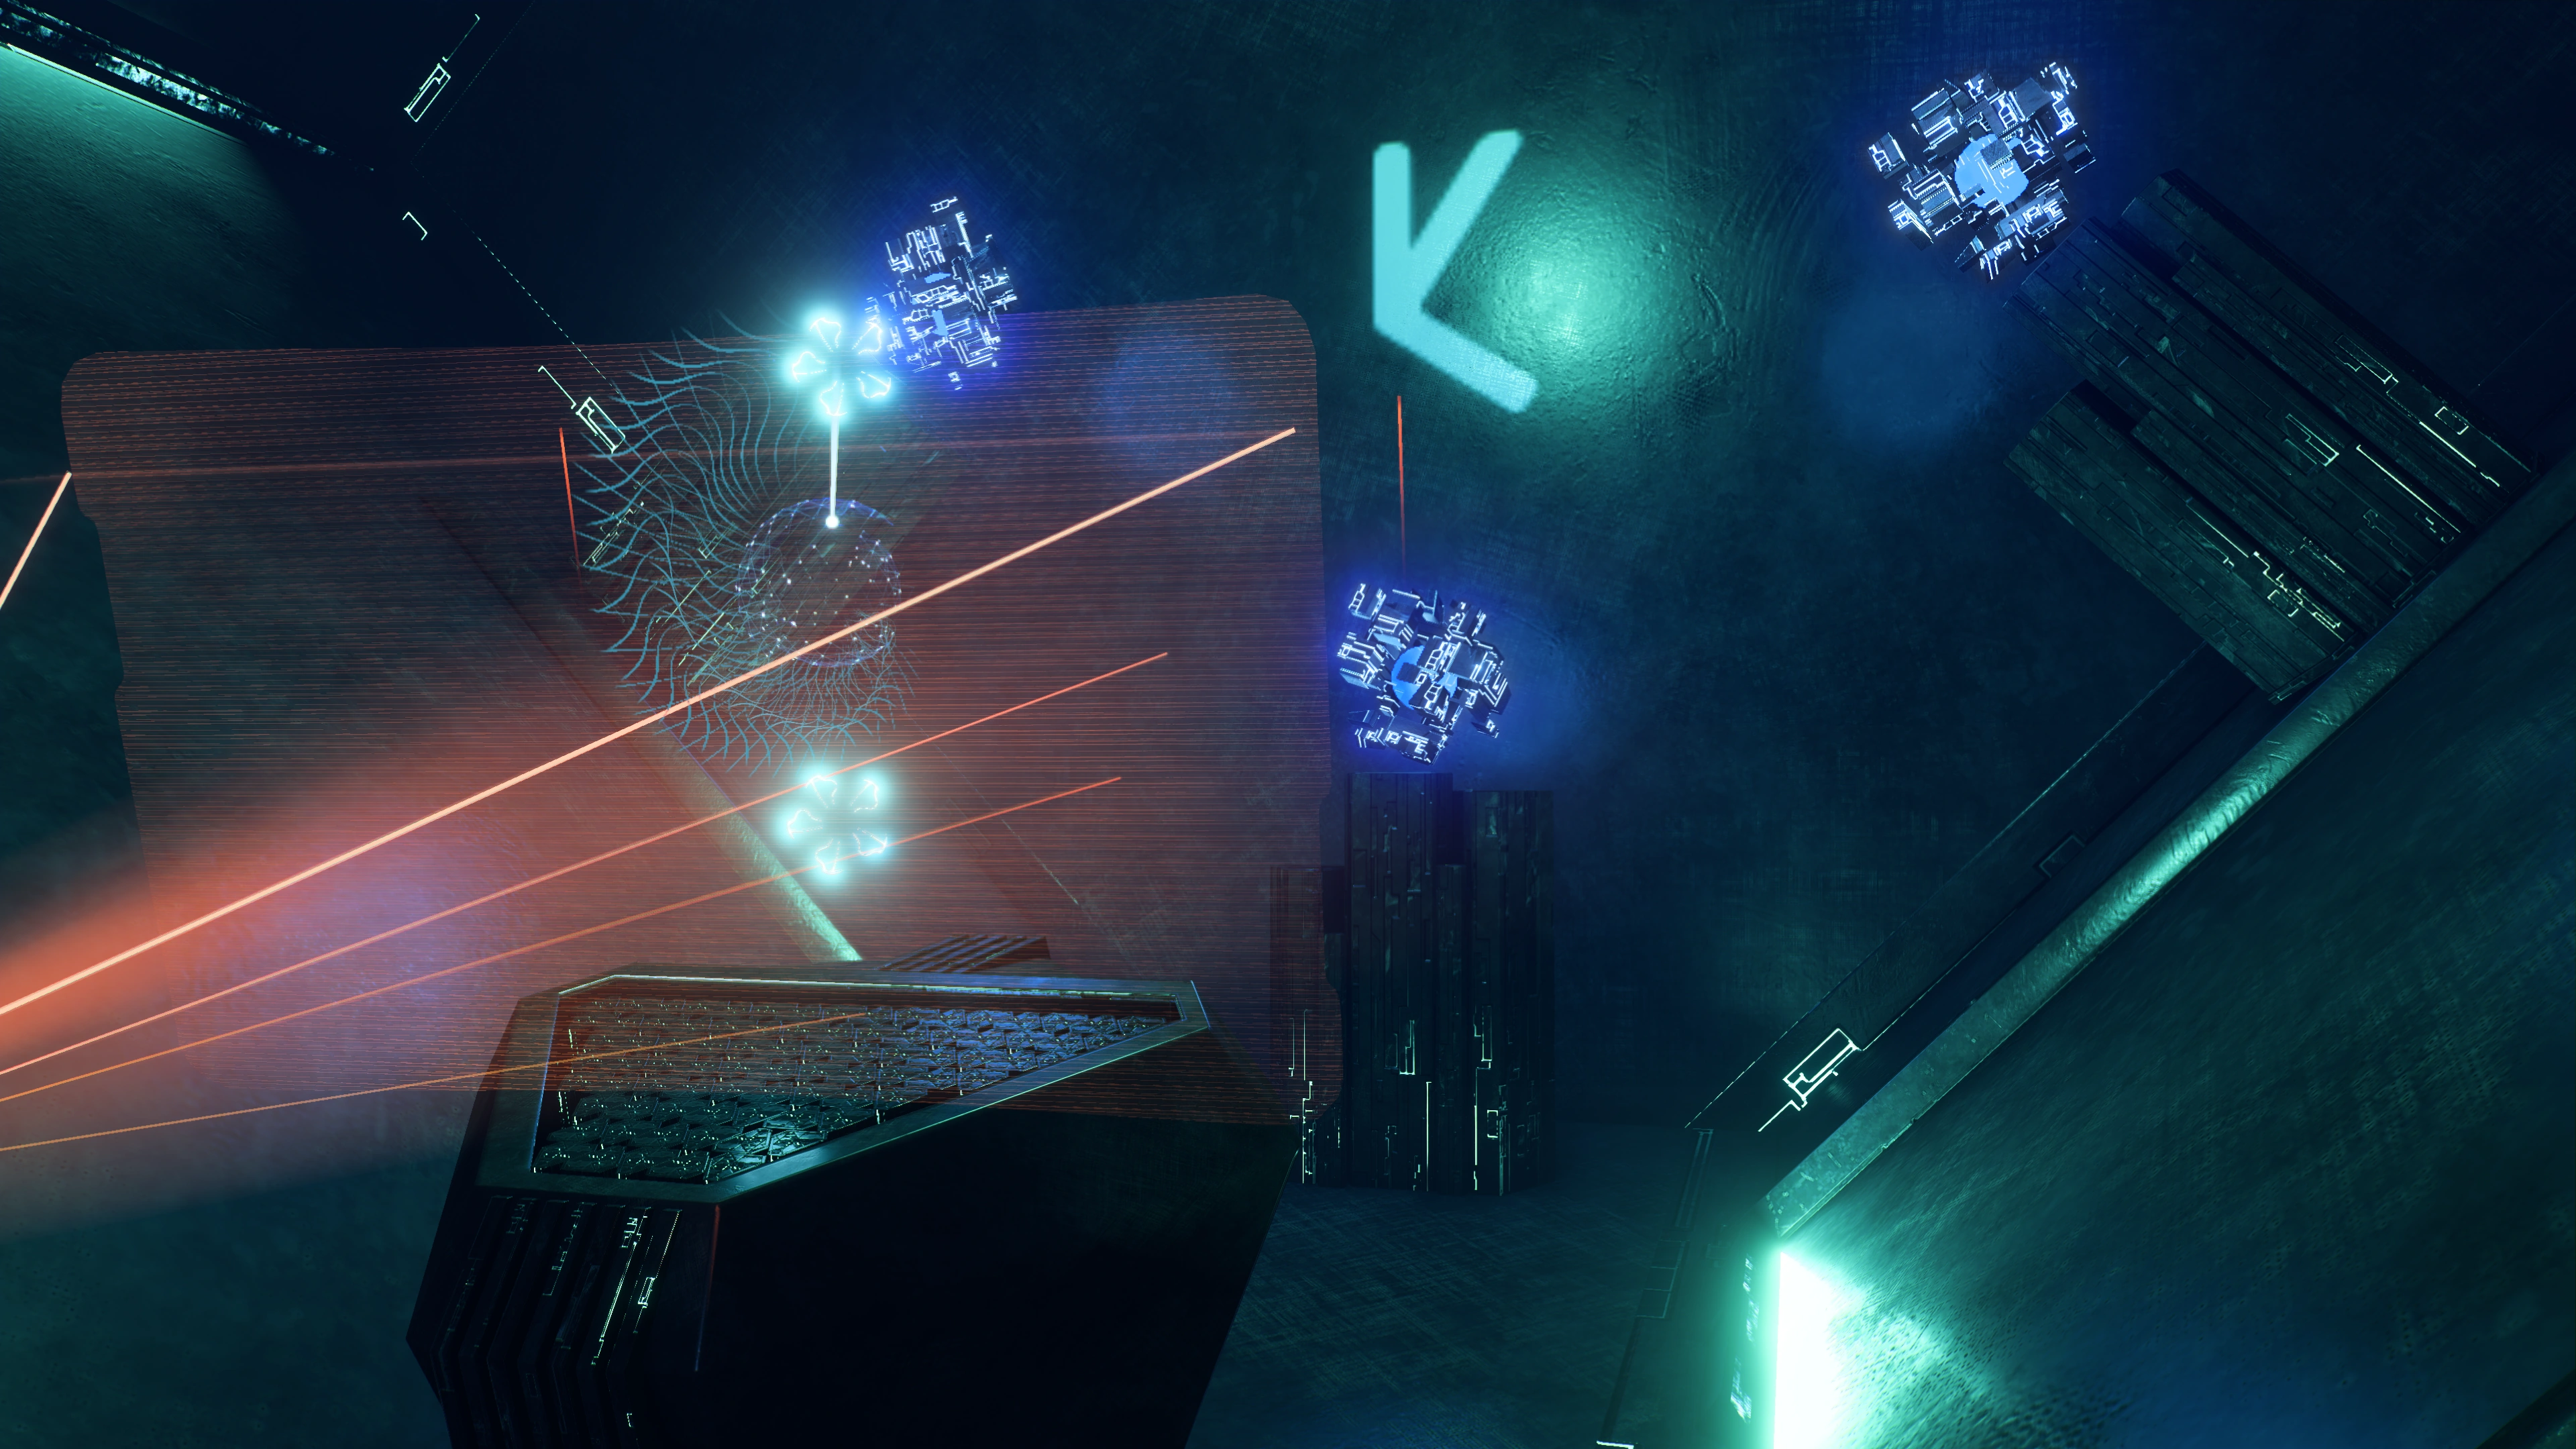
The giant door to the south has a console in front of it but it isn't working. Scanning the console reveals that an Observer is needed to activate it; on closer inspection the console does have a hologram of an Observer on it. The room does have an abundance of Observer Replication Control hubs in it: on a ledge next to the Gravity Well is a raised console that when activated shoots a beam of light towards an Observer Replication Control that spawns a friendly Observer.
The Observer will then hover around the door console. Scan the console to instruct the Observer to interface with it. It will then transfer an energy beam to the console to open the door. The reaction time is around 2 or 3 seconds, although Observers may need multiple scans of a console before they comply. Keep the scanning HUD up until the Observer activates the console. When the process is complete, the console should sink into the ground.
Note: Using an Observer to transfer energy to a console with an Observer hologram will be a common theme throughout the conservatory.
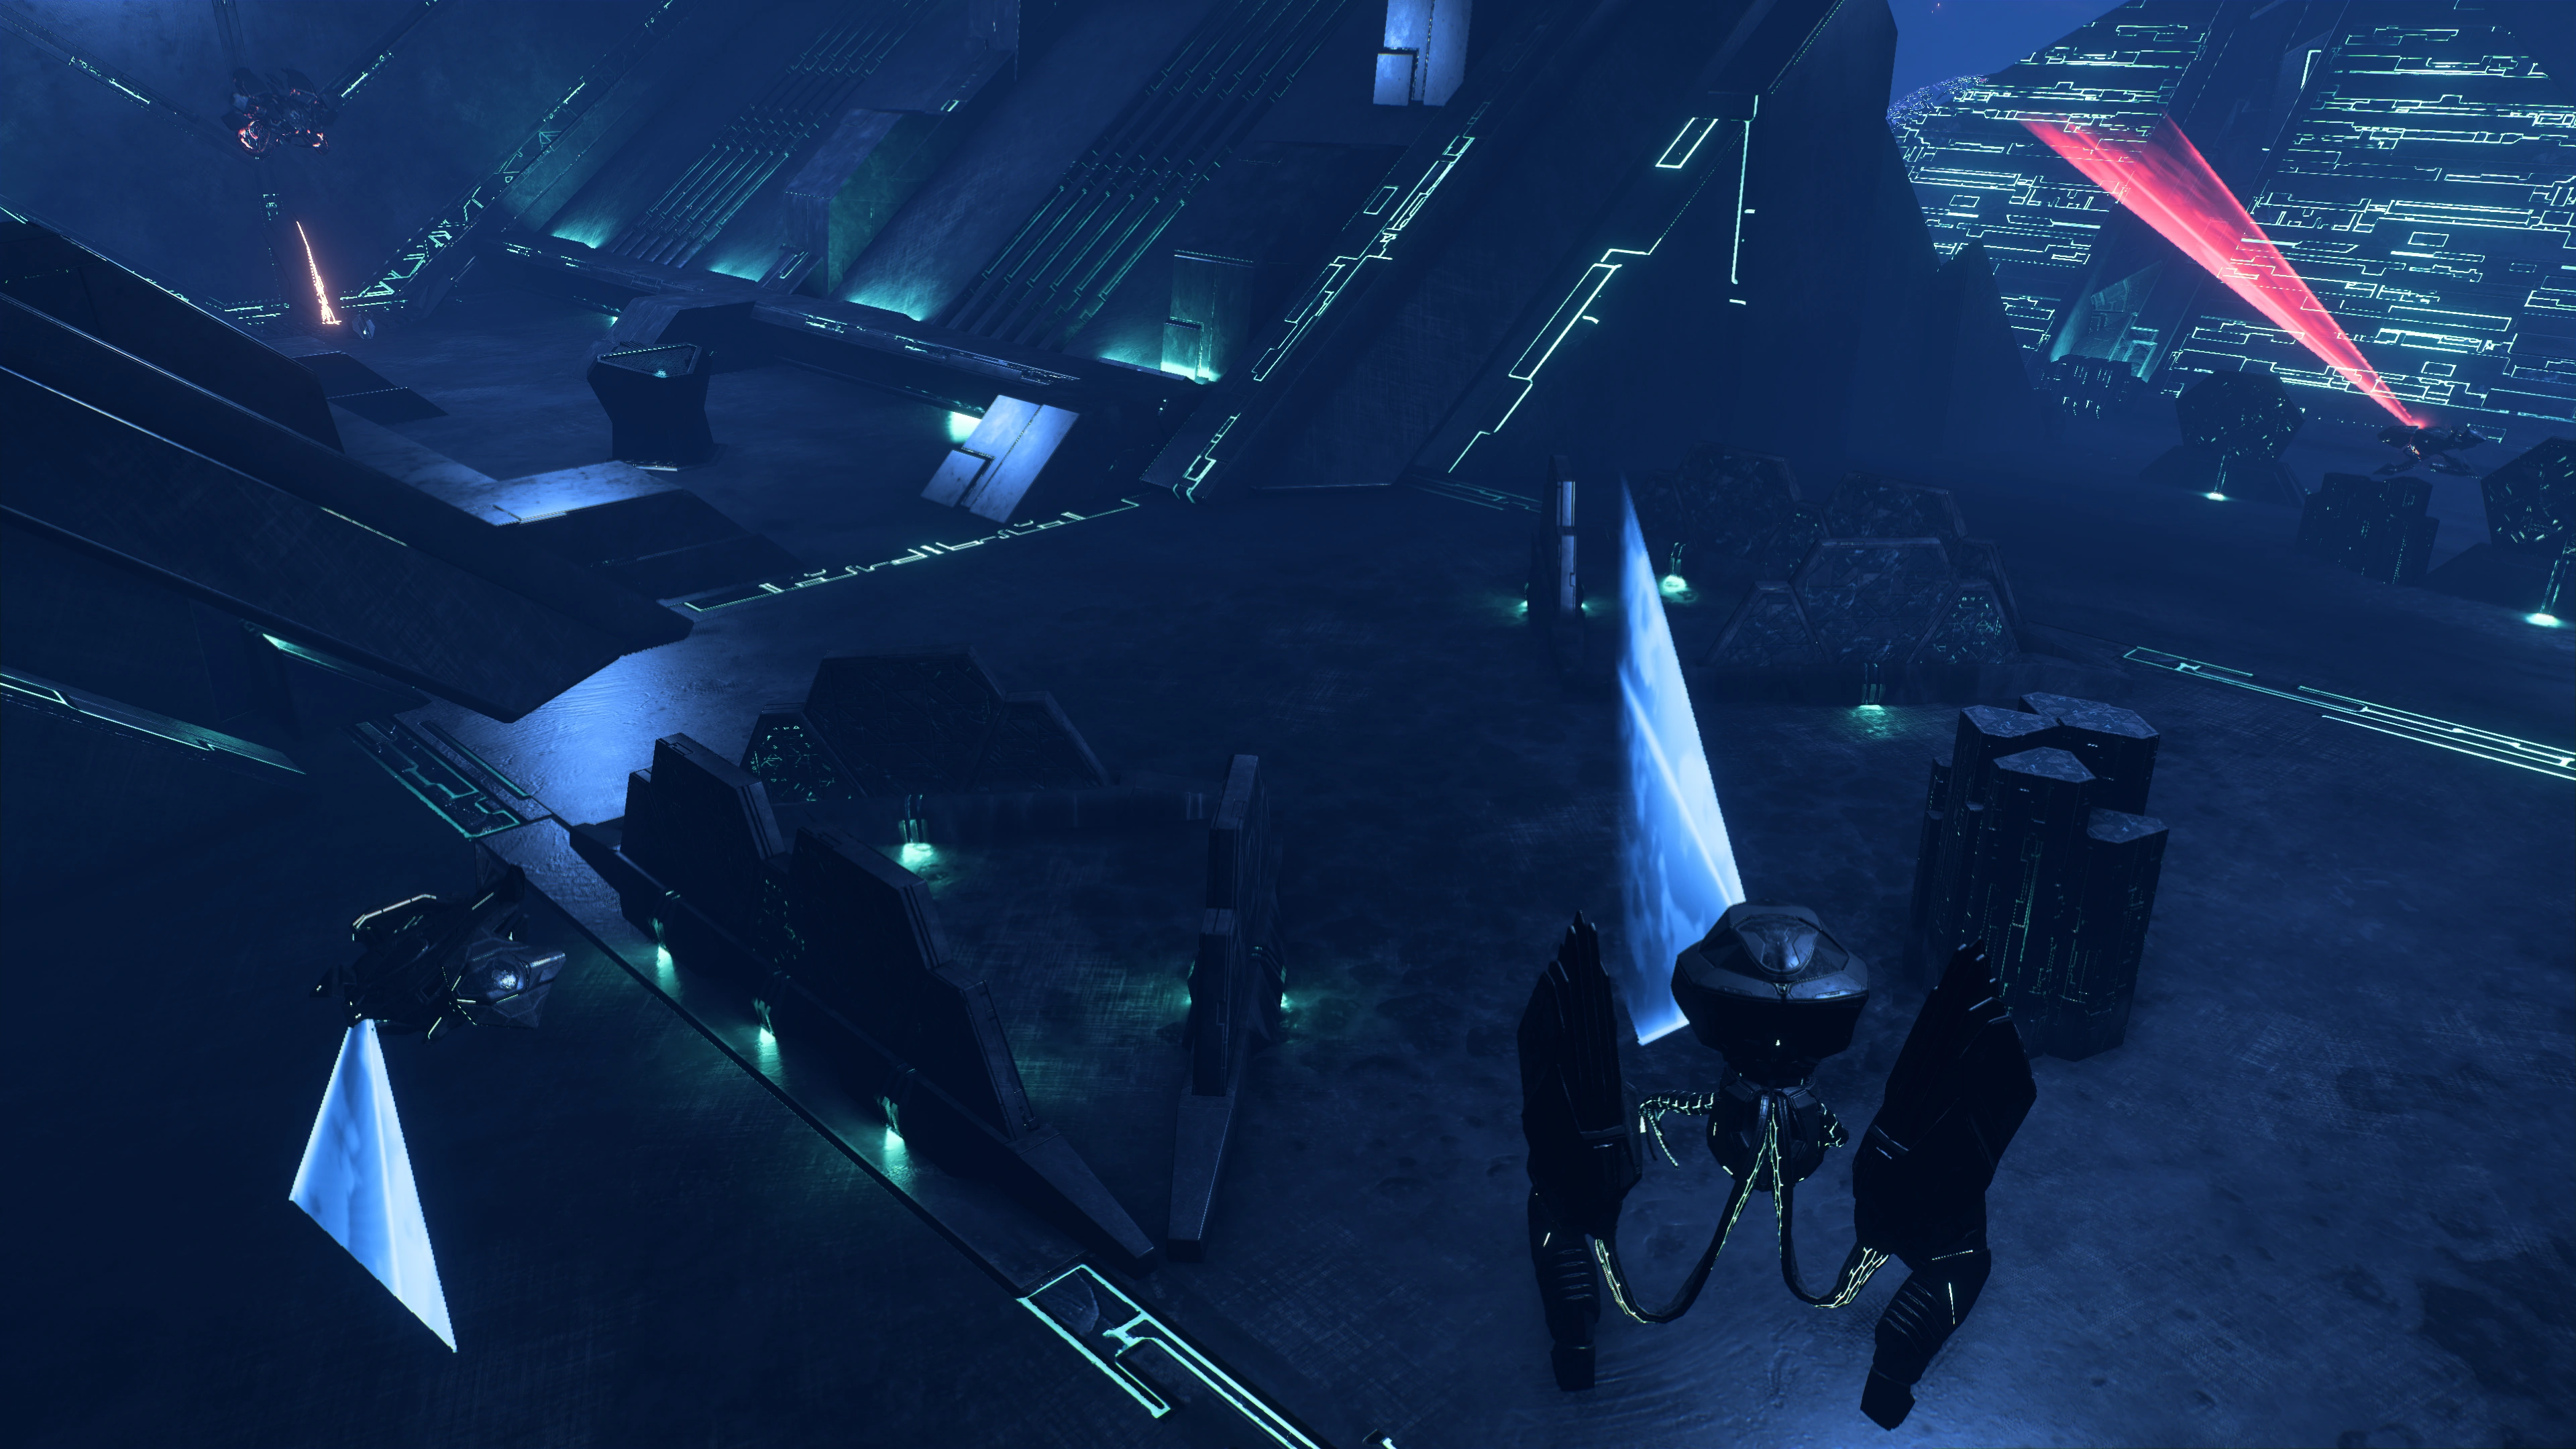
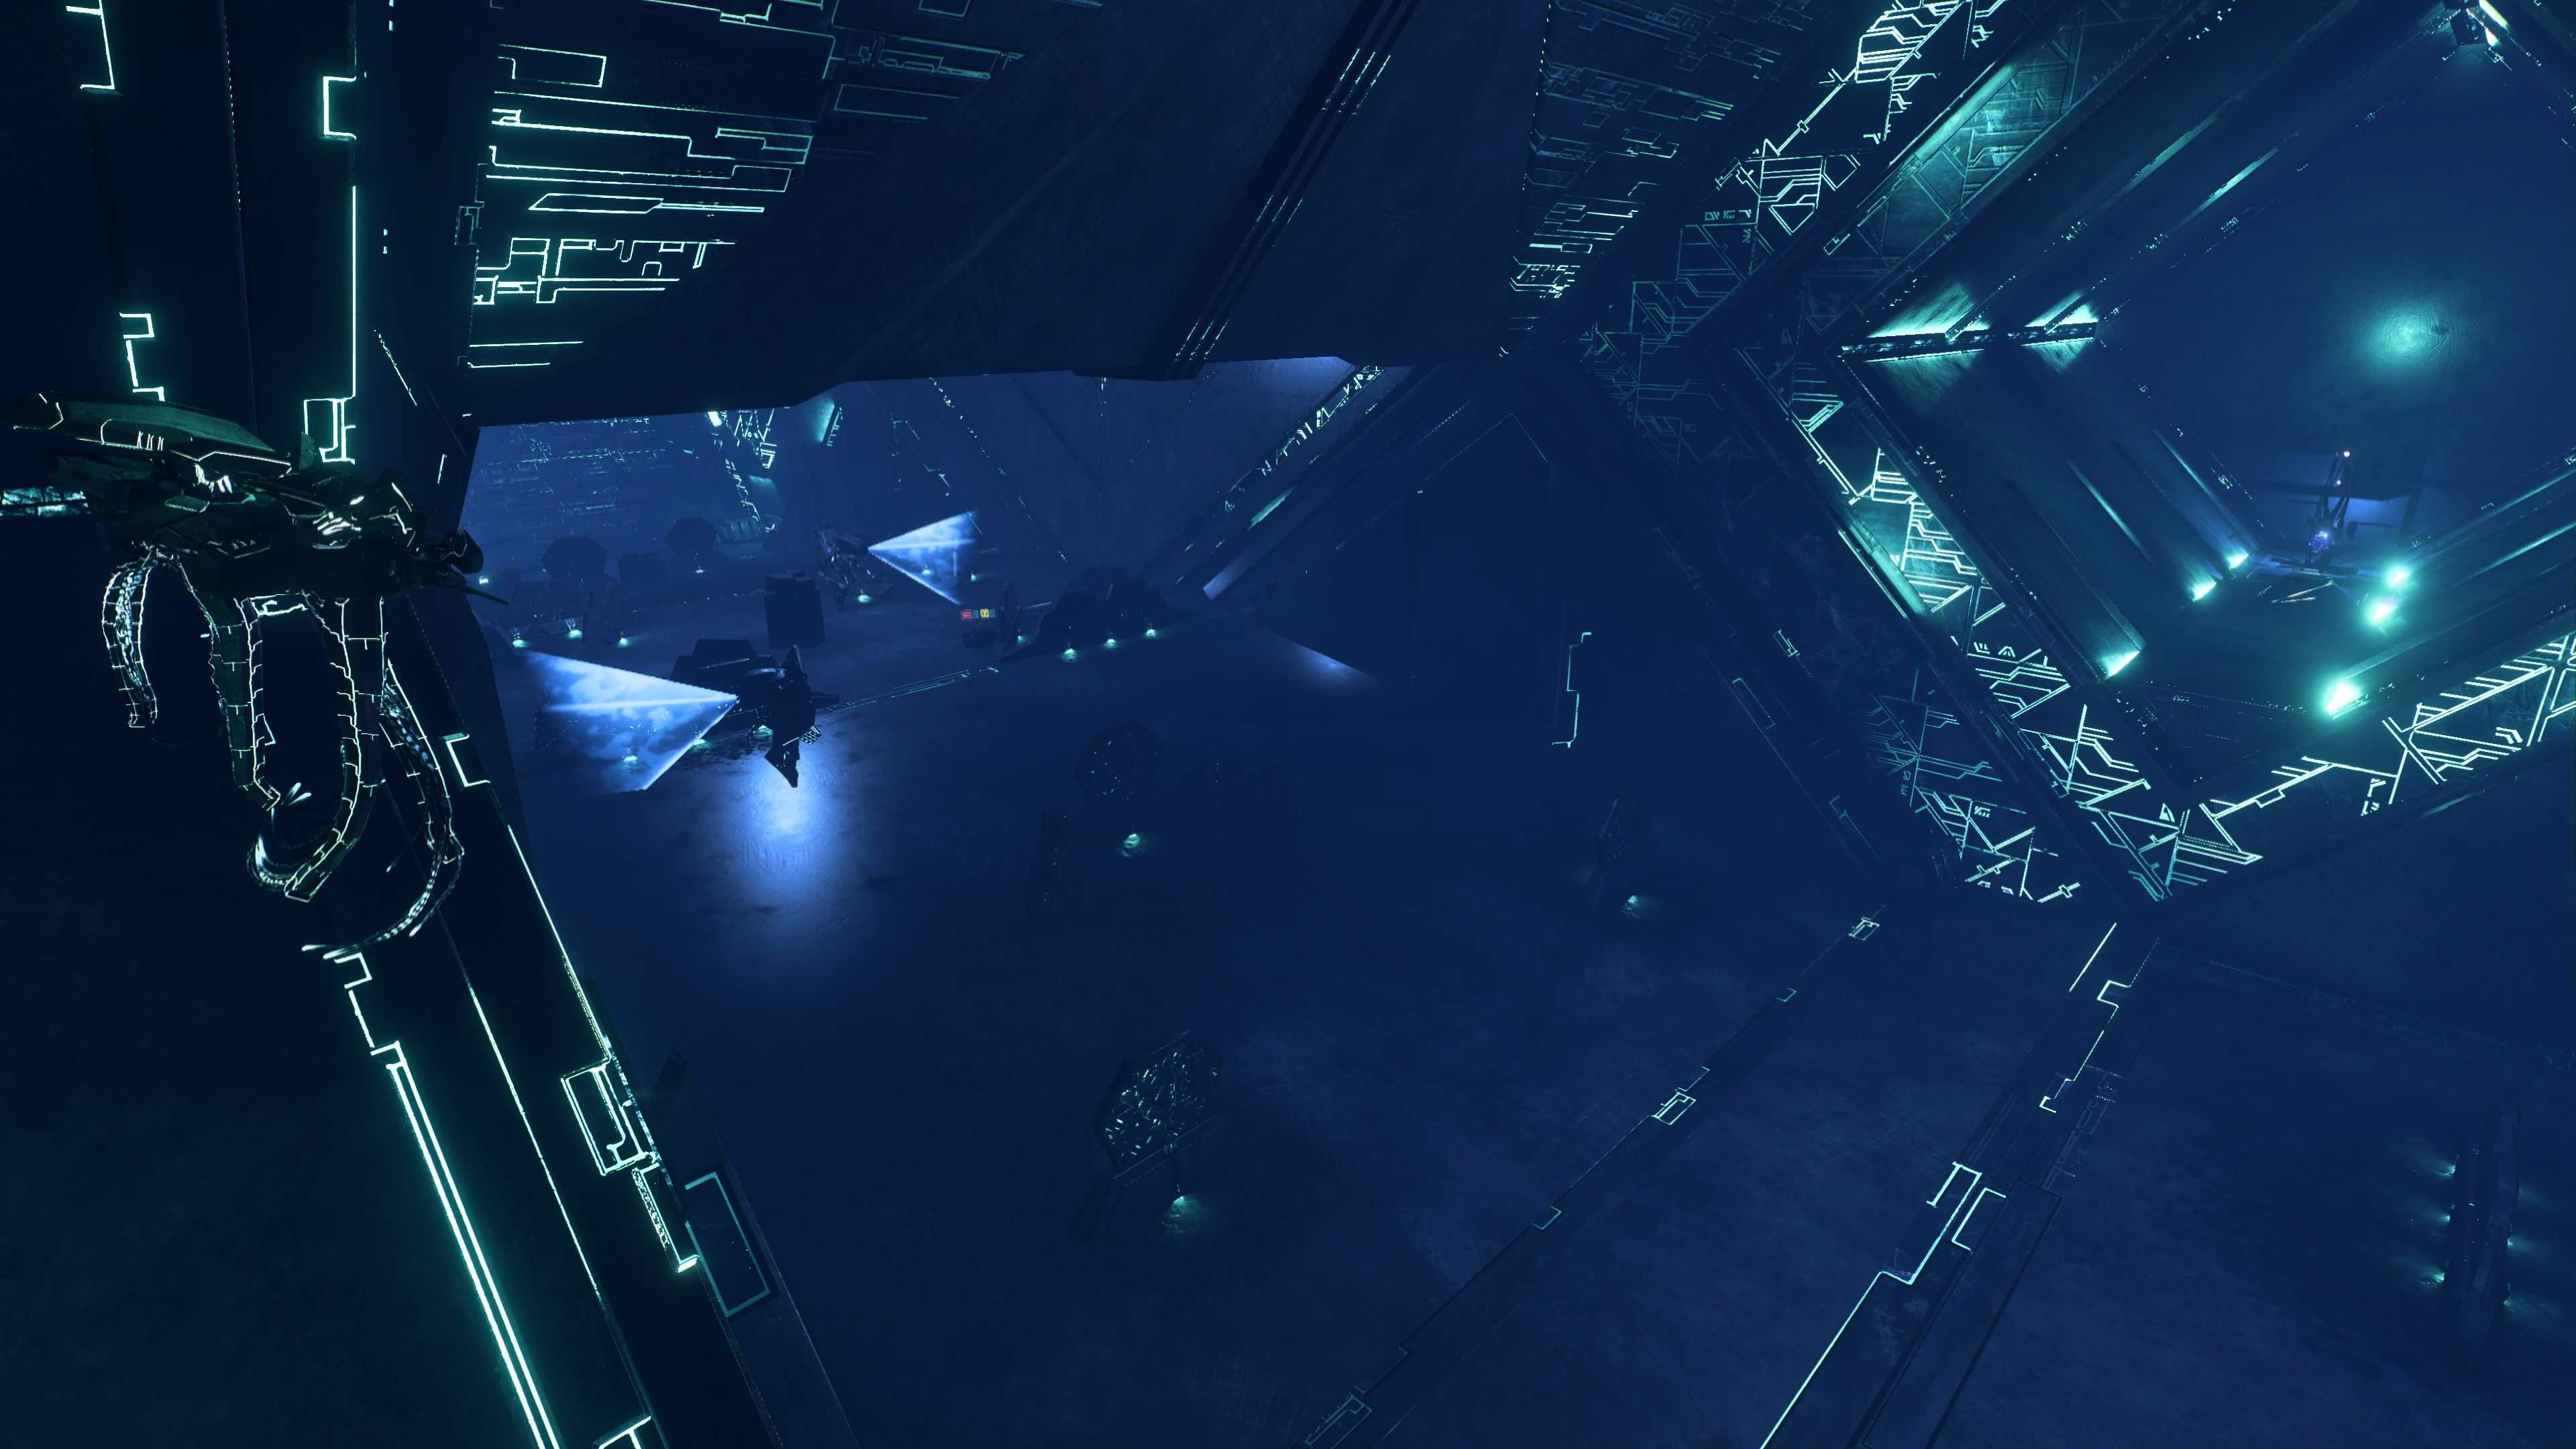
After heading through the door, the path straight ahead into the main chamber is blocked by an abyss. There are paths to the right (western) and left (eastern). Three Assemblers are in the immediate vicinity.
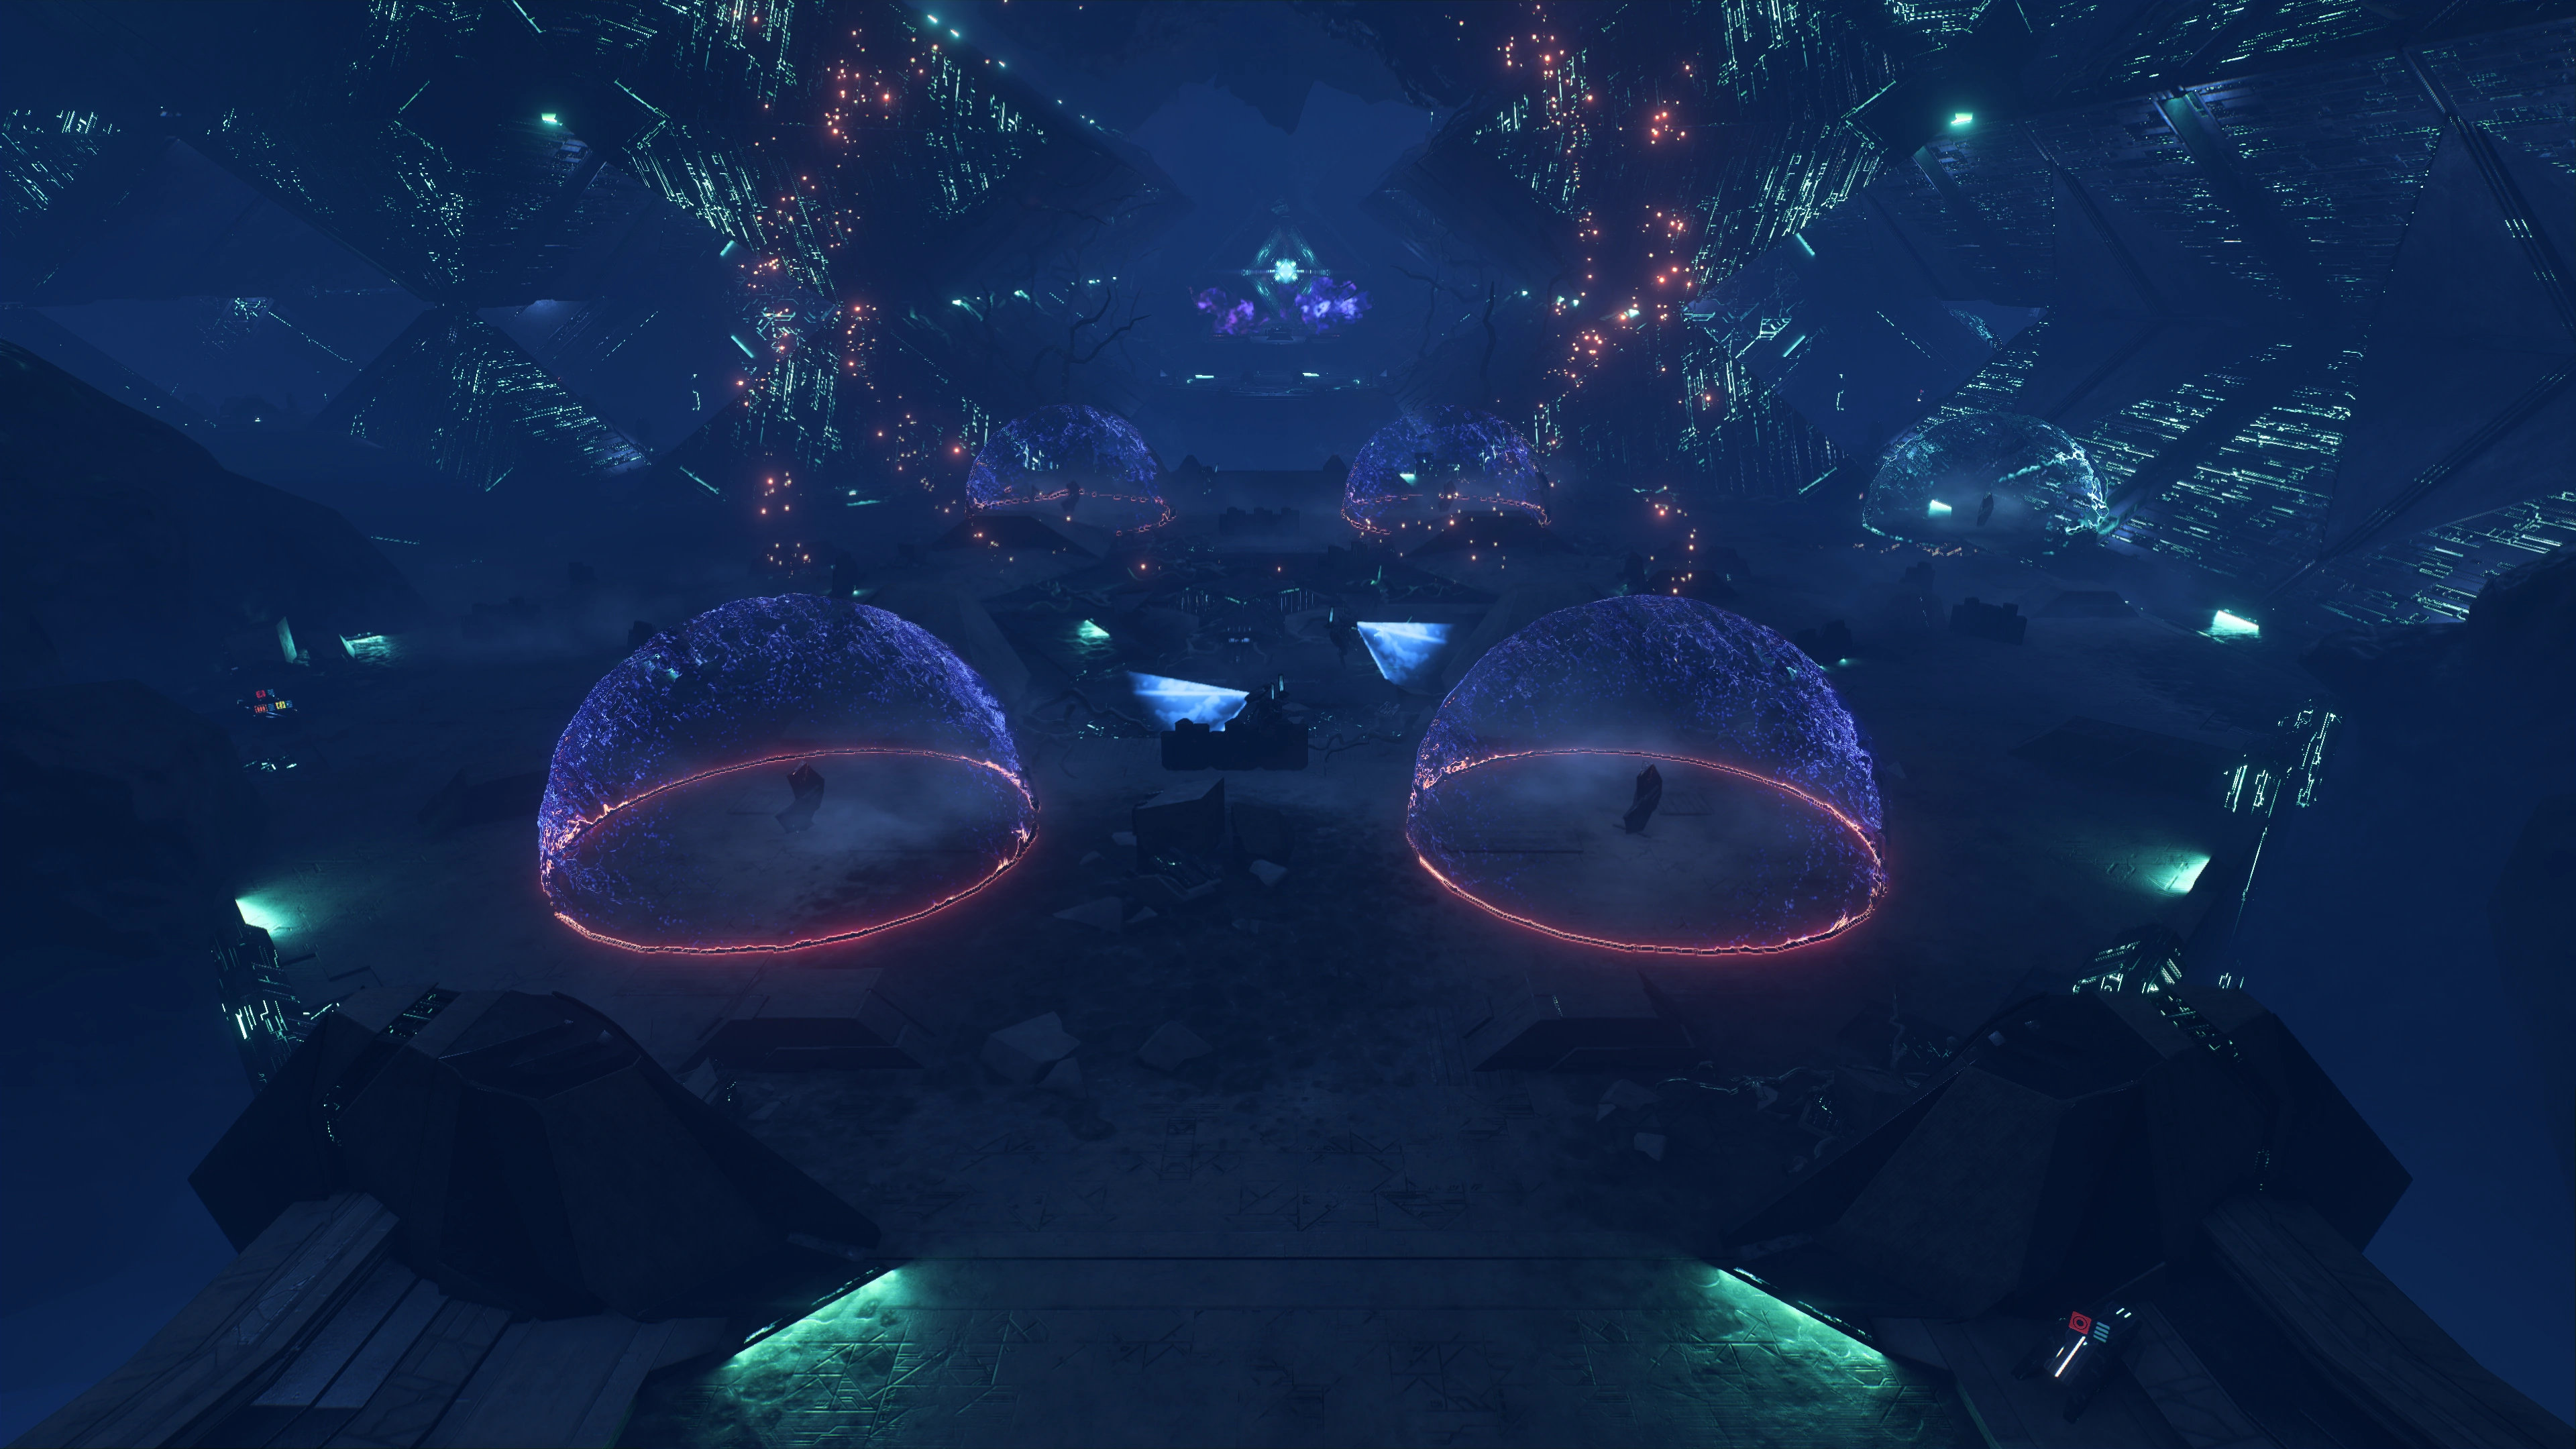
As with certain other Remnant installations, the conservatory has color-coded energy bubbles: purplish blue with red rimming damages shields, greenish blue restores them. Pay attention to the layout before blundering into an undesired bubble. Next to the benign bubble is an ammo cache and across from it on the other side of the room is another ammo cache plus a health cache.
Take the western path[]
The path east is blocked by a door that only opens from the other side (that you'll eventually get to anyway), so take the western path first. After the short corridor beyond the the good energy bubble two Breachers, a Nullifier, and an Observer will spawn. Defeat them. If you need them, there's one ammo and health cache each in the area.
There are three consoles in this chamber: west, north, and south. Activate the north console to spawn an Observer from the hub nearby, then wait for the Observer to float around the west console. Scan this console until the Observer activates it.
Two elevated square shaped doors are opened in the walls uncovering two small nooks containing two more consoles. Ryder helpfully points out there must be a trick to working them, and there is. The north nook console has one glowing rotating square block that appears on approach, the south nook console has two. Activate the one-block console first, then the two-block console afterward. There's no immediate effect, leave them for now.
Head to the south console next, the one beside the good energy bubble. On activation it shuts the door north and opens one south in addition to flipping the energy bubble to shield-busting, so ensure that the friendly Observer is nearby before doing so.
The next room has four Assemblers and an unfriendly Observer. Defeat them. When the smoke figuratively clears, your allied Observer will gravitate towards the nearby Observer interface console. It isn't going anywhere, so might as well take a look at where you're at. Note: If the Observer somehow died in the firefight, go back to the previous chamber and spawn another one before continuing.
Along the wall to the right immediately after the hostile bubble is an ammo pickup. To the left (east) is a bridge for crossing to the eastern path earlier mentioned, but don't go over just yet. Just before the bridge is another ammo cache, along the wall south another health cache, and to the left (north) is another Adaptive Remnant Core Device that can be scanned for +100 ![]() and a small lootable container.
and a small lootable container.
Back to the west console in the room, scan it to instruct the Observer to open the opposing walls. As with the previous room, two more consoles become available.
The south nook console has three blocks and a scannable glyph on the back wall (Adherence Glyph). The north nook console has four blocks. Activate the three-block console first, then the four-block console next.
If the four related consoles were activated in the right sequence (from one-block to four-block), Ryder immediately wonders what that did. Turns out the wall in front of the path south went down (just to the left of the console with 3 lights if your'e facing it), revealing another antechamber with two benign bubbles and a toggle console.
Beyond the antechamber are two Nullifiers and an Observer. Turn them to scrap.
The Observer and Nullifiers were guarding a room that is for all intents and purposes essentially a secret goodie chamber. The only way in is the only way out. The Observer's alcove has the Adherence Glyph from the three-block console's nook poking through; if you haven't scanned it there you can also do it here. To the opposite side in the south is a lootable container and Adaptive Remnant Core Device that can be scanned for +100 ![]() . At the end of the short alley to the left of the entrance is another container. In front of the entrance is seemingly another door and identified as such if scanned, but there's no way to open it.
. At the end of the short alley to the left of the entrance is another container. In front of the entrance is seemingly another door and identified as such if scanned, but there's no way to open it.
Cross over to the eastern path[]
With everything of note in the western path looted or taken care of, now is the time to cross the bridge mentioned earlier toward the eastern section of the map. The crossing consists of a midpoint platform and two bridges that form on approach. The welcoming party on the eastern side consists of a Nullifier and three Assemblers, deal with them as you see fit.
The layout in this chamber is similar to the ones on the western side: an Observer interface console to the east, two antechambers with toggle consoles to the north and south. There's also two ammo caches and a health cache in the area.
To get a friendly Observer for the appropriate console, head to the south and use the toggle console to switch the open/shut doors. At least five Breachers spawn on approach to the adjoining chamber, so be ready for that.
The goods in this chamber are three ammo caches (one in the antechamber further south), a health cache, and a container. The Observer Replication Control hub is on an alley to the right from where you came in. You will be using the spawned Observer to interface with consoles to the north. The first instance opens two nooks: one with a lootable container and the other has another Adaptive Remnant Core Device that can be scanned for +100 ![]() .
.
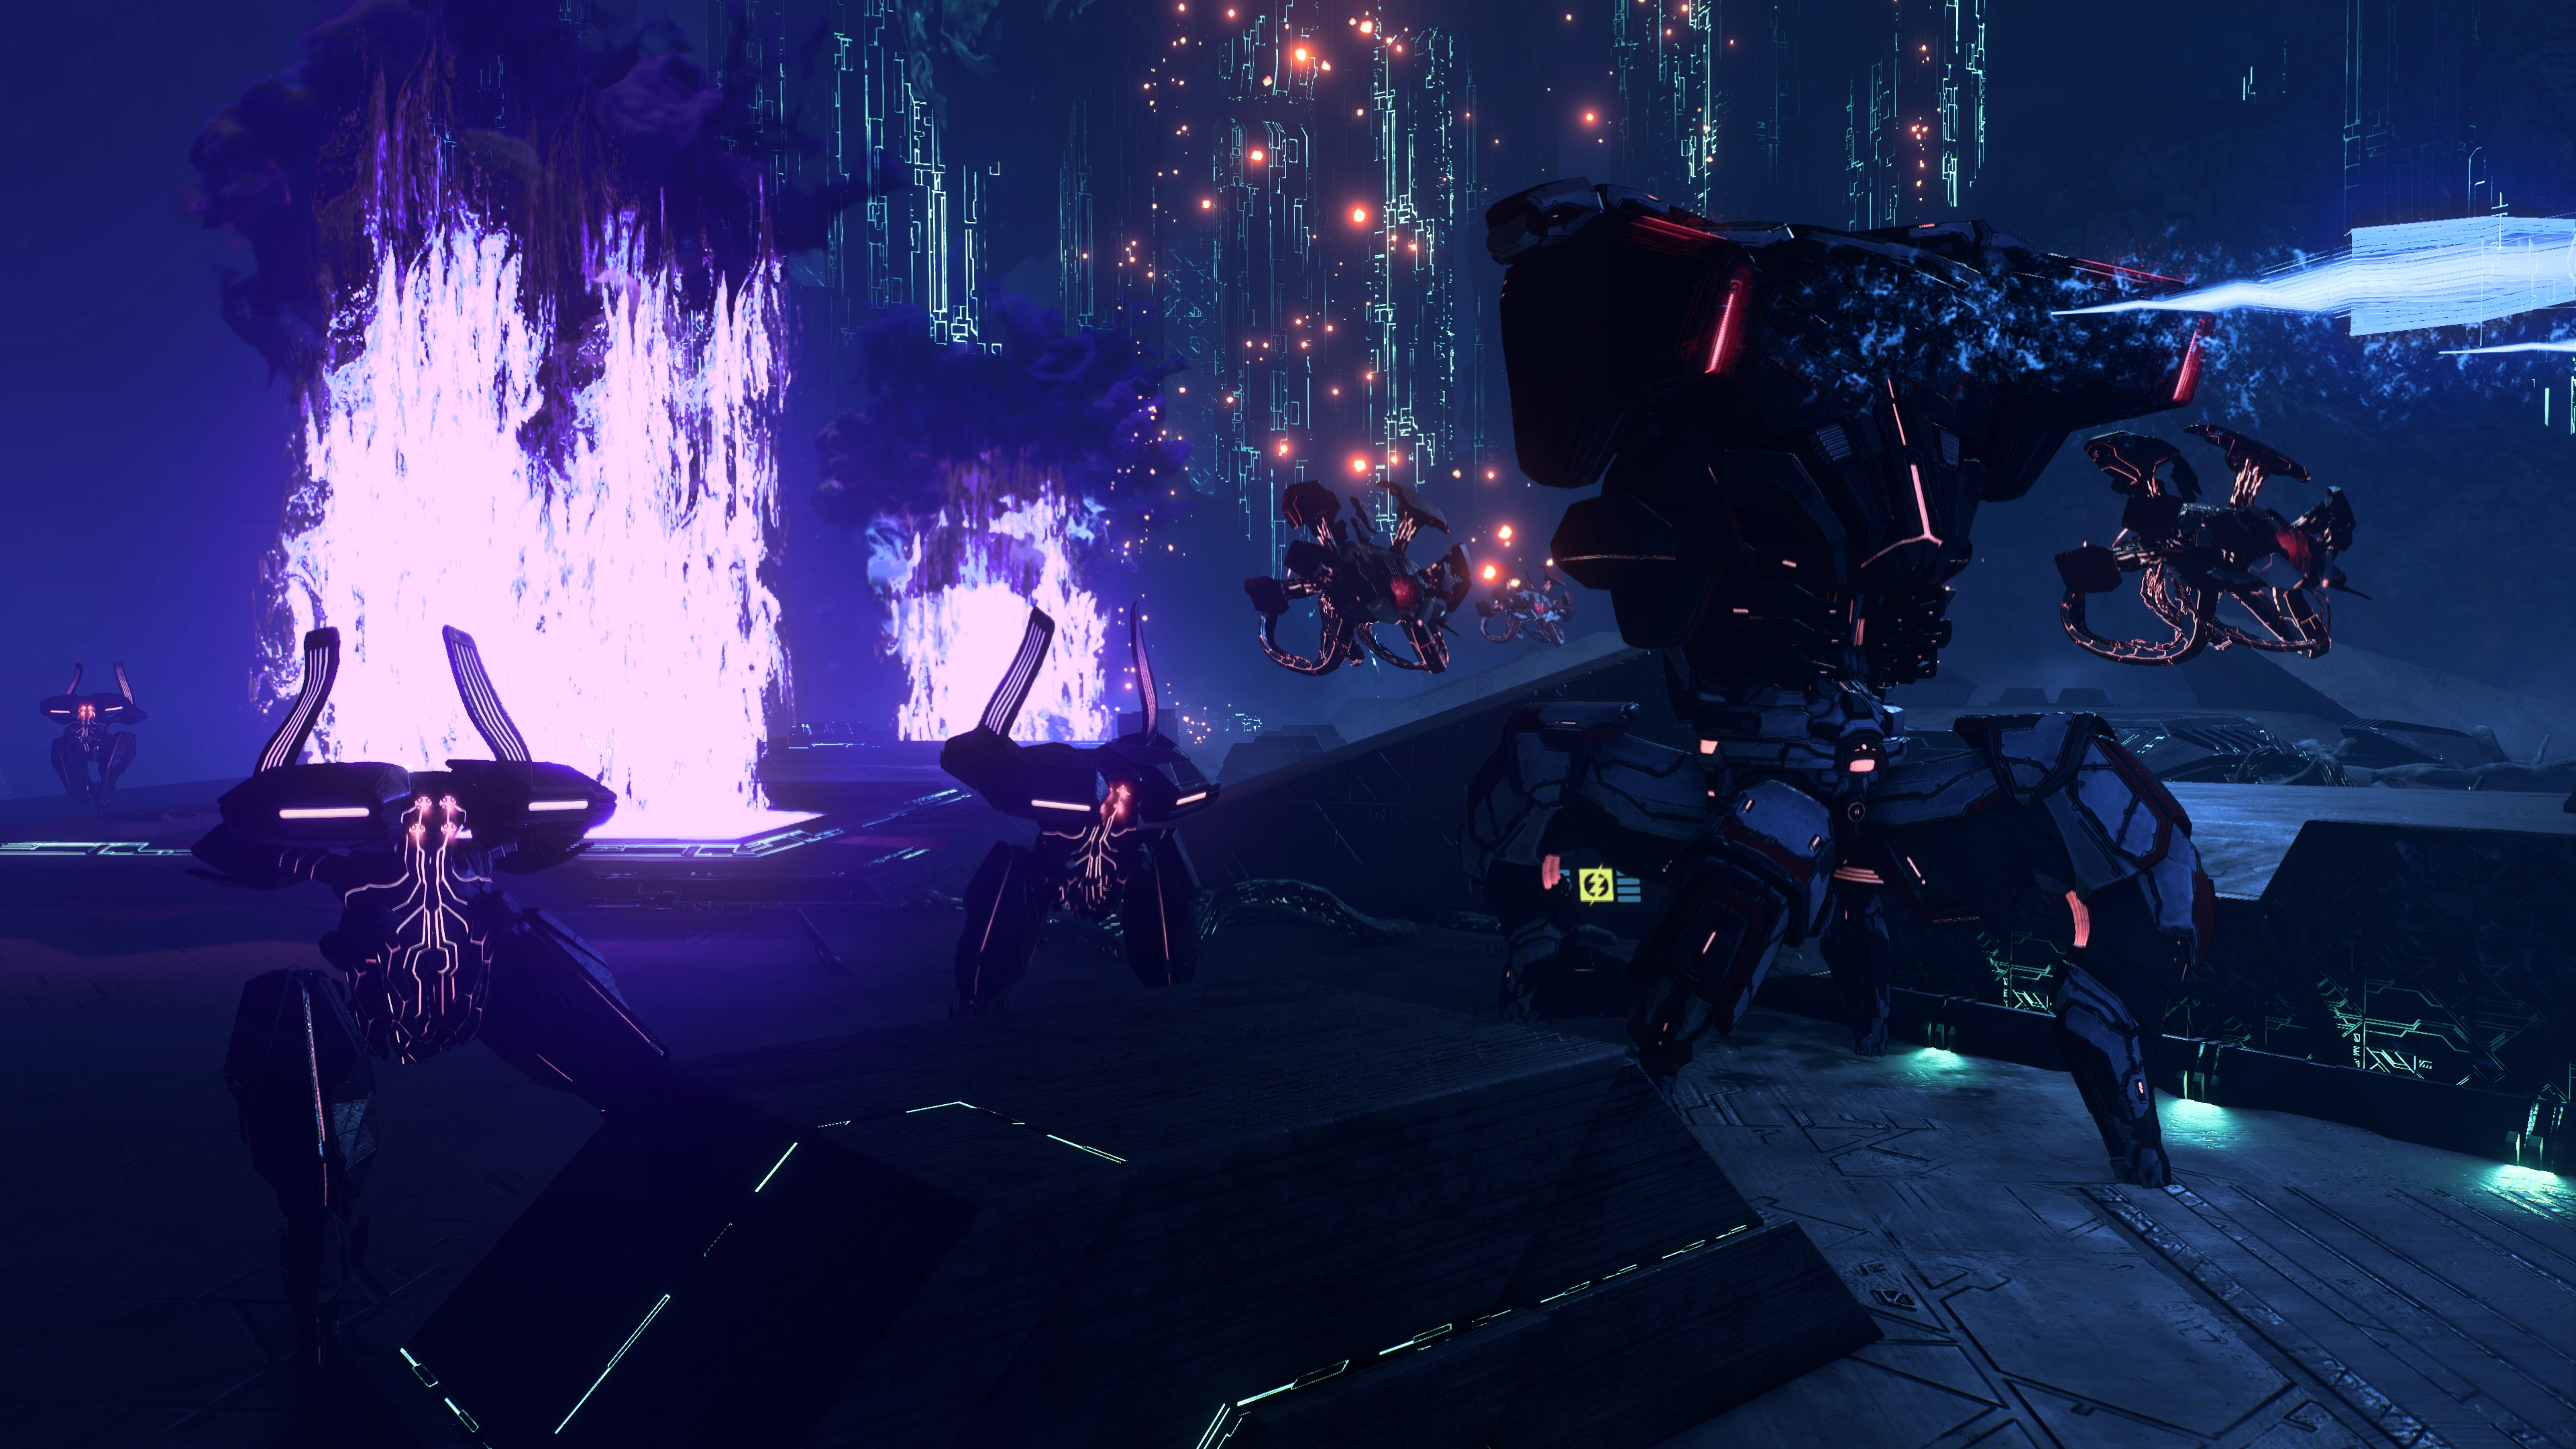
Further north past the antechamber with the energy bubble is the beginning of the eastern path and the second instance of the Observer interfacing. It's patrolled by a Nullifier and two Assemblers, with another Assembler spawning after one is killed.
Outside the vicinity, across from the northeast cave rock, to the east is a lootable container hidden down a short hallway. At the top of the giant rock blob there's another lootable container. There's nothing else in the area save for ammo and health supply caches and the Observer interface console. Activating the console only leads to a nook with a surprise hostile Observer, a lootable container, and the Magnitude and Semiosis Glyphs scannable on opposite sides of the wall.
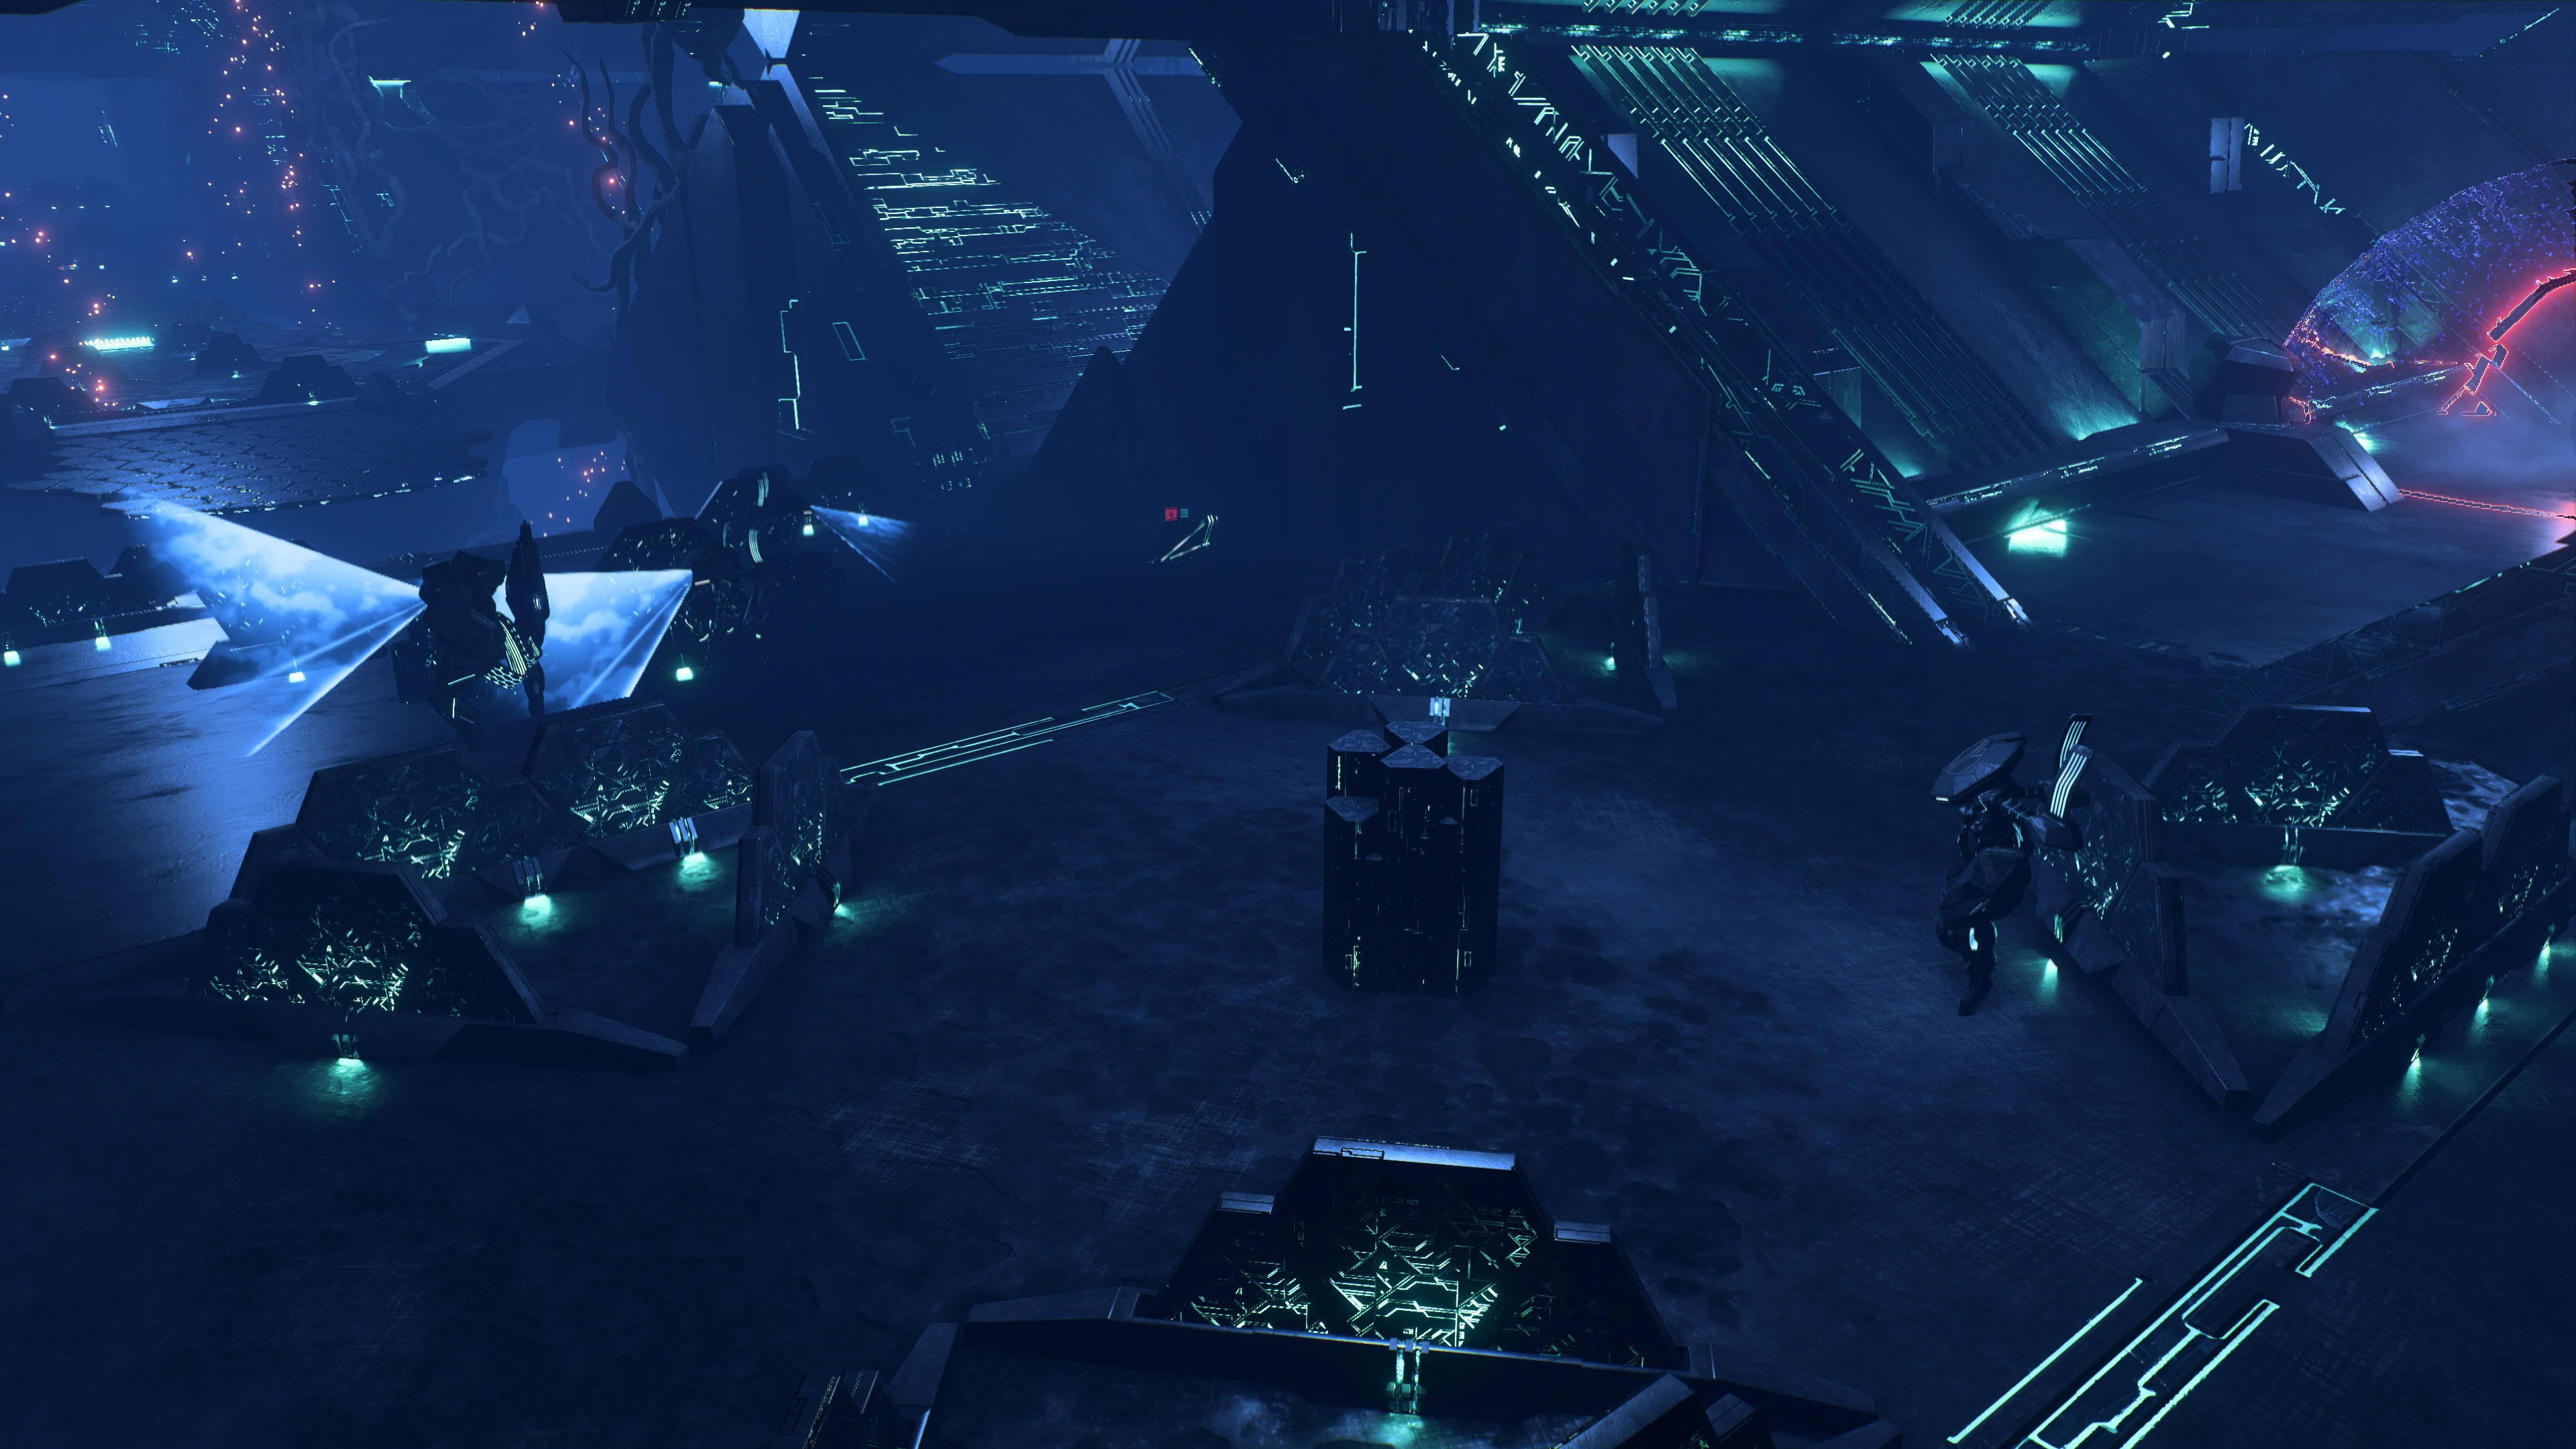
By this point the only unexplored area remaining is the navpoint proper itself, beyond the antechamber with two energy bubbles and an ammo cache. There is one last Observer interface console to the left from where you'll come in, but that can wait because the area beyond is guarded by a Progenitor, a more dangerous variant of the Destroyer.
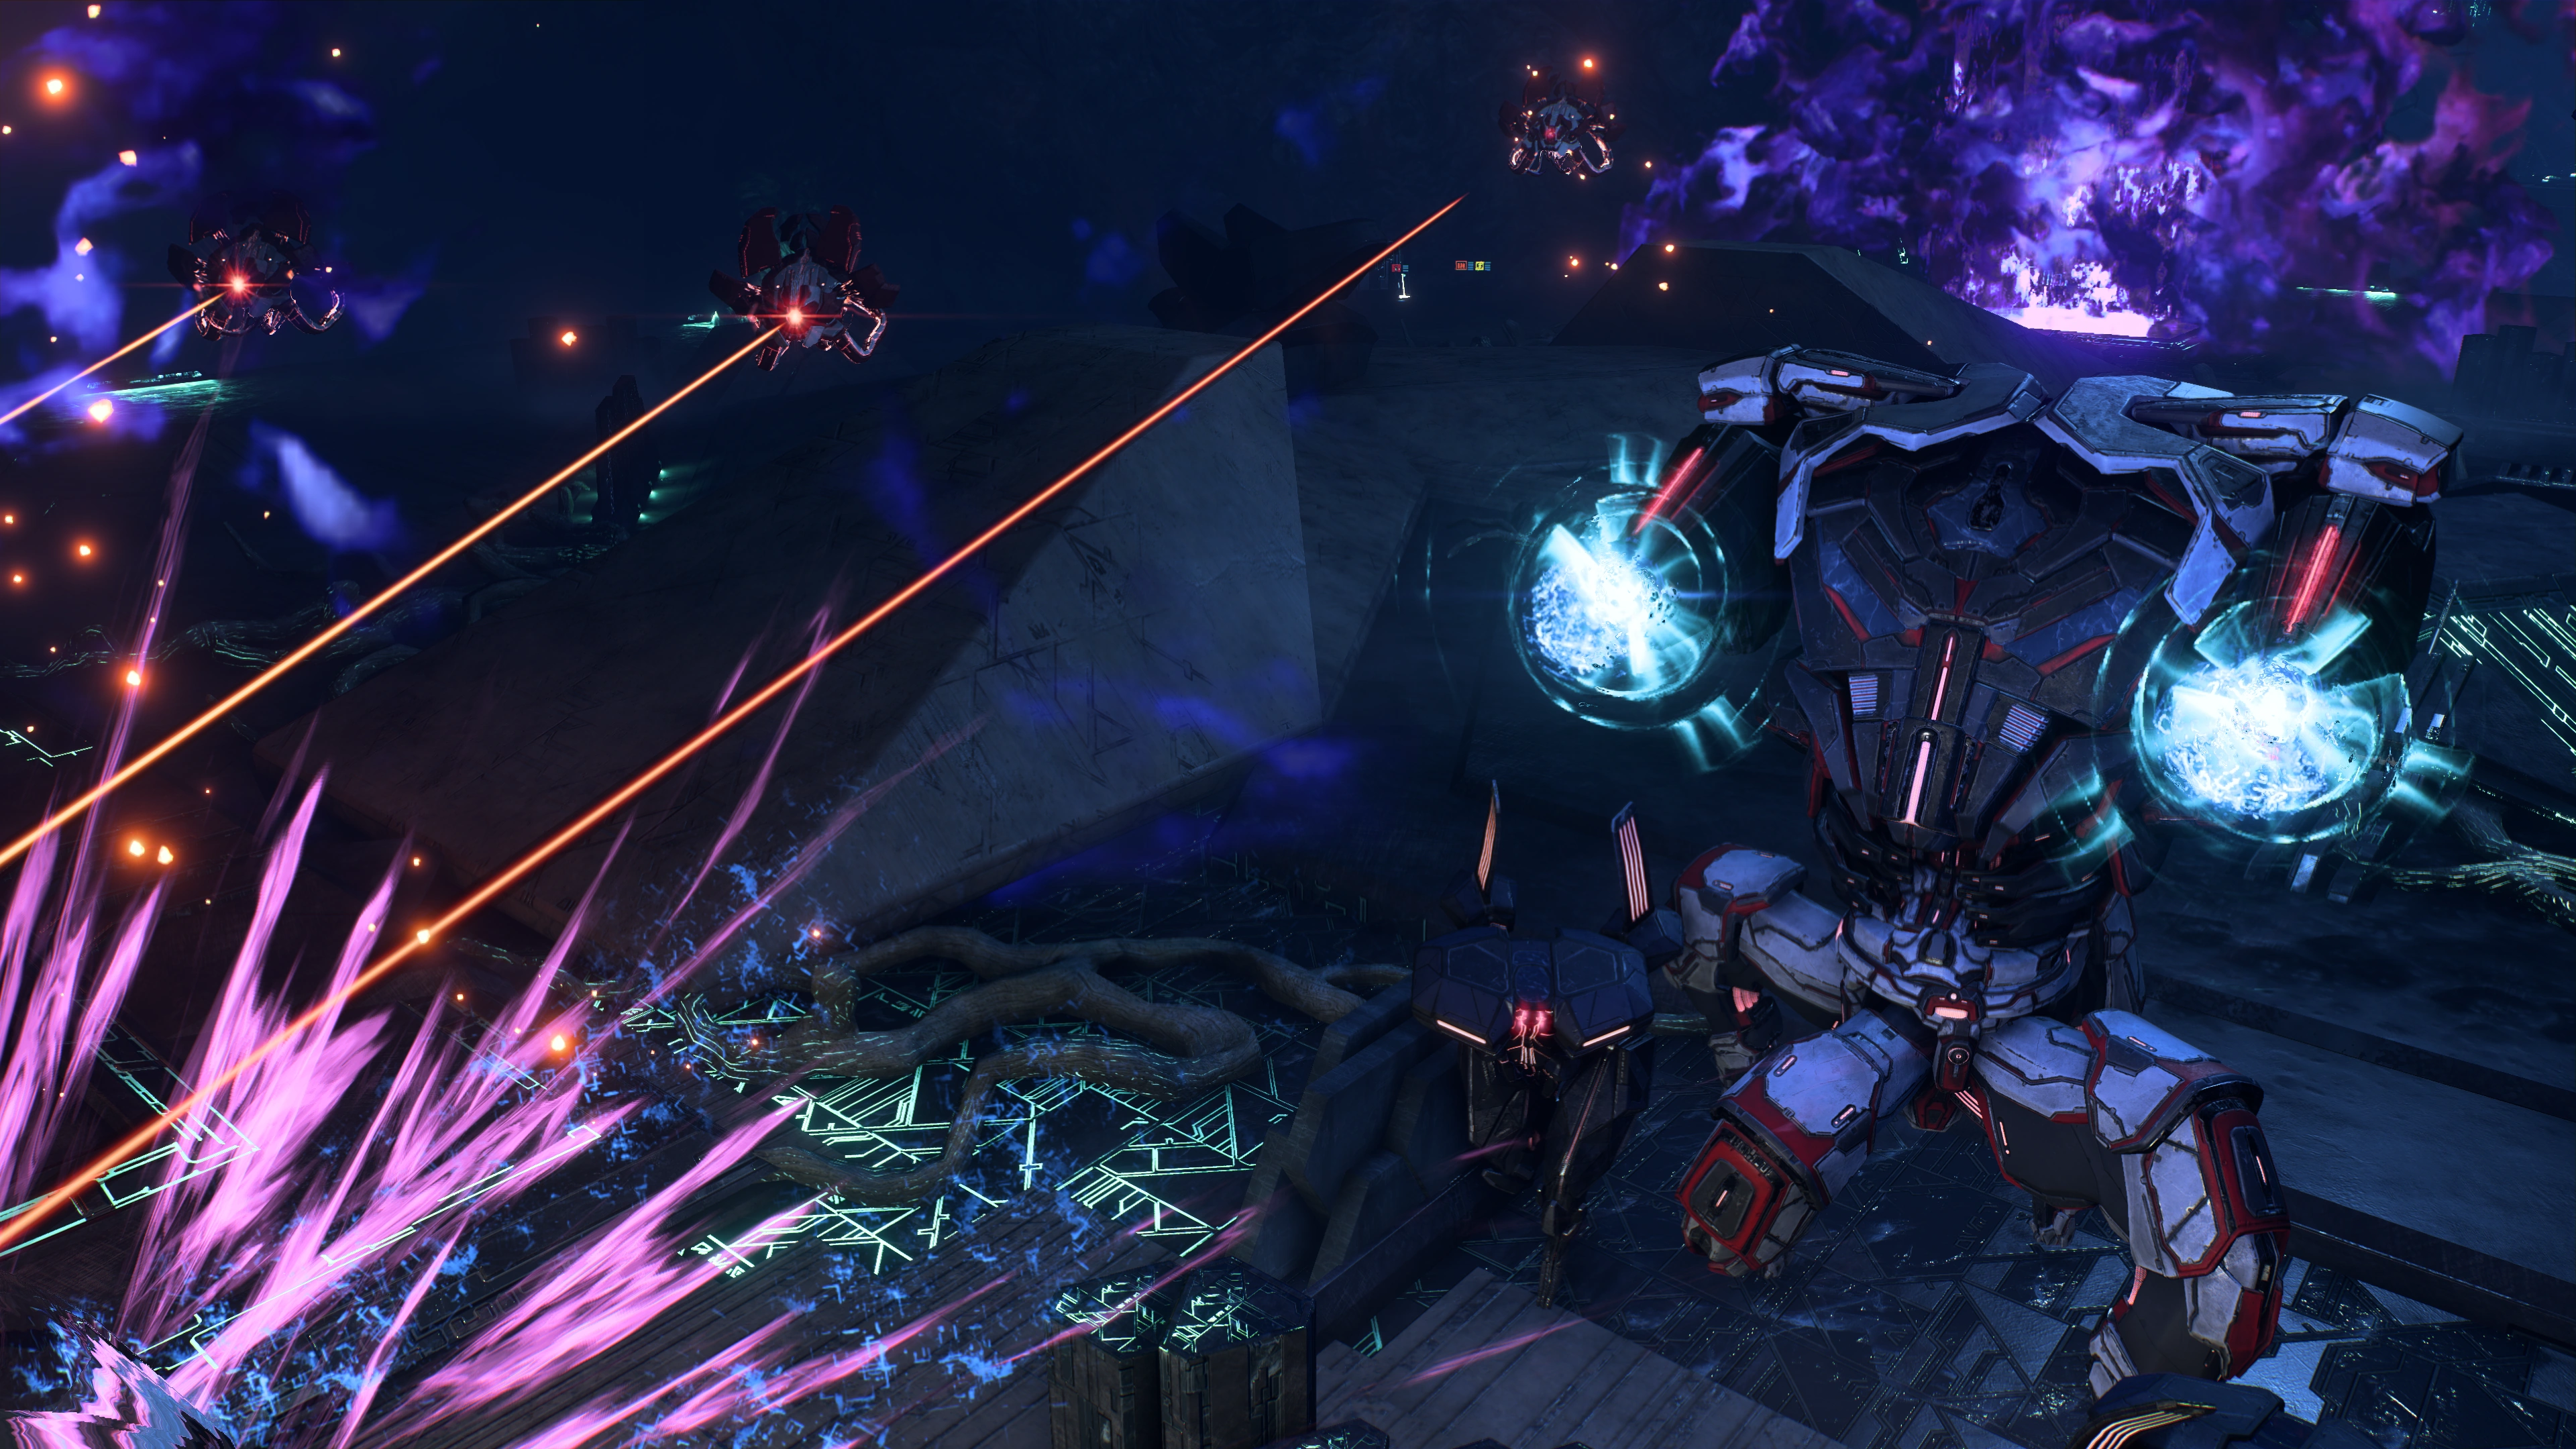
The main battlefield has four corners gushing with purple fire that can deal damage if walked into. To help with survivability, there are four ammo caches and three health caches along the four corners (plus another ammo cache and health cache back at the penultimate chamber to the east).
There are three initial Assemblers with the Progenitor, and they are bound to produce Breachers at some point. The Progenitor then spawns three Observers as per its abilities, quickly increasing the enemy headcount in no time. The Assemblers spawn every time one is destroyed, and the Progenitor spawns Observers every time one is destroyed, so the basic tactic amounts to just focusing your fire on the monstrosity to finish the battle quickly. A Cobra RPG (or two) for the Progenitor helps.
Activate the tiller[]
If during the course of the battle Ryder's Observer was killed, return to the nearby Observer Replication Control hub and get another one.
When the Observer finishes interfacing with the final console, two last elevated nooks open in the room. One chamber contains a lootable container. The other chamber has another lootable container and three scannable items: Nihility Glyph and two data patterns.
To activate the tiller, you have to solve a puzzle-locked console (needed for the Cryptographer Achievement) or override with a Remnant Decryption Key (if willing to speed things up). For the solution, see below.
Aftermath[]
With the tiller operational, the Initiative now has a long-lived source of helium-3. Director Tann is set to hear about the news soon.
A central long bridge in-between the western and eastern paths now appears straight towards the entrance. The fire pillars in the battlefield are also extinguished. Unlike the vaults, the conservatory can be visited again if desired or if some items were missed in the first run. The doors are left in their last configuration, however, and may require roundabout traversing to get to previously visited areas.
On exiting the orange dome high above, Ryder notices nothing different. SAM explains that the mechanisms are underground, but there should be tangible results after a few months.
Rewards[]
- +1330 XP
- +73 AVP

Enemies[]
Puzzle Solution[]
- Main article: Remnant Decryption Puzzle Guide
 |
| Vault Console |
Trivia[]
- The western path's southernmost portion has a wall-door that cannot be opened in any portion of the mission. Clipping through the door reveals only a short alley with a console at the end.