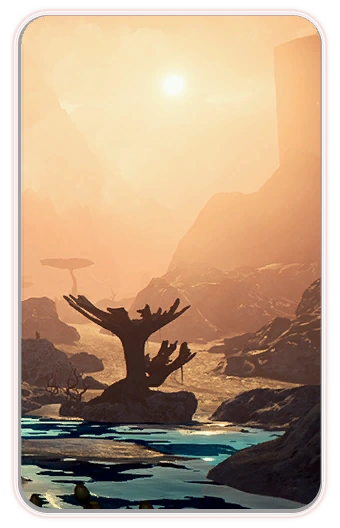
Kadara needs clean drinking water — streams and lakes are toxic and filled with sulfuric acid. Remnant technology could transform Kadara's water supply, but the monoliths around the planet must be activated to begin this process.
Acquisition[]
This mission is added to the Journal when Pathfinder Ryder gets close to any of the three monoliths on Kadara.
Walkthrough[]
The monoliths can be activated in any order.
Activate monoliths[]
Eastern monolith[]
The eastern monolith![]() is just north of Kadara Port. Approaching the location will start an objective to scan Glyphs.
is just north of Kadara Port. Approaching the location will start an objective to scan Glyphs.
Two glyphs are scannable from the ground and one requires climbing up some rocks to reach. They are the Adherence Glyph, Entropy Glyph, and Zero Glyph.
Climbing up some rocks to one of the glyphs, there is an Adaptive Remnant Core Device to scan for +100 ![]() . There is also a container that can be looted.
. There is also a container that can be looted.
After scanning the three glyphs, interact with the console to activate the monolith. Solve the puzzle to activate the monolith. For the puzzle console solution, see here.
Western monolith[]
The western monolith![]() is accessed through a canyon-like cave that is in the Draullir region. Ryder will find a group of angara fighting Outlaws at a camp with an observation platform that is northeast of a Forward Station and the cave is due west of the camp by a covered vehicle. Approaching the cave will start an objective to scan Glyphs.
is accessed through a canyon-like cave that is in the Draullir region. Ryder will find a group of angara fighting Outlaws at a camp with an observation platform that is northeast of a Forward Station and the cave is due west of the camp by a covered vehicle. Approaching the cave will start an objective to scan Glyphs.
There are two glyphs scannable from the ground. They are the Hydrodynamic Glyph and Nihility Glyph. After scanning the two glyphs, interact with the console to activate the monolith.
Ryder can speak to the Local Angara after the fight but this conversation only brings the angara fresh news about Ryder's relationship to their species.
Southern monolith[]
The southern monolith![]() is just north of the southernmost Forward Station, southwest of Kadara Port. It can be accessed through a cave in the Draullir region which is east of the monolith and just west of the road.
is just north of the southernmost Forward Station, southwest of Kadara Port. It can be accessed through a cave in the Draullir region which is east of the monolith and just west of the road.
Entering the cave starts an objective to scan Glyphs. Ryder will find a trail of Observers riddled with bullet holes on the way into the cave. Raiders with a Hydra have to be eliminated.
There are four glyphs to scan in this area. The four glyphs are the Interval Glyph, Kinetic Glyph, Semiosis Glyph, and Thermodynamic Glyph. Three of the glyphs can be scanned standing on the ground; the fourth is in the previous "room" in the cave.
After scanning all four glyphs, interact with the console to activate the monolith.
Investigate the vault's entrance[]
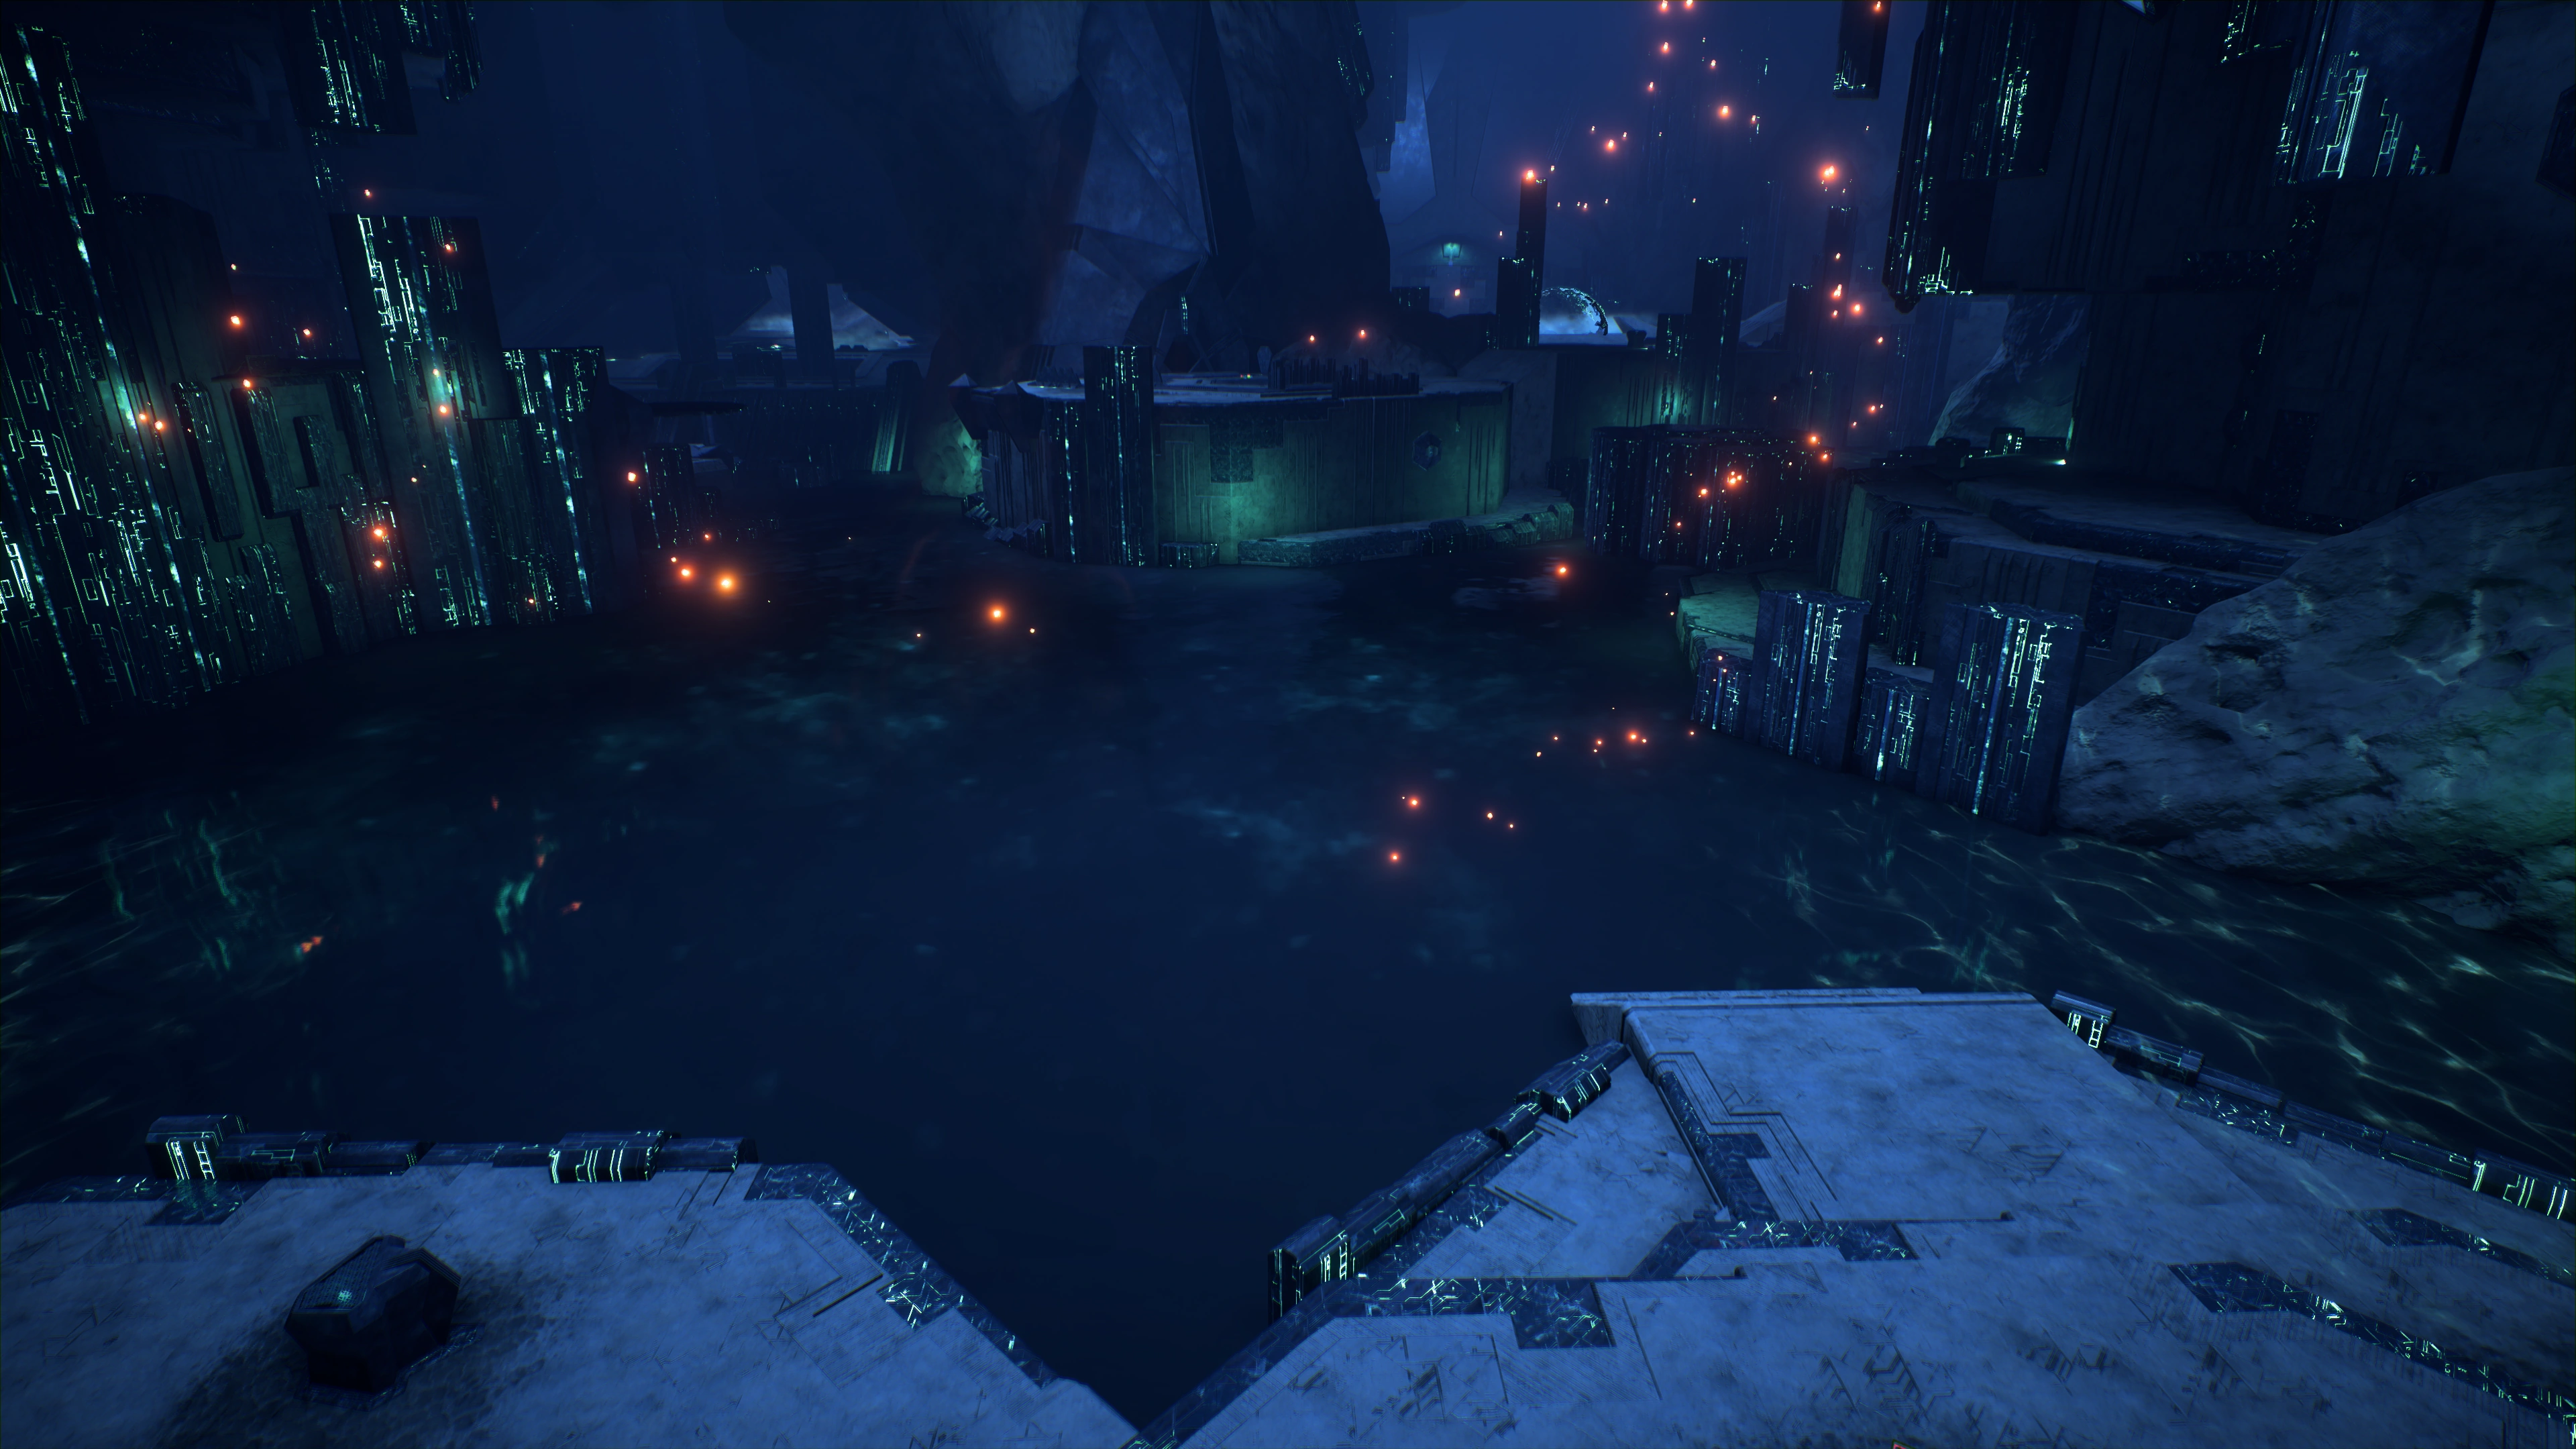
A navpoint![]() will be added once all three monoliths have been activated. Travel to the vault location located southwest of the Forward Station in the Haarfel region. Open the door and take the gravity well down into the vault.
will be added once all three monoliths have been activated. Travel to the vault location located southwest of the Forward Station in the Haarfel region. Open the door and take the gravity well down into the vault.
Activate the vault's emergency power[]
Use the Power Console on the elevated platform. Hidden below the elevated platform to the westernmost end there's an Adaptive Remnant Core Device (+100 ![]() ).
).
Remove the vault's lockdown[]
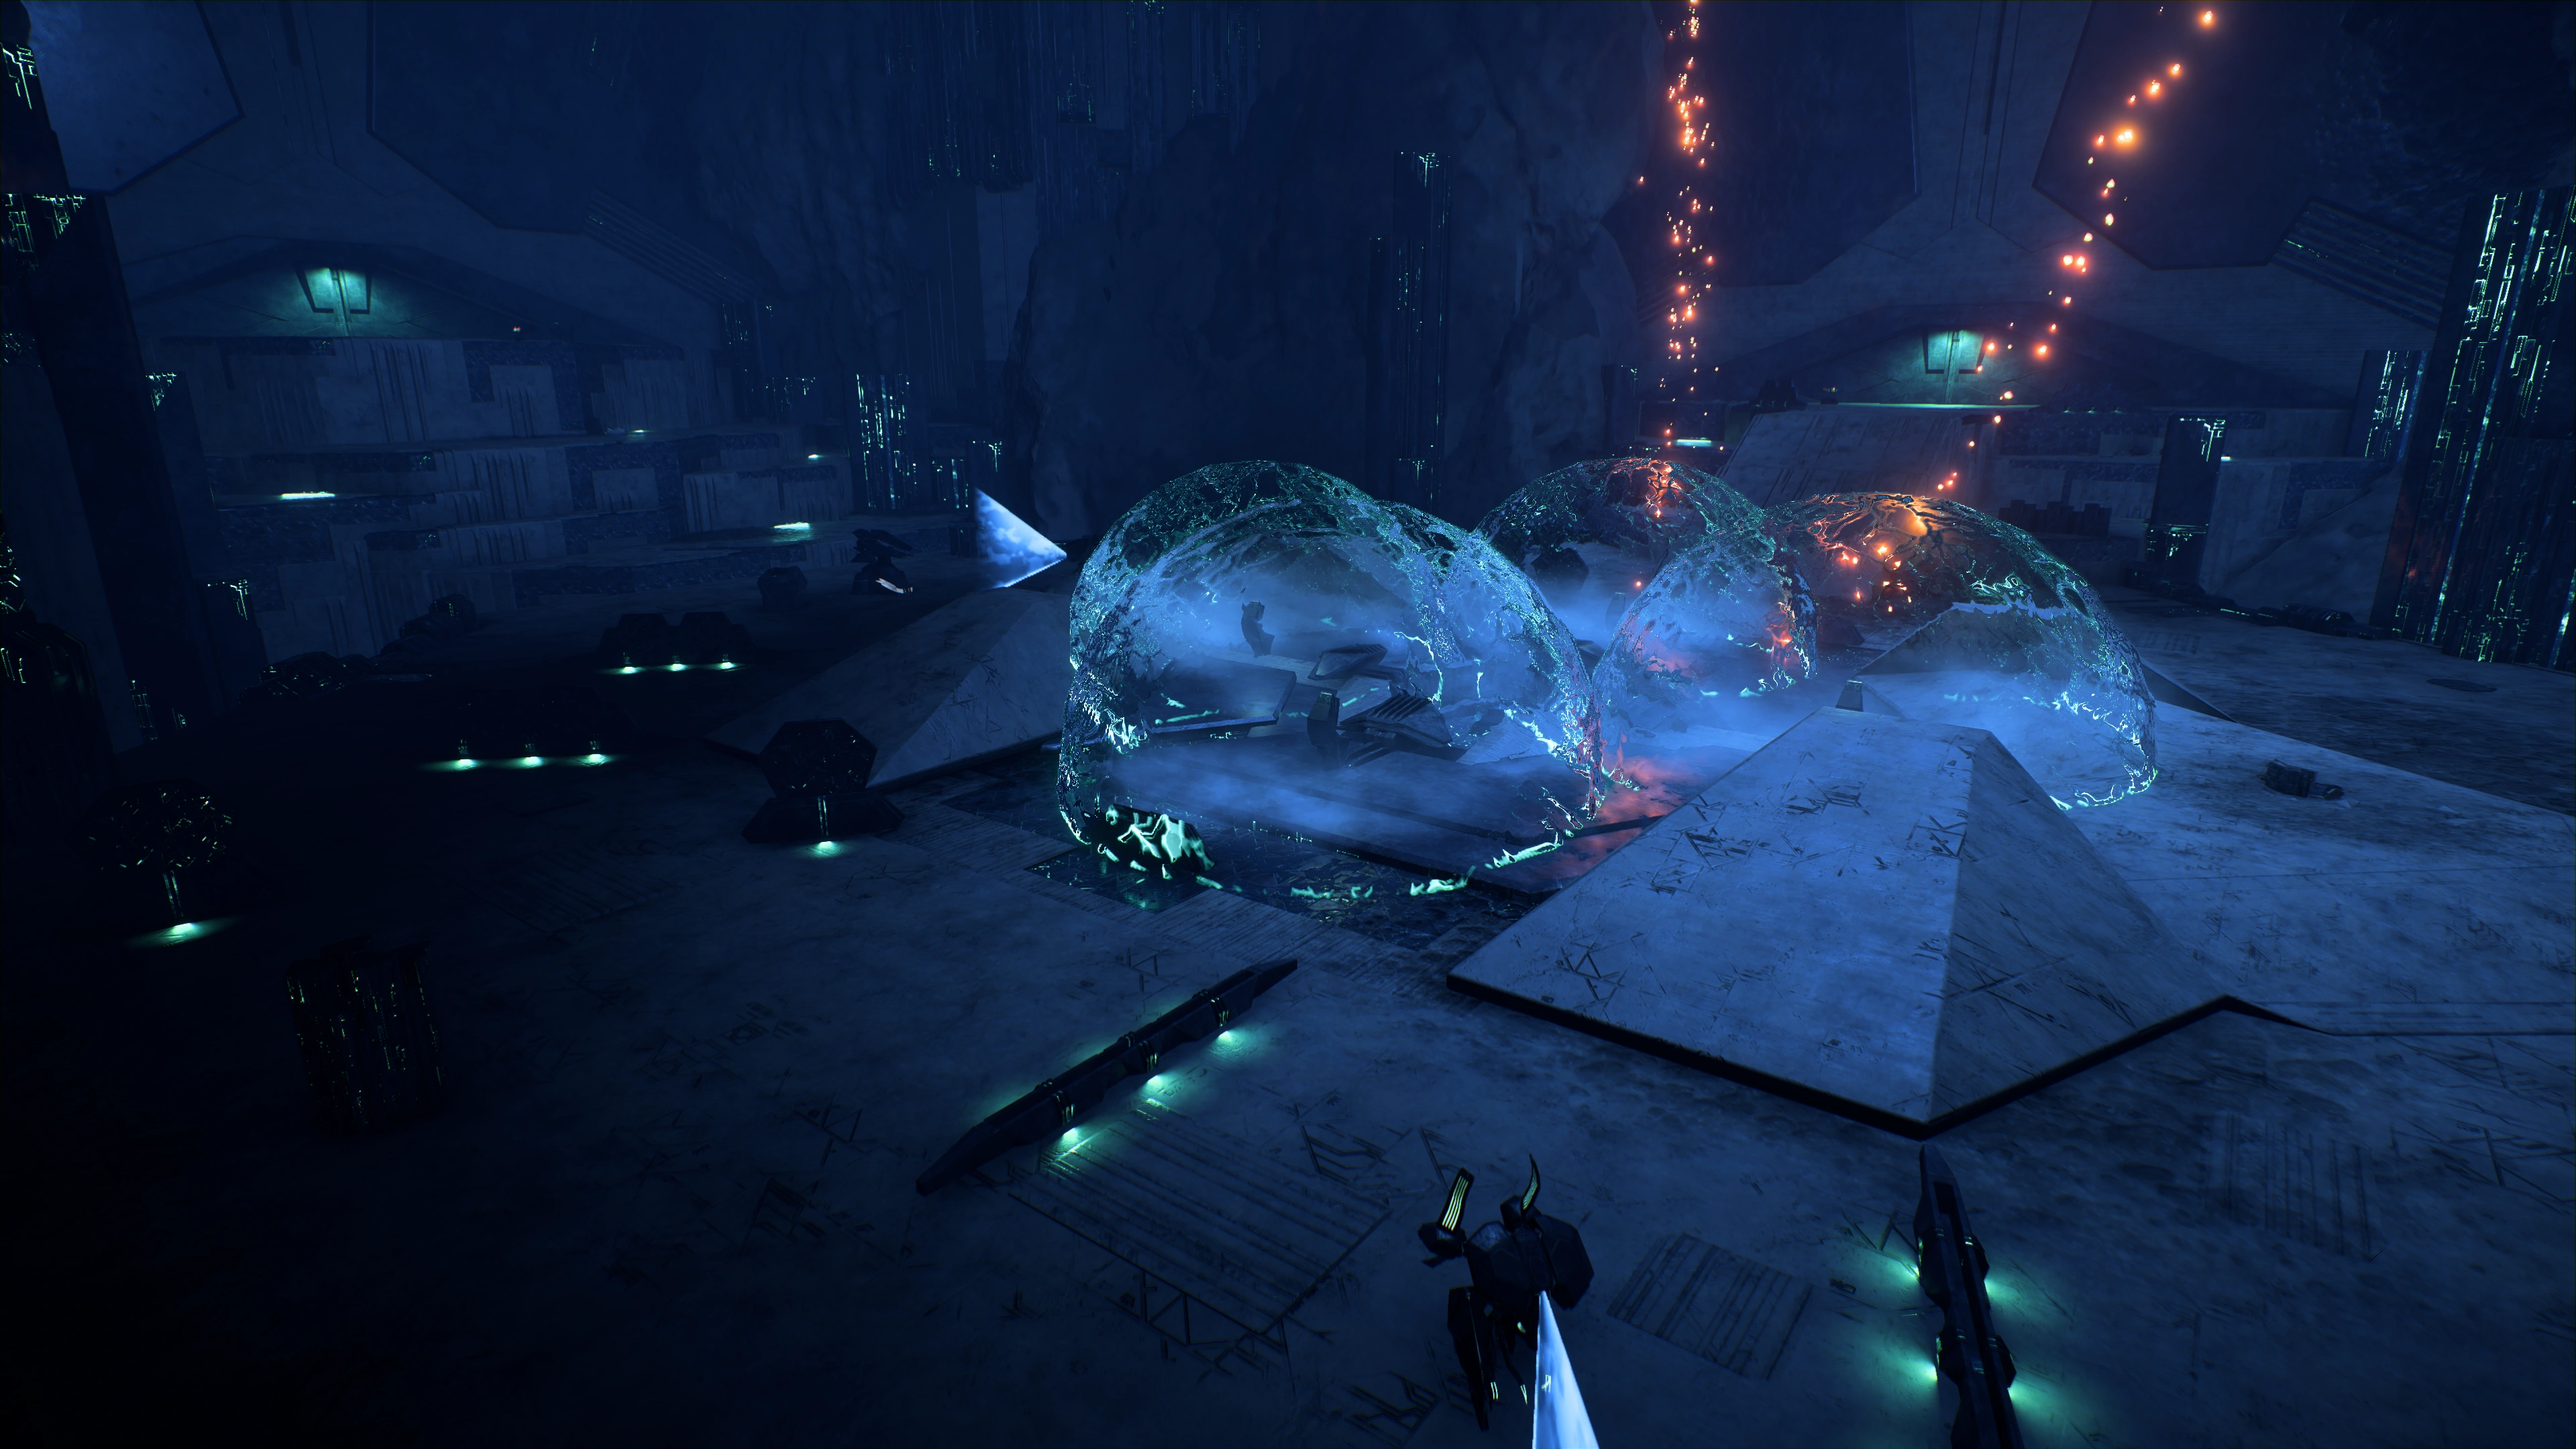
Use the three consoles surrounded by bubbles to open the door into the vault. Warning: Entering the bubbles to activate each console causes small but continuing damage to Ryder's shields. Once each console is activated the damage will cease.
The big console in front of the vault entrance proper is only used later when Ryder is escaping the vault.
The initial Remnant greeting party beyond the door is just two Breachers and an Observer. After dispatching of them, carefully survey the cavernous surroundings.
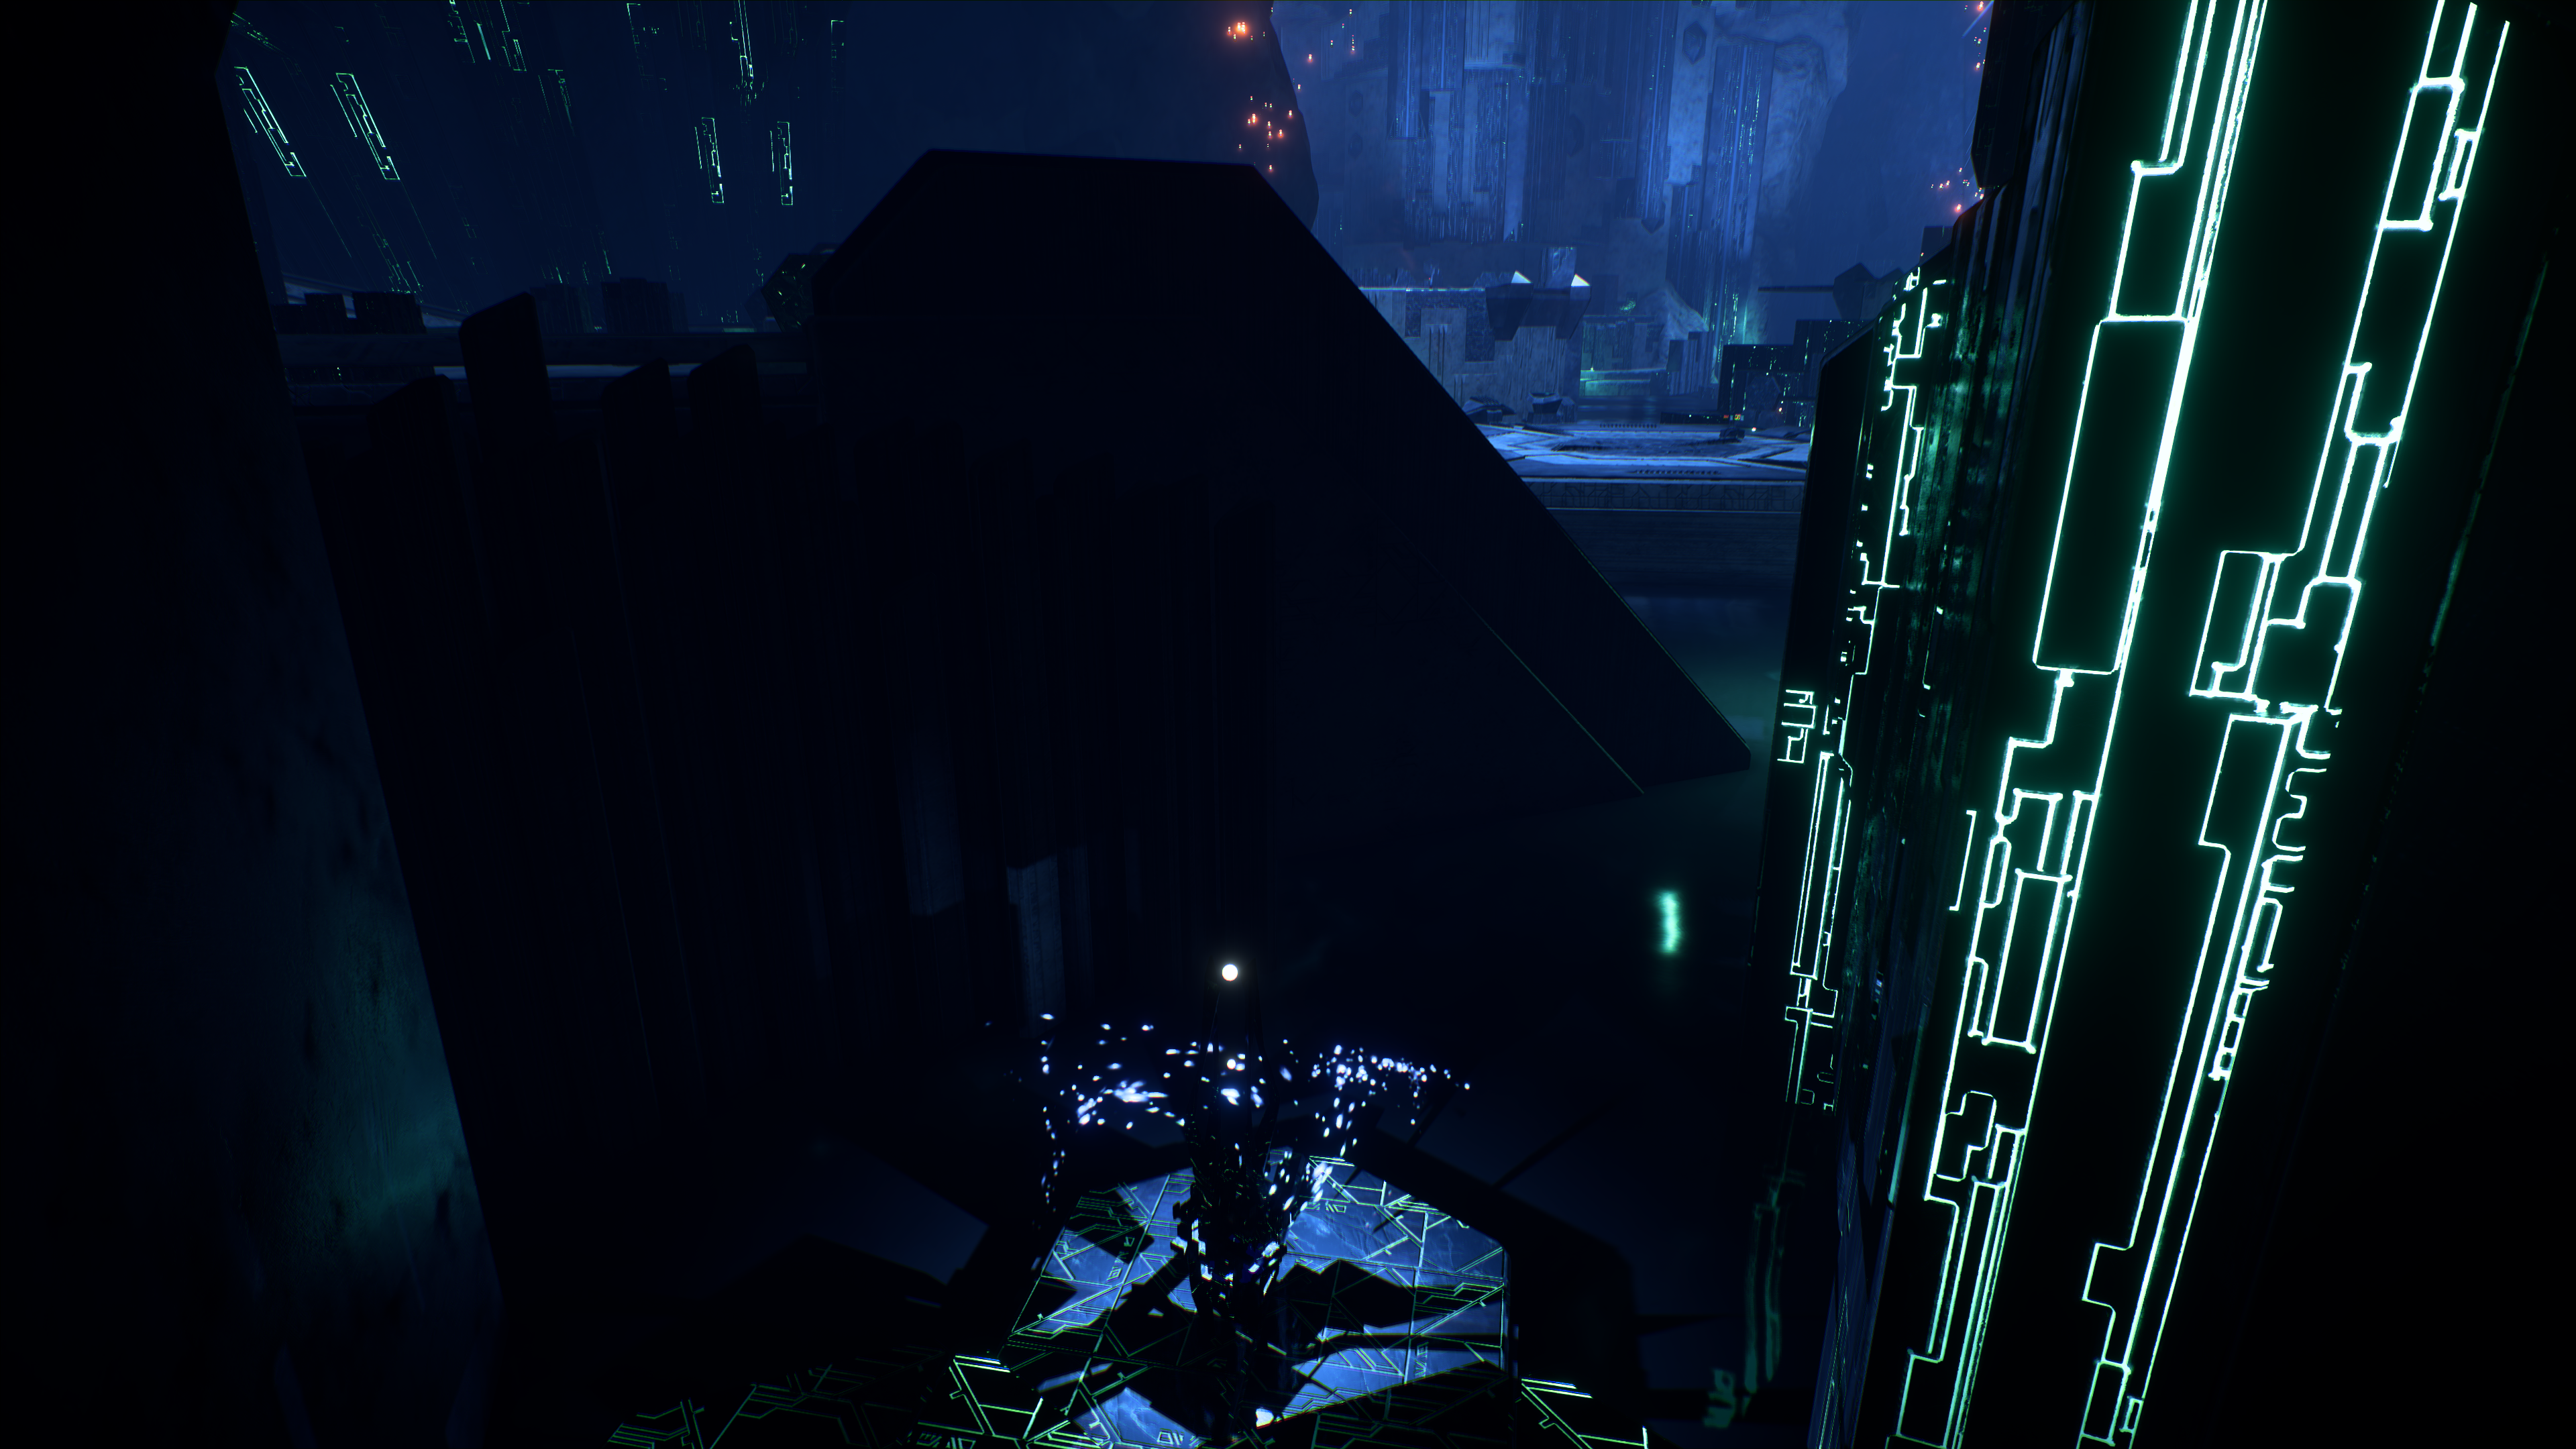
Before jumping down to the hexagonal platform, take note of an easy-to-miss Adaptive Remnant Core Device on the right-hand side, down below the platform you're in. Look for the telltale blue strobe lights produced by the rotating core and scan for +100 ![]() .
.
Besides the ammo resupply, there's a console on the hexagonal platform. Its default configuration lays down a longer path toward the vault center. Activating it raises a platform from the ferrofluid for you to reach the door to the vault center much faster, but at the expense of grabbing all other treasures the vault holds. It also closes the door to a rem-tech cache nearby, and SAM even reminds you that it will affect your escape from the vault later. In terms of risk-reward analysis just leave the default setting be.
Jump up on the pylons to the right and into stable elevated ground. There are two Assemblers here for your squad to disassemble. On an outcropping highly visible from the entrance, there is an Adaptive Remnant Core Device to scan for +100 ![]() . On the topmost dimly-lit elevated ground there's a container for looting.
. On the topmost dimly-lit elevated ground there's a container for looting.
To reach the northside platform from your location a bridge will spawn once you're near enough the ledge. On the platform is a barrier-locked room with the aforementioned rem-tech Ryder can pick up during the escape. SAM sets a navpoint![]() for it. Across the ferrofluid, visible from this platform but unreachable from the scanner yet is another Adaptive Remnant Core Device, as well as two Breachers and a Nullifier on the adjacent solid ground. Ignore them for now for they can be dealt with later.
for it. Across the ferrofluid, visible from this platform but unreachable from the scanner yet is another Adaptive Remnant Core Device, as well as two Breachers and a Nullifier on the adjacent solid ground. Ignore them for now for they can be dealt with later.
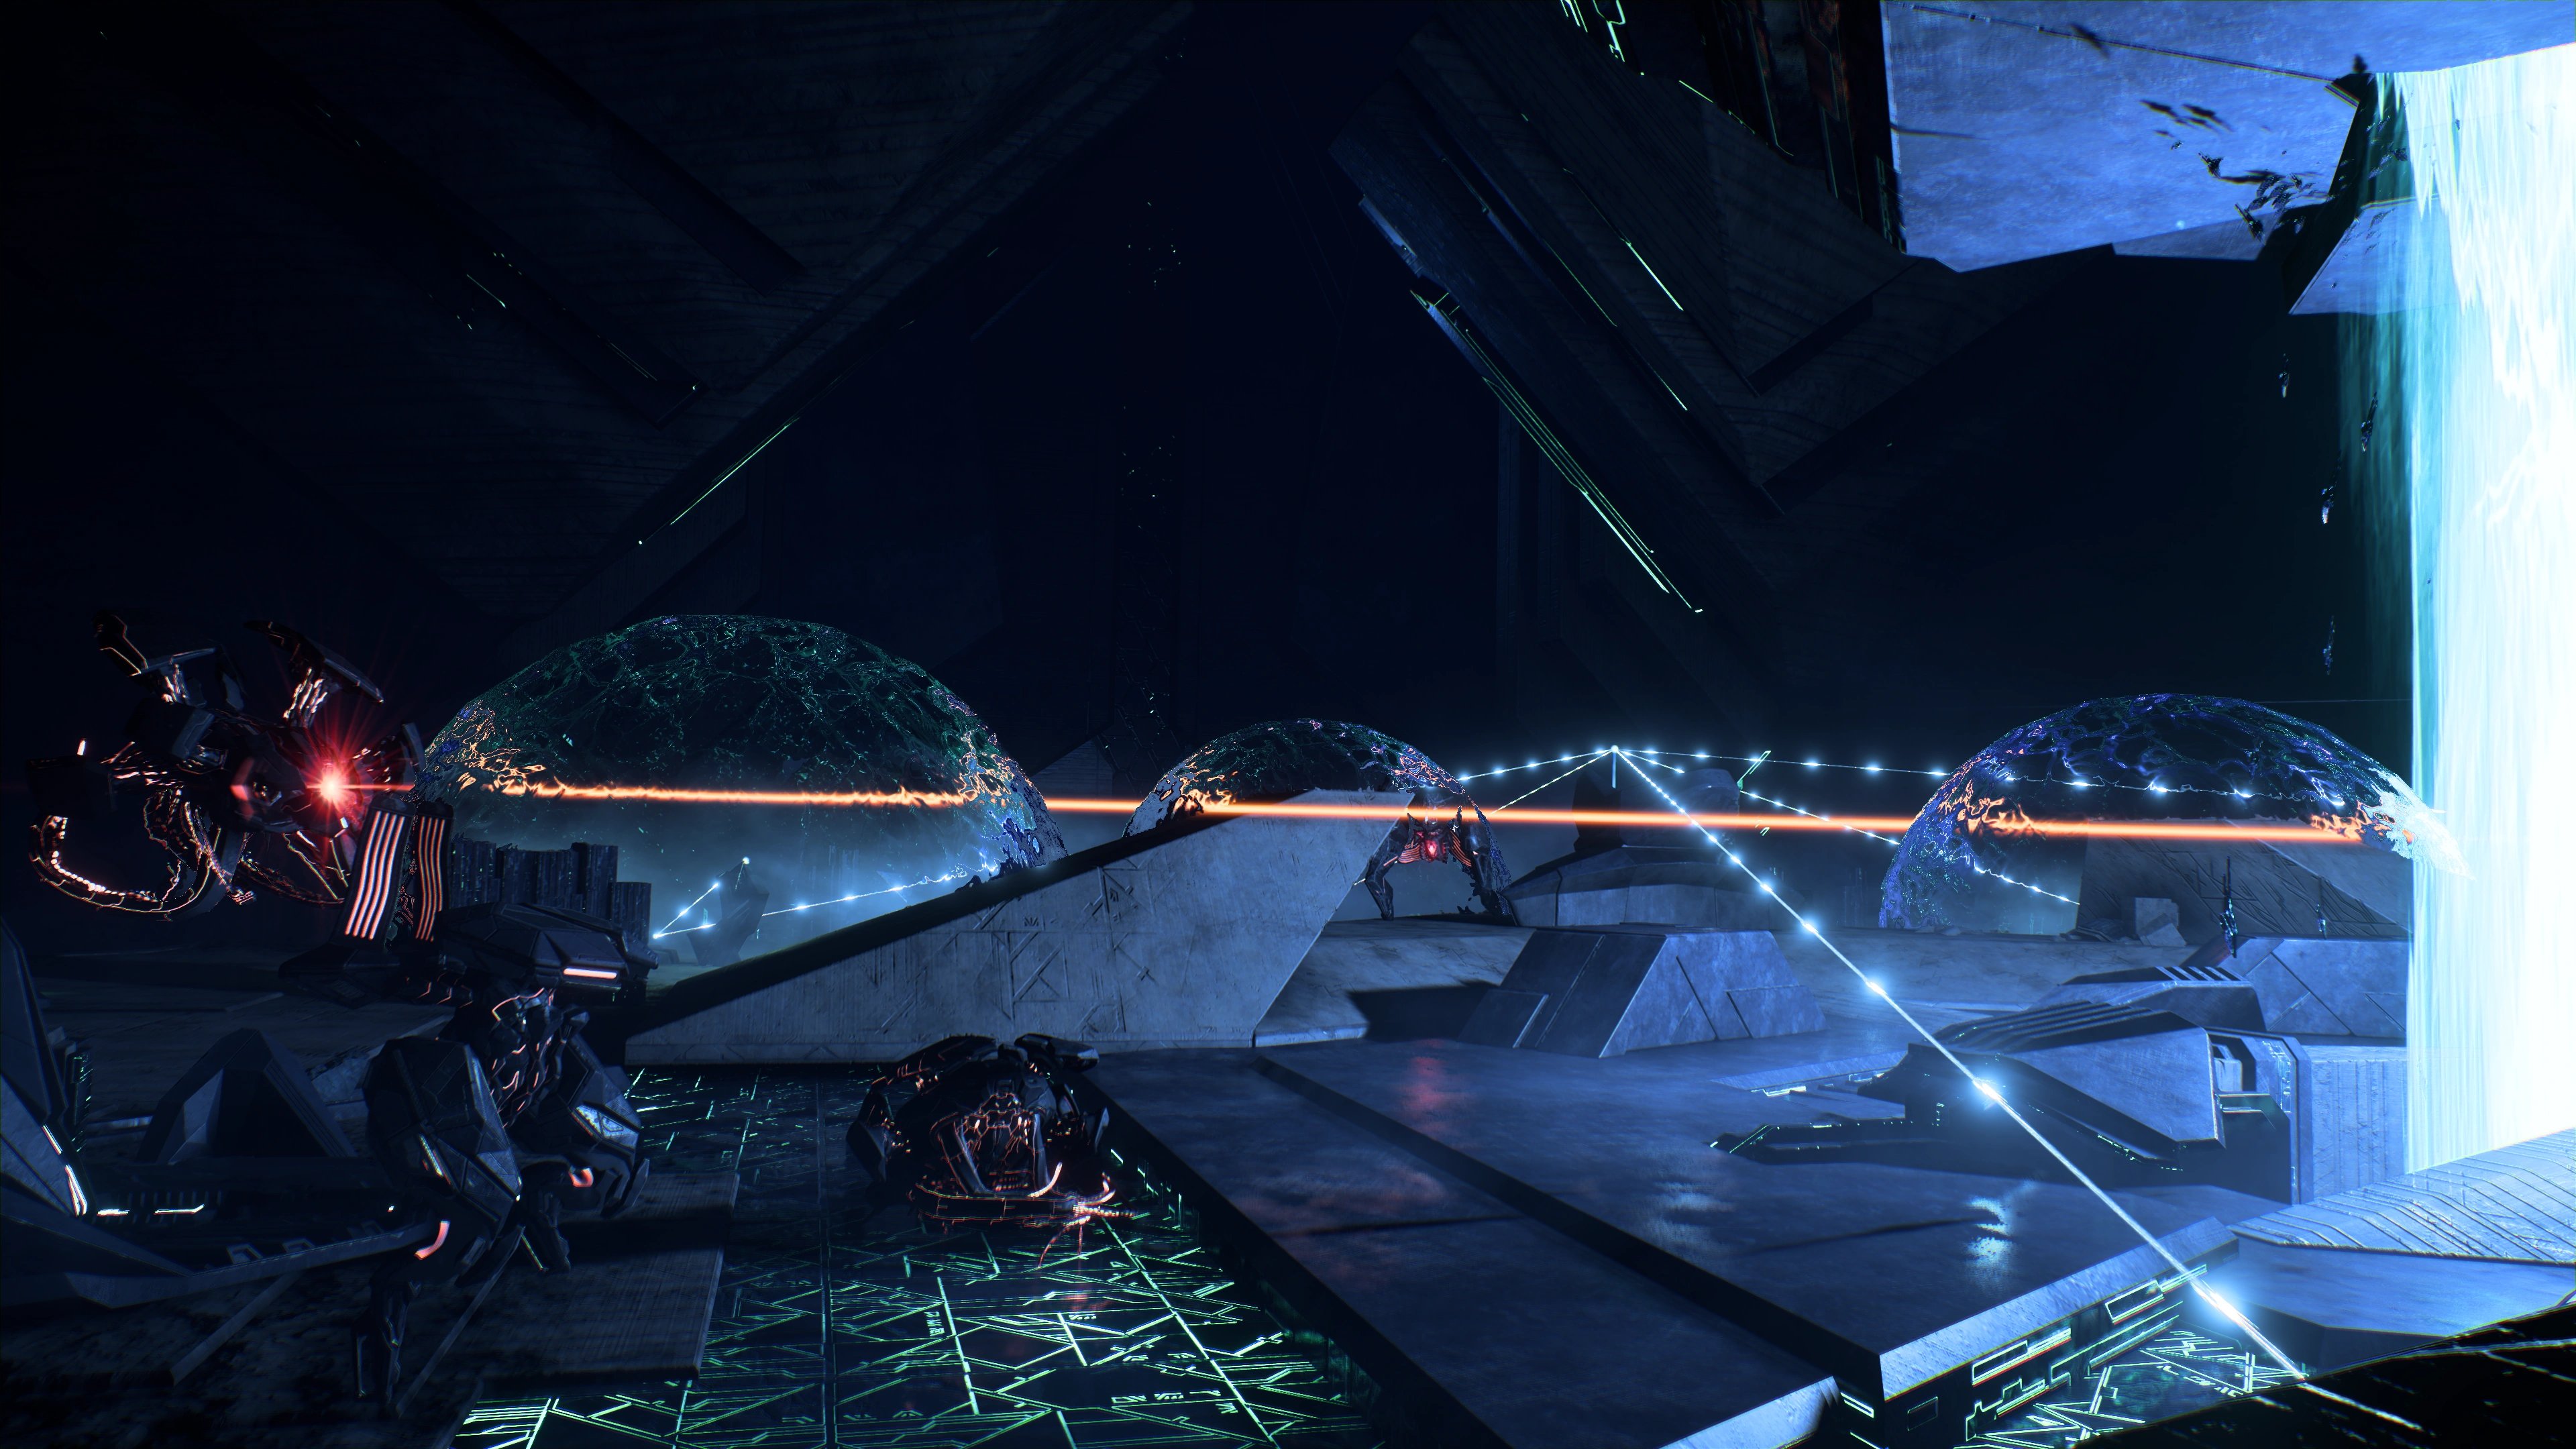
Continuing on the only path there's a Remnant console up ahead that controls whether to raise physical barriers or change the nature of field bubbles that appear after first interfacing. Default configuration has the barriers raised. Changing it for the first time turns the field bubbles on and lowers the barriers. Changing it again raises the barriers again but turns the field bubbles hostile to Ryder's shields.
There are 3 Assemblers and a Nullifier guarding the area ahead. There's also a turret that can be controlled through a nearby console. After dealing with them, there's a container at the center of the field bubbles. Two explorable areas are in the immediate vicinity: one to the north and one to the west. Before deciding where first, though, it would be more prudent to scour the area for goodies.
North from the western door there's a small container. South from the western door there's a semi-hidden area with a lootable container and a scannable Stratospheric Glyph on a pillar. Further east accessible by sprint-jumping, there's another small container. On the elevated dimly-lit area from the left-hand side of the console controlling the field bubbles (southwest going by absolute map directions), there's another console that opens a door on the northeast, across the ferrofluid. It's possible to jump to this room safely by sprint-jumping and air-dashing from the tallest nearby pillar, but getting back is difficult if not impossible - there's a console later on that will raise platforms allowing this room to be accessed safely, so the best course is to leave it for now.
Western chamber[]
Follow the path to the west. Jump up to the topmost ledge and use the console to unlock the door.
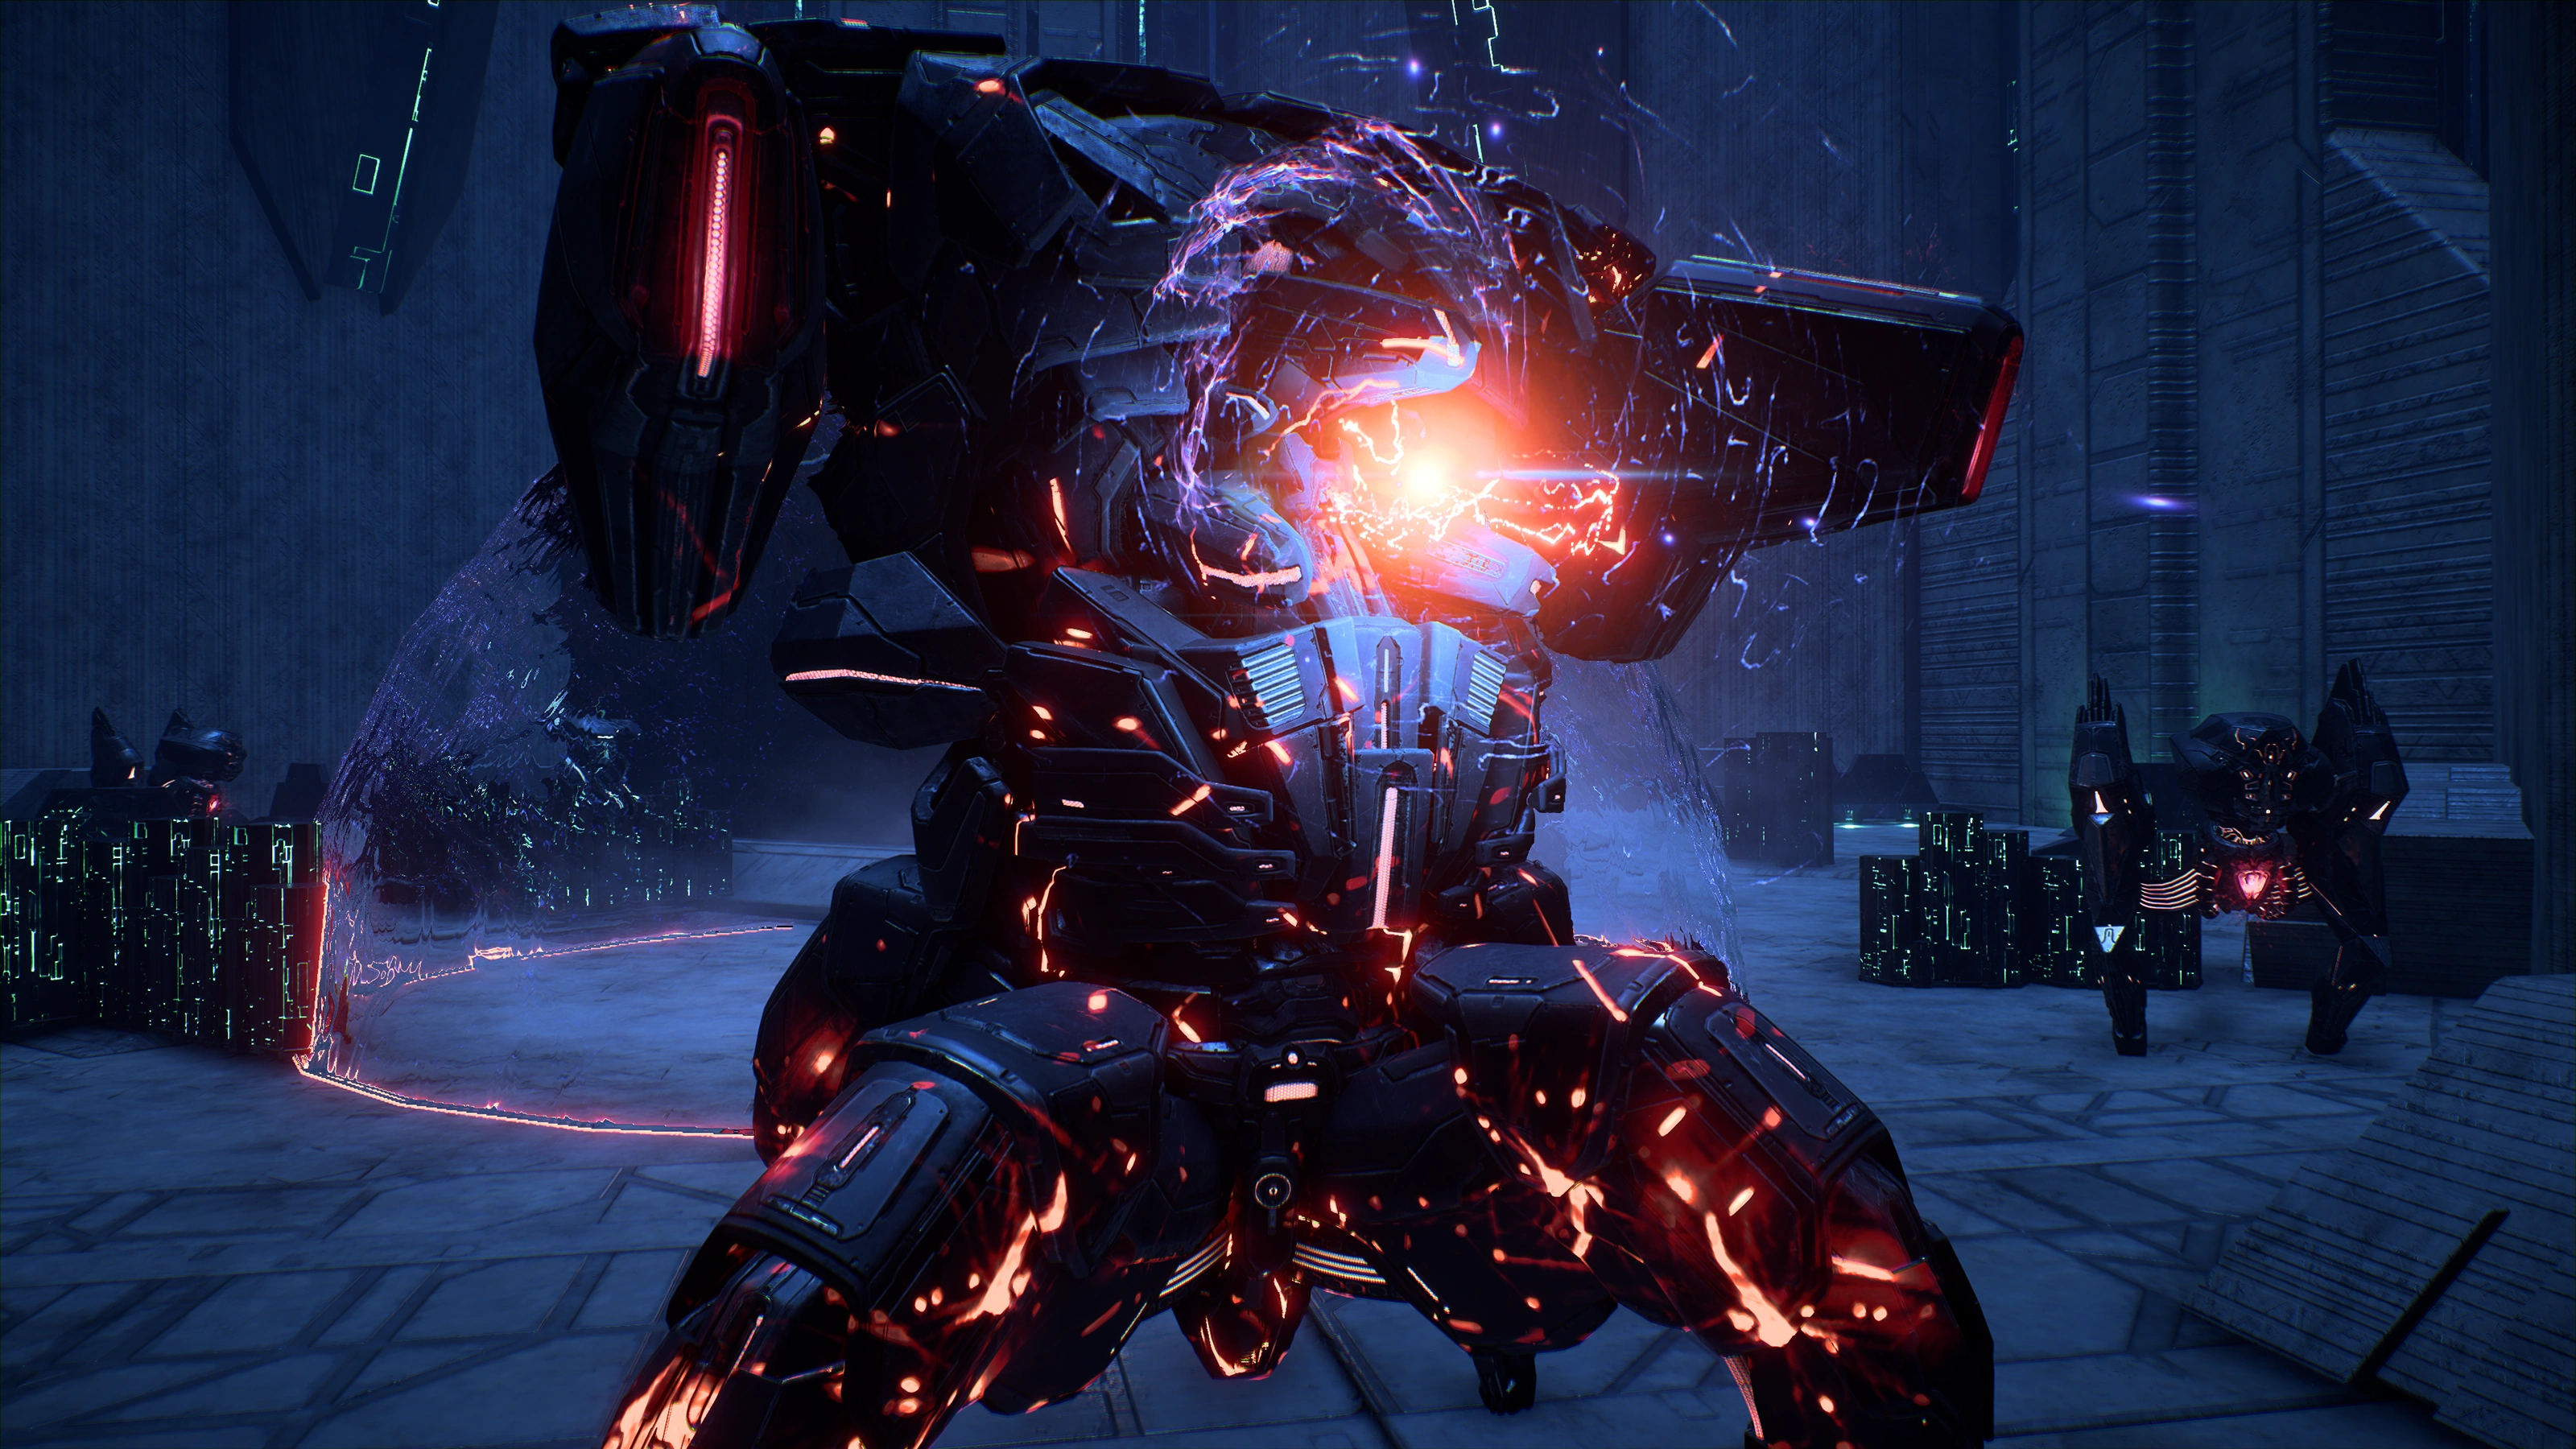
Inside is a Destroyer, two Nullifiers, two Assemblers, a turret in the far end of the room, and a field bubble hostile to Ryder's shields. A console near the turret can be hacked to turn it friendly and fight the other Remnant forces for you while the bubble can be configured to restore your shields through the console near it.
Dispatching the smaller Remnant units is trivial, but dealing with the Destroyer in the confined space requires a bit more strategy. If it can be baited to perch on the top of the pillar, shooting at it from a safe distance becomes much easier since it can't properly target you on the ground.
On top of the pillar in the center of the room is a puzzle-locked console (needed for the Cryptographer Achievement). 2 skill points are rewarded for solving the puzzle. For the puzzle console solution, see here.
Northern chamber[]
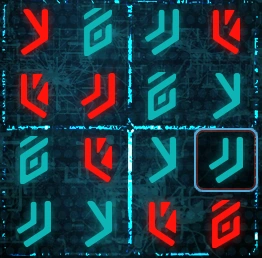
The northern chamber has two Assemblers on patrol. Once they're destroyed, the next room is locked and unlocking requires activating the six nearby consoles in the same order as the glyphs that are shown on the door.
Activating a console in the wrong order will result in an Observer spawning from the nearby Observer Replication Control. Scanning the ground beneath the consoles reveals a power line looping through them in the order they must be activated, but frankly it's easier to just read the door glyphs from left to right. Activated consoles glow red to differentiate them from those you haven't touched yet.
Beyond the door is a Remnant Data core for Task: Remnant Data Cores, and there are three Adaptive Remnant Core Devices to scan for +300 ![]() . There are also four Data Patterns than can be scanned on the ceiling of this room but they serve no function.
. There are also four Data Patterns than can be scanned on the ceiling of this room but they serve no function.
Getting to the core of the Vault[]
When the north and west areas have been picked clean, or if you had no interest dawdling around for those, time to backtrack to the hexagonal platform near the vault entrance.
Assuming you want to avoid the ferrofluid, Ryder has two options to get to the northeast and east area. One is by using the aforementioned console in the hexagonal platform. An effect of this is that during the escape Ryder will need to jump down on platforms in the ferrofluid to reach the exit. The other is to sprint-jump then air-dash from the rem-tech platform to the low ground to the east, which places Ryder near the console needed to get to the small locked room (if you time this poorly, you'll still contact the ferrofluid briefly, but not enough to take damage).
To the right of the vault core door is an Adaptive Remnant Core Device (+100 ![]() ). It's scannable from the ground, although the sloping boulder can be jumped on for a closer look. The nearby console opens the vault core door but lowers the platform access to the northeast part of the map, and no amount of sprint-jumping can cross the ferrofluid unscathed (except using Charge against a Remnant unit there if they're not dispatched yet).
). It's scannable from the ground, although the sloping boulder can be jumped on for a closer look. The nearby console opens the vault core door but lowers the platform access to the northeast part of the map, and no amount of sprint-jumping can cross the ferrofluid unscathed (except using Charge against a Remnant unit there if they're not dispatched yet).
The console at the northeast area raises two pylon platforms from the ferrofluid when activated. Use them to get to the locked room (unlocked earlier from the console across the ferrofluid) and loot the container within. From the console the Adaptive Remnant Core Device visible from the rem-tech cache is now within scanning range for +100 ![]() .
.
At this point most of the vault should have been picked clean and the only remaining unexplored area is the vault core itself. Use the controlling console to unlock the door to the vault core. The door opens, and the platform in the ferrofluid Ryder needs for the escape disappears.
In the core room, Ryder will have to activate the five smaller consoles to be able to use the Purification Console. As before, entering each bubble causes damage until the console is deactivated. Remnant enemies will appear when the smaller consoles are used. Starting with the second console: an Observer and an Assembler. Third console: Observer and Assembler again. Fourth console: 2 Assemblers and an Observer. Fifth console: 2 Assemblers, an Observer, and a Nullifier.
After Ryder has defeated the enemies, make sure to pick up the container to the east in the ring of shields.
Upon activating the purification console, the Fusion Mod of Rapid Deployment is awarded.
Escape the purification field and exit the vault[]
Run like your Ryder's life depends on it. If you don't like slogging through ferrofluid, there's short but ample time to use the console outside the vault core door to raise a platform to the northeast.
If you switched the console in the hexagonal platform away from its default position, you will be unable to pick up the rem-tech container on the way out. Otherwise, consider this a reminder to do so.
Use the Activation Console in the gravity well room to turn off the purification field, then exit the vault.
Aftermath[]
The sulfur pools are no longer Hazard Level 4 Toxic Environment. The pools now look like unpolluted water and are safe to walk or drive into.
Rewards[]
Enemies[]
Puzzle Solutions[]
- Main article: Remnant Decryption Puzzle Guide
 |
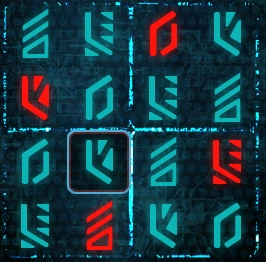 |
| Eastern Monolith | Vault Console |