The Archon's map shows the way to Meridian. However, this issue affects the entire Andromeda Initiative, and leadership should be consulted before proceeding further.
Acquisition[]
This mission is acquired immediately after completing the mission above.
- Since recovering arks is part of the focus of optional side-missions, it's possible to launch this mission without the entire cohort of pathfinders, which impacts the dialogue heard.
- After recovering the third and final Pathfinder, Ryder will be invited by email to a get-together of the Pathfinders at Pathfinder HQ. If "The Journey to Meridian" awaits triggering by entering the Pathfinder HQ, this reunion party does not occur until you re-enter Pathfinder HQ after meeting with the Pathfinders in the Tech Lab.
Walkthrough[]
Speak to the leaders on the Nexus[]
Return to the Nexus and head to Jarun Tann's office/Pathfinder HQ. A cutscene begins as Pathfinder Ryder enters a meeting with the Nexus leadership. Ryder tells them that they wish to go immediately after the Meridian, but the leaders are skeptical, not wishing to provoke open war with the kett. The other Pathfinders enter the meeting and support Ryder but Tann vetoes the plan anyway.
Following the meeting, the other Pathfinders tell Ryder that they have an alternative but the conversation is interrupted by an urgent call. Ryder's sibling has suddenly awakened. The Pathfinders will meet Ryder later in the Tech Lab and Ryder is immediately transported to the Hyperion's Cryo Bay.
The conversation is a bit different depending on what you told your sibling during their earlier conversation while they were in the stasis coma but the consequences are the same. Ryder's sibling still needs to rest and isn't cleared to leave the medical facility yet.
- An optional conversation with the sibling is now available.
- You can now meet with the other Pathfinders at their discretion in the Tech Lab.
- Ryder Family Secrets may now be completed if all memory triggers have already been found.
Discuss your options with the other Pathfinders[]
Head to the Tech Lab on the upper level of the Docking Bay. The other Pathfinders and Dr. Aridana have a plan. A new technology called Ghost Storm will confuse kett sensors with multiple fake targets, allowing the Tempest to approach Meridian and land. Once the Tempest is upgraded, the mission can proceed.
Integrate Ghost Storm Technology with Tempest to help other Pathfinders[]
Return to the Tempest. The Ghost Storm upgrade doesn't use the standard R&D console. Instead, look for a console on the side of the console room near the Tech Lab entrance. Interact with console to build the Ghost Storm Technology. Once this is activated, the Tempest is ready for the mission.
Gather the crew in the Tempest's meeting room to prepare for the mission[]
Use the vidcon in the meeting room to "Call Crew Meeting" to inform the crew of the upcoming mission.
Go to Khi Tasira in the Civki System[]
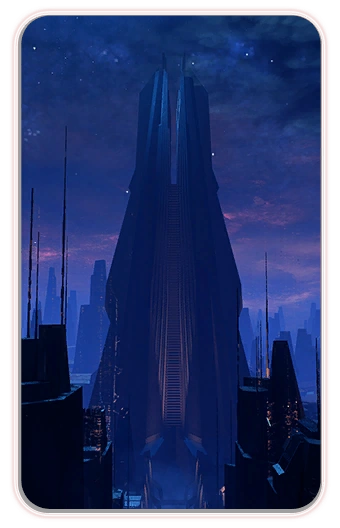
The Civki system now becomes available on the Galaxy Map. Fly to the system and approach Khi Tasira, what the kett call Meridian. Scans reveal that Meridian is a large Remnant space station.
Interact with the Khi Tasira drop zone to formally begin the mission. If you have a stash of Backup Life Support, reserve a Consumable slot for one as you may need it later.
This is the absolute point of no return for this particularly lengthy mission. Once you go down to the space station you are obligated to see it through to the end before you are able to wander around Heleus again. If you have any other outstanding tasks you need to accomplish, attend to them first.
Survey the drop zone[]
Note: Manual saving will be disabled for the duration of this mission.
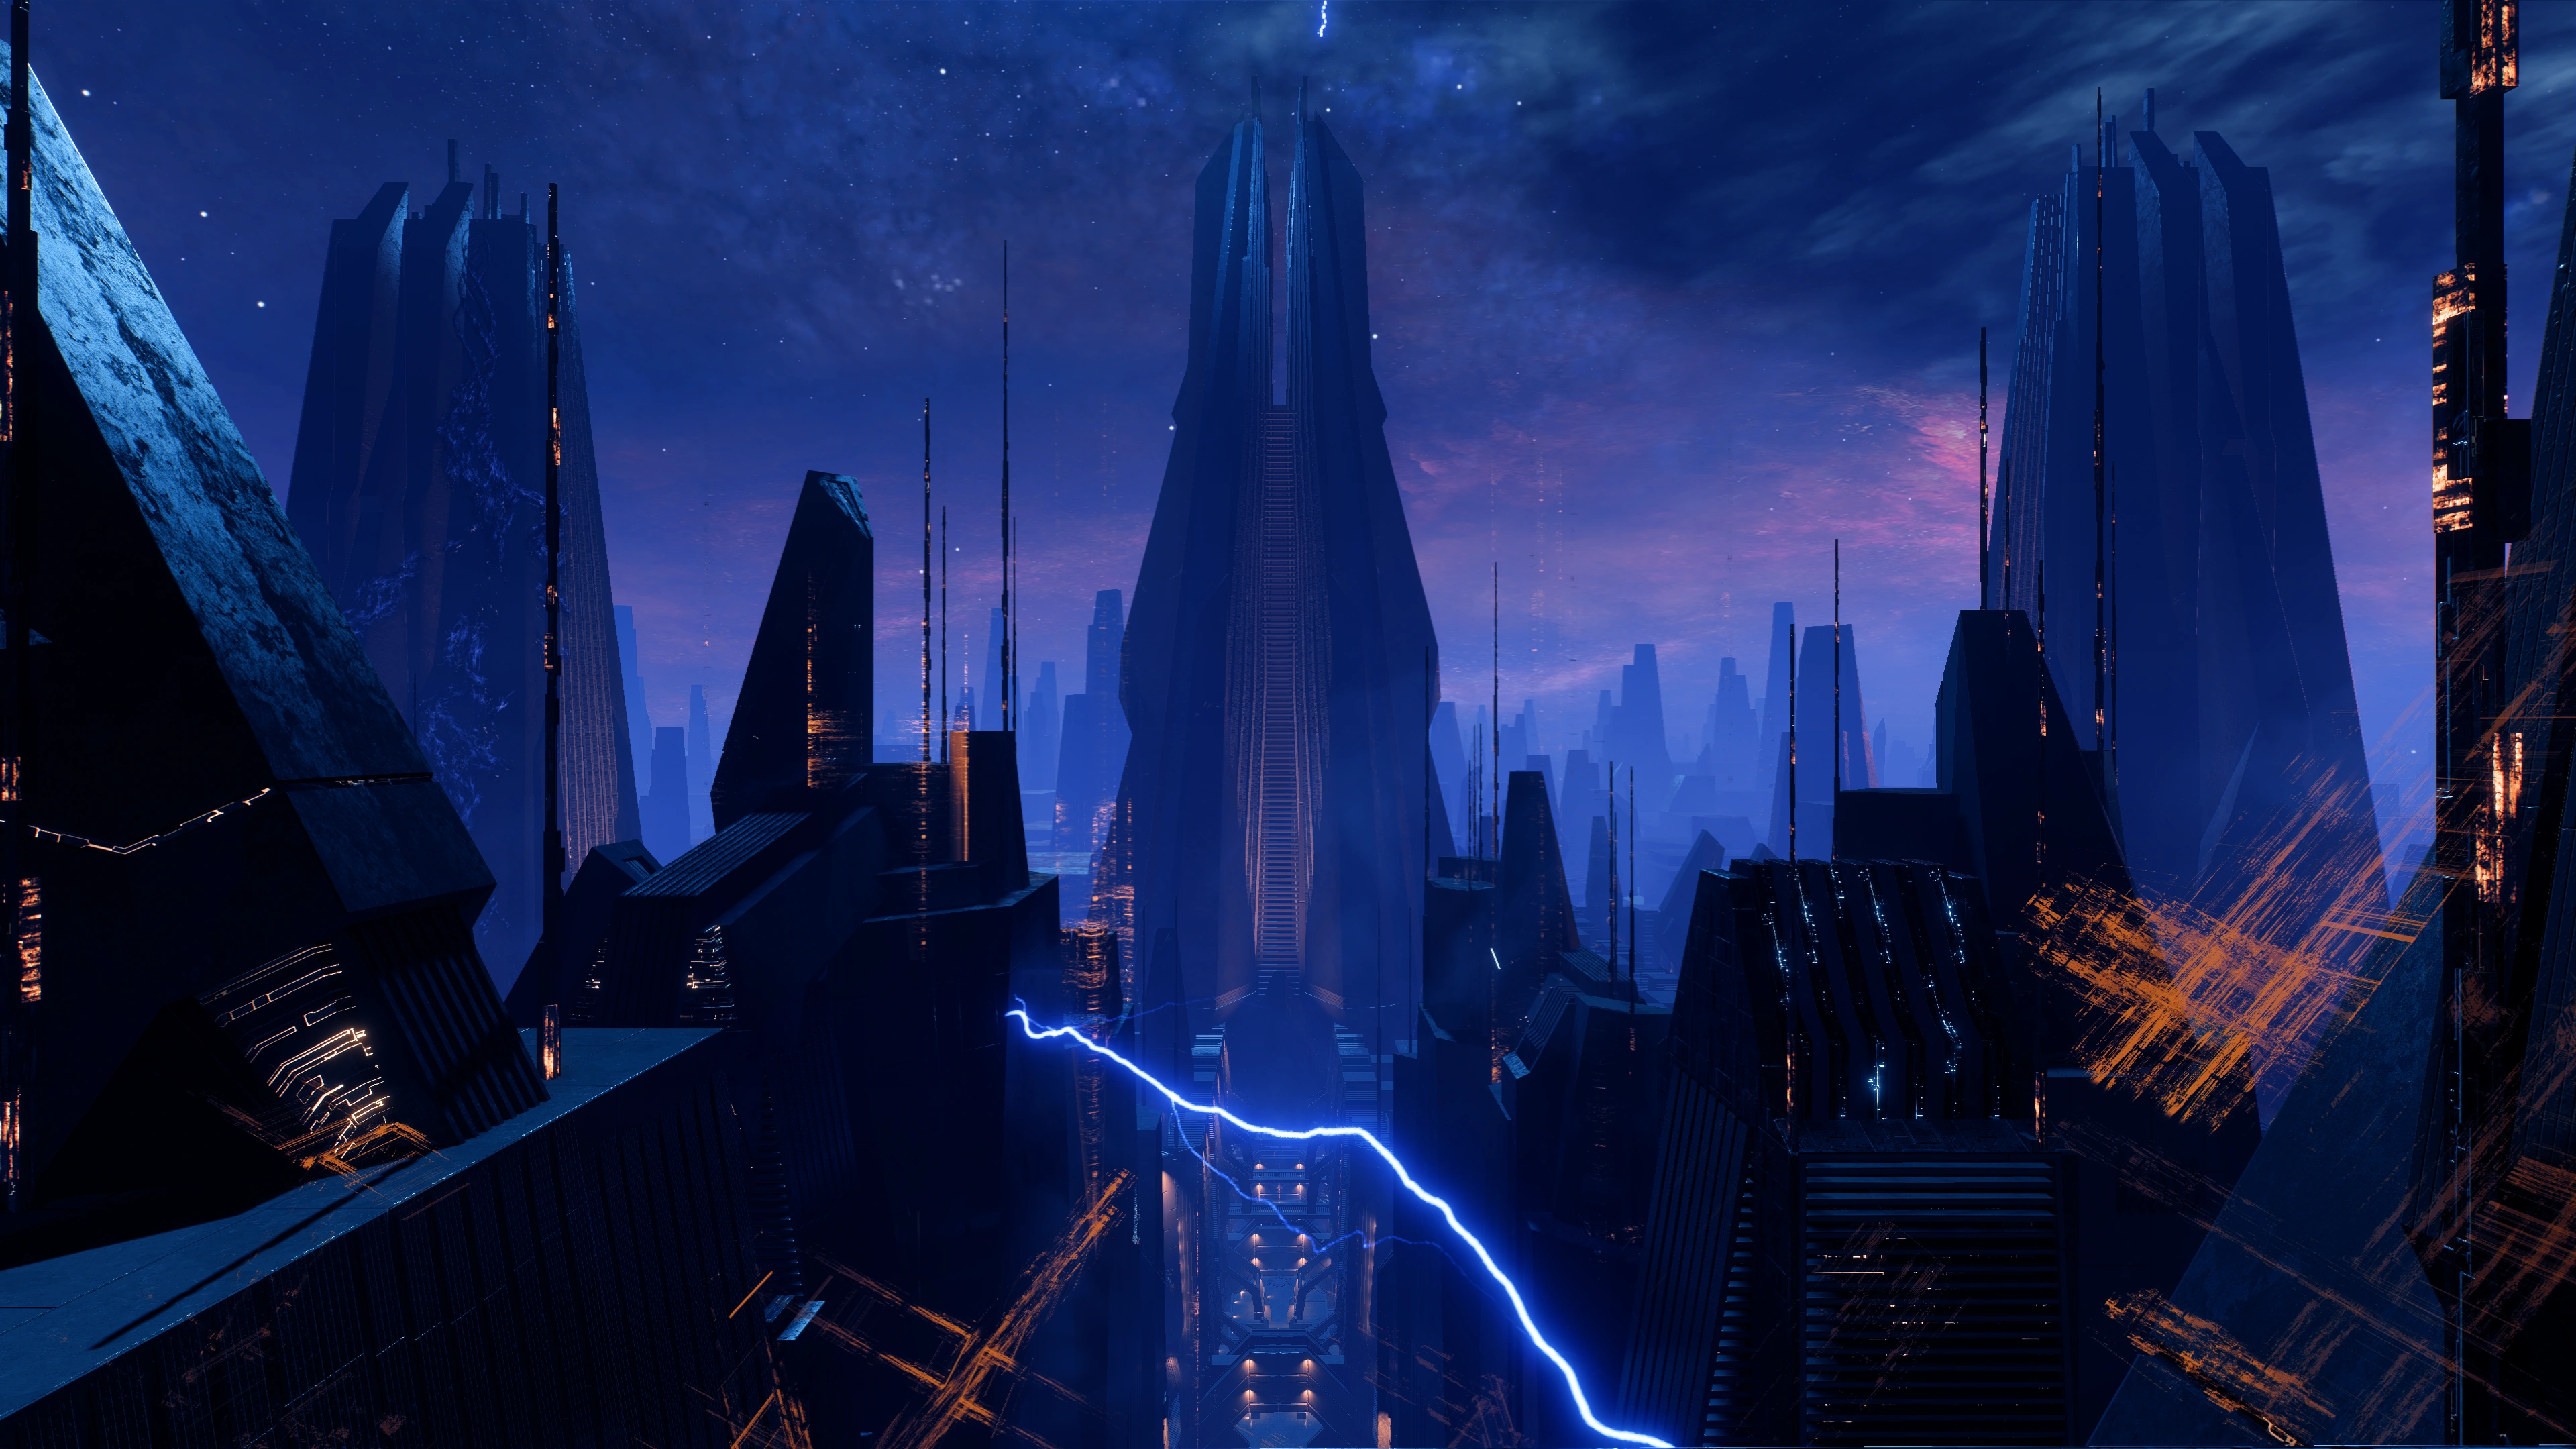
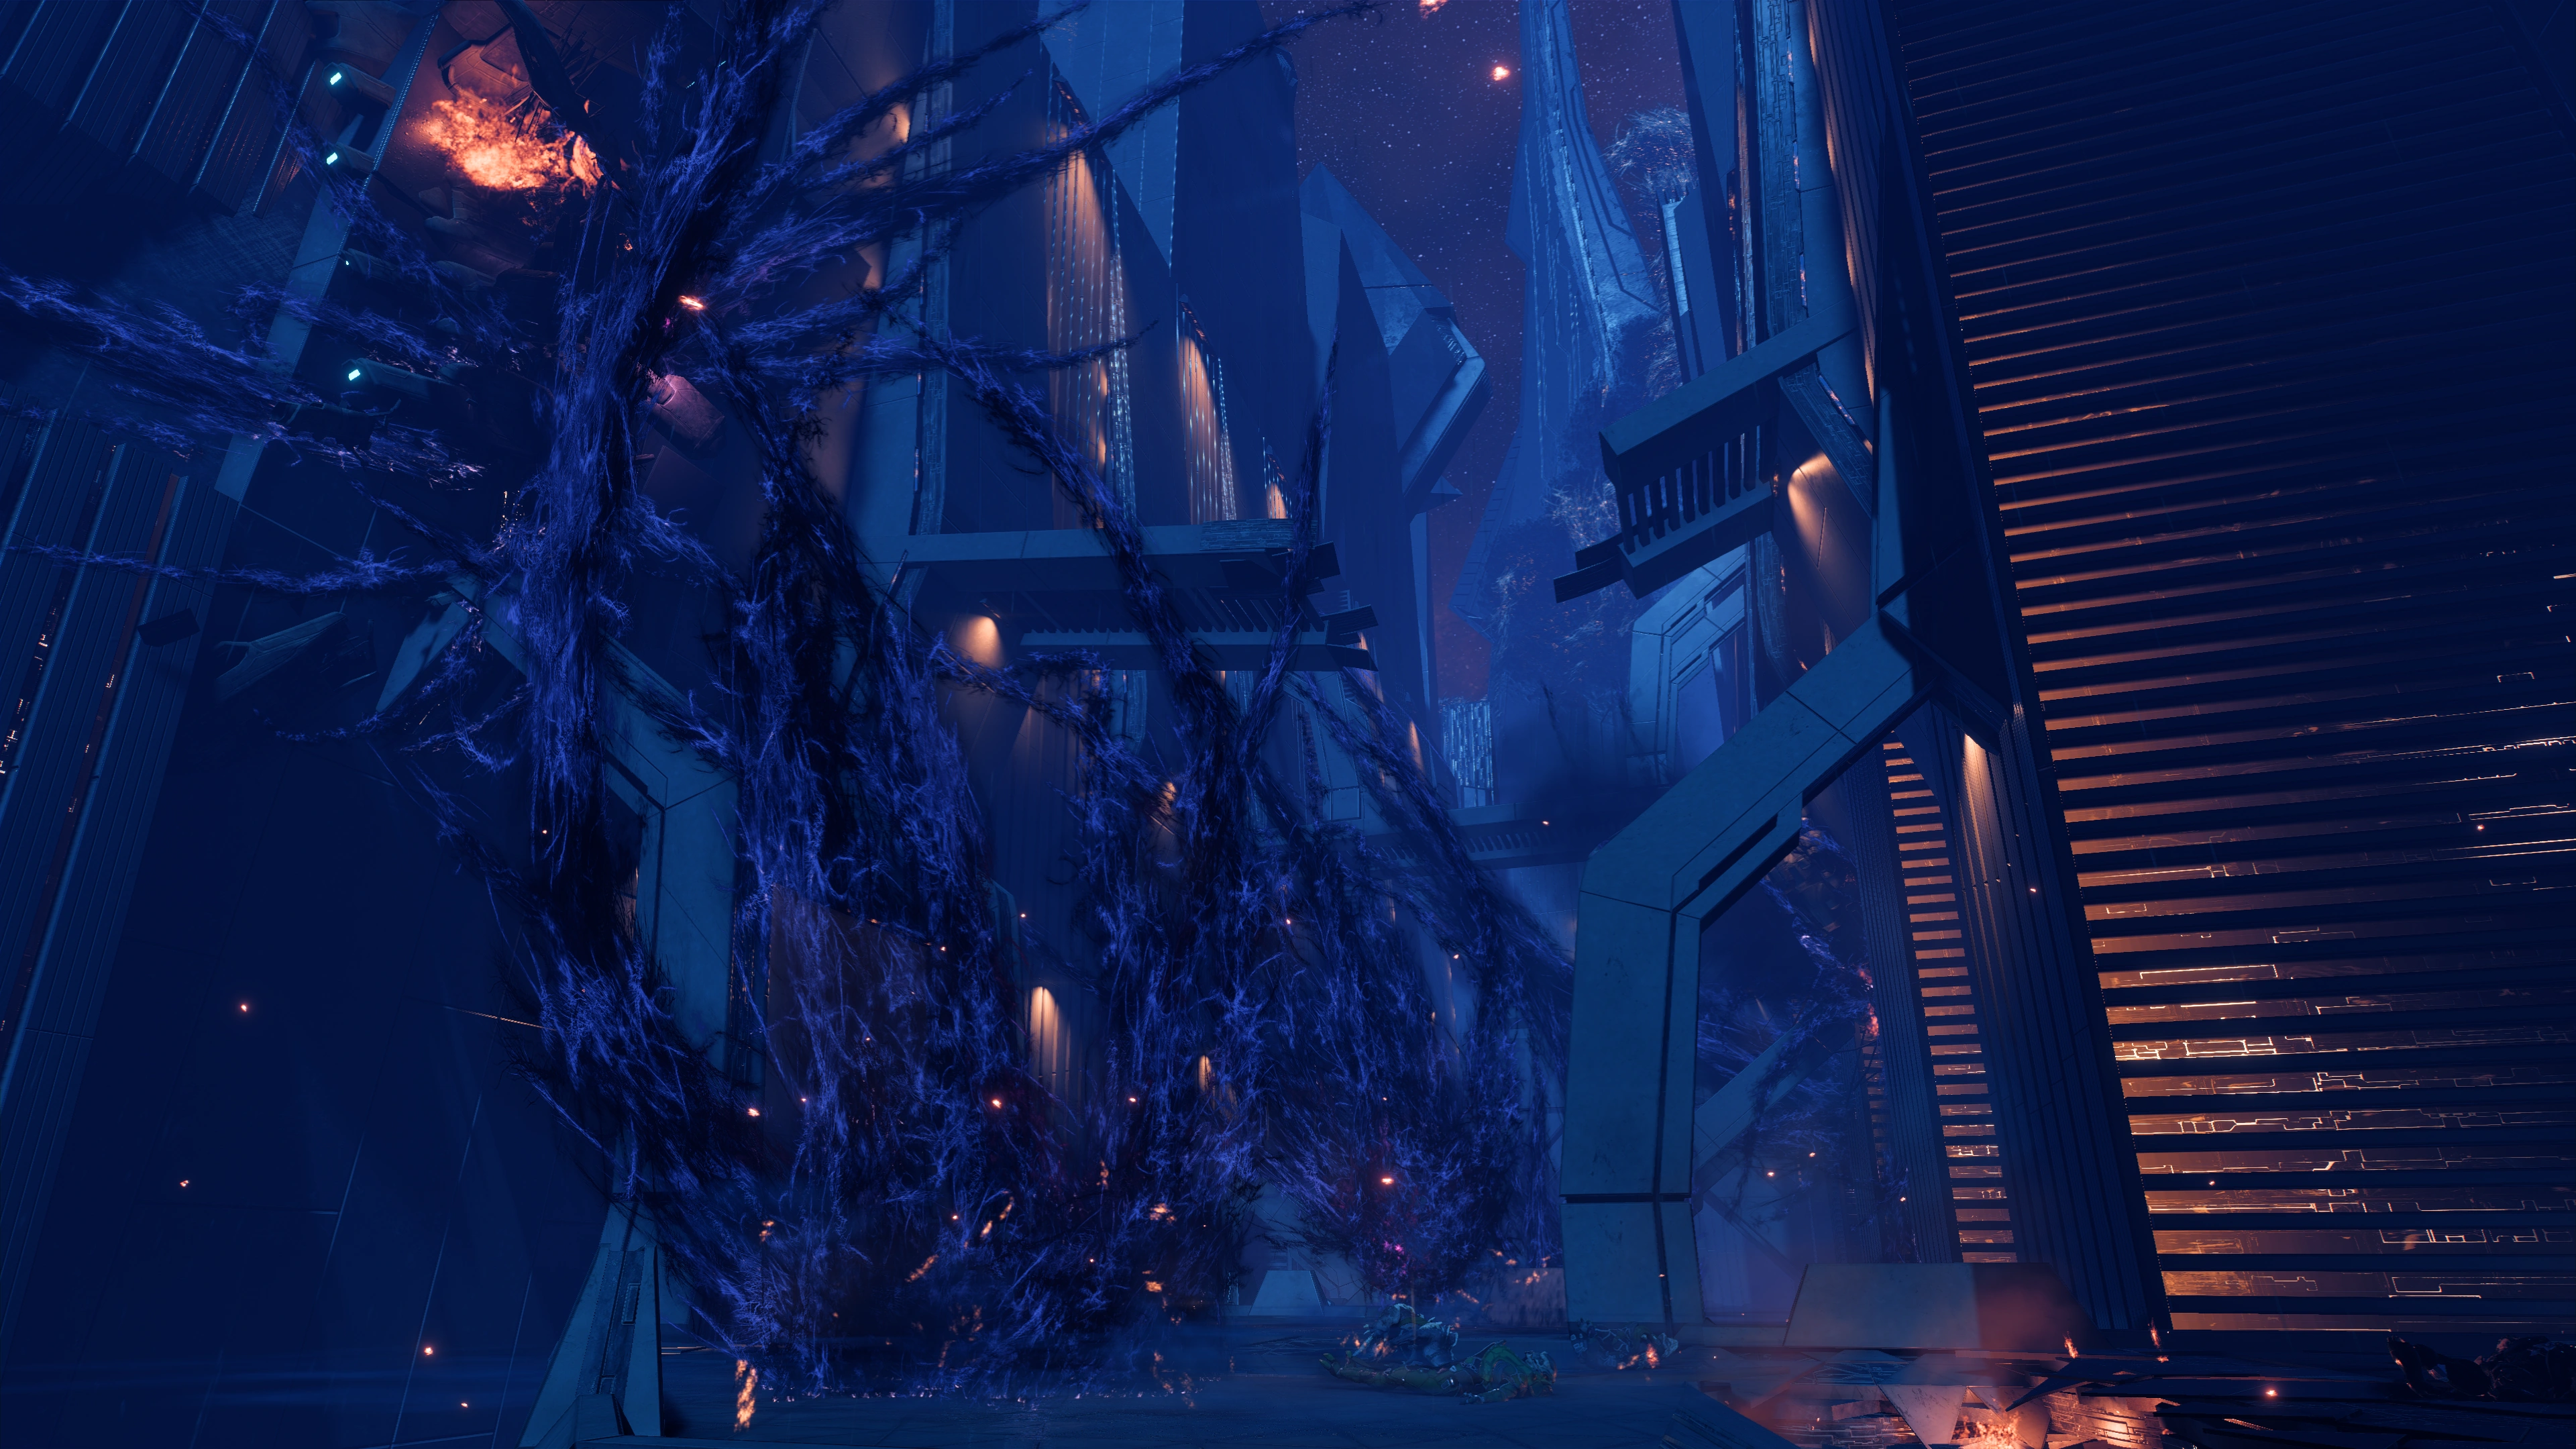
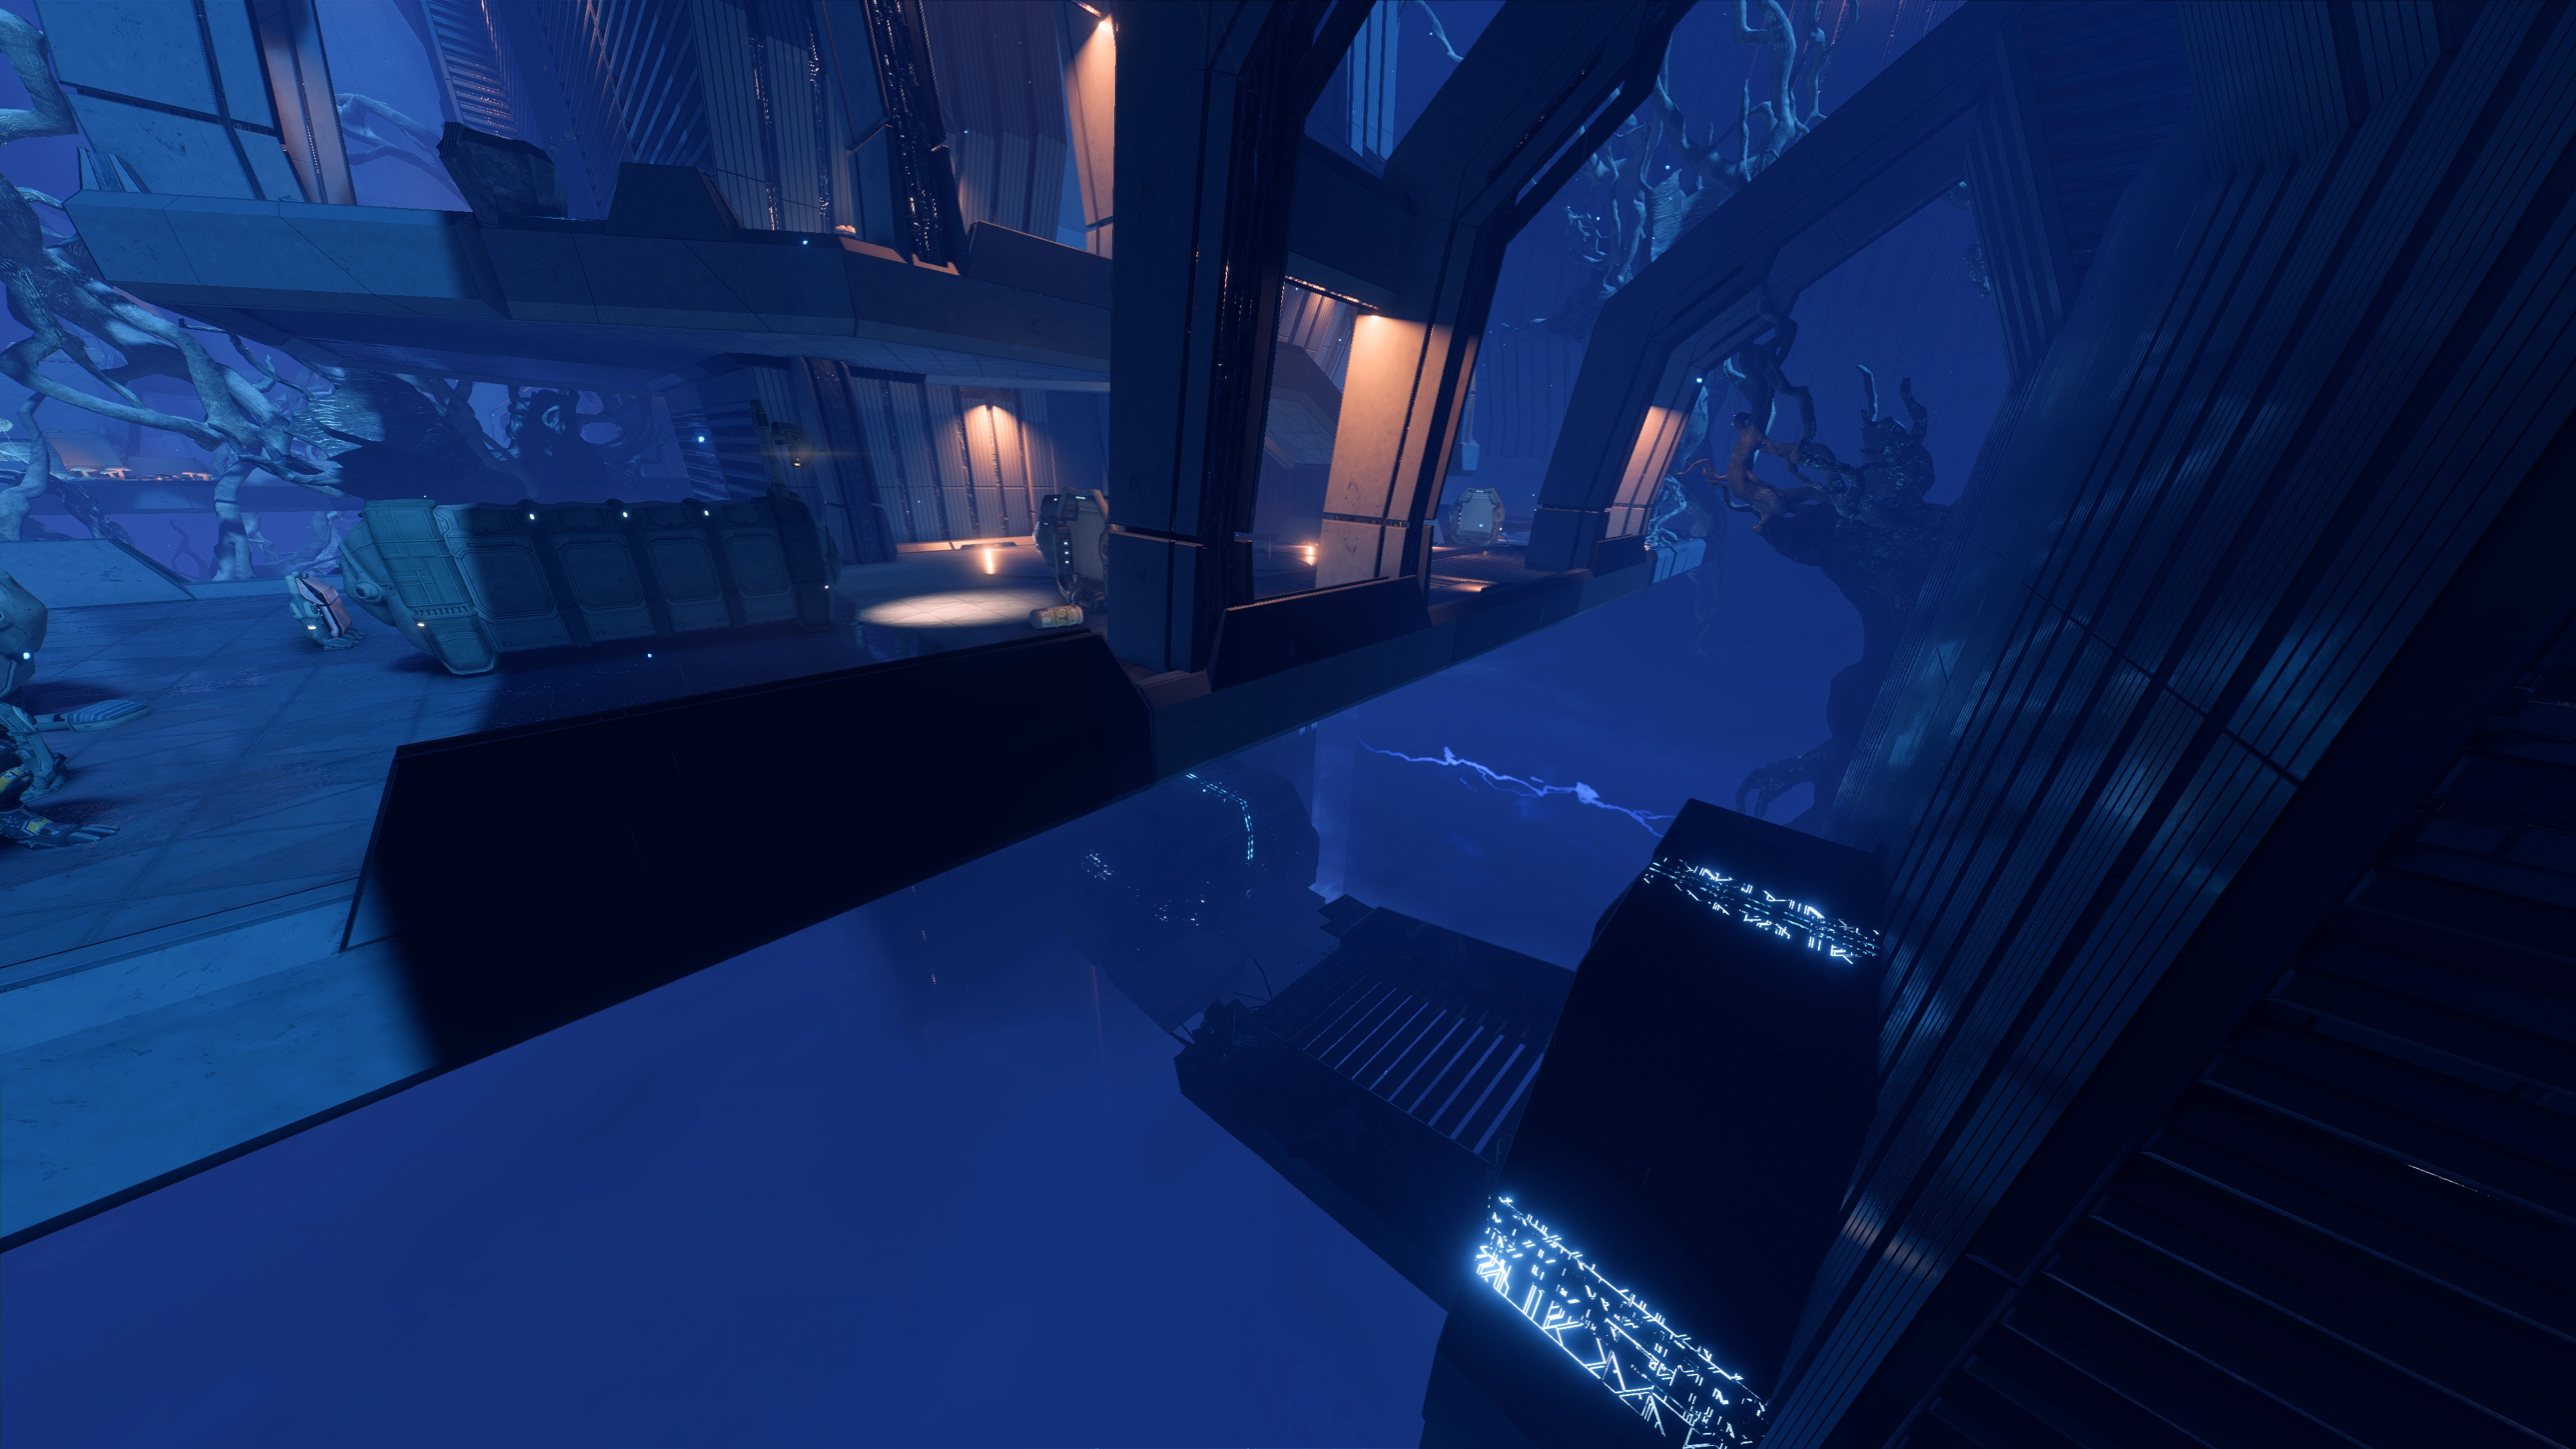
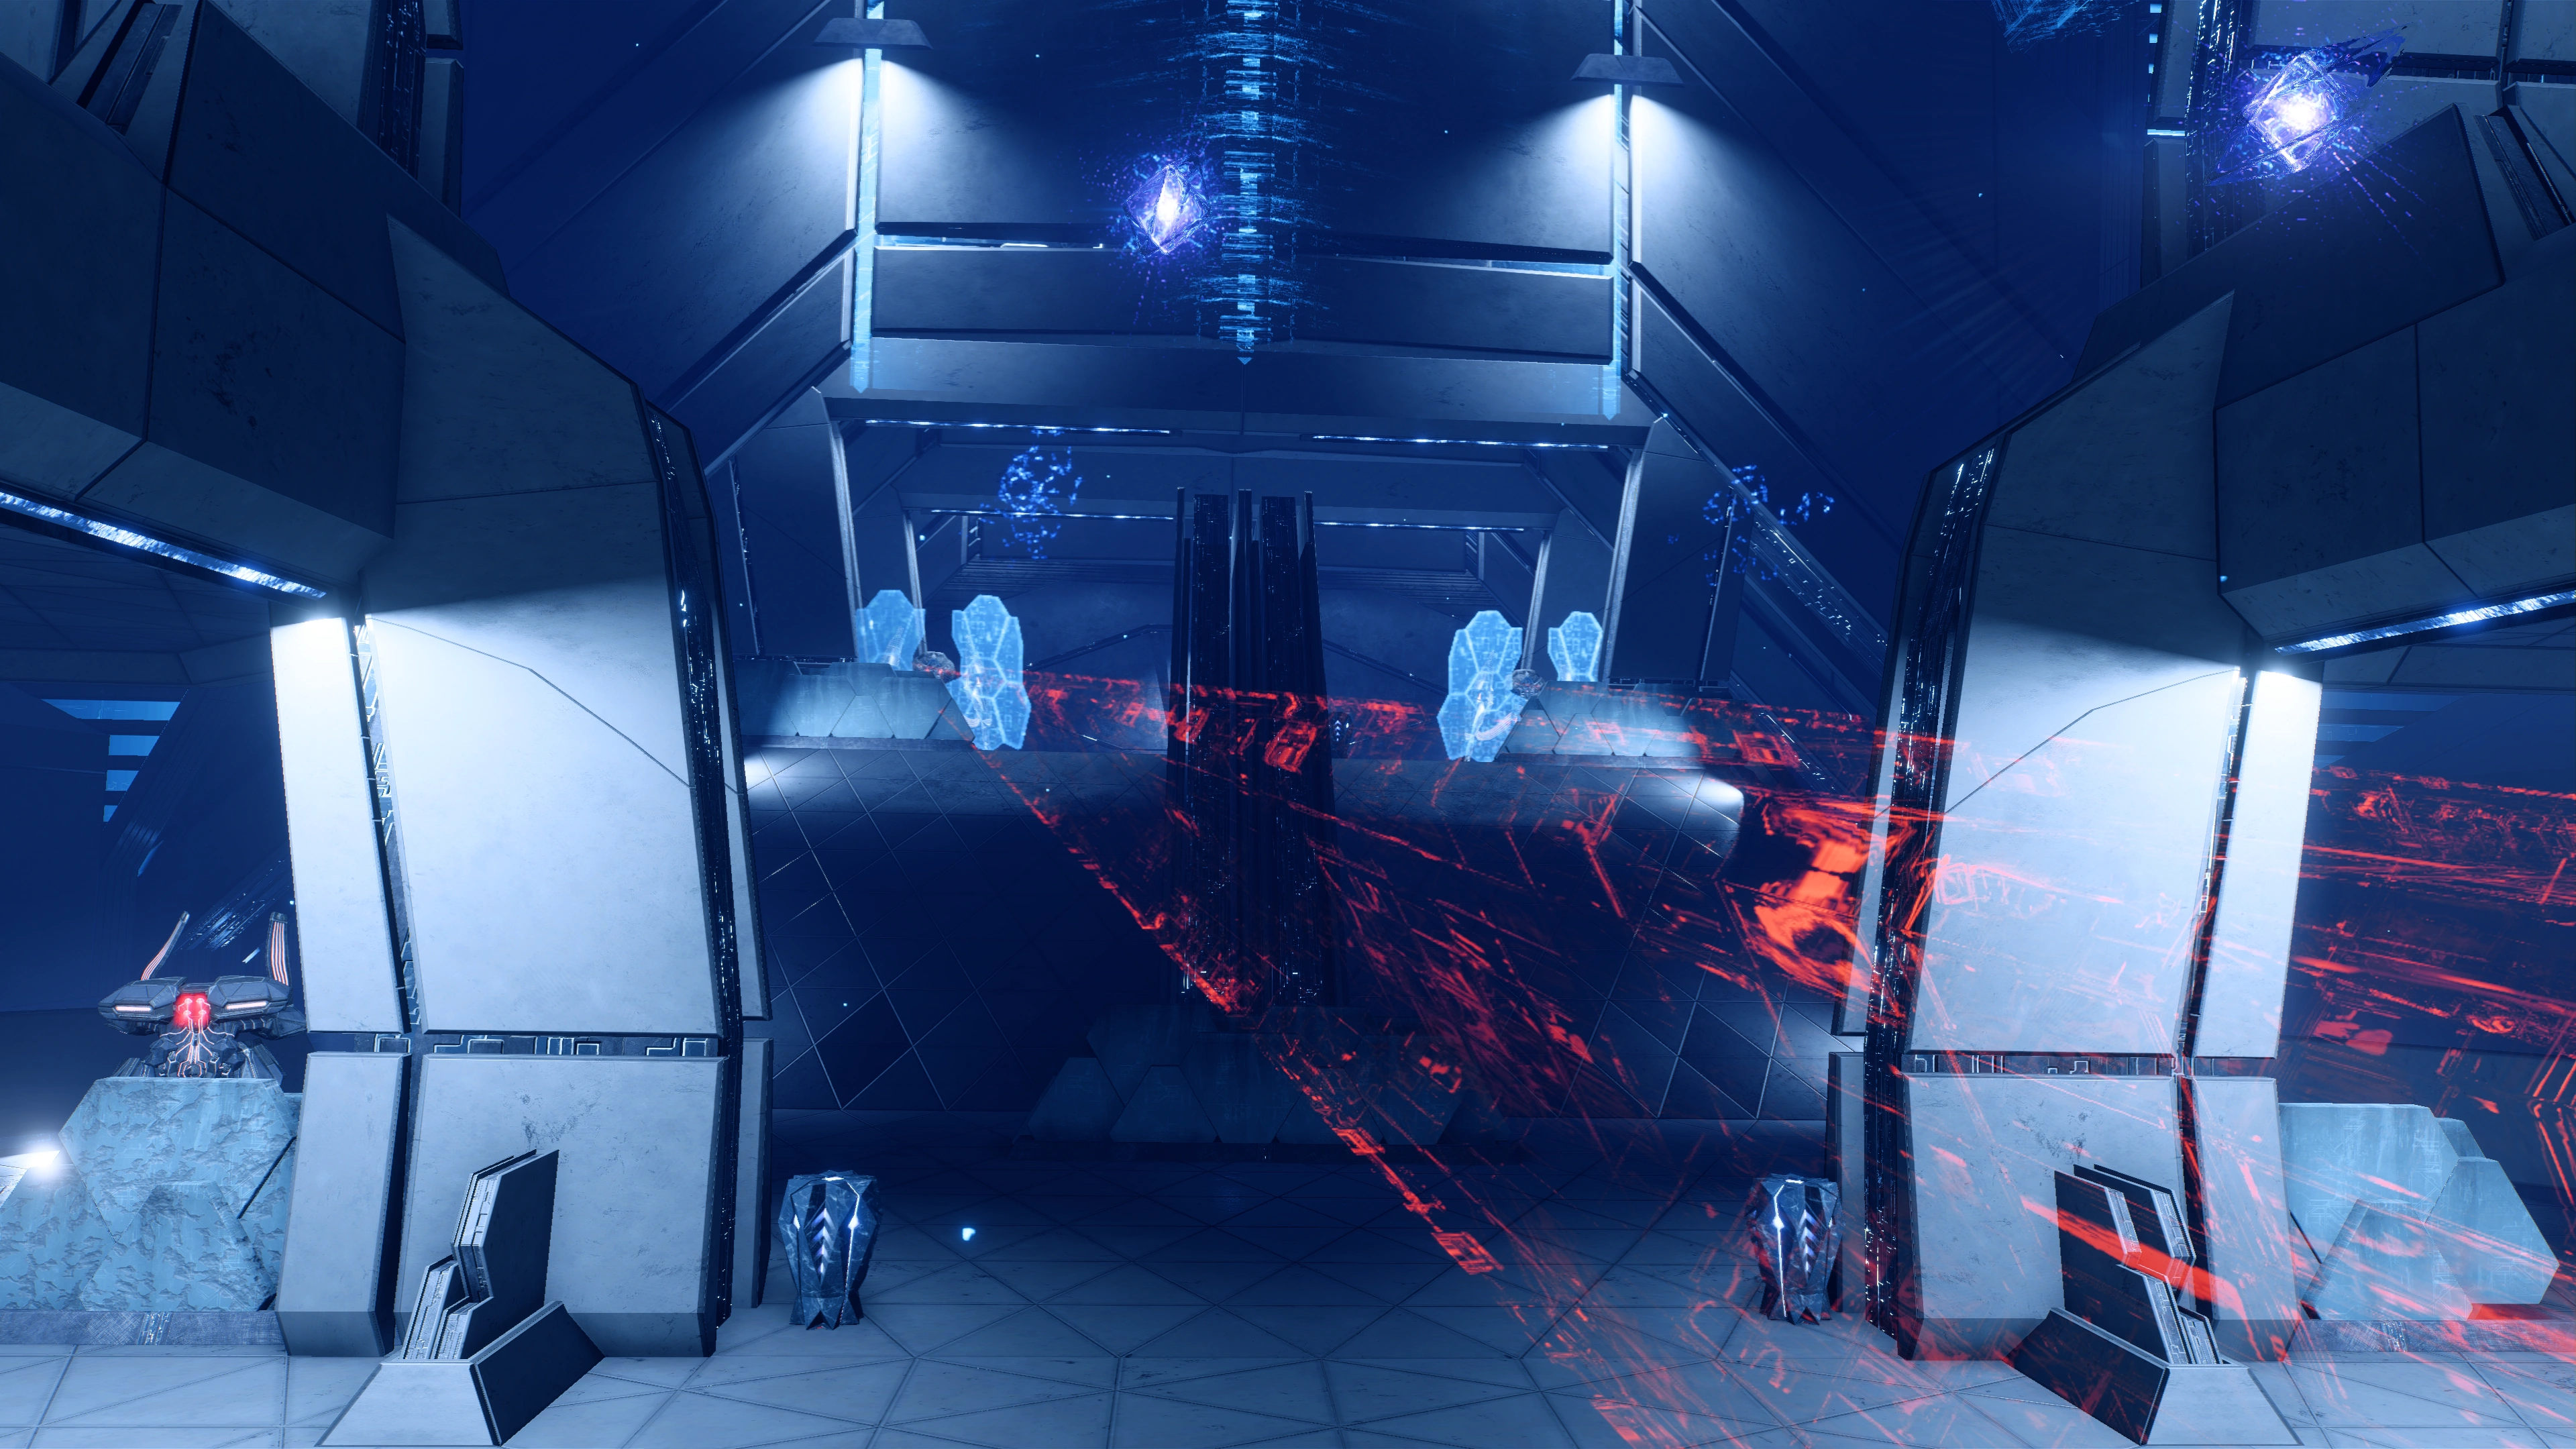
It proves impossible to actually land the Tempest on Meridian, so Ryder and squadmates are simply dropped onto the station, which has artificial gravity, atmosphere, and even, for some reason, rain. One of the squadmates will have something to say on that last bit.
To the left from your initial position there is an Adaptive Remnant Core Device that can be scanned for +100 ![]() and right next to it is a scannable Kett Equipment that elicits some reactions from the squad.
and right next to it is a scannable Kett Equipment that elicits some reactions from the squad.
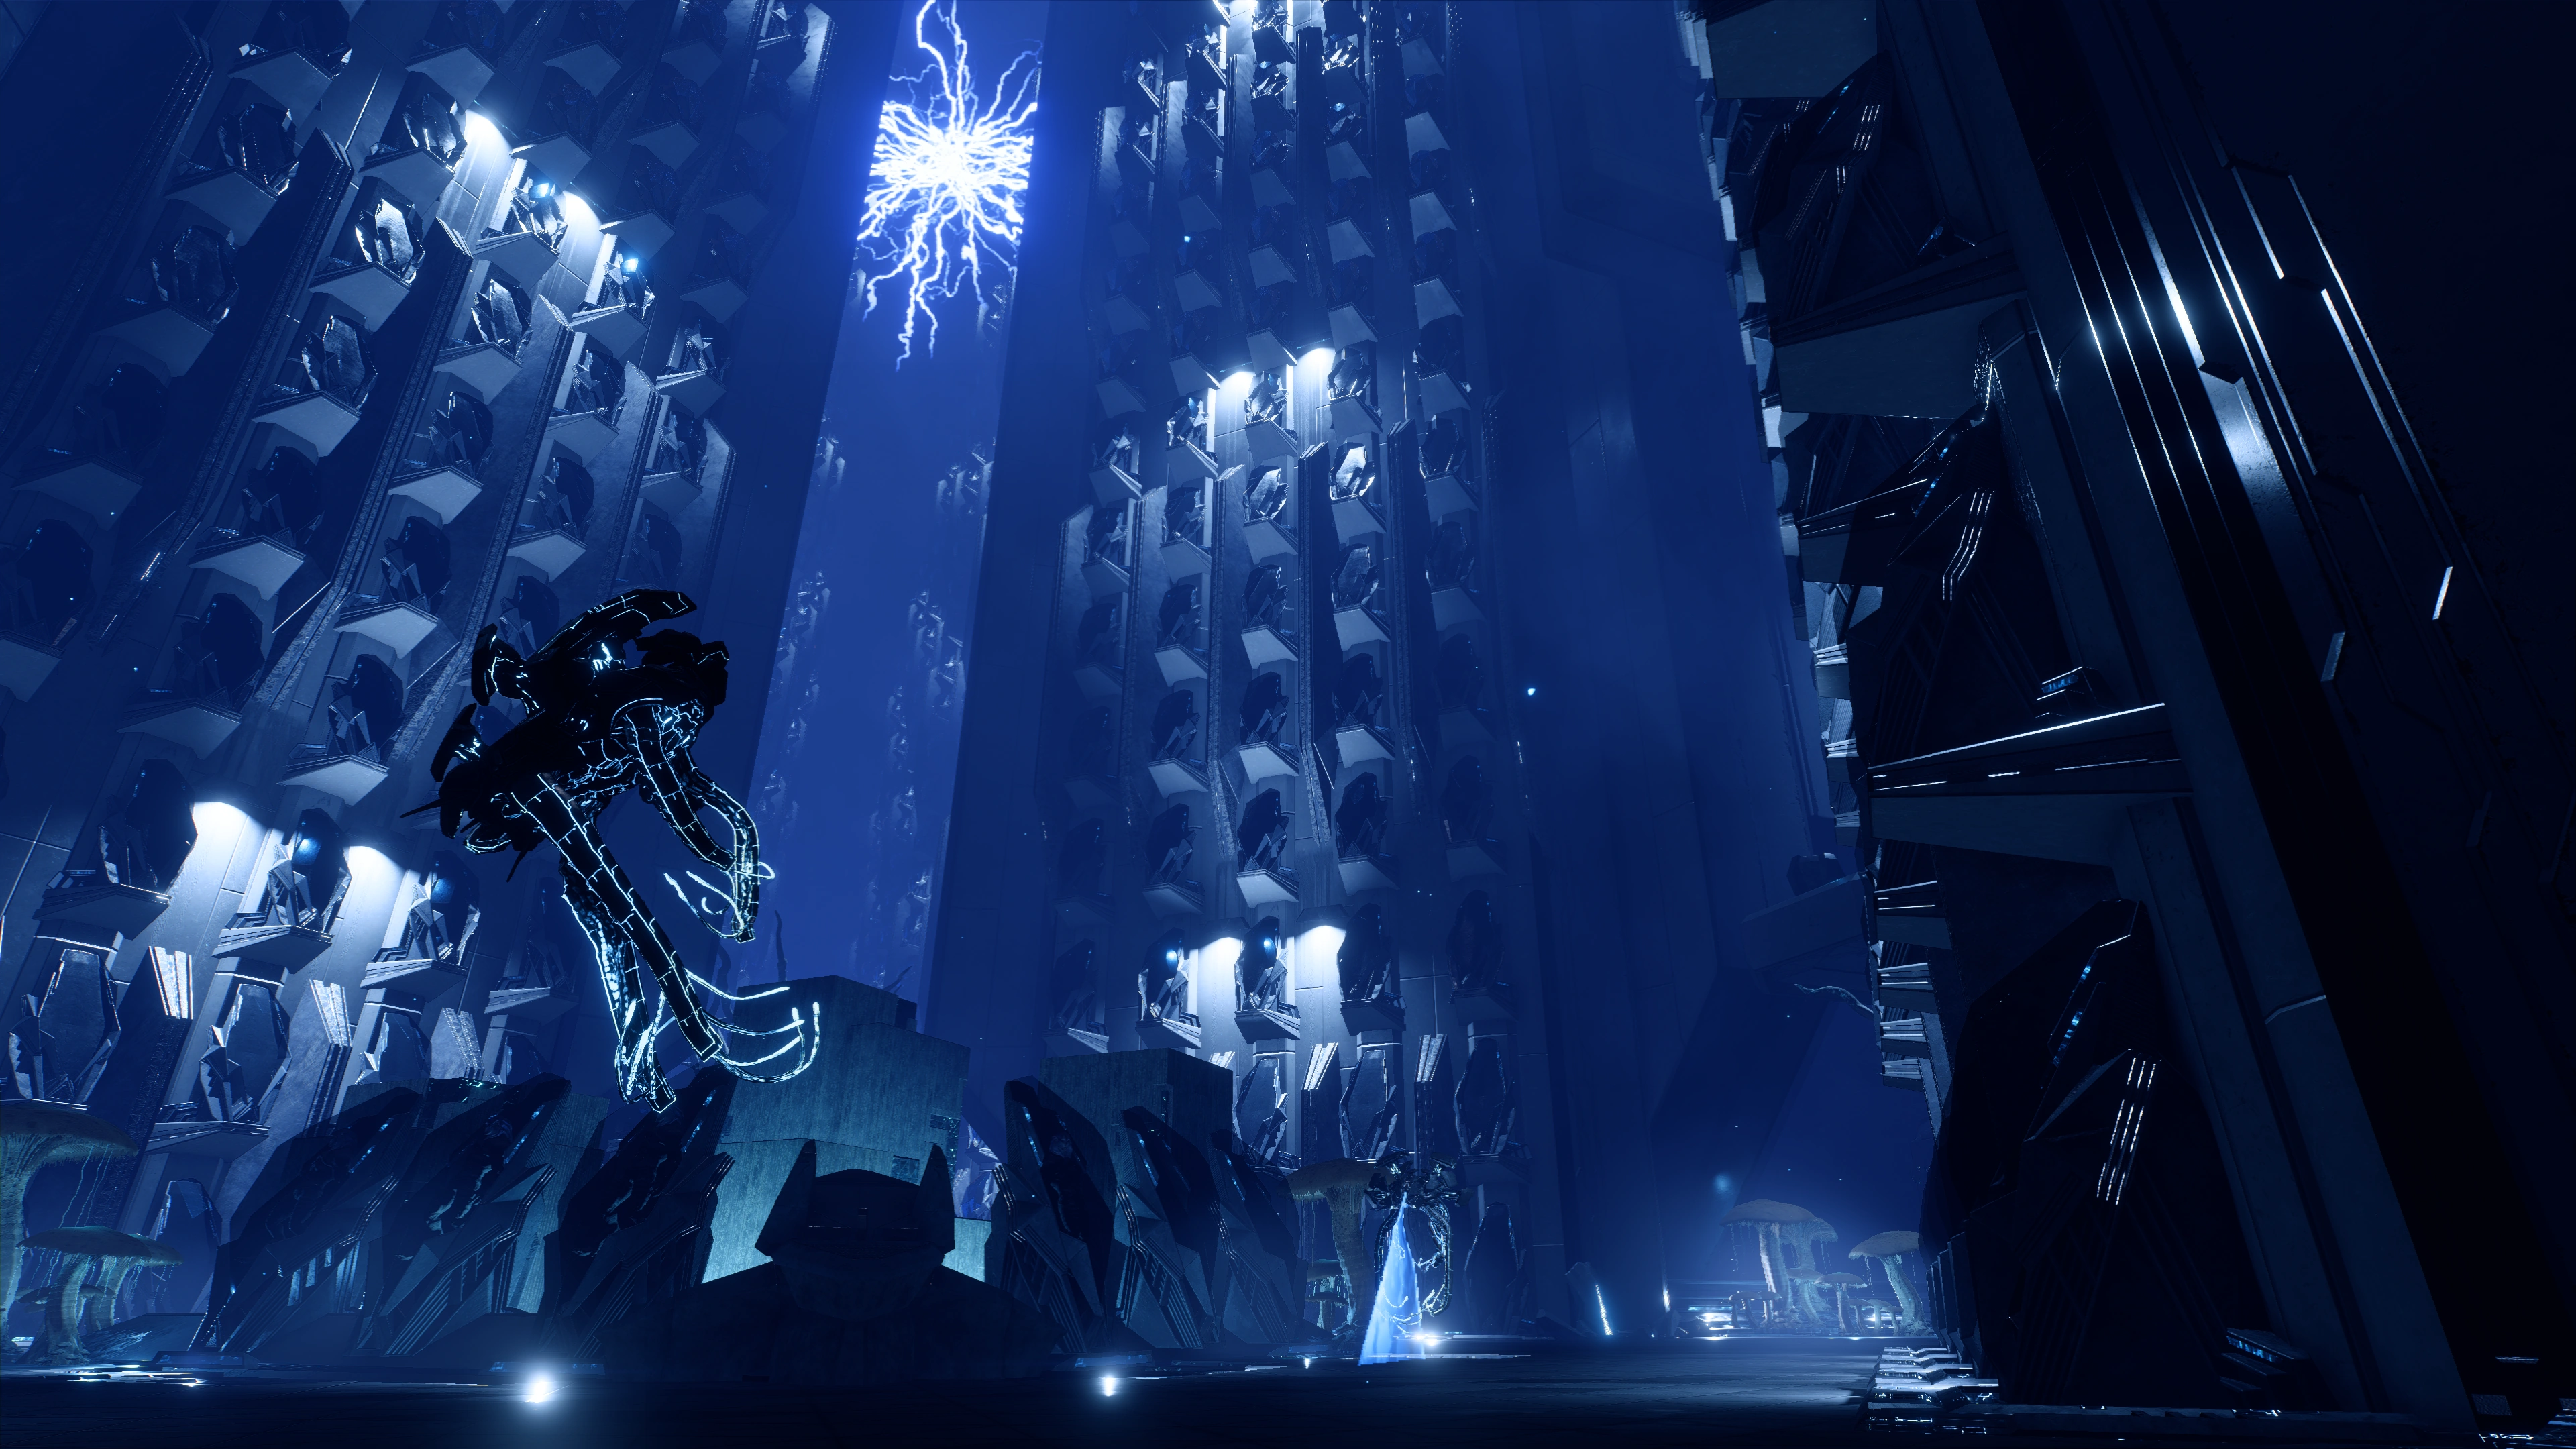
The only way forward ends at a chasm, but scanning the floor will reveal a power conduit leading to a nearby Remnant Console. Interact with the console to activate the bridge and SAM detects a central command hub for the station, which is currently inactive. You can then head down the ramp and a bridge will be created across the chasm as Ryder proceeds toward the door. If you scan the floor, you'll see power conduits snaking deeper to the station. Take note of this every now and then, as this will guide your path across the massive maps.
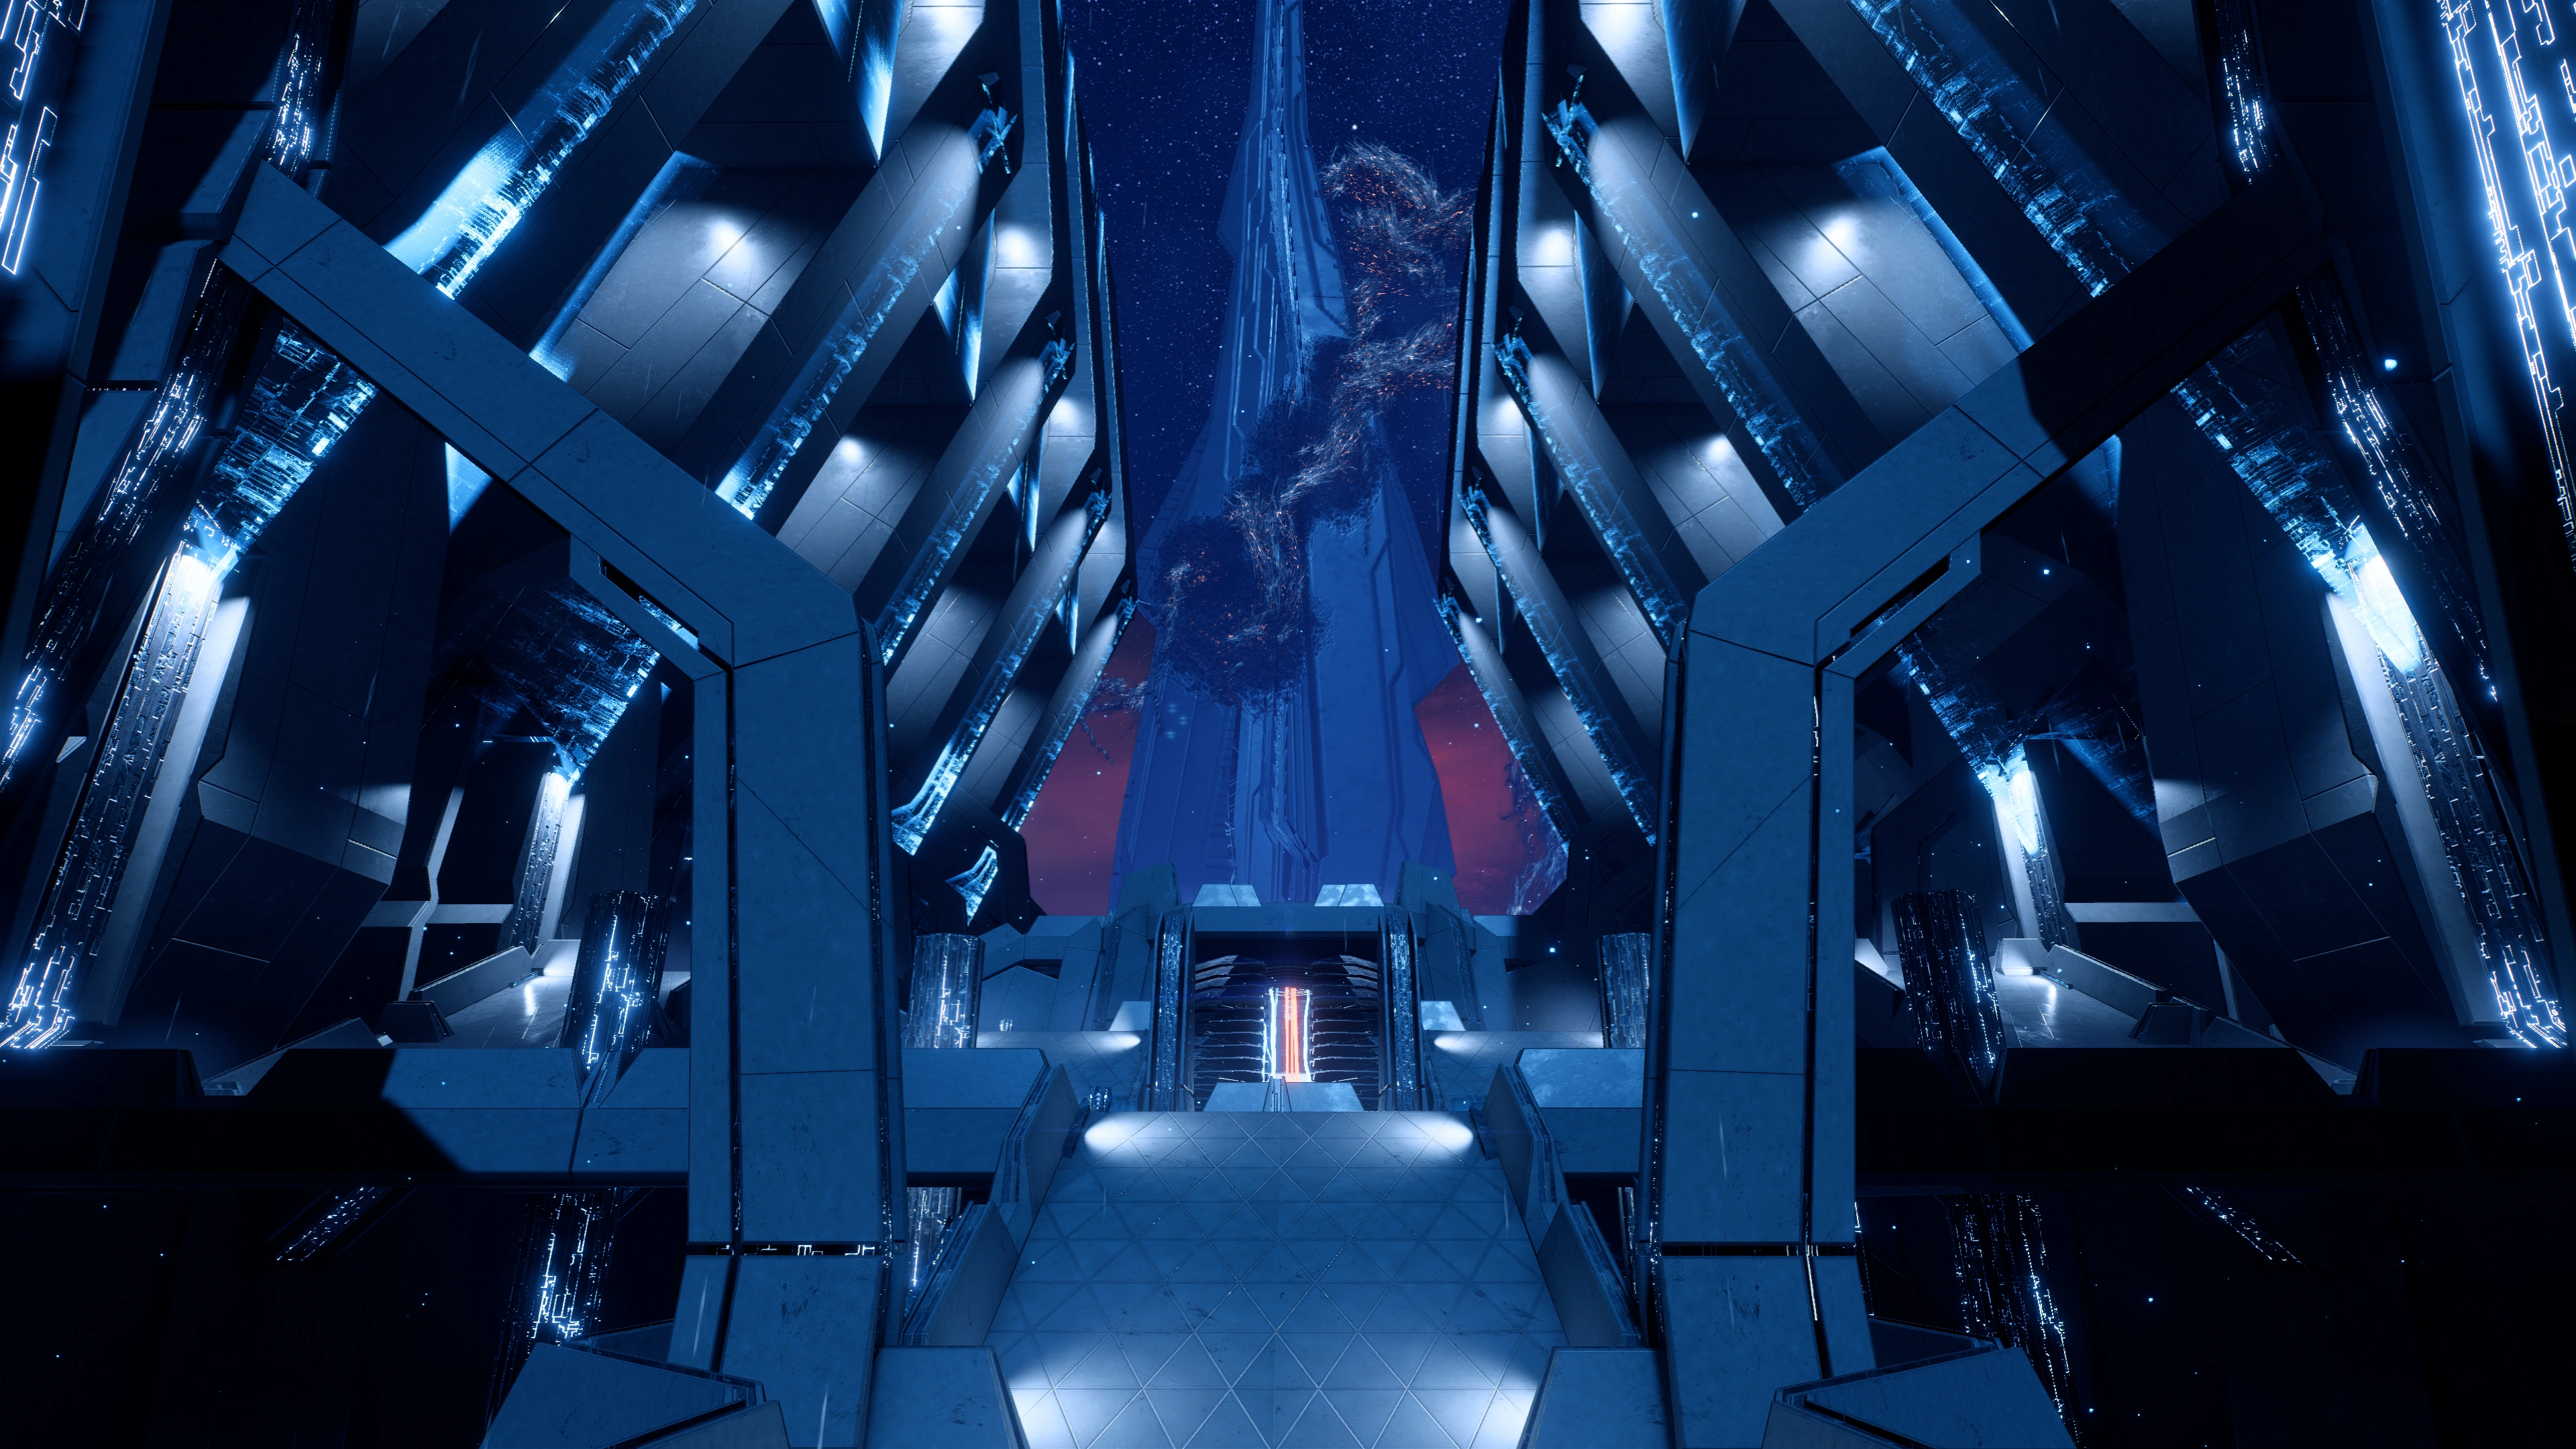
Go through the door and to the console in the next room. Activating the console starts a cutscene where a window opens ahead with a view of the central command hub and secondary towers to the north and south. SAM informs Ryder that the two secondary towers will need to be activated before activating the hub, similar to how vault activation has worked. The Pathfinder and the squad discuss the possibility that activating the hub may start a purification field like the previous planetary vaults.
Note: The current objective is now complete and there are now two other objectives that replace it:
- Access the tower in the research sector
- Access the tower in the exploration sector
These aren't important for now, use the nearby gravity well first and head down to the lower level.
At the bottom of the gravity well, You'll overhear kett transmissions and see enemies on your radar to the east. A Strange Remnant Device on the upper ledge to the west of Ryder can be scanned for +10 ![]() .
.
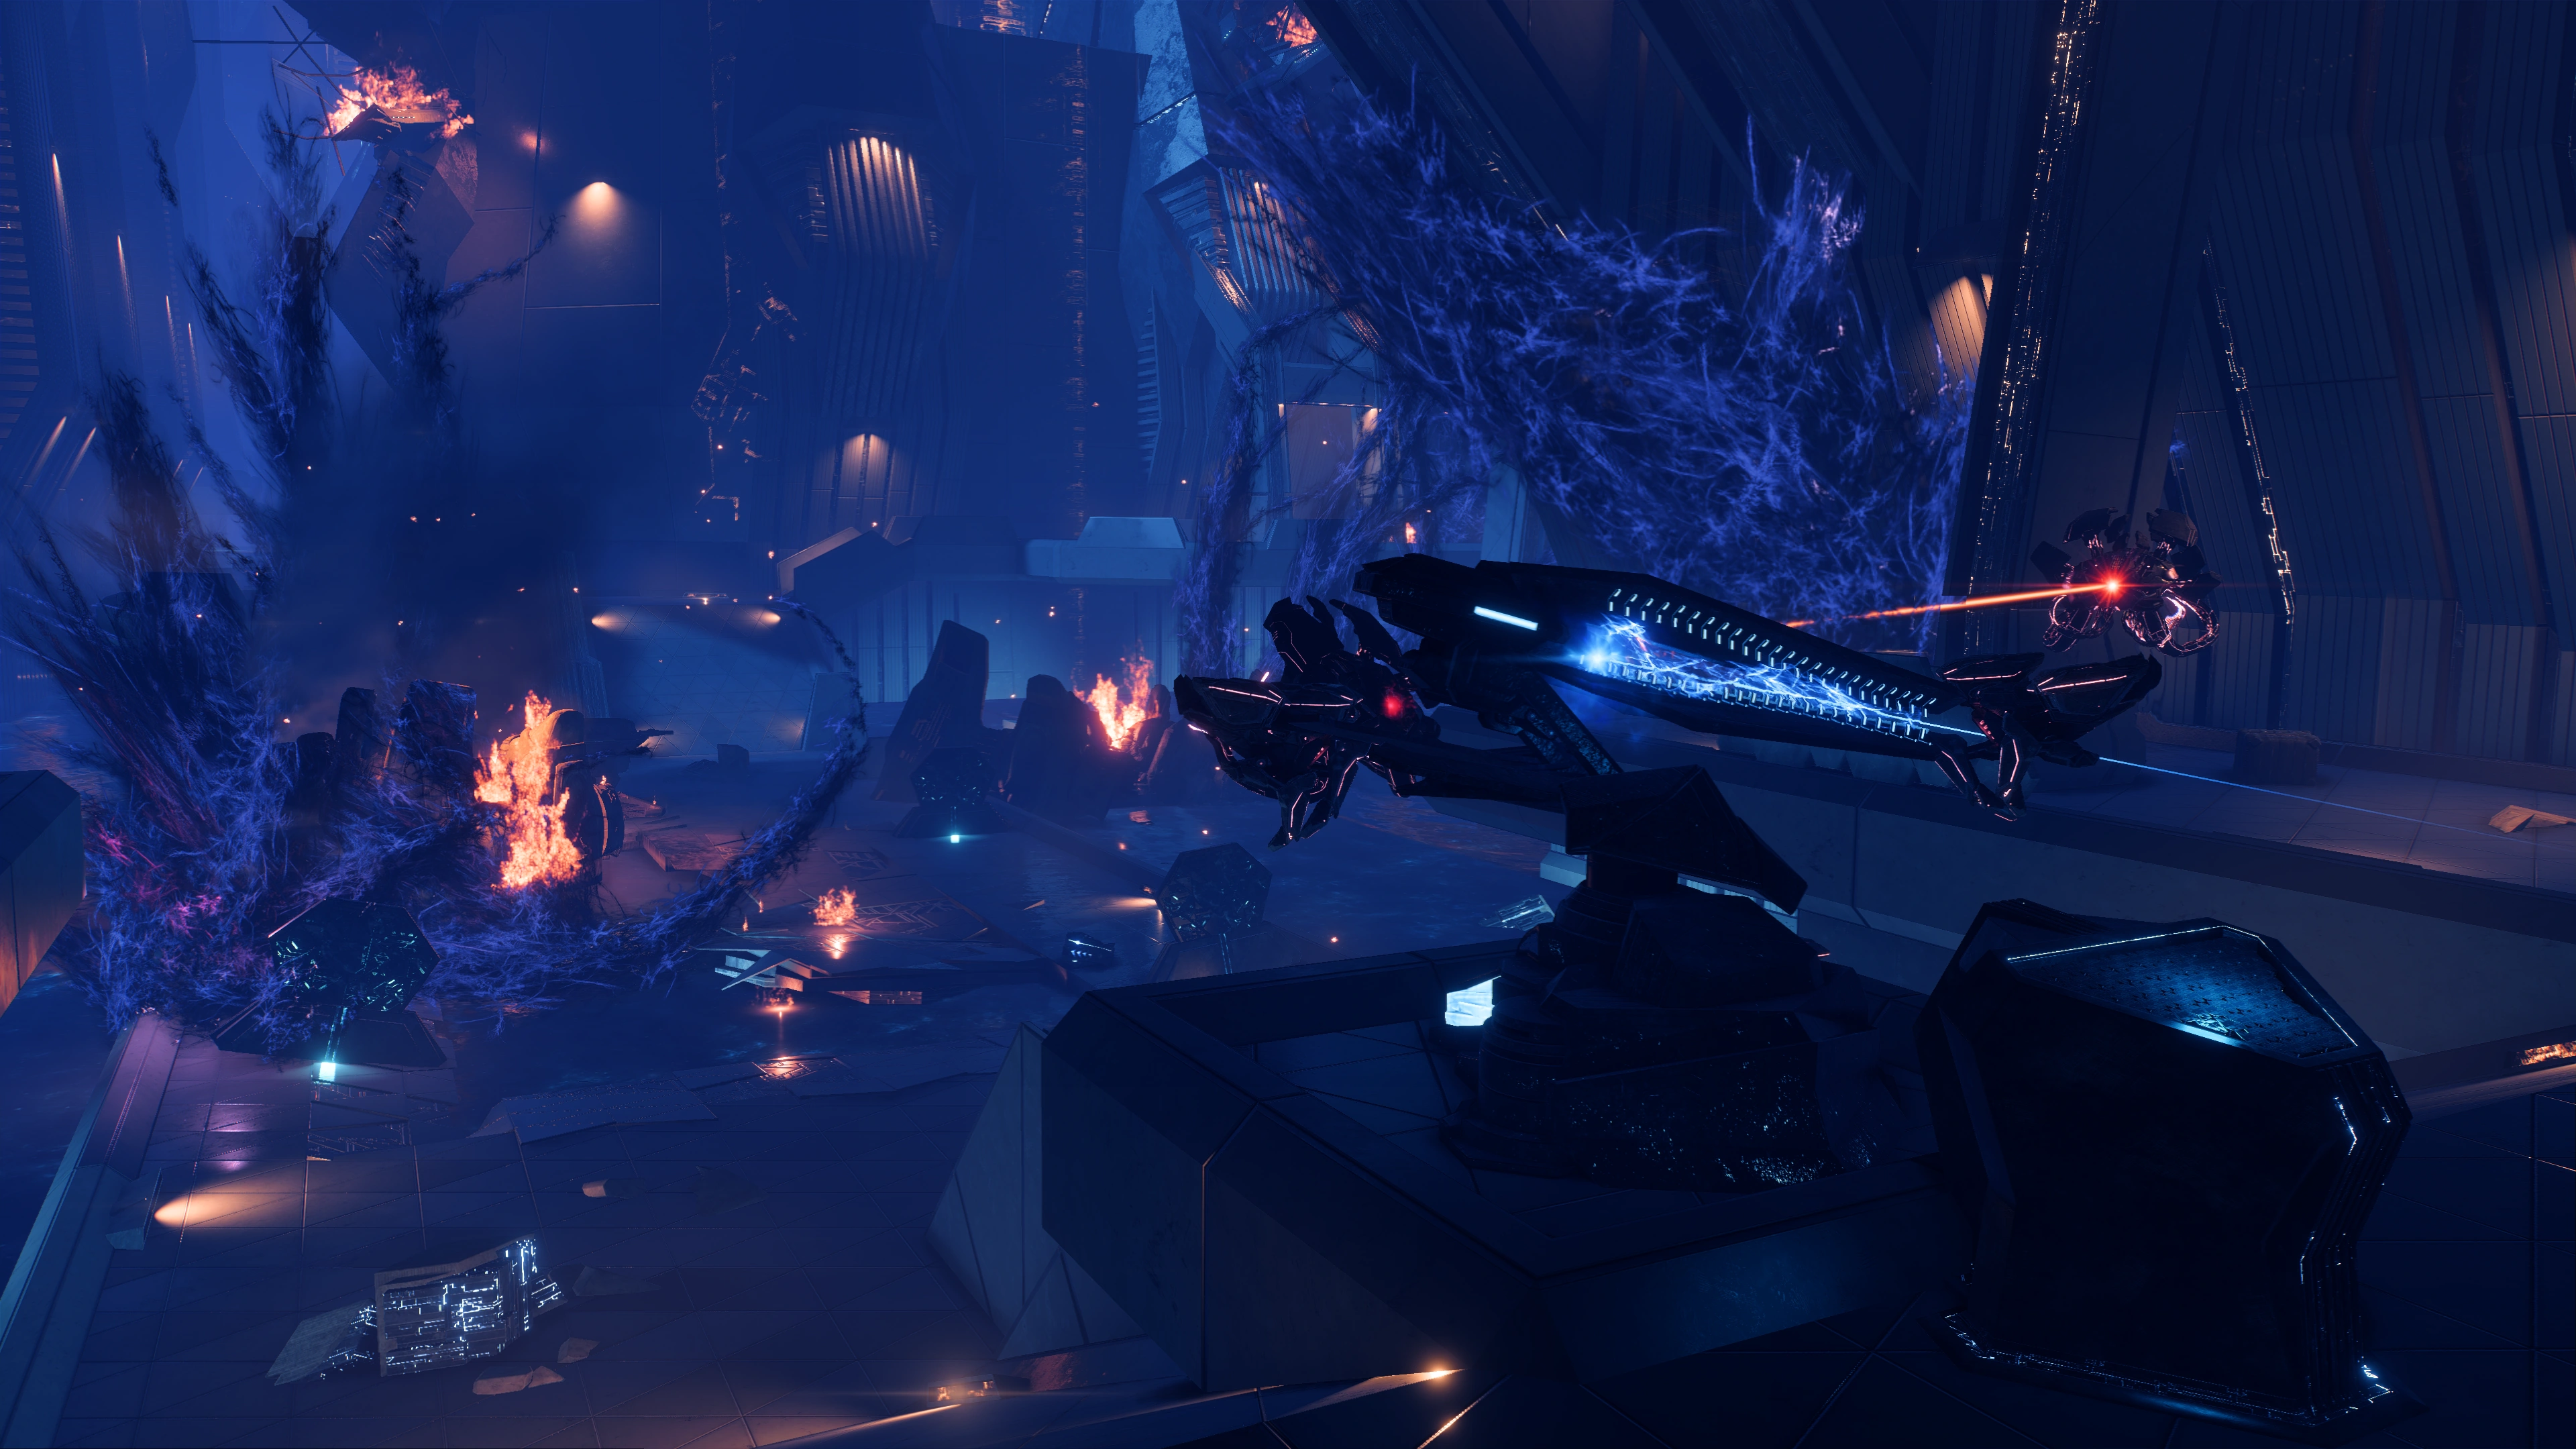
Proceed forward to the east towards the hub to open the door and head into Gateway: Sector 17. You will encounter a kett force consisting of a two Wraiths, two Chosen, and one Anointed. Be careful of enemies on platforms above Ryder who can shoot down over your cover.
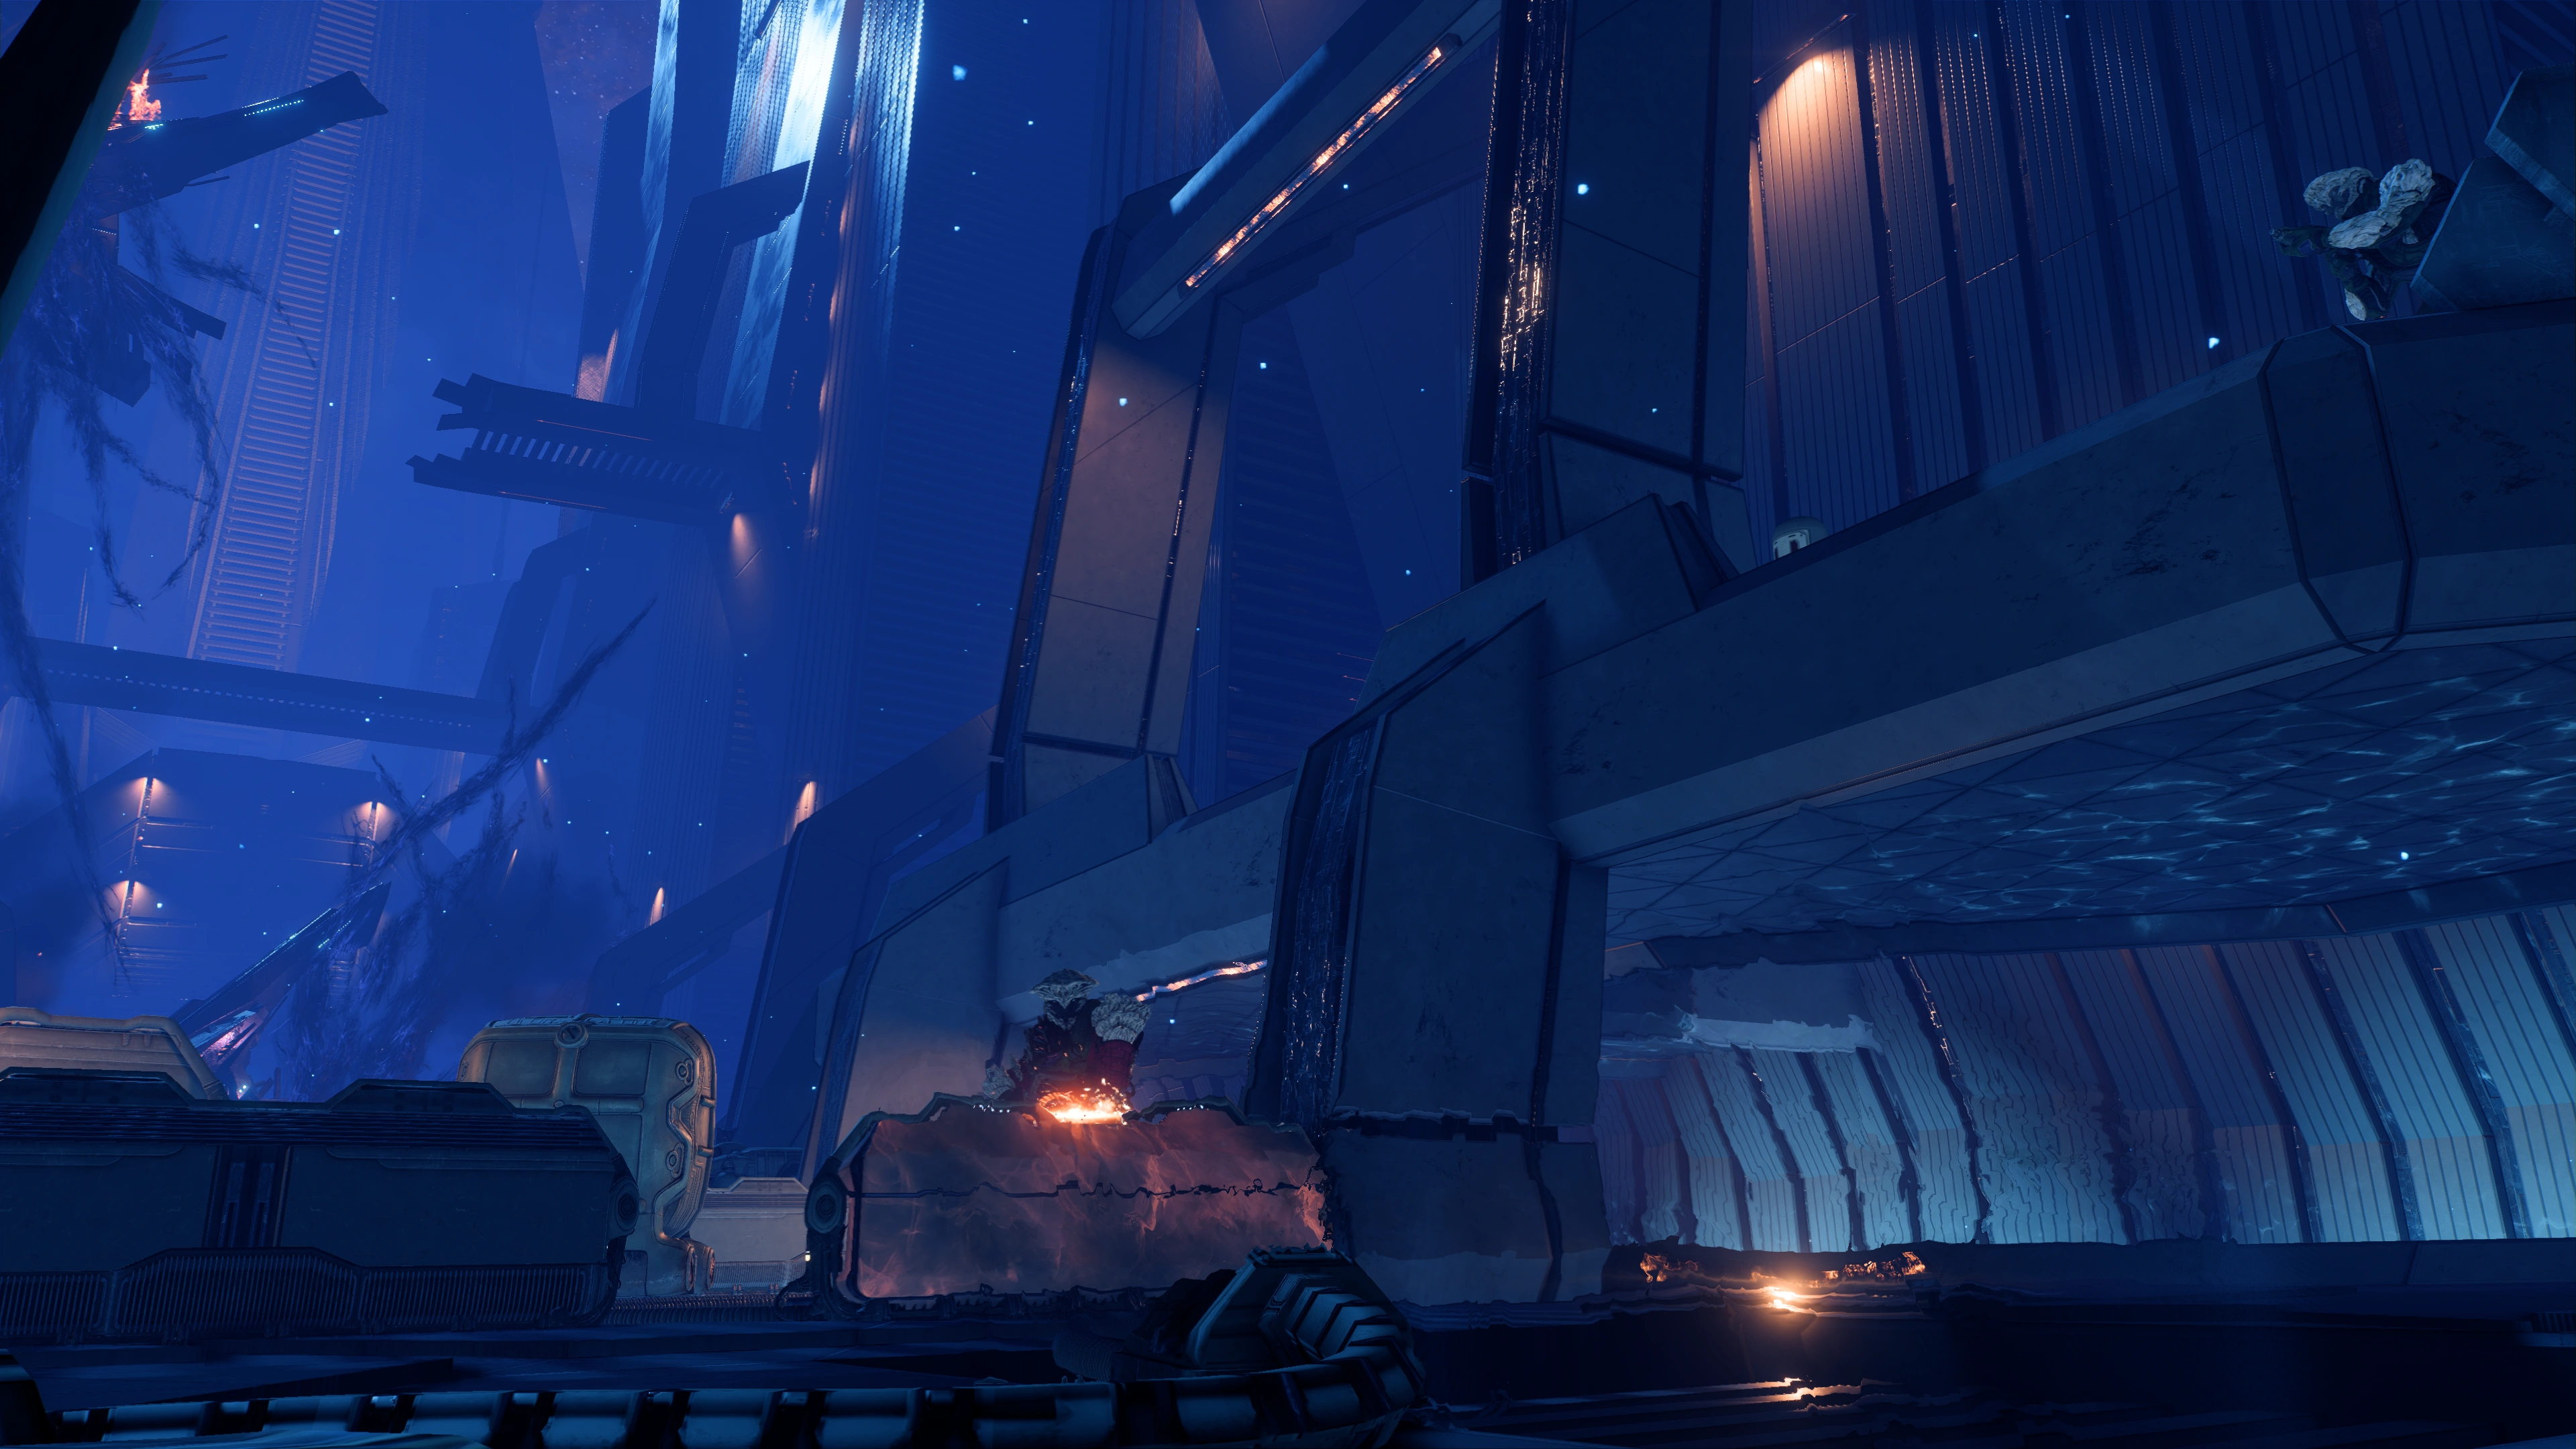
Warning: This mission features many areas that look like smooth floors but are actually pools of electrical ferrofluid. These pools are Level 4 Electrical Hazards and will kill Ryder very quickly. Be careful when exploring areas. These areas tend to be underneath elevated platforms or in low areas. There are small ledges on the floor that delineate what is flooring and what is a pool. This delineation is blurred in damaged areas where the fluid tends to pool in low areas or damaged spots.
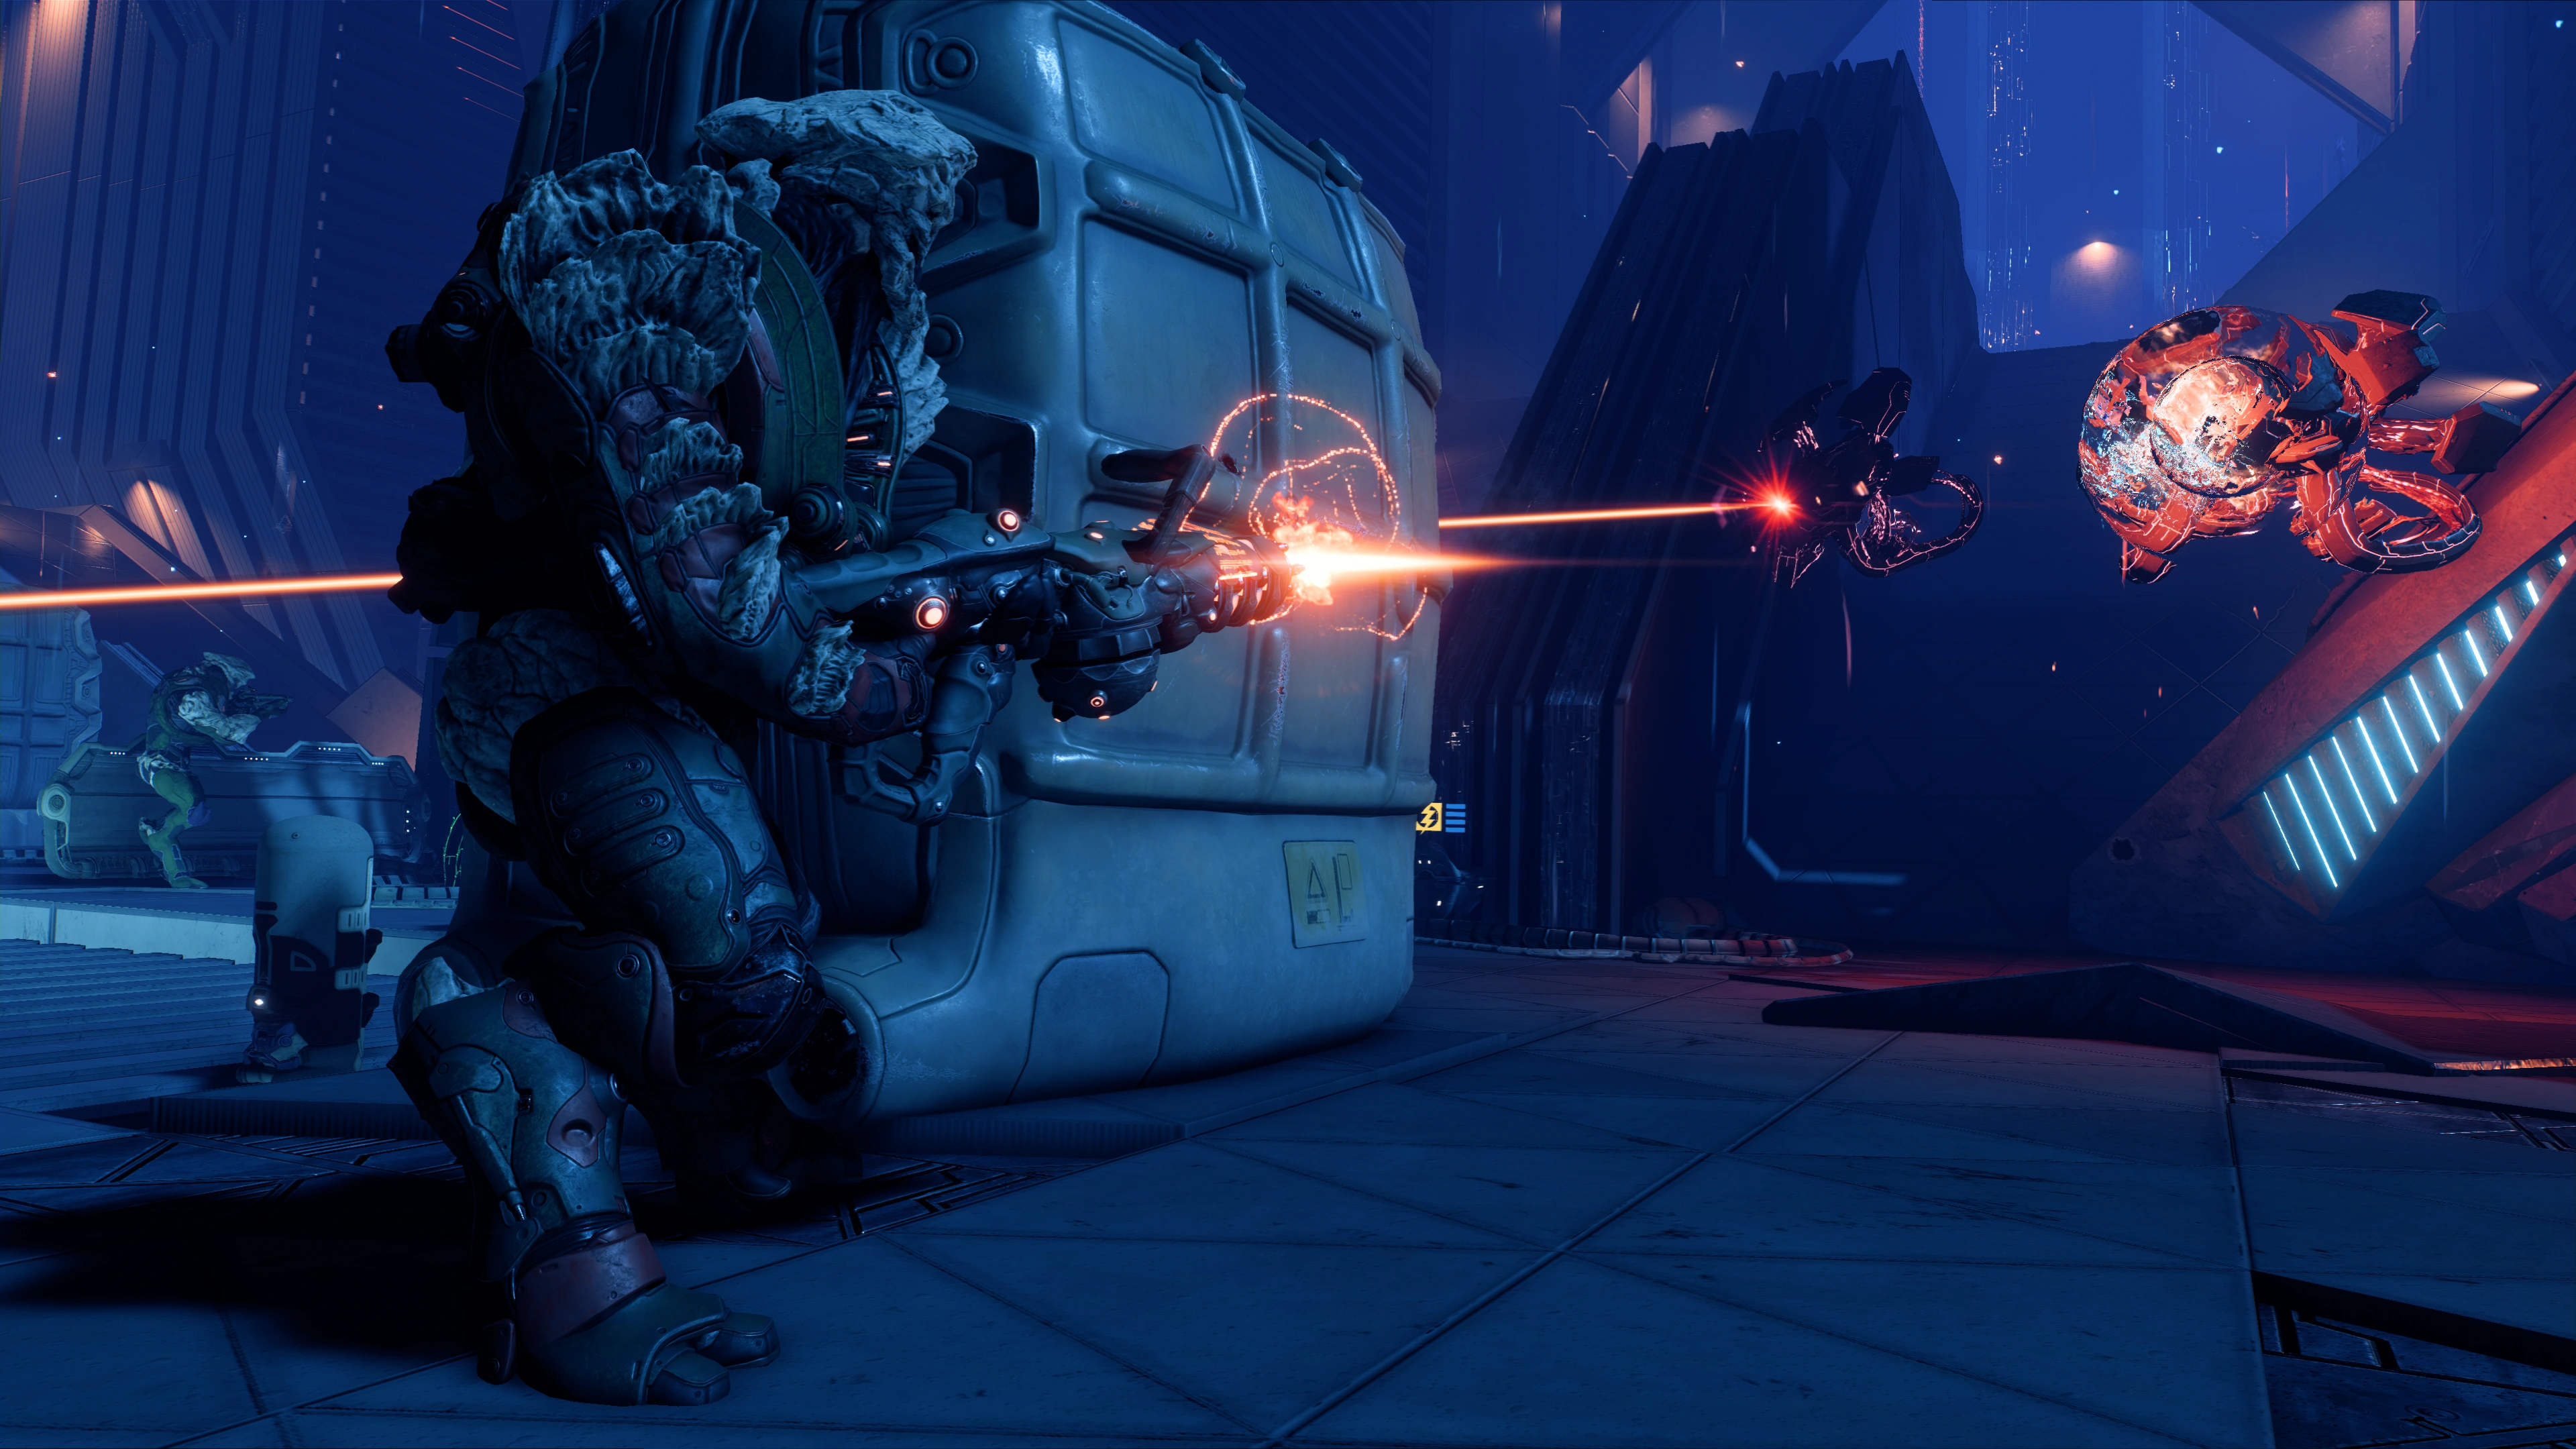
Once you wander too far east towards the burning wreck, a squadmate then notices incoming reinforcements of Chosen and Anointed, but there are two Observers also joining the fray who will attack all organics in sight. Either fall back and let them kill each other, or wade in yourself and dispatch of them as you see fit.
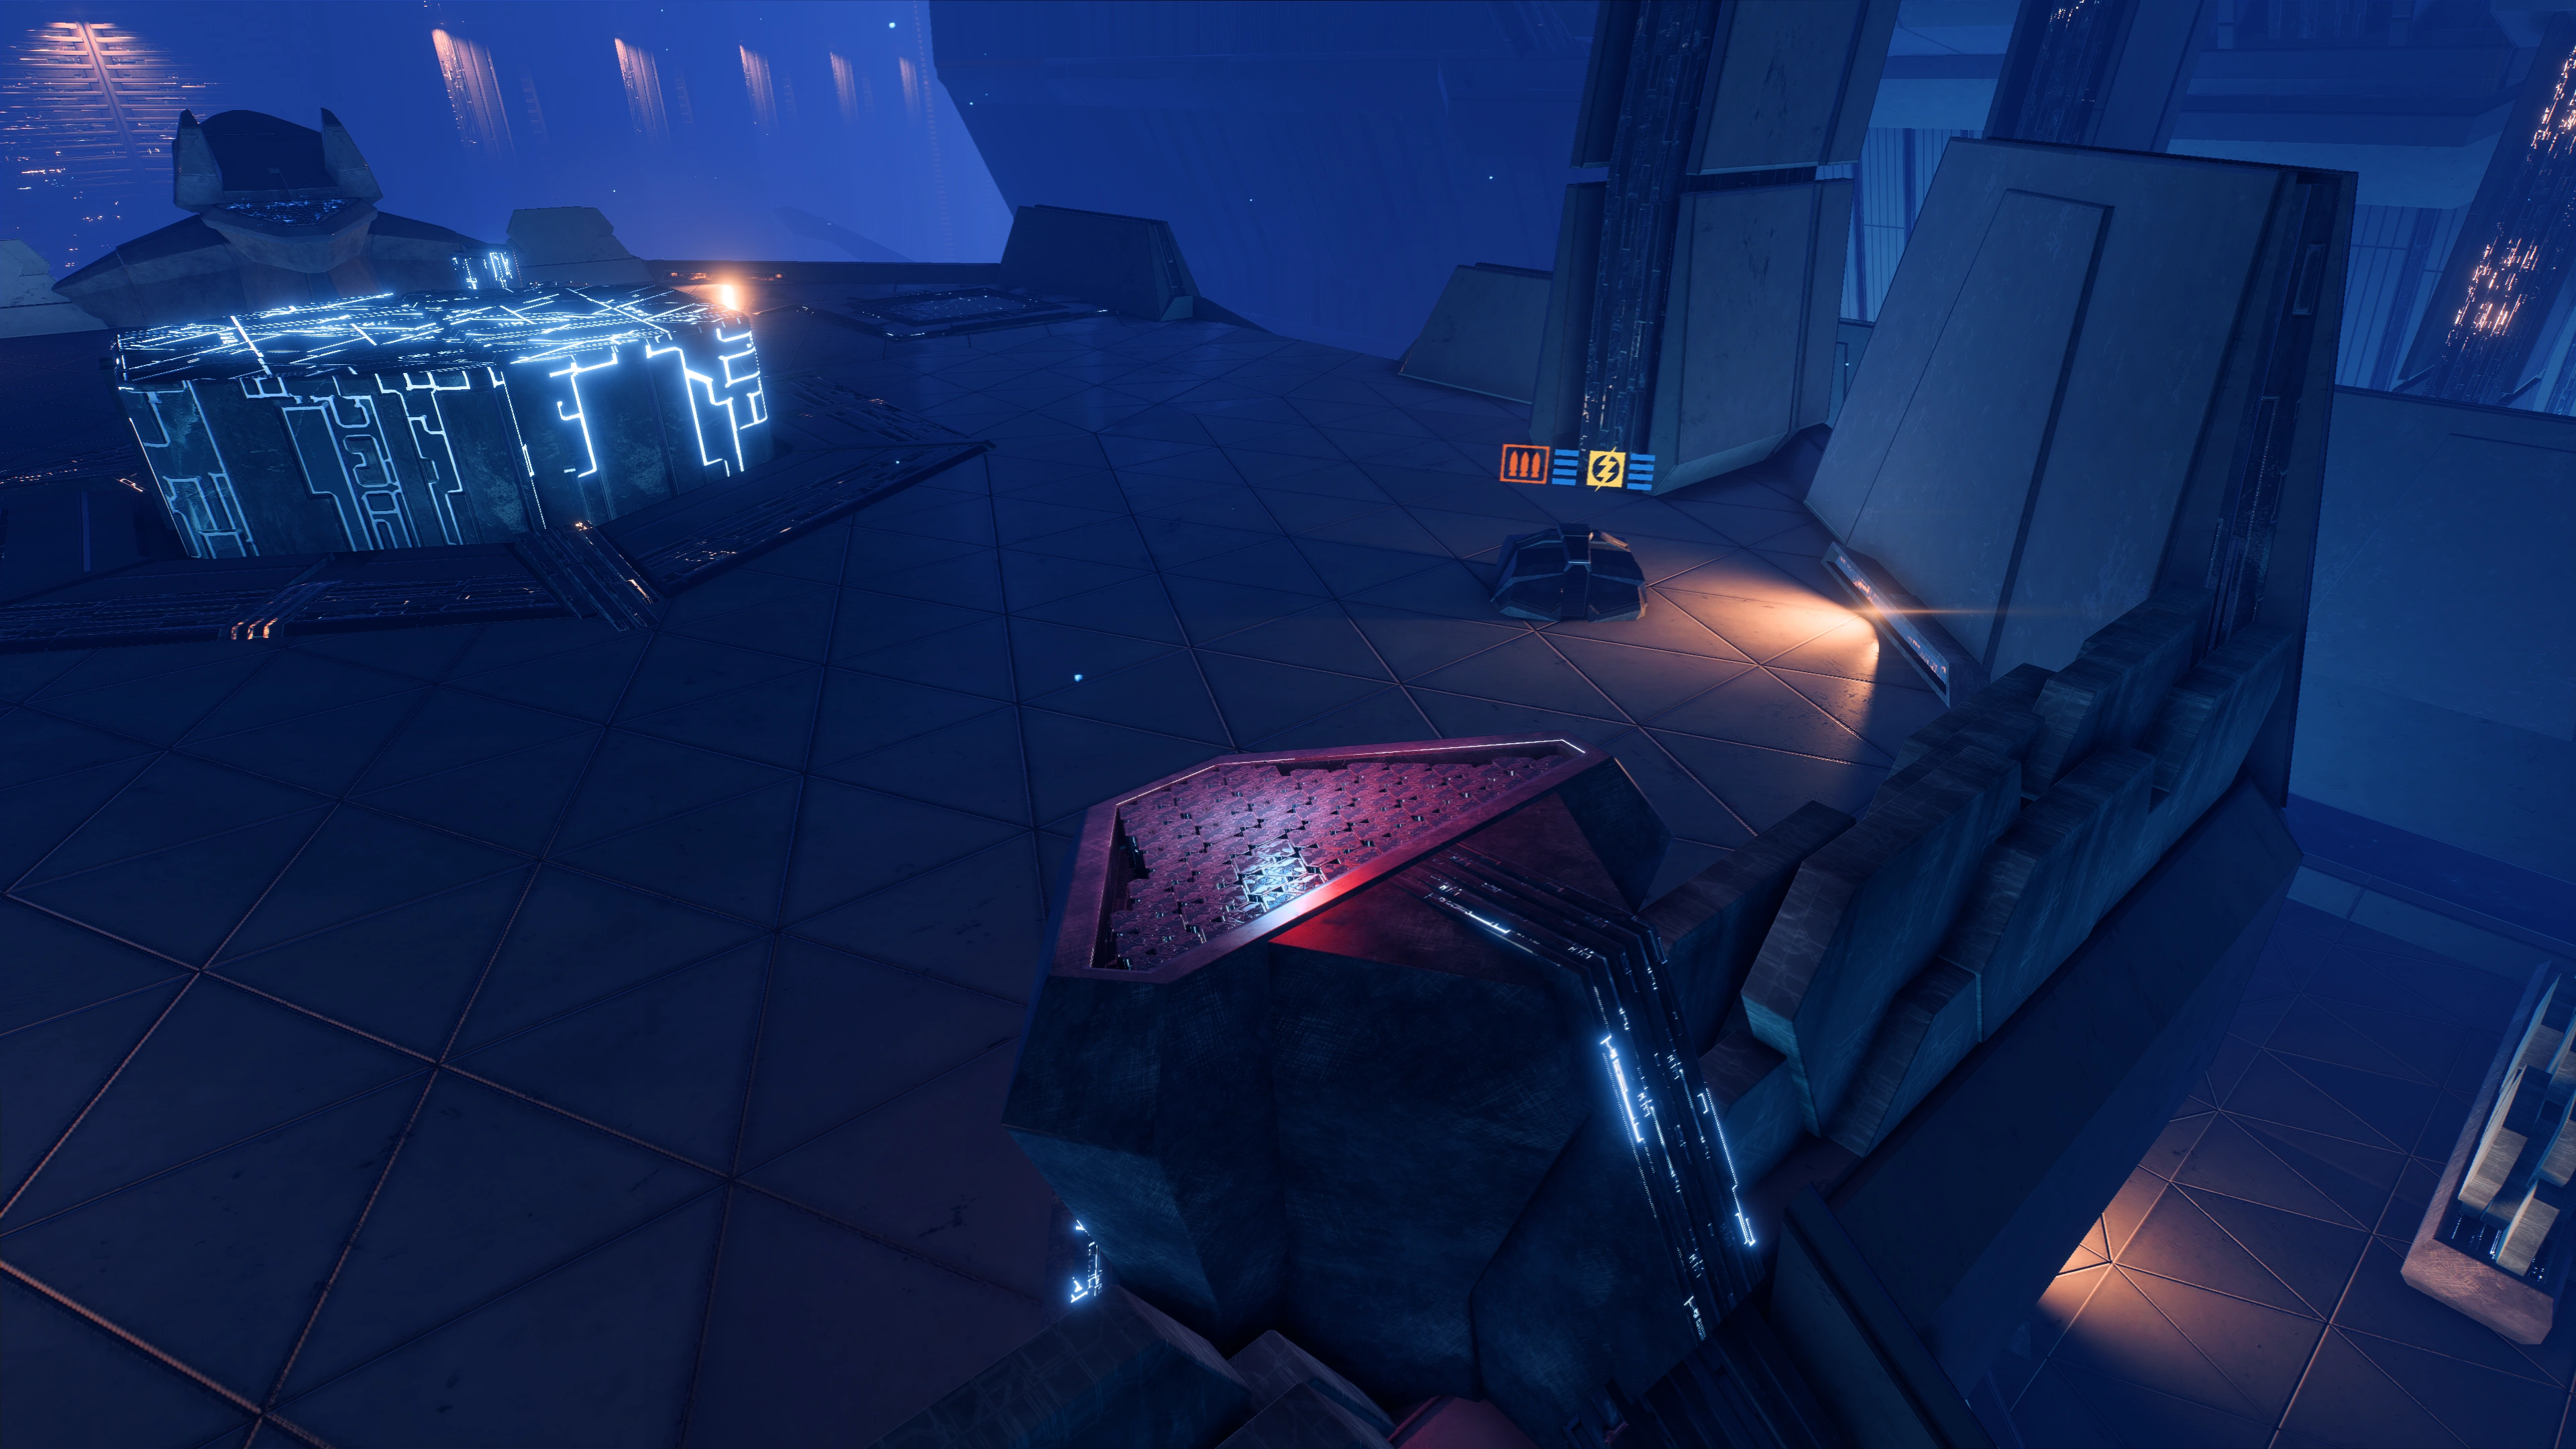
When all hostiles are killed, explore the surrounding area for loot. Looking forward from where you first came in, on the elevated platform to the right is a lootable container and a datapad.
On the left elevated platform is an ammo/power cell supply cache.
By the burning wreck is a scannable Scourge Energy Pocket and another container. At the bottom of the north ramp is an ammo cache and at the bottom of the south ramp is a health cache.
When you've cleaned out the immediate area, you'll notice that the path splits left and right by the burning wreckage. The ramps leading up to the north go to Sector 17 - Exploration and the south leads to Sector 17 - Research. Which area to go through first is entirely up to you since you'll end up in the same place later, but for the purposes of this walkthrough the exploration sector is explored first. Note: you should explore the starting area of BOTH paths to collect any RD or items as progressing far enough on either path means you'll have to drop down and won't be able to get back up by conventional means to collect those items.
Access the tower in the exploration sector[]
For this walkthrough, Sector 17 - Exploration (north) will be the path explored first. This means you should clear out the starting portion of the Sector 17 - Research area (to the south) first. One of the squadmates will have something to say upon seeing the crates of kett equipment at the bend.
Head up the ramp to the south and on the lower level is a lootable container. The squad are astounded that there are plants growing out of the grate and on the walls of the station. On the upper level, the tree-like structure is called Strange Vegetation and can be scanned for +10 ![]() . There is a uranium node near the tree. Do not drop down into the area below!
. There is a uranium node near the tree. Do not drop down into the area below!
With all loot at hand, head back down to Gateway: Sector 17 and proceed to the north tower. On entering the area one of the squad will have some comments on the clouds overhead.
Be careful not to walk into Scourge Energy Pockets along the way, and there are many of them here. You will see dead kett and a lootable container further along near an area with missing floor plates; don't fall through. There is another lootable container on the southern wall next to a dead kett.
Just past this damaged area you will encounter some Wraiths and Observers, fighting each other if otherwise not occupied with you. Let them fight -- Ryder will receive combat XP whoever makes the kill -- and finish off the survivors. A console here will spawn a friendly Observer; unfortunately, it won't follow you out of this area.
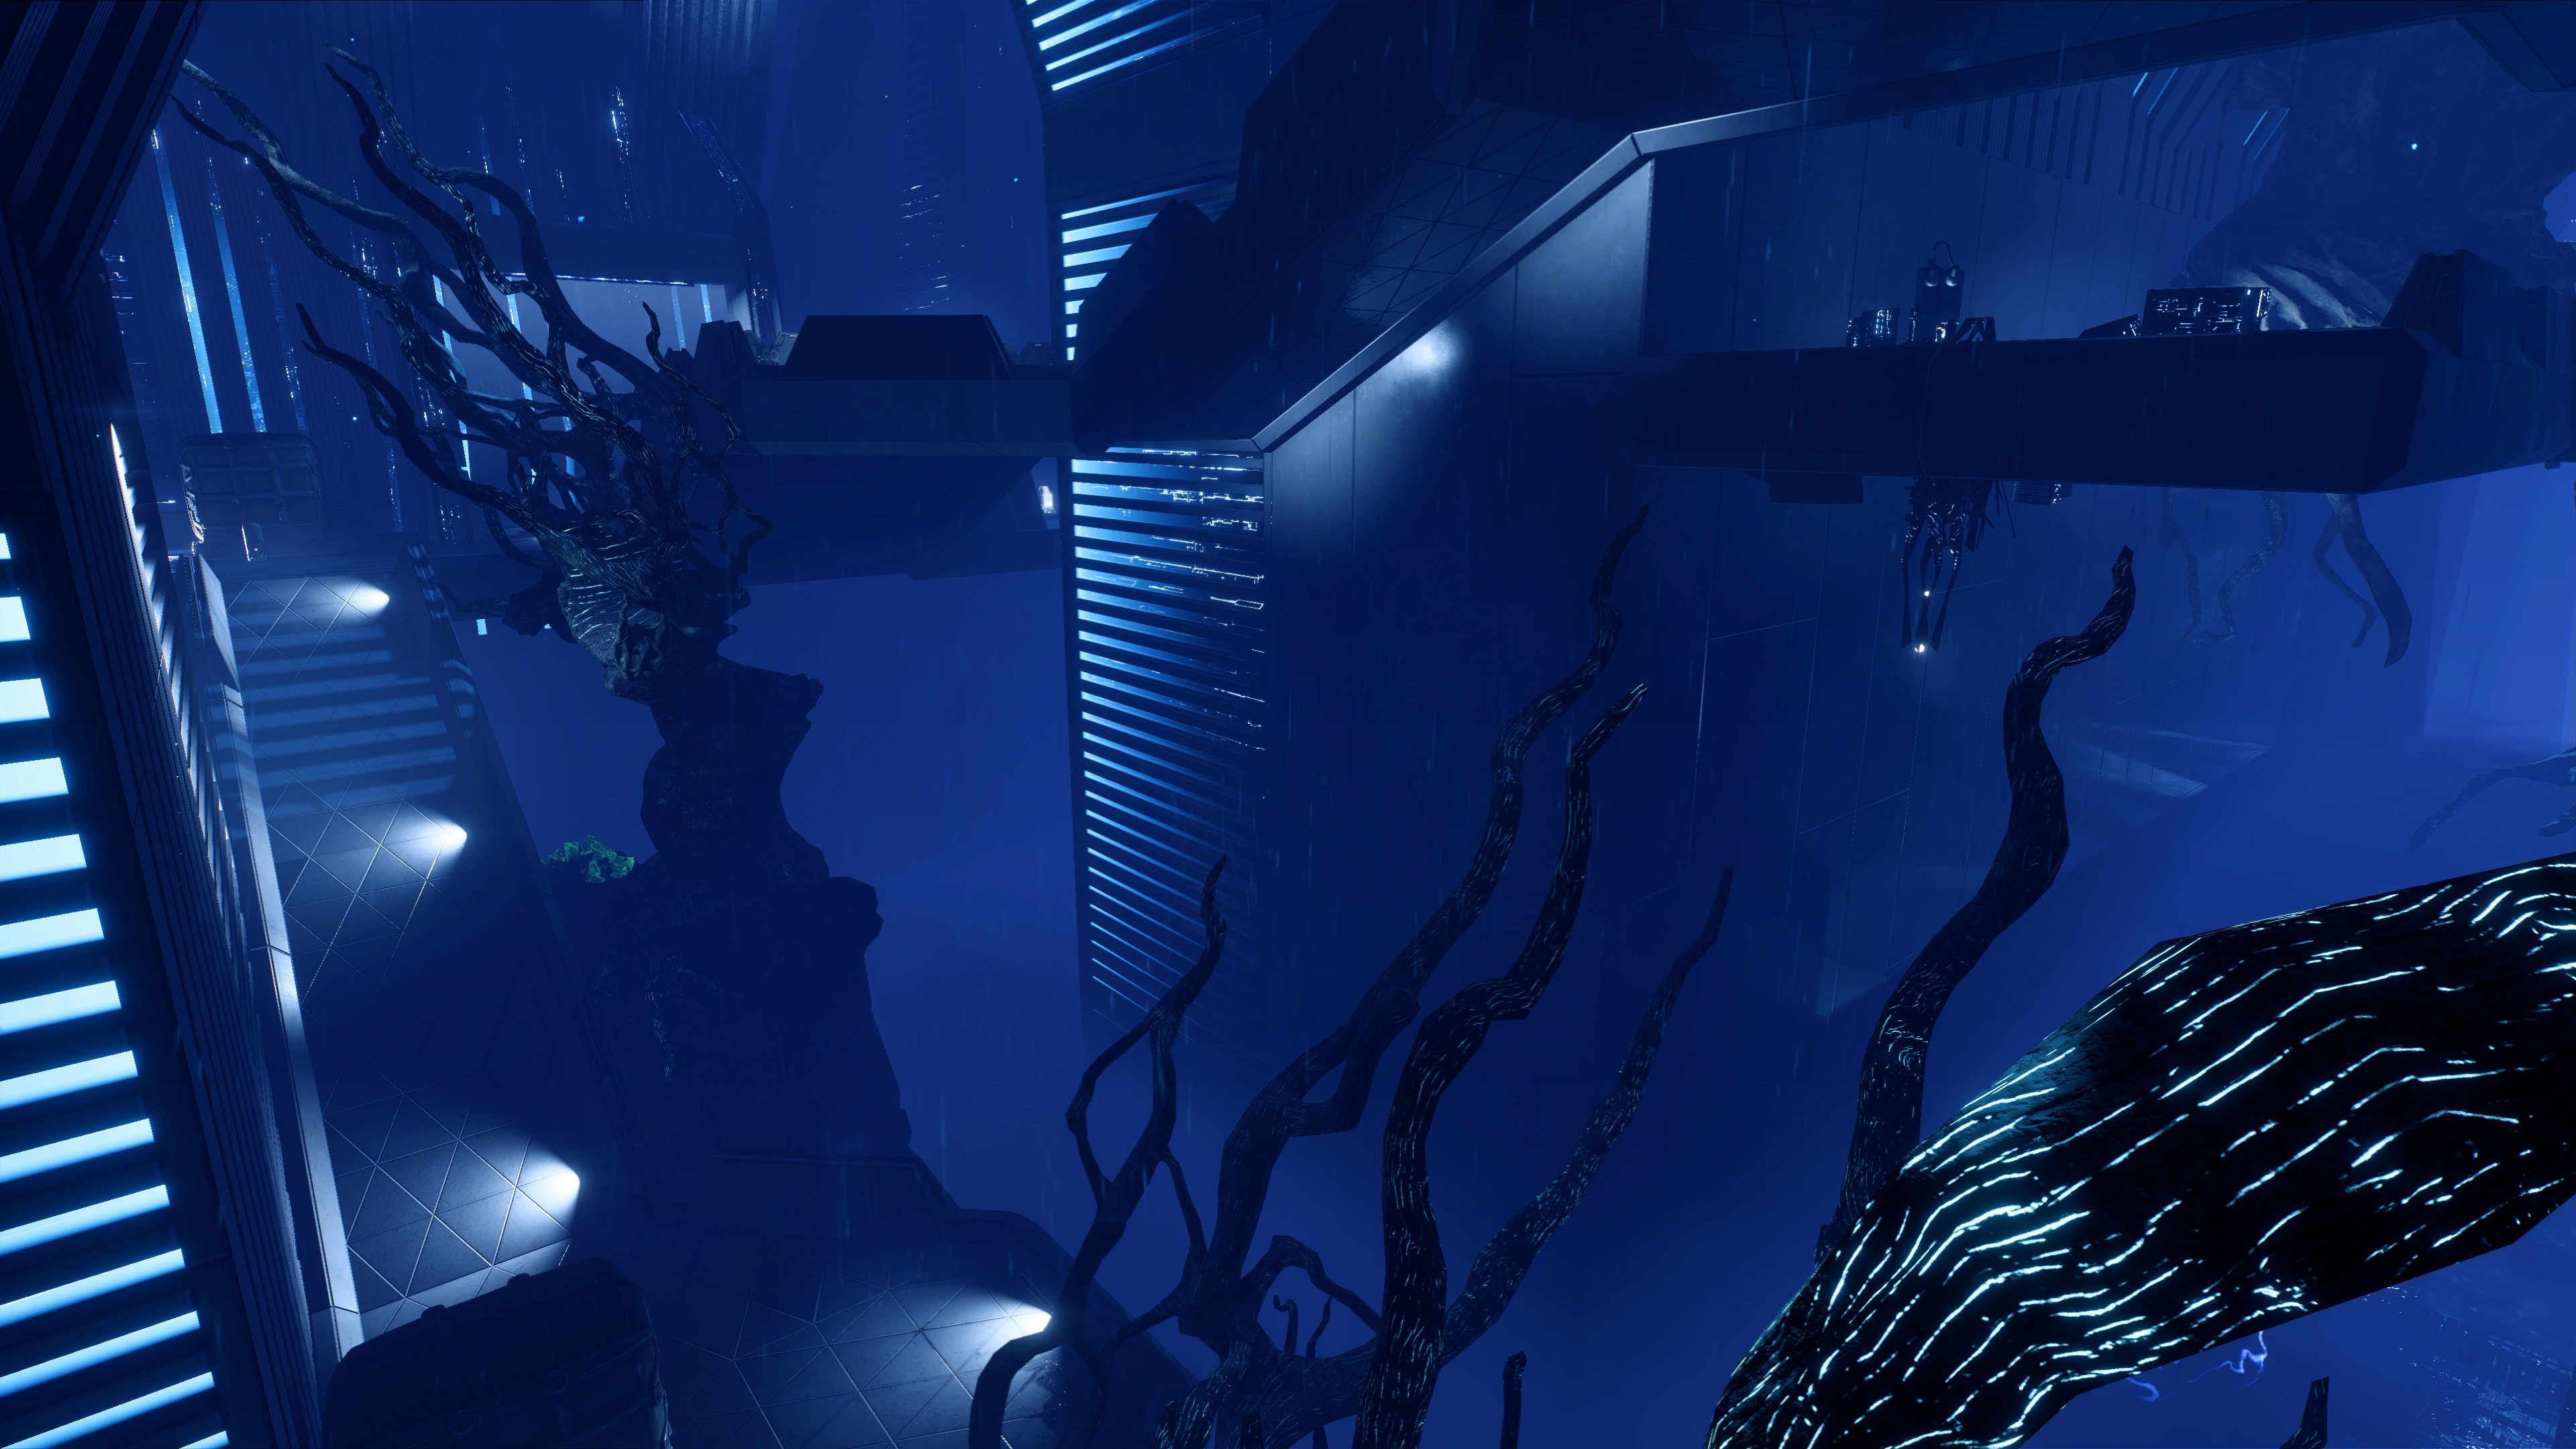
Further along you will find a wrecked console and a torn-up area of floor, with numerous Scourge pockets. Once you have looted the container that is present, jump down. Try not to land in the electrical ferrofluid or the Scourge tendrils, since both will wipe out Ryder's life support and then health. At the bottom, SAM tells Ryder that he believes the Scourge spread from here to the rest of Heleus. Either the Remnant builders did it or someone did it to them.
There's a scannable downed kett ship with Scourge growing out of it next to the burning wreckage. The raised platform to the right offers a way around the Scourge tendrils and electrical ferrofluid.

From the western portion of the platform, you may see another kett-Remnant fight to the south. Don't get involved for now; anyone you kill will simply respawn and have to be killed again later. Proceed to the east instead. A console here extends a bridge that leads to a walkway that wraps back around to the area where the kett and Remnant were fighting - if you activate the other console on the other end, the bridge now extends to the ferrofluid below leading to a lootable container.
Just a bit further south is a small ledge with a container, and on an extrusion from that ledge is another container. One of the squadmates cautions against the gaping chasm; be careful not to overshoot your movements.
For now, head north from the bridge console to another console and door, with a Remnant turret and a couple of Observers, Assemblers (and independently-spawned Breachers) standing in Ryder's way. If you can sneak past the gauntlet of bots through Tactical Cloak or just quick dashing you can take command of the turret via the console just behind it.
There is a lootable container on the left elevated walkway. There are ammo and health caches on the right.
Activate the tower in the exploration sector[]
Use the console to open the door and enter a small room. Open the second door and head into the Exploration Systems area.
Your target is the console on the far side of this room. There are a couple of hidden items here: one is a container under the right ramp from the entrance. Also make sure to scan the Adaptive Remnant Core Device +100 ![]() under the console behind a support pillar.
under the console behind a support pillar.
There are two ammo caches: one beside the target console and another on the left walkway from the entrance. There is a data pattern just east of the central cube.
You can scan one of the Remnant Security Nodes (alternatively labeled Observer Replication Control) for +10 ![]() .
.
Activate the Exploration Systems console. Turns out it isn't quite working yet; Ryder needs to reconnect power to restore full functionality.
Reroute power to the main console[]
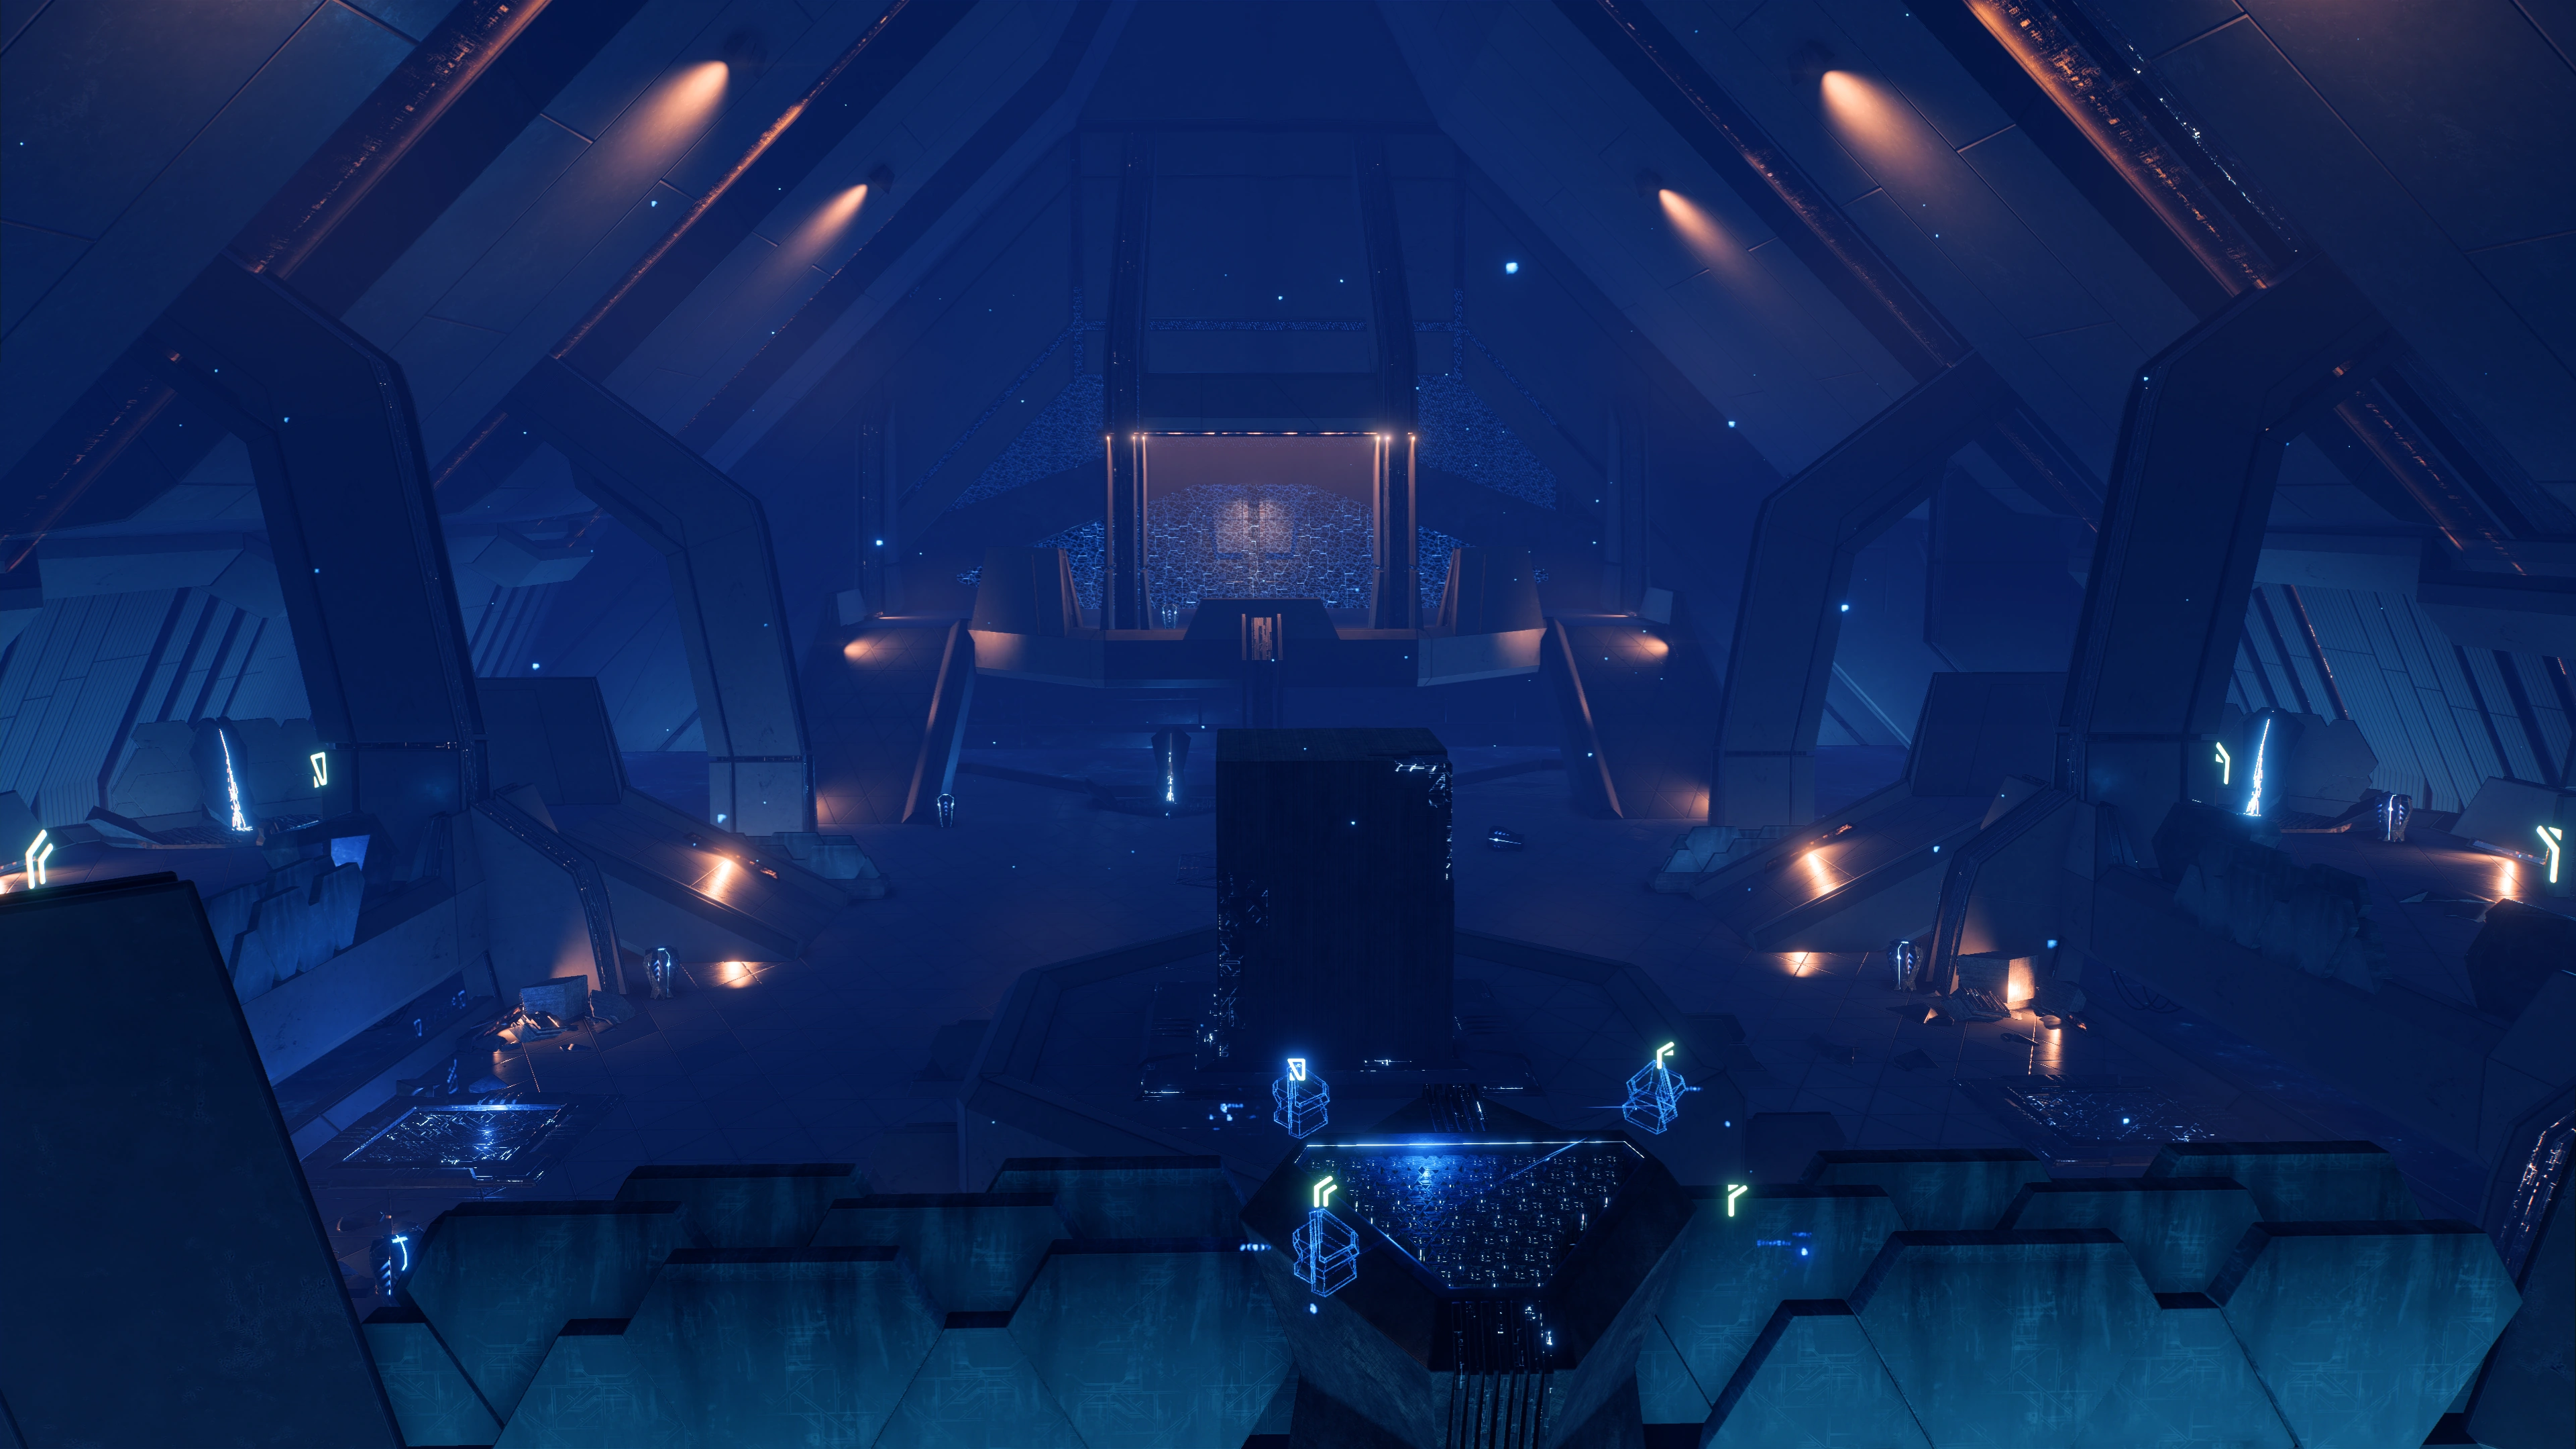
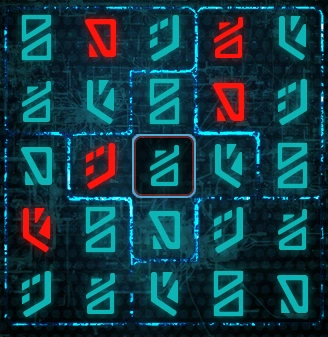
The console helpfully projects a wiring diagram for Ryder. Activate the four consoles on the west and east balconies in the order shown to restore the power. From the console, follow the 'Z' pattern by starting from the bottom right glyph.
Activating consoles in the wrong order will spawn hostile Remnant. Once you're done, an energy field begins to block the way you came in. Definitely sounds like a fight is impending, so be ready. Return to the north balcony and activate the main console to start a cutscene.
Flight Controls are now online and a bunch of Remnant exploratory vessels power up. Unfortunately, kett immediately show up and start boarding the ships. The console informs Ryder that it can't receive commands from the Meridian Engine. What that actually means will have to wait because Remnant defenses are now activated. Specifically, several Assemblers and a Destroyer. Once you defeat them the entrance blocking field drops and you can now leave the area.
Access the tower in the research sector[]
As you exit Explorations Systems, Observers fly in to attack. The turret in this area has also been rebuilt if it has been destroyed before. If it wasn't commandeered earlier, it now fights on your side, apparently believing that Ryder is the new Administrator. Go back south to the bend with containers and turn right into the kett-Remnant fight mentioned earlier.
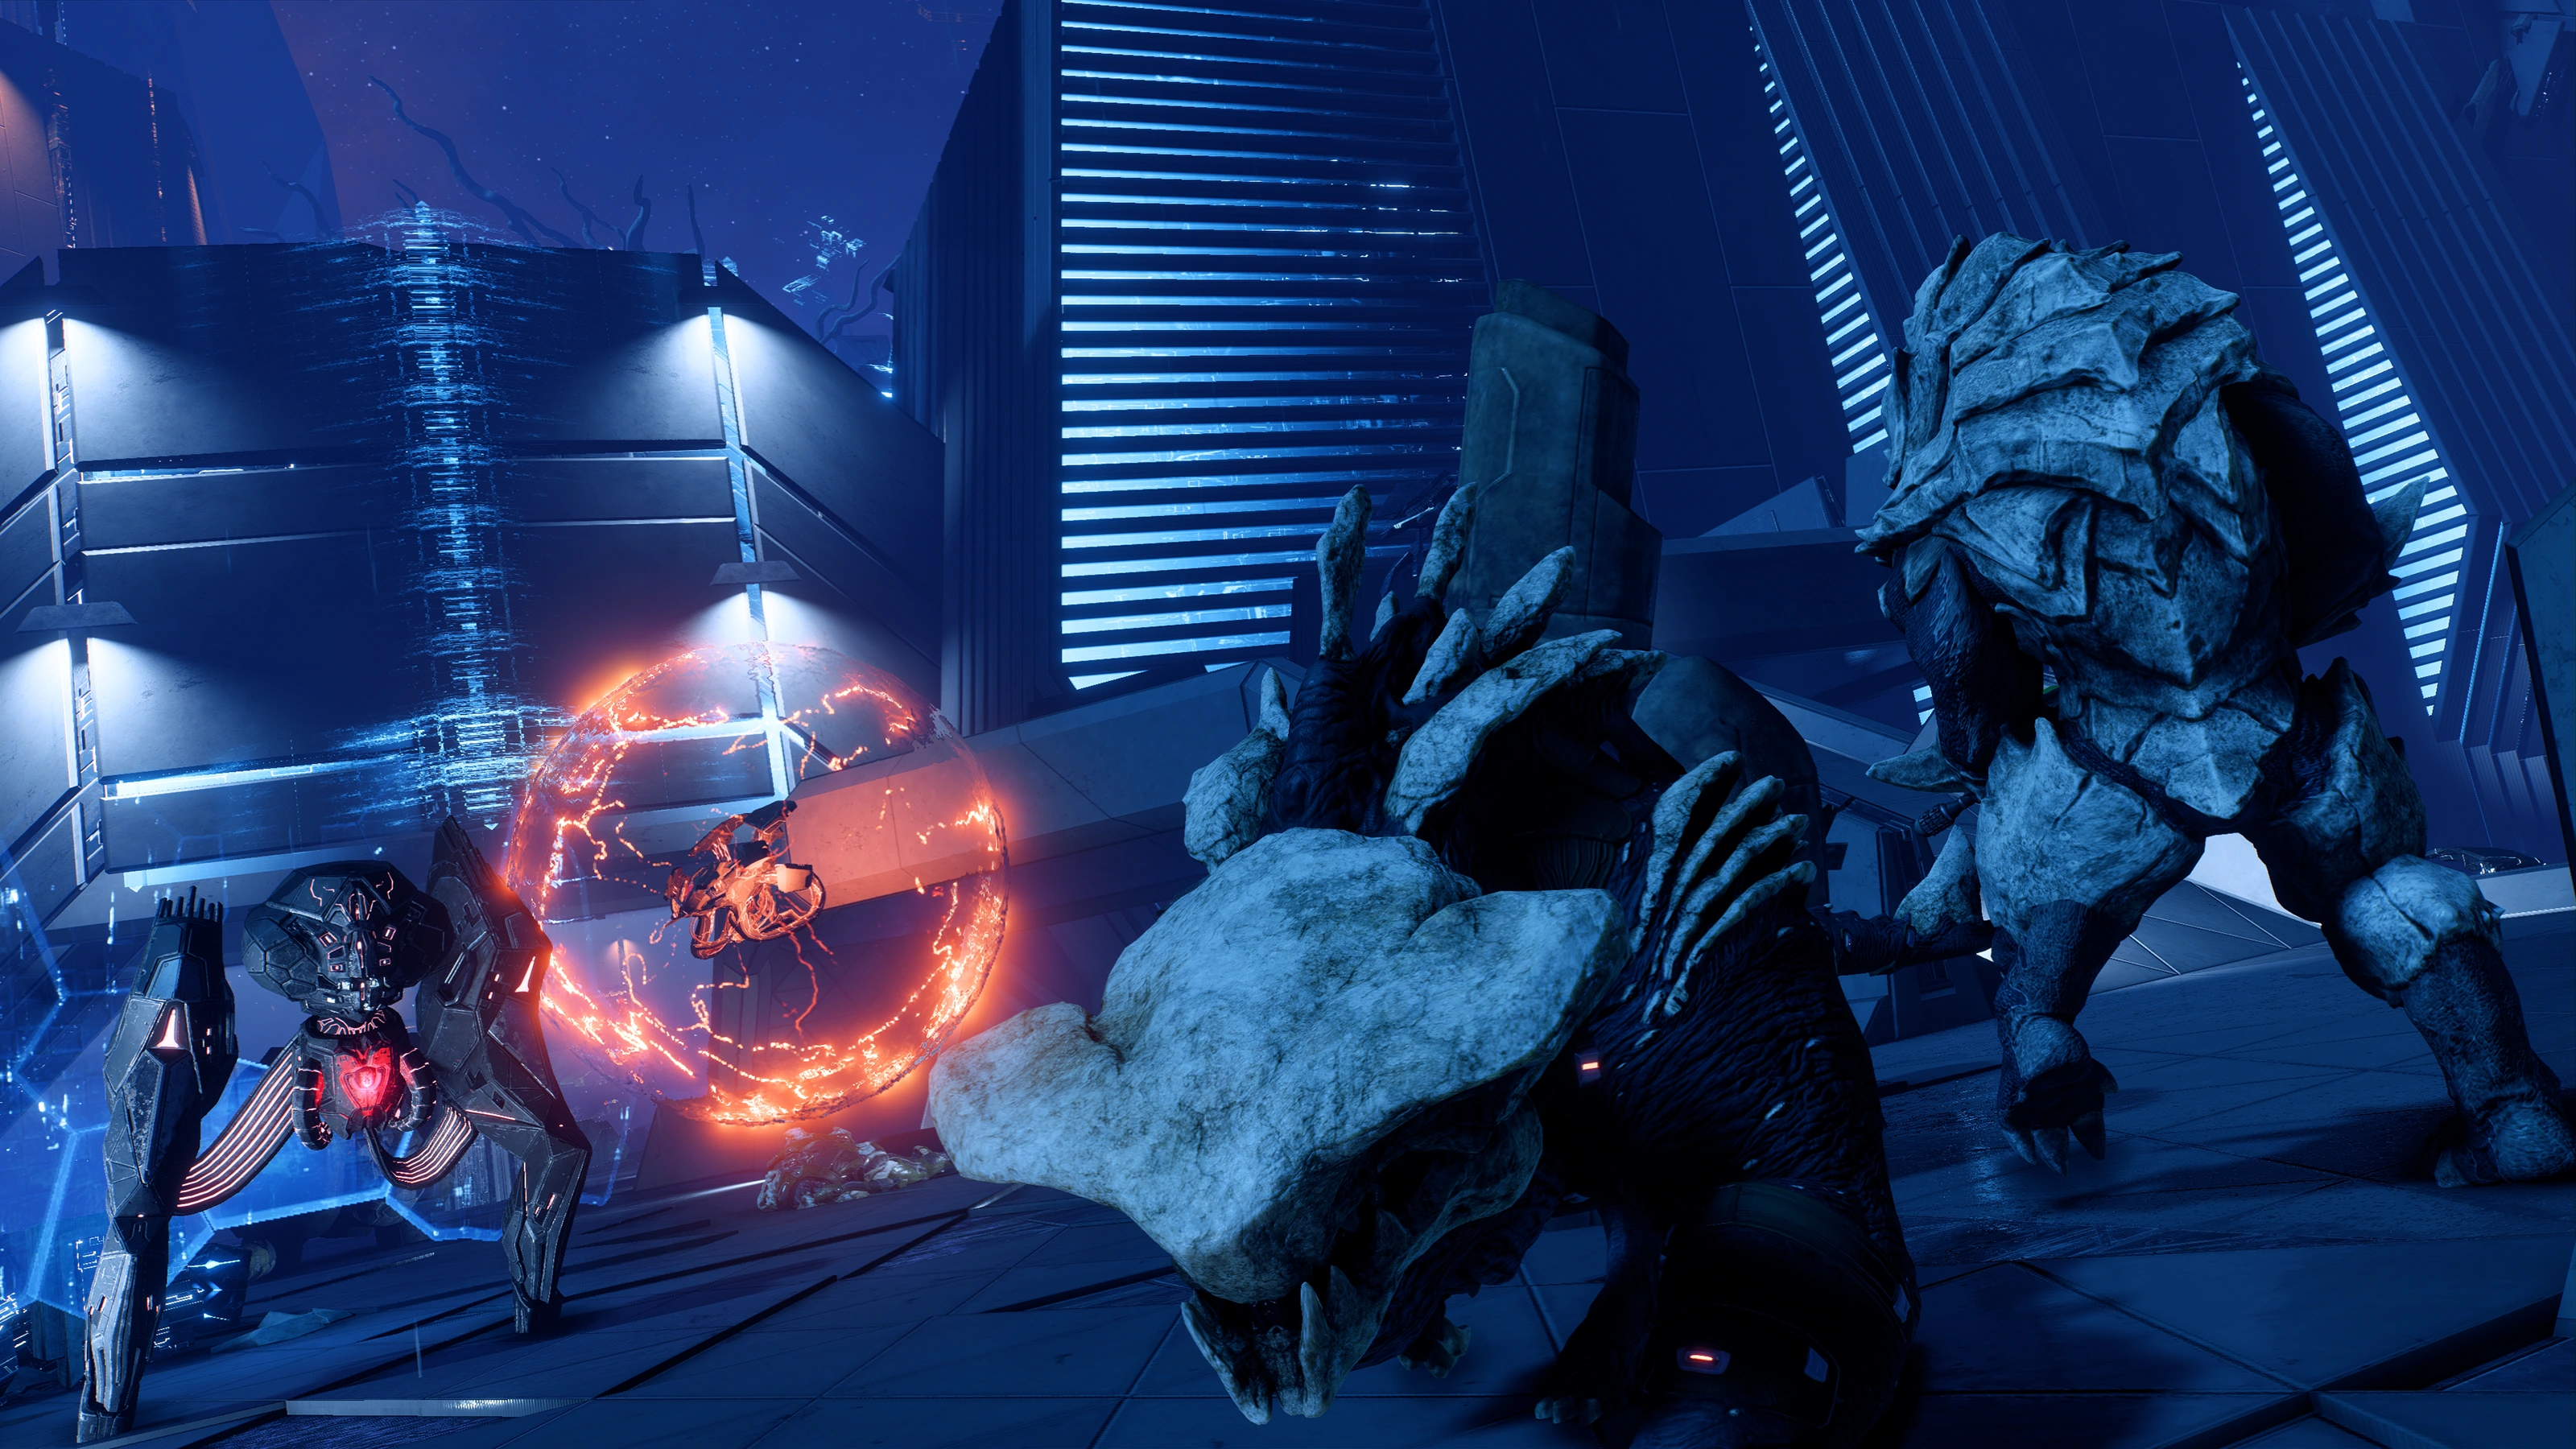
This setup includes a Behemoth (if you saved Zevin Raeka over Drack's scouts), a turret with a control console and an ammo cache just beside it, some Chosen and Wraiths, a Nullifier, and some Observers.
The area beneath the turret is solid ground that has two containers in it. If you look to the east upon dropping down there's an Adaptive Remnant Core Device +100 ![]() in the ferrofluid underneath the platform you were just fighting on.
in the ferrofluid underneath the platform you were just fighting on.
Further south of the main platform is a chasm with a nearby console to raise a bridge. Before crossing it, backtrack a bit and go to the raised platform opposite of the turret. There's a scannable data pattern beside the Scourge tendril:
Go back south and extend the bridge to reach Core 17 - Central (technically you can dash-jump across the chasm with little effort, but that wouldn't be very convenient). Your final destination is to the east, but until Ryder activates both towers it's blocked off by an energy barrier. Before heading south, you can go west to scan a Remnant data pattern which explains the rain.
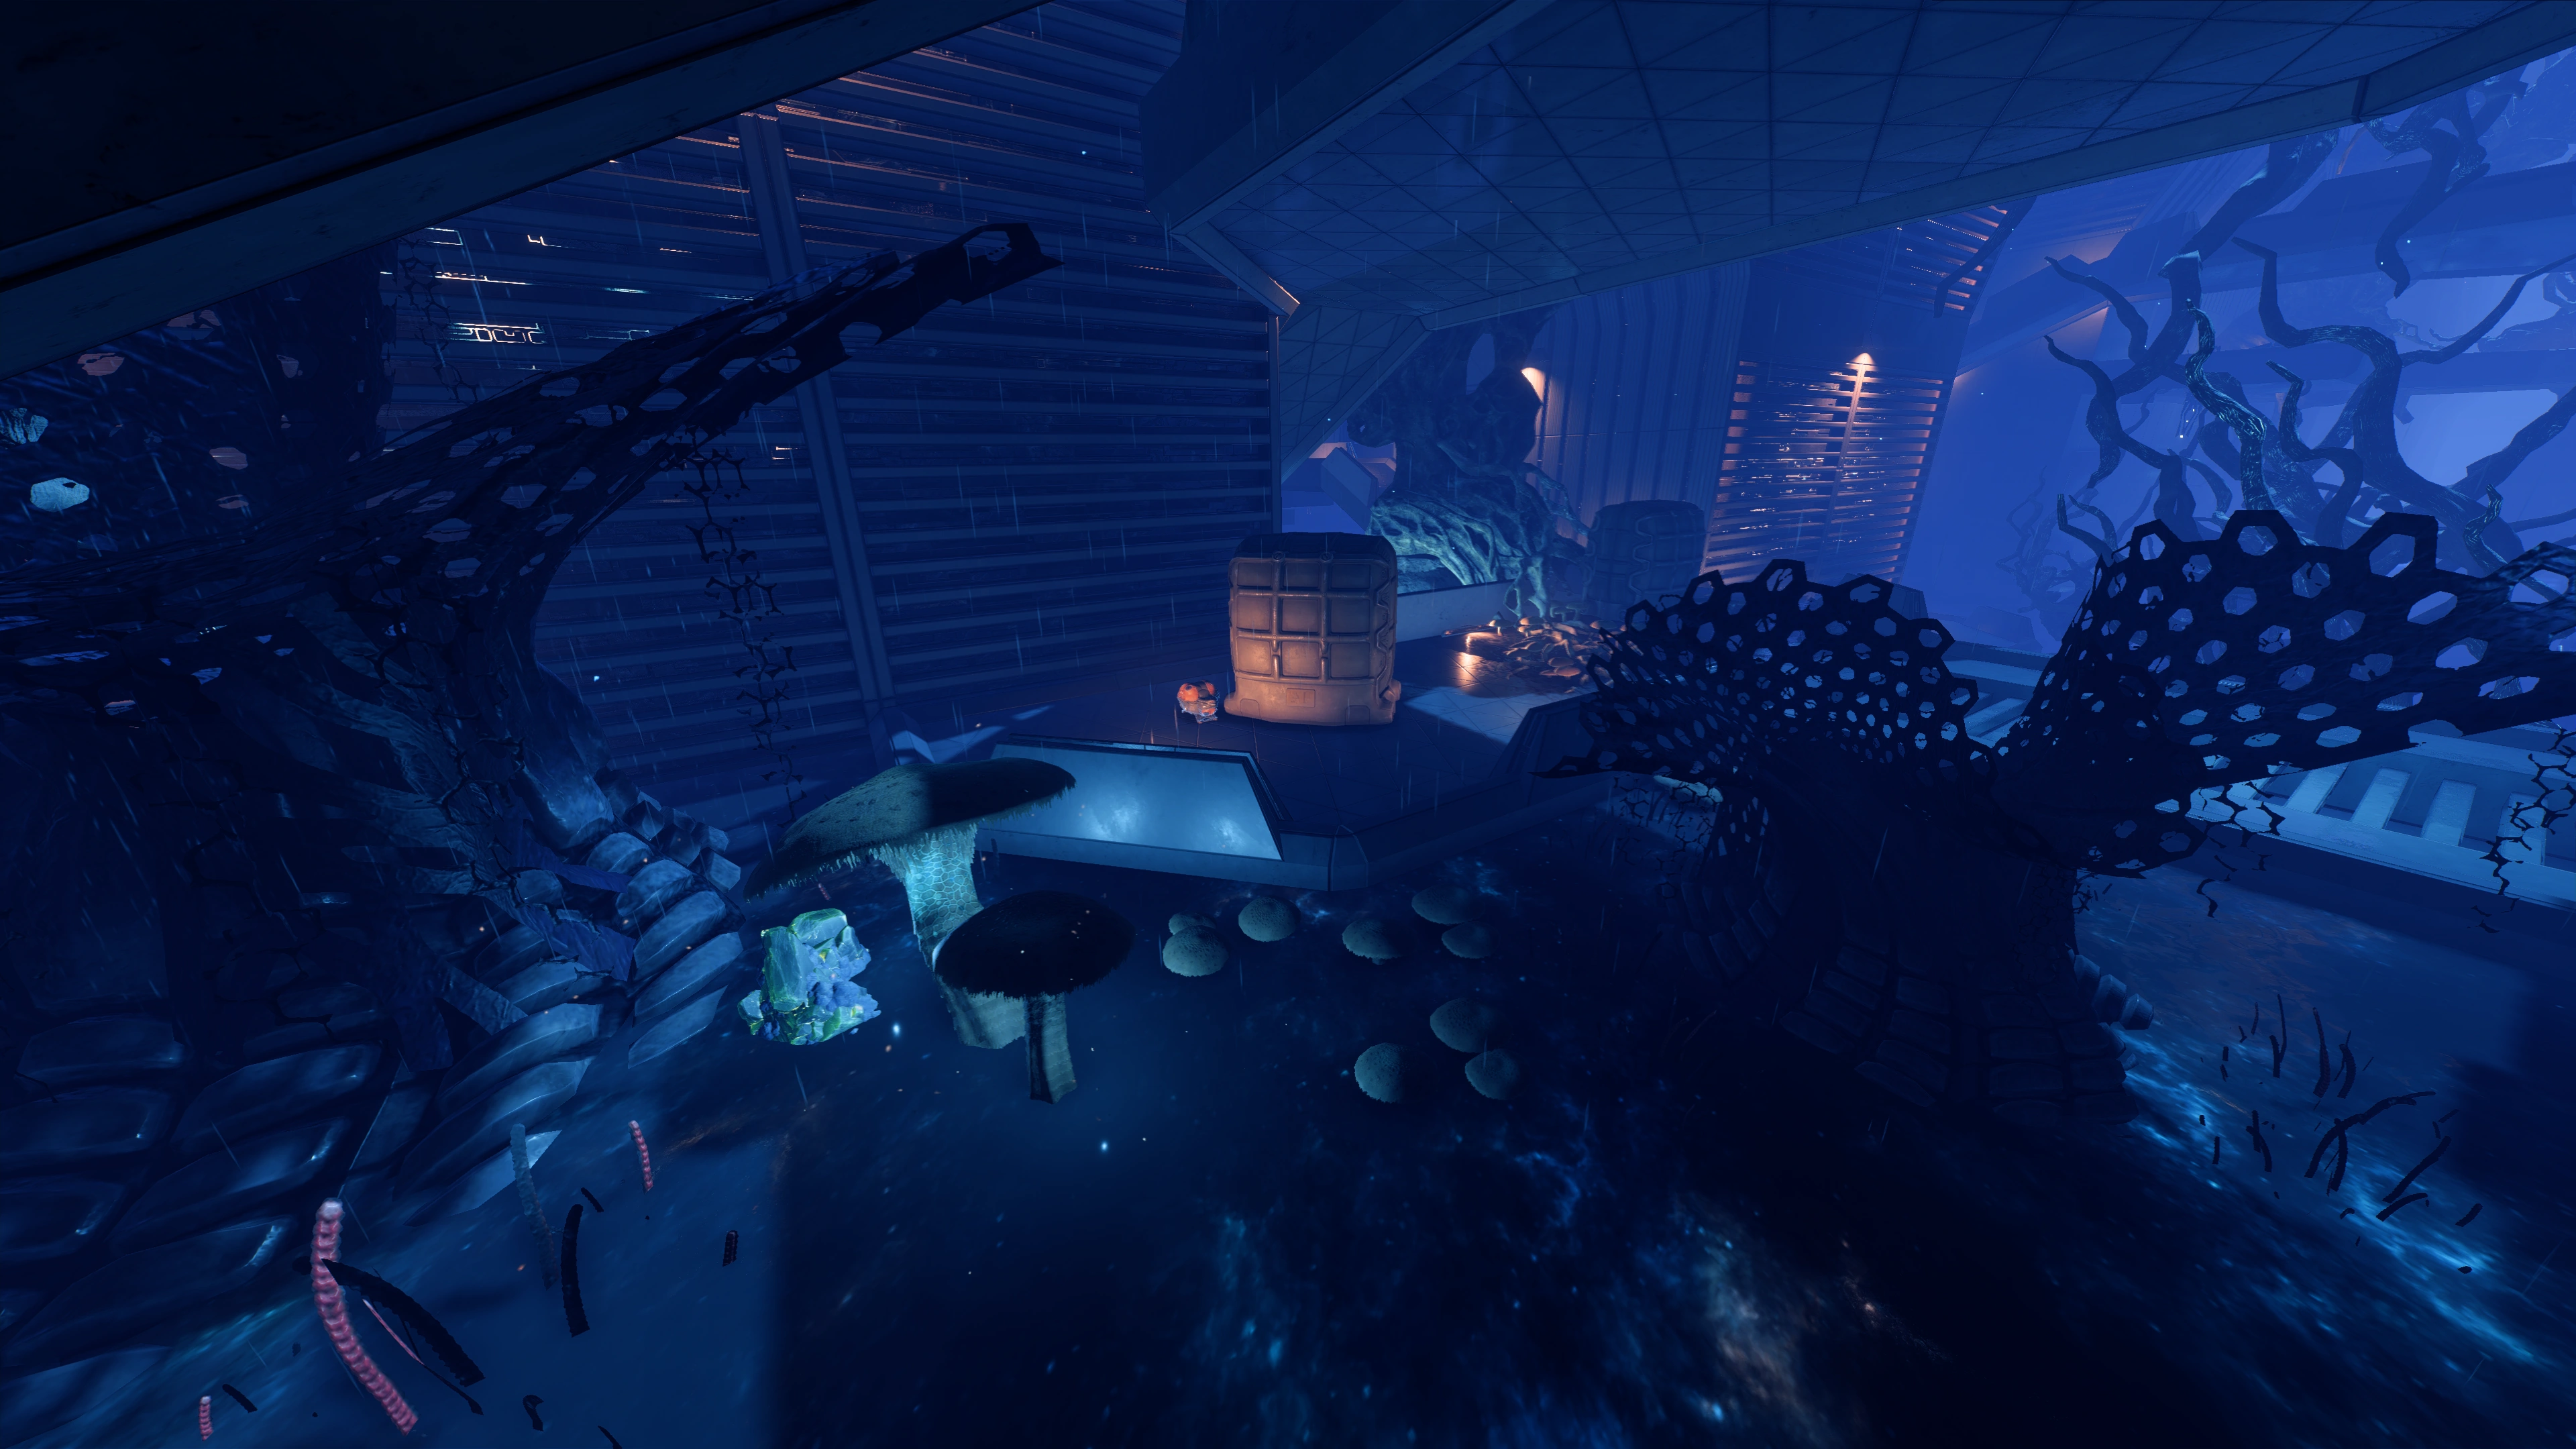
The south tower and research area is full of trees and other plants. Keep an eye out for mineral nodes such as uranium and vanadium.
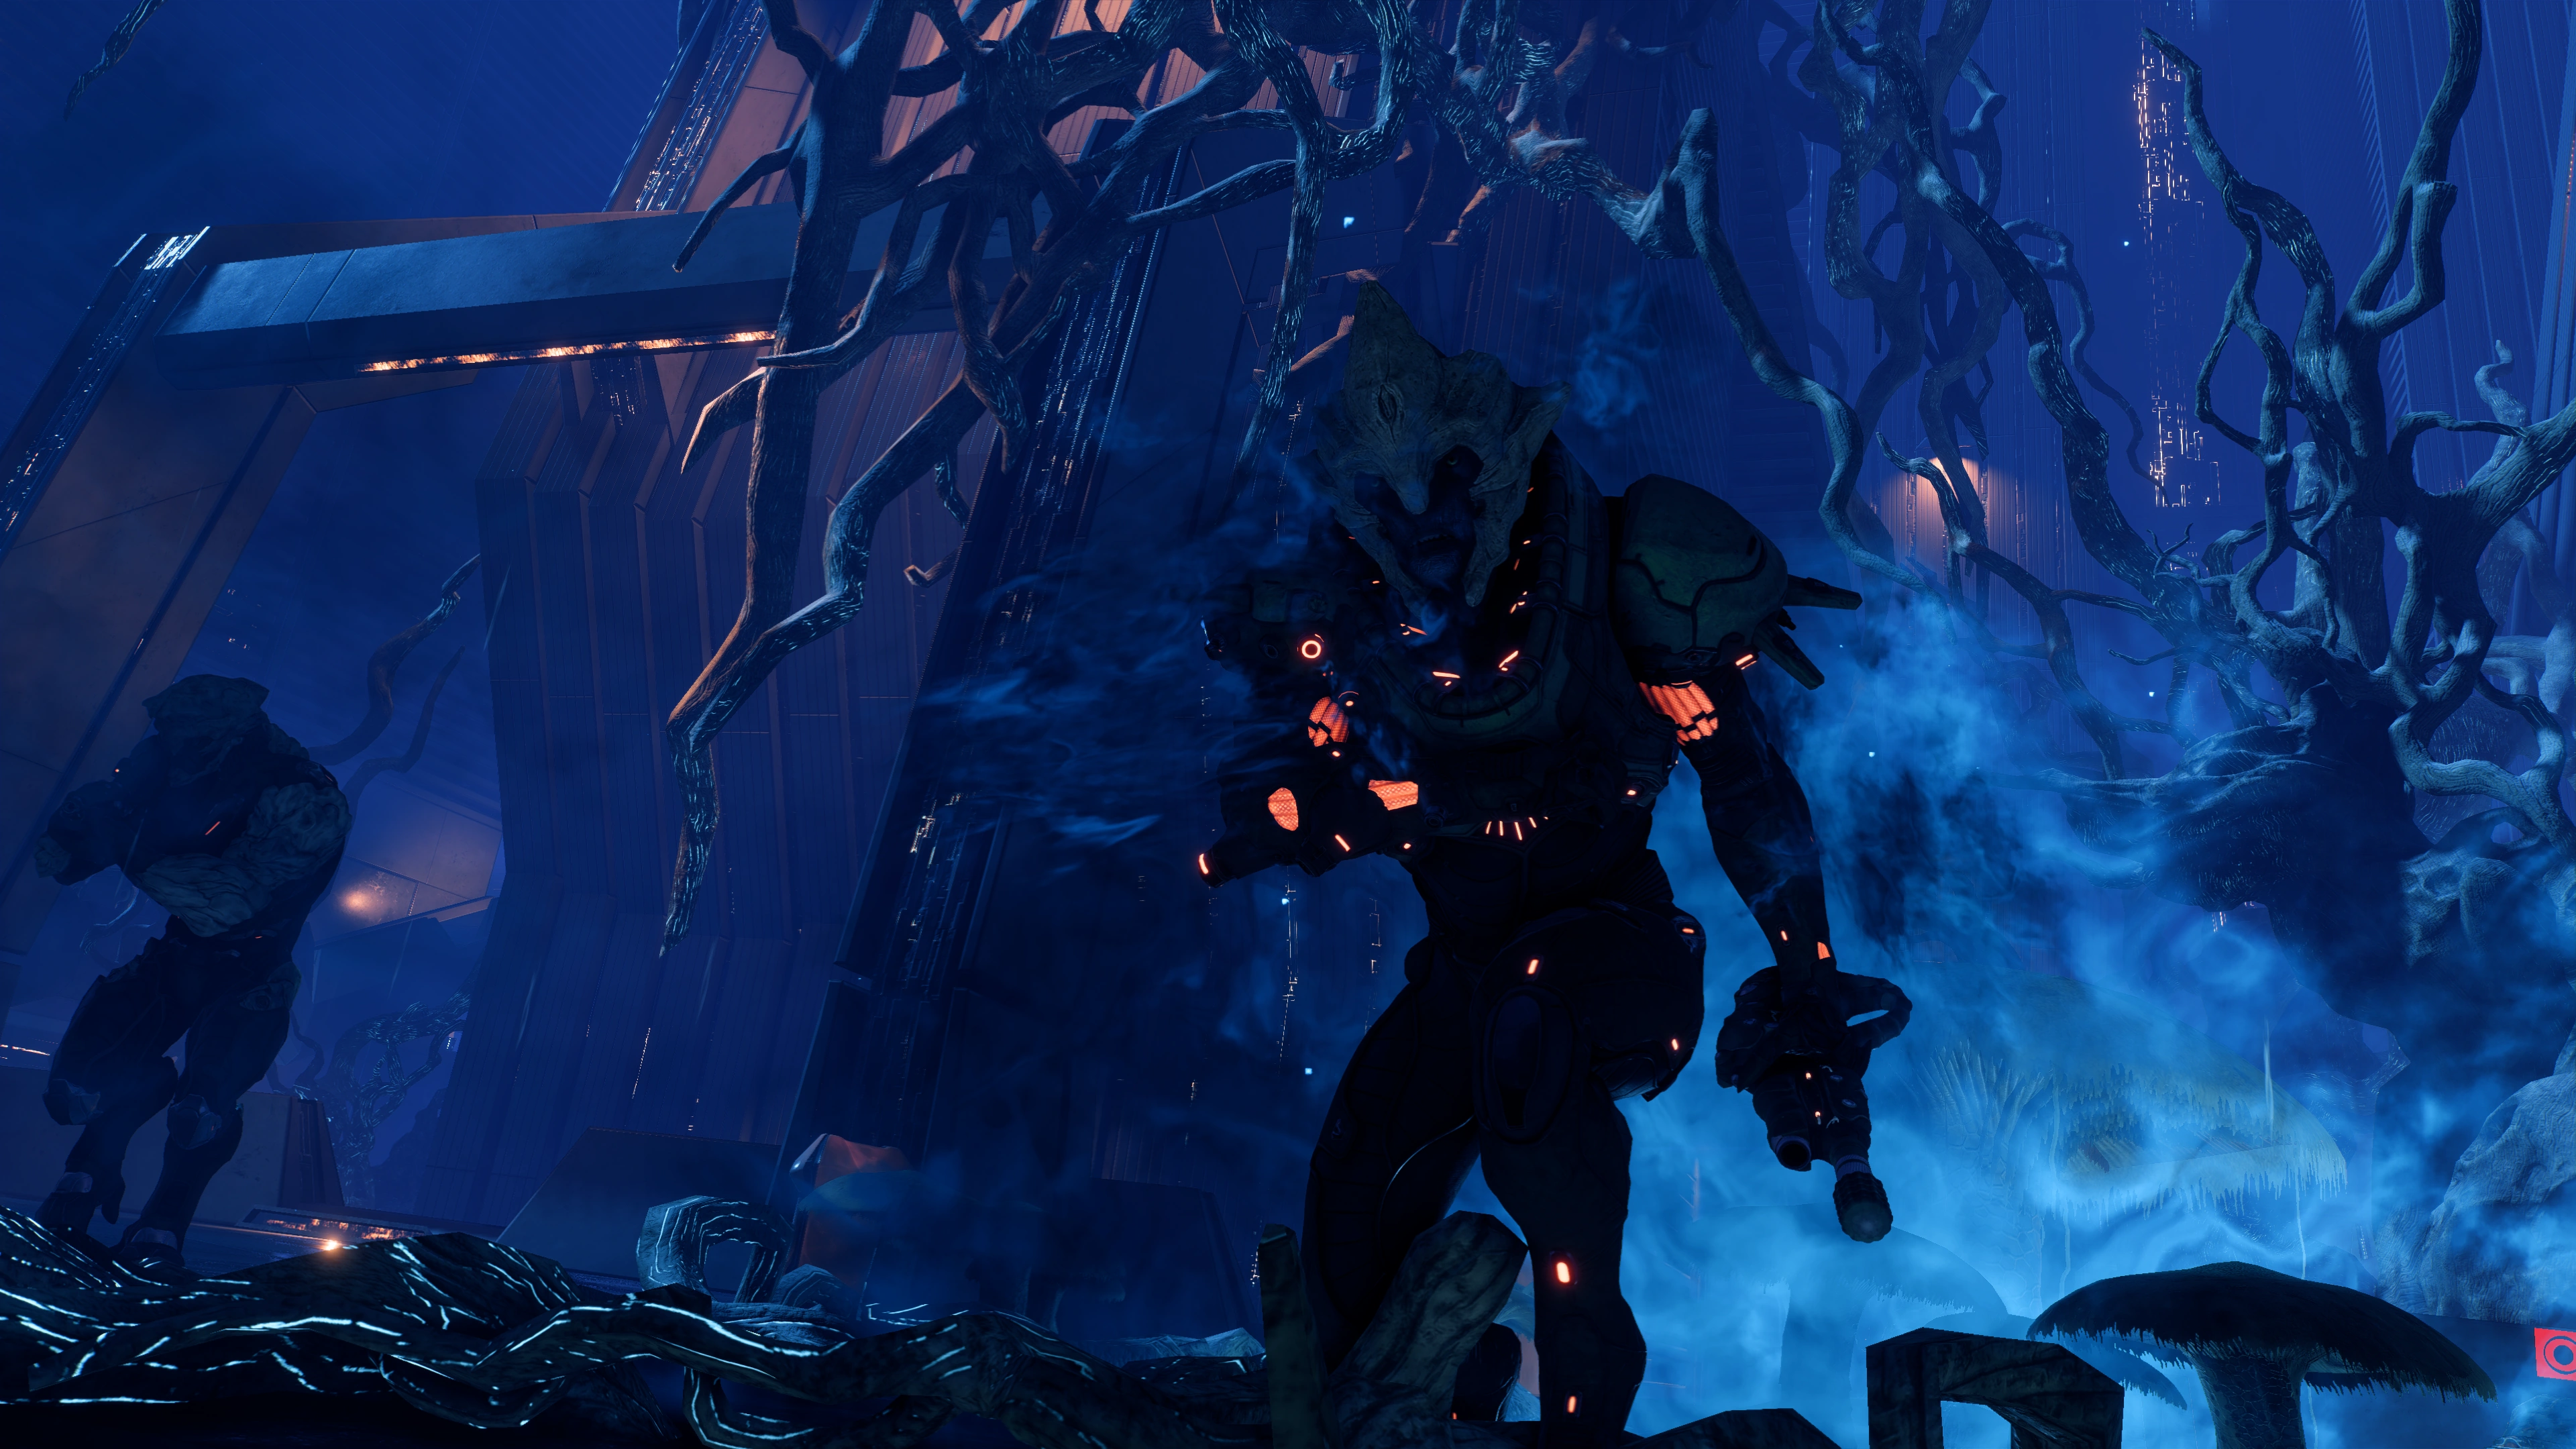
A kett shuttle drops some troops by the big tree surrounded by mushrooms. The welcoming party consists of a Destined and a Chosen. They maybe distracted by a few Observers to the east, meaning less work for you. When they're dead, look out for a container partially hidden by a mushroom, near the visible health cache.
The layout of the catwalks here is a bit confusing, if not downright irrational. On occasion Wraiths prowl the smaller catwalks while camouflaged. The western route leads to a fight with a Fiend and some Wraiths. With a bit of effort you can use the plants to scale up the big wall and end up on the first juncture between Exploration and Research towers. On a pool of ferrofluid near some mushrooms and long containers here is a uranium node. Opposite the long containers, atop two other long containers is a lootable container.
The southern route is a little more difficult to navigate. The simplest route is to head east, and then up the catwalks, staying on the east side.
It doesn't matter which route is taken but you should systematically clear and explore the entire area as there are lots of lootable containers to find.
South from the aforementioned Fiend and Wraiths encounter, Ryder helpfully points out there's a usable Remnant console nearby. It spawns an Observer that can help against incoming Anointed and Chosen.
On the platform beneath the Observer Replication Control, go to the ramp going eastward with a giant tree jutting out of the chasm south. Hidden below the long container at the side of the ramp is a lootable container. Go back up to the Observer Replication Control platform and head south. At the southmost edge bending to the east there's an ammo cache and a crate. The giant trees here are quite solid and they can be used to hop from one walkway to another, although care must still be taken to avoid taking a bath in the ferrofluid below. Nestled in a giant tree with mushrooms is a uranium node, and next to it by some barricades is a health cache.

Further eastward by this route you should arrive at a courtyard with a Remnant turret, a bunch of kett crates and barricades, and some Chosen. The turret can be controlled from the console on the elevated walkway in front of you. It's recommended to do so, since it will see some use again later. Ryder comments on the amount of equipment in the area, figuring the kett must've set up camp.
Before proceeding through the heavy door you may want to clean the entire area out first. To the right of the door behind a barricade is a container. At the bottom of the ramp by large nonlootable containers, an ammo cache. Next to it, a datapad:
Just north of the kett camp, over the east edge of the catwalk, you will see a doorway and a broken bridge. Jump down to this and then jump over where the bridge used to be.
This brings you to a puzzle-locked door. You're in the right place once a squadmate expresses concern against falling and when SAM notifies you of the higher encryption on the door. Solve the puzzle (needed for the Cryptographer Achievement). See below for the solution. Note: This puzzle can't be overridden with a Remnant Decryption Key and must be solved.
You receive +270 XP for opening the door. After solving the puzzle, enter the room to find two loot containers and a pod containing an Unknown Organism which can be scanned for +10 ![]() . Return by climbing to the top of the doorway for extra height and jumping the gaps back up.
. Return by climbing to the top of the doorway for extra height and jumping the gaps back up.
Further north from the camp is a giant tree with a container. The pile of rubble near it also has a container, and if you haven't scanned it yet your scanner will ping but it isn't obvious where. It's because there's a very well-hidden Adaptive Remnant Core Device on the underside of the platform (+100 ![]() ). You can see and scan the device from the lower catwalk in jumping distance westward. Immediately afterward, on the ramp going up to the north there's a uranium node near a tree.
). You can see and scan the device from the lower catwalk in jumping distance westward. Immediately afterward, on the ramp going up to the north there's a uranium node near a tree.
At the end of the aforementioned ramp to your left should be where you entered the research area. To your right, east, is another giant tree. On its roots hidden behind kett crates is a container.
When you return to the tree and mushroom patch beyond the bridge you've come full circle and the only area you probably haven't gone to yet is the center south route. One walkway goes down, the other goes up. The upper walkway veers right to the Observer console area and you've already picked it clean, so go down the lower walkway. Inspect the mushroom beside the nearby giant tree for an adjacent vanadium node. Veering westward, there's a uranium node by some fungi and plants while behind two kett crates is a container.
Once you're certain you've looted everything in the area (or if you wish to hurry up with the mission proper) go back to the kett camp and proceed through the two sets of doors.
Activate the tower in the research sector[]

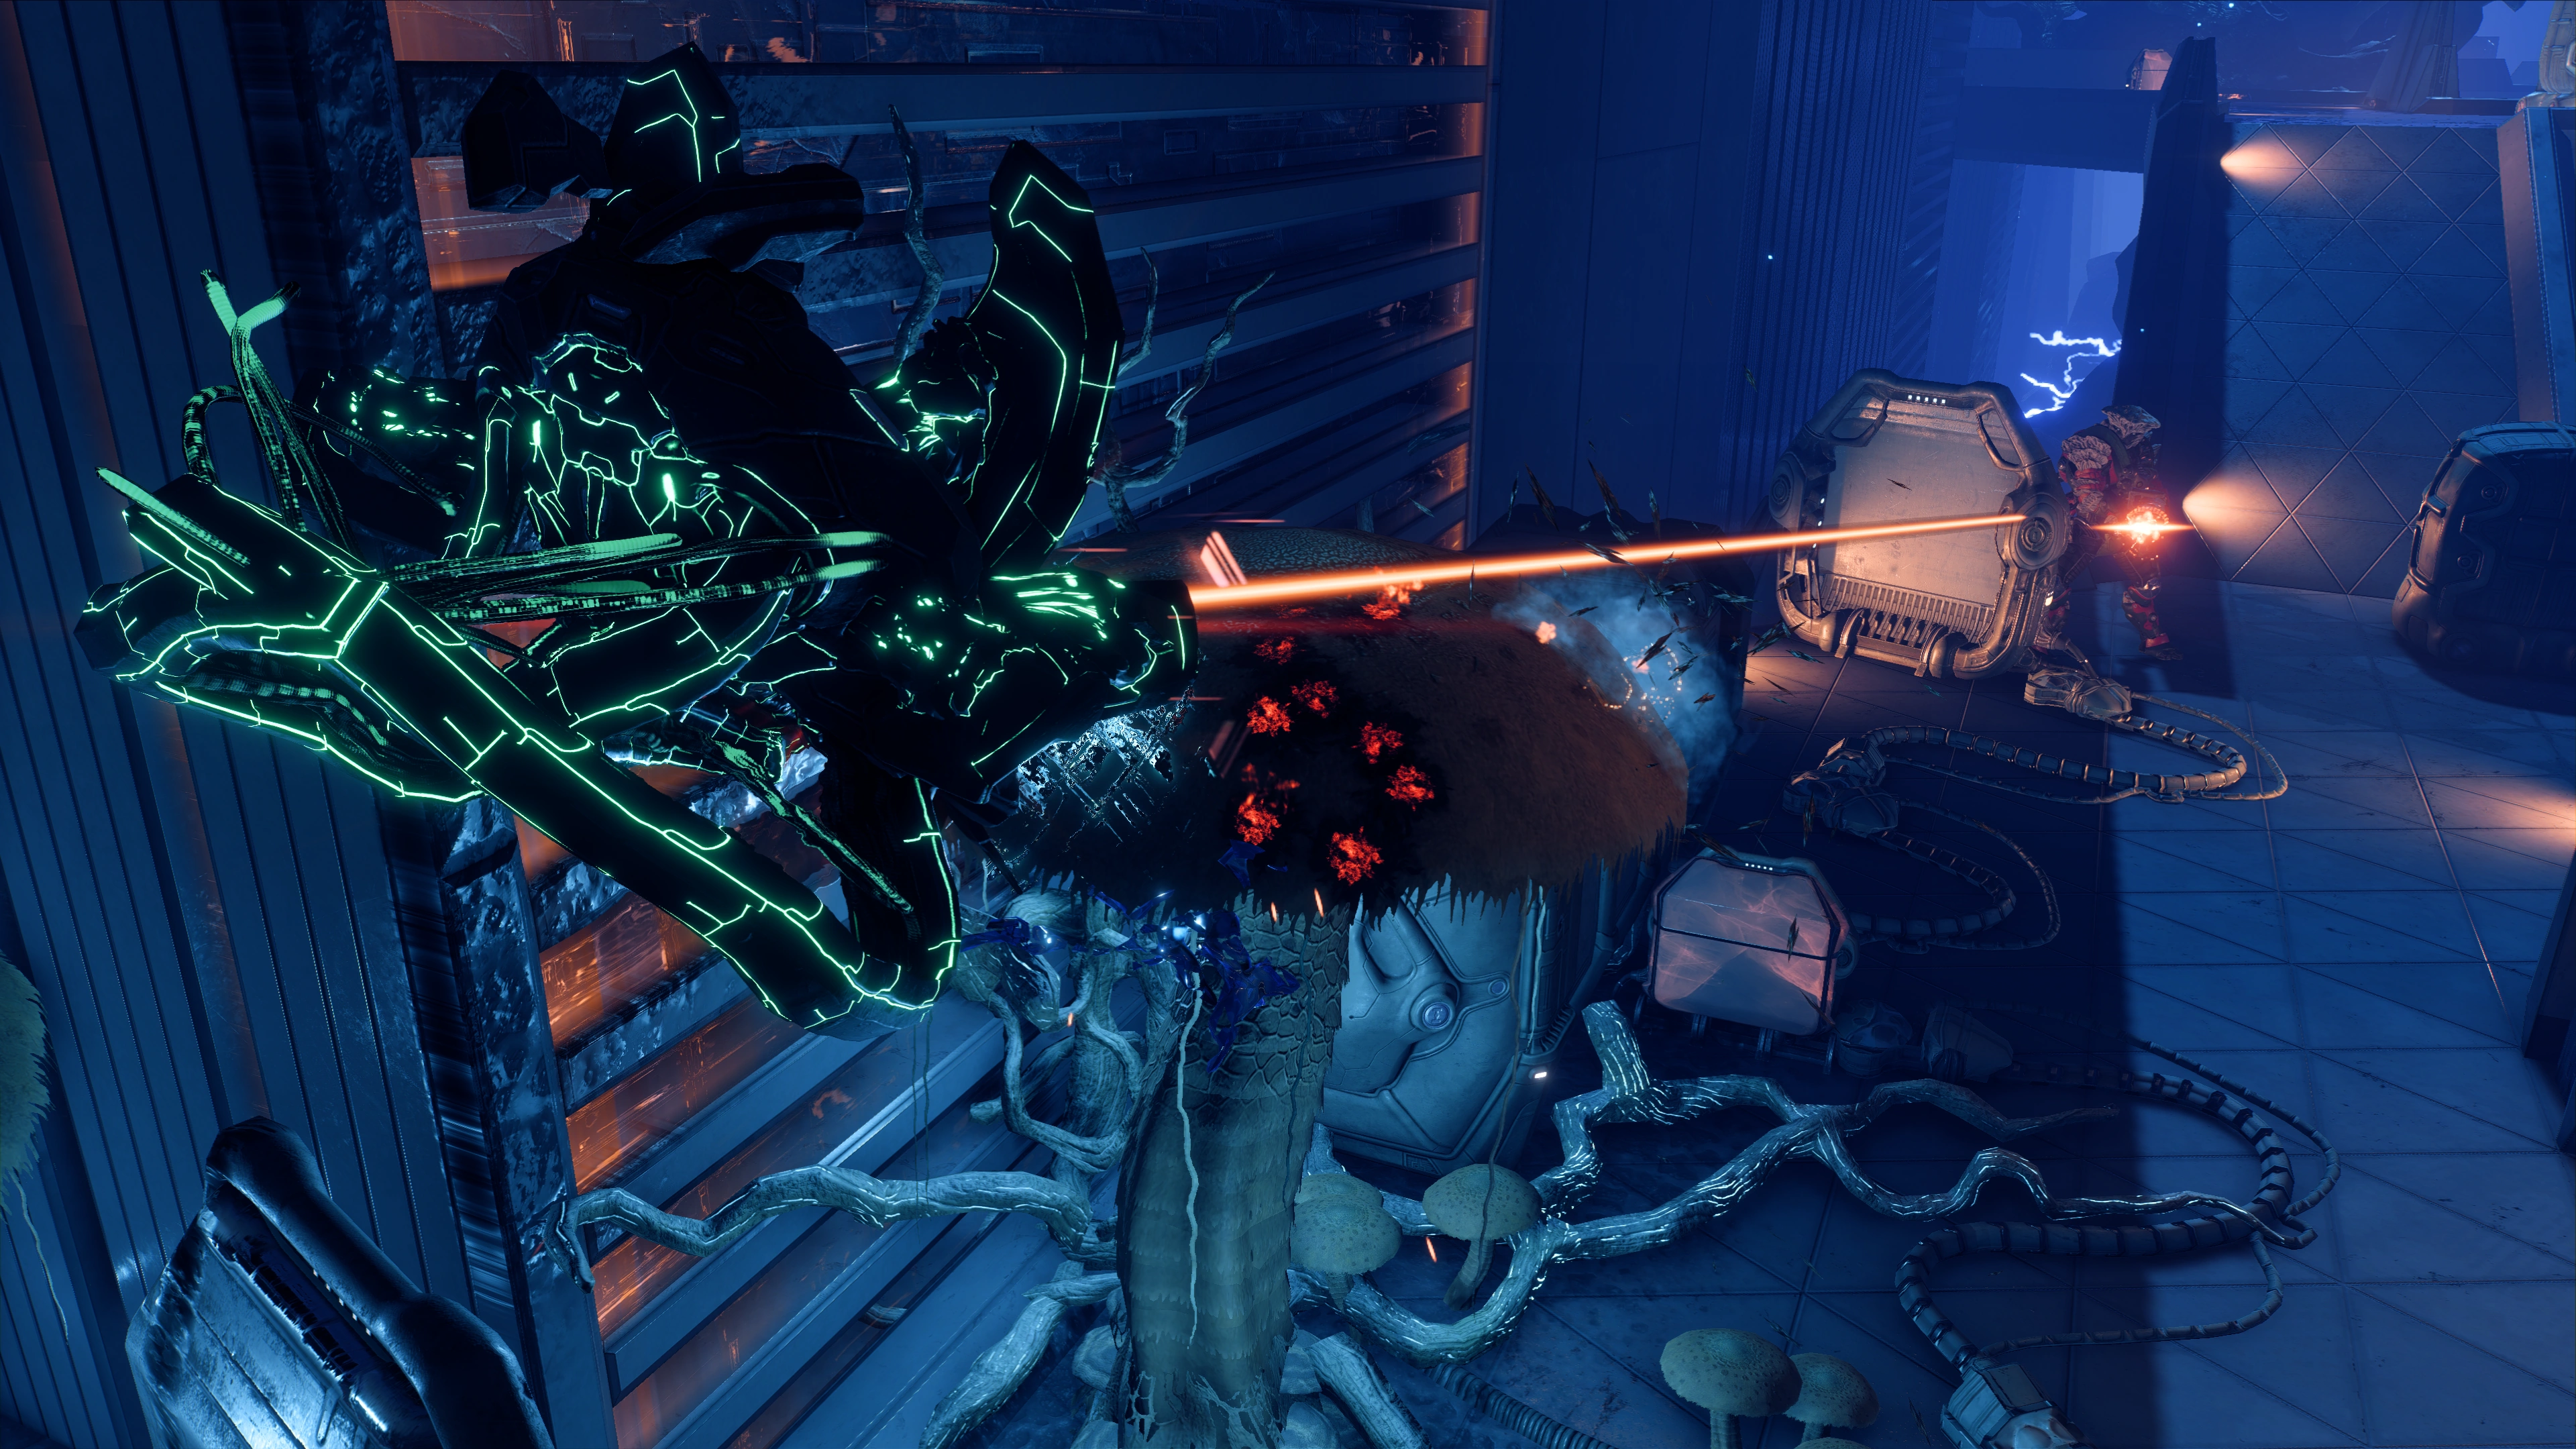
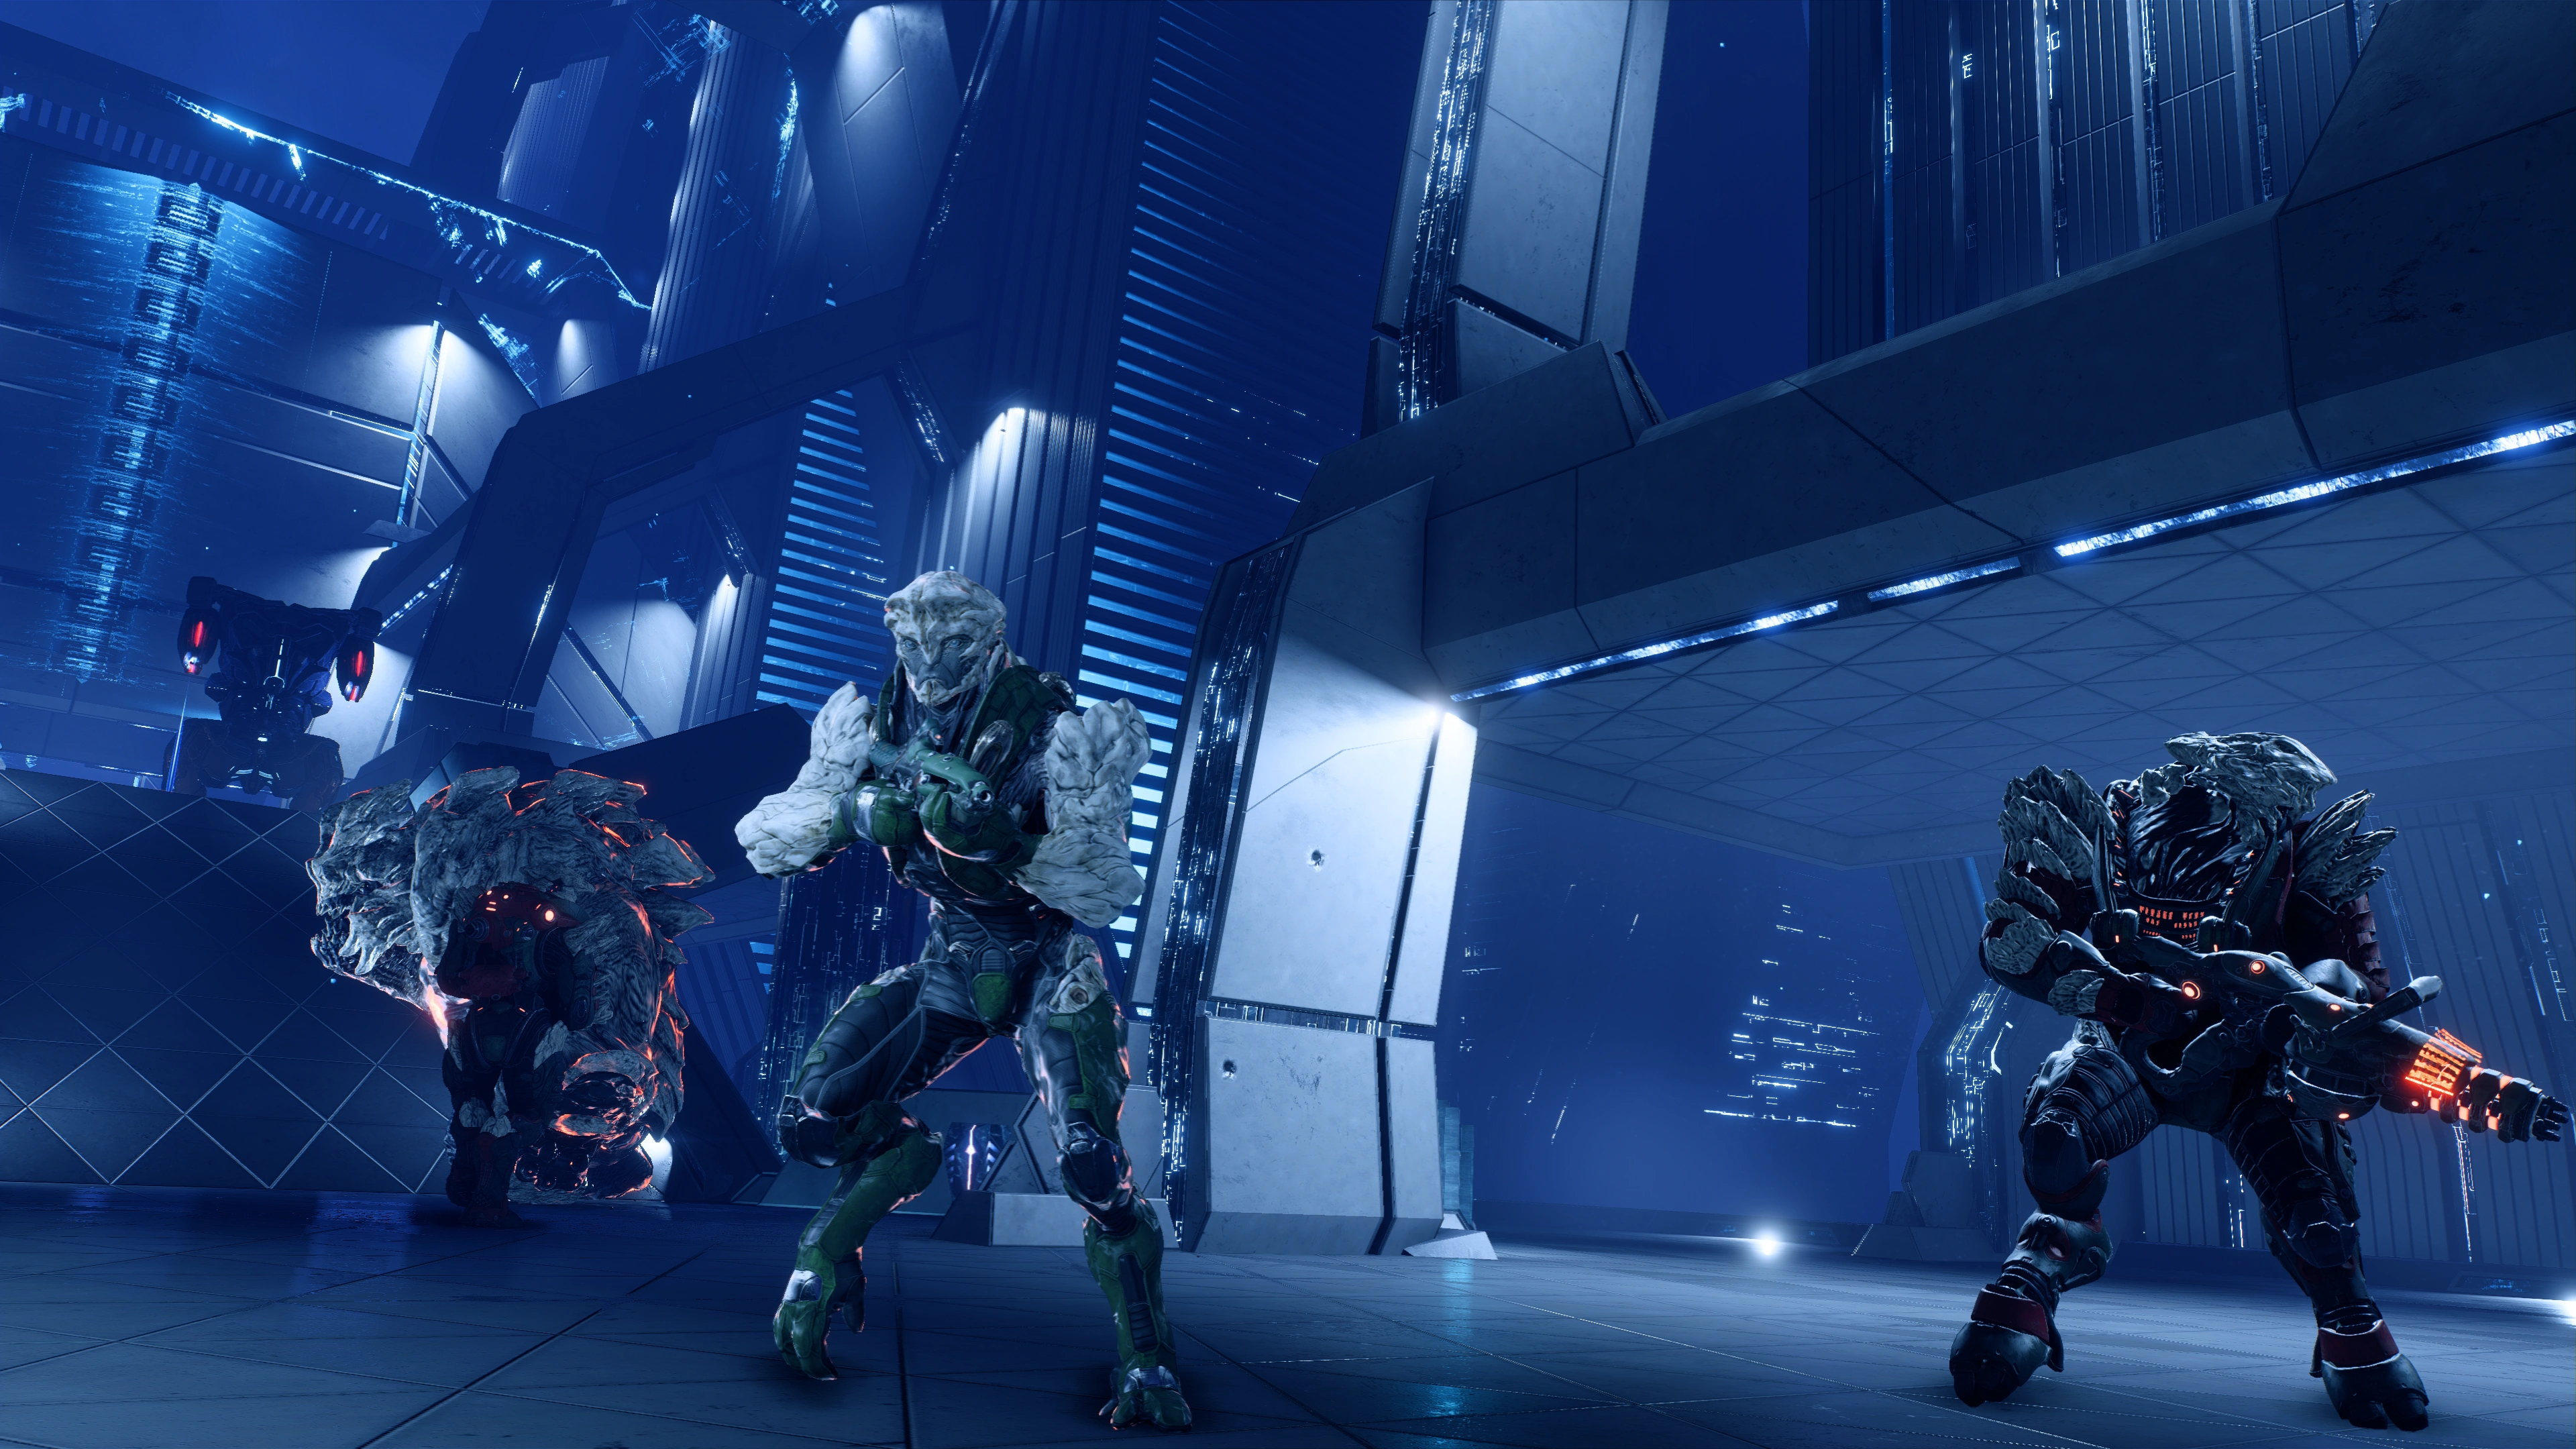
The next area will greet you with a heavy kett assault; an initial wave of Destined and Wraiths, followed by Anointed and a Behemoth. SAM tells Ryder that Remnant defenses in the area can be activated to repel the kett. Up on the left-hand catwalk (north) a console will activate a turret, and a console on the other catwalk will activate shield generators on the south side of the room.
After defeating the kett, look around the room for any lootable remains or containers. From where you came in, the west walkway has a container, an ammo cache, a uranium node in the ferrofluid pool, scannable Remnant Pods along the upper walkway (+10 ![]() ) and a lootable container hidden behind two stacks of long double containers next to the ramp going to Archives. The east walkway has another uranium node in the ferrofluid pool, a lootable container and health cache on the upper walkway, and another lootable container next to the ramp going to Archives, atop three long containers.
) and a lootable container hidden behind two stacks of long double containers next to the ramp going to Archives. The east walkway has another uranium node in the ferrofluid pool, a lootable container and health cache on the upper walkway, and another lootable container next to the ramp going to Archives, atop three long containers.
Look up and you'll notice plant branches entwining what seems to be a wide beam. You can actually reach that beam through the branches at the west walkway. There's a Kett Core Encryption Tech (+100 ![]() ) there, although you can scan it from certain vantage points on the ground.
) there, although you can scan it from certain vantage points on the ground.
When you're done use the console on the southern end to open the door to the Archives and head inside. Don't forget the last container that is literally next to the door before going in.
The giant mushrooms you've been seeing have a name, sort of. Scan the Monstrous Fungi as you enter for +10 ![]() . The room beyond contains two alcoves blocked with energy barriers, a locked door, many storage pods, and a console. Activating the console starts a cutscene during which the console powers up the Archives and reveals exactly what is being archived. It turns out to be prototypes of the angara, who are revealed to be a synthetic race created by the builders of Meridian. The previous objective will complete and the next will be added during the cutscene.
. The room beyond contains two alcoves blocked with energy barriers, a locked door, many storage pods, and a console. Activating the console starts a cutscene during which the console powers up the Archives and reveals exactly what is being archived. It turns out to be prototypes of the angara, who are revealed to be a synthetic race created by the builders of Meridian. The previous objective will complete and the next will be added during the cutscene.
Enter Meridian's central command[]
With the Archives activated, the energy barriers go down and some Observers activate nearby; they're currently not hostile and will remain so if you avoid them. Scan the nearby Angaran Templates for +10 ![]() .
.
There is a lootable container by the western chamber, beside the Observer Replication Control. Above it, a console is visible on a platform. The tree at the back of the alcove has a uranium node. The platform with the console is accessible by first jumping up onto the nearby fungi or the narrow side ledges on the back wall. Don't forget the Adaptive Remnant Core Device (+100 ![]() ). Activate the console to open the door on the east side to find a Remnant Data Core for Task: Remnant Data Cores, a loot container, and a Data Pattern:
). Activate the console to open the door on the east side to find a Remnant Data Core for Task: Remnant Data Cores, a loot container, and a Data Pattern:
The southern alcove contains a Gnarled Tree which can be scanned for +10 ![]() and a vanadium node.
and a vanadium node.
When you're done, go back the way you came from. Activating the Archives has changed something in the room with the turret and shield generators. The turret, if destroyed, is up again and the central pool of electrical ferrofluid has drained revealing Remnant equipment. Jump into now empty pool to loot its contents.
There are 2 containers here. The Remnant Pods gives +10 ![]() ; SAM says it contains a plant but the scanner text says it's an egg. The data pattern reveals something about experiments on, presumably, the angara.
; SAM says it contains a plant but the scanner text says it's an egg. The data pattern reveals something about experiments on, presumably, the angara.
Proceed south into the kett camp. Be prepared for a battle featuring an Ascendant and a shuttle full of Chosen and Anointed. The shuttle group arrives together, making a convenient target for Area of Effect (AoE) abilities. If you took command of the turret earlier, this "battle" should become a non-issue. Defeat them and, if you're certain you don't need to sweep the area one last time for any missed loot, head back to the bridge leading to the Core 17 - Central area.
As you approach the bridge, a kett assault force consisting of a Fiend and several Chosen and Anointed will be racing for the tower, where they're confronted by Remnant defenses including a Destroyer. Let the two hostile enemy forces tear each other up before getting involved; finish off any survivors.
If you get curious, there are two kett consoles by the entrance. One of them can apparently be "deactivated", although nothing happens if you try. This console also has a nearby lootable container that isn't present on your first pass through the area earlier.
Further along, you will find several Nullifiers and Assemblers. The first group is best taken from the catwalk above. The two Nullifiers near the door are probably best taken out from below, where there's more cover. Assemblers will spawn continuously until the Nullifiers are destroyed. There are explosive canisters scattered about; if you can make them part of your battle plans then by all means do so.
There are a number of lootable containers in this area and the previous one. Search the area carefully and collect them. Starting from the entrance: a highly visible ammo cache, a container on the lower left side (northeast), a health cache between 2 pillars behind the center ramp, an ammo cache on the upper right walkway (southeast), another ammo cache on the left platform before the door (northeast), and another lootable container just before the door itself.
When you're ready, go through the doors, where you'll discover a gravity well leading to Meridian's central command. Before heading up, you can scan a Remnant data pattern on the platform behind and above the well. On one of these data patterns which may or may not trigger with this one SAM reveals that the Remnant language is similar to angaran.
There are lootable containers on the upper platform and below the ledge near it as well as another ammo cache beside the data pattern. When you're ready, take the gravity well.
Interface with the command hub[]
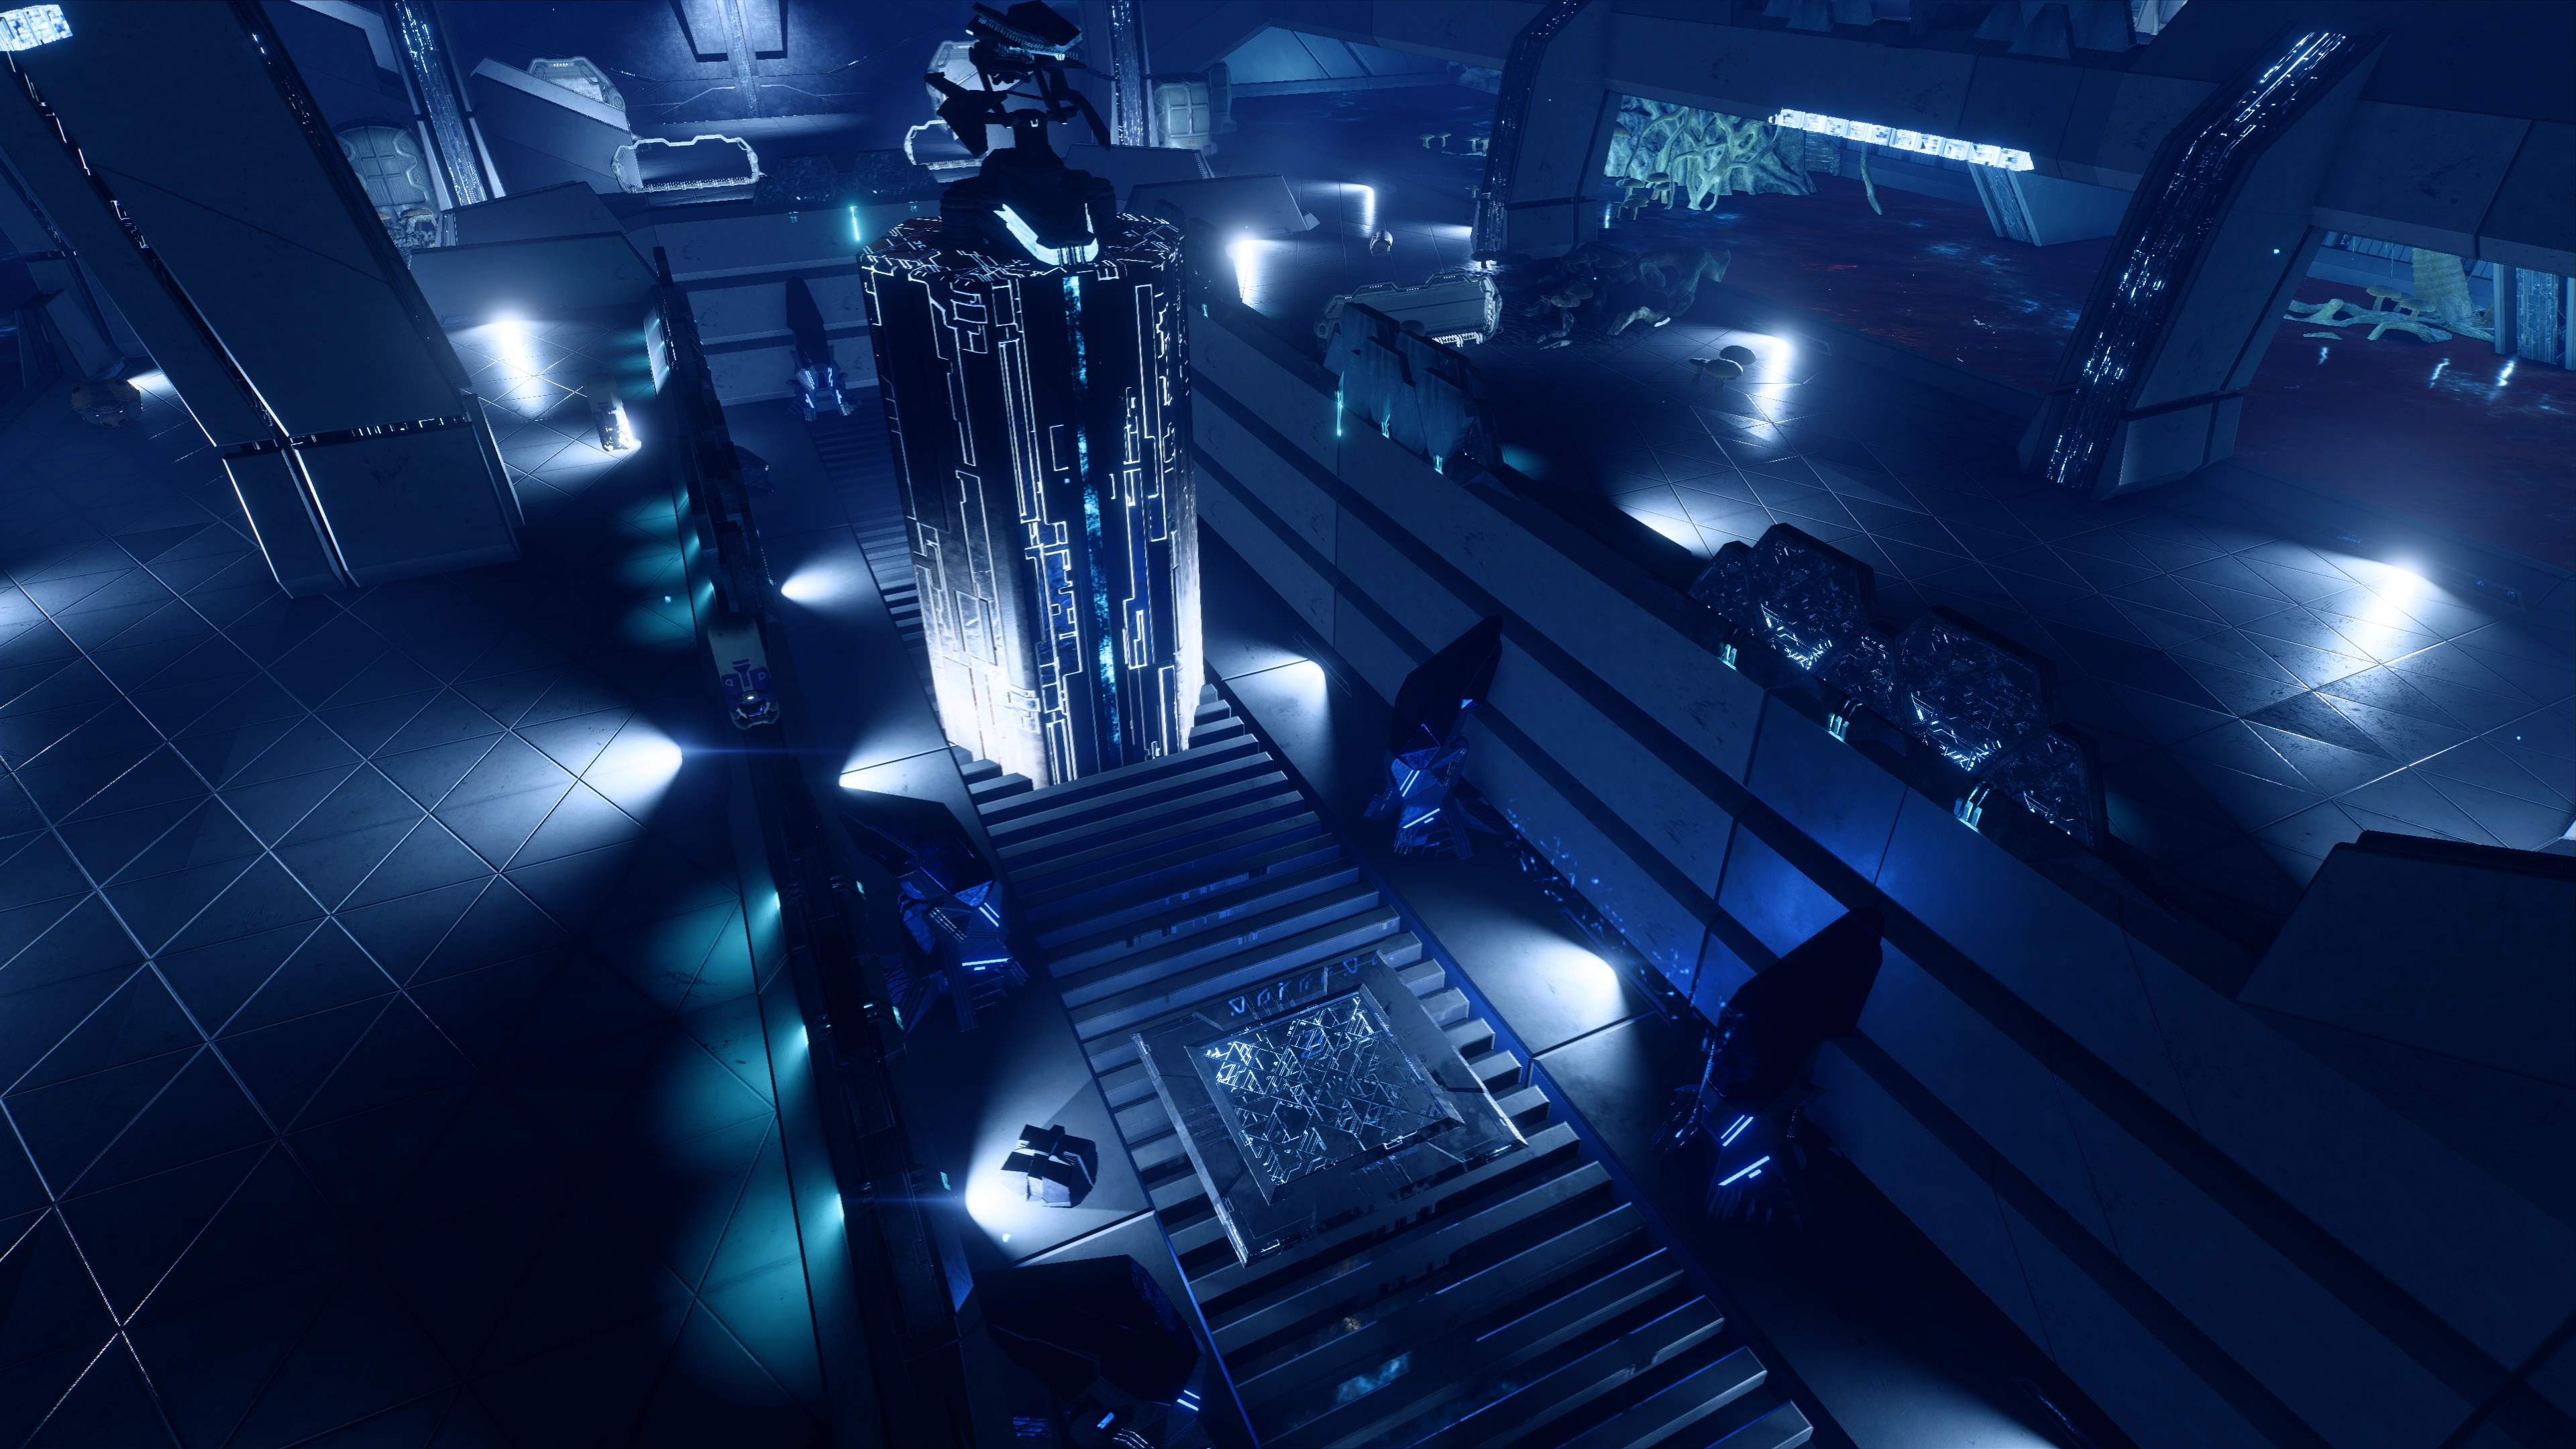
When Ryder reaches the top of the gravity well, there is a lootable container in the corner of the room (northeast) and another one by the door (southwest). Head to the doors to enter the Command Hub.
As you enter the Command Hub, an Adaptive Remnant Core Device below the right side of the ramp up can be scanned for +100 ![]() ; the device on the left side is damaged and useless. Underneath the south ramp that leads to the console next to the beam housing is a well-hidden Adaptive Remnant Core Device (+100
; the device on the left side is damaged and useless. Underneath the south ramp that leads to the console next to the beam housing is a well-hidden Adaptive Remnant Core Device (+100 ![]() ). Take time to survey the room before activating the main console and note the positions of health, ammo, and explosive objects, since there's going to be a fight here in a few minutes.
). Take time to survey the room before activating the main console and note the positions of health, ammo, and explosive objects, since there's going to be a fight here in a few minutes.
Activating the central console is somewhat anticlimactic; the console does nothing because the "Meridian Engine" is no longer present. SAM discovers a log revealing that the creators of Meridian, who are named the Jardaan, sent the functional part of Meridian far away from the command center to hide it from the Opposition, in hopes of returning one day to continue the "work of renewal."
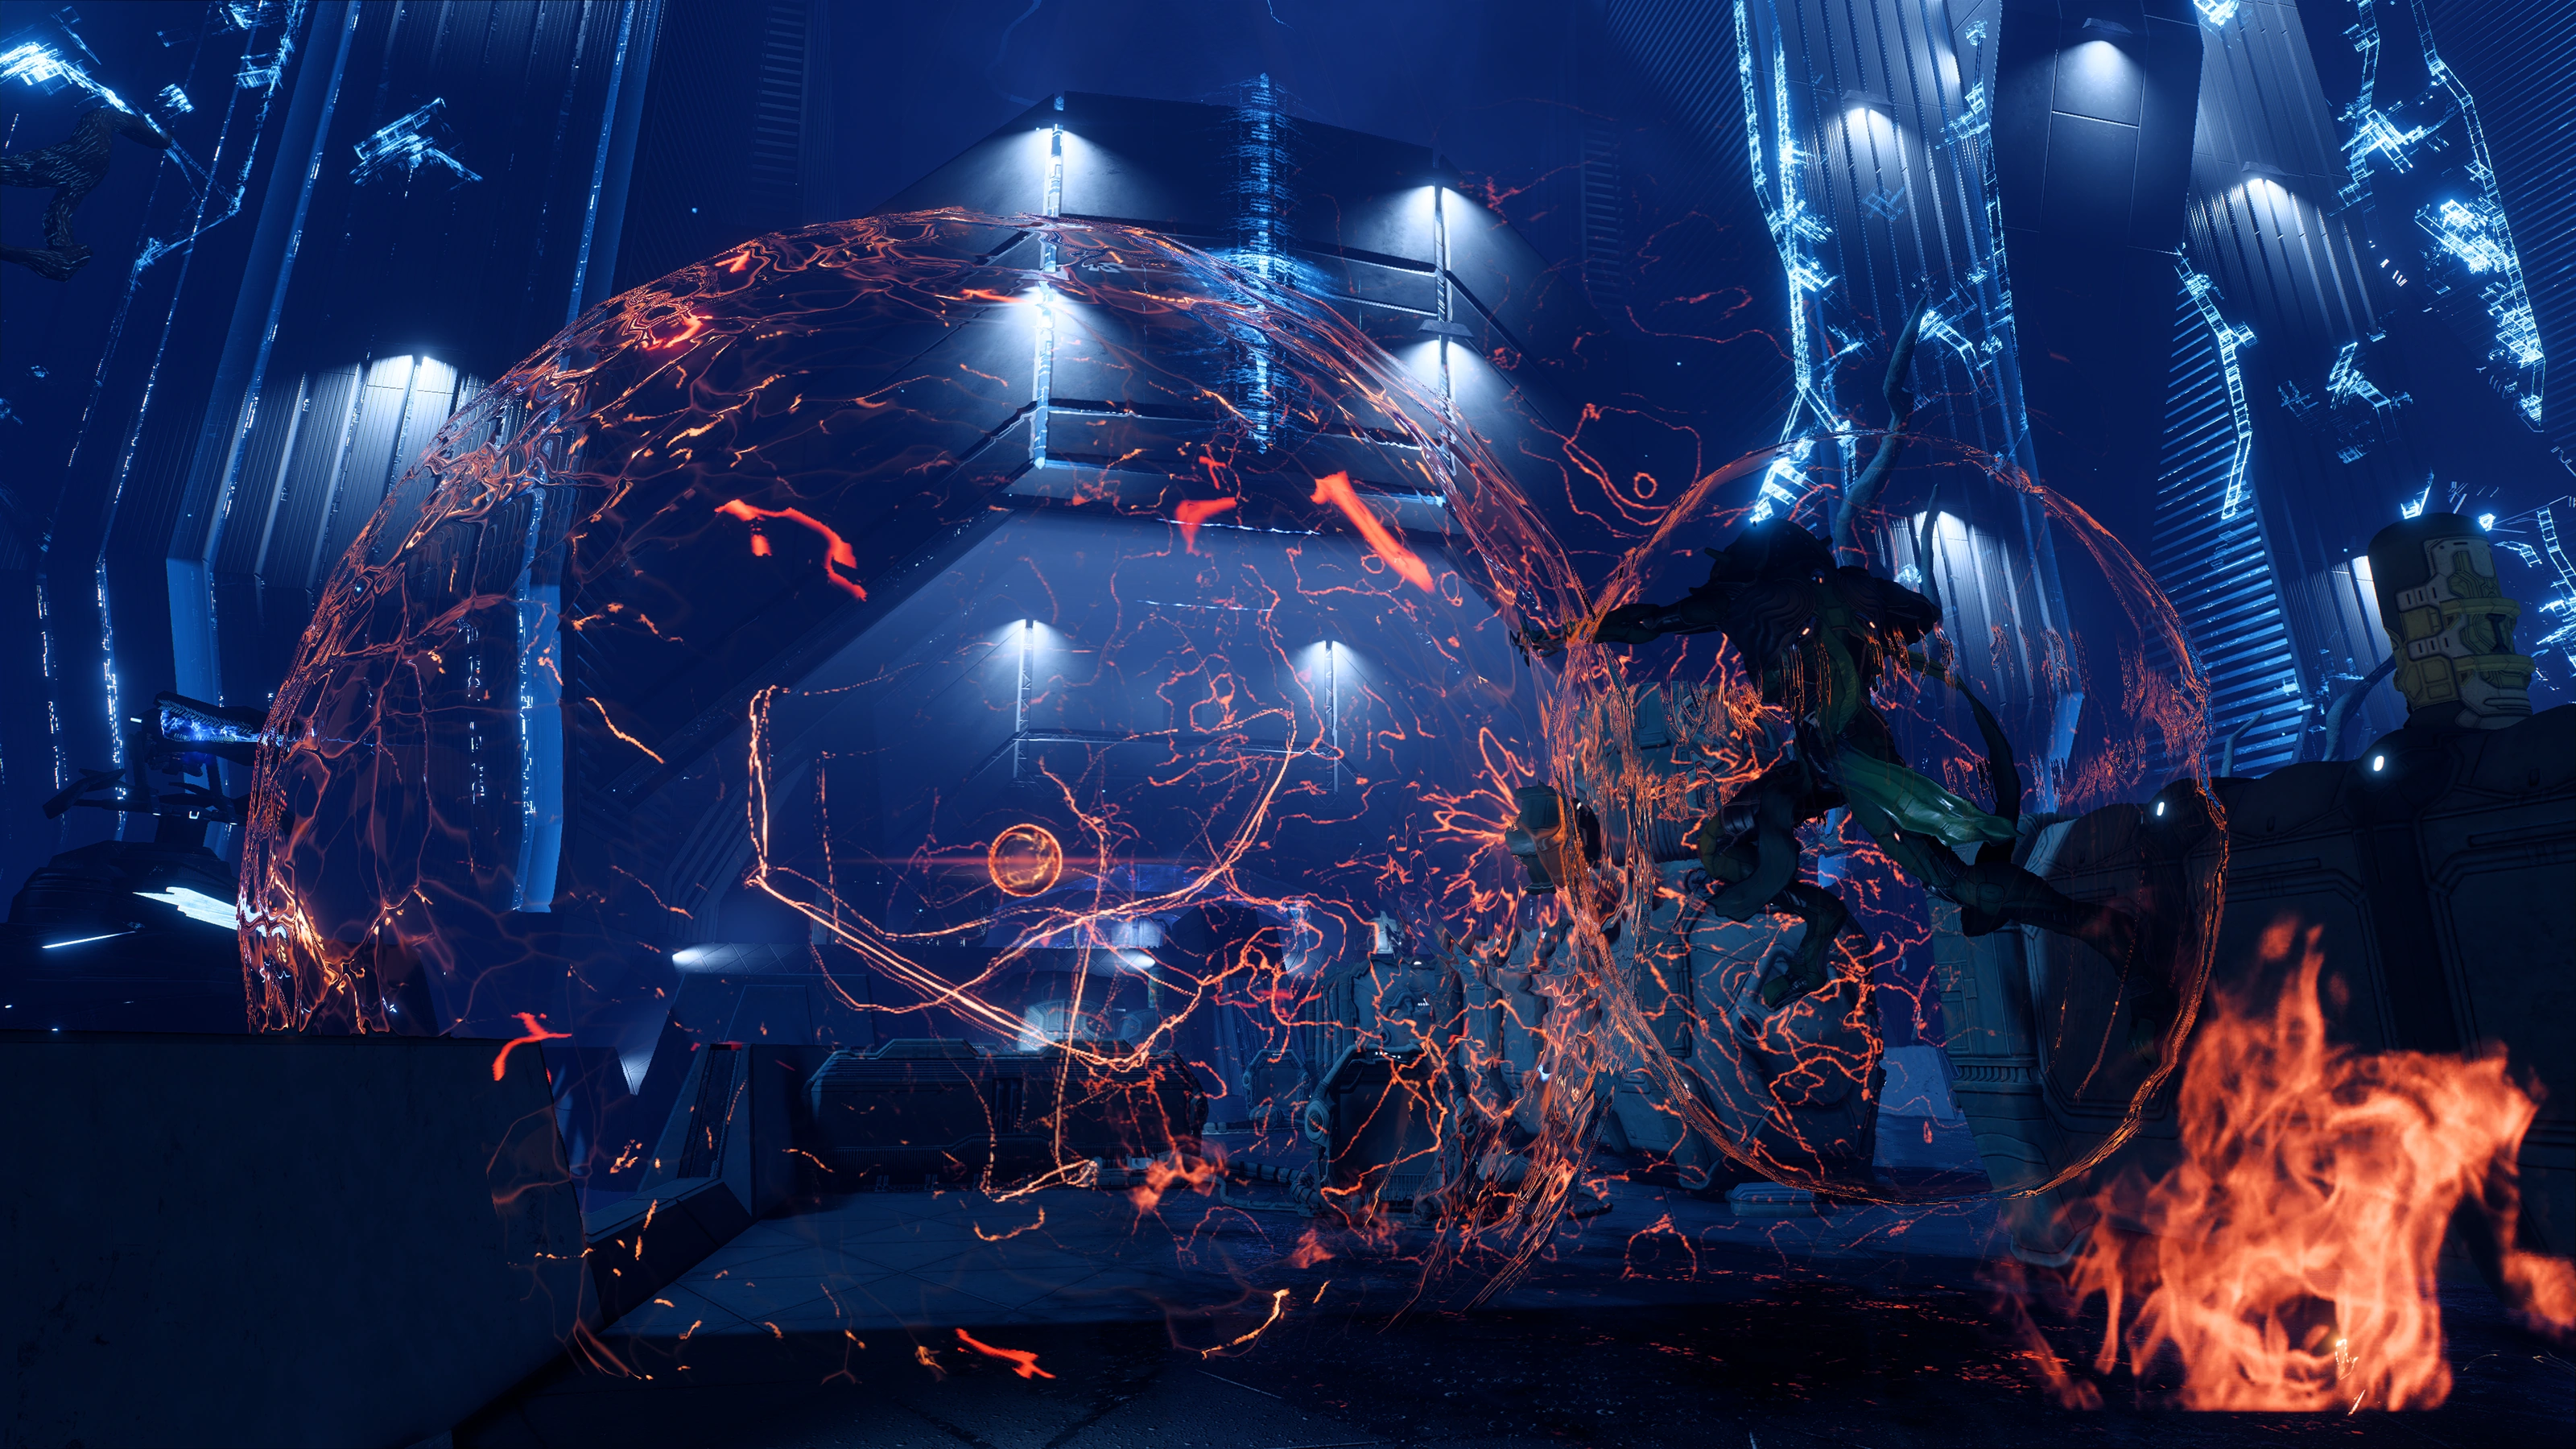
At this point the kett have had enough of your interference and launch a major assault, both on the ground and from space. Meridian's defenses are ordered to attack the kett fleet, leaving you to fight off the ground assault.
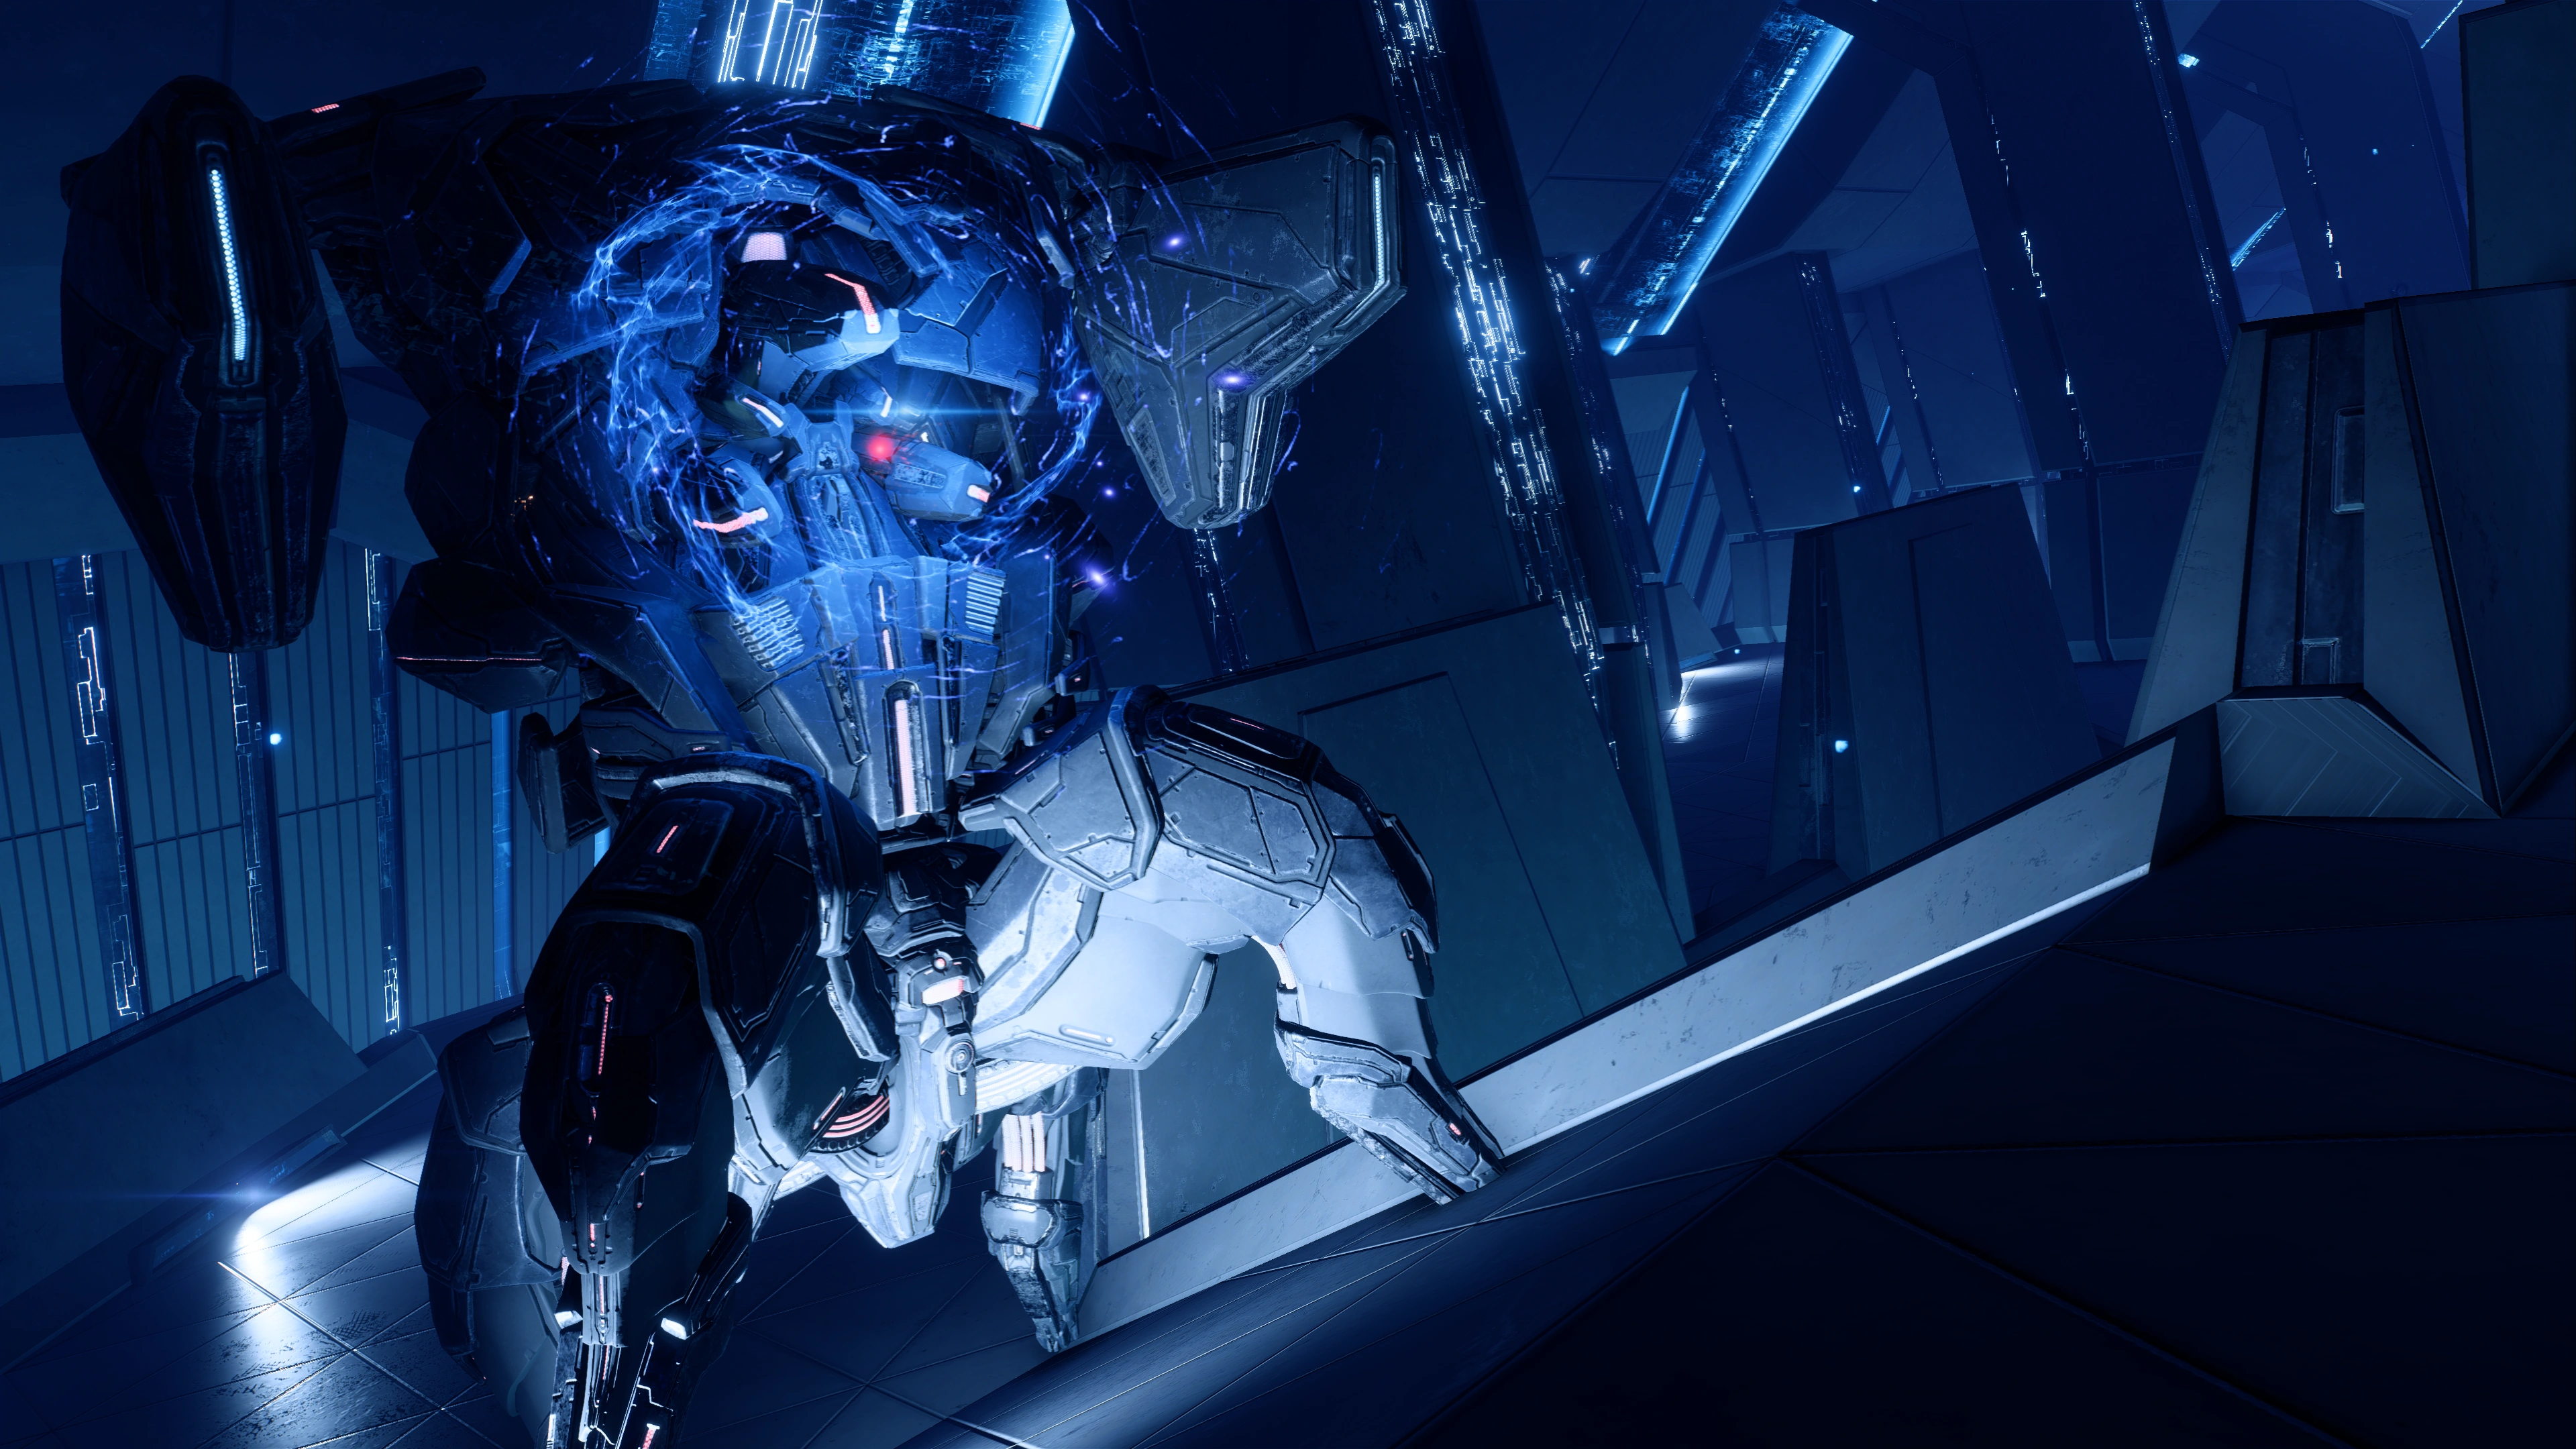
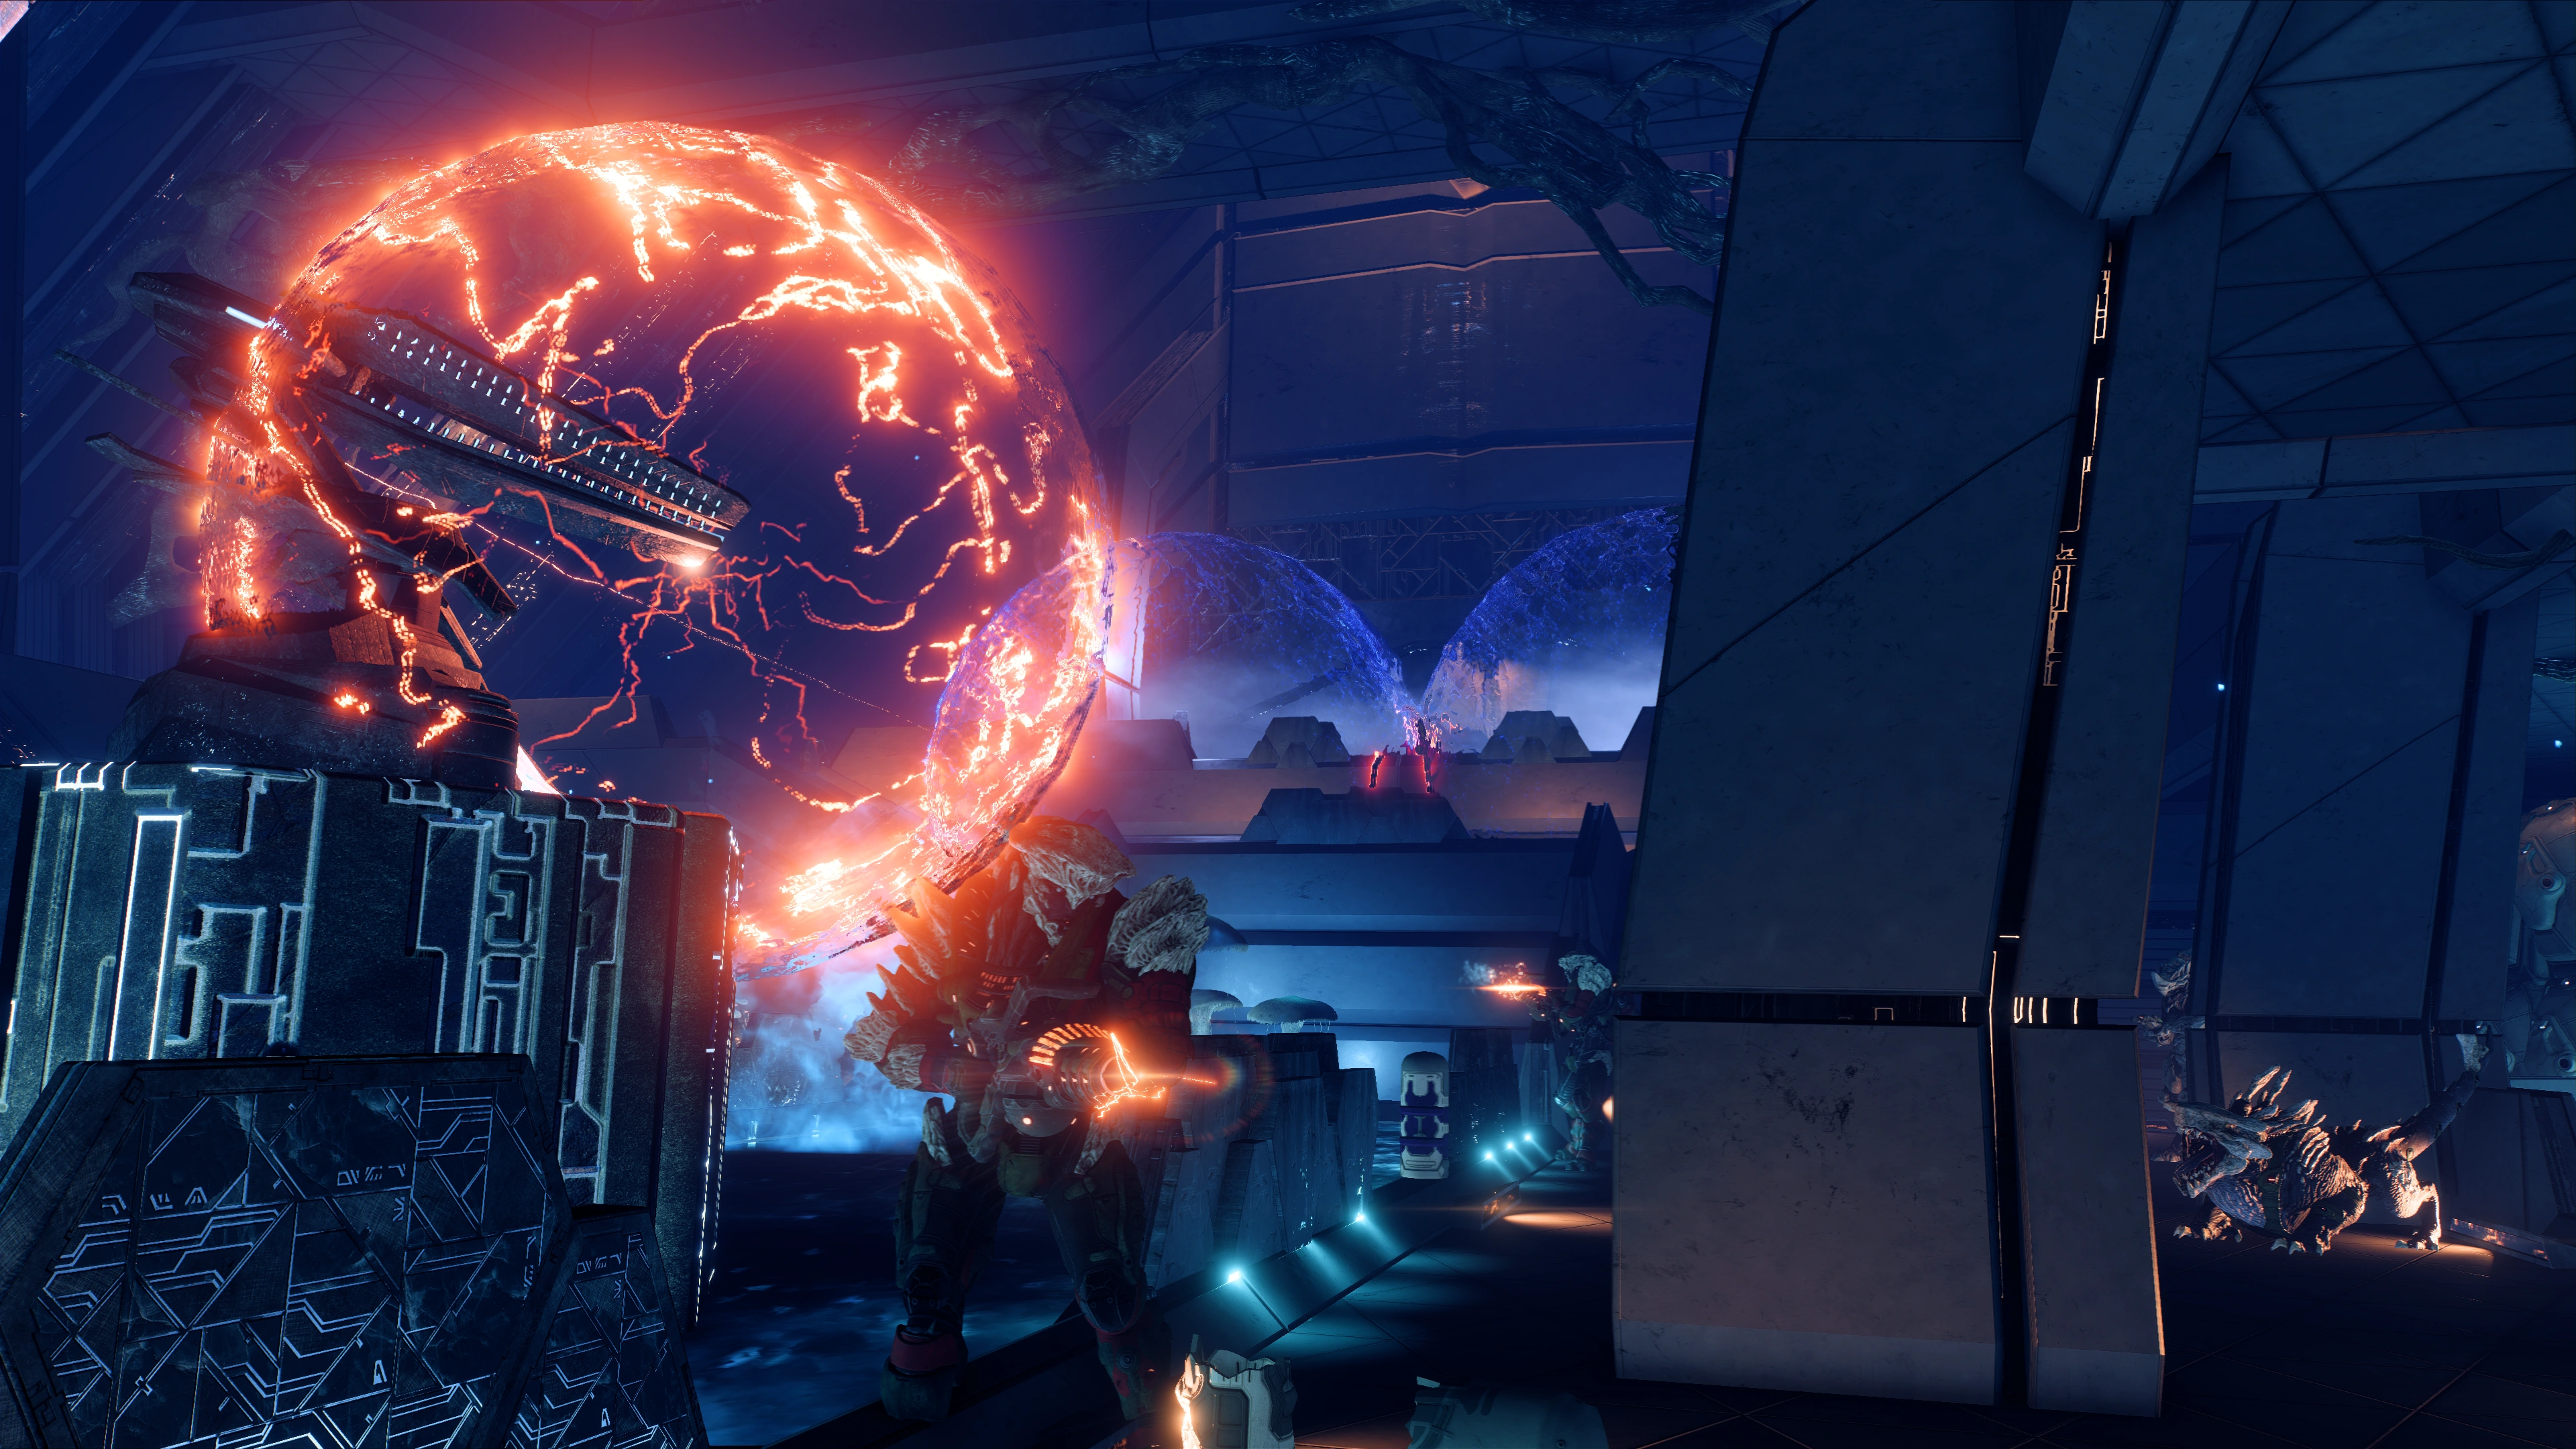
Eliminate the Archon's Sword and the kett forces[]
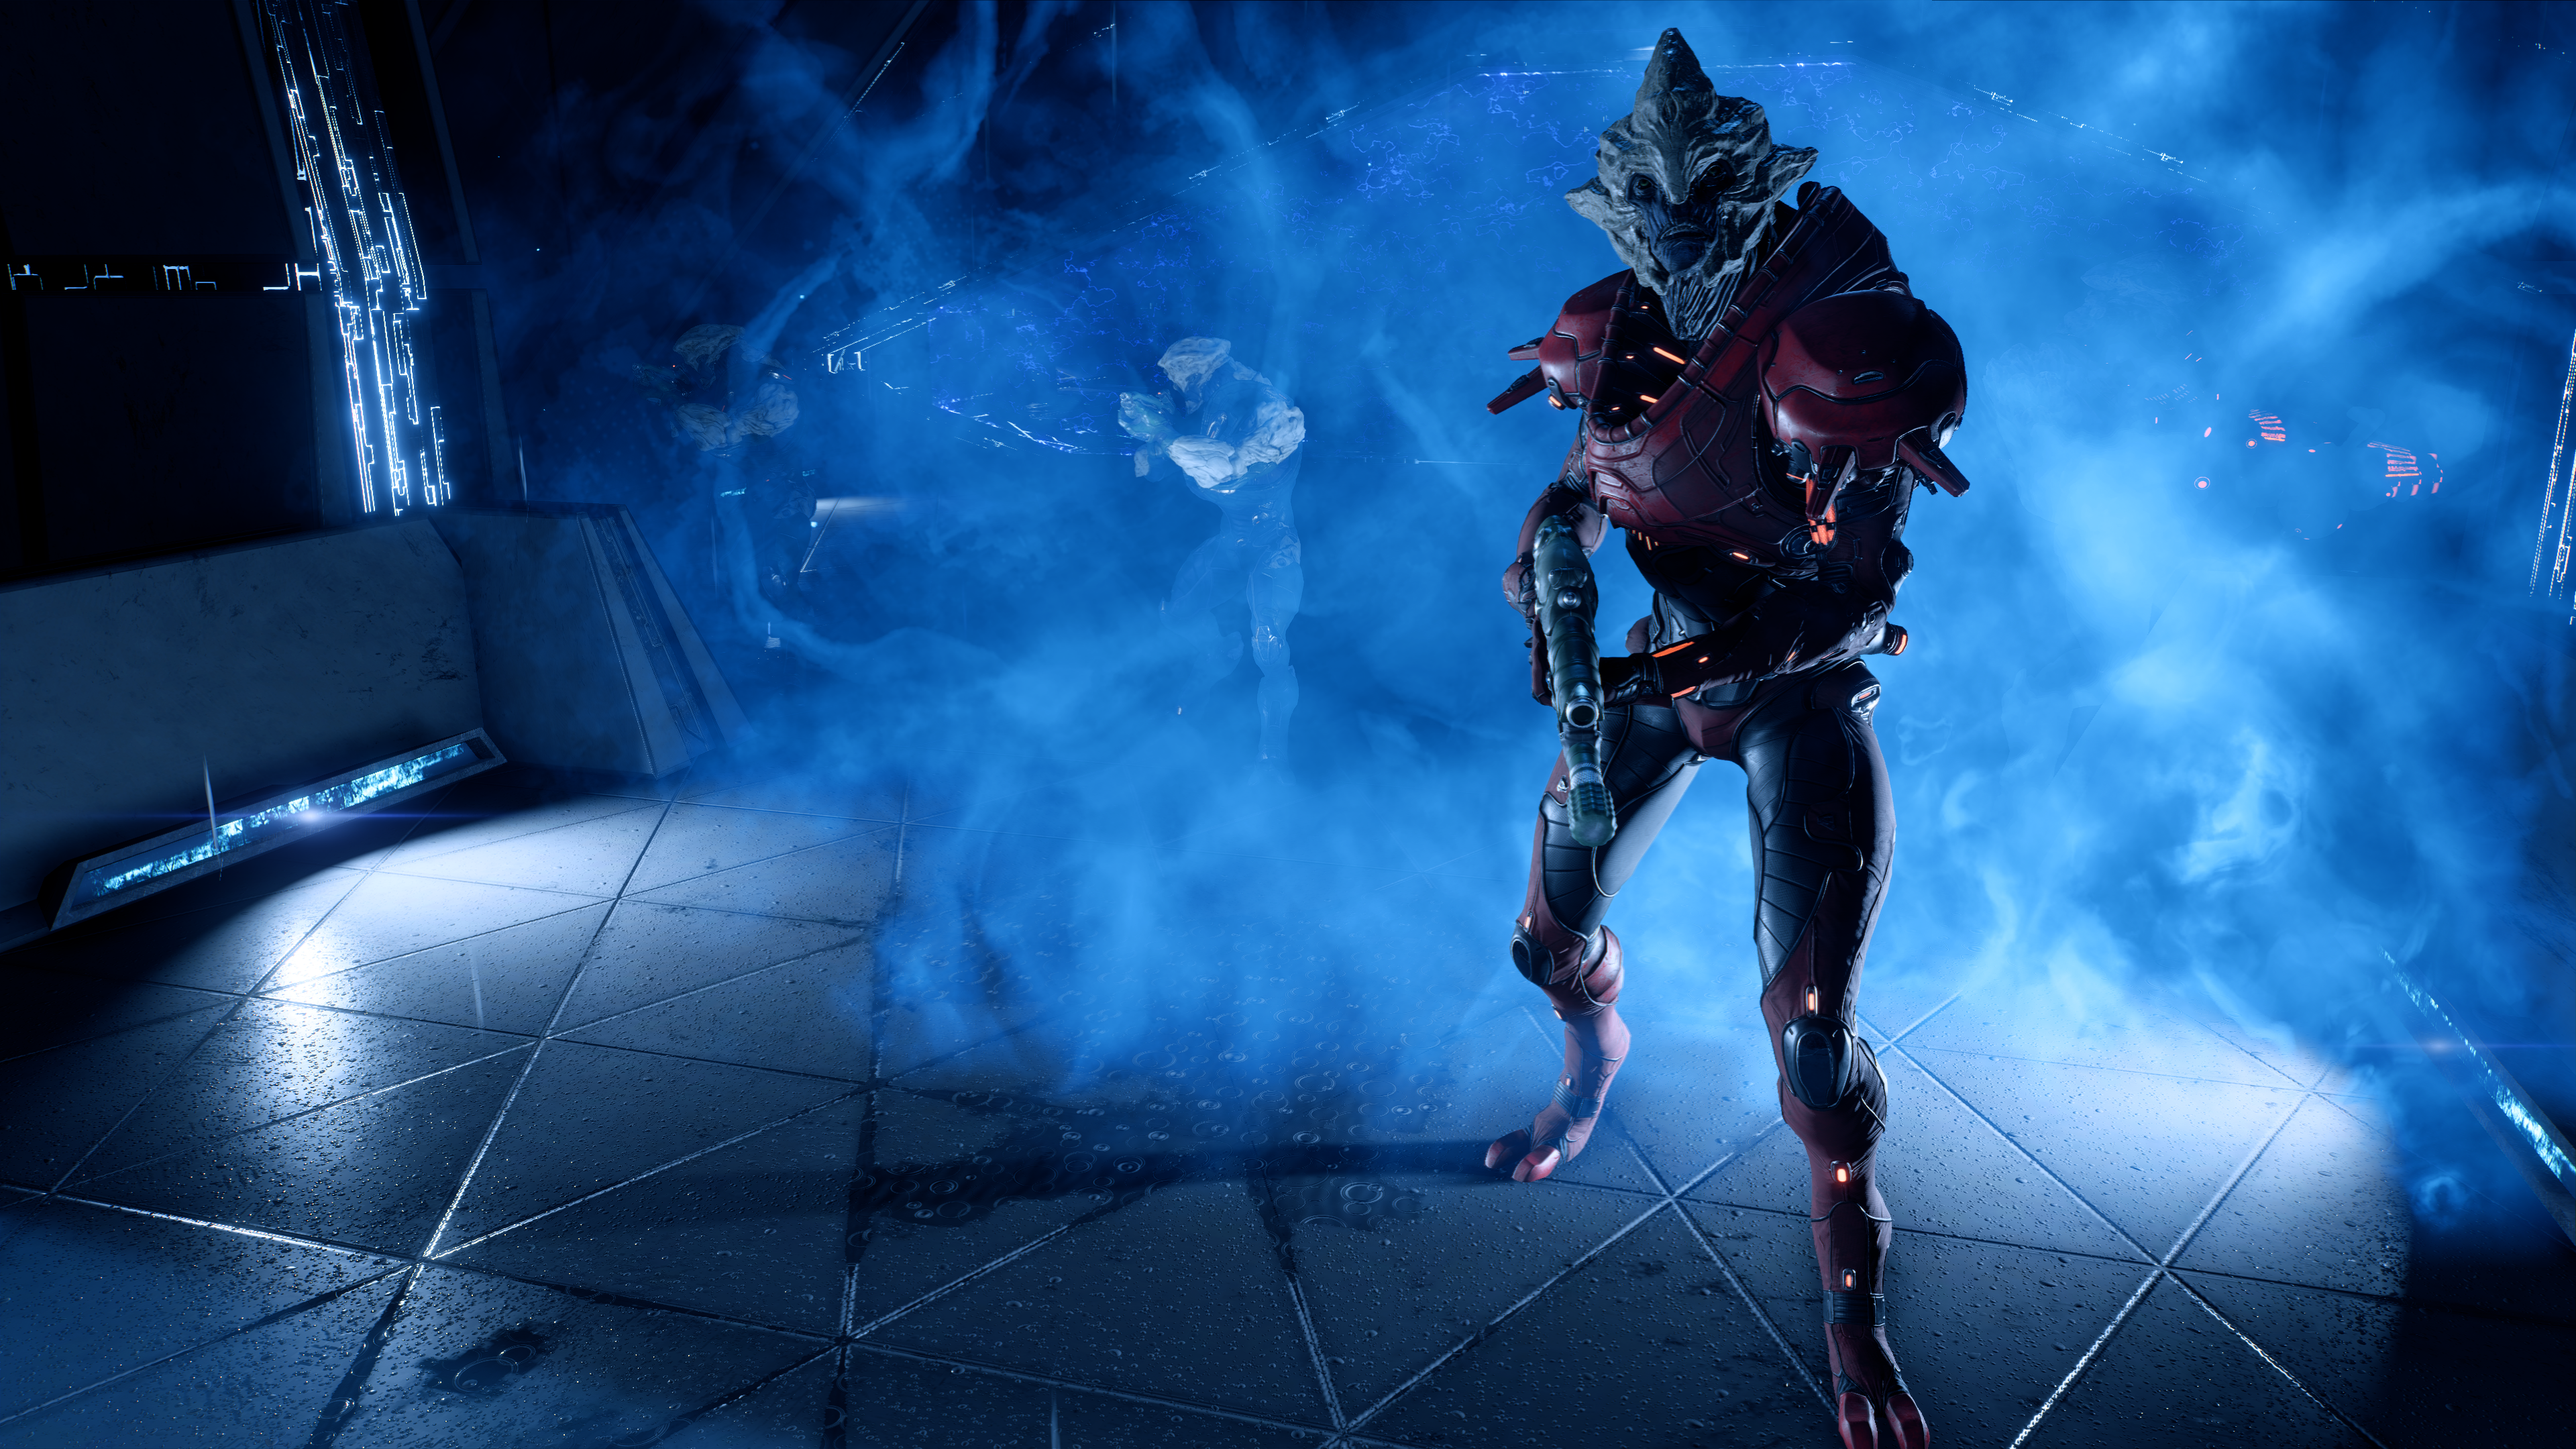
The Archon's Sword enters with a wave of Anointed and Chosen. She is heavily shielded, has lots of health, and will cloak and evade when she takes too much damage; fortunately, she won't use cover much and isn't very mobile. When she cloaks, another wave of kett will spawn to provide cover to her.
The second wave is Wraiths and Destined, the third wave is a Fiend and more Chosen. Note: Despite what the objective states, once you kill Archon's Sword the battle ends immediately. Collect any remains or scan any items before doing so as a cutscene will start immediately upon her death.
With the Archon's Sword dead and their ships taking heavy damage, the kett retreat. Thanks to the Scourge disrupting flight paths, there's no easy way to determine exactly where Meridian itself is now located. There's nothing left to do at the command center, so Ryder and party return to the Tempest.
Aftermath[]
Director Tann contacts Ryder over the vidcon. He's surprisingly apologetic, admitting that Ryder and the Pathfinders were right, and he and the Nexus leadership were wrong. Tann then offers whatever support he can. The mission ends after the call is over and the mission Meridian: The Way Home starts automatically.
The kett have taken losses and been driven away from the Meridian command center. Meridian itself is still missing. You must now search for it.
If you engaged in a serious romance with a crew member, most of these will culminate during side missions unlocked by completing this story mission. However, advancing the romance with Suvi requires triggering the start of Meridian: The Way Home first).
Aboard the Tempest, everyone except Kallo and Cora has reactions about the recent revelations when directly spoken to (although Cora has an email expressing some thoughts). Several of them are in their primary loitering rooms, behind closed doors signifying lengthy conversations to be had.
Rewards[]
- +1000 AVP

Enemies[]
- Anointed
- Archon's Sword
- Ascendant
- Assembler
- Behemoth (optional)
- Breacher
- Destined
- Chosen
- Destroyer (Remnant)
- Fiend
- Nullifier
- Observer
- Wraith
Puzzle Solution[]
- Main article: Remnant Decryption Puzzle Guide
 |
| Puzzle Door Reward: Game Progression No Override |
Trivia[]
- The "Unknown Organism" inside the pod behind the puzzle door may be a nug, a creature from BioWare's Dragon Age franchise.
| ← Previous Mission | Mission Index | Next Mission → |
|---|---|---|
| H-047c: A New World | Missions (Mass Effect: Andromeda) | Meridian: The Way Home |