Niilj and his team, whom you rescued from the kett, were Resistance operatives who were working to destroy the kett. They discovered that the kett operations station on the mountain controls all kett missions for the planet and provides power to the shield that blocks access to an ancient angaran city. Buxil, Niilj's sister, is helping you decrypt the password for the kett operations station
Acquisition[]
This mission is automatically acquired after giving Buxil the data drive in the previous mission.
You should start the following missions before heading to the Kett Base:
Walkthrough[]
Optional: Observe kett shield[]
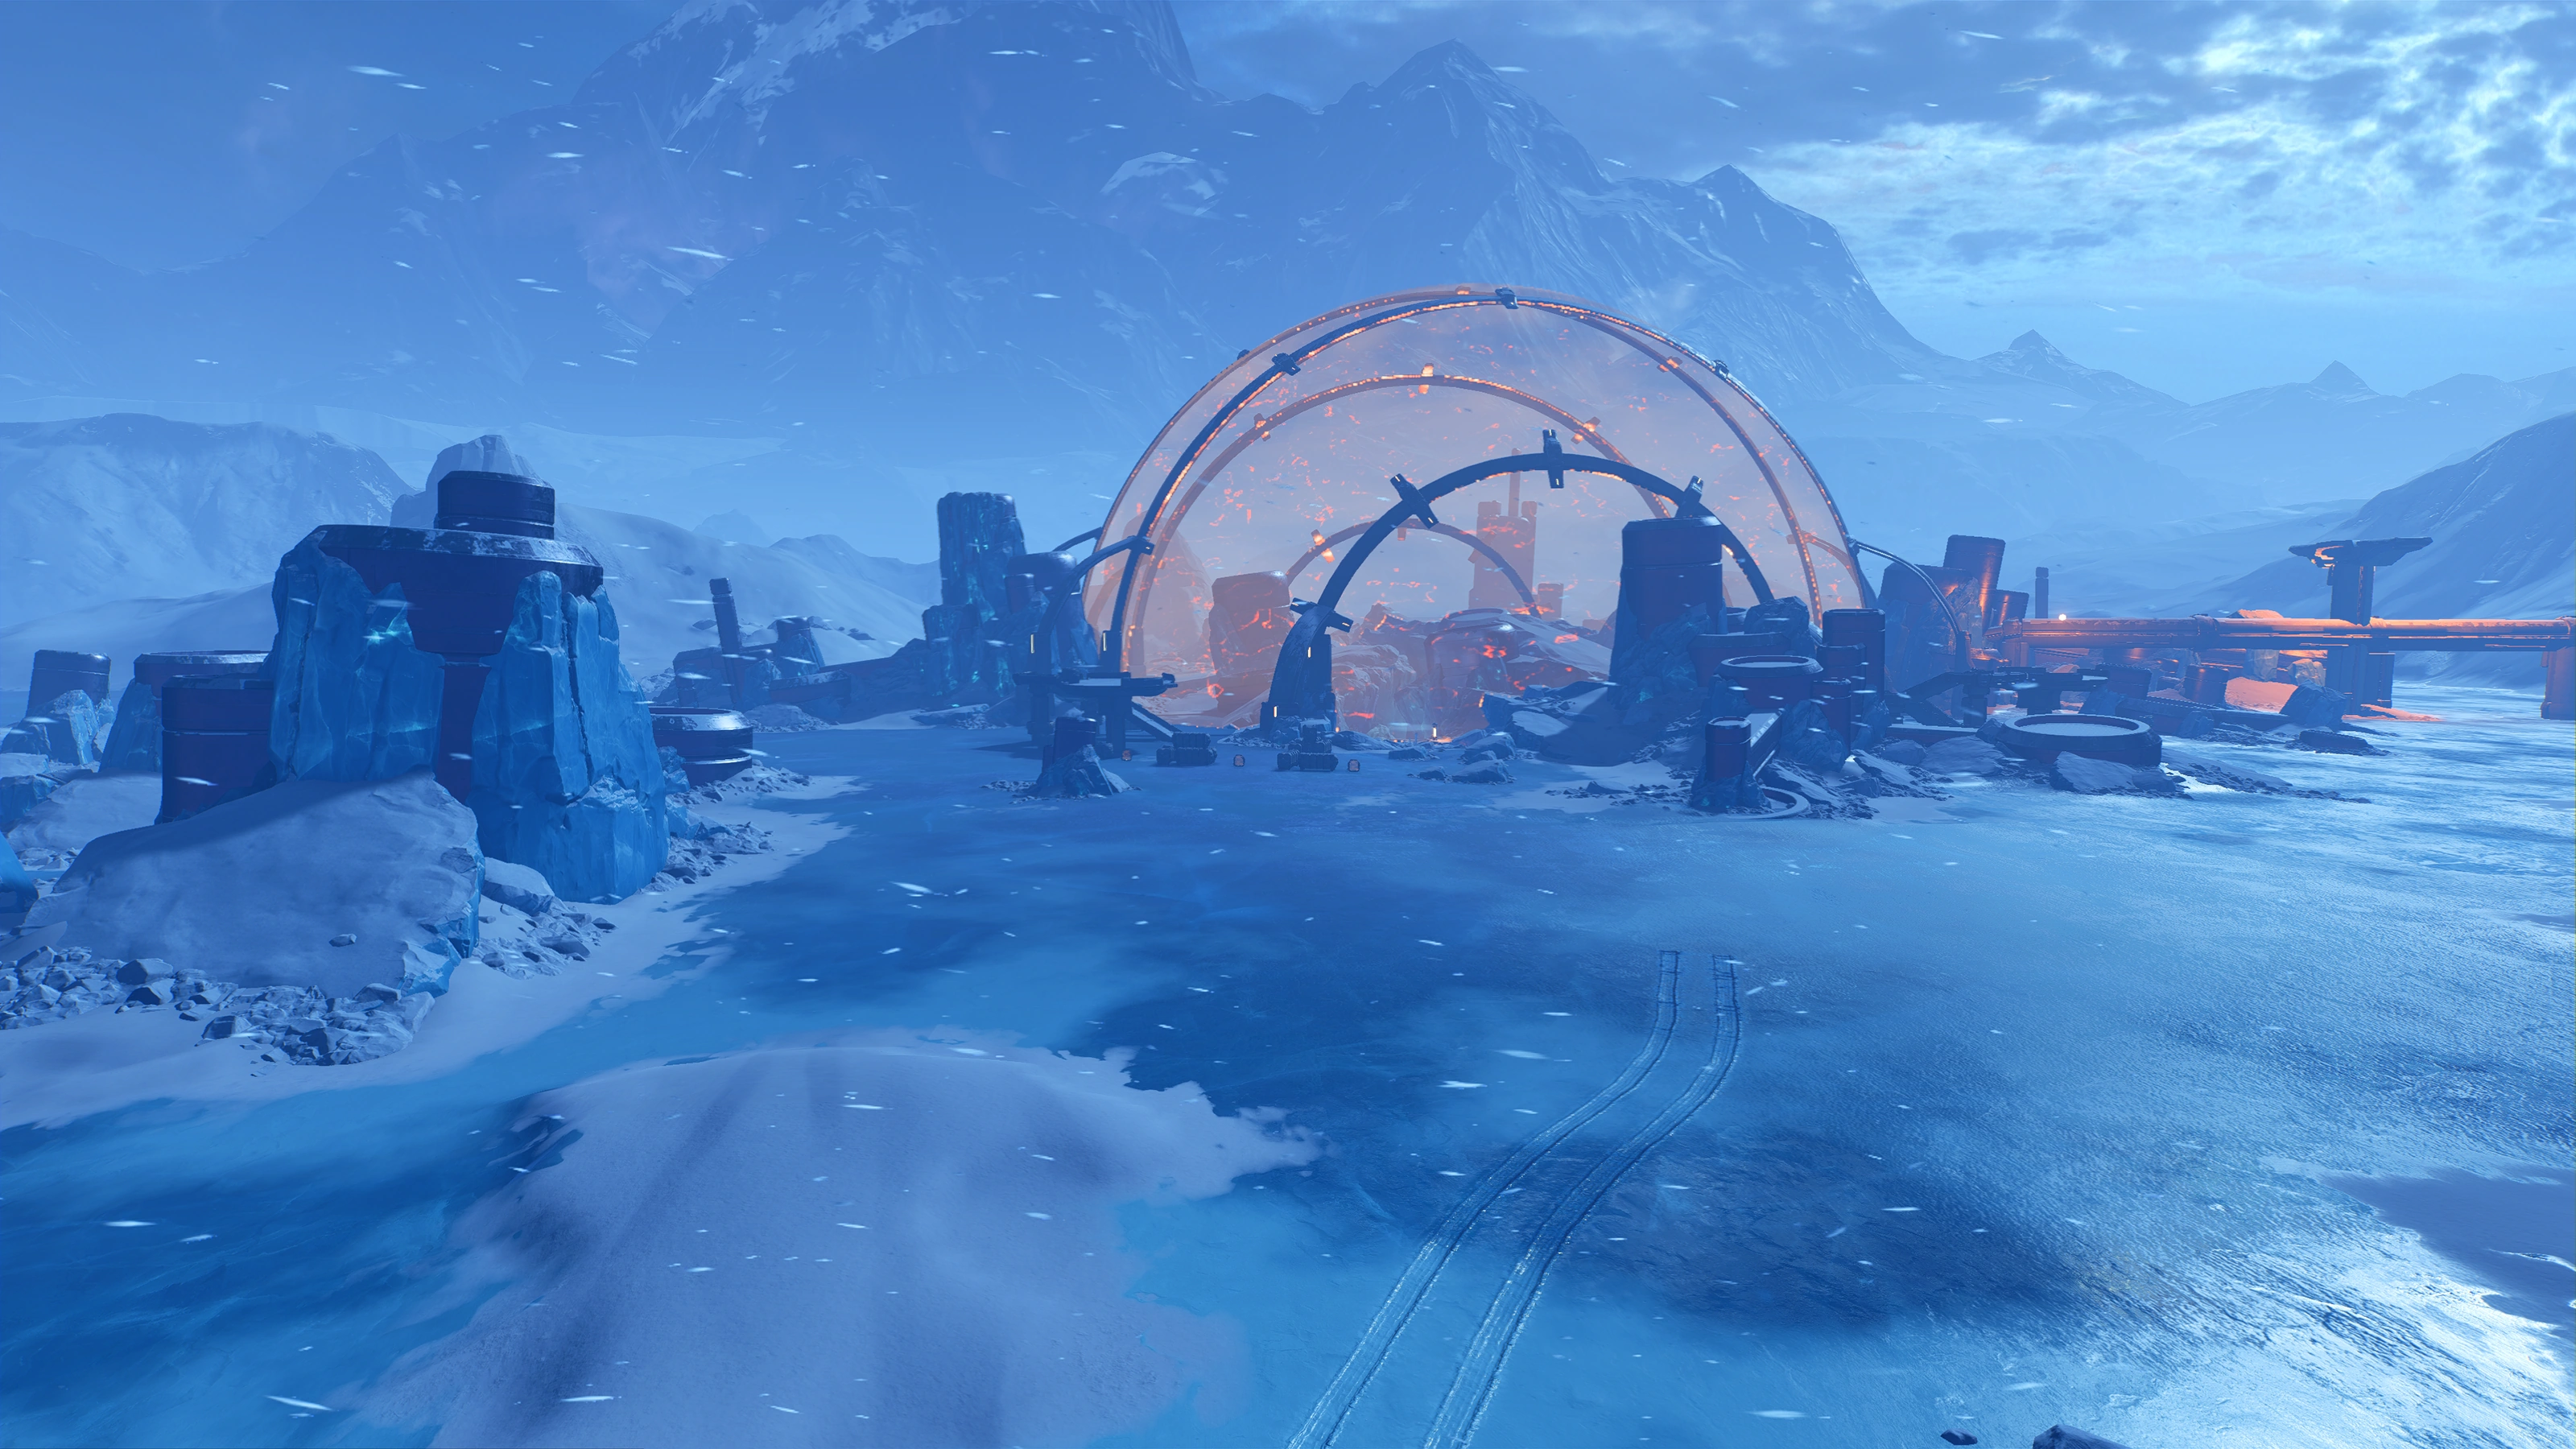
Heading towards the navpoint![]() at the northeast portion of the Voeld map, you will find a large orange kett shield amidst structures, and one of your squadmates makes a comment about it. Commander Anjik Do Xeel reports the shielded location is Ja Niihk Dig Site, an angaran city, though it is currently under control of the kett. As the shield's controls are located at the base, there is nothing to be done here yet.
at the northeast portion of the Voeld map, you will find a large orange kett shield amidst structures, and one of your squadmates makes a comment about it. Commander Anjik Do Xeel reports the shielded location is Ja Niihk Dig Site, an angaran city, though it is currently under control of the kett. As the shield's controls are located at the base, there is nothing to be done here yet.
Investigate the kett base[]
Head to the navpoint ![]() at the Kett Base
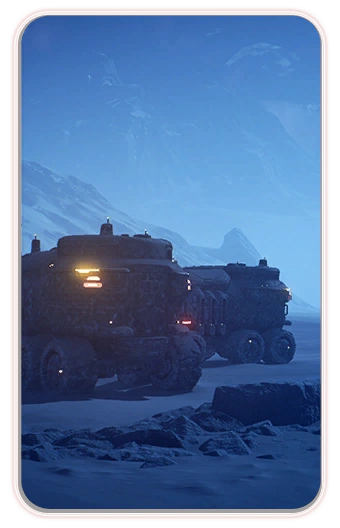
at the Kett Base![]() , that giant ominous mountain seen as far as the Angaran Resistance Base. The navpoint and succeeding ones that spawn on approach guide you counterclockwise around the mountain until you reach a Forward Station and later the entrance itself, potentially near several kett structures with hostiles. It's your prerogative if you want to clear them out before proceeding, but that isn't strictly necessary and they won't seek you out unless you do.
, that giant ominous mountain seen as far as the Angaran Resistance Base. The navpoint and succeeding ones that spawn on approach guide you counterclockwise around the mountain until you reach a Forward Station and later the entrance itself, potentially near several kett structures with hostiles. It's your prerogative if you want to clear them out before proceeding, but that isn't strictly necessary and they won't seek you out unless you do.
Note that the higher levels of the mountain elevate the cold hazard to level 2, and note that you can't take shortcuts up since the cliffs are too steep even for the Nomad. Eventually you reach the entrance of cave (which is the Kett Tactical Operations Center location), only lightly guarded by kett. Follow the navpoint through the cave on foot.
A short way into the cave, there are navpoints for two other missions close to each other: Medical Caches and Task: Hitting Rocks for Science.
The last navpoint is at an energy barrier guarded by several kett. Eliminate them.
When approaching the barrier, Ryder calls Buxil and receives the cracked password needed to turn off the shield.
Disable kett base shield[]
Use the console to disable the shield.
Investigate the kett base[]
Continue following the navpoint through the cave fighting kett on the way.
Eventually you get to the exit of the cave. Continue across the bridge and defeat the kett ambush.
Note: If you die or a save is loaded after this point, you'll have to restart from here - redoing all of the fights and objectives.
Uphill after the bridge, SAM draws Ryder's attention to a nearby building and marks the location ![]() : "This appears to be a kett secure storage building (building #1). The entry is locked out by a defense matrix." Ryder wants to know what's in the building, so a way to shut down the defense matrix needs to be found.
: "This appears to be a kett secure storage building (building #1). The entry is locked out by a defense matrix." Ryder wants to know what's in the building, so a way to shut down the defense matrix needs to be found.
The buildings in sight:
- The two-floor building to the left has two locked doors, which can be unlocked from building #4 (shown in an image below). Ryder may wish to eliminate the kett in the open part of the building to avoid having them at Ryder's back later on.
- The large building in the center needs to be cleared to gain access to the navpoint and the areas further into the base.
- There is a Kett Ship Machinery that can be scanned for +10
 .
.
- There is a Kett Ship Machinery that can be scanned for +10
- The building to the right doesn't contain anything important yet.
When you approach the navpoint inside building #2, SAM reports that a security terminal has locked down access to the kett tower, and that the terminal is protected behind a force field.
This objective is completed and the next is started.
Disable the kett generators[]
Three generators are powering the field, and they have to be shut down (marked on map). Kett reinforcements will attack after each one is disabled. The locations are:
- On the bottom floor in building #2, close to the navpoint for the previous objective.
- On the circular open platform attached to building #3.
- In the caves north of the above generator.
Upstairs of building #2 is the navpoint for the mission Fact Or Fiction. On the same floor is the field-protected terminal Ryder is working to get access to.
Building #4 has two uses:
- Necessary for the next objective in the mission Fact Or Fiction.
- Destroying the defense matrix unlocks the two doors in building #1.
Scan the Kett Torpedo outside the building to the north for +10 ![]() .
.
Note: When you enter building #4, a sub-mission will be added.
Optional: Scan the defense matrix for vulnerabilities[]
There are three Critical Subsystems in building #4. Scan each subsystem so that they are marked with ![]() and then sabotage each one. After the third subsystem is sabotaged, the next optional objective will be added.
and then sabotage each one. After the third subsystem is sabotaged, the next optional objective will be added.
Optional: Access the secure storage[]
Go to building #1.
- The bottom floor room has five loot containers. There is also a console for Fact Or Fiction.
- The top floor has five loot containers, and a Kett Core Encryption Tech - scanning it gives +100 .
- Ryder receives +1330 XP for accessing the Secure Storage.
- Warning: Once the Kett Base is destroyed, the locked room is no longer available. Make sure to complete anything requiring this room before finishing the mission.
Destroy the kett security terminal[]
The terminal is upstairs in building #2. Interact with it to sabotage it via explosion.
Access the outpost core[]
You can go to one entrance straight to the north or to another entrance through building #4. Inspecting the map shows that the navpoint is closer to the latter.
Use the console and get Command Center Access granted. A door opens in the floor. The game autosaves here, too.
Reach the hangar bay[]
Jump down. Ryder will need to fight more kett along the way. There is a Kett Hangar Machinery that can be scanned for +10 ![]() . Upon opening the second door (hangar bay), a kett team attacks. SAM notifies Ryder that each of the hangar platforms has an automated fueling system. If you can access their controls, SAM can destroy them by overloading the system.
. Upon opening the second door (hangar bay), a kett team attacks. SAM notifies Ryder that each of the hangar platforms has an automated fueling system. If you can access their controls, SAM can destroy them by overloading the system.
There are four Kett Computer Consoles on the upper level and two on the lower level that can be scanned for +10 ![]() each (+60
each (+60 ![]() total).
total).
Destroy all three hangar platforms[]
The hangar platforms are marked on the map with navpoints.
Kett reinforcements will continuously arrive while any of the consoles are active.
A sub-mission name Base may or may not show up on screen based upon your actions in the next area. If you scan any of the Kett Computer Consoles before accessing a locked security terminal, the sub-mission WILL NOT show up. If you don't scan any of the Kett Computer Consoles, the sub-mission WILL show up three times for each of the terminals Ryder has to override. There is no difference in what you have to do to complete the area.
Primary: Find & activate override terminals[]
When trying to sabotage the first console, it's discovered that it is locked from a security terminal. One terminal for each platform is marked on the map. Go to the one closest to the locked console, use it to unlock the console, and return to the terminal to sabotage the hangar platform.
For the other two platforms, first go directly to the override terminal, and then proceed to go to the consoles to sabotage them.
When all platforms are destroyed, the kett no longer have their air support. Ryder receives +1330 XP for destroying all three hangar platforms. Two new objectives are started.
Eliminate the Prefect[]
The Prefect type of kett is invulnerable as long as the orb is intact. The Prefect will be marked with ![]() . Make sure not to let it get too close, or it will kill Ryder instantly. You receive +1330 XP for eliminating the Prefect.
. Make sure not to let it get too close, or it will kill Ryder instantly. You receive +1330 XP for eliminating the Prefect.
Clear out the remaining defenders[]
Once the Prefect is dead, defeat any remaining kett.
Access elevator to zenith room[]
Use the elevator controls to go to the room at the top of the tower.
Disable the outpost[]
Use the console to disable the outpost. Ryder will receive +300 AVP ![]() and +10% Voeld viability.
and +10% Voeld viability.
In the room are also five loot containers.
Return to Buxil[]
Take the elevator down and head to Buxil who is on the way to building #4.
Buxil tells Ryder that disabling this base has shut down the shield around Ja Niihk, the frozen city in the northeastern part of the map. In addition, the kett are weakened, so it's a perfect time for a final push against them. Upon completion of this mission, the follow-up mission Uncovering the Past is started automatically.
Rewards[]
- +1330 XP
Terminal entries in building #2[]
| ← Previous Mission | Mission Index | Next Mission → |
|---|---|---|
| Meet the Family | Missions (Mass Effect: Andromeda) | Uncovering the Past |