Meridian was lost when the Scourge was launched against the Jardaan. As the heart of the vault network, it is the key to restoring worlds all across the cluster. Only when Meridian is found and secured will the future of Heleus be certain.
Acquisition[]
Automatically received after completion of the previous mission.
Walkthrough[]
Note: If you want Captain Nozomi Dunn to survive the crash landing of the Hyperion, Pathfinder Ryder must have convinced Avitus Rix to become the turian Pathfinder during Turian Ark: Lost But Not Forgotten. Four pathfinders are required to keep Nozomi alive and Avitus as a pathfinder makes the total four.
Warning: This mission concludes the main mission arc of the game. After completing this mission, certain side missions and any missions involving the Hyperion will be locked out. Complete these missions before starting this mission.
- Contagion
- Sleeping Dragons
- Station Sabotage
- Task: An Exile Raid
- Task: Better Crafting
- Task: Investigating Embezzlement
- Task: Lost Brother
- The Firefighters
Talk to Suvi[]
Dr. Suvi Anwar's plan is to map the Scourge's structure. With the Scourge analyzed, the effect it had on Meridian's path can be determined, which hopefully will lead to Meridian's current location. Cora Harper reminds everyone that the Andromeda Initiative's Heleus charts will provide a baseline, since they show the cluster 600 years in the past. The Tempest must now place probes in the Scourge to determine what's changed since the Scourge appeared.
Scourge clusters probed for data[]
There are seven systems (Civki, Eriksson, Hefena, Kindrax, Rohvir, Skeldah, and Vaalon) with Scourge targets highlighted on the Galaxy Map. Fly to a system, scan for anomalies, and probe the Scourge. Each probed Scourge target awards +270 XP. Any three systems will do. Once the third probe is in place, SAM announces that the analysis is complete. Note: The remaining 4 systems can still be visited and probed for the XP rewards. This is easy XP and only takes a few minutes to acquire so collect them before continuing on.
Speak to crew about Scourge research[]
Even though the objective says "Speak to crew about Scourge research" this isn't what Ryder actually has to do. Ryder completes this objective by using a console behind Kallo Jath on the Tempest bridge with the Scourge data. This starts a cutscene conversation with Kallo, Suvi, and SAM. While they haven't been able to determine the actual position of Meridian, they do have a correction for the Remnant navigation systems. If Ryder returns to the Remnant city (Khi Tasira), gives the corrected flight plan to the Remnant ships there, the ships will fly to Meridian and the Tempest can follow them.
Return to Remnant city in Civki System[]
Note: This is the point of no return which locks Ryder into the final main plot sequence of the game.
Warning: Once Ryder visits Khi Tasira, any actions requiring the Tempest will be locked out until after this mission is complete (except for the AVP Status Console and the Respec Station).
Fly to Civki system and board Khi Tasira. SAM has located a tower which can override Remnant ship controls and send them on the way to Meridian. Unfortunately, this section has a separate energy grid from the rest of the complex, and may not recognize Ryder as the Administrator of the station.
Reach control center and reveal Meridian[]
After the cutscene, Ryder will be in a room that looks like a gravity well room from previous missions. There are two lootable containers on the elevated platforms to the south and the east. Once Ryder has collected the containers, head through the door to the west.
The room that Ryder enters has lower and upper sections. As Ryder heads west through the room, the squad will come under attack from a Remnant force of a couple of Nullifiers, Observers, and Assemblers. Defeat them.
After the battle, there are two lootable containers in this room. One is on the lower section nears the Remnant columns and the other container is at the top of the Remnant columns.
Proceed west to the Remnant Console. SAM will comment that the controls are ahead. SAM says that projections indicate multiple launch bays and possible links to Meridian deployment.
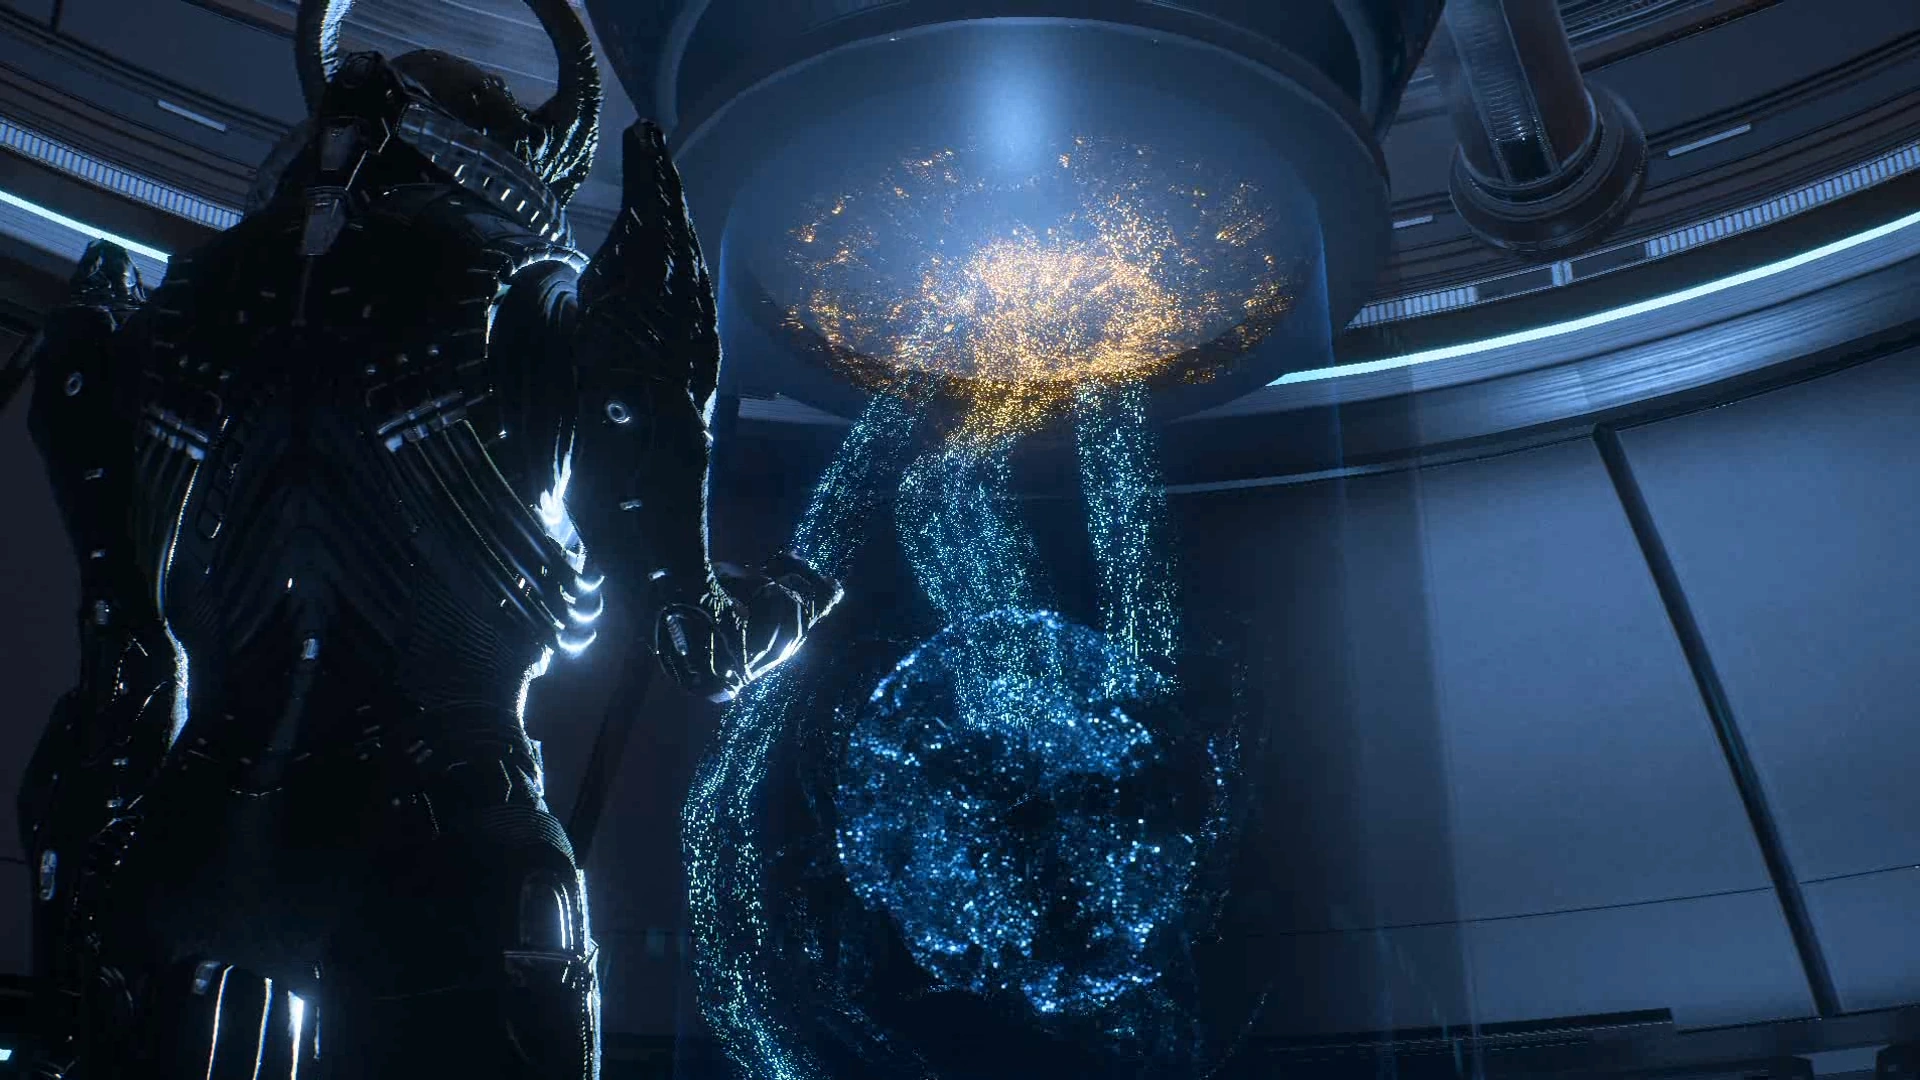
Activate the console and Remnant ships will fly to Meridian, which is revealed to be a "Dyson Sphere" but moon-sized. SAM indicates that Meridian is a self-contained seed world that once reactivated will affect all of the connected planets. The plan has worked brilliantly... until the Archon congratulates Ryder on this success via the SAM implant.
The Archon is standing in front of the SAM node on the Hyperion. Thanks to accessing Ryder's memories earlier, the Archon knows what he needs to control Meridian, and how to get it. Rather than bothering with Ryder, he'll capture Ryder's sibling, and use that implant to interface with Meridian. And through the SAM link, the Archon now has the location of Meridian too. The Archon now disconnects Ryder from SAM, leaving Ryder injured and barely able to walk.
Struggle to reach door[]
The HUD will stutter and Ryder will take increasing damage approaching the navpoint![]() . As you attempt to return to the Tempest for assistance, enduring the Archon's taunts all the while, Ryder will collapse in front of a closing Remnant door.
. As you attempt to return to the Tempest for assistance, enduring the Archon's taunts all the while, Ryder will collapse in front of a closing Remnant door.
The scene switches back to the Hyperion, which has been boarded by kett. Control has now switched to Ryder's twin. SAM informs the twin that Ryder will die unless the twin manually reconnects SAM node to Ryder.
Get a weapon[]
Head to the navpoint to find an Arms Locker. A terminal next to the locker reveals some details of the kett attack.
Open the locker and pick up the Phalanx. Ryder's twin will be awarded an M-5 Phalanx Rank I and an Omni-Blade Rank I.
Fight to communications[]
Head towards the new navpoint in Communications.
There will be a fight with two Chosen once the door opens. Ryder's twin only has Frag Grenade for use as a skill with one grenade. A Hyperion crewman in the room will shoot at the Chosen as well. The Chosen are content to stay behind cover, so just be patient and wait for good shots. When the Chosen are defeated, proceed forward towards the new navpoint (the crewman stays behind), grab ammo and health from the supply caches in the corridor, and continue into a new room where there are two more Chosen.
Captain Nozomi Dunn jetpacks in to help Ryder's twin fight the Chosen. Ryder's twin and Nozomi are higher up and have plenty of cover, so the Chosen will be easy enough to kill. Once the Chosen are dead, head forward with Dunn through several corridors and doors towards a maintenance shaft leading to Communications.
Reach maintenance access[]
Run for the maintenance access[]
Ryder's twin finds Hyperion crew behind a barricade, fighting off several Anointed and Destined. Dunn stays behind to hold off the kett. Joining the fight won't help. Instead, run to the navpoint in the access tunnel and follow it to Communications.
Send Signal To Restore Pathfinder's Implant[]
Inside Communications, Ryder's twin will find a terminal with details of the kett assault on the Hyperion's bridge, and the QEC controls. The QEC Relay can send a reboot command to reset Ryder's implant, which will restore functions which SAM mistakenly took over, and hopefully keep Ryder from dying. Kett arrive at Communications as the twin prepares to send the command.
The scene shifts back to Khi Tasira, where the squad is still trapped behind the closed door and Ryder's heart restarts (that makes three deaths in the game).
Interface to open door[]
When control returns to Ryder, Ryder is hanging off of a Remnant Console. Ryder then unsuccessfully tries to activate the console. Ryder tries a second time to activate the console and the door starts to open but then snaps shut again. Ryder tries for a third time to activate the console and is able to use the console to open the door even without a connection to SAM, although the process is painful and difficult.
Rally your team at the tempest[]
The door then opens and Ryder can enter the next room to find ammo and health caches. Continue towards the navpoint.
As Ryder proceeds through the complex to the Tempest, reports come in of the kett fleet heading to Meridian, including the stolen Hyperion.
Somehow recover Hyperion[]
Continue towards the next navpoint and head through the doorway. In the next room, interact with the gravity well to head down into the complex.
Somehow face the Archon's fleet[]
When Ryder lands from the gravity well, head towards another navpoint behind a closed door. Open the door and a cut scene starts. There's a lootable container on the raised ledge behind the gravity well.
Outside the Tempest the crew debates what options are left, if any. Meanwhile, Ryder walks up to a nearby console and interfaces with it. While the process is, again, draining, Ryder is able to command a Remnant fleet. There's nothing left to do but have the Remnant fleet, and everything else the Heleus cluster can bring to bear, head for Meridian and a final confrontation with the Archon.
Go to bridge to launch[]
Ryder now appears aboard the Tempest. As crew members prepare for battle and talk over comms to the various allies and contacts, Ryder has the option to briefly talk to them. The AVP Status Console and Respec Station are still available, but the crafting, strike team, merchant, email, and SAM terminals are disabled. Ryder's romantic interest, if one is on the Tempest, is on the bridge. Note: The map may report an incorrect position.
Going to the bridge triggers a new mission and a cutscene conversation with the love interest. If the romantic interest is not on the ship, or Ryder hasn't romanced one, Cora will meet Ryder on the bridge for a businesslike pep talk.
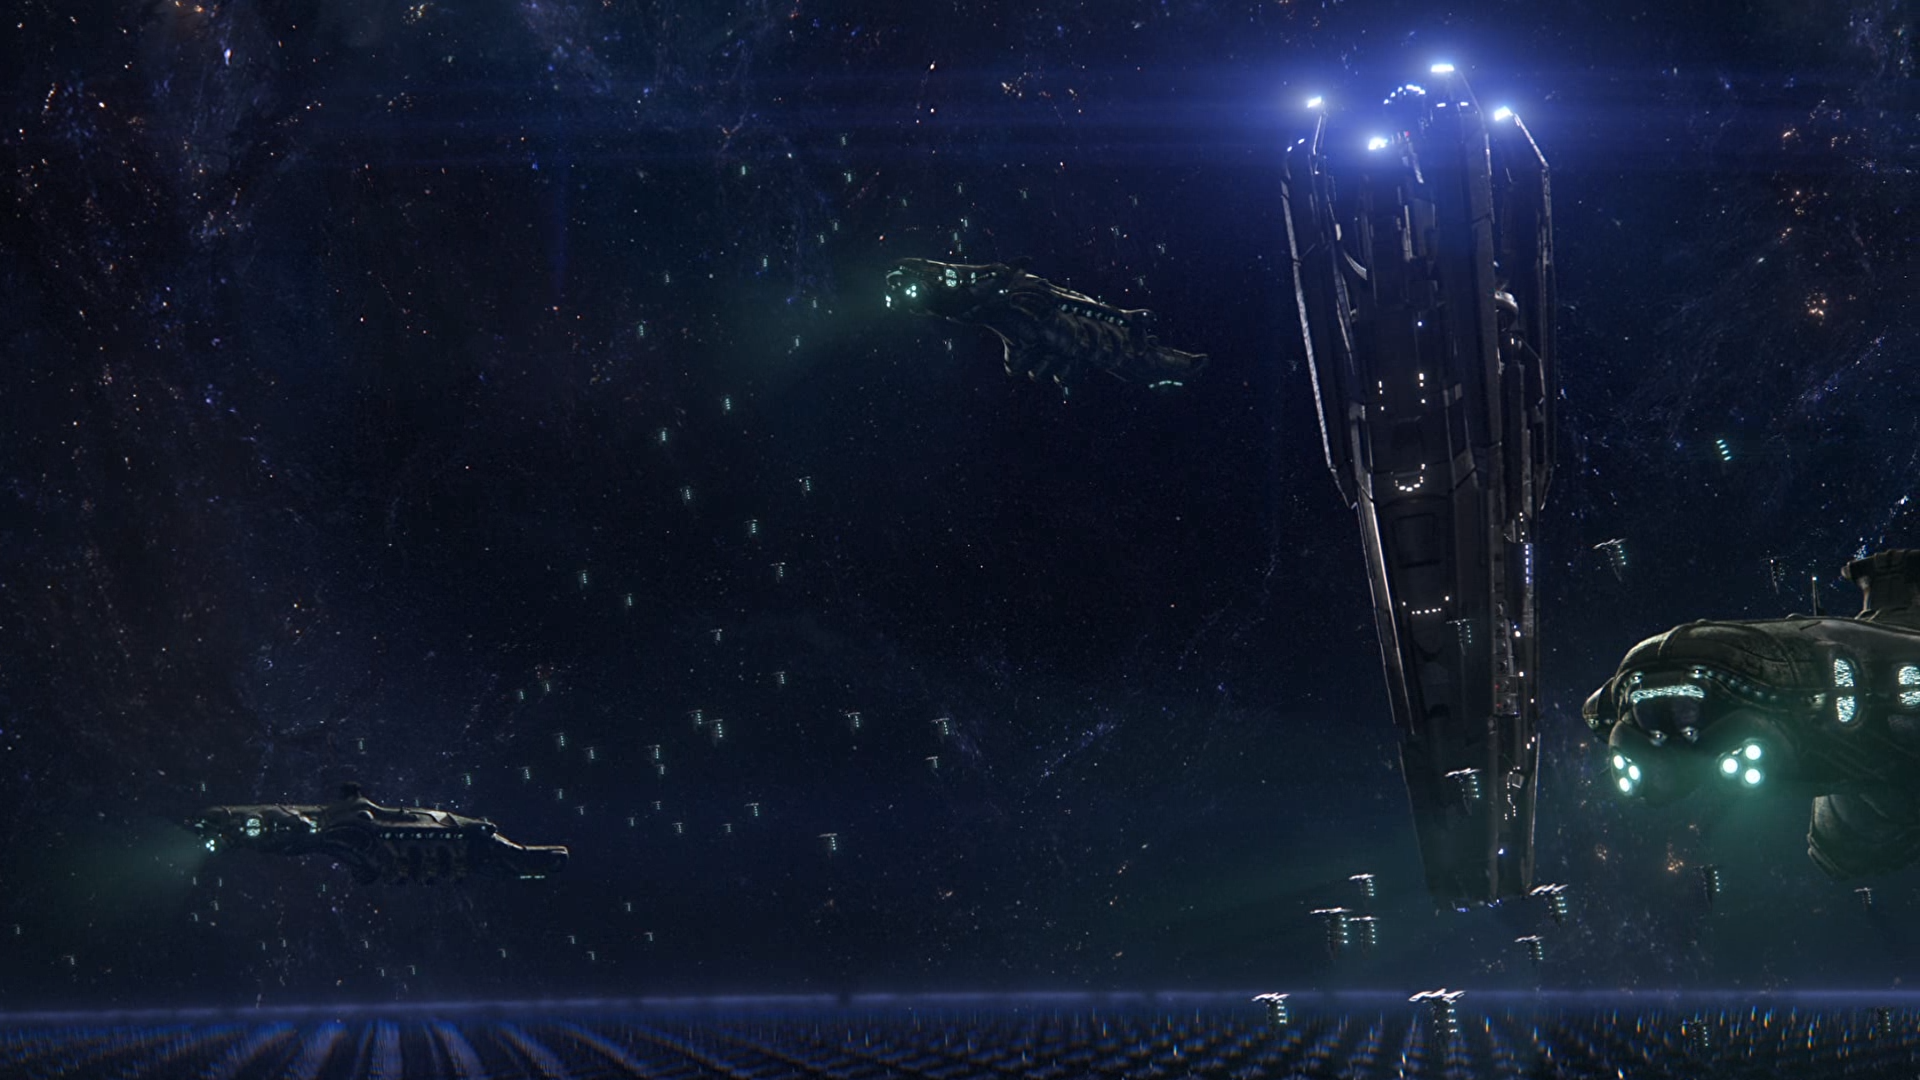
As the kett fleet approaches Meridian, the Archon is on the bridge of the captured Hyperion, with Ryder's twin and Captain Dunn. As the Archon talks about his plan -- as expected, he'll use the power of Meridian to compel everyone in Heleus to submit to exaltation or be destroyed -- Ryder arrives with the Remnant fleet.
Battle ensues. Kett forces outnumber the Remnant. However, Ryder uses the Scourge's affinity for Remnant technology against the kett, by luring Scourge tendrils using Remnant ships. Note: How Ryder comes up with the idea differs depending on how much progress was made with the Ryder Family Secrets mission. If the mission was completed, the Pathfinder will flash back to one of Alec's philosophies; otherwise, Ryder will form an idea themselves. Either way, the outcome is the same.
With the bulk of the kett fleet immobilized, the Archon has no choice but to immediately go for Meridian Control. Overriding the twin's implant with his own device, he commands Meridian's outer wall to open and flies the Hyperion through. The Tempest pursues. Inside, the interior of Meridian is revealed to be inhabitable; it's a golden world itself, only inside-out, with artificial gravity holding everything on the inner surface of the sphere. The Archon steers the Hyperion towards the control center as other kett ships fly to intercept Ryder, who drops in with the ND1 Nomad as various allies arrive to help.
Chase the Archon in the Nomad[]
This sequence is highly variable depending on previous decisions and missions Ryder has completed.
Various allies show up to assist Ryder. How many and which allies show up during this mission depend upon Ryder's choices during previous missions.
| Ally | Related Mission | Notes |
|---|---|---|
| Initiative Militia | A Better Beginning | Military Focus for Prodromos must have been chosen. |
| Angaran Resistance Members | A Trail of Hope II | The Exaltation facility must have been saved. |
| Krogan Scouts | Hunting the Archon | The krogan scouts must have been saved. |
| Kalinda T'Reve | Peebee: A Mysterious Remnant Signal | Kalinda T'Reve must have been saved. |
| Jaal Ama Darav's Family | Jaal Ama Darav: Flesh and Blood | Complete the mission. |
| Vorn | Nakmor Drack: A Future for our People | Complete the mission. |
| Major Saelen Varn | Truth and Trespass | Complete the mission and Ryder has to choose to have Dr. Medrow Aden arrested. |
| Sloane Kelly or Reyes Vidal |
High Noon | Whichever person you side with during High Noon will show up as an ally. Note: If High Noon isn't completed, Sloane Kelly will show up as the ally. |
You must now chase the Archon to the control center in the Nomad. Along the way, various allies can be heard over comms.
Eventually Captain Dunn radios in to tell Ryder that the Archon has left the Hyperion with Ryder's twin, leaving Dunn aboard the Hyperion to crash. Dunn attempts to control the Hyperion's descent as Ryder races on.
Continue in the Nomad until a navpoint appears to alert that the end of the chase scene will be happening soon.
Eventually some sort of EMP effect disables the Nomad near the entrance to the command center, and Ryder and squad must proceed on foot.
Defeat kett guarding the entrance[]
Proceed on foot towards a fight with some Chosen and Anointed, later reinforced by more kett including a Behemoth. Defeat them.
Up on the platform to the right is a large square orange container that can be looted.
Near the burning crashed ship is another large square orange container that can be looted. Note: The burning fire is a Level 4 Heat Hazard. Take care to not touch the fire during the heat of battle. Remember the location of this crate, you will be coming back here in a bit.
During the fight for the entrance, if Ryder accepted the deal with the Primus during Dissension in the Ranks a new mini-mission and objective will be added. (This will not appear if Ryder rejected the deal.)
Primus: Enemy of my enemy[]
Suvi will come over the comm and inform you that a ship has lost its data shielding and that it's the Primus. Suvi says to access the ground equipment and she will upload it like SAM.
Access the kett console[]
A kett console is now present next to the large orange lootable container you had looted a little earlier. You can now interact with it start a cutscene.
You have the choice to either use the kill code or not use the code.
- If Ryder decides to use the kill code
Suvi comes over the comm and lets Ryder know that the kill code was deployed. The Primus' ship thrusters are now failing. Ryder says the Primus gets to look like she was sabotaged and the squad gets an easier run.
- If Ryder decides to not use the kill code
Suvi comes over the comm and lets Ryder know that the Primus' ship is pulling away. Reinforcements are now on the way. Ryder says that the Primus holds a grudge but Ryder isn't taking the deal.
Enter Meridian Control[]
After defeating the kett, proceed inside. As Ryder does so, an aerial battle erupts overhead. The other Pathfinders secure the airspace over the entrance. Ryder's allies will secure the entrance, while Ryder heads after the Archon.
Inside the door, a Remnant console activates a gravity well.
Fight to reach the Archon[]
As Ryder proceeds down, Suvi radios in with the news that there's an energy spike ahead; the Archon is up to something. After Ryder lands, there is a lootable container on the elevated platform.
Head down the corridor to the south and glowing blue rotating cubes will erupt from the floor. After two of these appear, a small skirmish with an Anointed and a couple of Chosen will take place. Defeat them.
Defeat defending enemies[]
Ryder emerges into a large open area with a balcony overlooking a catwalk, and a fight in progress between kett and allied angaran and Initiative soldiers. (Apparently they arrived by shuttle; the space is open to the sky on one side.) Melee-oriented squadmates can get themselves into trouble here by charging down to the catwalk, which is full of kett. Keep the squadmates under control or Ryder will end up being the only one alive to kill all of the enemies. Remnant enemies will also appear during the battle. The Remnant will attack the kett and if any are left over they will attack the squad.
There is a lootable container in the northwest section of the balcony area.
Push farther into Meridian Control[]
When all enemies are defeated, proceed down into the central structure.
The path inside seems to dead-end. Use a nearby Remnant console to activate a bridge to the east. Cross the bridge, head south, and use another Remnant console to head back west. To the north is a lootable container. To the south, Ryder will find ammo and health supply caches.
Fight past the kett ascendant[]
When Ryder emerges from the small room, there will be a fight with an Ascendant and several Destined and Anointed. There are multiple catwalks on multiple levels. To the east and the west are small rooms with a lootable container. These rooms are a good place to take cover from the battle. Depending upon which choice that Ryder made during Hunting the Archon, either krogan or salarian allies will intervene here to help.
Push farther into Meridian Control[]
Using the door out of this area triggers a cutscene. The damaged Hyperion is crashing. Captain Dunn reroutes power to the Cryo Bay shielding and orders all hands to go there; the bridge will have to take its chances. The Hyperion crash-lands on the surface of Meridian. If the turian and asari Pathfinders are both present, they will shield the bridge, and Dunn survives. Otherwise, Captain Dunn is killed in the crash. Either way, the Cryo Bay and the other humans aboard survive.
Defeat kett guarding gravity well[]
Head to the south and pass through a door into a large room. Ryder's squad and allies will have to engage kett Anointed, Destined, and Chosen guarding a gravity well, with a Fiend and a Destroyer further in. Unfortunately, this time the Fiend and Destroyer are probably going to fight the squad rather than each other. Try to separate them. Tip: It isn't required to defeat the Fiend and Destroyer. If the squad sticks near the entry door to the room and defeats all of the smaller kett enemies, when Ryder proceeds towards the gravity well and the Fiend and Destroyer spawn, Ryder can activate the gravity well and skip defeating the Fiend and Destroyer.
Enter gravity well[]
When all enemies are defeated, there is a lootable container on the elevated platform above the gravity well. Once you're ready, take the gravity well down.
Reach the heart of Meridian Control[]
When Ryder lands, there is a lootable container on the elevated ledge above the gravity well.
The next section is a Remnant maze full of defenses. However, the defenses are offline, and the maze itself will tell Ryder how to get through; Ryder's twin is apparently helping out.
Take time to look behind small blocks and look around carefully as there are multiple small containers hidden throughout this section.
Follow the maze until Ryder reaches a gravity well. Ryder can then take the gravity well to the side and will land on a long walkway. There are ammo and health caches on the way to a large door lit by orange colored light. Opening the door starts a cutscene.
The Archon and Ryder's twin are nearby. The Archon has hardwired himself into Meridian and is preparing to seize control with the aid of Ryder's twin's implant.
Eliminate kett protecting the Archon[]
The first fight is between the squad and an Ascendant with supporting Destined, Chosen and Anointed. Defeating these enemies triggers a cutscene. The Archon has gained access to Meridian's systems, and activates an Architect and other Remnant in the room. But Ryder's sibling is also connected, and suggests a plan. The Archon is drawing power from conduits in the room. Break those connections and the Archon's control will fail.
The following combat sequence is long. Fortunately, autosaving here is fairly frequent. It's a step-by-step process, with Ryder's twin guiding Ryder through with navpoints. There are occasions when you will need to double back. It's either because you need to activate a bridge/pillars or wait for your twin to activate the same for you to cross the ferrofluid. The remnants are the only enemies left in the room at this point and they keep spawning all the time. So your goal should be to get to the next Navpoint. Fortunately you have plenty of cover to hide behind or activate tactical cloak if you can. Your companions are now accompanied by the 2 Krogan scouts/Salarian STGs plus more exiles join in a little later led by Sloan/Reyes. If this is the first time you're encountering the Remnant Architect, then it is suggested to review the tactics to fight the Architect here. Although there are ammo and health caches scatters all over the large room, it is hard to spot them due to the multiple obstacles and covers spread all over the place. Hence it is advisable to bring any beam based weapons or those that utilize either the bioconvertor or Vintage Heat Sink augments.
Kill all Remnant and reach relay[]
Ryder's first target is a conduit on the northwest side of the area. Various Remnant types will intervene to stop Ryder from getting there, and the Architect will open fire occasionally as well, with an Architect's standard area of effect attacks. Kill all of the Remnant enemies to obtain the next objective. Note that you are defending your position once you get to this NavPoint. There is no console to be activated at this location. Your clue to move is when your twin comes on the comms and you get a new NavPoint.
Defend until Sara/Scott exposes interface[]
Head to the navpoint and activate the Remnant console. Unlike your last NavPoint, you have a console to activate before defending your position. Get into cover, kill Remnant until Ryder's twin finishes the hack and makes the console active, so that Ryder can use the console to deactivate the power conduit. Ryder has to stay inside the white circle for the hack to expose the power relay. Since you have to defend your position, you have limited options to save yourself from the Architect's attacks.
As for the Architect, dodge its fire as best as possible. When the Conduit (head) is available as a target -- squadmates should tell Ryder about this -- take it out if possible. (Cobra RPGs would be a good choice). Destroying the head will cause the Architect to cease fire for a little while. The Architect can be temporarily neutralized in this way, but not permanently destroyed. Ryder may end up destroying the head multiple times.
Interface to disrupt the Archon's control[]
Once the hack is complete, interface with the Power Relay console.
Kill all Remnant and reach relay[]
With the first conduit down, the next route will be around the Architect in a counter-clockwise direction -- south, east, and back north. Again, plenty of Remnant will oppose the squad, as will the Architect if it isn't currently neutralized. Eliminate all remaining Remnant enemies.
Find a way across ferrofluid[]
A chasm full of electrical fluid will block progress. Ryder's twin tells Ryder that there's a console nearby; look for it along the west wall and use it to raise a bridge.
Kill all Remnant and reach relay[]
Continuing around to the east side there will be another obstacle; this time a chasm rather than electrical ferrofluid.
Note: Ryder can get to the navpoint but if the Remnant enemies aren't killed first nothing will happen. This also applies to any objective after this that says to "Kill All Remnant".
Defend while Sara/Scott bridges chasm[]
There's no console this time, so Ryder will have to wait for Ryder's twin to raise some pillars. Kill Remnant as best as possible. Cover isn't very good in this area, so Ryder will need to back off from the chasm a bit and wait for the hack. This time there is no white circle for this hack so move as needed to kill Remnant enemies and attack the Architect (if possible).
Kill all Remnant and reach relay[]
Once the pillars are up, wait for an opportunity since Ryder will be really exposed on the top of the pillars. Then cross the pillars and make for the console.
Defend until Sara/Scott exposes interface[]
Head to the navpoint and activate the Remnant console. Get into cover, the remaining squadmates will fly in by shuttle to help out, kill Remnant until Ryder's twin finishes the hack and makes the console active, so that Ryder can use the console to deactivate the power conduit. Ryder has to stay inside the white circle for the power relay to be exposed.
Interface to Disrupt the Archon's control[]
Once the console is active and Ryder uses it, Ryder's twin puts up the location of a final console and passes out.
Kill all Remnant and reach relay[]
Kill all of the remaining enemies and head to the navpoint.
Interface to take Meridian from the Archon[]
Fortunately, the final console is active already. Retrace Ryder's steps to the south and activate the console to end the battle.
With his energy reserves cut off, the Archon is killed by feedback from his own wiring. Ryder is now able to bring Meridian online, and various worlds across Heleus blooming are displayed. (This doesn't actually change viability or activate any Vaults Ryder hasn't activated already, so all those missions are still available.) Ryder, the crew, and Ryder's twin emerge on the surface of Meridian, to be greeted by the rest of the Tempest crew and various allies. A victory speech, celebration, and the end credits follow.
Congratulations, you have completed the main story arc of the game. If you had any side missions or Additional task pending, you will get a chance to get them done a little later.
After the credits, a cutscene shows that the Primus escaped the battle. She's aboard her ship, orbiting Meridian, but departs. Epilogue: Home and Away begins immediately.
Aftermath[]
The terraforming network is now active, and as long as the Initiative retains control of Meridian, can't be turned against the people of Heleus.
The Archon has been defeated and killed. While the kett are still out there, they no longer pose an immediate threat to the entire cluster.
Ark Hyperion has crashed on inner surface of Meridian. Since Meridian is inhabitable, this will now be the new human colony. After this mission, the Cryo Bay section of the ark becomes permanently inaccessible and, of course, the Hyperion will no longer be connected to the Nexus.
Rewards[]
- +1000 AVP

- +7900 XP - Ryder can be observed leveling up at the moment the final Power Relay console is activated but the amount of XP is shown evanescently before cutting immediately to cutscene.
Trivia[]
- It's possible to explore the Nomad chase area on foot after the race to the Control Center, even to get back to the initial drop zone starting point.
- Even after the mission completion, the objective "Defeat kett guarding the entrance" remains active if Ryder only passed the enemies by and accessed the gravity well without killing them.
| ← Previous Mission | Mission Index | Next Mission → |
|---|---|---|
| The Journey to Meridian | Missions (Mass Effect: Andromeda) | Epilogue: Home and Away |