Vetra's sister, Sid, is waiting for a call from you and Vetra.
Alternative journal entry:
Sid believes some colonists have been kidnapped and taken to an abandoned mine on H-047c.
Acquisition[]
The earliest opportunity to obtain this mission is upon returning to the Tempest after learning from Vehn Terev that you have to get his transponder from Kadara's badlands. An email from Sid appears, and SAM notifying you about it starts the mission.
Alternatively, simply going to Vetra's quarters while it's closed following the Kadara visit will trigger this mission.
Walkthrough[]
Read Vetra's message[]
Vetra has received an encrypted message from Sid saying she wants to talk with both you and Vetra. Acknowledge the e-mail to receive the next objective.
Note: If you went to Vetra's quarters and acquired the mission without reading the email, the email does not appear (or disappears if you read but didn't acknowledge it earlier) and this section is marked as failed. However, it does lead to the alternative initial journal entry above.
Go to Vetra on the Tempest[]
Vetra connects to Sid over the comm. Sid has been listening to outpost updates and caught a message about settlers going missing - probably kidnapped. She sends the navpoint to the location she believes is where the settlers have been taken. Vetra isn't happy about her sister getting involved in something potentially dangerous.
Go to H-047c in the Remav System[]
Go to the Remav system and land on H-047c.
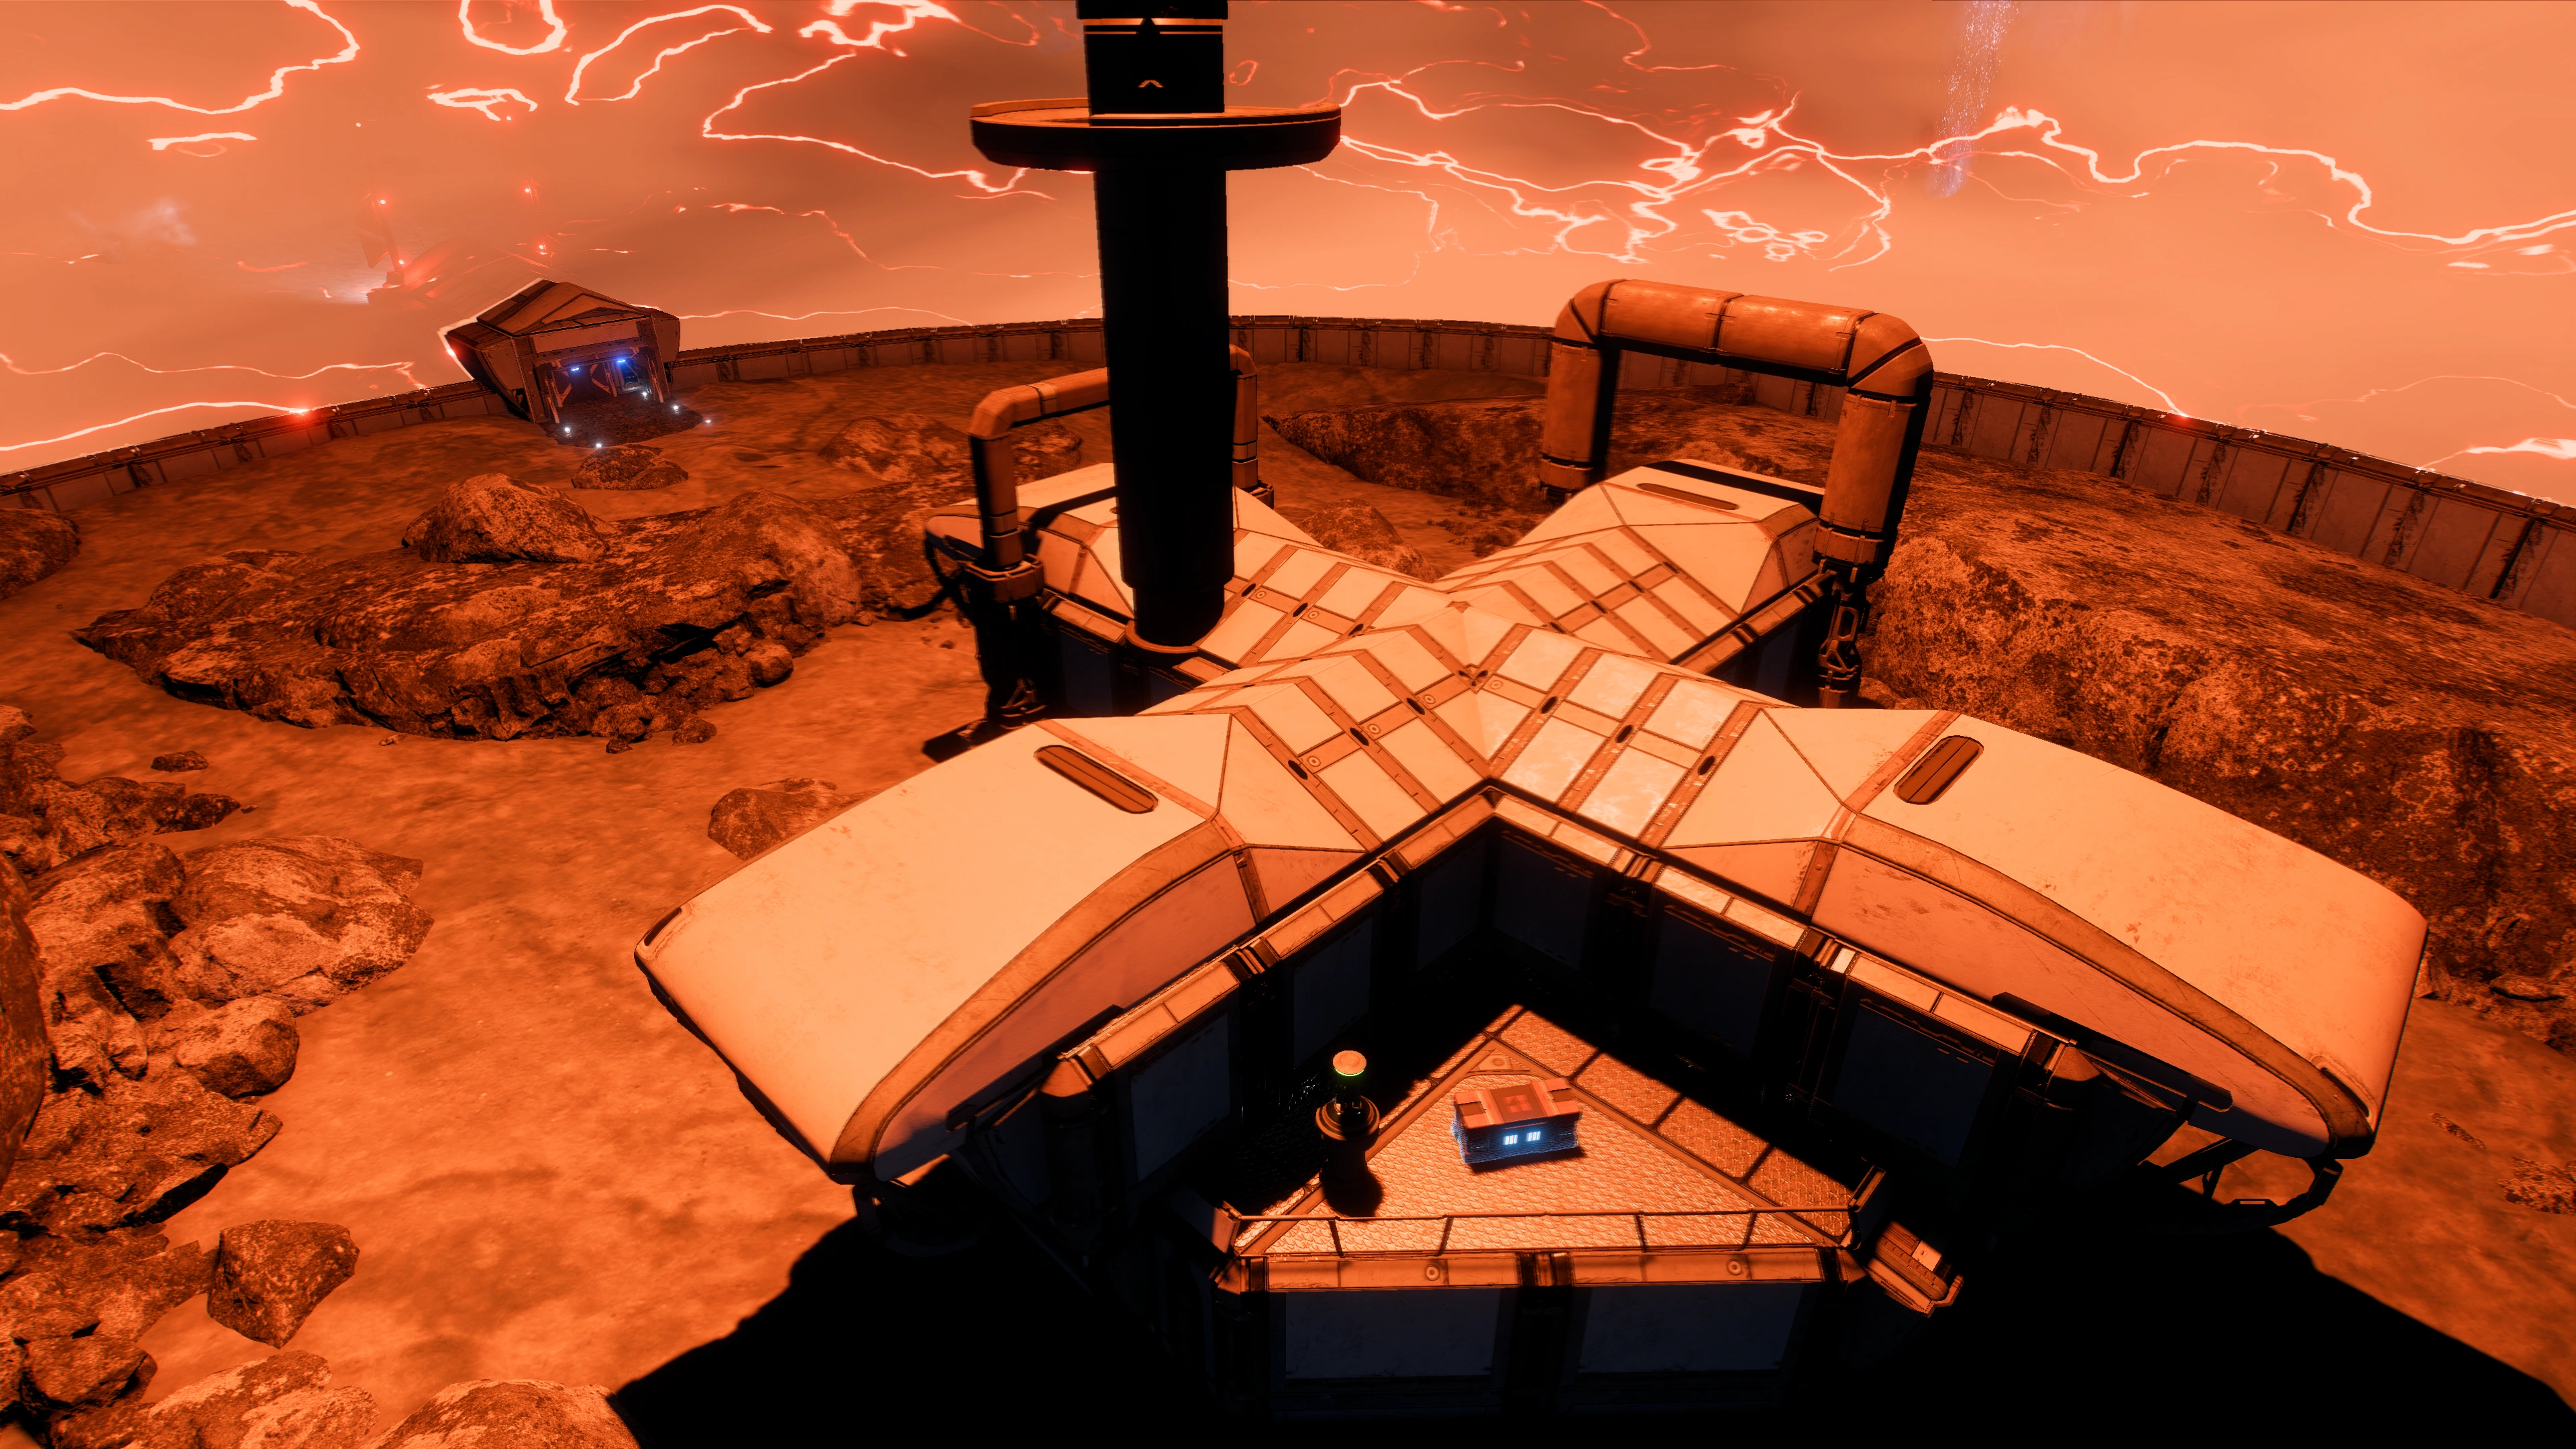
Find the abandoned mine[]
The navpoint![]() is far to the southwest in Crater: Idriya.
is far to the southwest in Crater: Idriya.
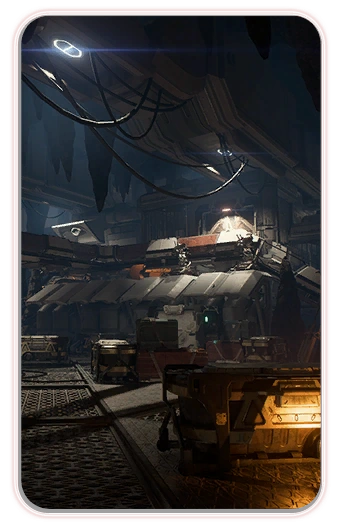
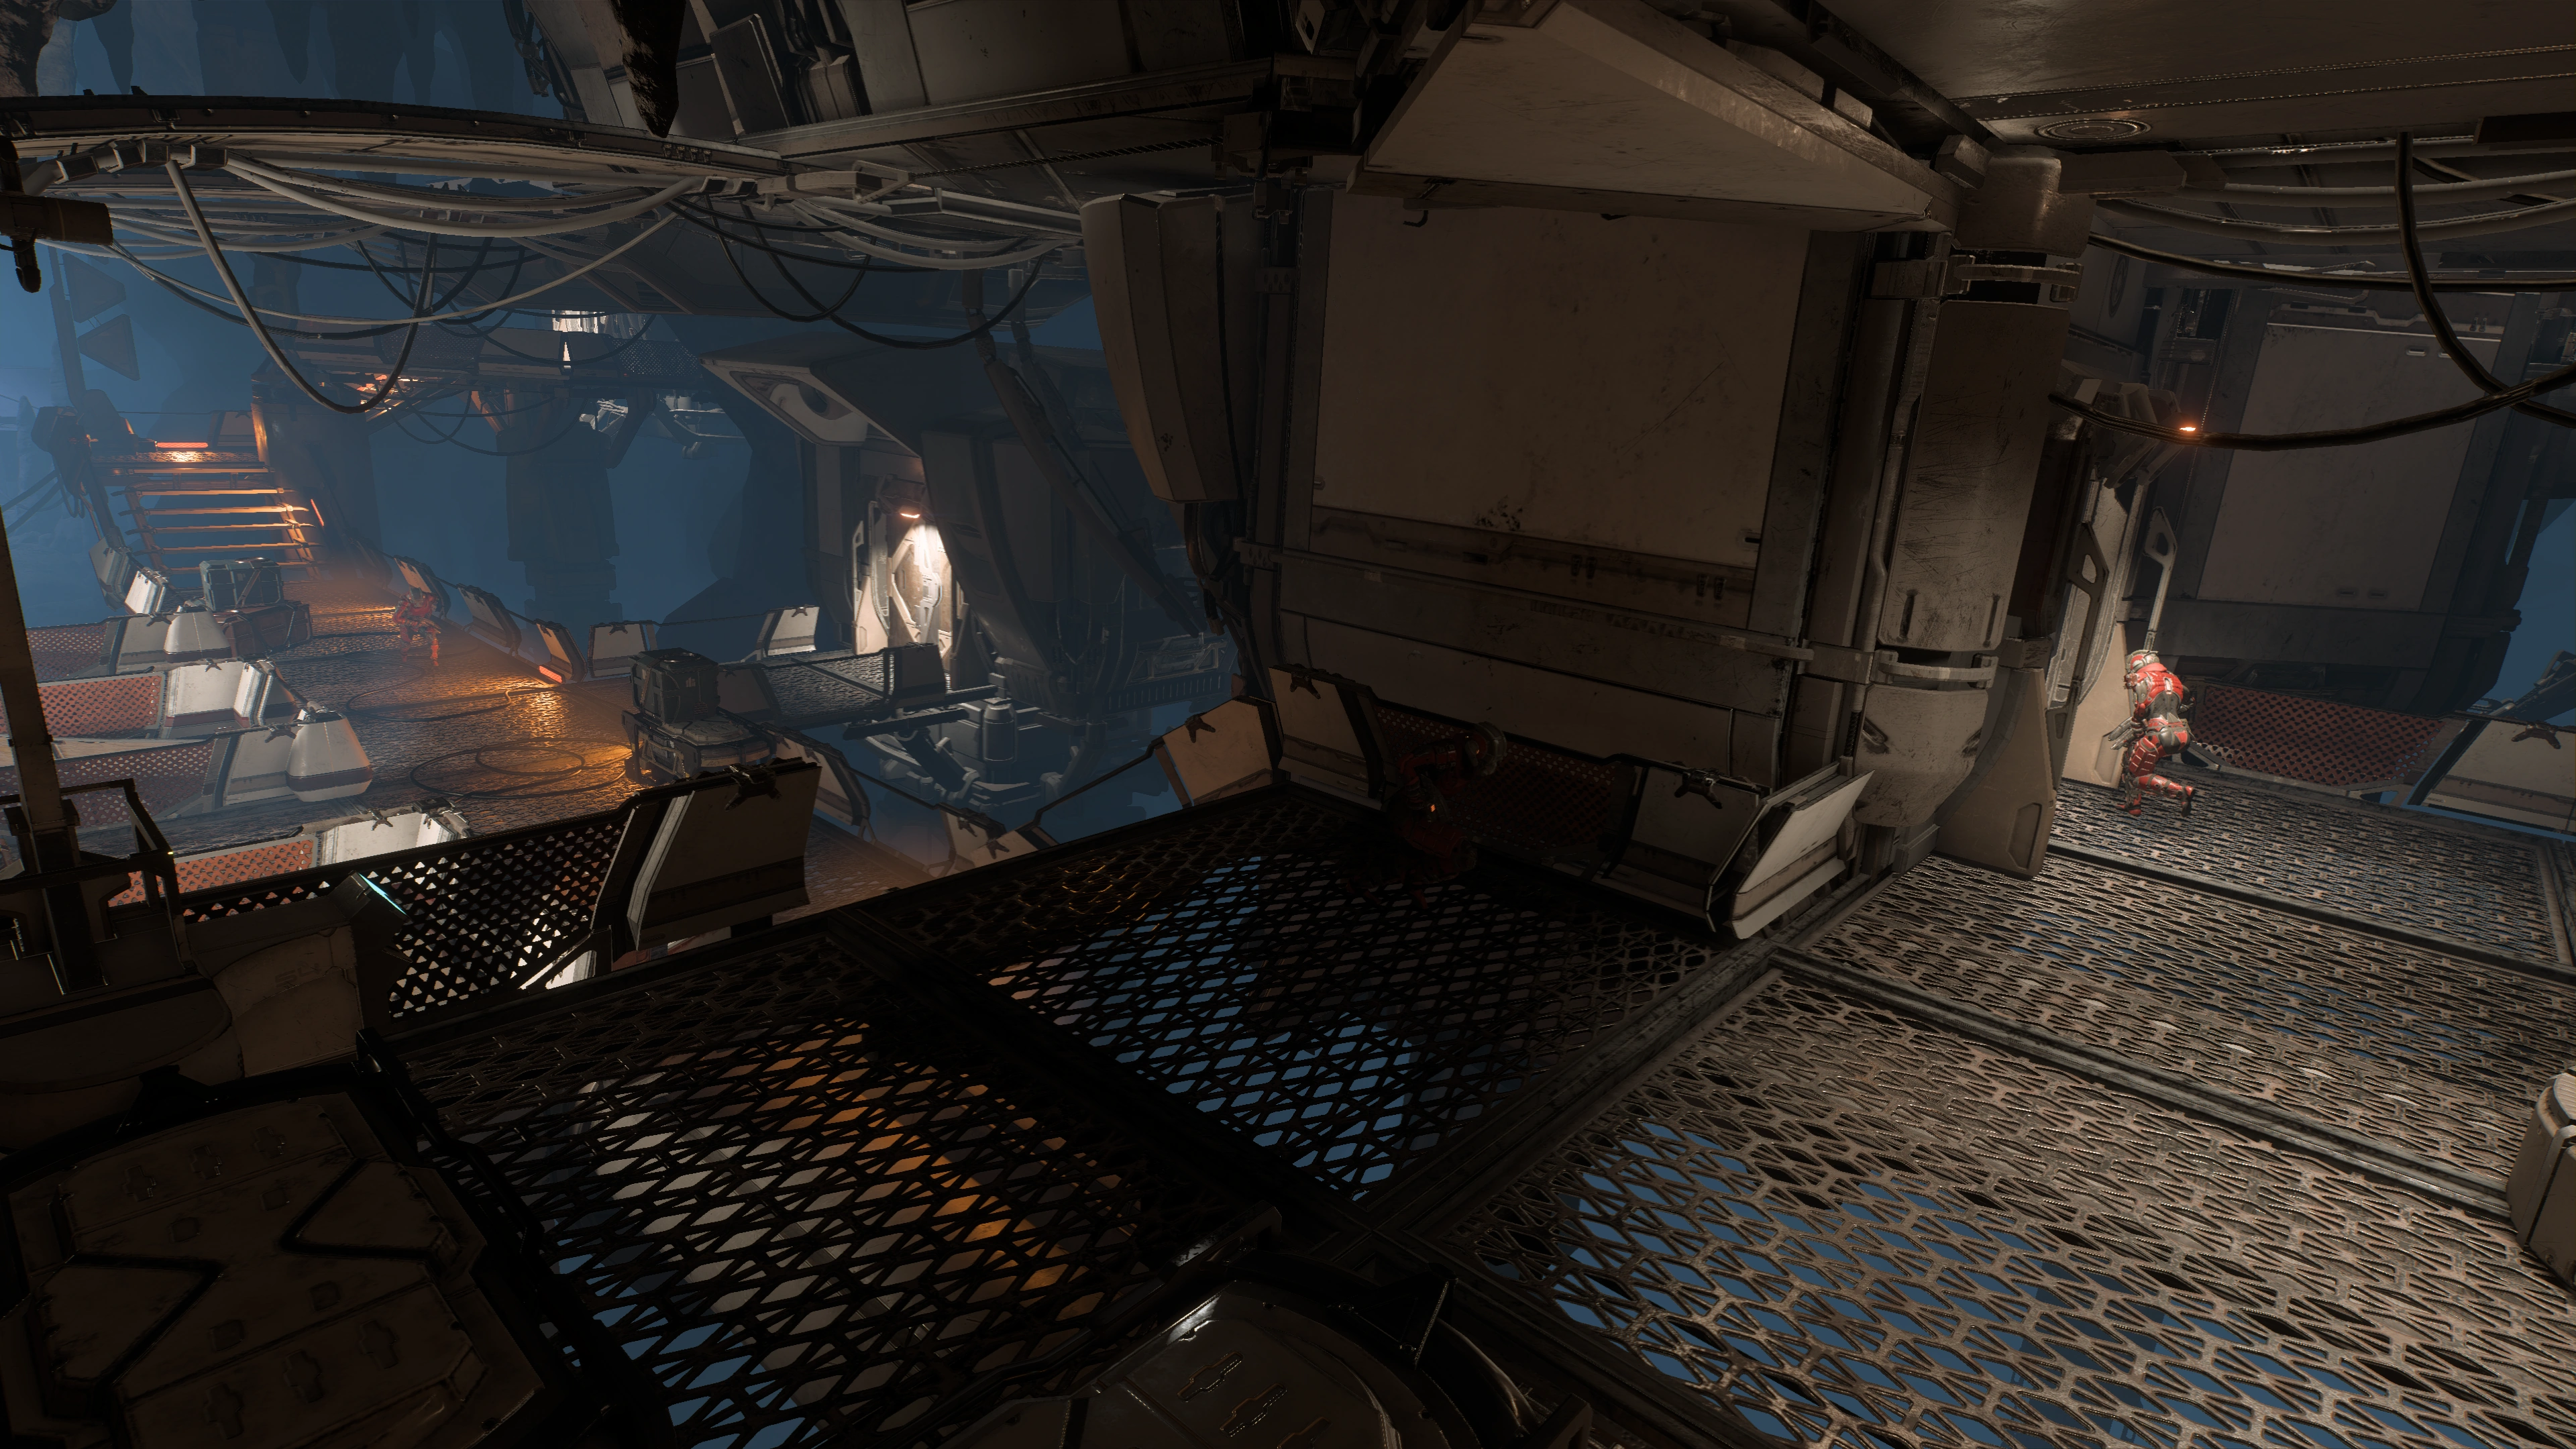
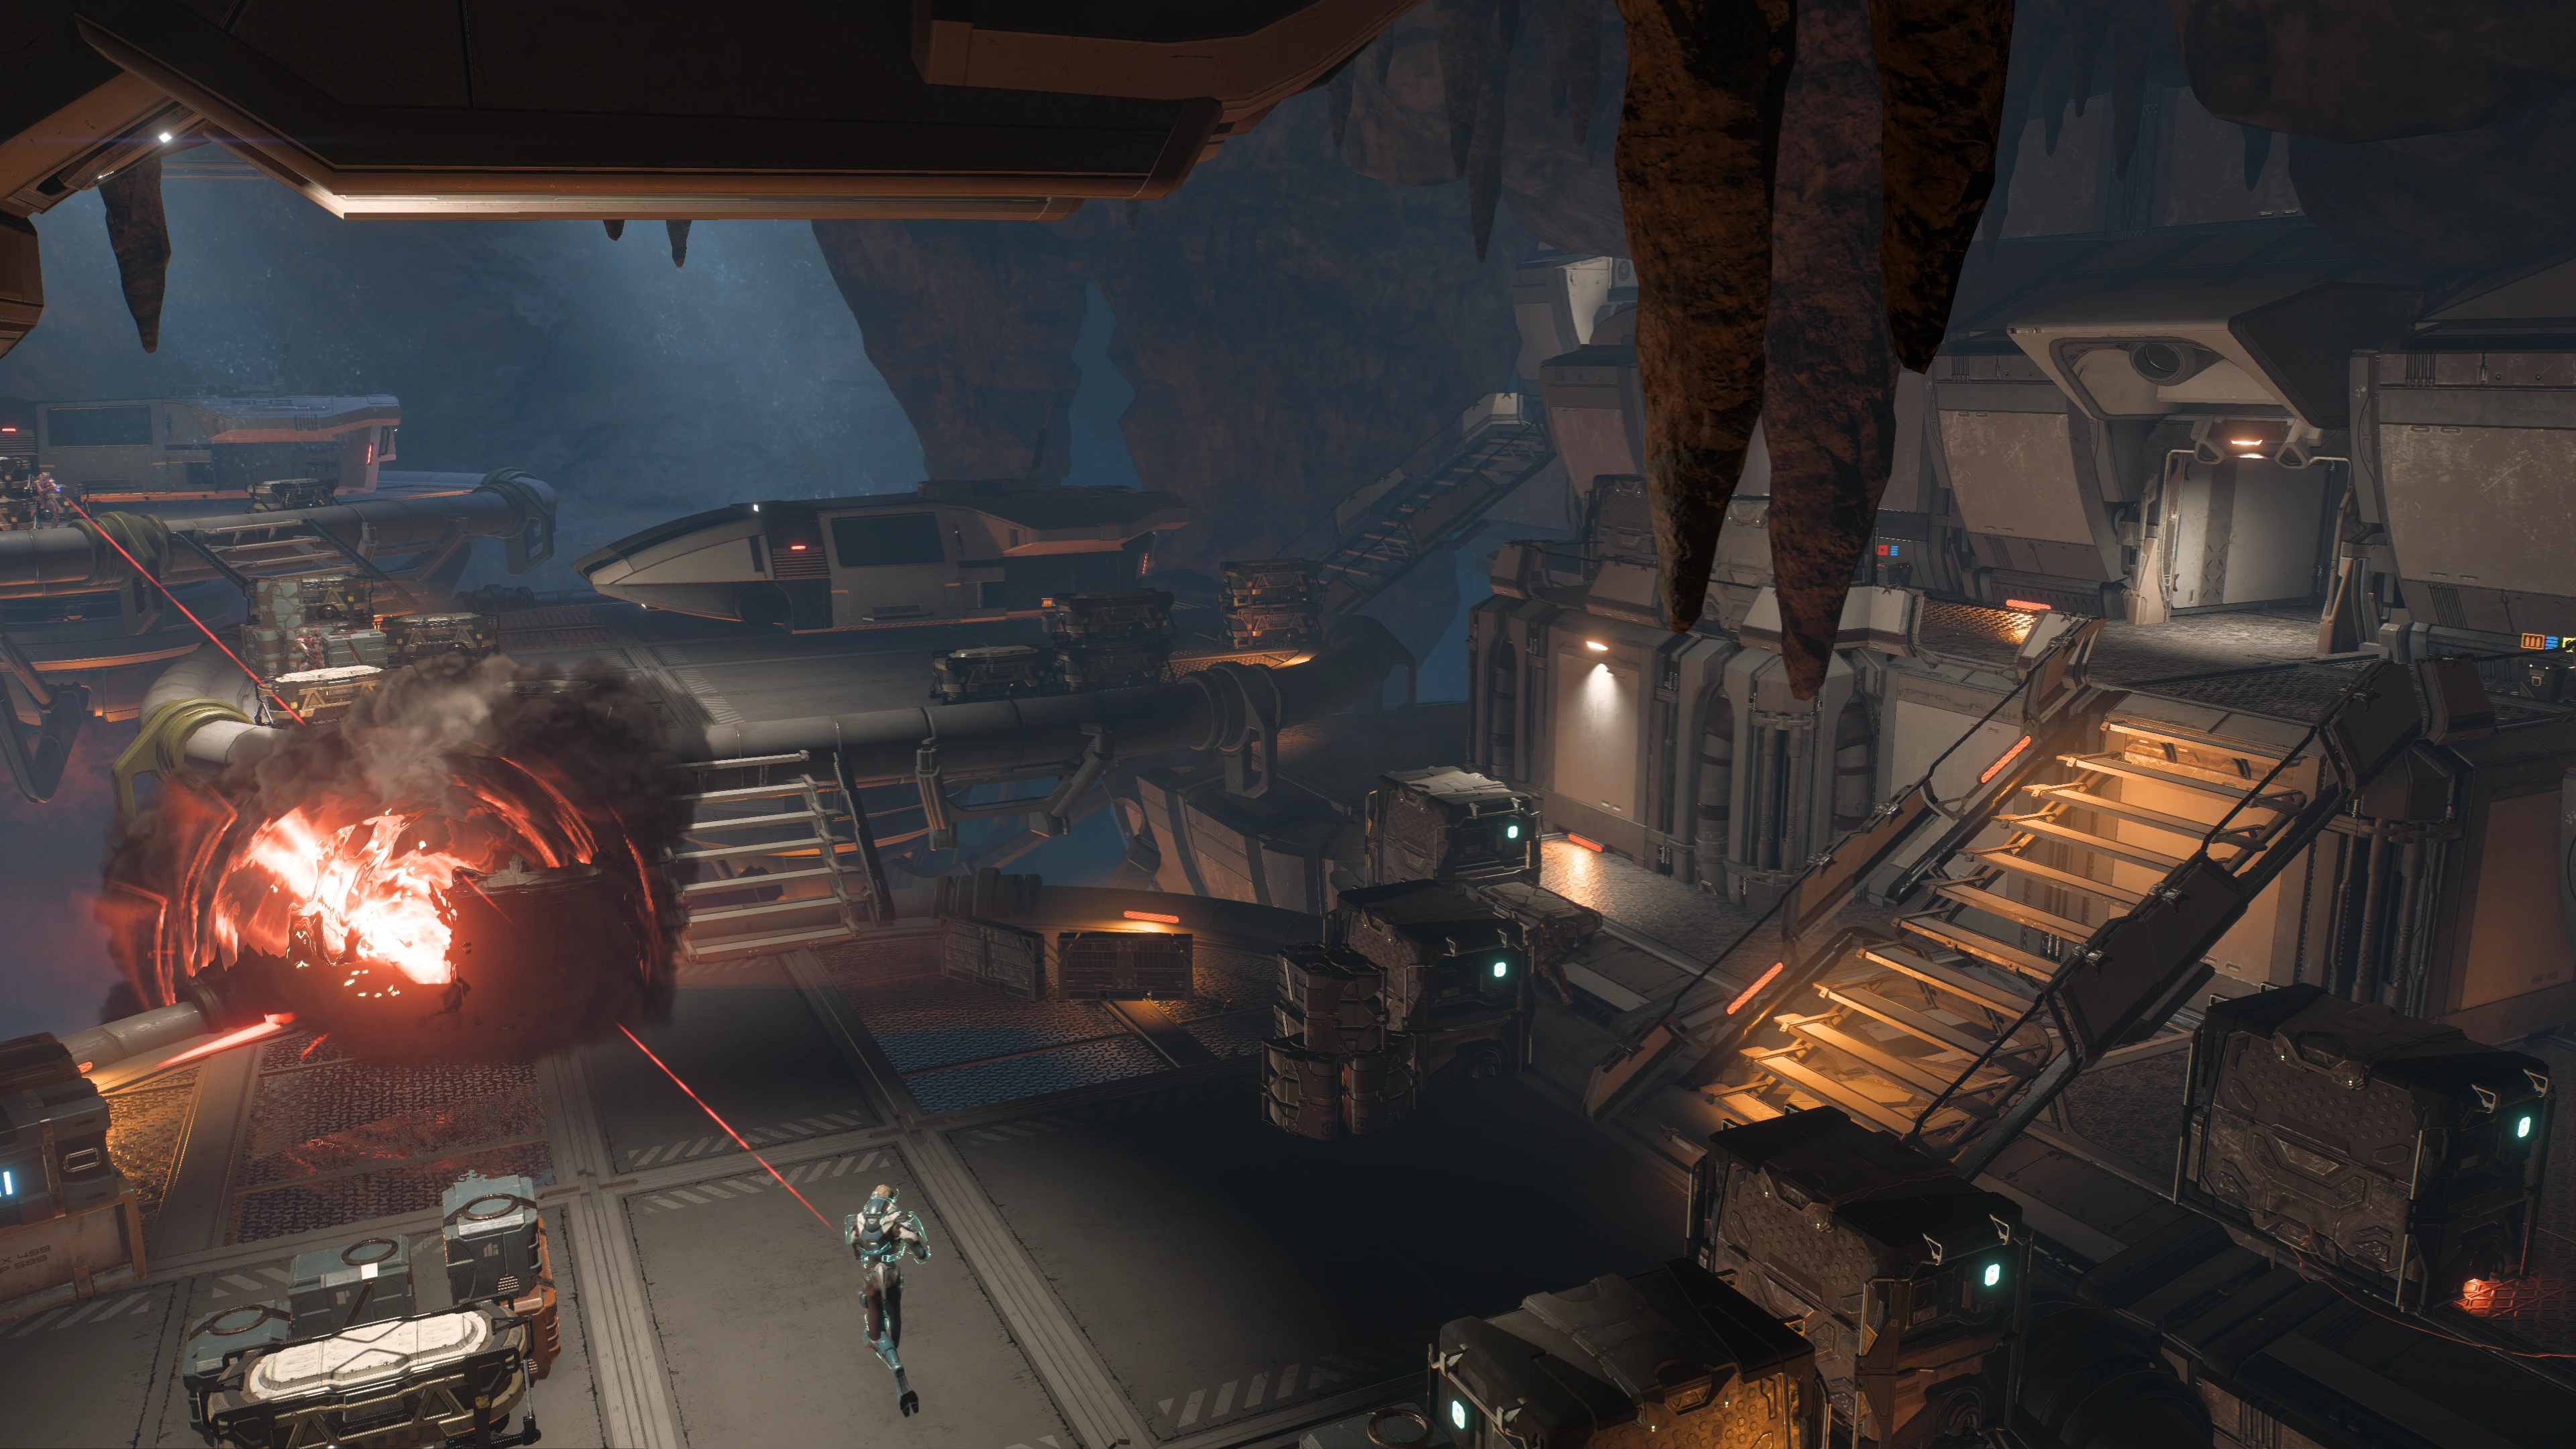
Explore the facility[]
Note: During loyalty missions, manual saving is disabled for the duration of the mission. Save before entering the building, as there's no backing out until the mission is complete. Autosaves are generated at specific points should you die or wish a do-over on certain actions.
Before fully investing in the loyalty mission, circle around to the back of the building. Jump up to a second-floor ledge and there is an Adapted Initiative Core Tech (+100![]() ) and large orange lootable container (this container tends to yield armor pieces or weapons at random, including and up to ultra-rare ones).
) and large orange lootable container (this container tends to yield armor pieces or weapons at random, including and up to ultra-rare ones).
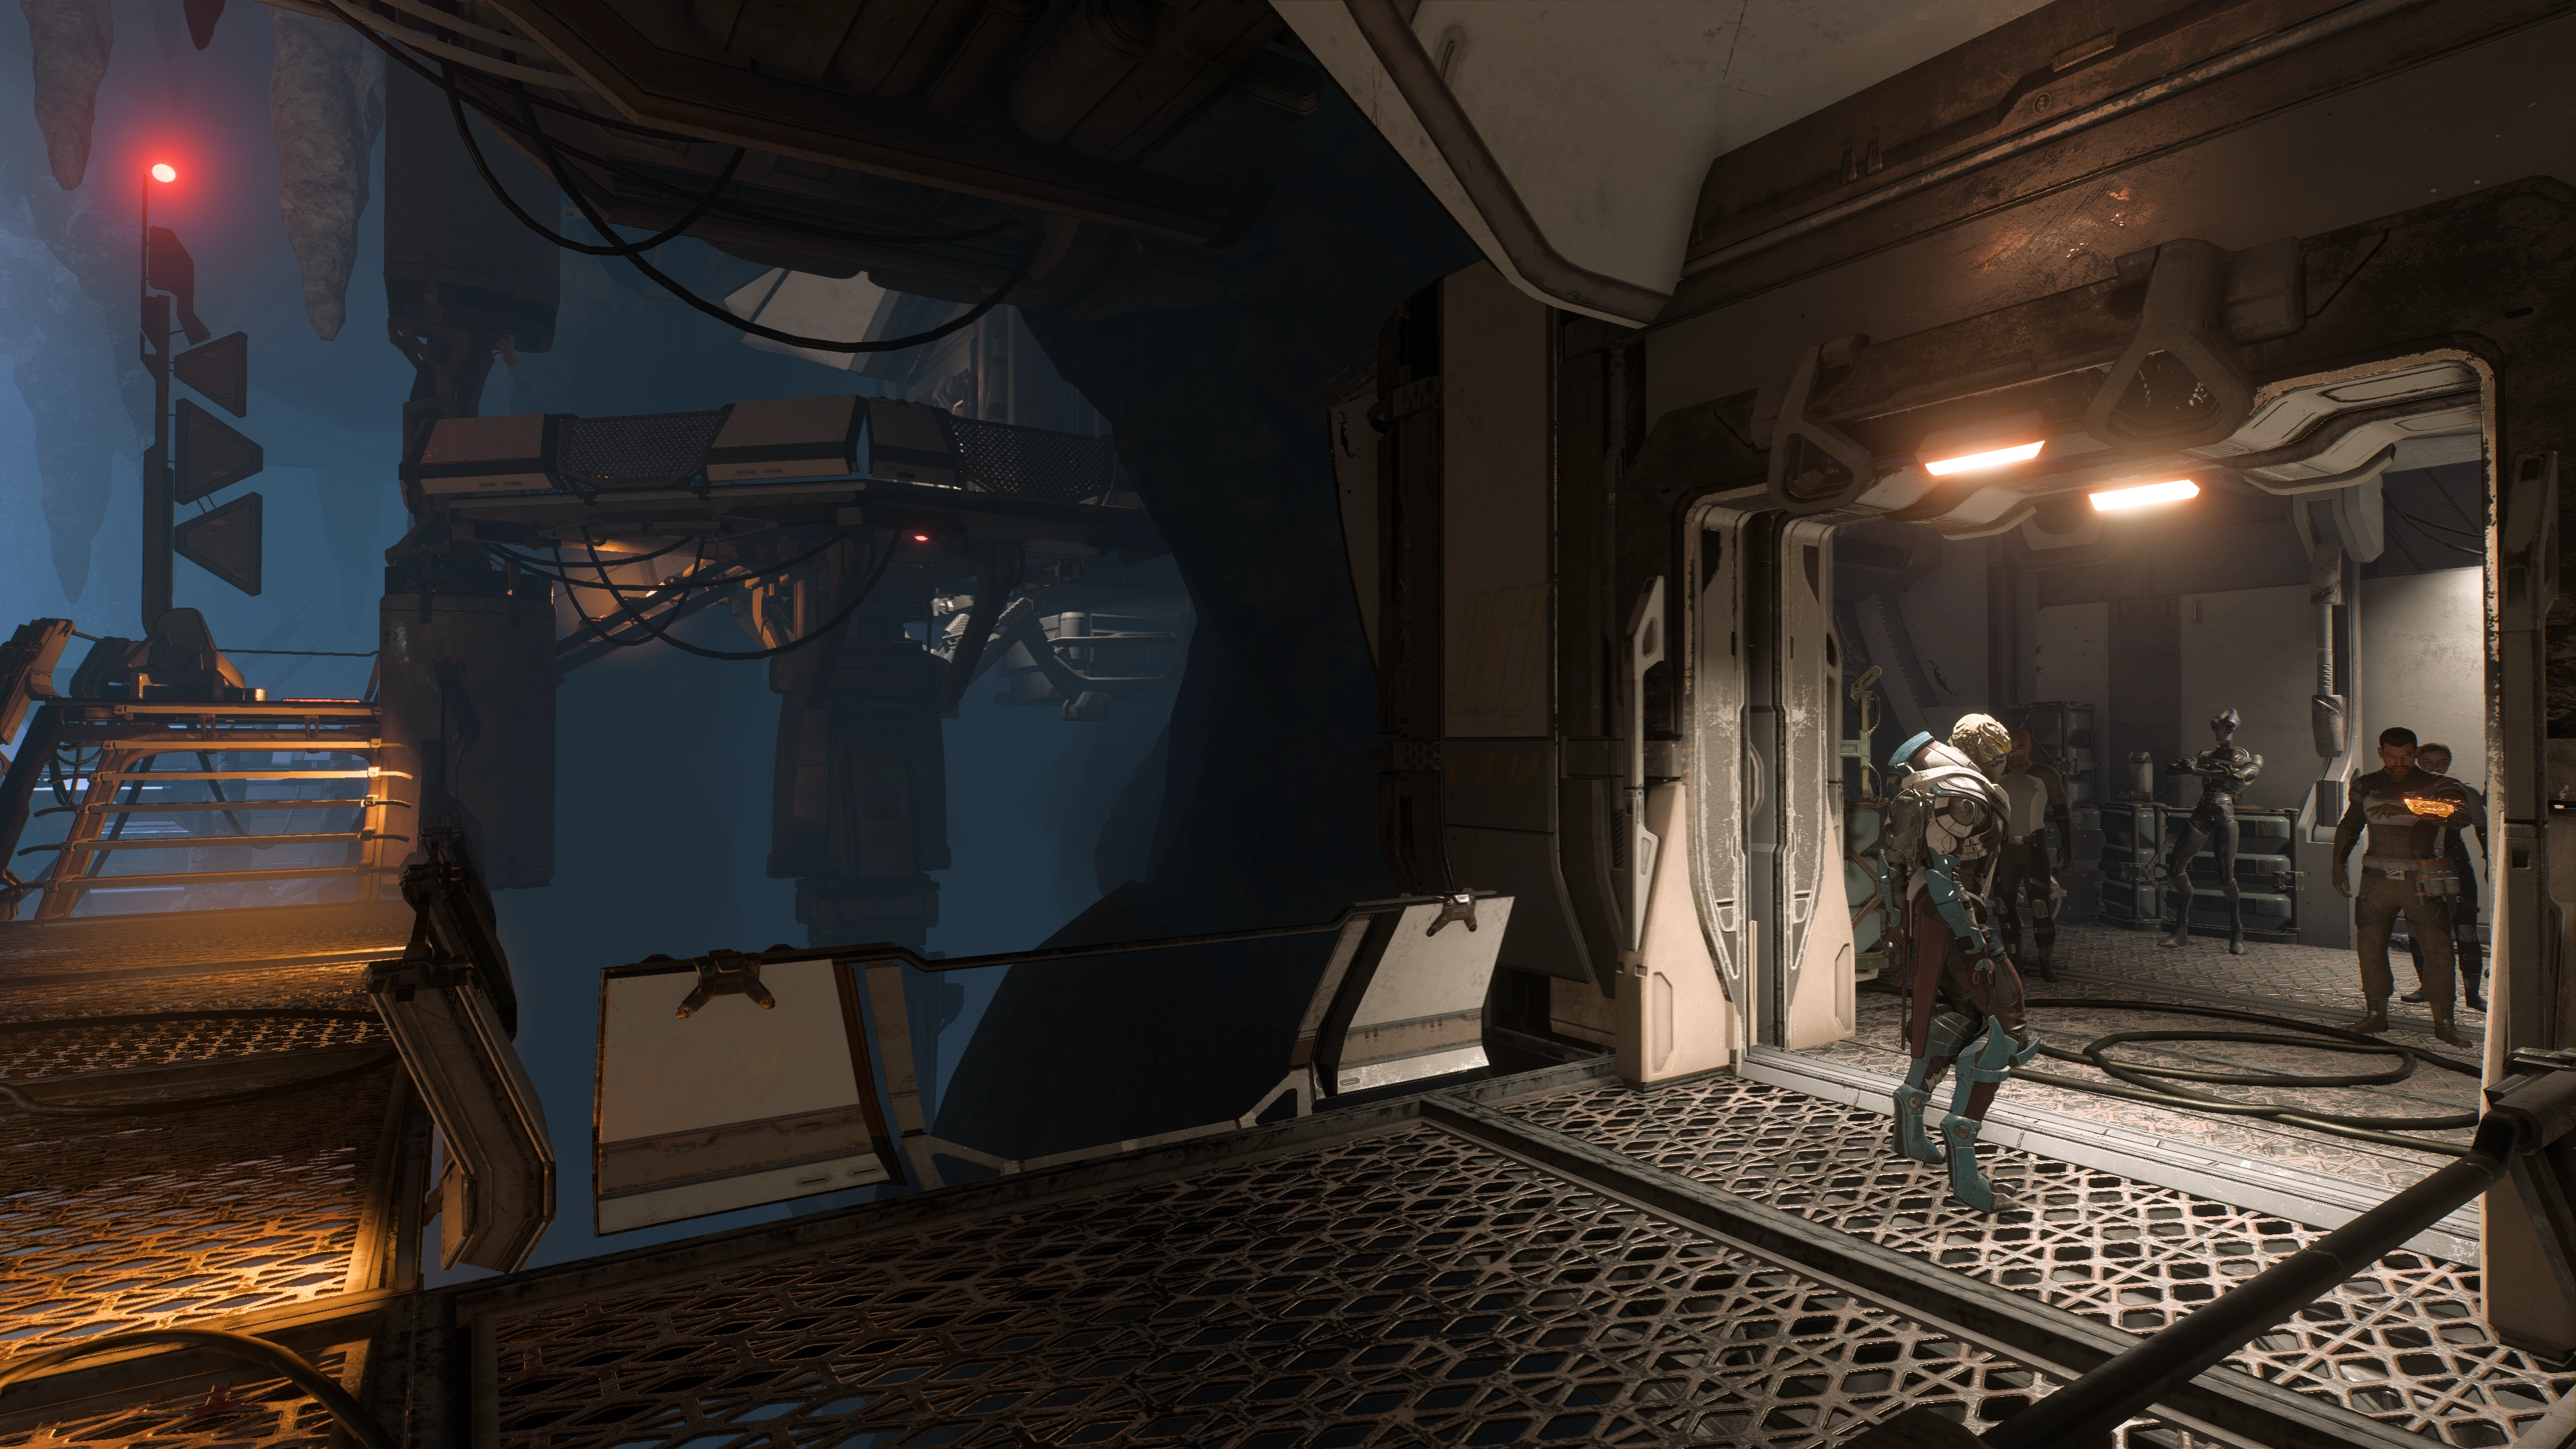
When entering the building, you can change your Loadout. While inspecting the interior, the Pathfinder team falls through a trap door. A woman named Meriweather comms the team that the missing people were bait to lure Vetra into the trap, allegedly for smuggling those people away from her. However, Vetra seems as puzzled as Ryder about the whole thing, and will indicate as such regardless of how you react to the news.
The missing people show up shortly in the area, being held prisoner in the facility as well. A man named Galloway speaks on their behalf, grateful for Vetra's alleged role getting them out of Meriweather's clutches before they were recaptured. Again, Vetra denies knowing these people whatever your reaction, and begins looking for a way to escape. The other prisoners have tried but failed, though Vetra insists there's always a way out.
Find a way out of Meriweather's prison[]
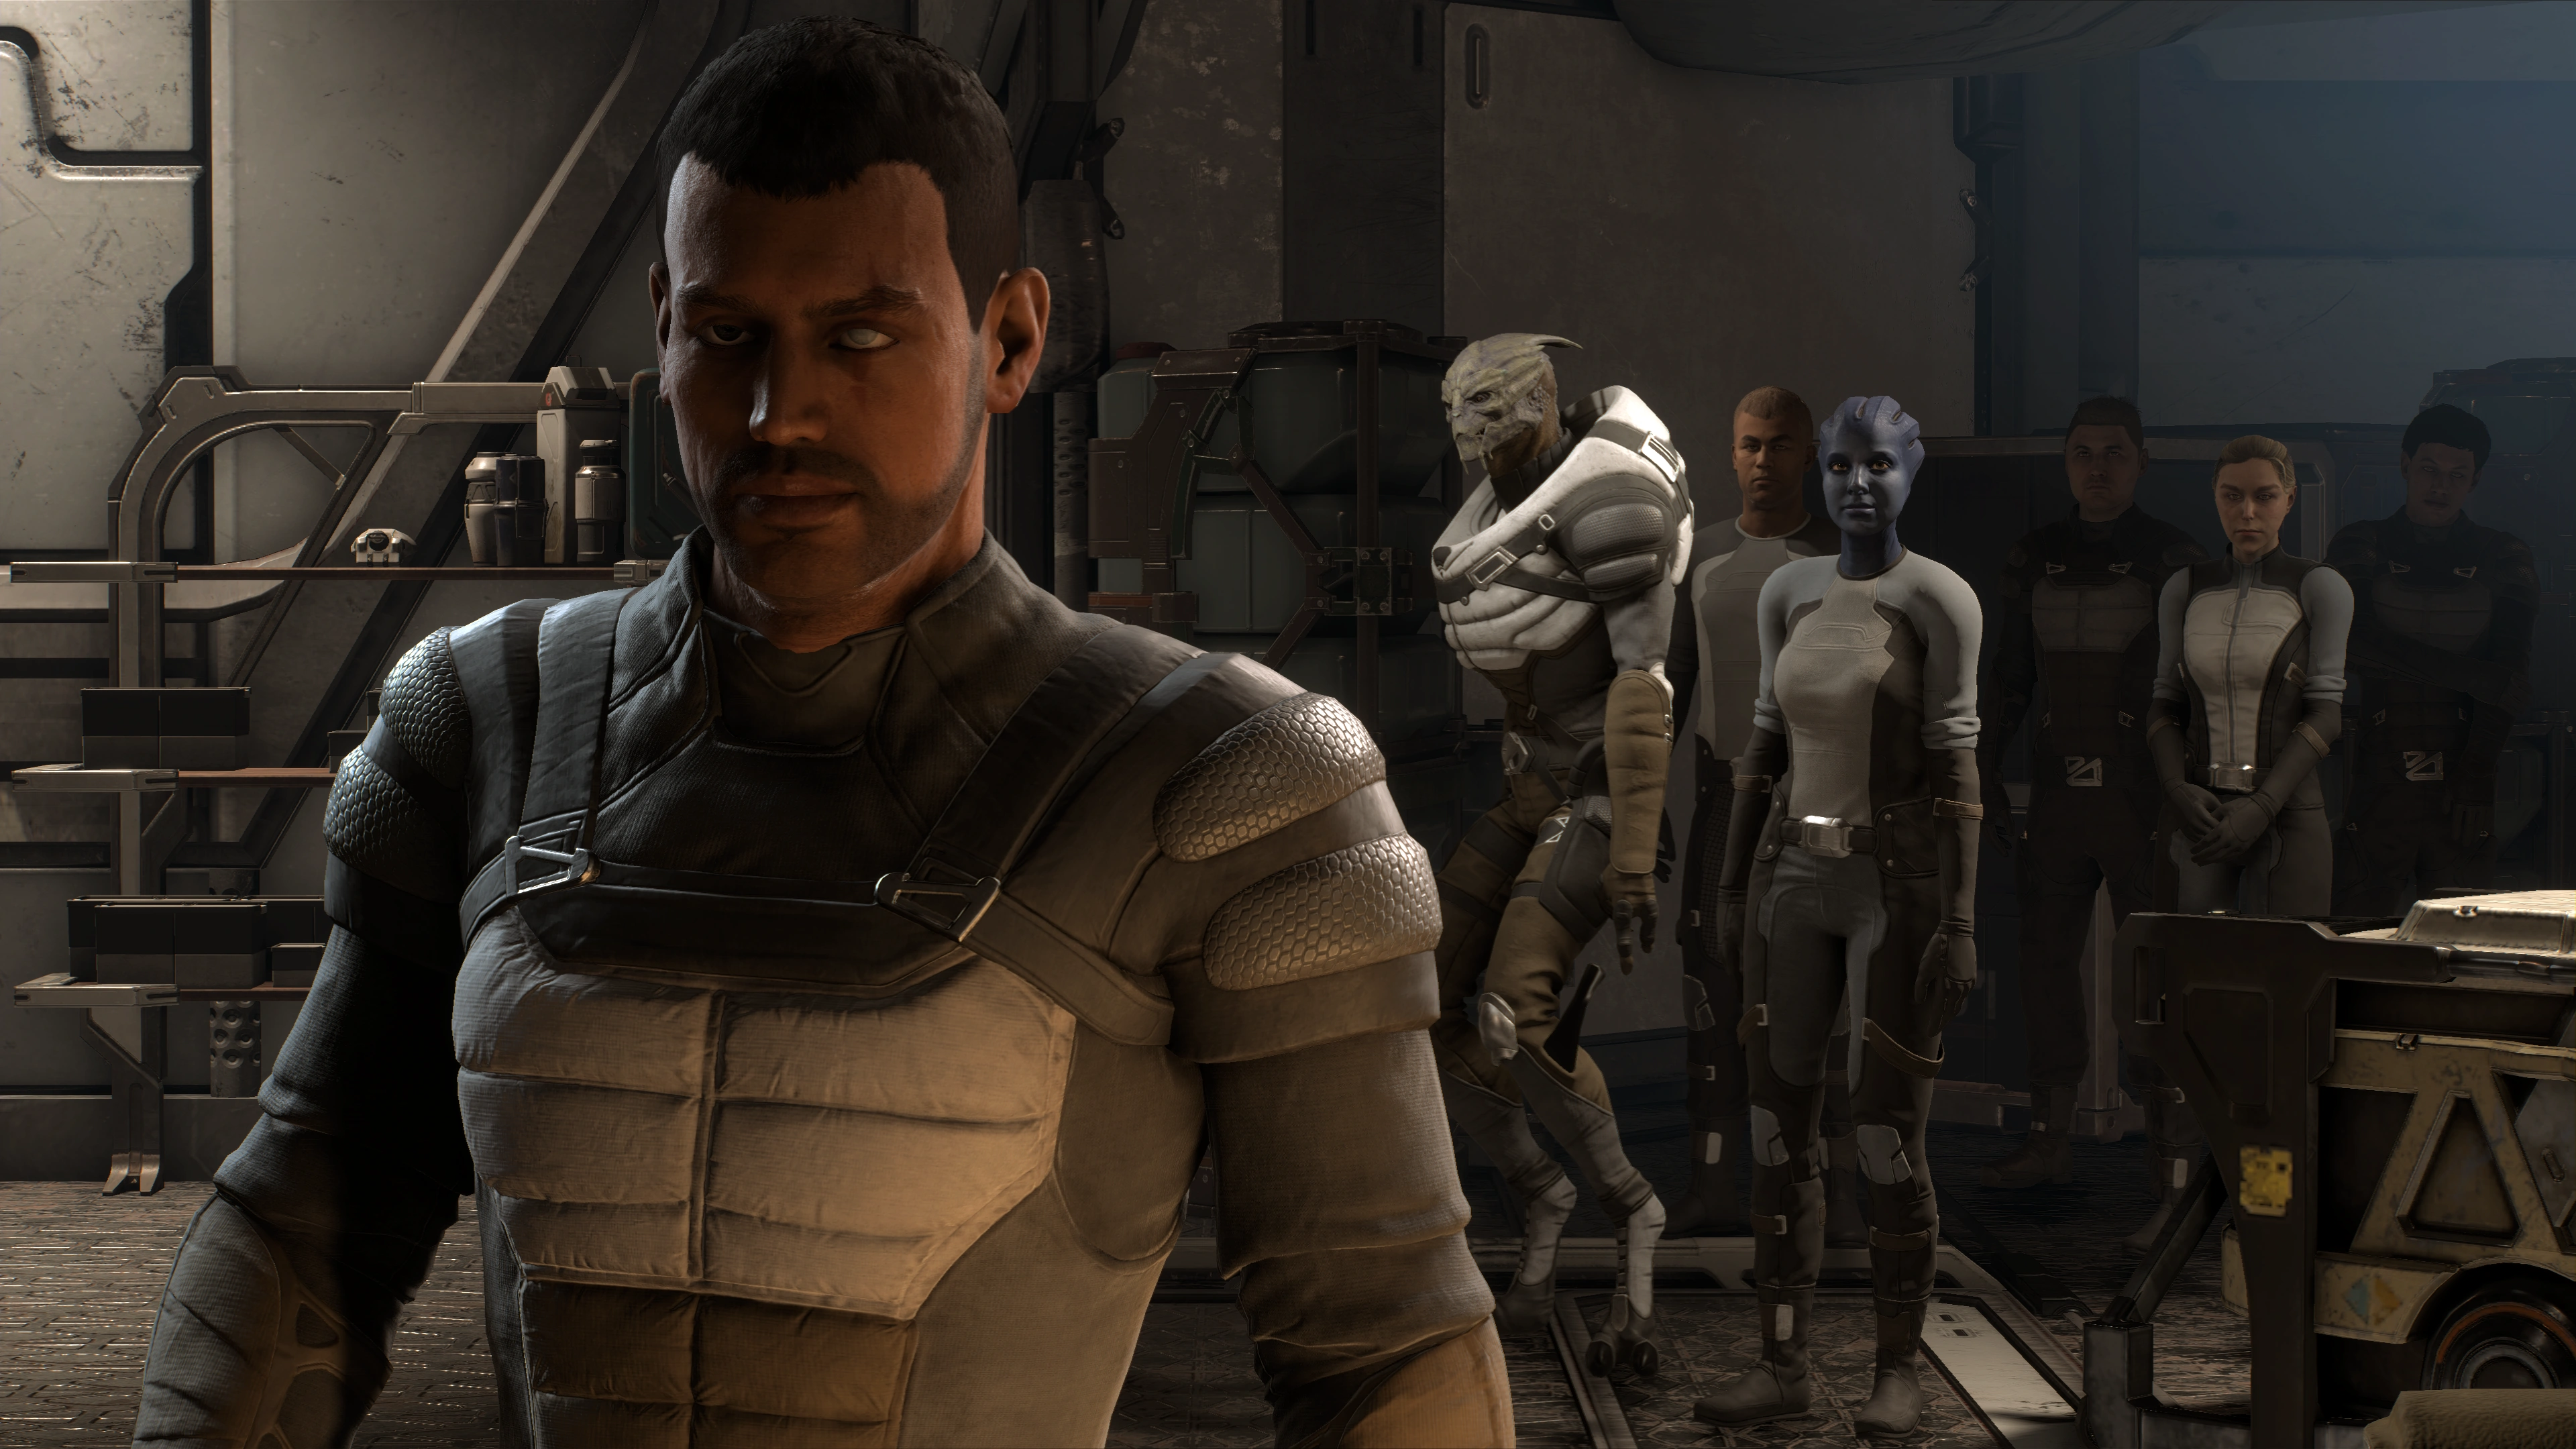
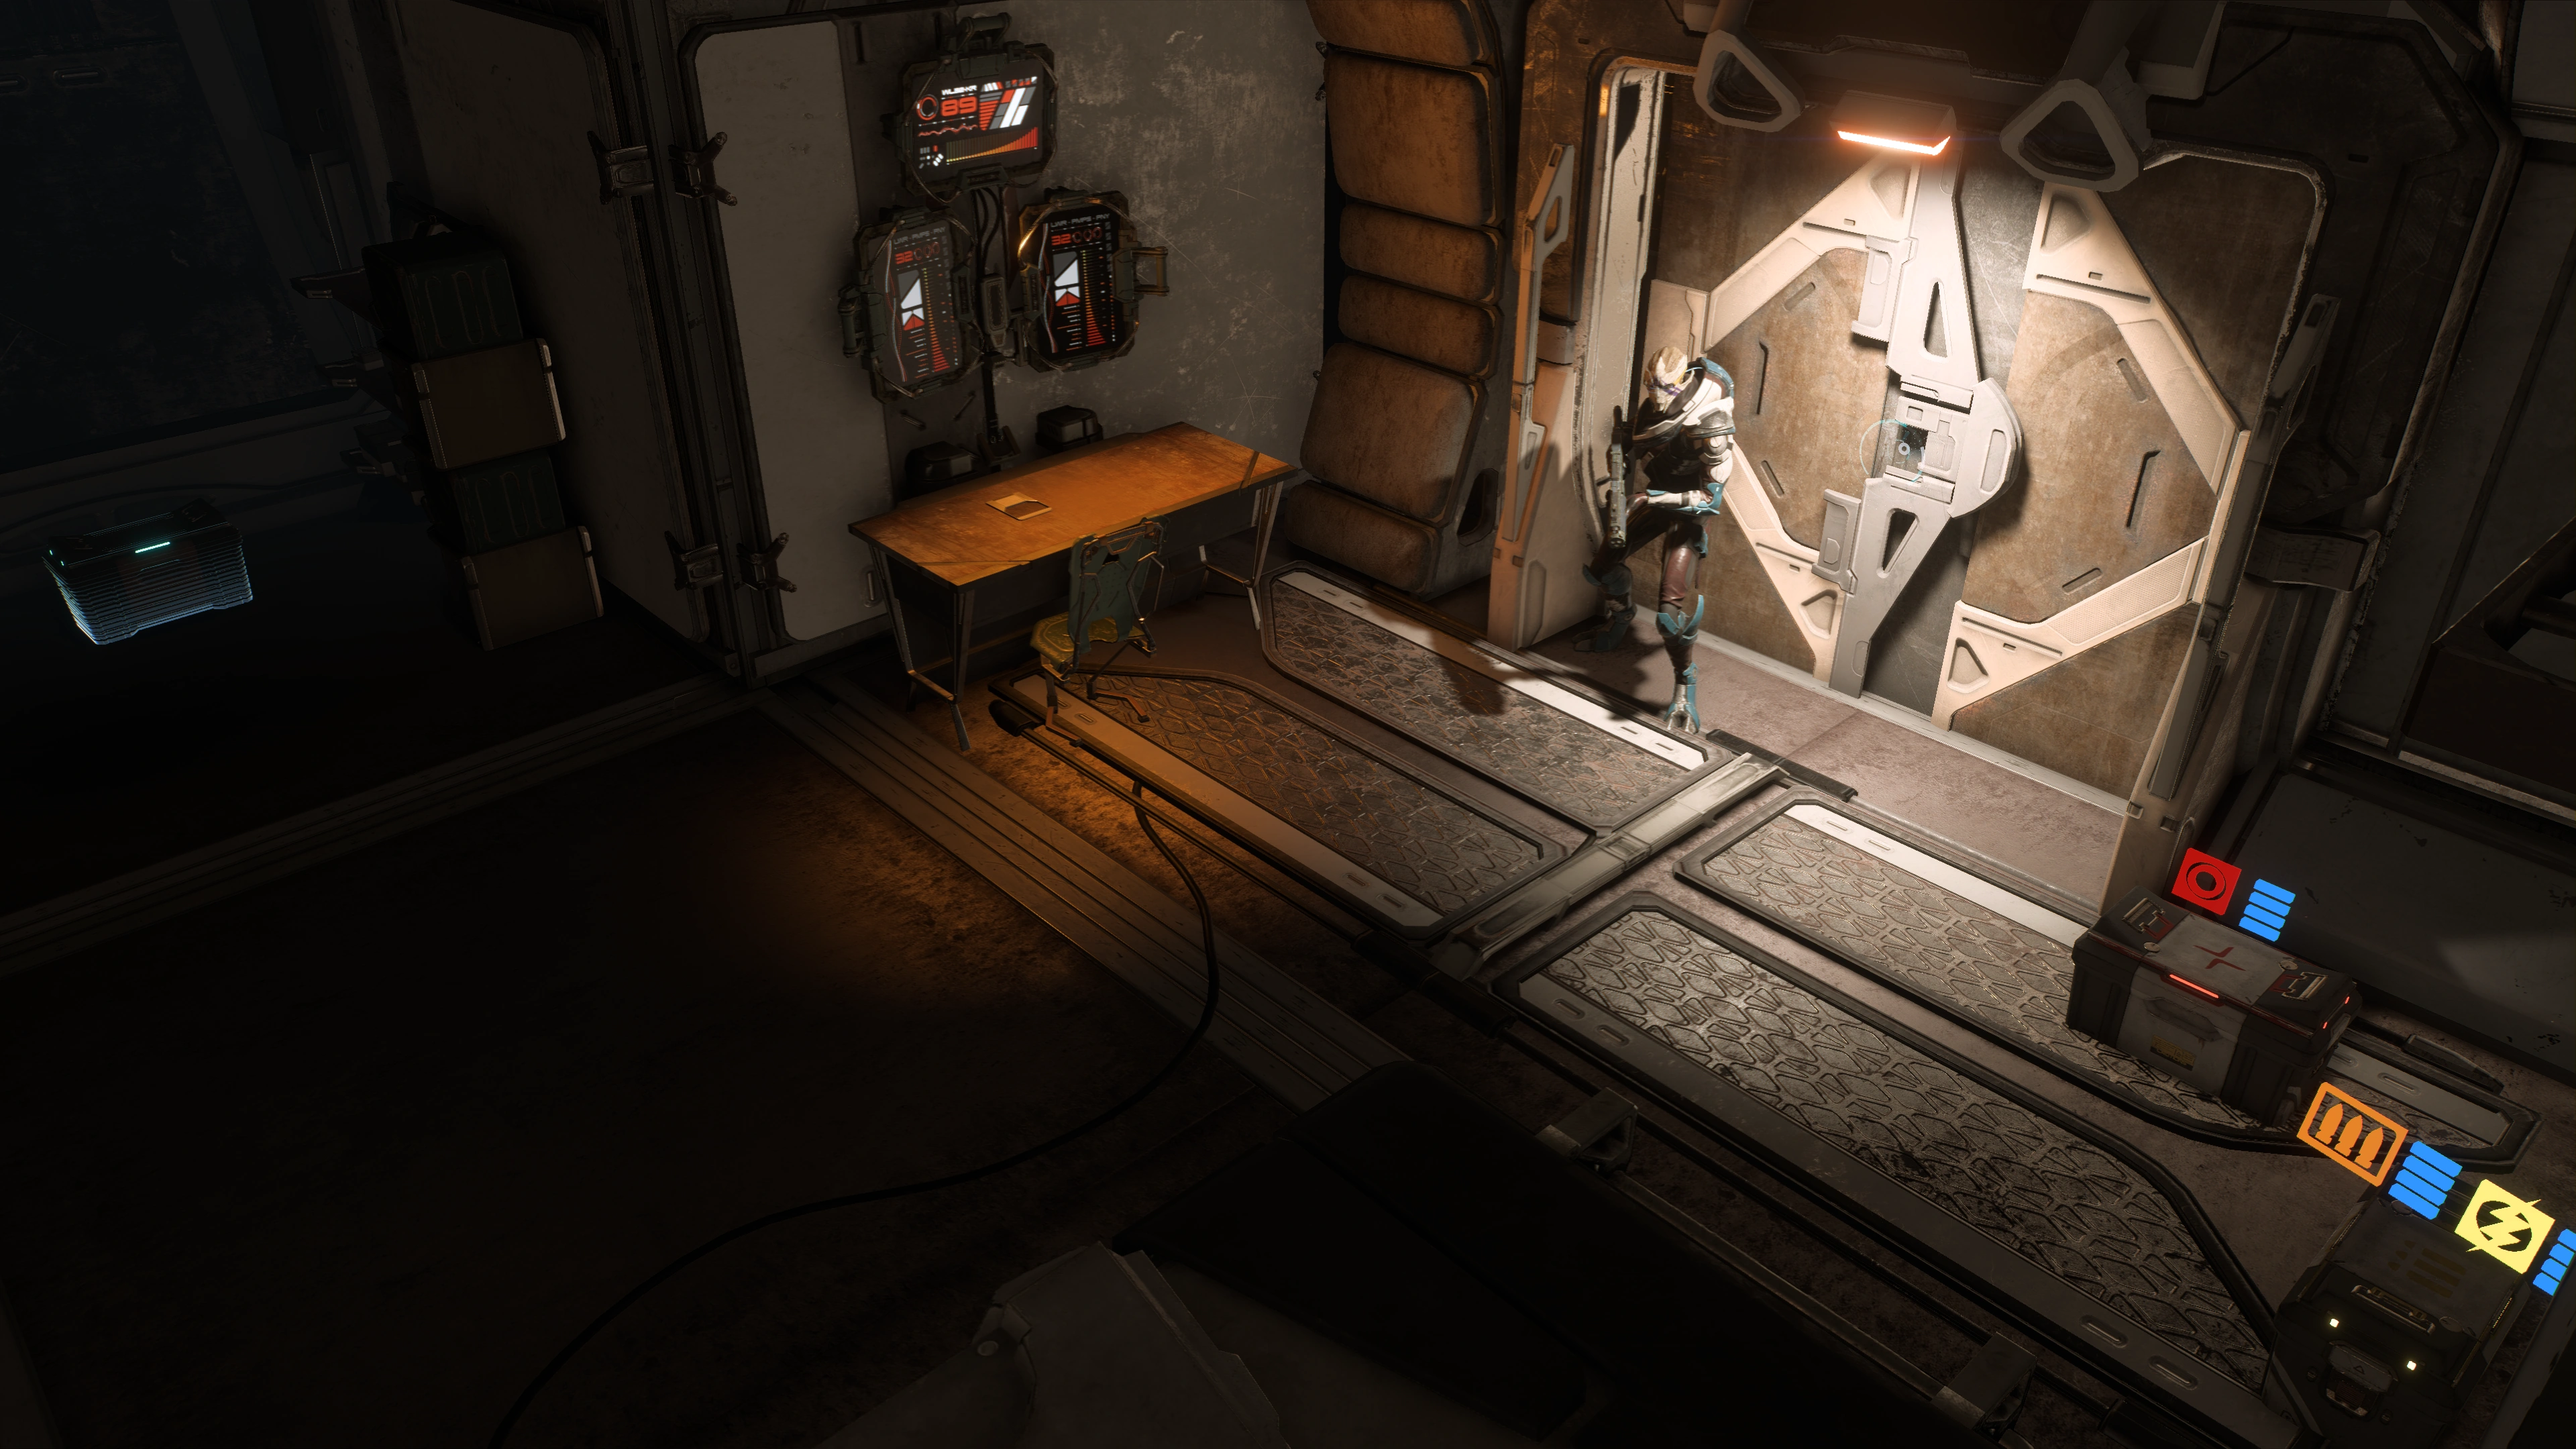
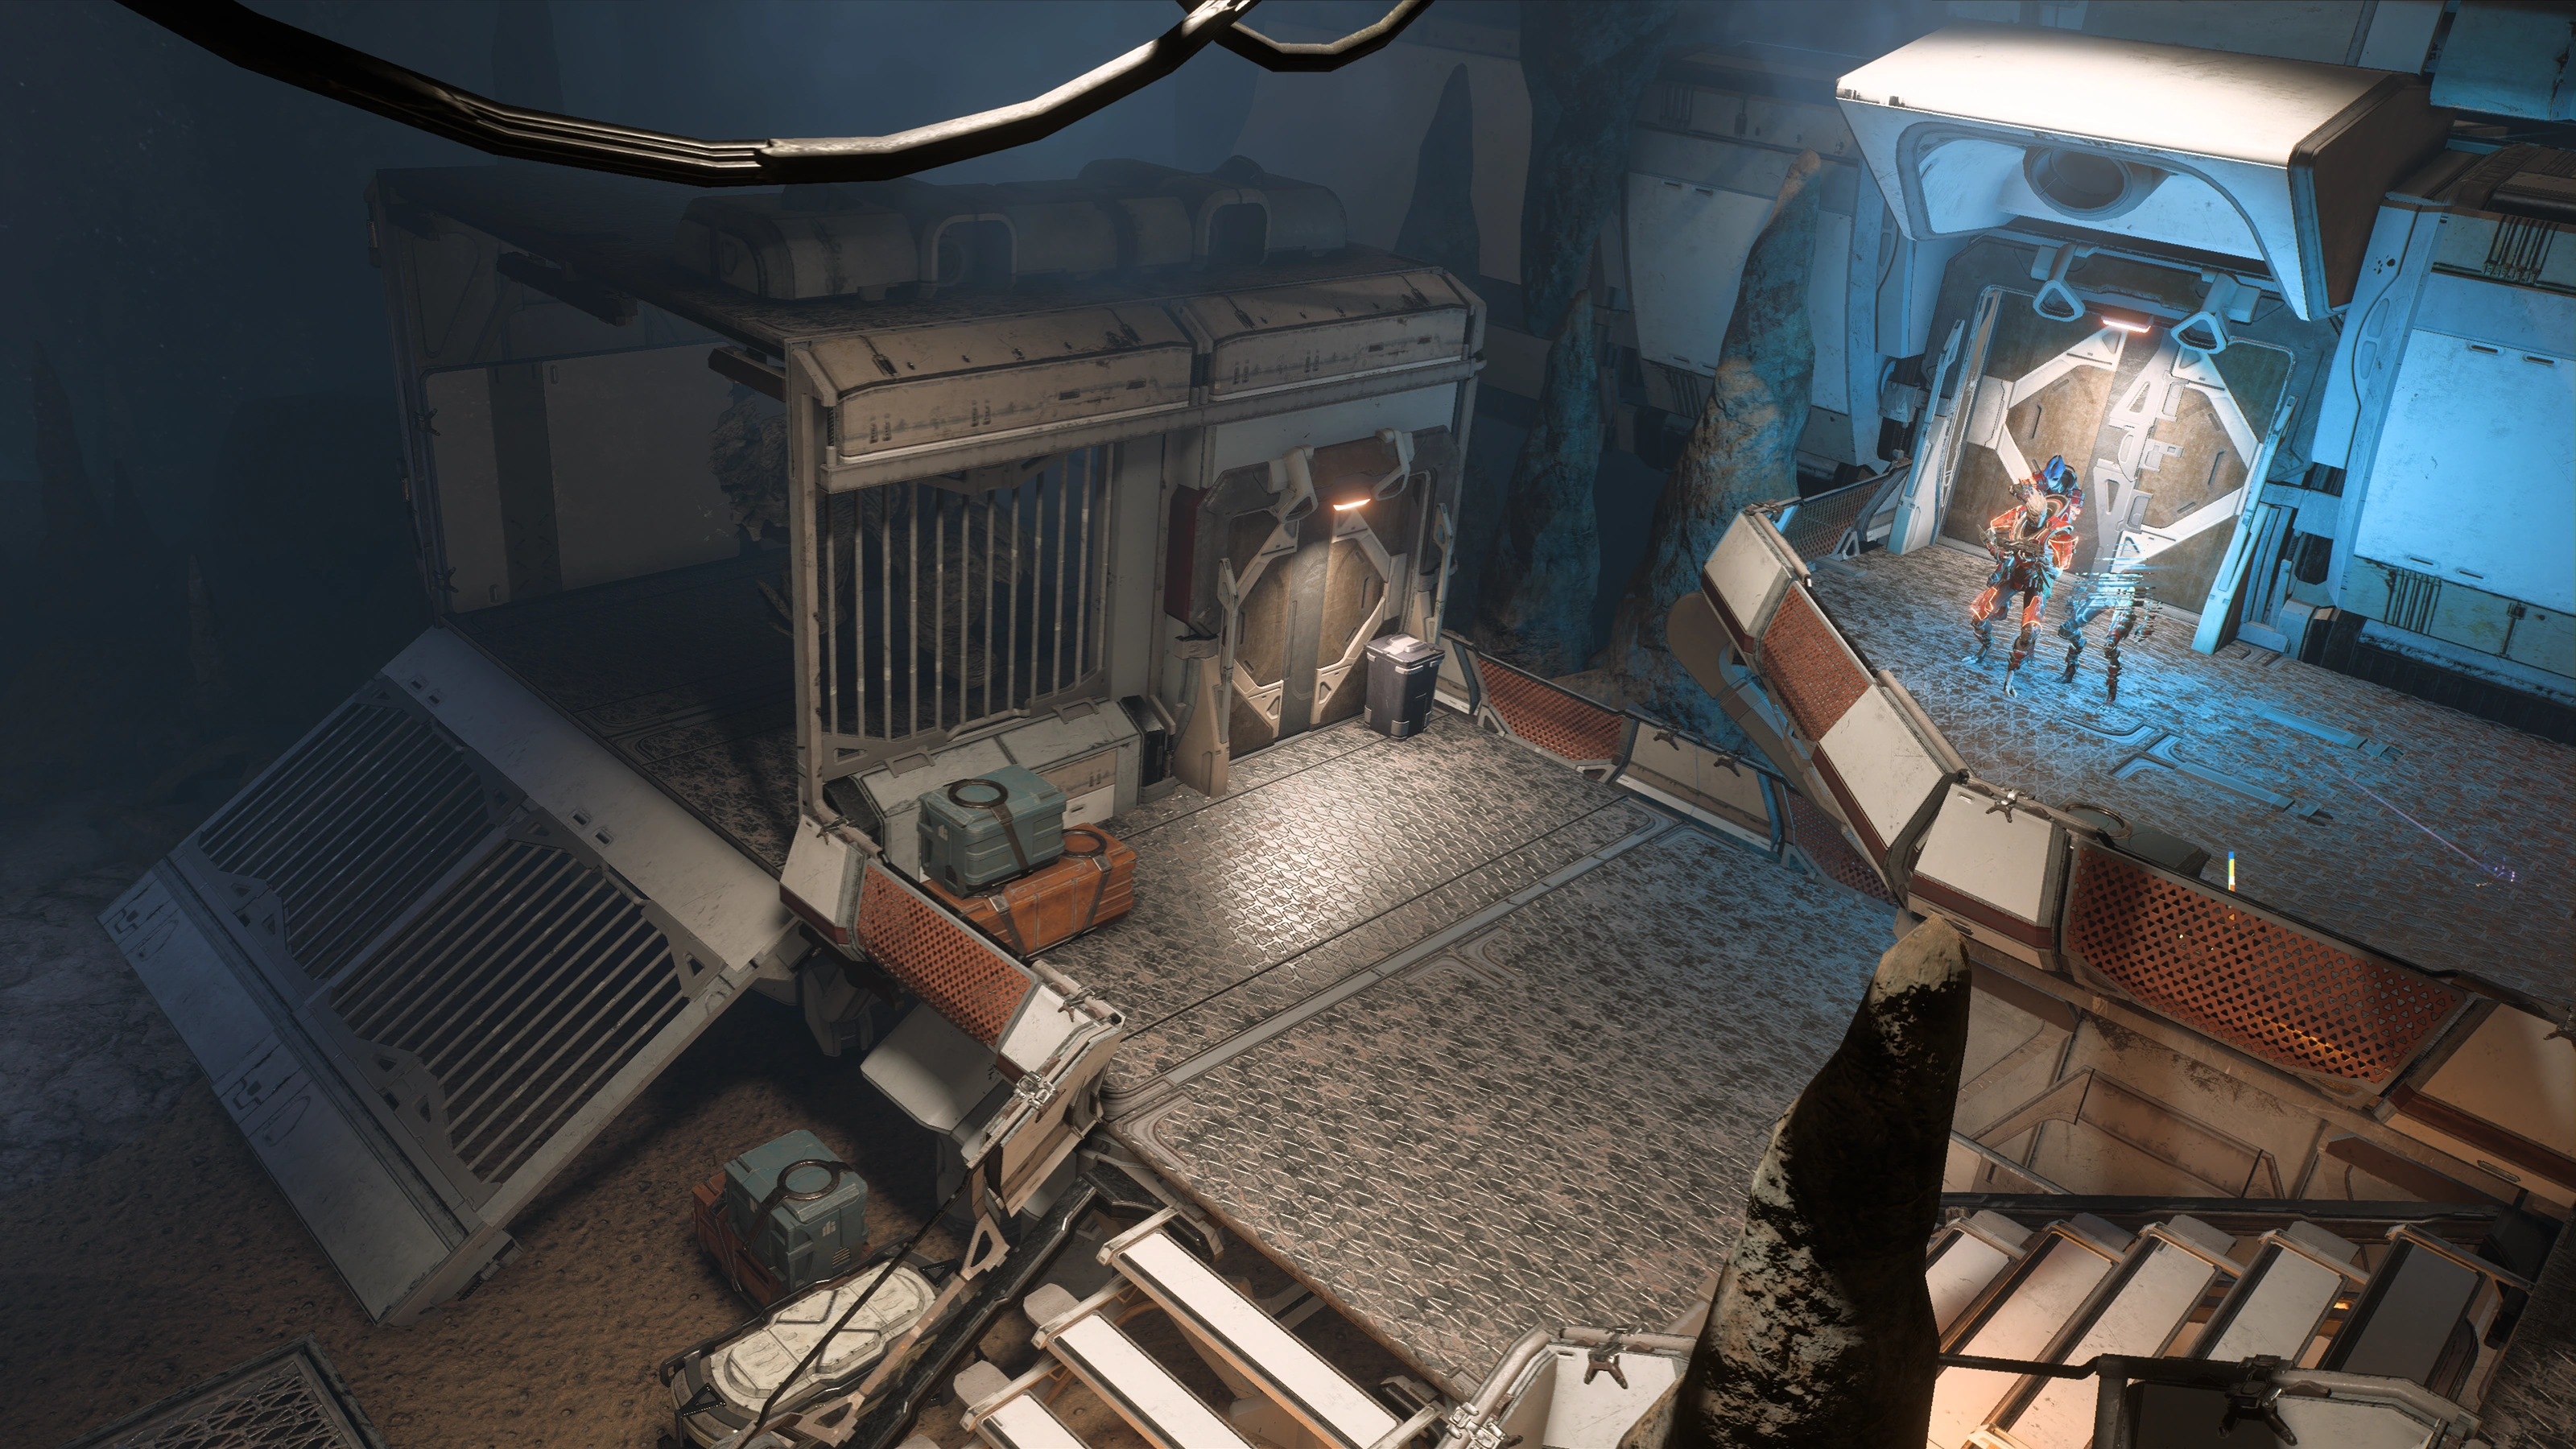
When you regain control, you're in a room with several people, your squadmates, a datapad, a bunch of power cables on the floor, and not much else. You can talk to Vetra to hear her side of the story and to Galloway about some backstory regarding who the prisoners are and this Meriweather they used to work for.
The prisoners were part of Meriweather's smuggling ring, and Vetra apparently helped them escape their former occupations. The colonists wanted to leave the gang because Meriweather started doing things they didn't agree with. Galloway says that the colonists never met Vetra in person - only talked over the comm. Vetra has no idea what this is all about, and only knows Meriweather by reputation as she never dealt with her before.
The datapad in the room reveals that the colonists were living in Prodromos after leaving the gang.
Vetra wants some answers but first the team has to get out of there.
Go downstairs and scan the locked door. Note: Be sure you talked to Vetra and Galloway first if you've been meaning to, because once you scan the door, they lose their dialogue options as the prisoners follow your team down. The door is sealed shut, as expected, because it has been disconnected from the power grid.
Over the comm a Mysterious Ally with Vetra's voice claims she can open the door from the other side if it has power. However, powering the door has to be done from your side.
Activate the door[]
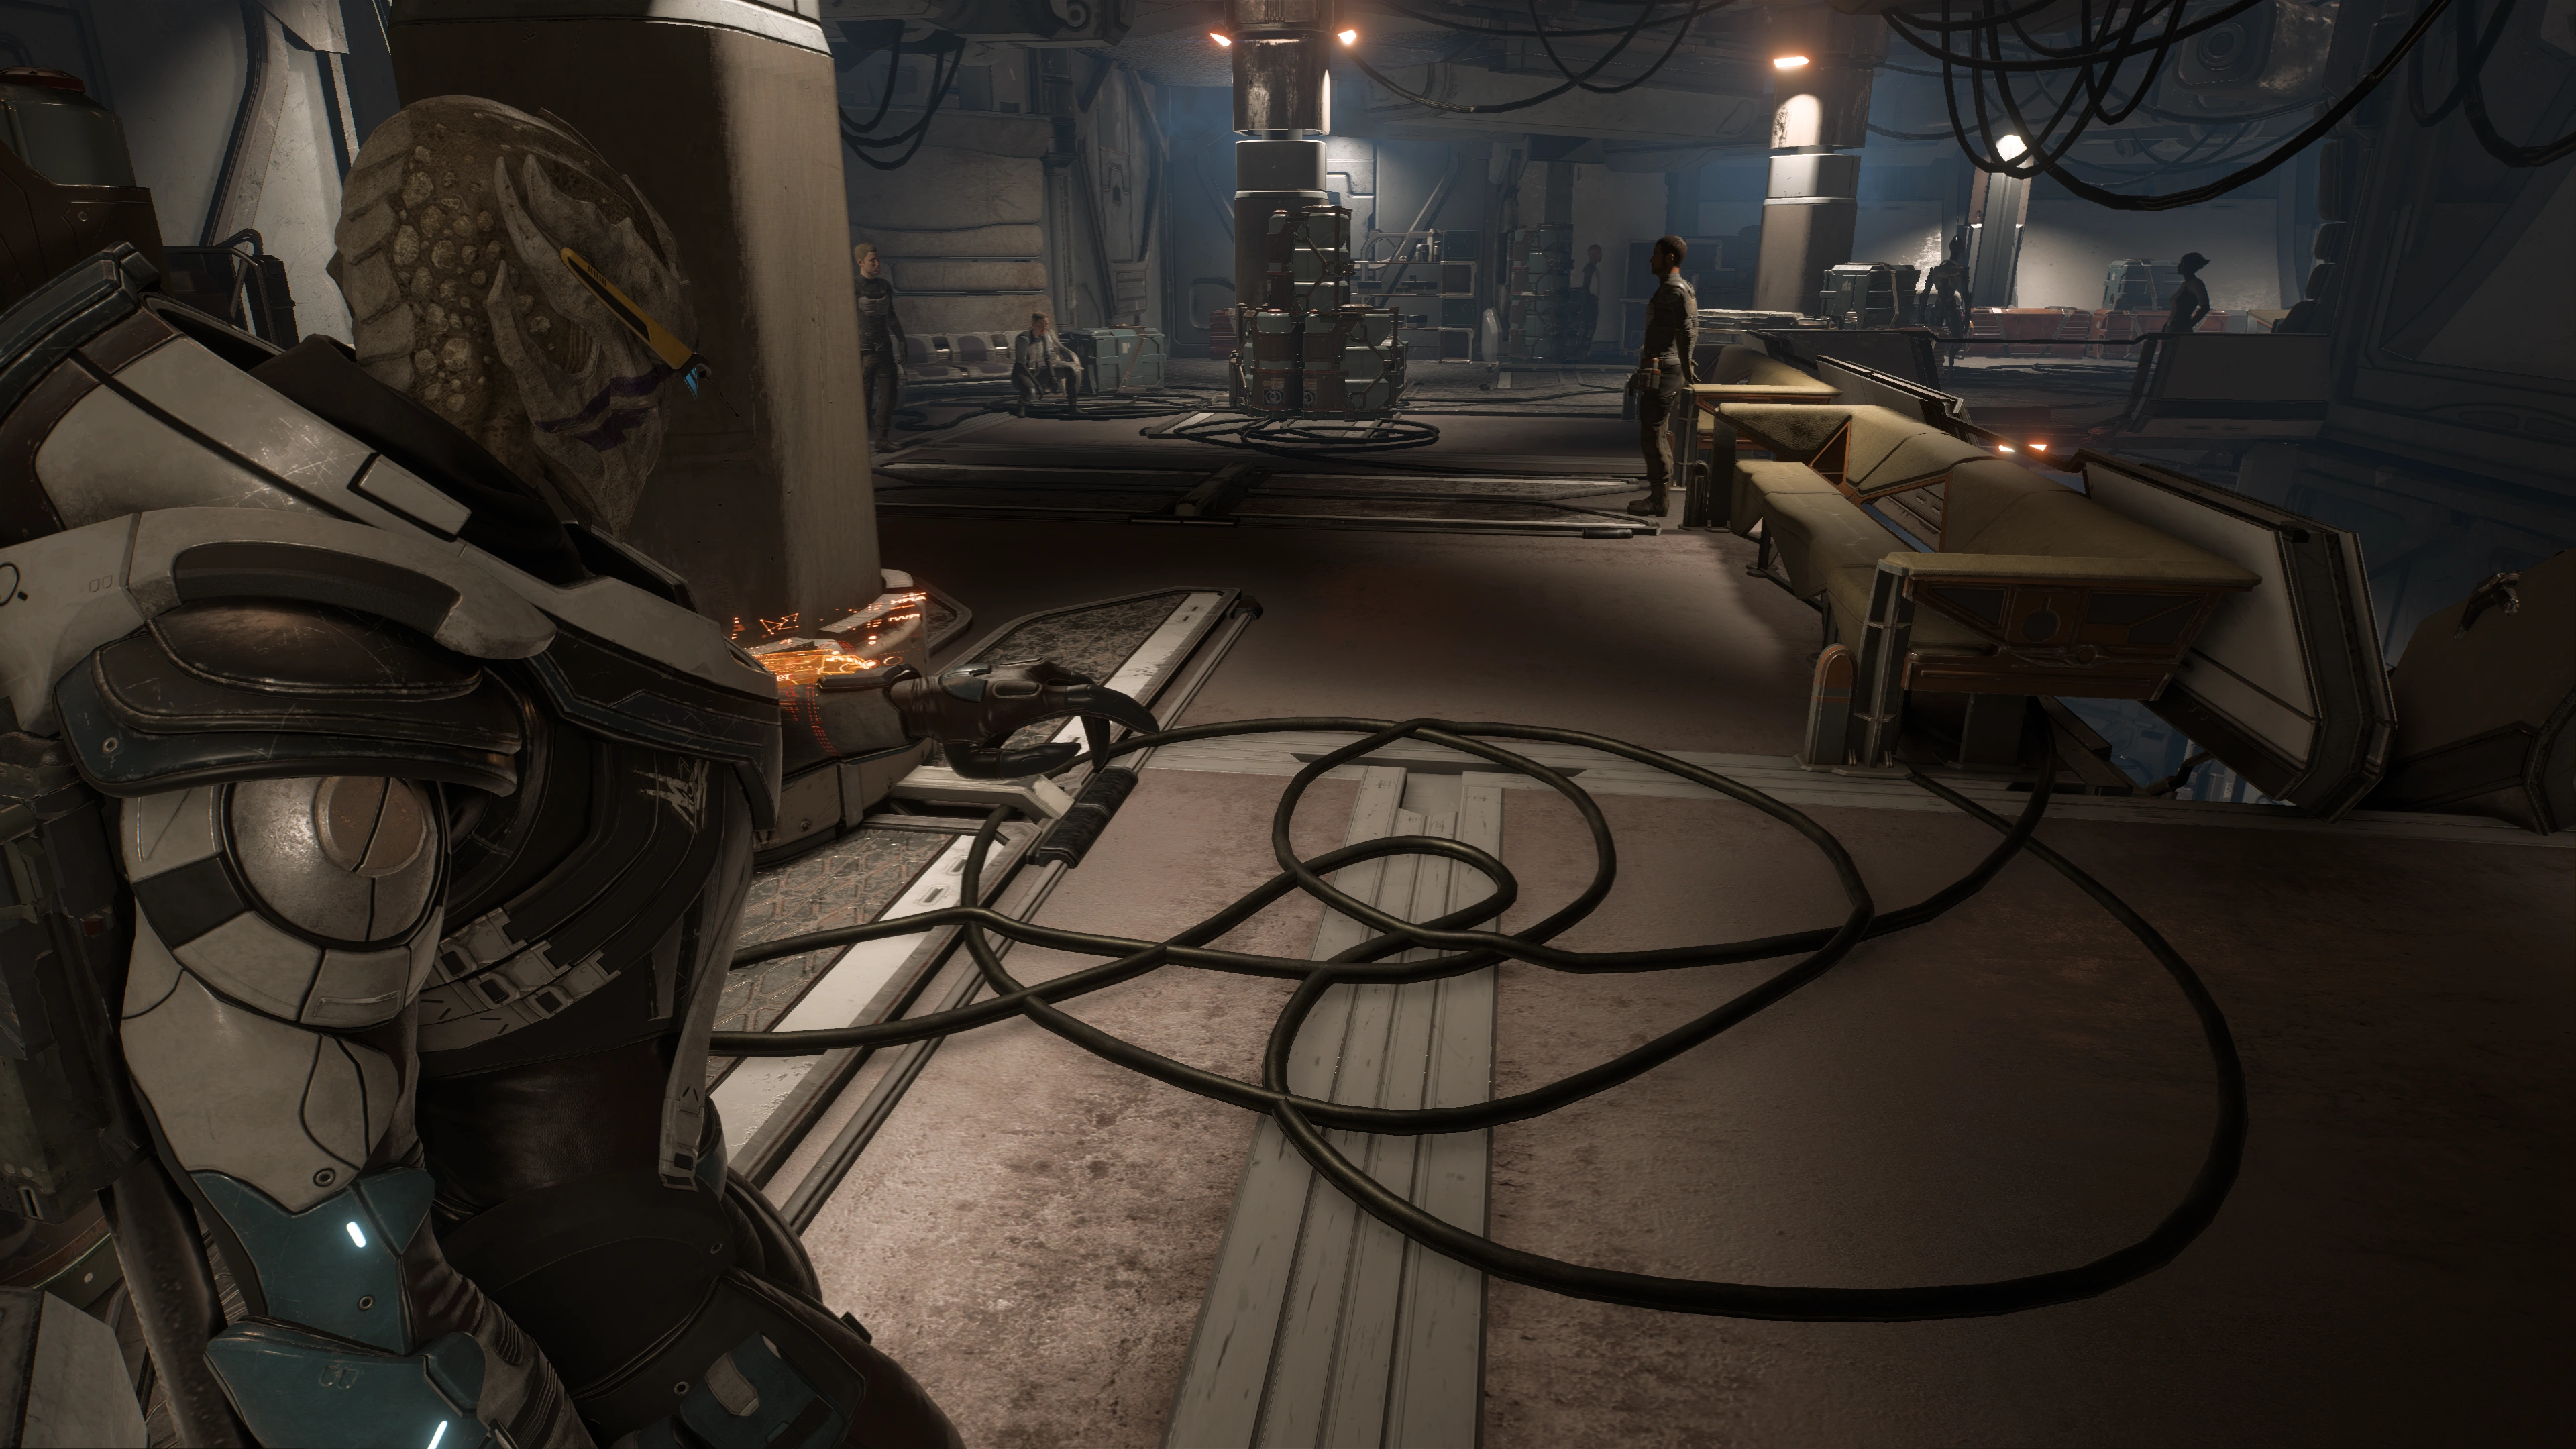
Scan the generator right next to the stairs and activate it. The generator is working but has to be connected to the door.
Search upstairs for a way to connect the generator to the door[]
Search upstairs using the scanner. The power cables on the floor will do the job: out of the six scannable cable sets, four are damaged but two work. Pick either of the two. Bring the cables down to the generator and connect them. The Mysterious Ally then unlocks the door, accomplishing the main objective of getting out of the prison.
A few steps outside, however, the Mysterious Ally says that opening door has triggered a silent alarm, and the colonists have to hide in a nearby storage room.
Accompany colonists to the storage room[]
A 43-second timer countdown starts for incoming hostiles. Galloway's group will run for the storage room. Once all escapees plus you and your squad are in, the storage room door seals shut, bypassing whatever's left of the timer.
Note: If the NPCs and/or your squadmates somehow fail pathing to the room, try moving around to induce them to follow. If they're stuck with no hope of recovery, try reloading the autosave checkpoint just prior to timer start.
Check security cam footage[]
Once you're all secure inside, the door locks. The Mysterious Ally says Ryder can use the security screen to see the guards pass by so they can be surprised. The surveillance GUI acts like your scanner (minus a couple of features), and will award RD appropriately for scannable objects (like enemies for Aid APEX, for instance). Keep this in mind as doing things with security footage is a recurring motif as you progress through the mission.
The guards emerge and start running to your former prison. Once they discover you've all escaped, access to the surveillance feed ends. You can prematurely end viewing the feed, though you'll still have to wait for a bit for events to play out.
Note: If any of your motley group are outside when the timer runs out, this section does not appear and you'll have to proceed to the next section without the element of surprise.
Deal with guards[]
If you hid in the storage room, the door automatically opens once Ryder stops talking, and closes again once your team are out (to keep the colonists safe). If not, the storage door closes anyway.
Take out the guards: a group of four Raiders, and you're in an area where ragdolling them can easily lead to their deaths via bottomless pit. Once all hostiles are down, the storage door reopens.
Speak to Galloway[]
If you hid from the guards, the door to the chamber where the guards came from is closed. If you didn't hide from the guards, the door is open, though the other door beyond it is locked. There are multiple goodies in this chamber, detailed in the next section. Whichever the case, you'll still have to deal with Galloway to continue.
The Mysterious Ally asks if everyone is okay. Vetra then recognizes who the Mysterious Ally is - Sid. She pretended to be Vetra and helped the colonists get away from the smuggler gang. Sid says she is in a shuttle outside, well-hidden. You can either enlist Sid's help or let Vetra assert her sisterly authority, though either way Sid will now start guiding Ryder and the colonists out of the facility.
Head to the mess hall[]
Follow the navpoint![]() . In the antechamber to the next area, Ryder asks if Vetra knew about Sid's shenanigans, and Vetra retorts she wouldn't have allowed it if she did. She now realizes it's probably why she has been getting strange reactions from her associates, and wonders what else has Sid done in her name.
. In the antechamber to the next area, Ryder asks if Vetra knew about Sid's shenanigans, and Vetra retorts she wouldn't have allowed it if she did. She now realizes it's probably why she has been getting strange reactions from her associates, and wonders what else has Sid done in her name.
There's datapad, a lootable container, and health and ammo supply caches in this chamber.
Use security cam to find an advantage[]

Once you're outside the mess hall, another autosave is generated. Sid comms to confirm the colonists are staying back, keeping to corners while you're clearing the path. Don't bother looking for them as they disappear from their storage room hiding spot.
When you access the security cam you will see a locked workshop door, a generator, and some guards. Scanning the door and generator generates choices for where Sid focuses her disruption efforts; she can't do both as that will draw too much attention to her. Choose between unlocking the workshop, blowing up the generator, or go in guns blazing without Sid's assistance. If you do the last one, neither of the optional entries below appear in the journal.
Whichever you choose, the experience rewards in this encounter and subsequent similar setups further into the base are the same.
Optional: Blow the generator[]
The generator can discharge electricity and take out some guards. This leads to a much easier fight.
Optional: Open workshop[]

In the locked room, there are three containers—small, medium, and large—with the usual random loot. However, it also contains reinforcements. There's no way to open the workshop later, so you'll have to decide if the loot and extra experience points are worth it.
Deal with the outlaws in the mess hall[]
Default enemy composition in the area is a bunch of Raiders, a Sharpshooter, and an Anarchist. If you opened the workshop, another Anarchist plus an Agent come out of there and join the fight. When the mess hall has been cleared, Sid gives you the next location to head to.
There are two lootable containers in the mess hall, both next to the doors in and out of the place.
Get to the menagerie[]
When you reach the next chamber another autosave is generated. Meriweather is upset because she has discovered that someone is messing with the gang's security but she doesn't seem to know that her prisoners are escaping. There's one lootable container beside the menagerie door before you continue.
The next room is another antechamber, this time with a surveillance terminal. You hear growling noises beyond the door. There is a datapad in the corner.
Use the menagerie's security cam[]
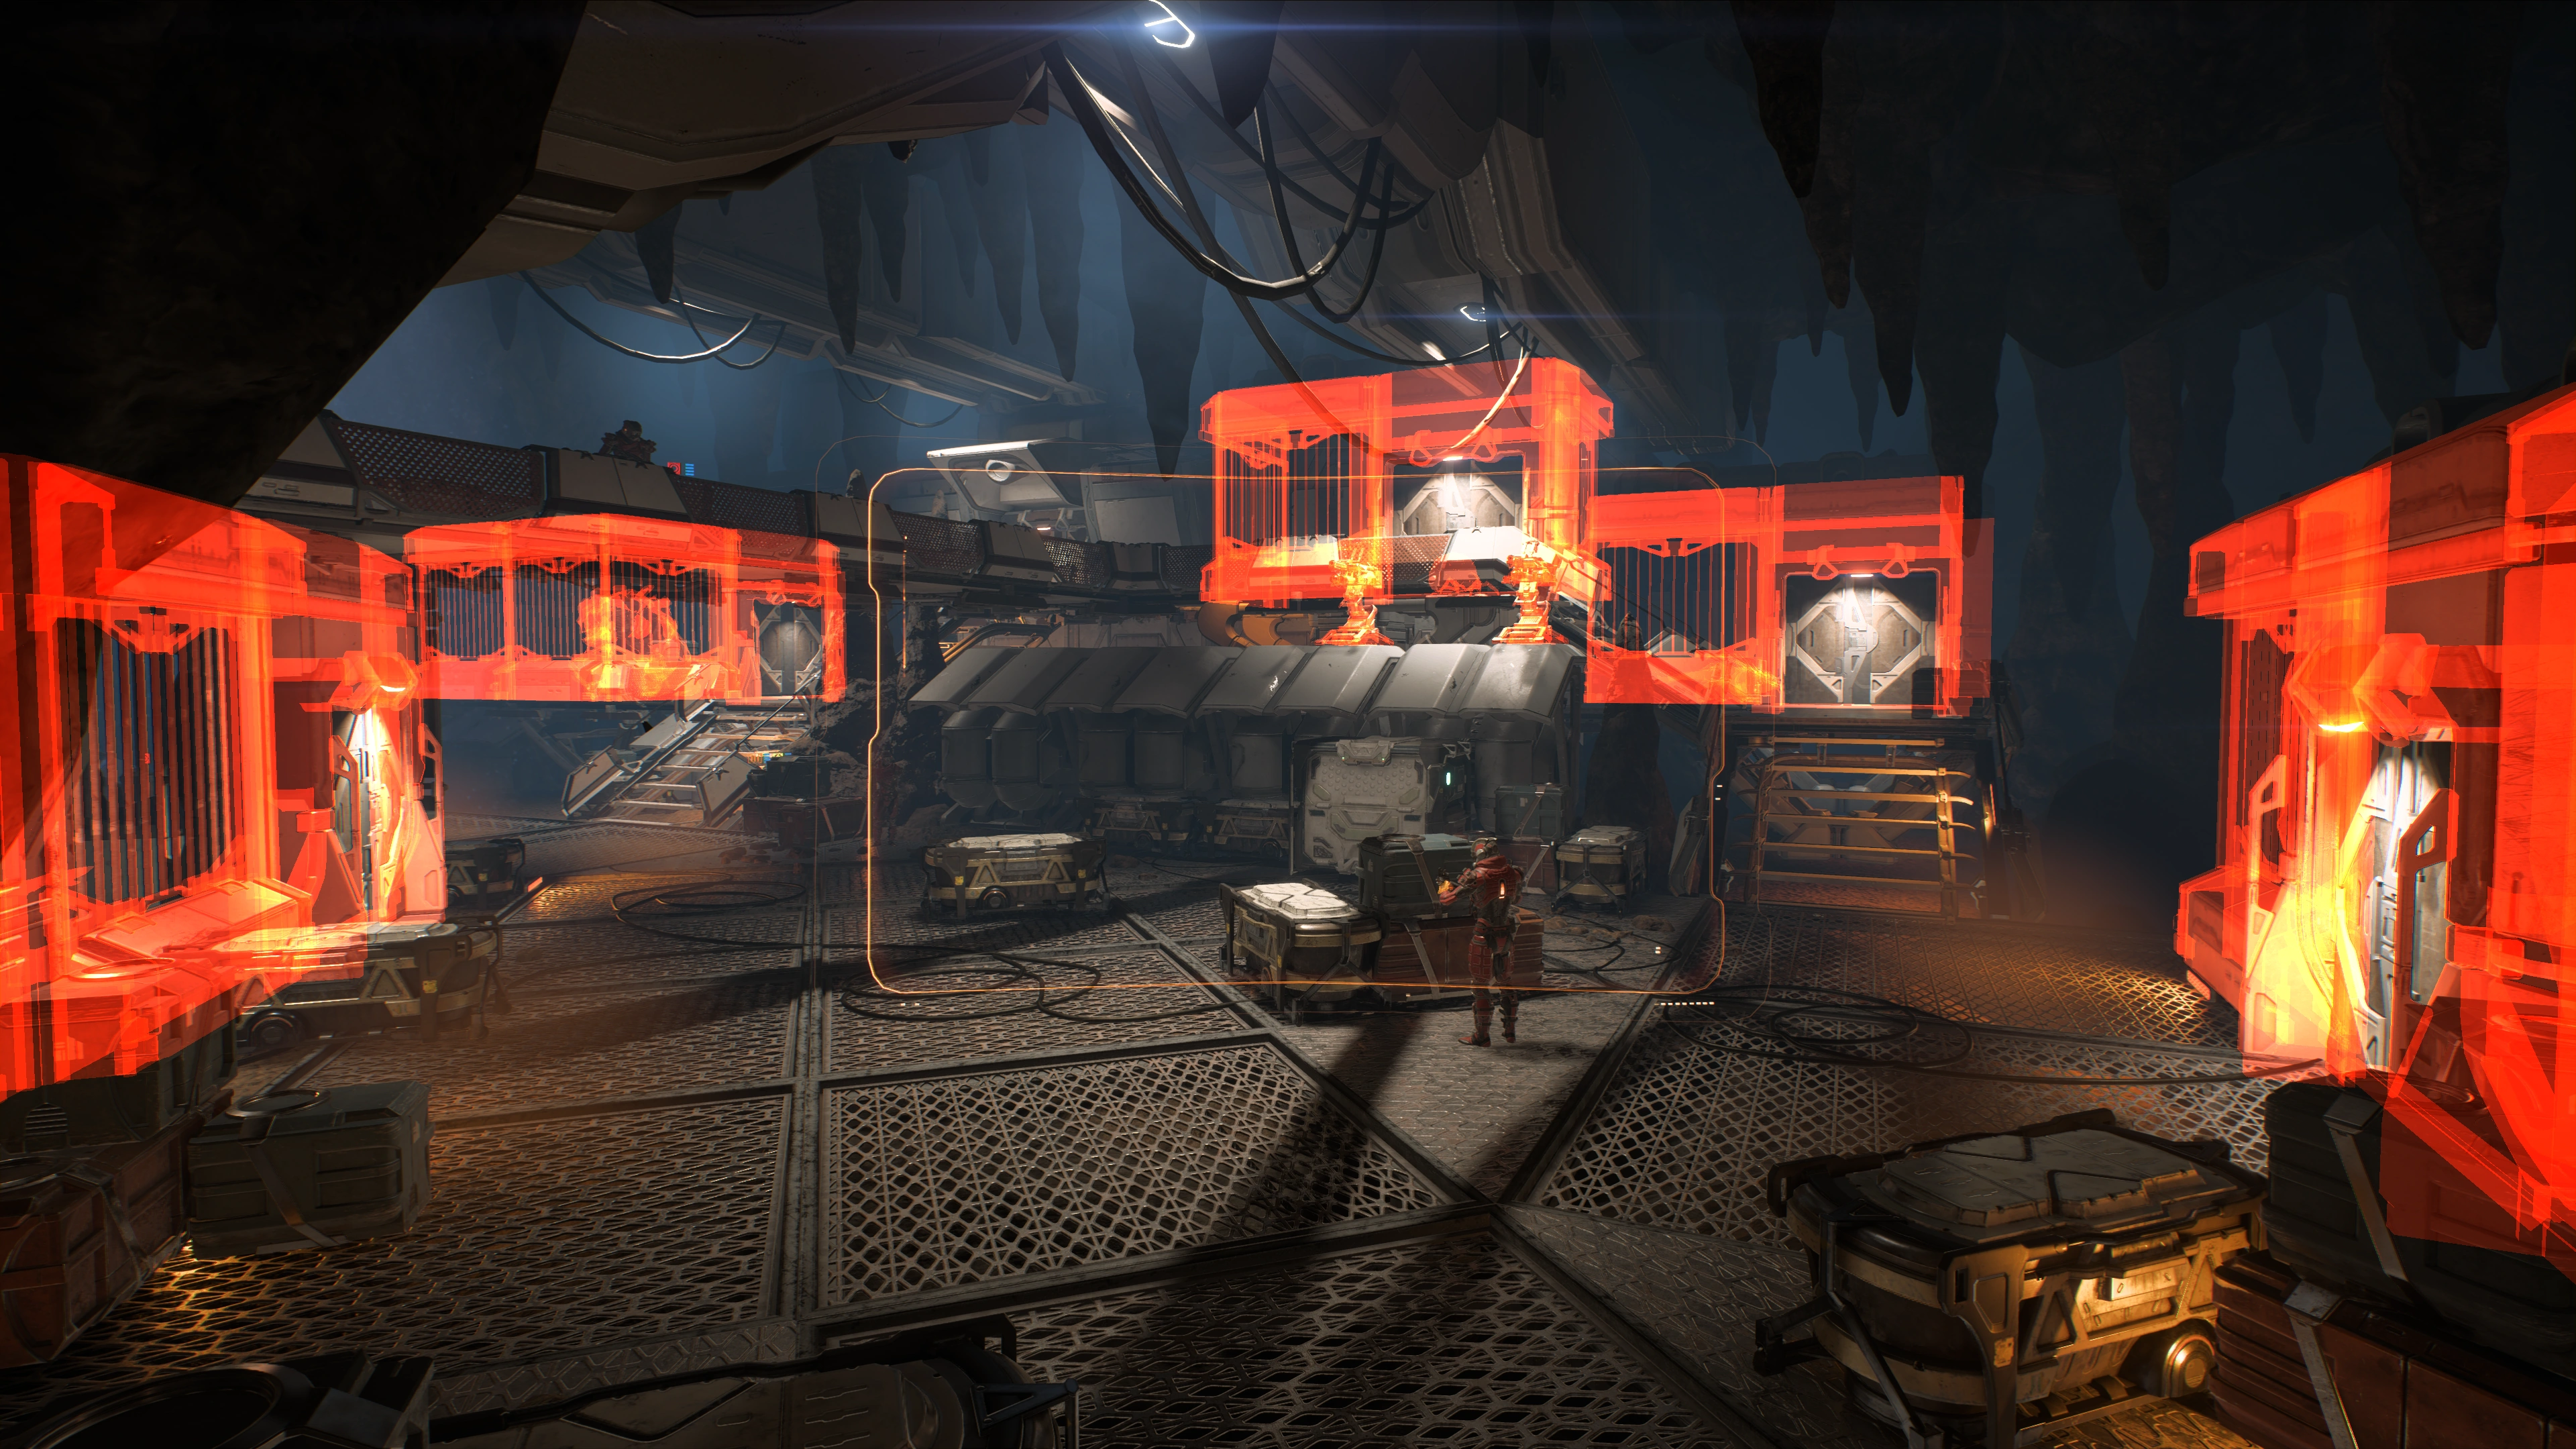
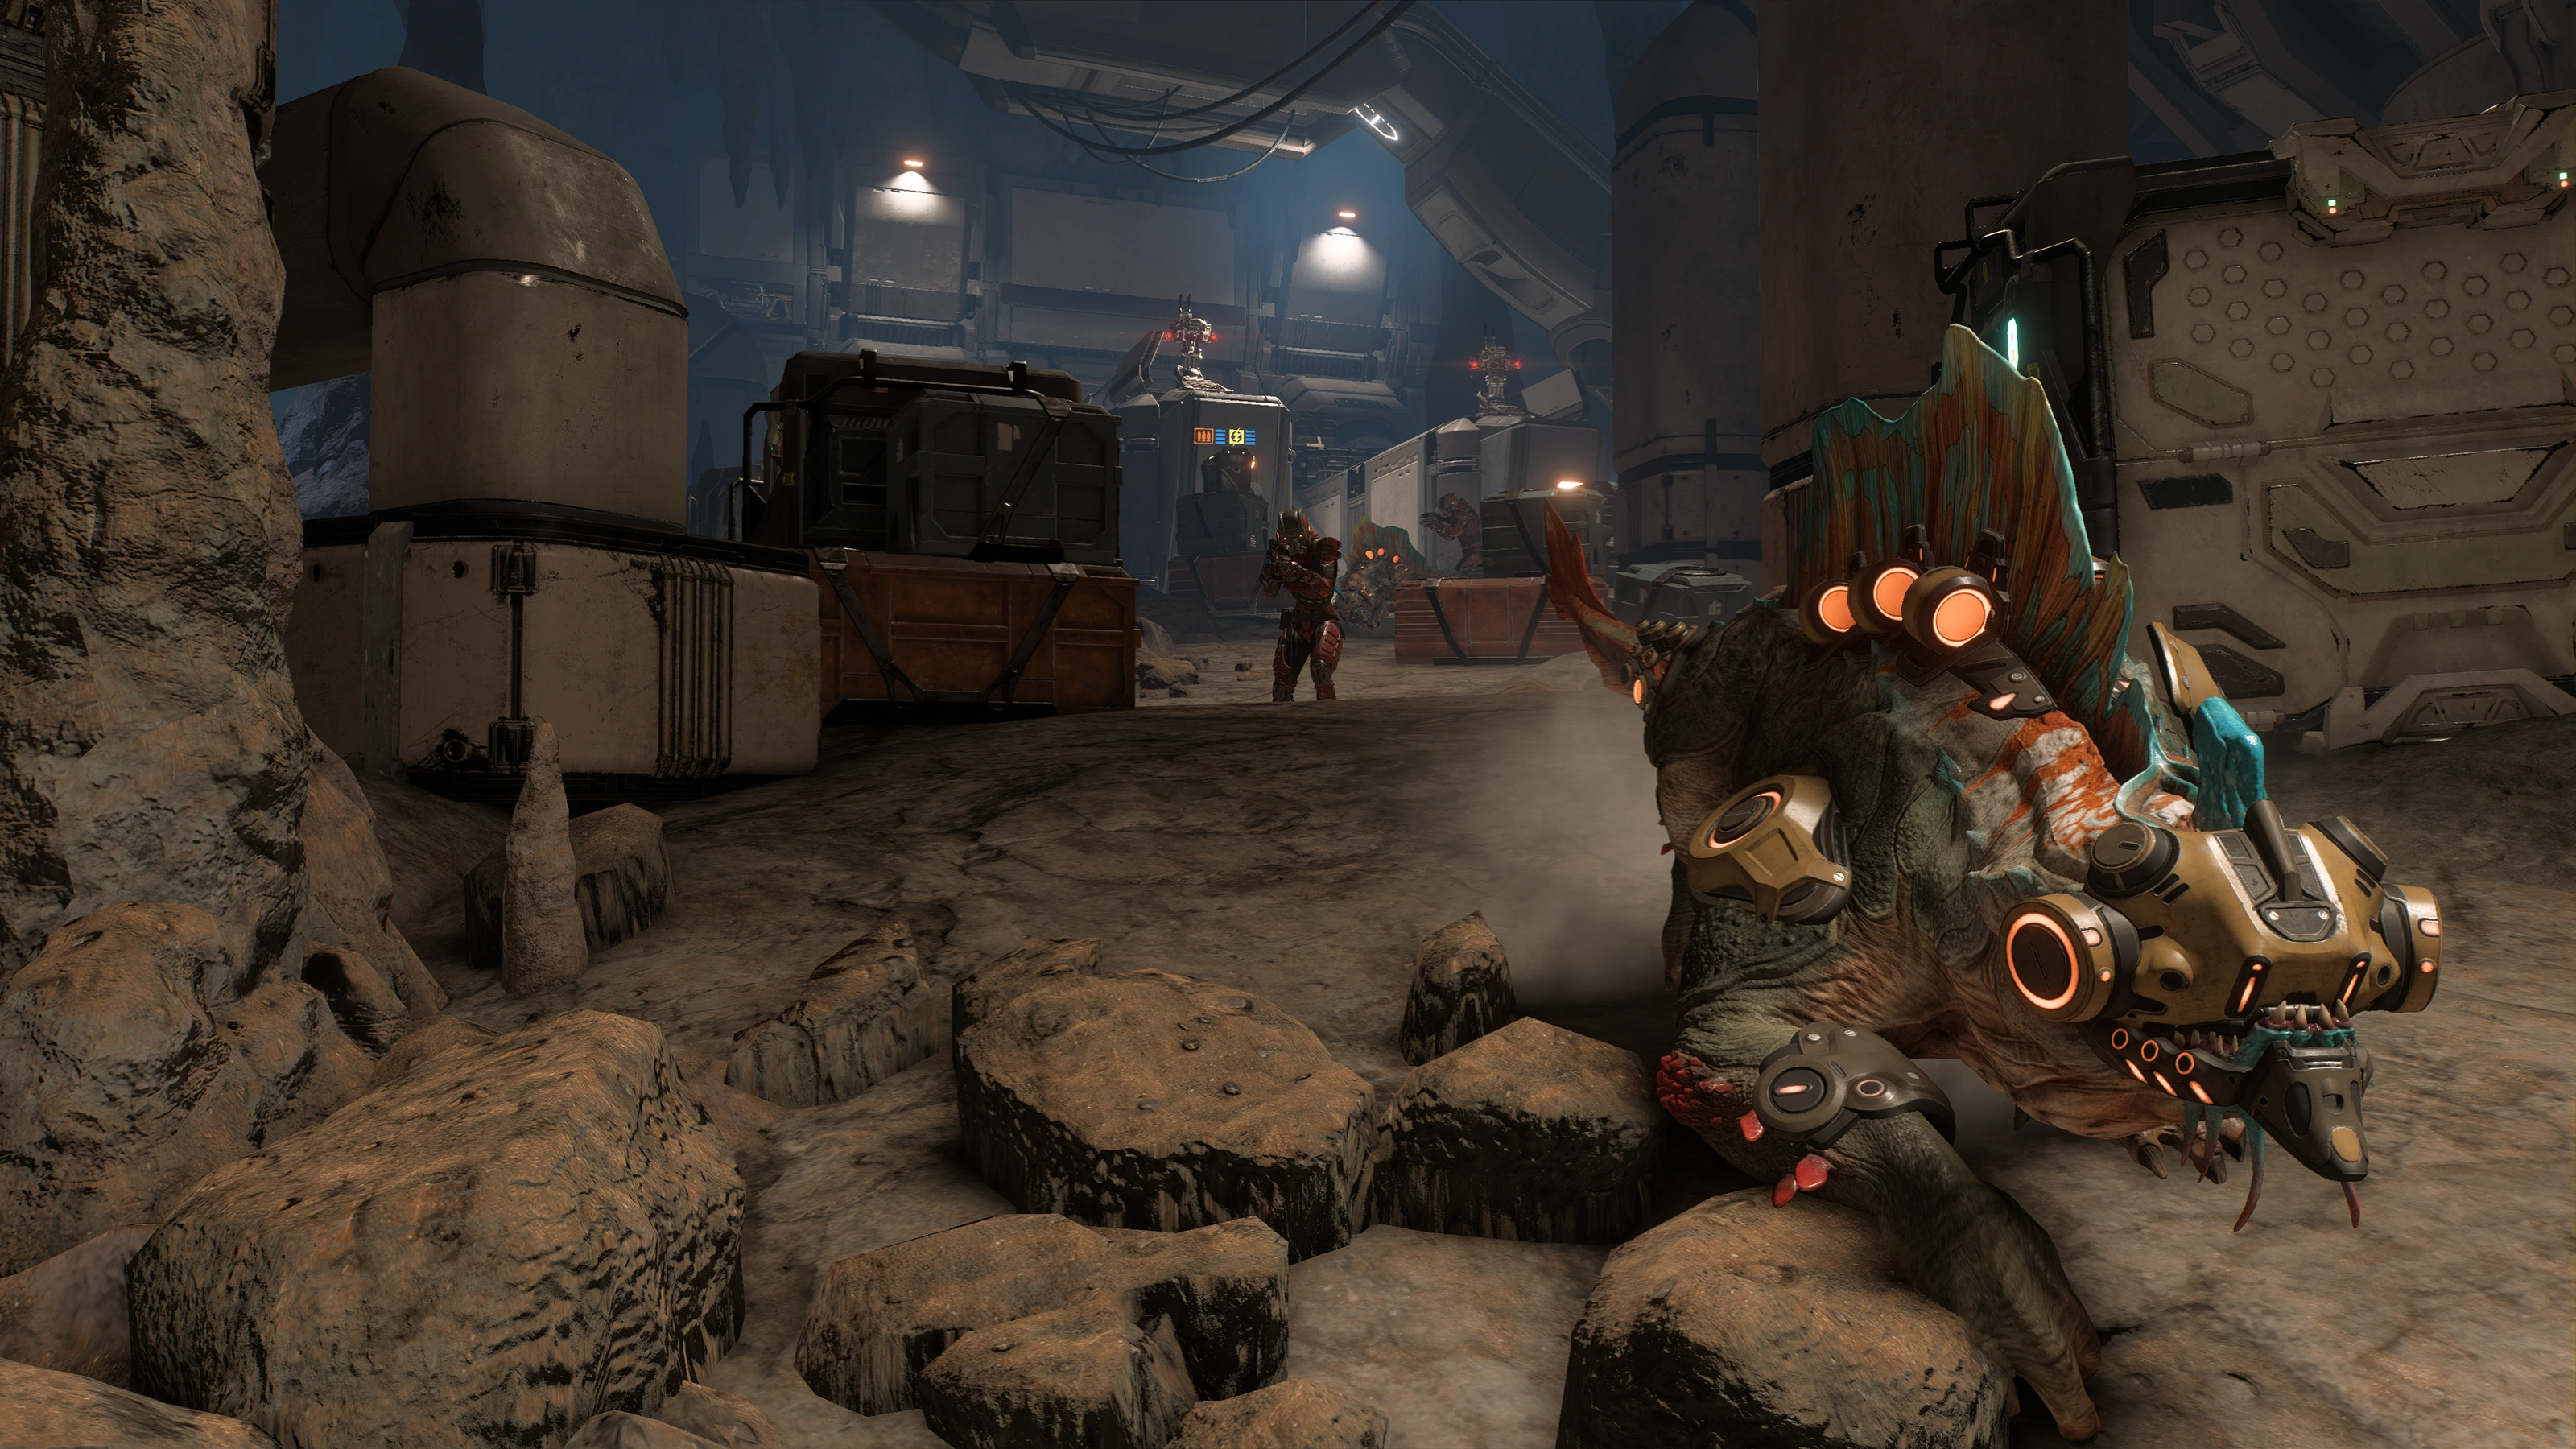
The menagerie is the room you've been seeing while loading autosaves in this mission. Here, there are cages with various wildlife (that will probably attack the guards as well as Ryder's team), turrets, and a cage with a Fiend. The main scanning targets are any of the cages and the turrets.
You can make Sid turn off the turrets, have them attack the guards, free the beasts, or again do nothing. Note: The Fiend will not be unleashed with the other beasts yet as its cage doesn't have remote access. Too risky.
Whatever you decide besides do nothing, you can watch the scenario unfold on the security cam. You can disengage and wade in at any time. Note: In most cases, the guards still come out on top.
Optional: Change turret protocol[]
The turrets will shoot anything hostile to your team. Unfortunately, they aren't that sturdy, and they can only shoot at a wide angle in front of them.
Optional: Turn off turrets[]
Even if you disabled the turrets, they can still be targeted and destroyed once you go in.
Optional: Free the beasts[]
Feel free to let the animals and outlaws kill each other or enter the menagerie and join the fight yourself; either way Sid's right that it's hilarious. The beasts are pairs of adhi and challyrion, and two pairs of spitbugs.
The turrets also come alive in this scenario, aiding the outlaws against the animals, and will also target you later when you come in if they weren't destroyed. The solid white barriers behind them are good locations to take them out. The orange grills are destructible, so avoid using them as cover.
Clear out the menagerie[]
Eliminate all hostiles. Default enemy composition is a bunch of Raiders. Hostile reinforcements arriving from the one-way door near the spitbug cage in the second level include an Anarchist and an Agent, so no matter who wins if you mess with the outlaws there's always someone around to unleash the fiend.
If you chose to fight this area without hacking shenanigans, you're allowed to clear out some of the initial hostiles first before the fiend is released. Otherwise, if you picked any of the three choices, the fiend is released very shortly after you enter the scene.
If you kept the other animals caged, they aren't targetable and not required to complete this section. You can still let them out for target practice and/or raw material harvesting, though.
Kill the fiend[]
The fiend is a veritable damage sponge. Fortunately the area has 3 ammo and 2 health supply caches to help replenish your stocks during the fight. Just keep it running around the menagerie in circles and you'll kill it eventually.
There are three datapads and at least two containers in this location. The datapads are next to the relevant animals' cages. One container is next to the fiend cage, and one container is next to the spitbug cage up the stairs.
Get to the workshop[]
The menagerie exit leads to a short tunnel to another structure within the base. On the way there the fourth autosave is generated. If you had Sid hack for you, Meriweather realizes there is a rat in the system and promises double rations to the one who finds it. Otherwise, Meriweather remains oblivious to the situation.
The tunnel leads to yet another antechamber with a surveillance console. Beyond you can hear mechanical noises. There's also a datapad in a crate nearby, as well as an ammo cache.
Use the workshop's security cam[]

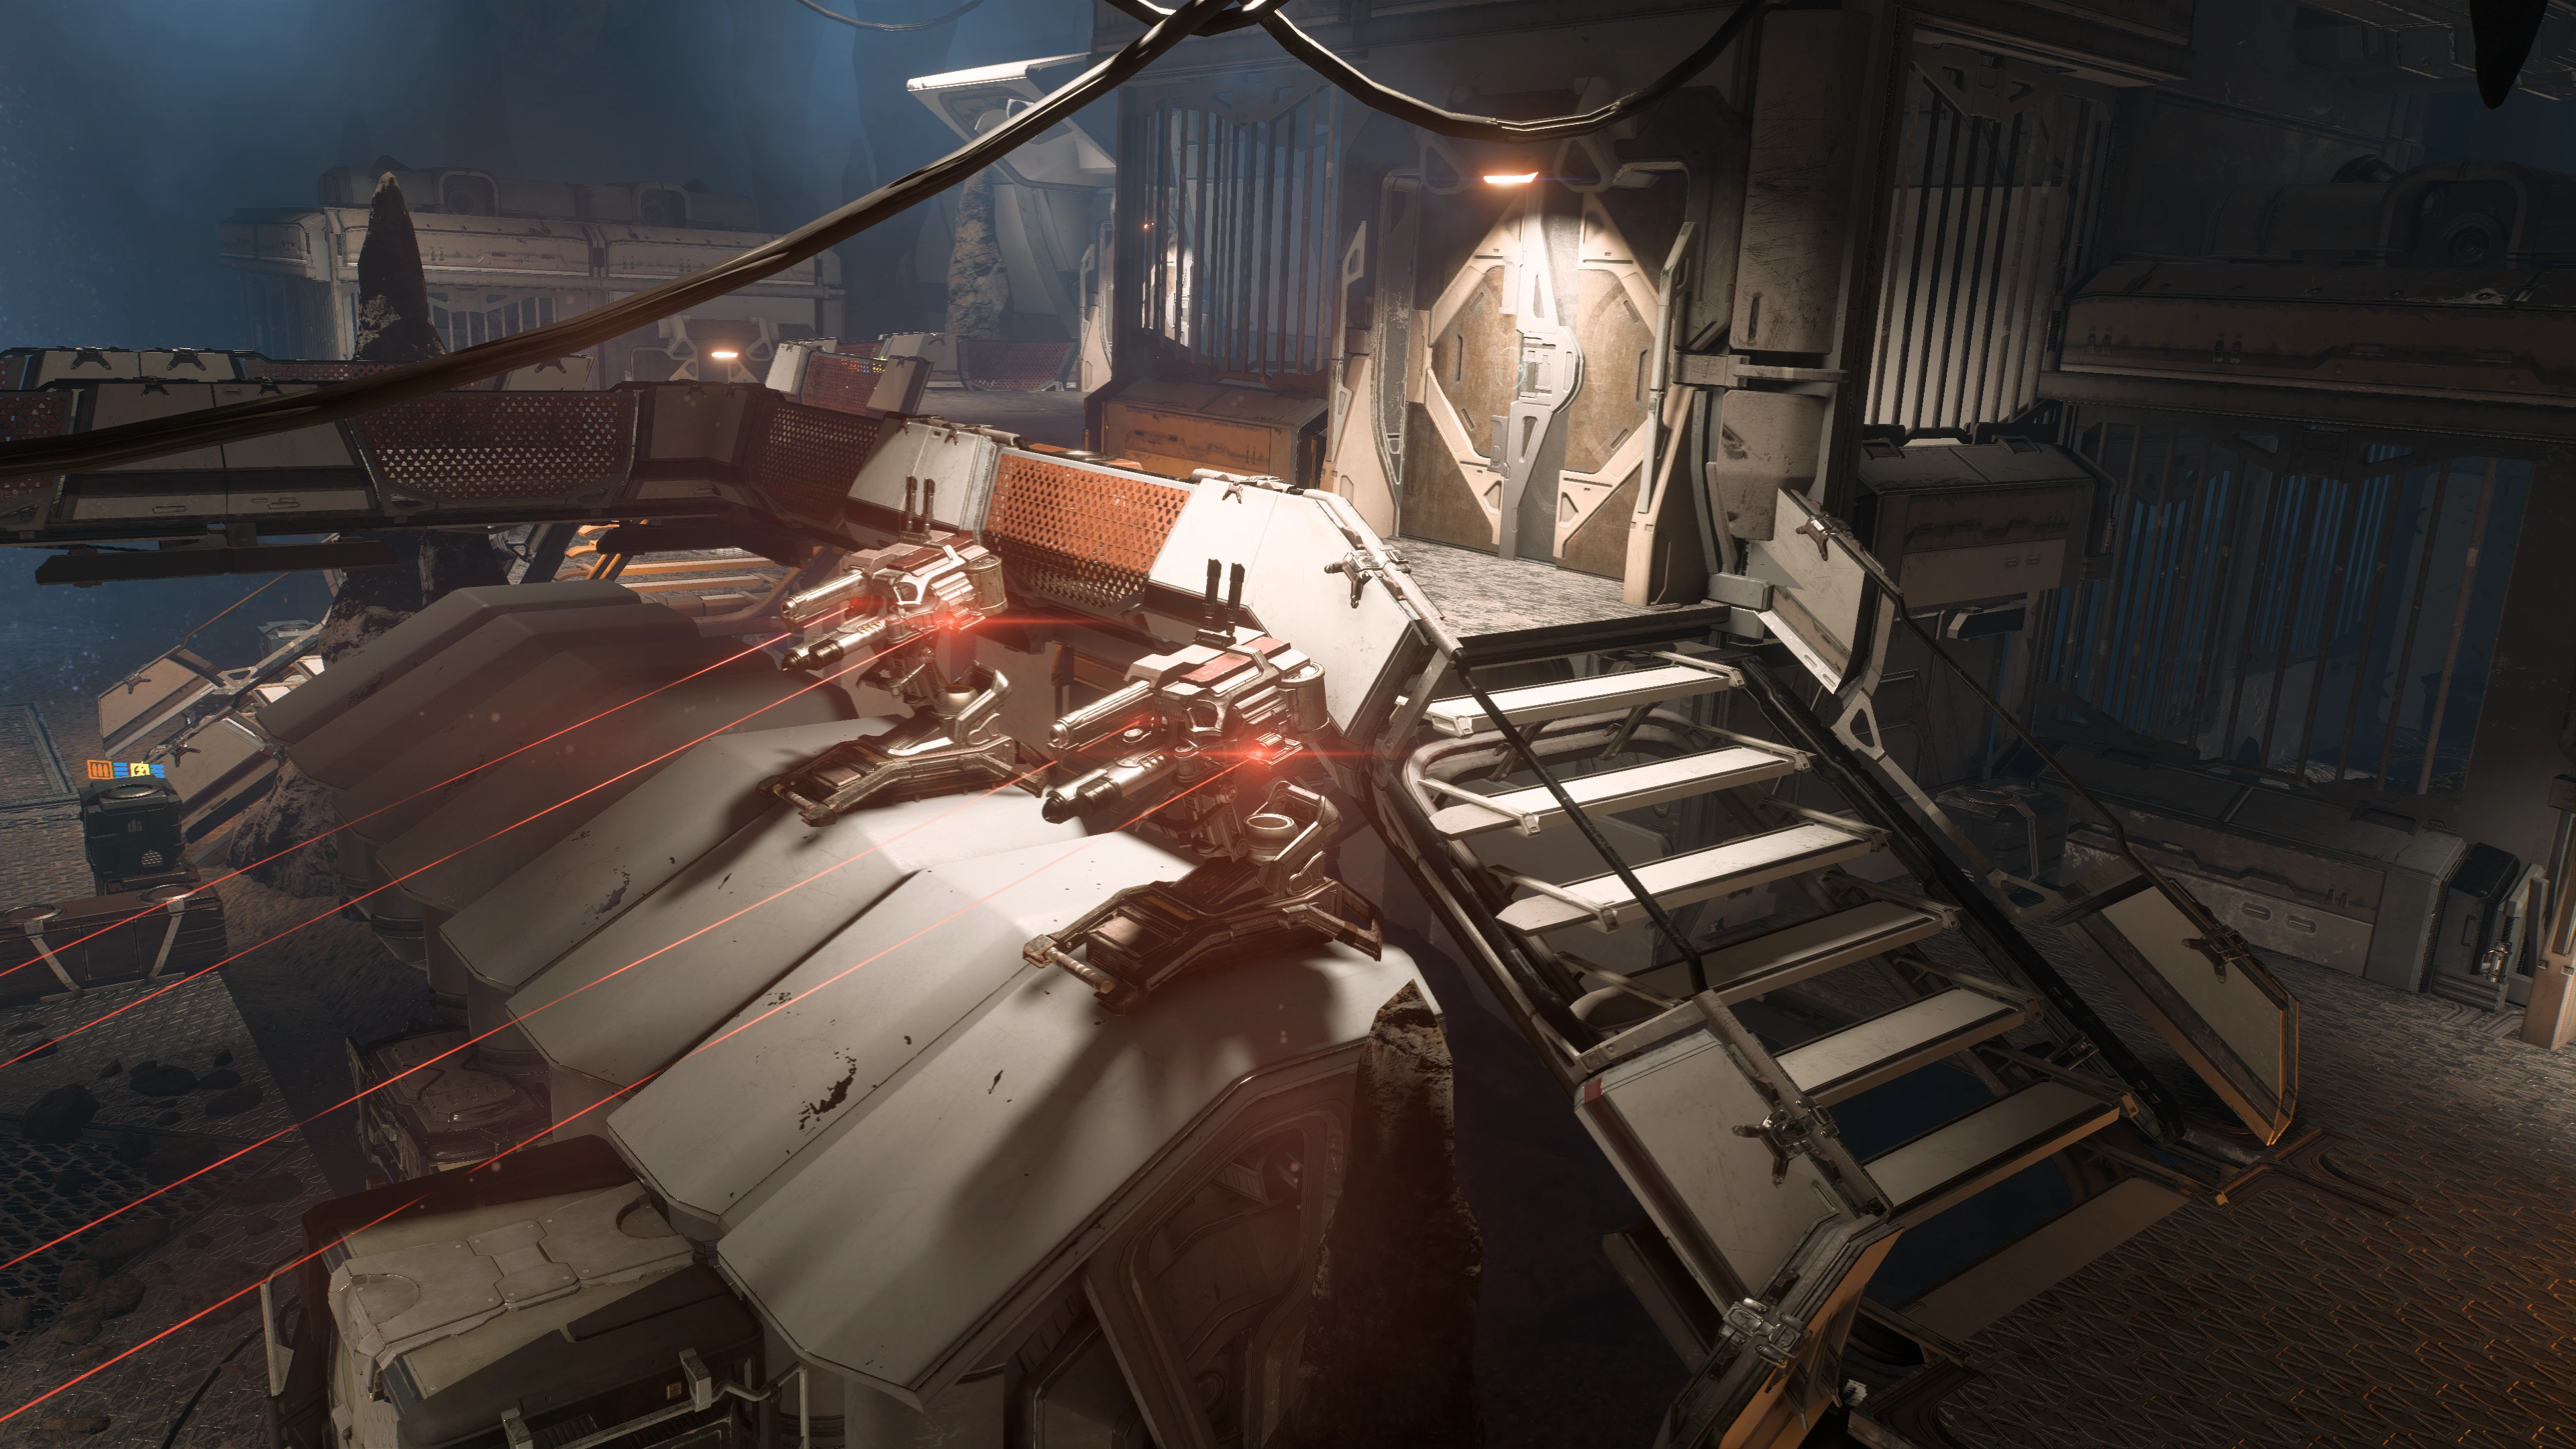
The workshop follows a three-tier terraced layout connected through stairs. Inside are a Hydra Mech, the pilot performing maintenance on the mech, a Crane Rig, four Compressed Gas Tanks, and some guards who may or may not be patrolling about.
You can have Sid blow the crane rig's engine, gas the guards, disable the Hydra Mech, or again do nothing. Unlike in the menagerie scenario, you can only see the results upon entering the workshop.
Optional: Blow engine[]
The crane rig holds a shuttle engine, and the whole thing is connected to the power grid, meaning Sid can make it explode. These objects are not destroyable by normal gunfire, however.
When the crane rig's core explodes two guards named Corgan and Rowe are said to have been taken out, though in actual gameplay more of them could have been killed depending on proximity.
Optional: Gas them[]
The gas tanks contain 100% compressed hydrogen chloride. Activating them leaves a permanent misty green level 4 toxic hazard in the lowest tier, which doesn't discriminate between friend or foe. The gas tanks aren't destructible, so no "two birds with one stone" moves by attempting to blow up the crane rig core directly above them.
Optional: Disable Hydra armor[]
The Hydra is connected to the network for maintenance, allowing Sid to hack and disable it. The mech apparently has two pilots, a woman and a man, though only the man is seen working on the mech. Once you enter the workshop the male pilot appears as a targetable Raider, and you can shoot him down with the rest (the female pilot only swears over comms to kill whoever broke the Hydra with her bare hands). In all other scenarios there's already a pilot inside the mech.
Deal with the workshop guards[]
Default enemy composition is a bunch of Raiders, a Sharpshooter, two Agents, and potentially the Hydra. The Hydra, if not disabled, only begins to move if you wander near its vicinity or if it's hit by errant fire, so you can possibly delay its activation by moving Ryder and the team to the west end of the workshop as soon as you go in.
There are two lootable containers in the workshop. There are also 4 ammo caches and 1 health cache. If you gassed the place, though, the one ammo cache at the bottom tier would be difficult, if not impossible, to reach without taking damage.
Move forward through the rest of the facility[]
The workshop's north door leads to a small room with another door. On entering the room a cutscene plays in which Sid tells the team she has been discovered. You can choose how to respond to Vetra about this development.
Deal with security and guards[]
The door leads to a rock passage bounded by industrial pipes. At the far end is a ramp guarded by two turrets. A bunch of Raiders and two roving Adhi form the enemy resistance in this region.
There are a lot of climbable surfaces in this area, though there's no secret containers or any loot of the same sort other than an ammo cache and what the enemies drop.
Optional: Disable the turrets[]
You can simply destroy the turrets but this is not required. On the left side of the platform where the turrets are located above is a panel to disable them. There's a bunch of large boxes in the passage to take cover on in between the turrets' firing phase.
Get to Sid[]

The door beyond the turrets leads to a short chamber with a health and an ammo cache. The room after that is a shuttle hangar, and the last location of the mission.
Meriweather has captured Sid, and tells Vetra to come to her. In the shuttle area, Meriweather holds a primed grenade in her hand and Sid in front of her in the other. Meriweather orders Ryder's team to put down their weapons, though you may have other ideas.
You now have a few seconds to decide whether to take the narrative action prompt or not. Regardless of the way this ends, Sid manages to break free and take cover, though a firefight is unavoidable.
Kill Meriweather and her guards[]
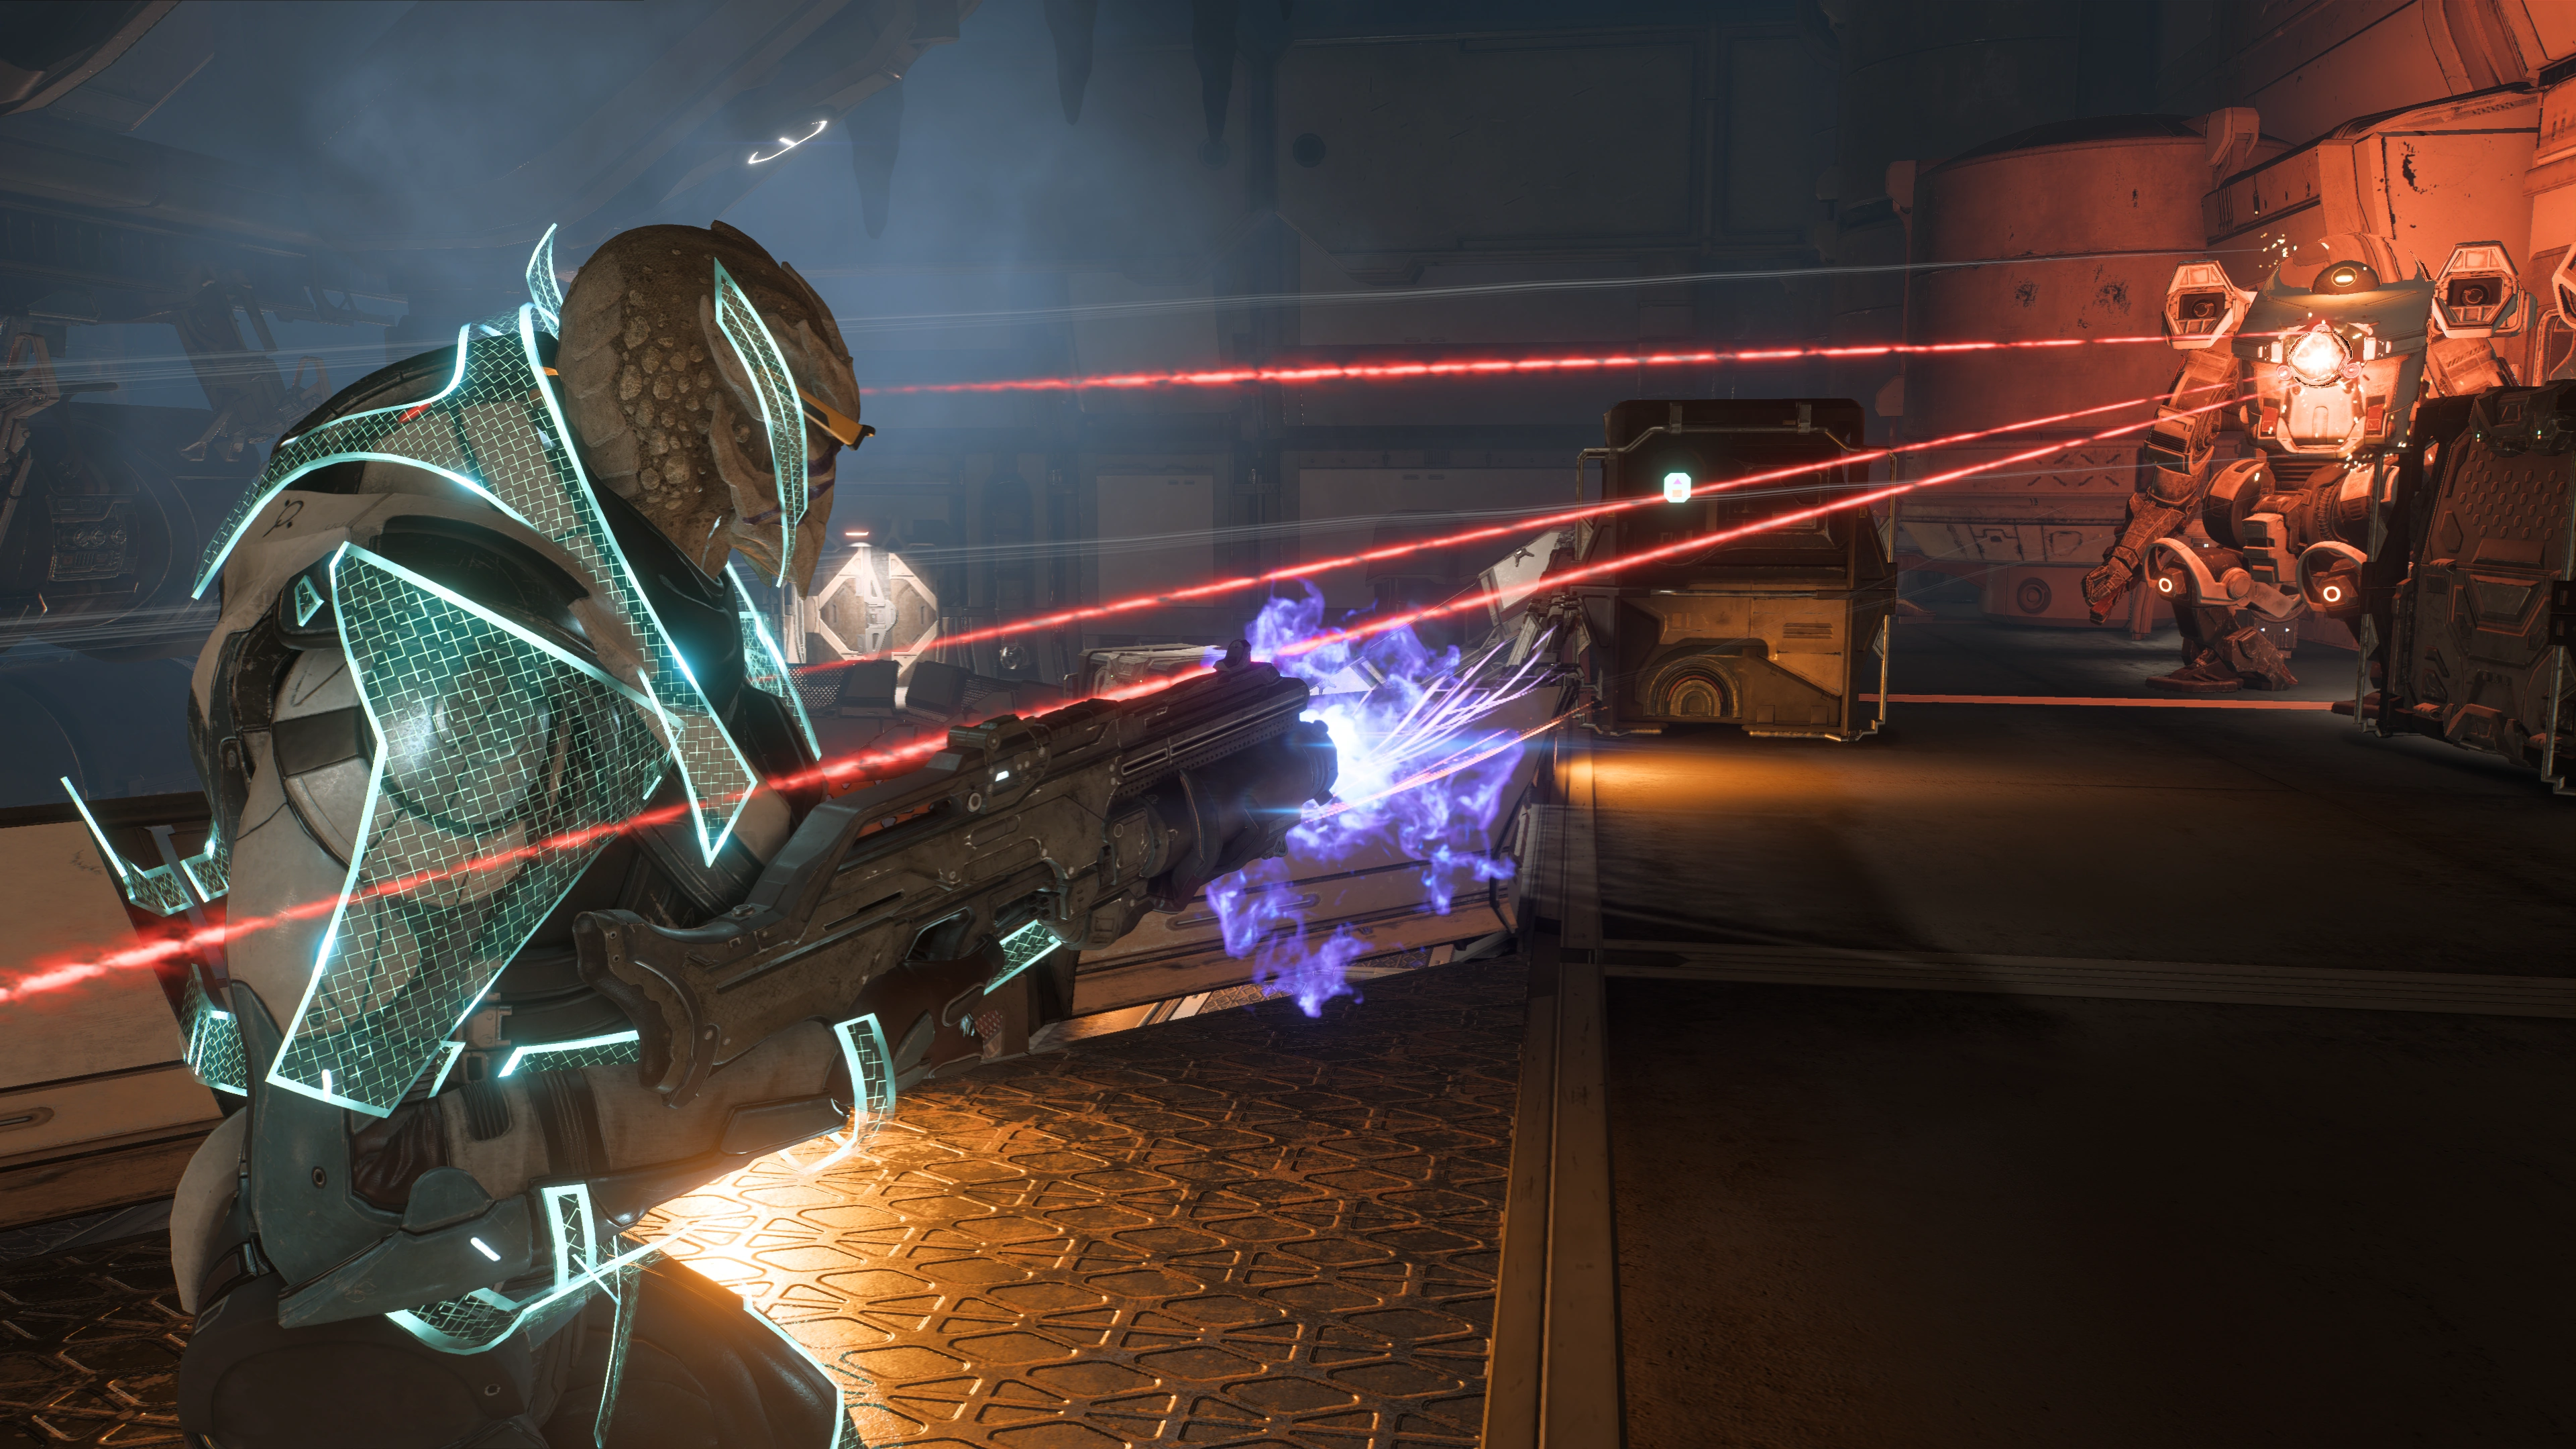
You now need to kill all hostiles in the hangar. It's composed of three connected shuttlepads, two of which are occupied and one serves as the starting point. Unsecure bottomless pits surround the shuttlepads, so you can fling unshielded/unarmored enemies around to their deaths if you packed biotics or exceptionally forceful abilities.
During the fight, a group of reinforcements will come in from the east room connected to the middle shuttlepad once you approach. Meriweather's troops consist of basic Raiders, a couple of Sharpshooters, some Agents, and some Anarchists.
Take full advantage of the provided boxes for cover, since Meriweather's goons have high ground advantage initially, especially if she manages to fall back to the topmost shuttlepad at the back with her armored goons. Her Agents in particular tend to spam decoys, so learn to be quick spotting the telltale ripples on the decoys to avoid wasting ammo on them.
Should you run low on health or ammo there are caches on the east near the doors where the reinforcements came from, and another ammo cache next to the shuttle on the middle pad.
Talk to Sid[]

Once you talk to Sid the mission is for all intents and purposes over. Loot all item drops before doing so.
Sid says she's sorry. She was just trying to help the colonists who wanted to get away from Kadara, and you can either support her on that or admonish her. Vetra is afraid her sister will eventually get hurt if she keeps getting involved with dangerous people, but Sid claims she can now handle it. Vetra grows angry and insists on keeping Sid from following in her footsteps, so Sid blows her off and promises to return to the Nexus like Vetra wanted.
You can empathize with Vetra's situation, or encourage her to reason with Sid, though either way Vetra is grateful for Ryder's help and is now loyal.
Aftermath[]
At the conclusion of the mission you are deposited in the Nomad back at the entrance to Crater: Idriya.
Speak with Vetra on the Tempest. Vetra is annoyed that Sid has been using her name to call in favors. Sid has acquired the genome for something called "cat", and Vetra has no idea what that is. Vetra is worried about her sister.
During the conversation there is an option to flirt with her.
You will also receive an email from Sid.
Enemies[]
- Adhi
- Agent
- Anarchist
- Challyrion (optional)
- Fiend
- Hydra (optional)
- Meriweather
- Raider
- Sharpshooter
- Spitbug (optional)
- Turret