
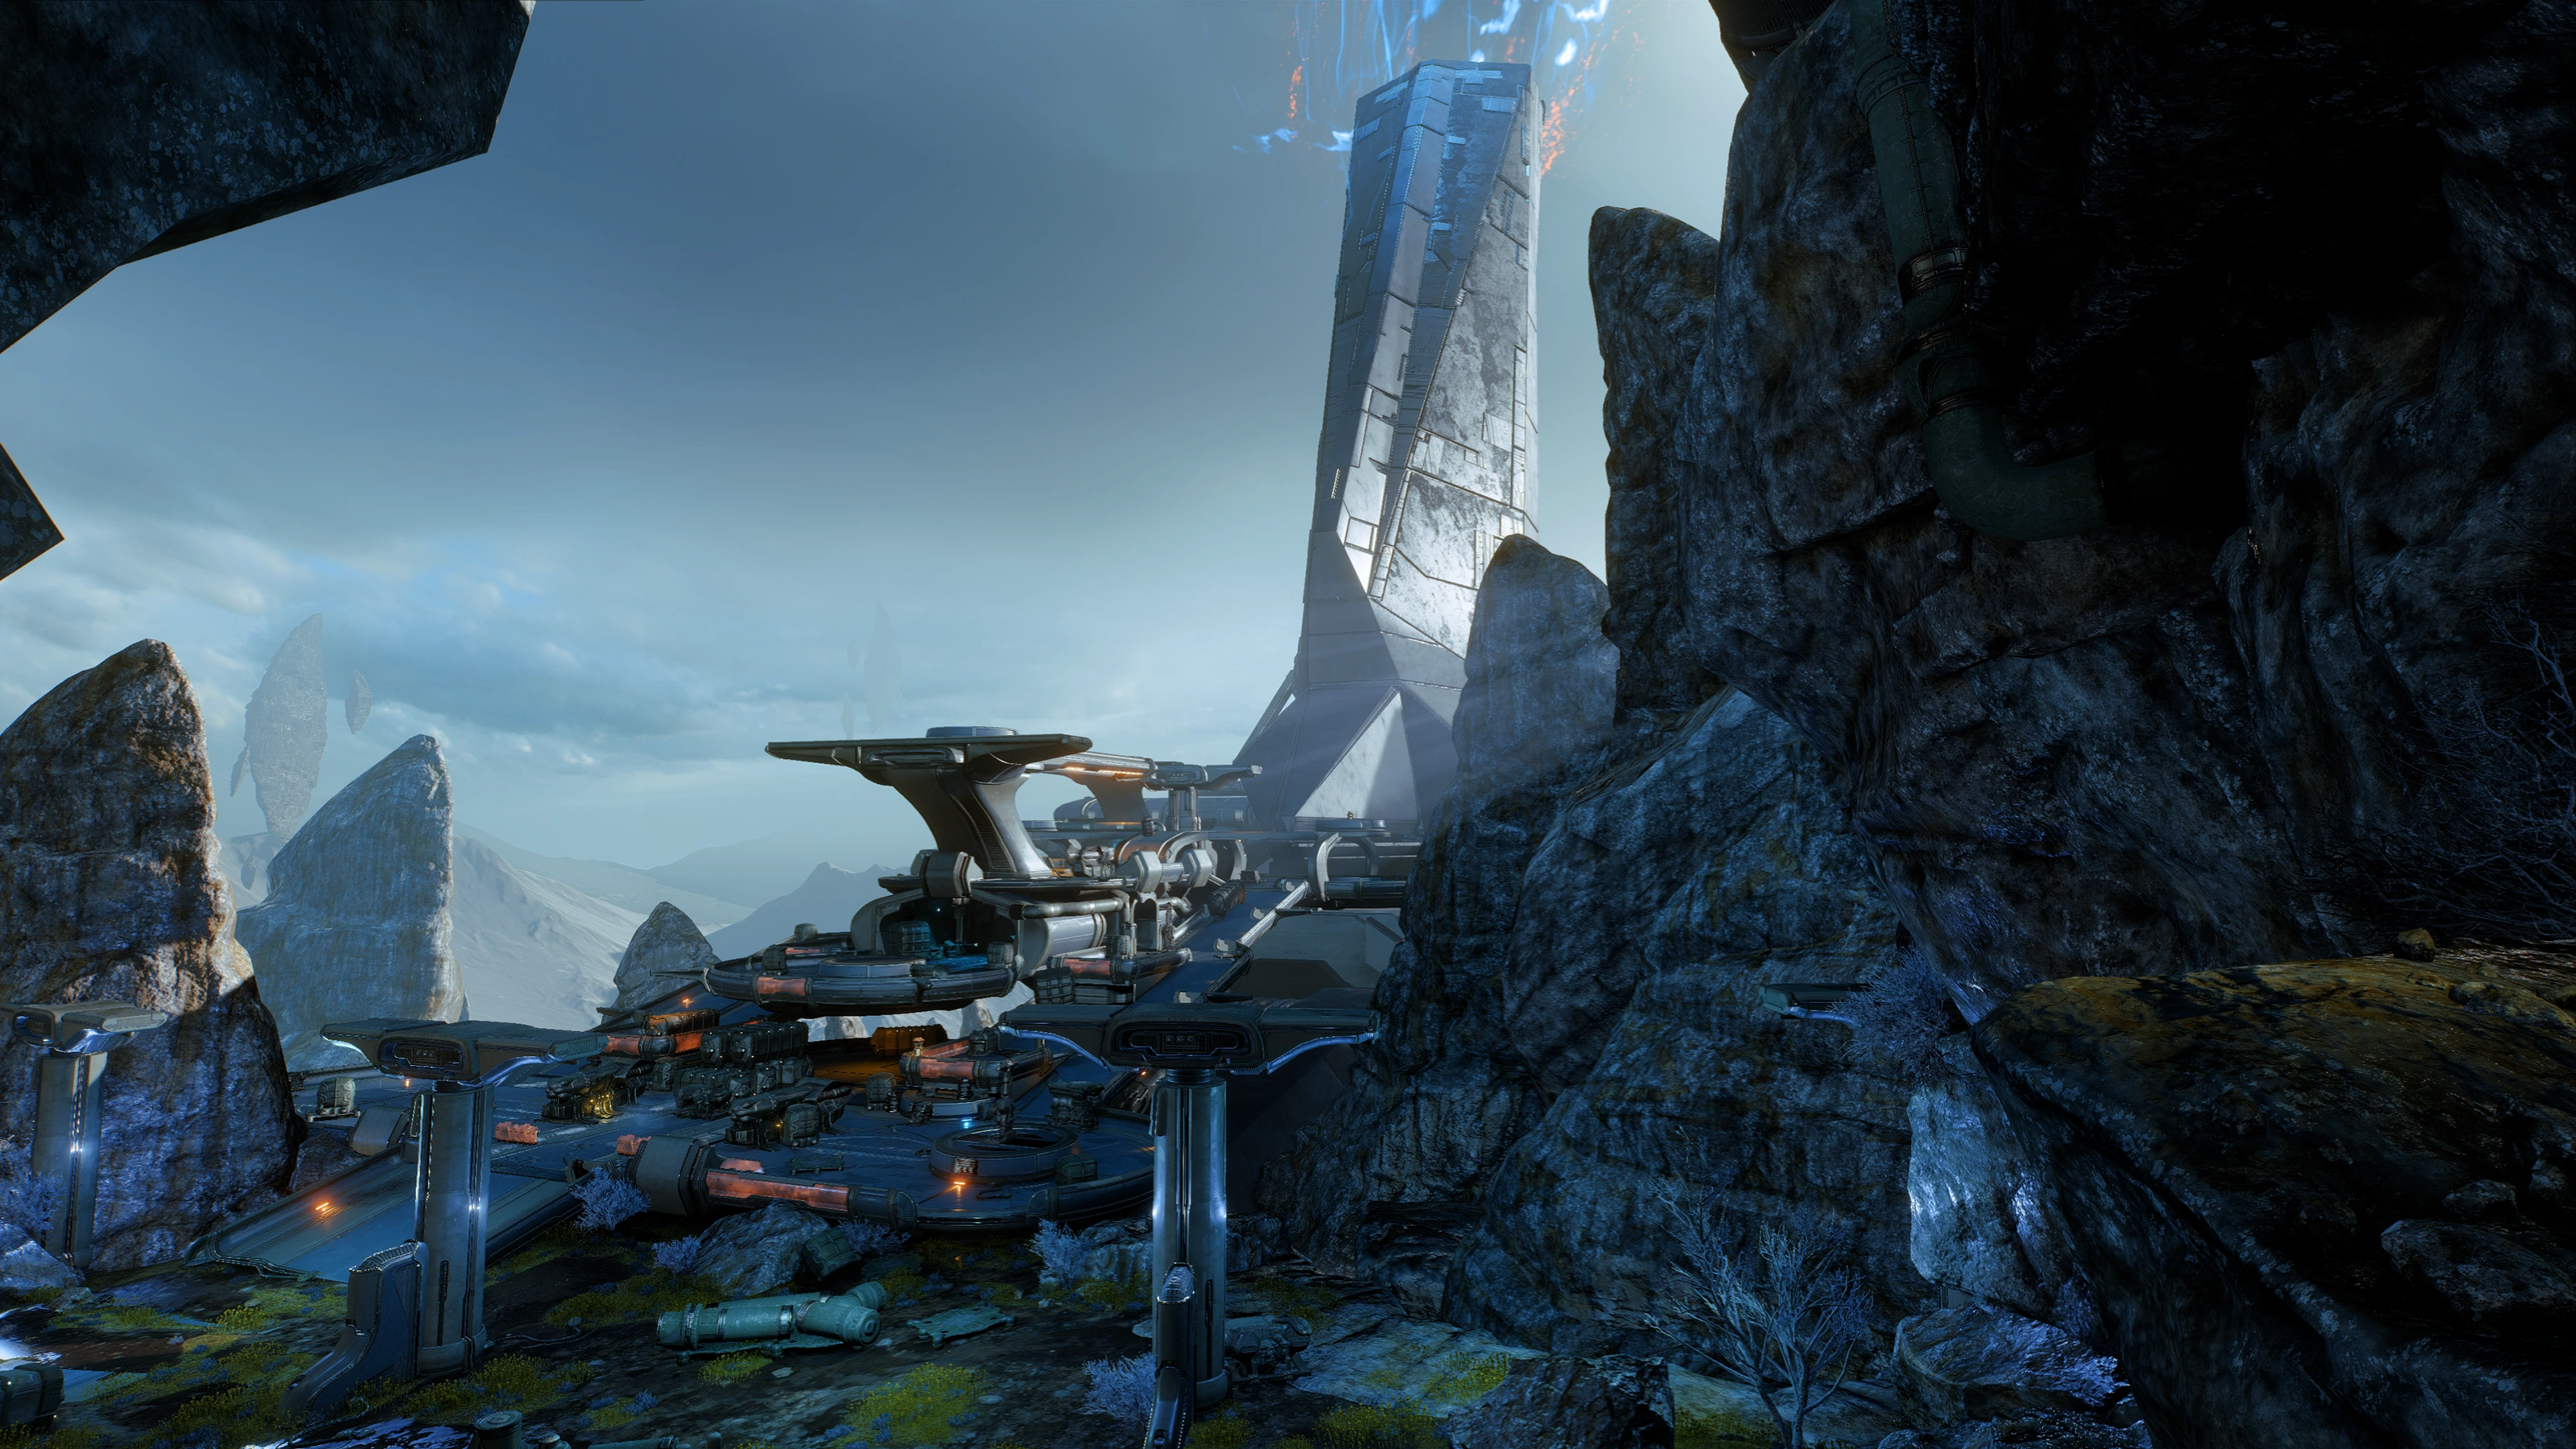
The scouting mission on Habitat 7 has met with disaster. The planet is far from the golden world the initial scans indicated; instead, its atmosphere is toxic and wracked with deadly electrical storms that struck the shuttle. Survive the hostile conditions and locate any survivors form the rest of the Pathfinder team.
Acquisition[]
This mission starts automatically after the completion of the previous one.
Walkthrough[]
Thanks to SAM fixing your malfunctioning jump-jets at the last minute, you manage to hit the top of a hill without being pulped. It's still a rough landing though, and you tumble down the slope and crack the visor on your helmet; fortunately your omni-tool can fix it.
The autosave for this mission begins in the aforementioned sequence. There is no manual saving anywhere in this Priority Op, so you'll have to rely on the autosaves that come up at certain points. When you stand up, the camera pans out allowing you to appreciate the strange prettiness of the place. Liam Kosta comes up and informs you comms are down, so your next course of action is to look for the others.
Welcome to your first outdoors mission in Andromeda. This mission serves as a movement and navigation tutorial and it will also teach the basics of combat further down the line. A lot of Codex entries are also bootstrapped here, so consult the guide if you want to check if you miss anything.
Note: If you imported a previous playthrough, all cryopod perks are disabled and you'll have to research them again further in the game. The inventory item limit resets back to 100, but you retain all previous items. If you are over the limit, this will prevent you from taking in additional weapons, weapon mods, and armor unless you deconstruct some of them. Your melee weapon also reverts back to an Omni-blade X. You start the game equipped only with the M-3 Predator regardless of previous playthrough's loadout, and you will get a few other basic weapons further in the mission, but you won't be able to use your more advanced gear.
Locate other members of the Pathfinder team[]
Note: Be wary of potential dialogue overlap. Ryder and Liam have a lot to talk about once they get their bearings and most of the time throughout the mission, so it's advisable to wait a few moments to ensure they have nothing else to say. Skipping over dialogue may even prevent triggering of optional objectives or Codex entries. There are a lot of fires strewn about; it should go without saying, but avoid crossing them as they will damage your shields/barriers then health fast.
This objective is fairly straightforward: find your teammates by following the navpoint. It is marked complete once you've accounted for the other team via comms. There are a number of optional objectives along the way, though, and while it is advised to do them all, it's still entirely your prerogative.
One of the first things you can do here is scan the yellow glowing "plants" on the ground (+10![]() ). Without SAM around, identiying anything on the scanner is impossible, so non-Initiative items are labeled "unknown" for now. Nevertheless, just keep on cataloguing things.
). Without SAM around, identiying anything on the scanner is impossible, so non-Initiative items are labeled "unknown" for now. Nevertheless, just keep on cataloguing things.
A short distance from the plants the reason SAM's offline becomes apparent. If examined, the QEC relay (+10![]() ) from the shuttle is revealed to be permanently damaged. The shuttle debris next to it (+10
) from the shuttle is revealed to be permanently damaged. The shuttle debris next to it (+10![]() ) is supposed to be your supplies, but they're useless now. Nearby, the giant mushroom-like lifeform is also scannable (+10
) is supposed to be your supplies, but they're useless now. Nearby, the giant mushroom-like lifeform is also scannable (+10![]() ).
).
If you consult the map, everything is obscured at first and the area is slowly revealed as you explore. For now, just head east.
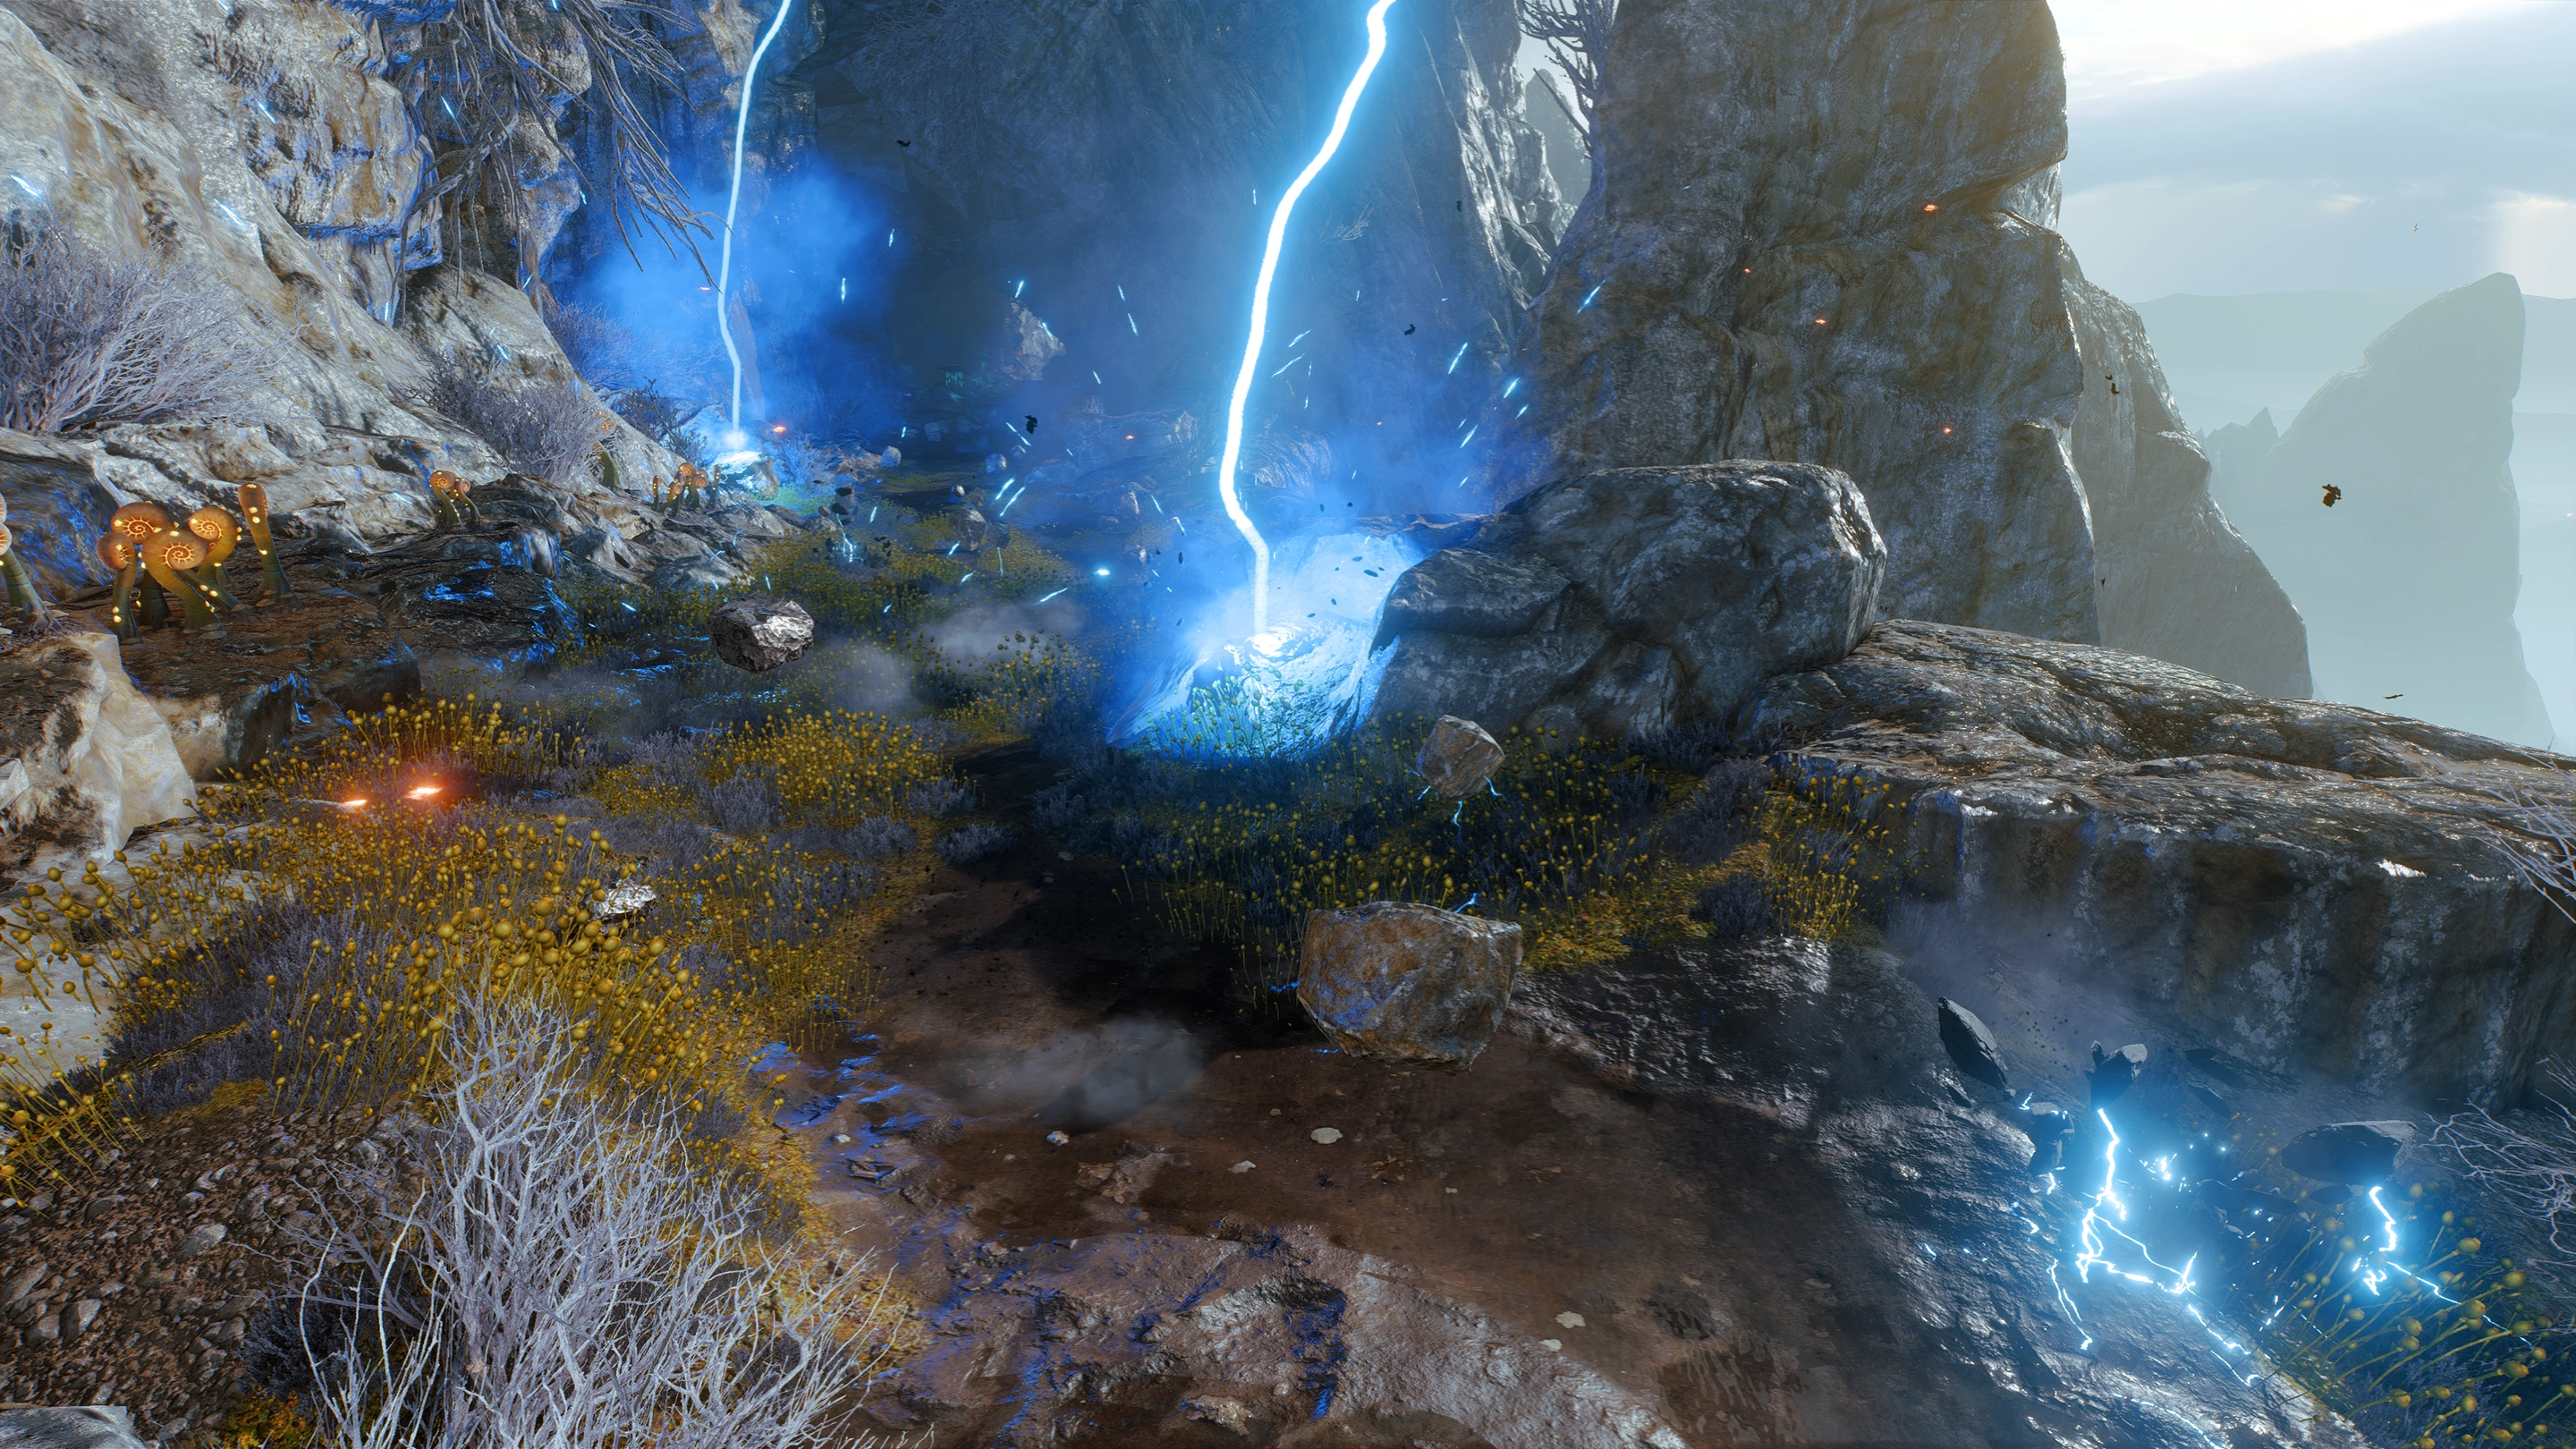
The path eventually becomes riddled by multiple lightning strikes. There are a lot of floating rocks in the path, but look for smaller rocks rising from the ground; avoid them as the bolts will hit those spots a few seconds later. Stay close to the mountain wall as much as possible until you reach the cave further east.
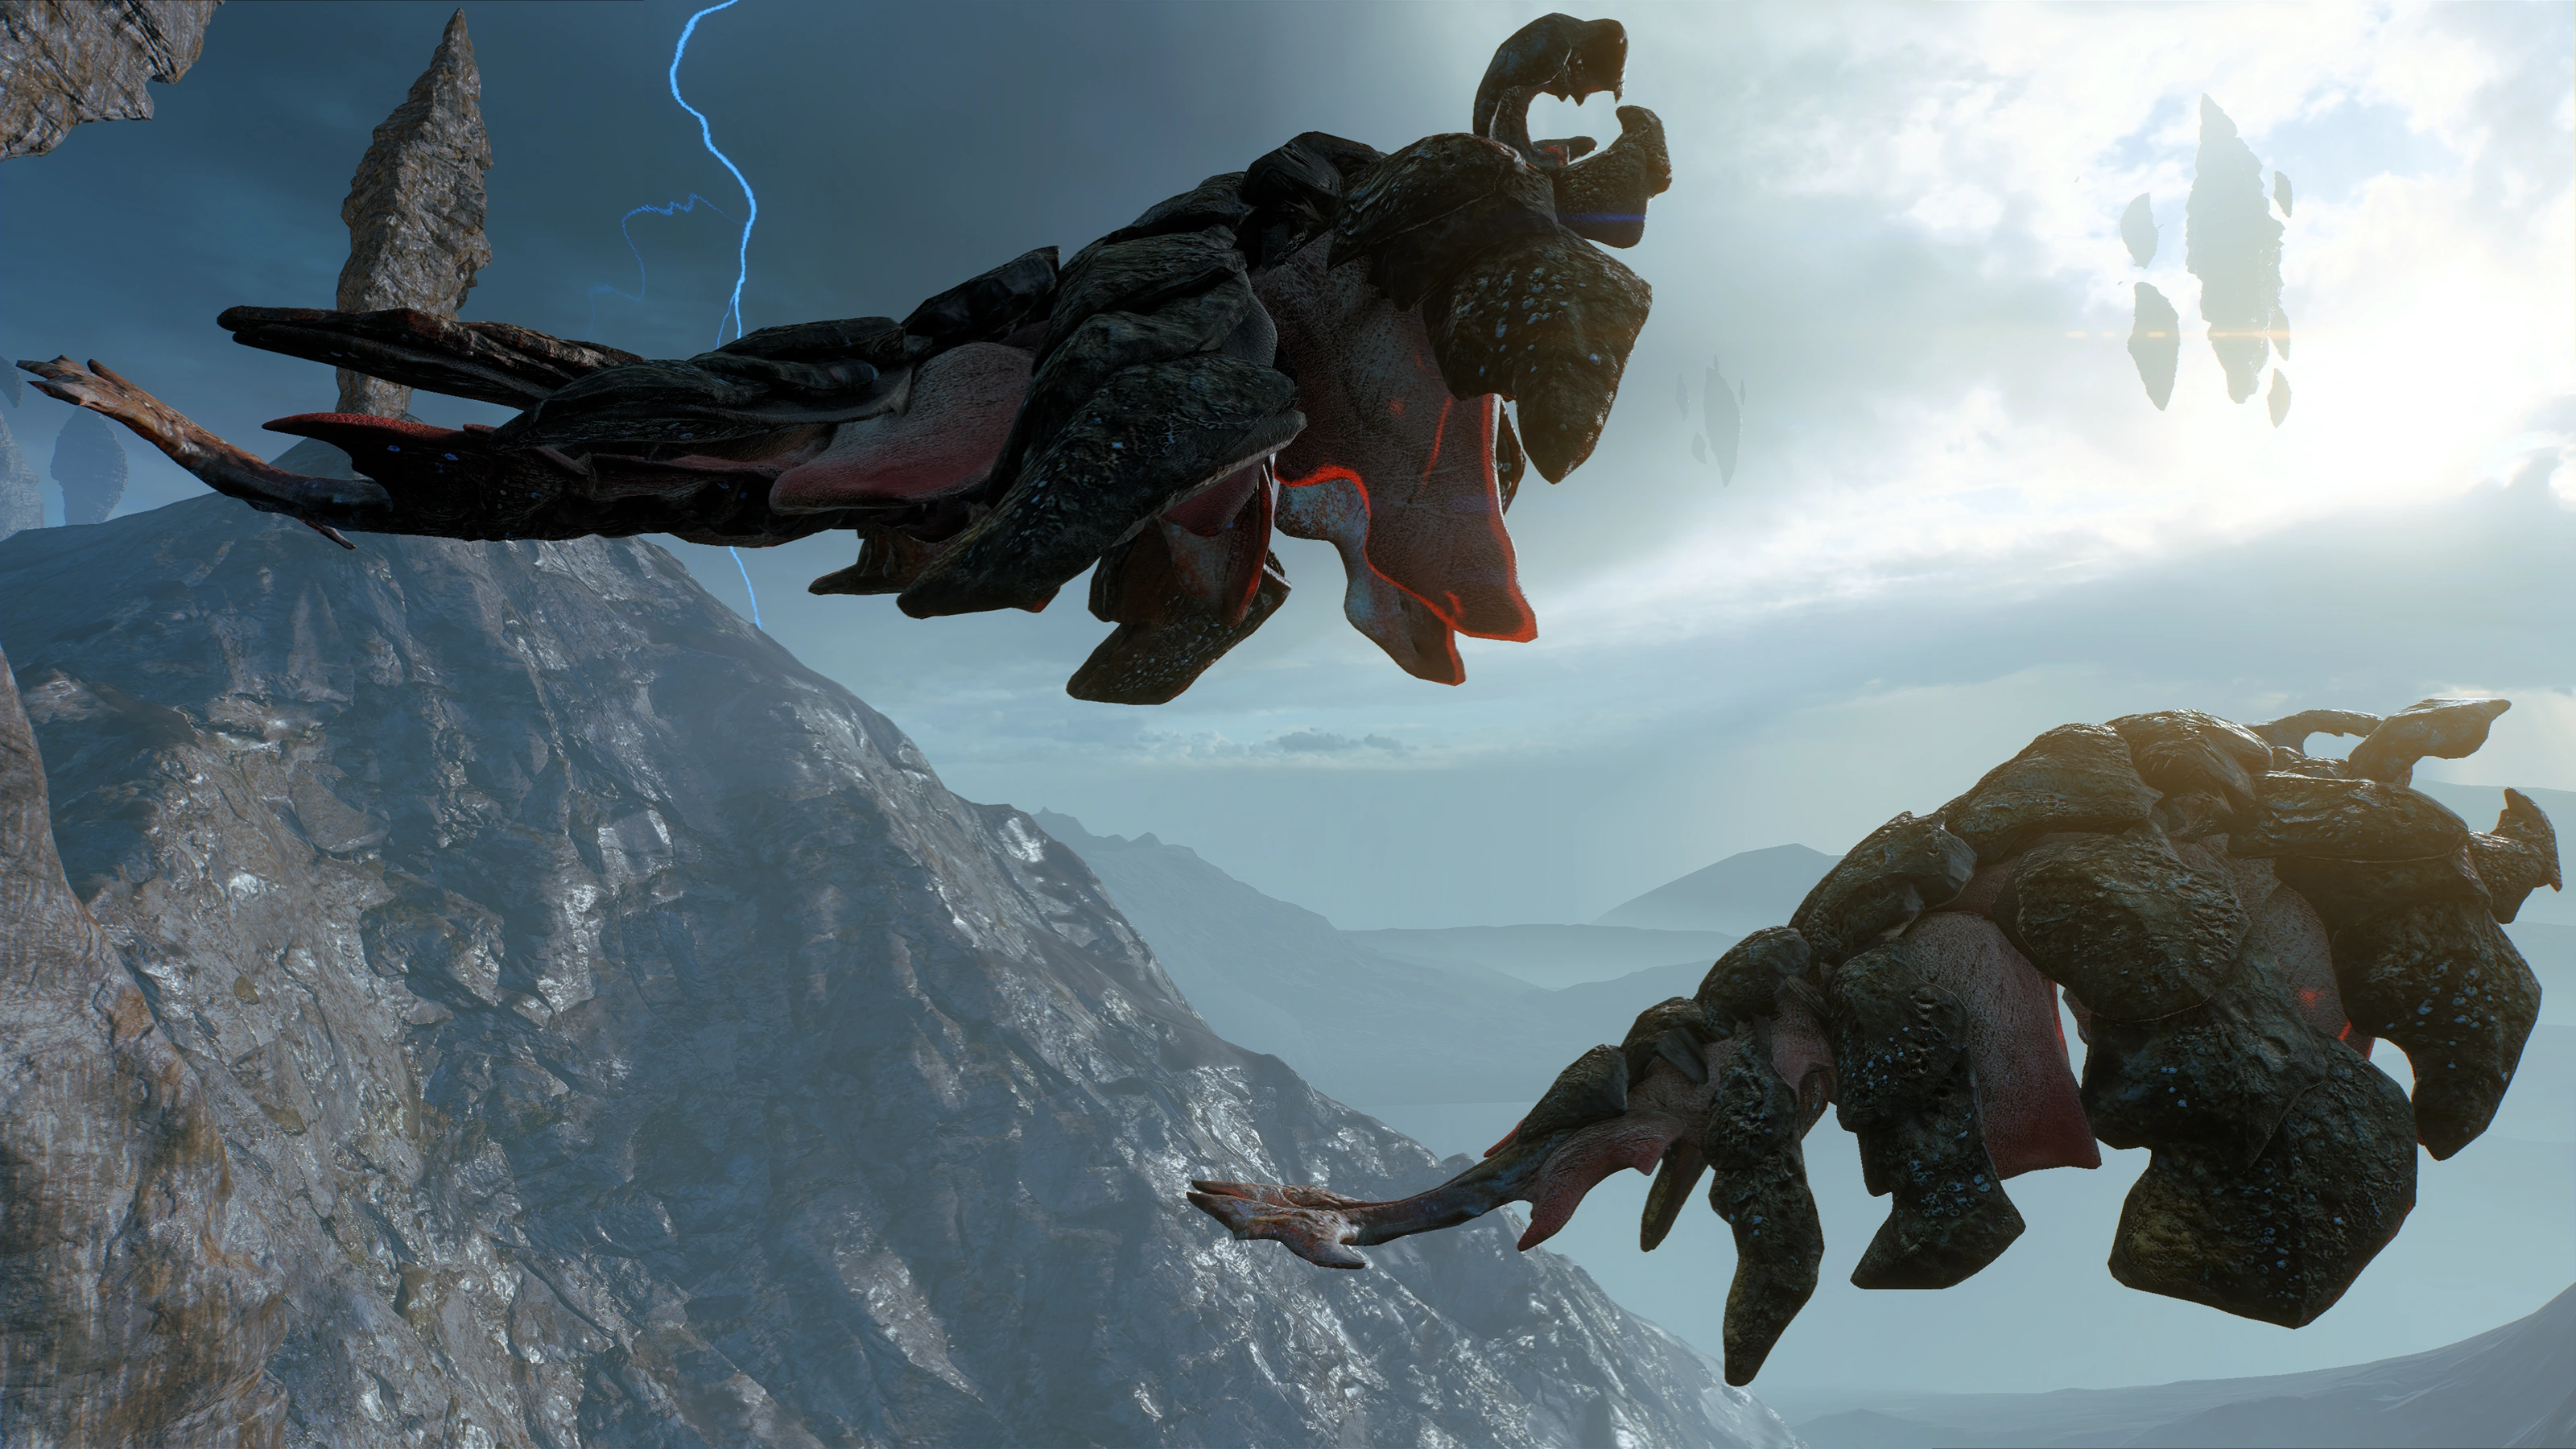
Upon exiting the cave, you may notice weird animal noises coming from above. Two creatures are flying in a wide circle, causing Ryder to remark Cora Harper will appreciate the sight.
Optional: Test your weapon on a damaged fuel cell[]
Note: Scan the Fuel Cell for +10![]() BEFORE shooting the Fuel Cell (marked with
BEFORE shooting the Fuel Cell (marked with![]() ). This optional objective may not appear if you imported a previous playthrough.
). This optional objective may not appear if you imported a previous playthrough.
About a dozen meters after an ammo supply cache (![]()
![]() ), there is a small cave to the left with more giant mushrooms and a large orange glowing crystal emitting large amounts of strange energy. Scan the Crevice for +10
), there is a small cave to the left with more giant mushrooms and a large orange glowing crystal emitting large amounts of strange energy. Scan the Crevice for +10![]() .
.
Leave the small cave and head back towards the navpoint![]() . There will be multiple gaps to jump and cliffs to climb to reach the navpoint, while Liam summarizes his backstory. When you reach the destination, a cutscene will start.
. There will be multiple gaps to jump and cliffs to climb to reach the navpoint, while Liam summarizes his backstory. When you reach the destination, a cutscene will start.
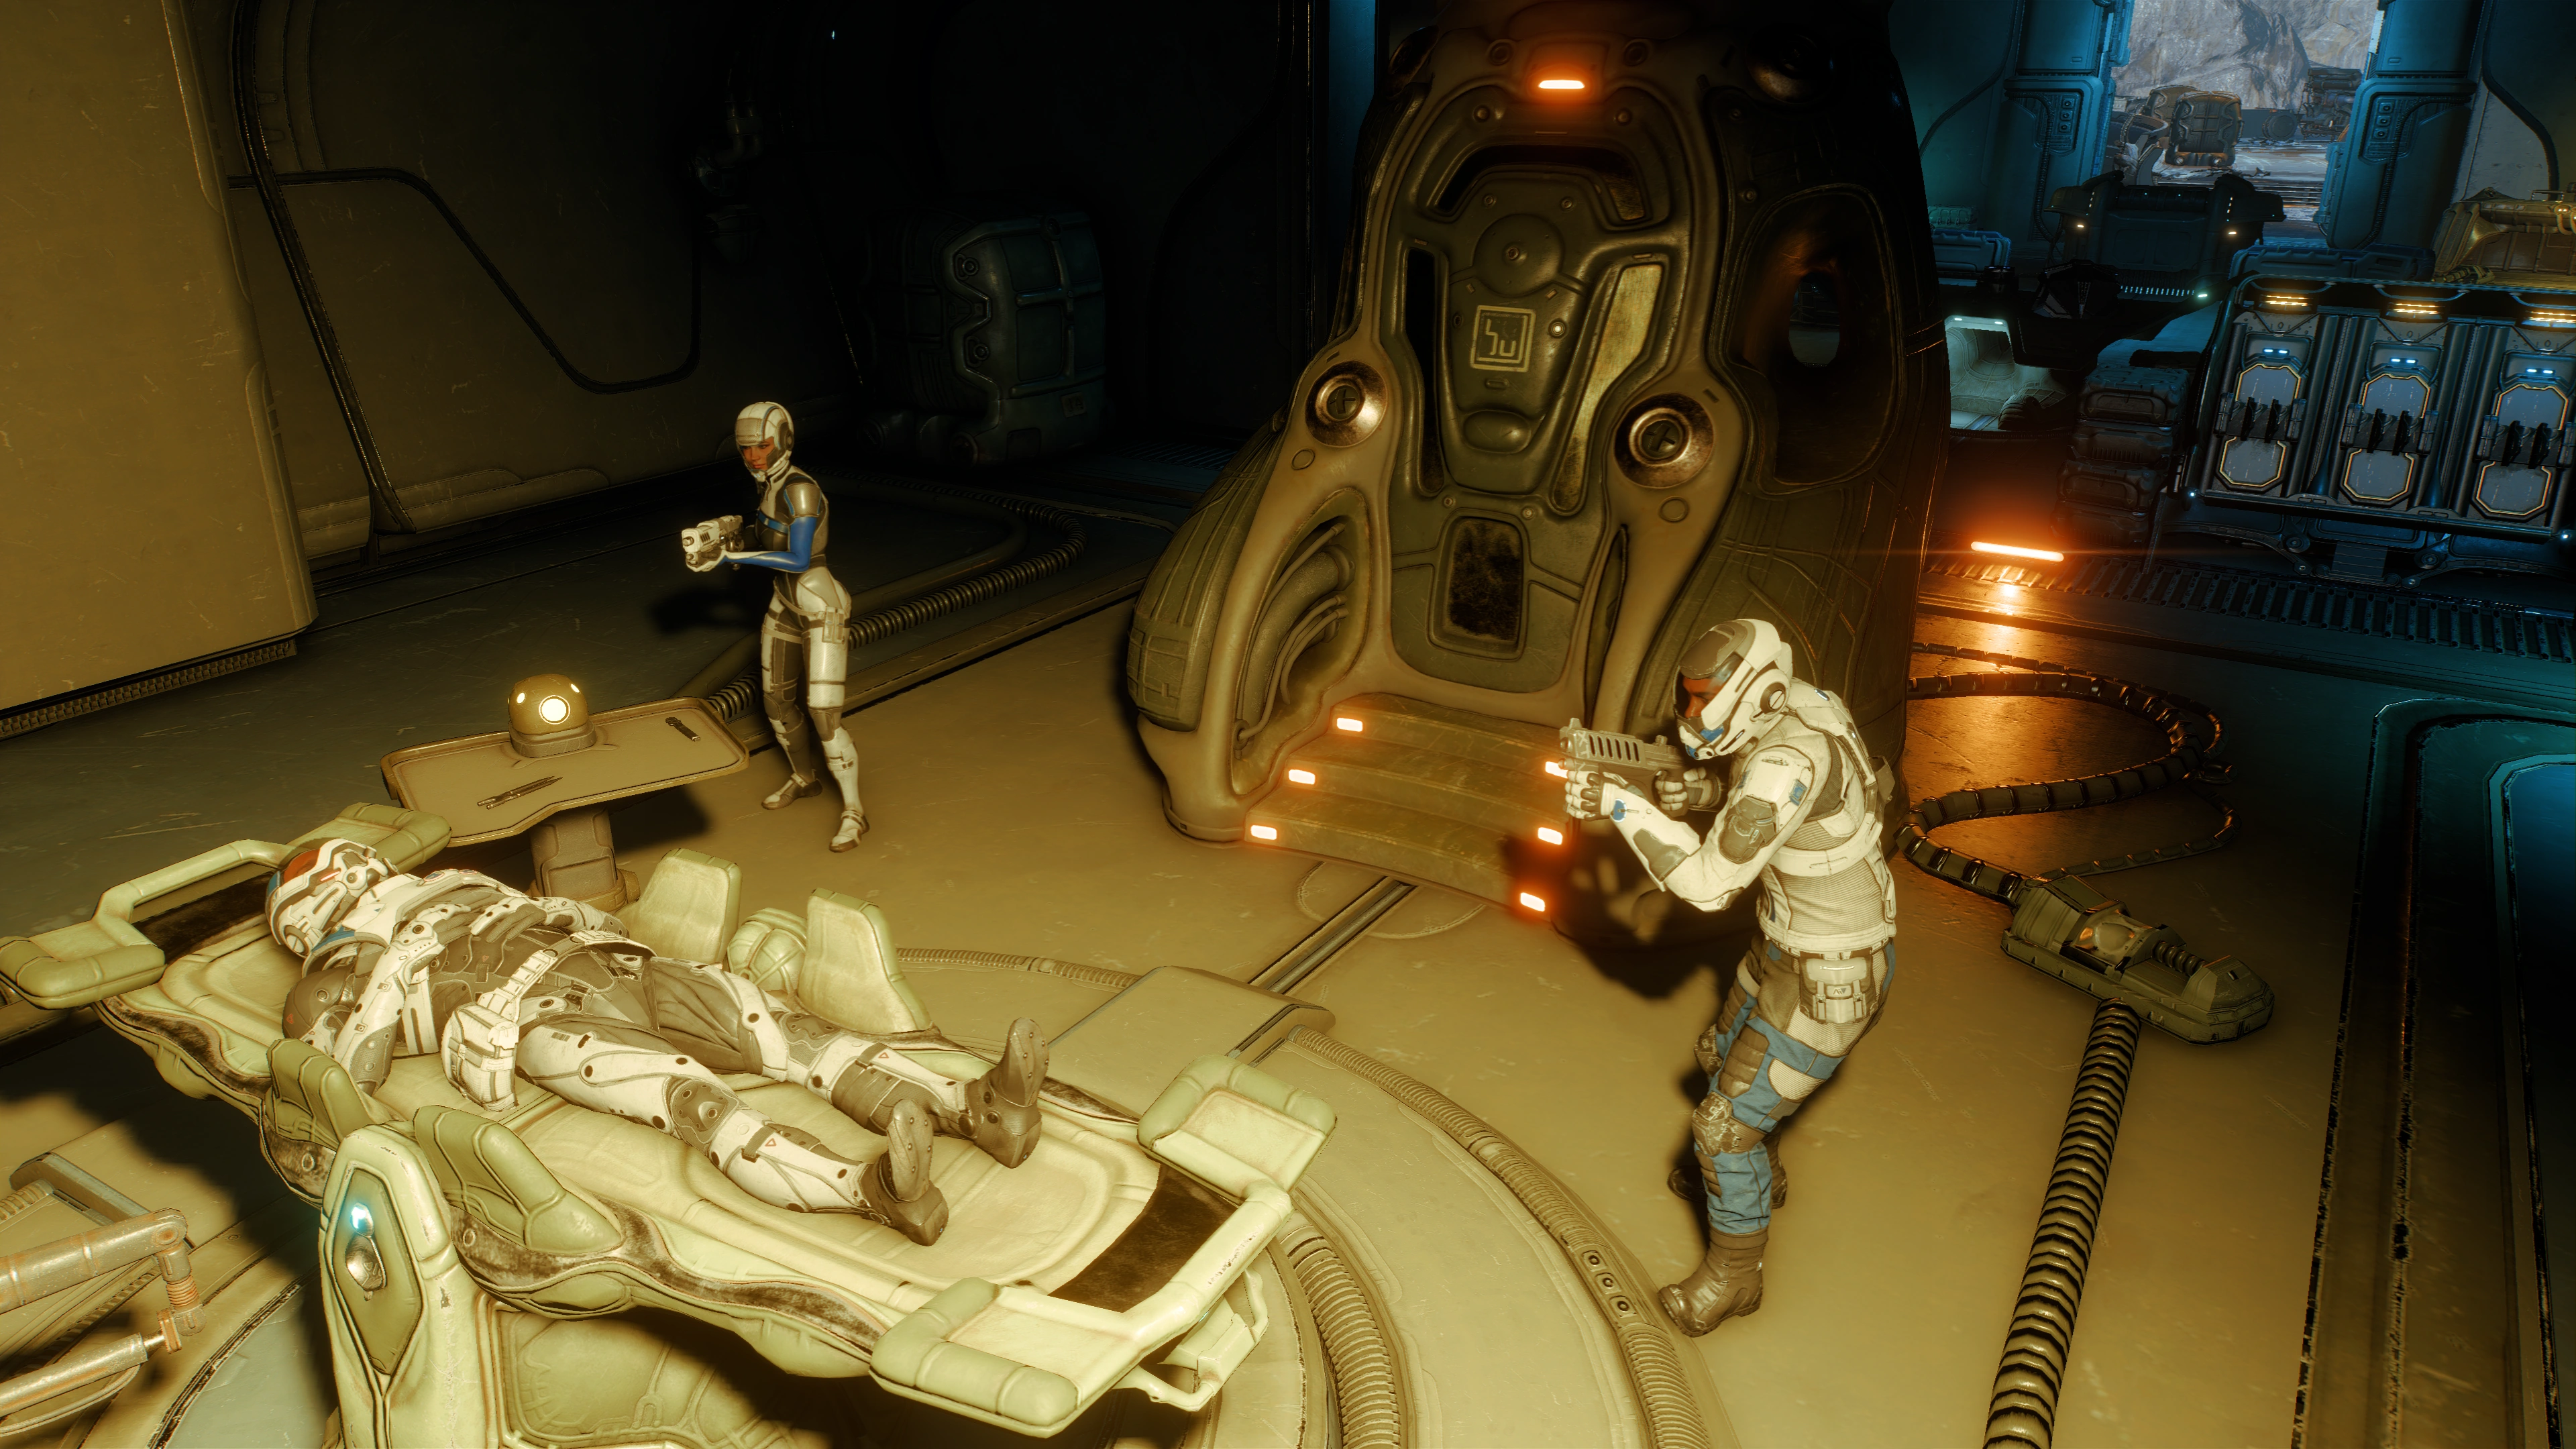
Protect Fisher[]

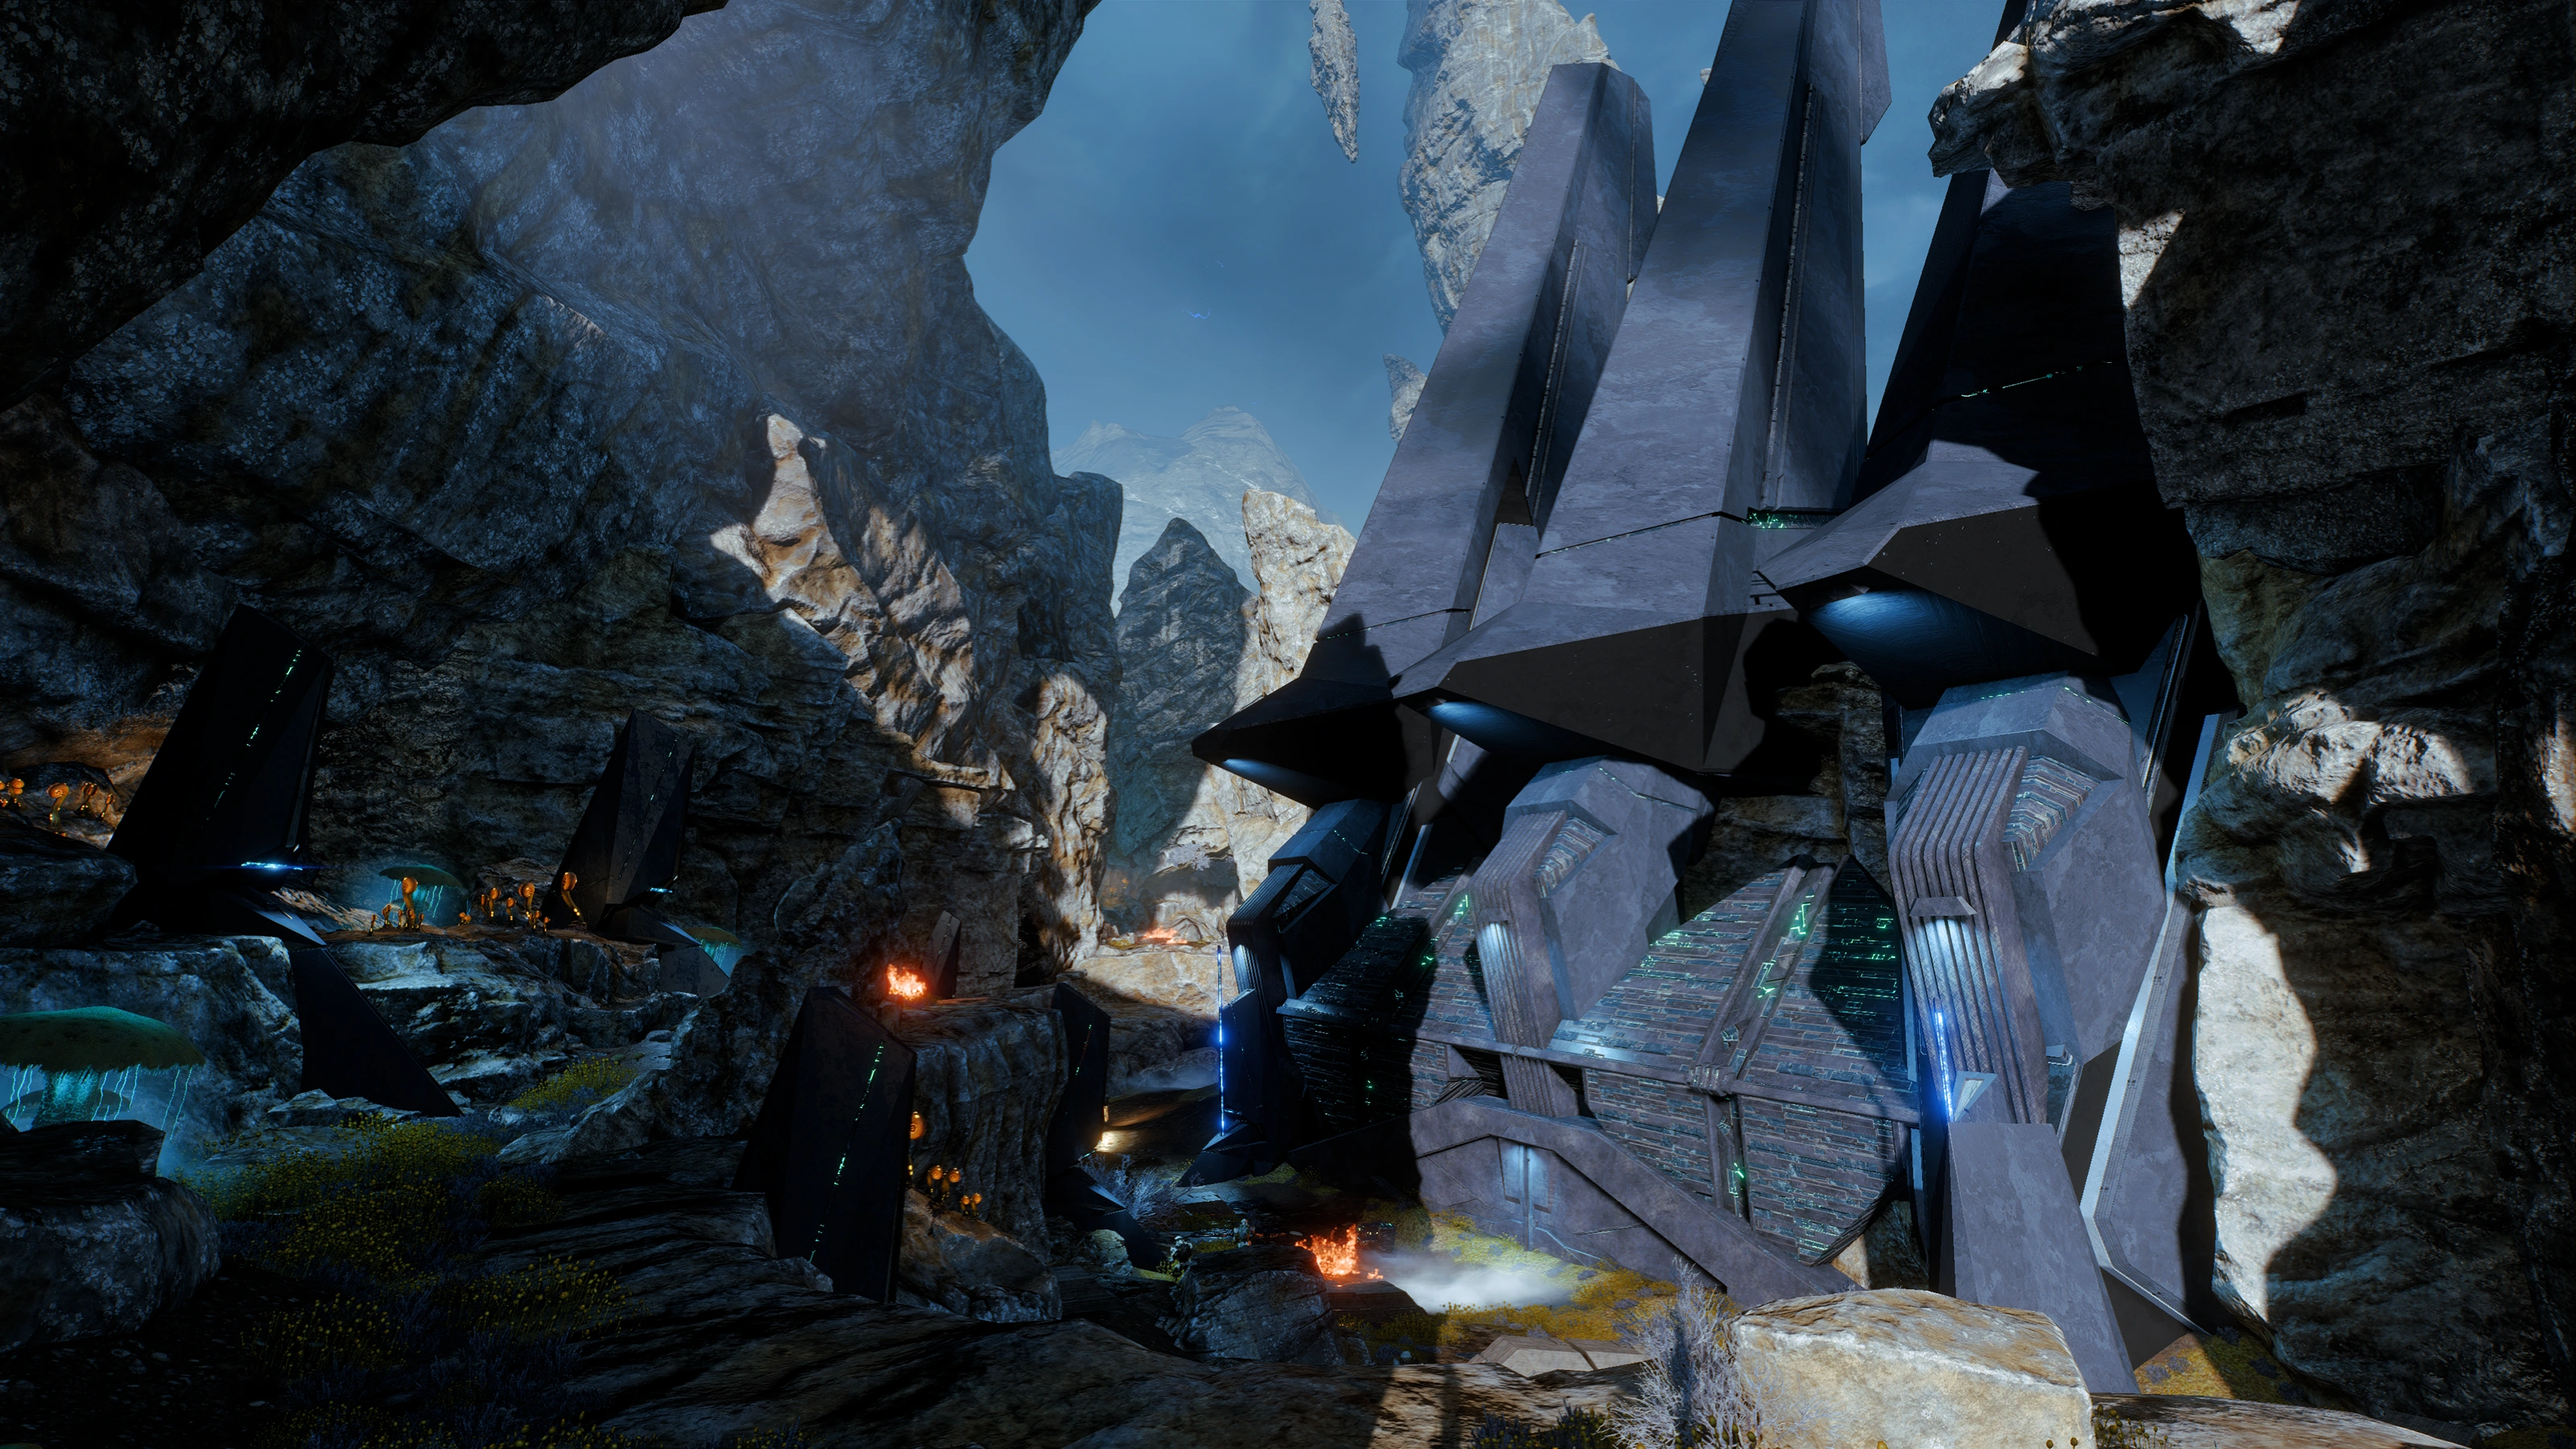
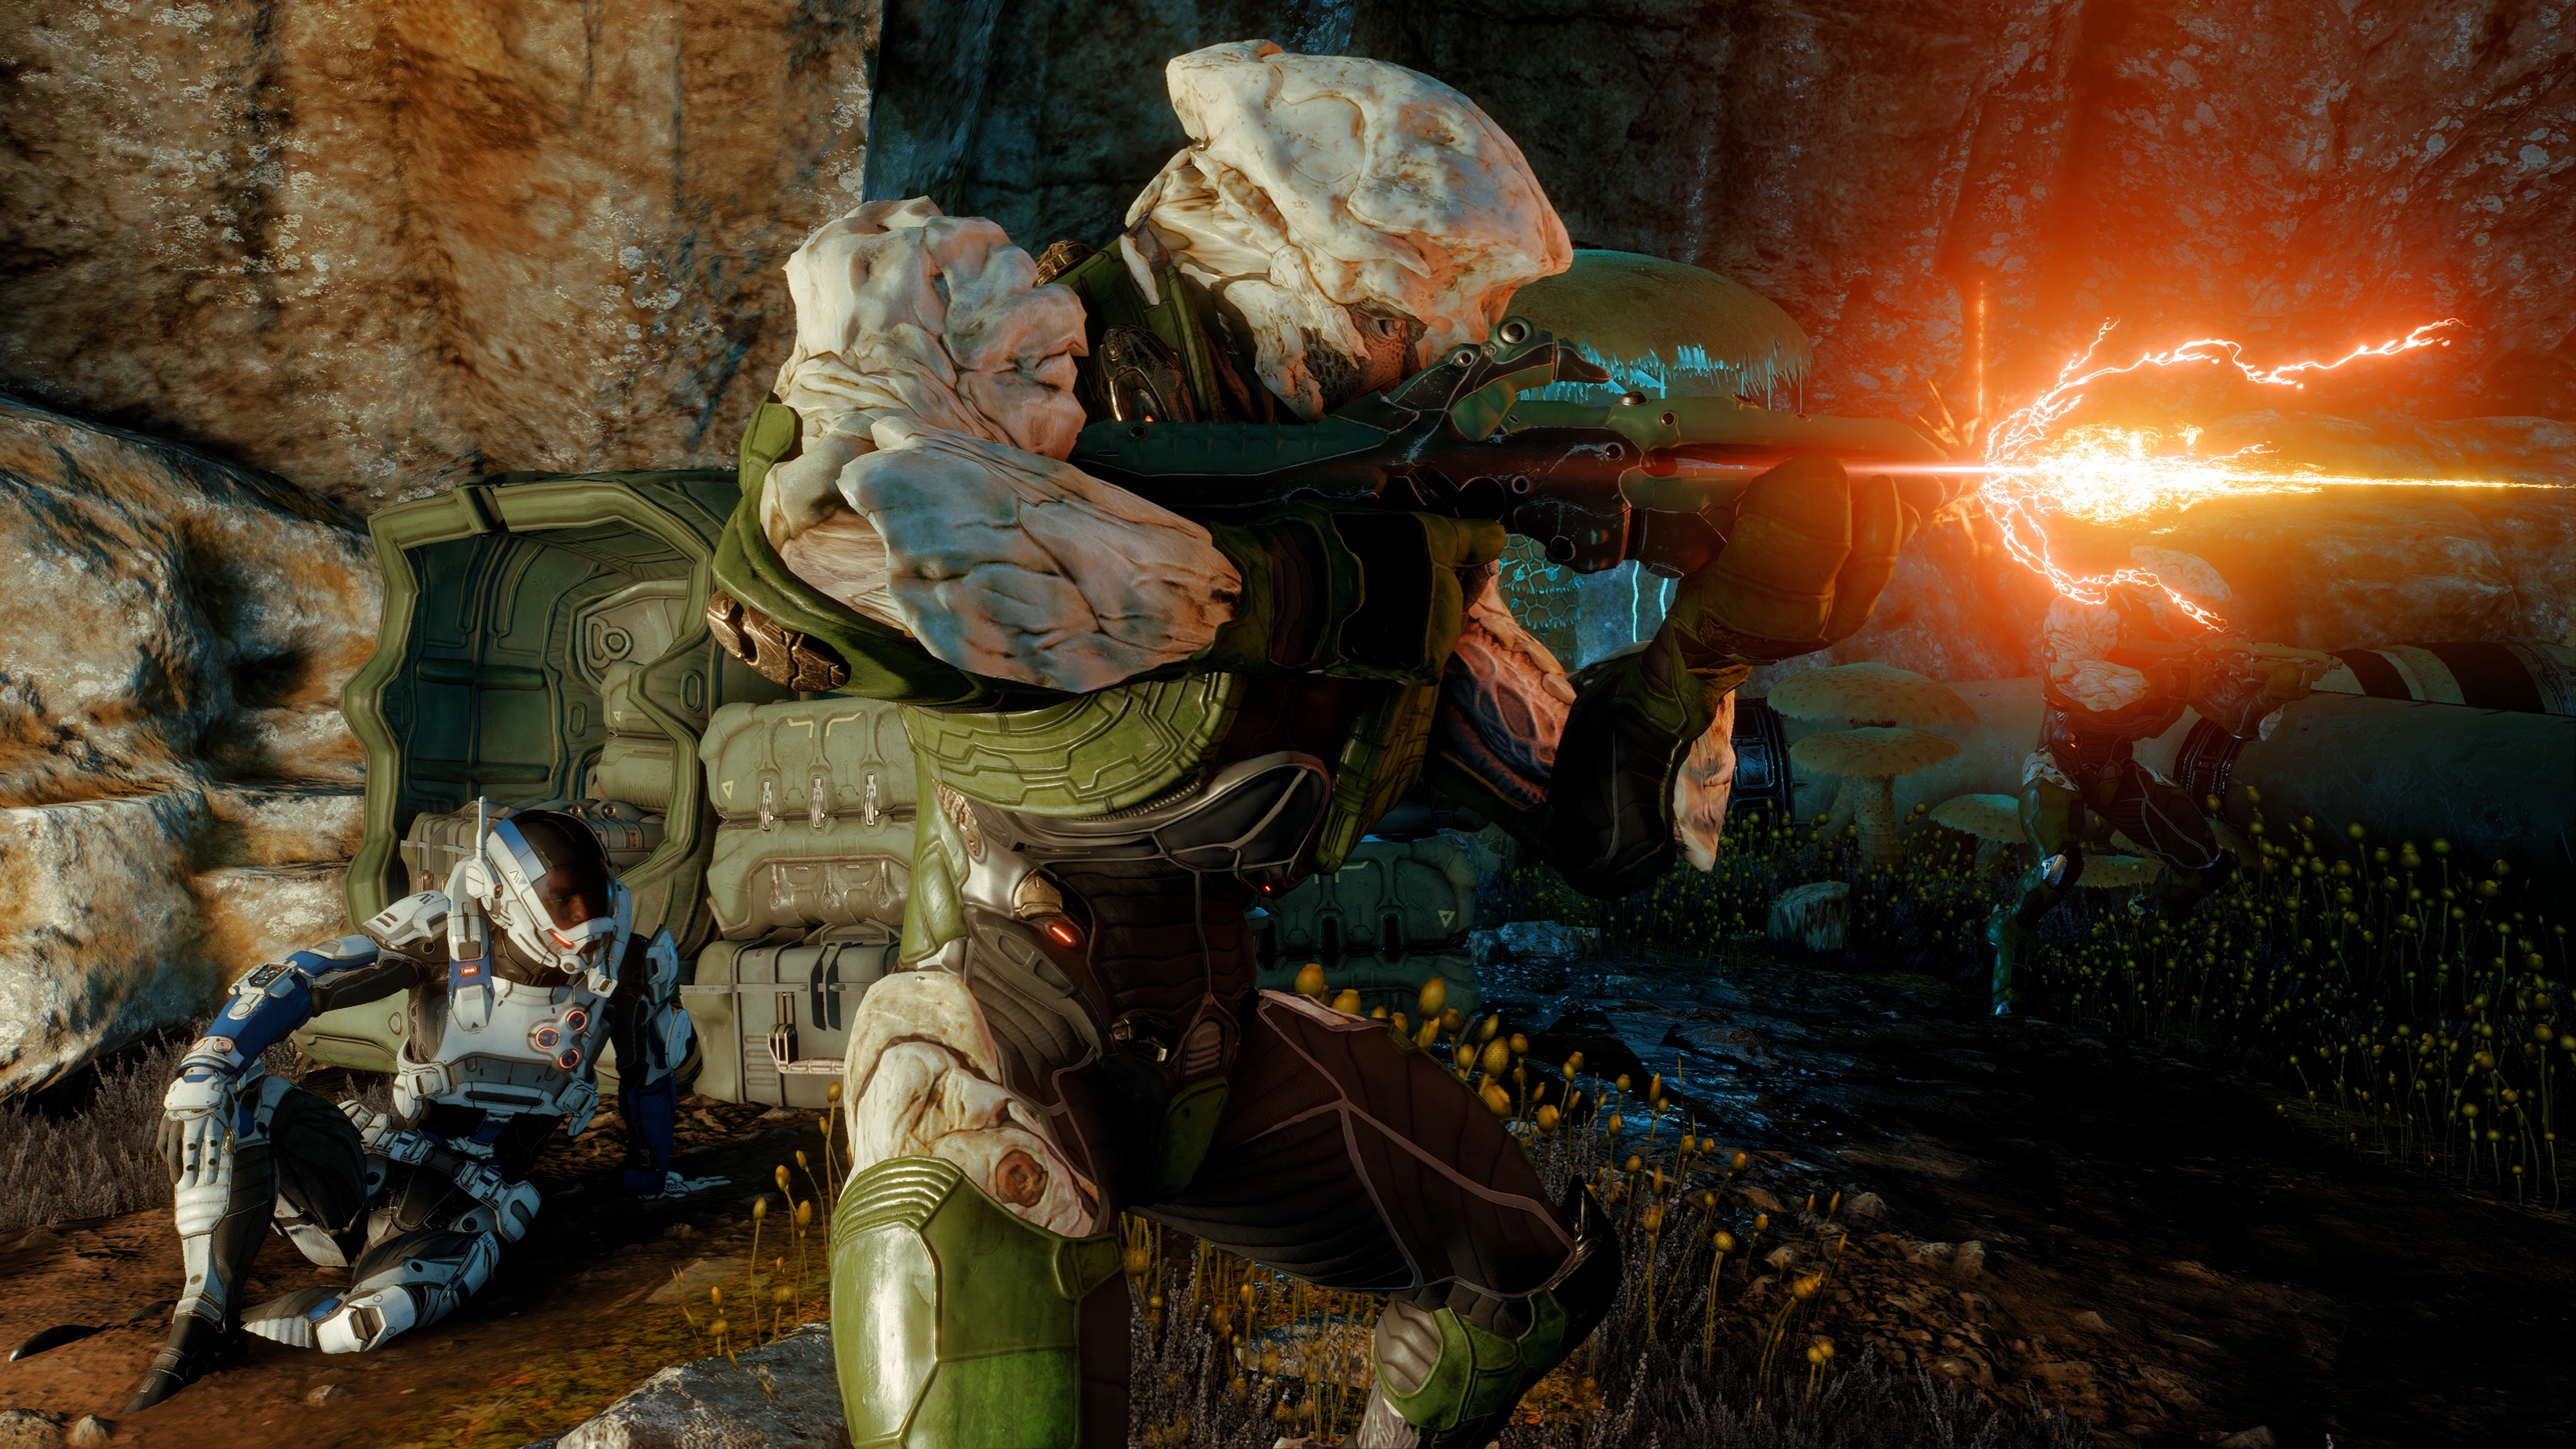
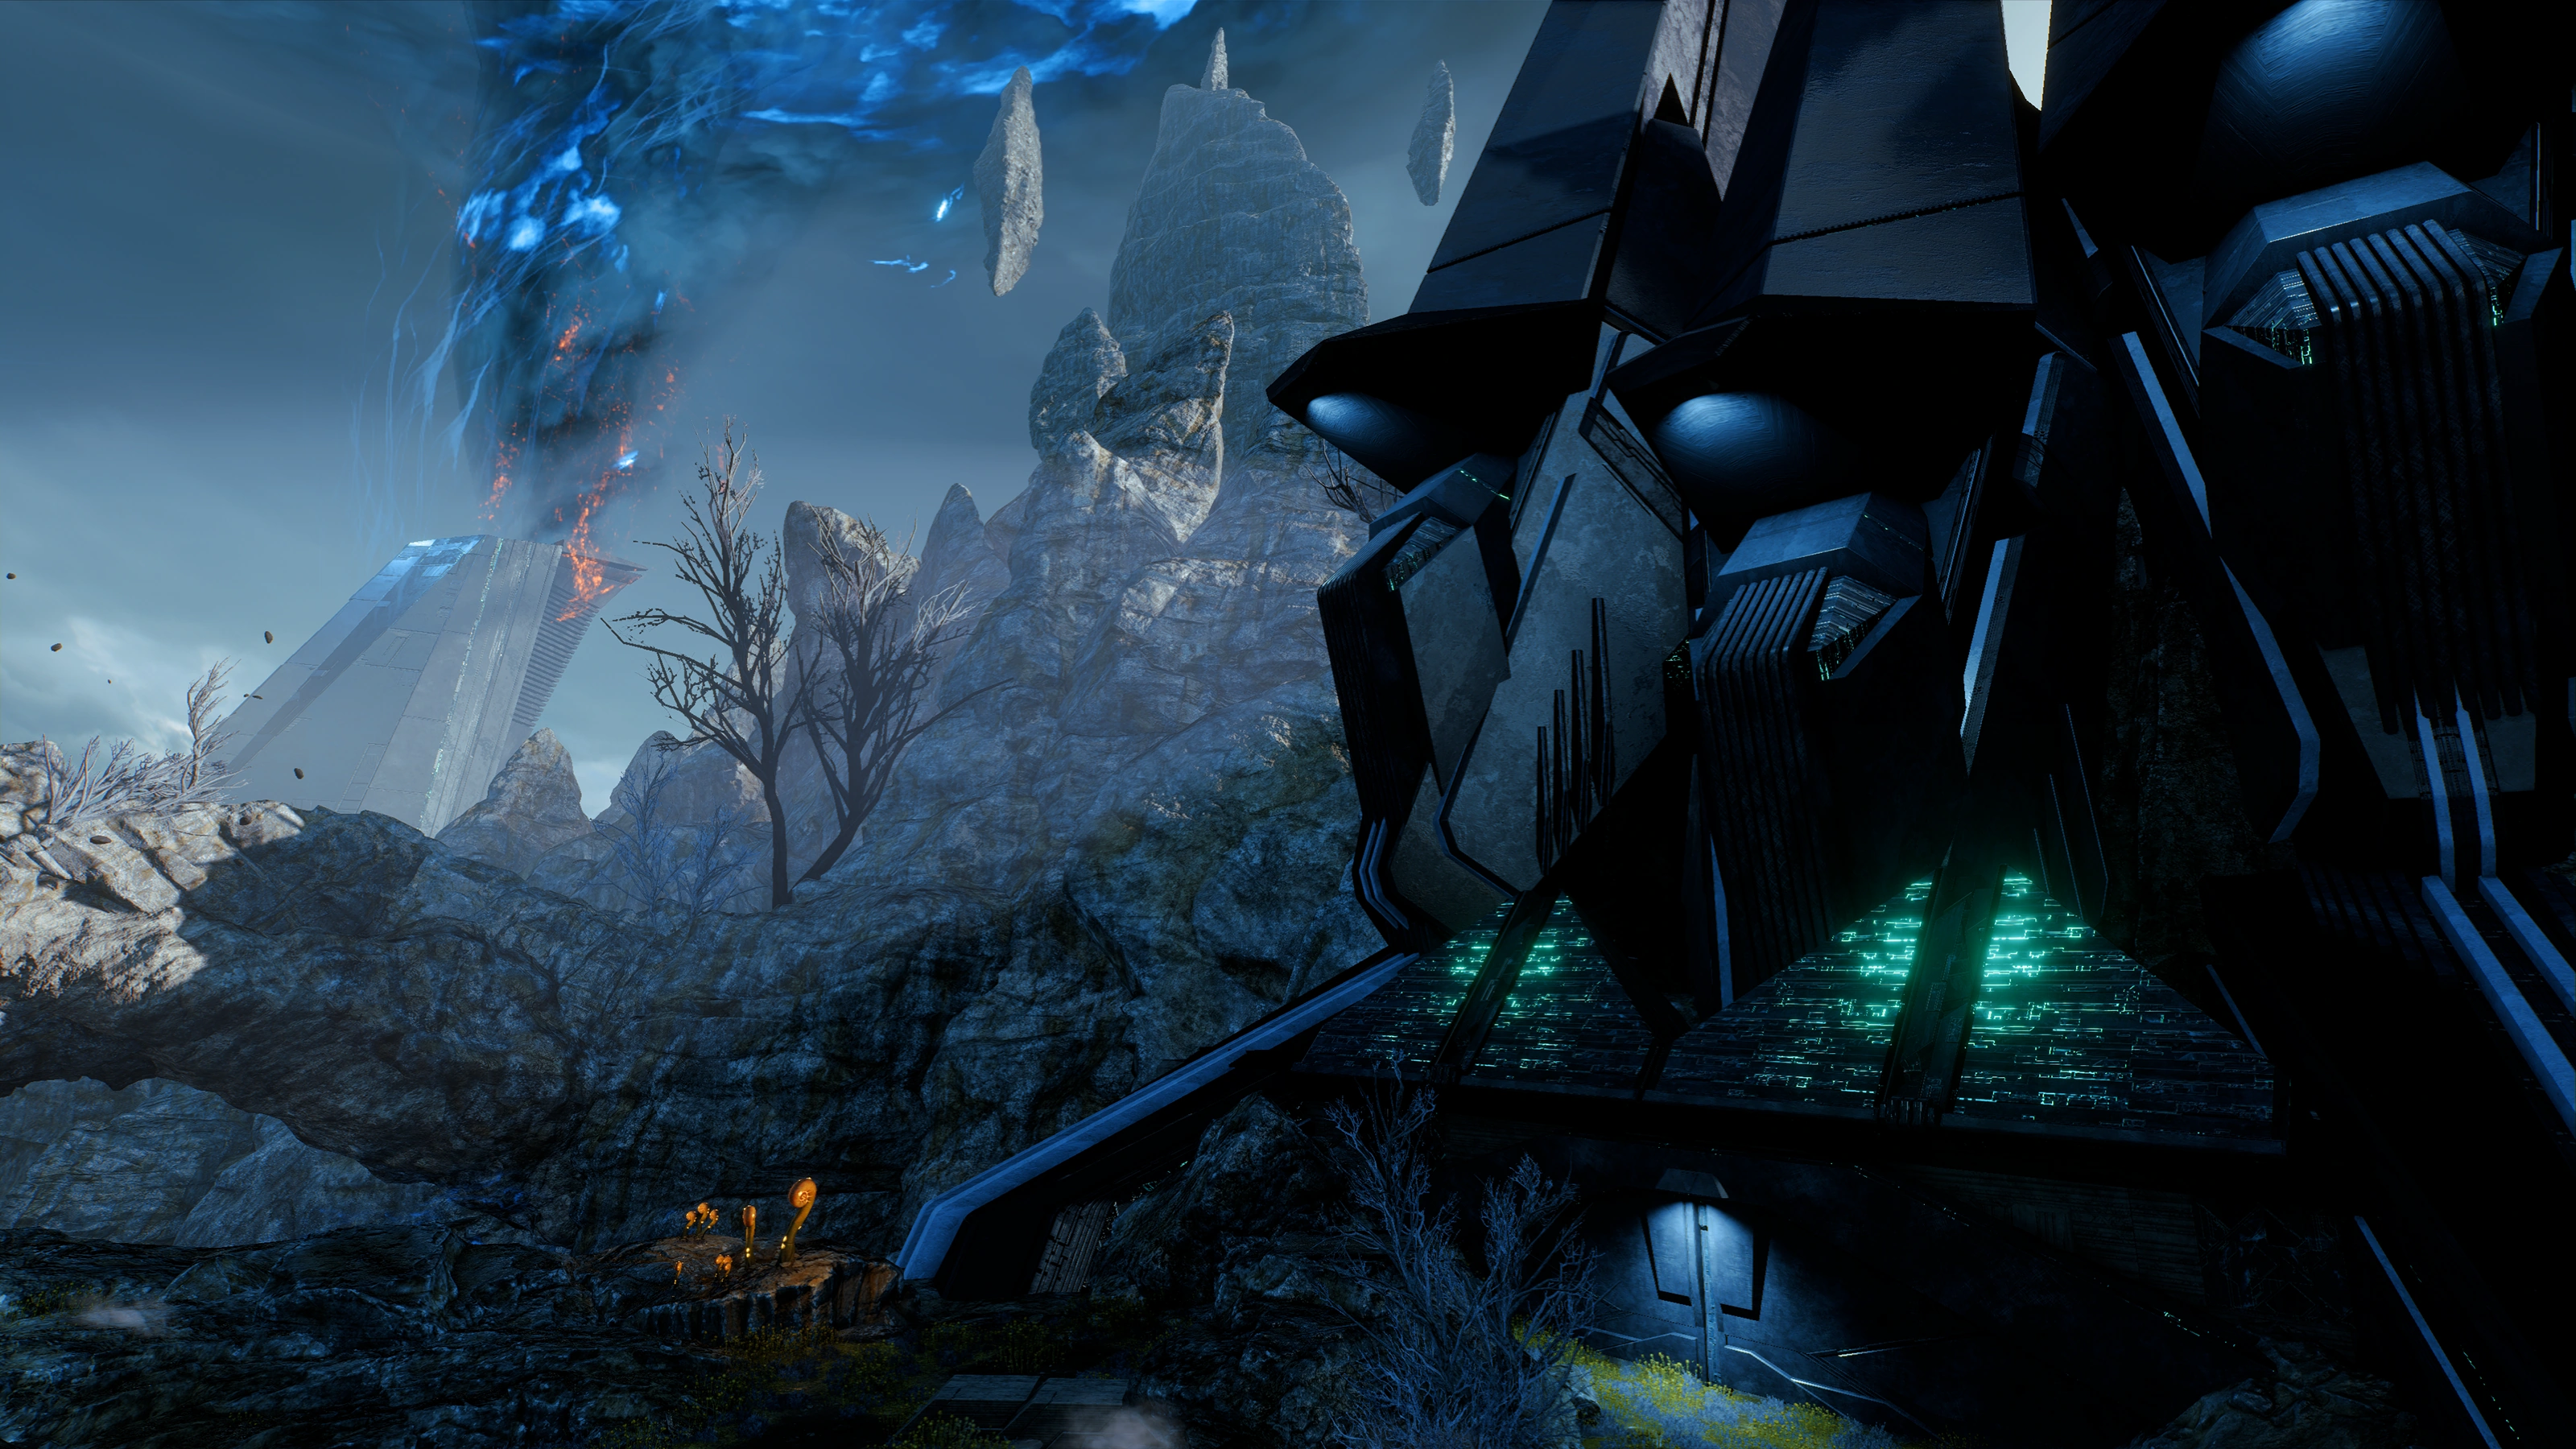
Ryder and Liam notice a large monolith with a blue cloud billowing to the sky, and you can take it as a threat or a mystery to be solved. Nearby they spot crewmember David Fisher who is pinned down by two Andromeda natives toting guns. You can make a conscious choice to go in flashing weapons or unarmed, but regardless, first contact with the aliens turns violent. One of them starts beating up on Fisher, and if you choose not to do anything, Liam forces the confrontation.
Neutralizing the aliens awards +113 XP. Dialogue is mutable depending on your chosen stance.
Fisher is unable to walk but lets you know that Lucas Greer and Dusty Kirkland went ahead looking for help. Ryder and Kosta leave him behind.
Optional: Scan the dead alien bodies[]
Scan an Unknown Alien (dead body) for +50![]() to complete this objective. You'll learn something about their physiology, but without SAM the data is limited.
to complete this objective. You'll learn something about their physiology, but without SAM the data is limited.
Optional: Search the shuttle wreckage for supplies[]
Nearby is a lootable container. Open the container and take the guaranteed three Shield Capacitors and two Incendiary Ammo consumables to complete this objective.
Restock from a nearby ammo cache if needed. Close by is a health supply cache (![]() ), which this far into the game is the only way to heal Ryder. If you later return to these supply caches, you'll find that they have refilled.
), which this far into the game is the only way to heal Ryder. If you later return to these supply caches, you'll find that they have refilled.

Up ahead the path diverges to the northwest and the north. Both paths have their own sub-objectives to fulfill, though you can easily accomplish one after the other and you can eventually circle back to Fisher regardless of the path.
Whichever path you pick first, you will encounter a huge alien structure built into the mountain on the right side, several hostile aliens, and Dusty Kirkland (this means the other path will not have Kirkland). They shoot him dead even while he's surrendering and you're unable to save him in time, giving you the impetus to defeat the aliens (+20XP). Further ahead on either path you will have an encounter with a biologically cloaking hostile animal. Scanning it the first time yields +50![]() .
.
Note: For the purposes of this walkthrough, the northwest path is taken first.
Optional: Check on Kirkland[]
Inspecting Kirkland's body will start a cutscene. After the cutscene, an M-8 Avenger assault rifle is awarded and a new optional objective is added.
If you choose to pass over this optional objective, you can still obtain the Avenger later in the mission.
Optional: Locate Greer[]
Scanning either alien structure's door awards +10![]() and the revelation that these structures are only 3-4 centuries old; they weren't present when the Initiative departed the Milky Way 600 years earlier. Both also have nearby "lamps" can also be scanned, but their incomprehensible composition unnerves Ryder. These lamps can be scanned over and over again, but never yield anything.
and the revelation that these structures are only 3-4 centuries old; they weren't present when the Initiative departed the Milky Way 600 years earlier. Both also have nearby "lamps" can also be scanned, but their incomprehensible composition unnerves Ryder. These lamps can be scanned over and over again, but never yield anything.
- Northwest Path
The northwest path from Fisher leads to a working Atmospheric Analyzer indicating the planet's atmosphere is not suitable to human life, nor has it been polluted or irradiated by its inhabitants.
Go further north until you reach a huge alien structure built into the mountain on the right side. There are four aliens guarding the structure, plus Kirkland if you picked this path first. For what it's worth, the left side gives you high ground advantage.
There is a small container in the lower ground, next to a boulder opposite the alien door. On a rocky surface next to the door and before a fire is another small container. There are also three devices nearby (+10![]() each), more rounded than the angular machinelike structures, although their function is unknown for now.
each), more rounded than the angular machinelike structures, although their function is unknown for now.
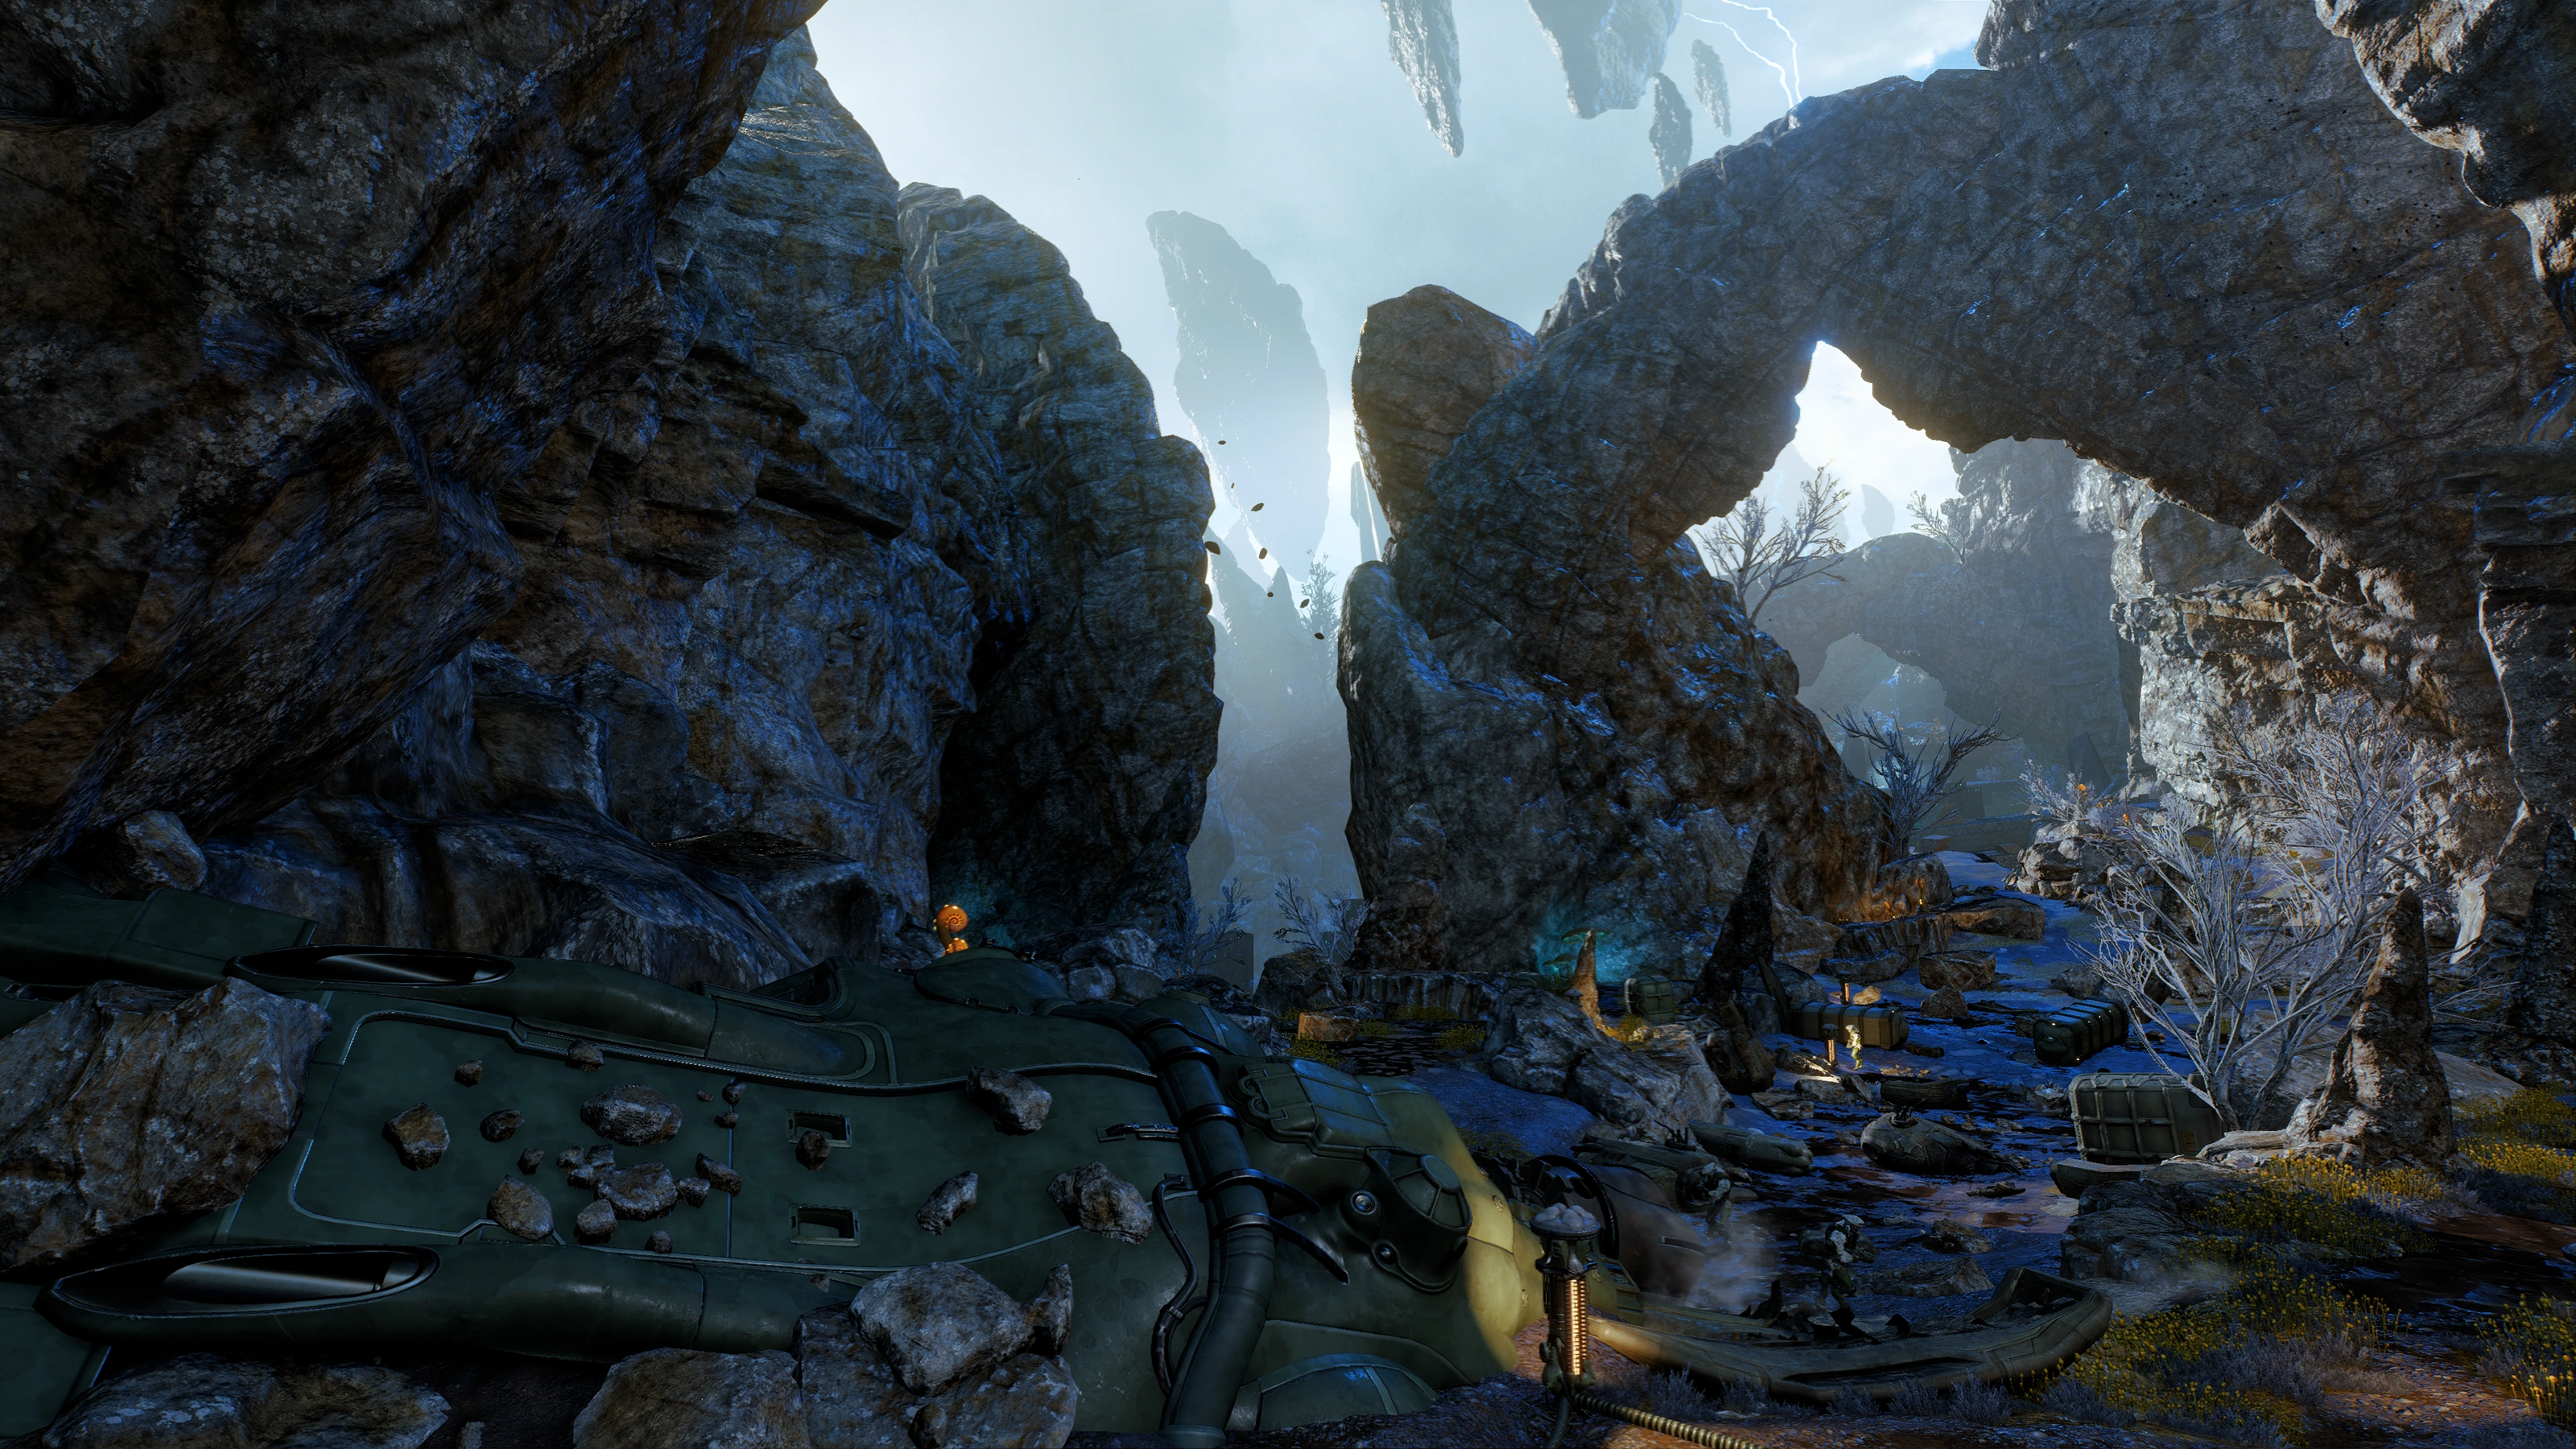
Further west to northwest, the path splits left or right around a large rock column but both lead to the same area: the Shuttle Beta Aft Section wreckage.

You find the wreckage of the back of the shuttle strewn about the large open (lightning-prone) area. Once you venture close to the shuttle, enemy units pop up in ambush. Three additional enemies arrive when you've cleared the initial wave. Taking them all out nets +20XP. Note: The enemy contingent has a quadruped cloaking animal. Dialogue slightly changes depending on whether you encountered this yet in the north path.
There are three lootable containers in this area (two are in the fire-filled ditch). Listen to the flight recorder, which is hidden inside a crate. There is also a health cache and an ammo cache near the shuttle.
North-northwest from the wreckage there appears to be an explorable alien building![]() . A new objective may be added depending on your proximity, but ignore it for now as Greer is closer nearby.
. A new objective may be added depending on your proximity, but ignore it for now as Greer is closer nearby.
Head east of the alien building and go down the path under a 'wing' of some strange alien structure. Liam notices a path on the right, and he's right: there's a cave. Near the cave entrance, Ryder observes a pattern being transmitted in radio static. A Search Zone indicator then appears when you get close: an overhead HUD that displays signal strength that increases the nearer you get to the target.
Inside the cave is Greer, held at gunpoint by two aliens and desperate for help. Eliminate the enemies (+20XP) and save Greer. Take care as there is Hazard Level 2 Toxic Damage green ooze on the floor of the cave. He pledges to find his way back to Fisher after your rescue.
Once you're done, time to backtrack to the alien ruins to the west.
Optional: Investigate the alien ruins[]
Outside the ruins![]() there are three scannable types of tech (+10
there are three scannable types of tech (+10![]() each) - two of them are lightning rods and one of those is broken.
each) - two of them are lightning rods and one of those is broken.
Before you enter through the door, jump up to the dark second floor, where you'll find a small lootable container and corpses of the hostile aliens. Scanning them reveals they were fried by lightning, which they should've been prepared to deal with, leading Ryder to speculate they're not native to Habitat 7. Head back down and into the building.
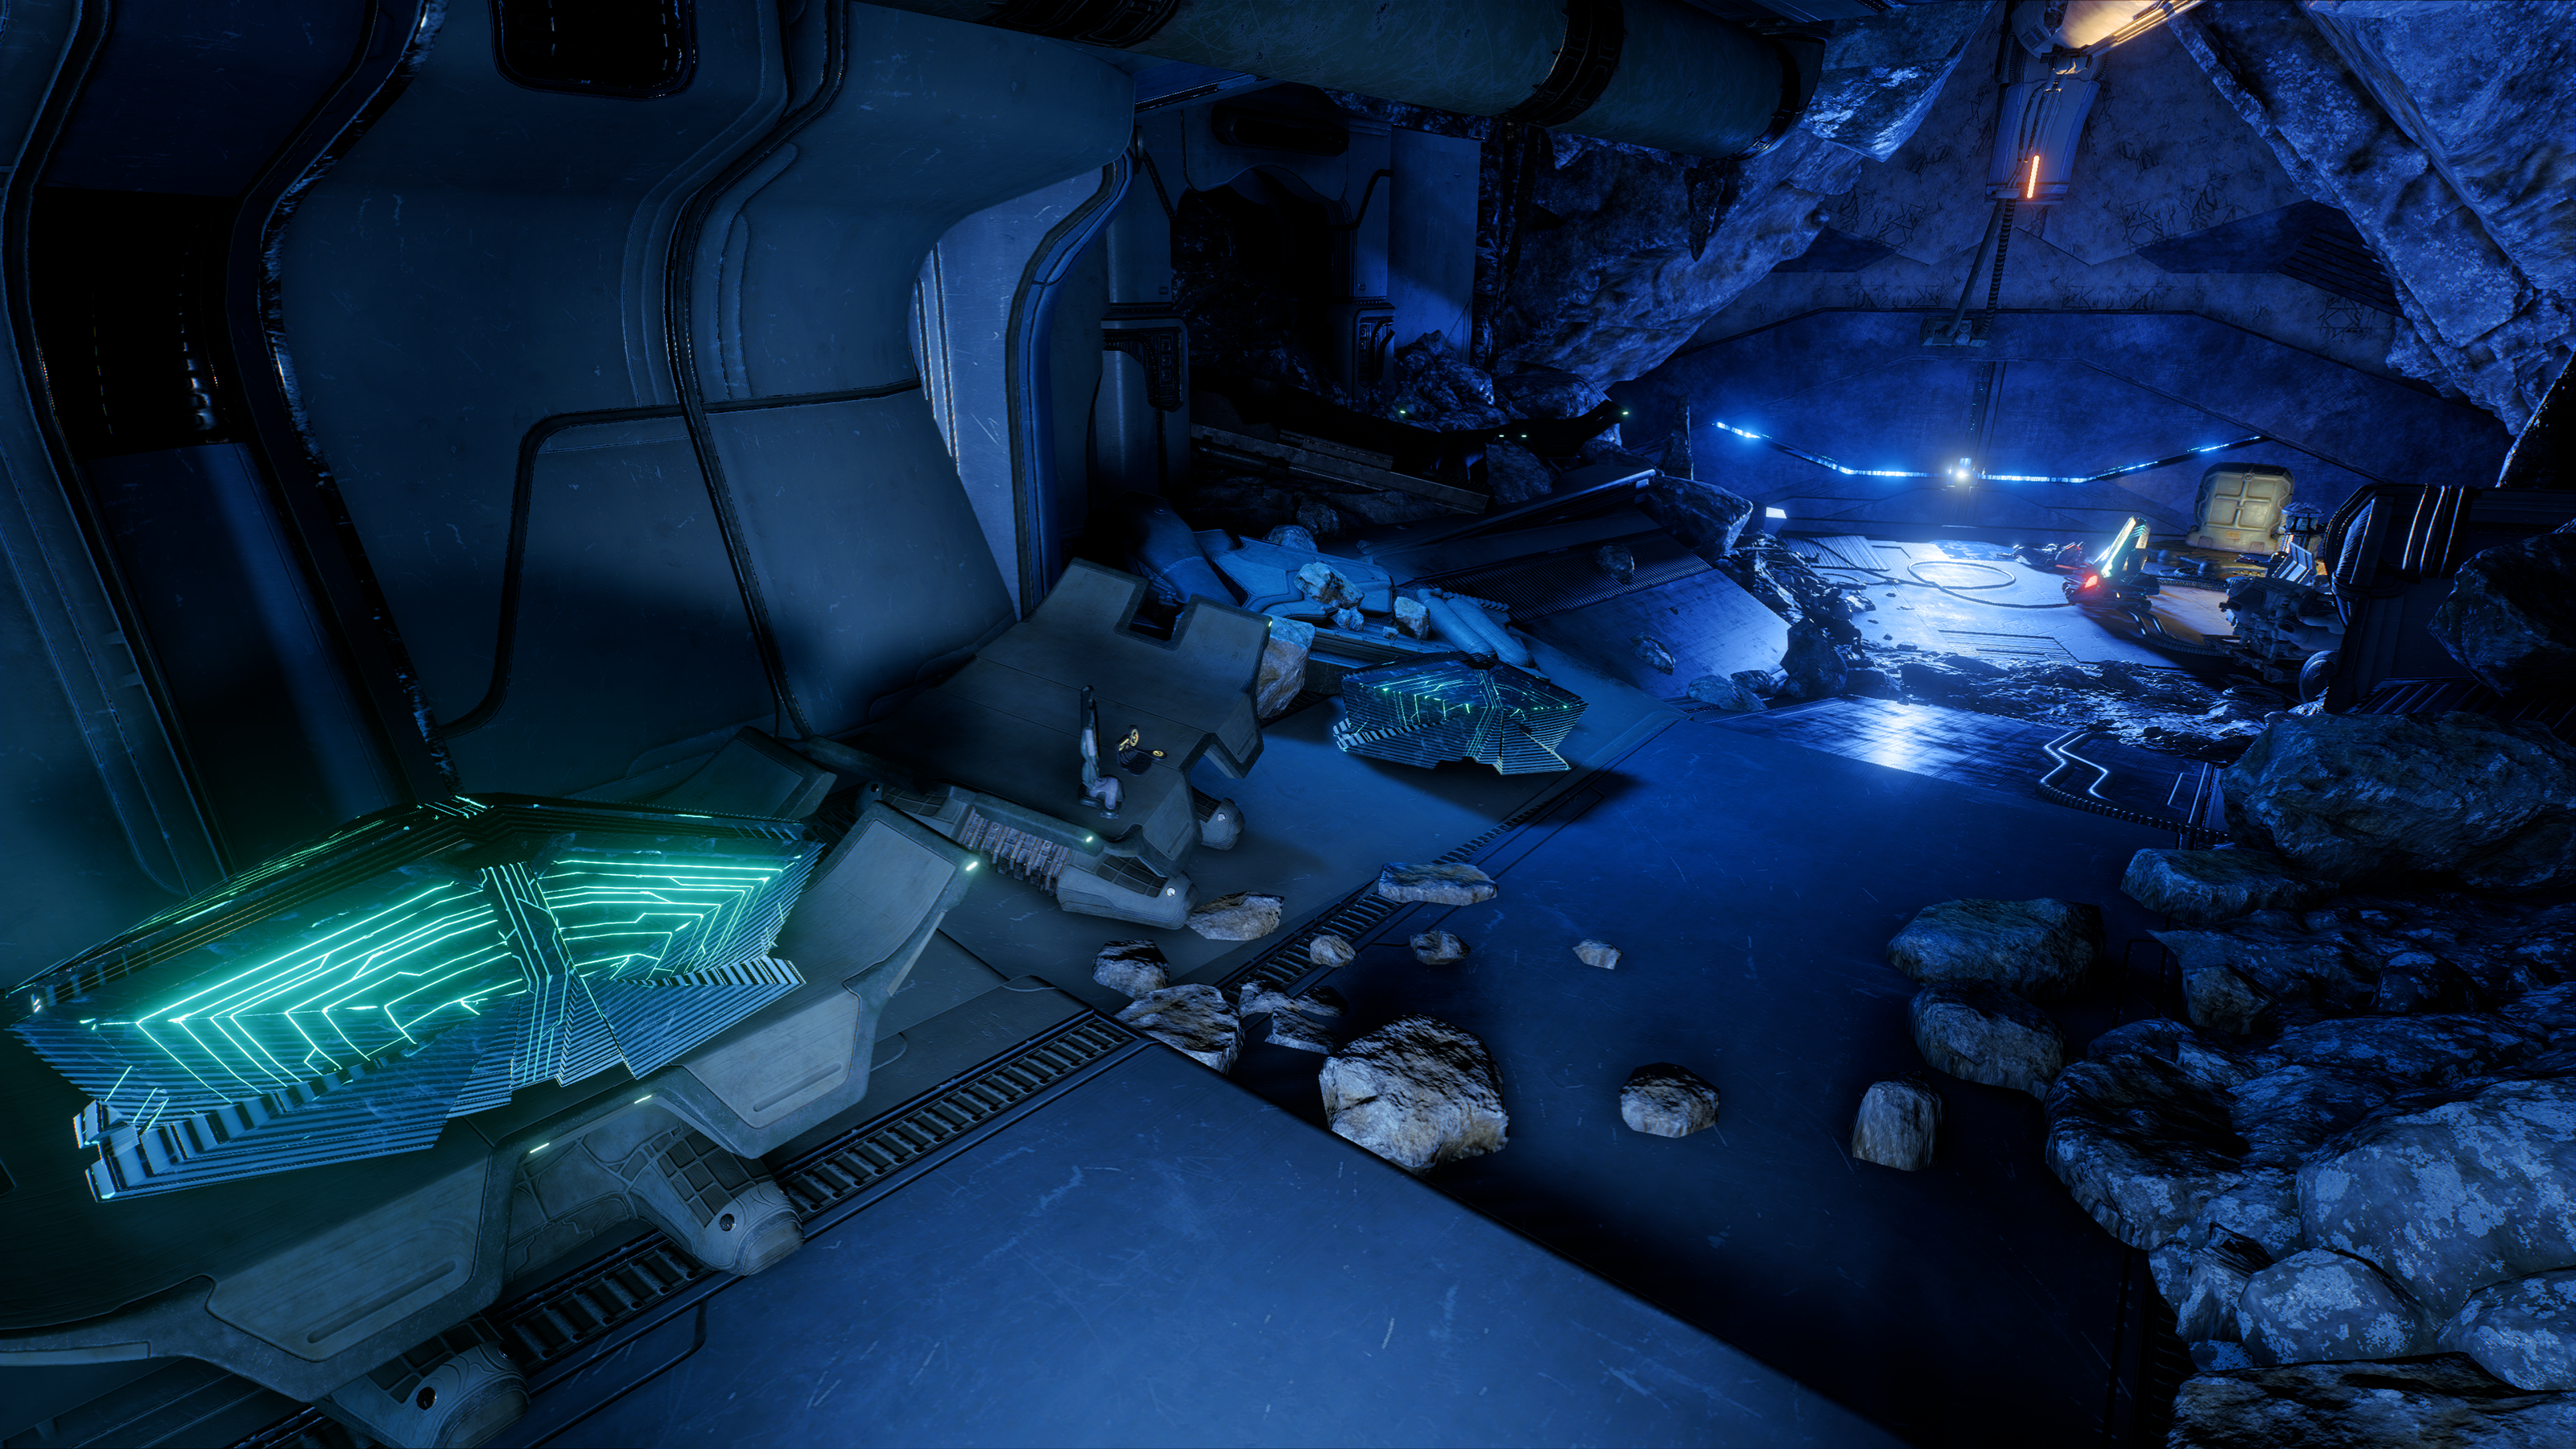
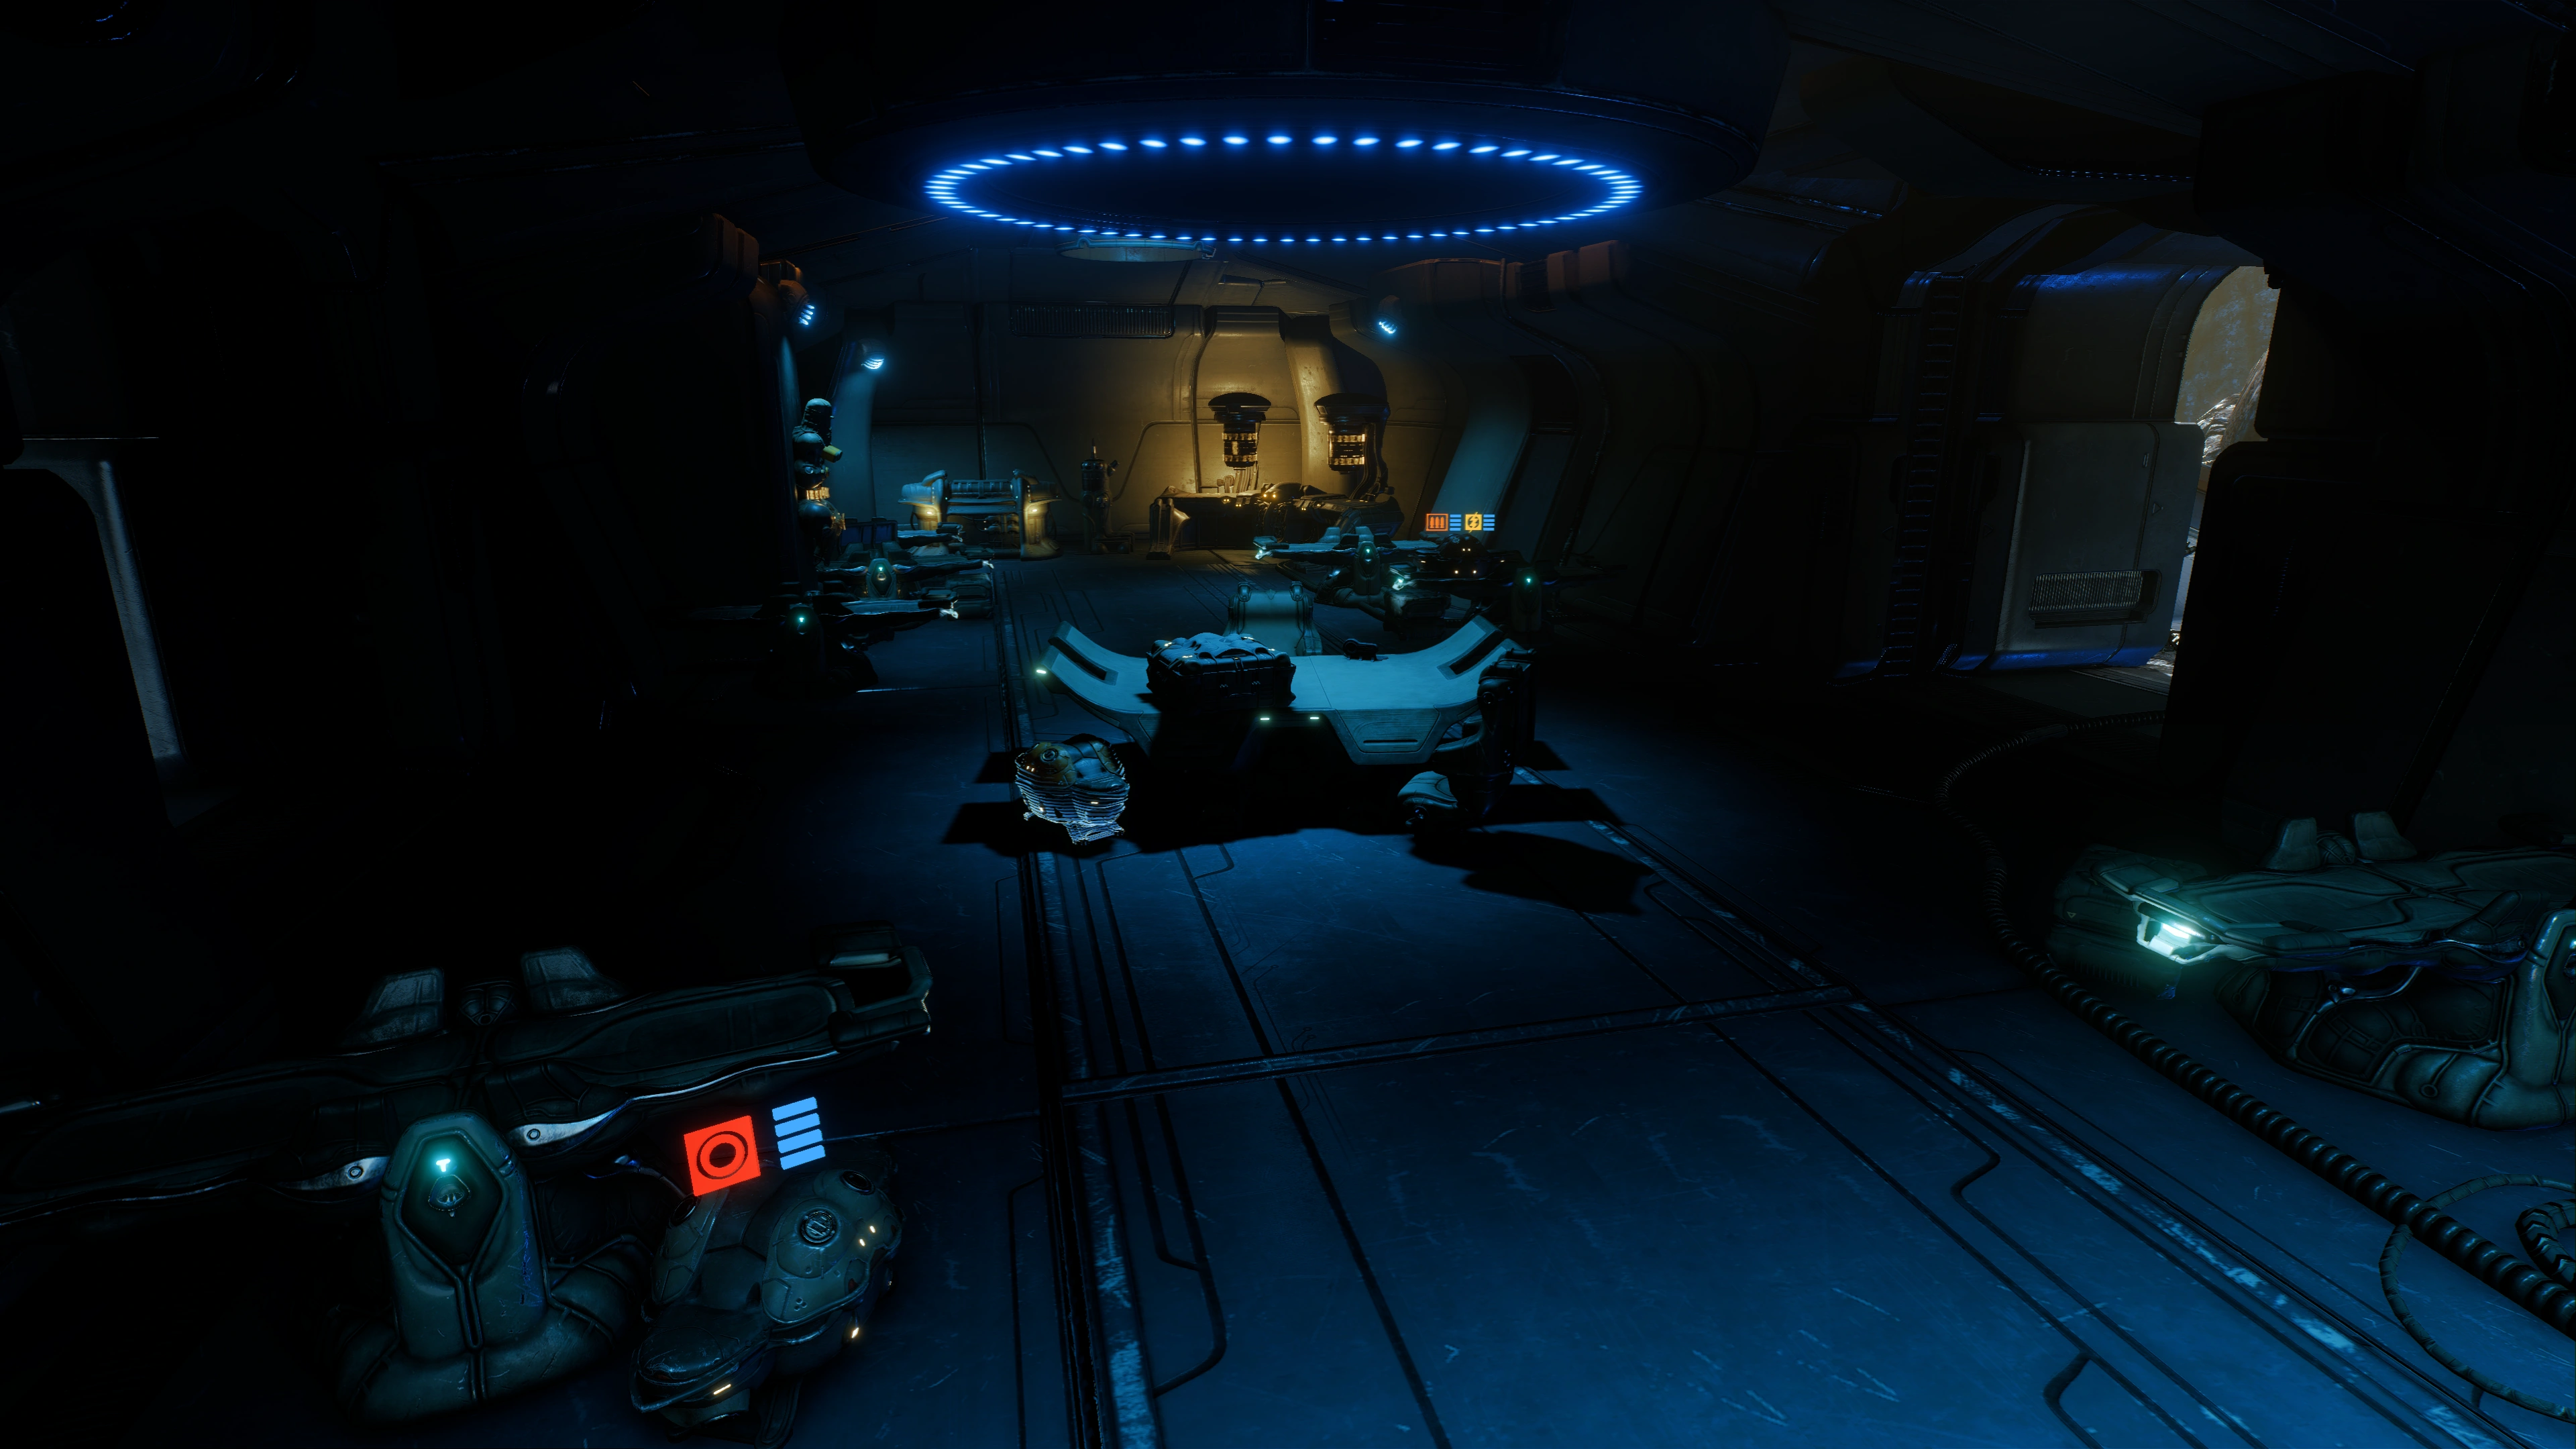
It's dark inside and your automatic suit lights are barely sufficient, so you'll want to turn on the facility's lights. There's nobody home, and Liam also observes the architectural style is markedly different. When Ryder passes through the antechamber into the main room, you'll notice a sealed door on the right. Another optional objective is added, but first inspect and loot the place.
The main room has three small containers and an ammo cache. Next to one container is a scannable object (+10![]() ) that Ryder dubs "weird alien machine" for lack of anything else to call it.
) that Ryder dubs "weird alien machine" for lack of anything else to call it.
To the right of the weird alien machine is a small ramp, and attached to the wall on the other end is "another weird alien machine" (+10![]() ). The adjoining room, also accessible from the main room by jumping, has five alien devices (four are scannable for +10
). The adjoining room, also accessible from the main room by jumping, has five alien devices (four are scannable for +10![]() each) that may elicit reactions from Liam and Ryder. On a table is apparently an audio recording of the aliens in their incomprehensible tongue.
each) that may elicit reactions from Liam and Ryder. On a table is apparently an audio recording of the aliens in their incomprehensible tongue.
Optional: Find a way to access the sealed room[]
Four of the five devices do nothing when touched while the rectangular one with many wires at the center of the room ominously powers up... and turns out to be a generator, switching the lights on in the facility and opening the sealed room near the entrance. You can interact with the other four devices again, which also do basically nothing. Except for the large one near the audio log: that turns out to sound an alarm briefly, though nobody comes in.
After this, return to the previously sealed door which leads into a small room which ends in front of a glowing door. There are two large containers by the entrance as well as another alien audio log that doesn't sound like poetry.
After a few steps forward, Ryder and Liam hear robotic warbling and come to the conclusion the hostile aliens were attempting to tunnel through the door. The sub-objective is marked finished at this juncture, but there are still things to do. There are five scannable items here: a door (+10![]() ), an apparently inactive robot (+50
), an apparently inactive robot (+50![]() ), a dead alien, a console next to the alien (+10
), a dead alien, a console next to the alien (+10![]() ), and a piece of tech (+10
), and a piece of tech (+10![]() ).
).
If you approach further, or scan any of these, the robot wakes up and turns hostile. Destroy it, and Liam namedrops the geth afterward. Ryder's comments slightly change depending on whether you kill the robot first before scanning the piece of tech or vice versa.
The aliens haven't been able to break through the big door, and neither will you, so if you've looted everthing you need you can exit the building. After opening the room's smaller entrance (which closed earlier), Ryder concludes there's machinery buried under the planet the hostile aliens are interested in, like bloodthirsty archaeologists.
Outside, an ambush will be waiting for you: two cloaking beasts and two gun-toting goons. Kill the enemies (+20XP). They've got one of the lightning rods up and running, and you can scan it again if you haven't earlier (+10![]() ).
).
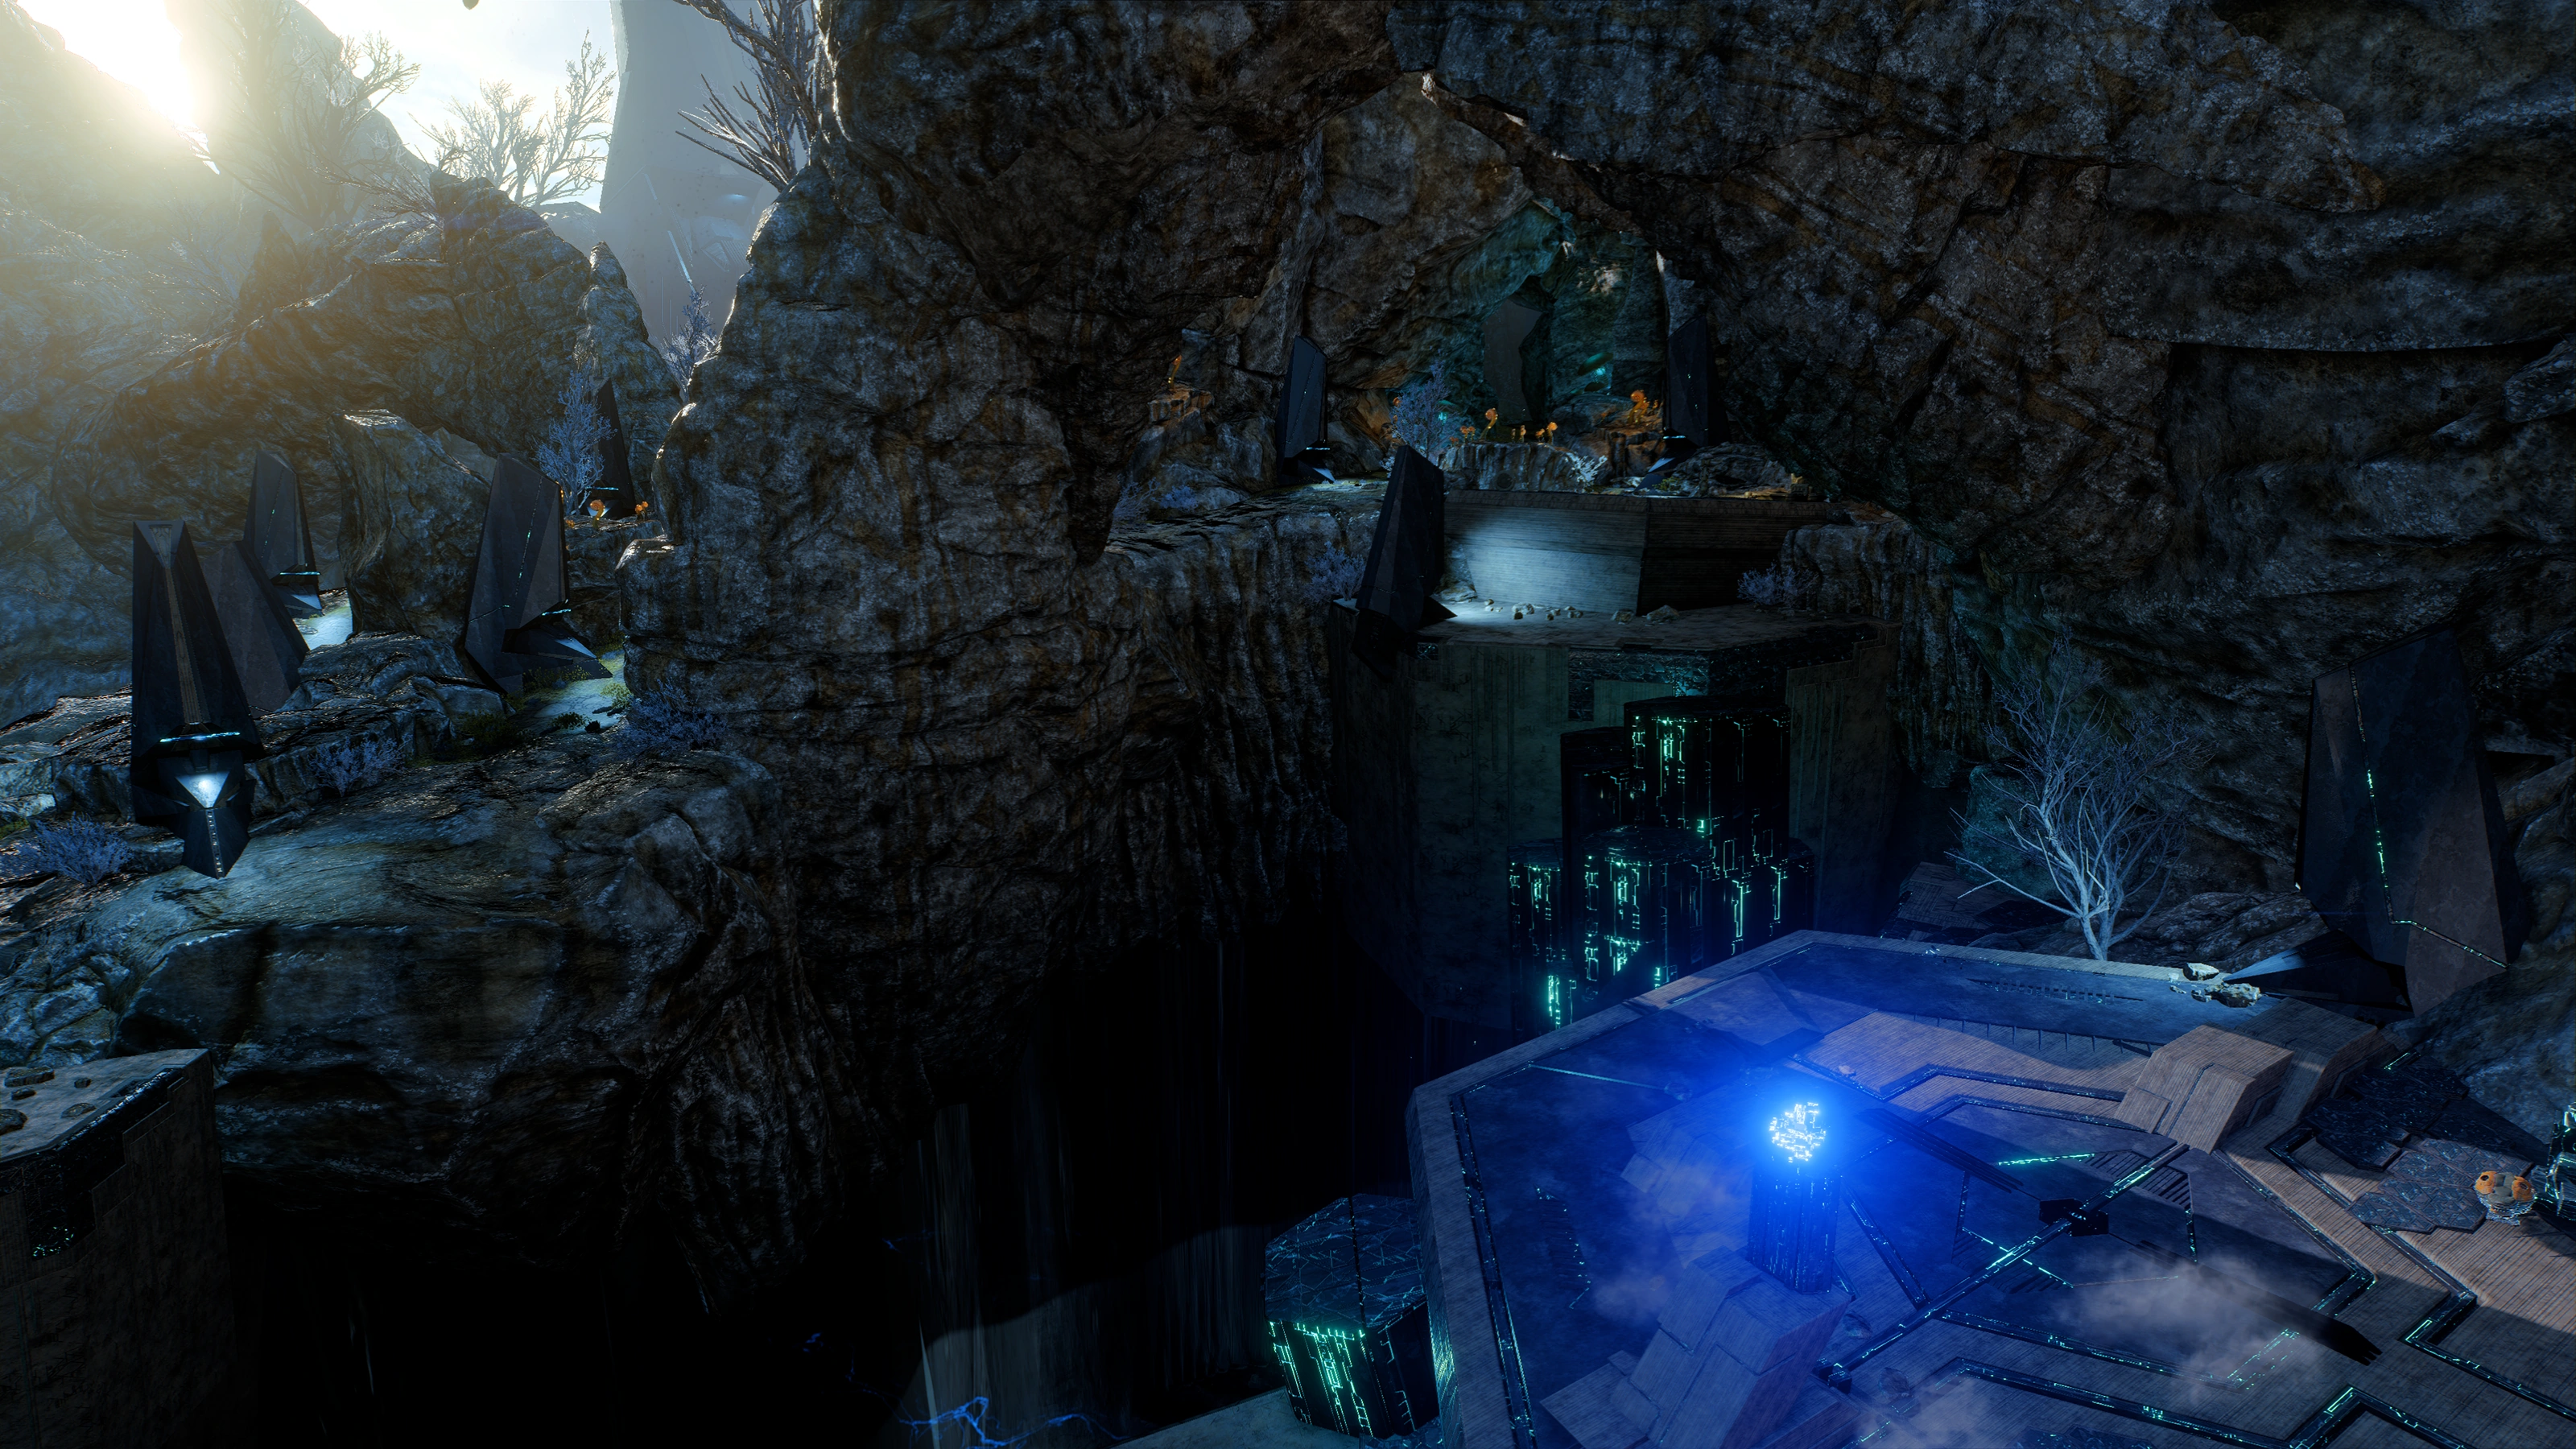
Both northwest and northern path from Fisher's location eventually merge to form a large circular route. Northeast from the alien ruins, you will arrive at a juncture for three locations marked on your map: another alien building![]() , a mysterious cave
, a mysterious cave![]() , or a debris field
, or a debris field![]() .
.
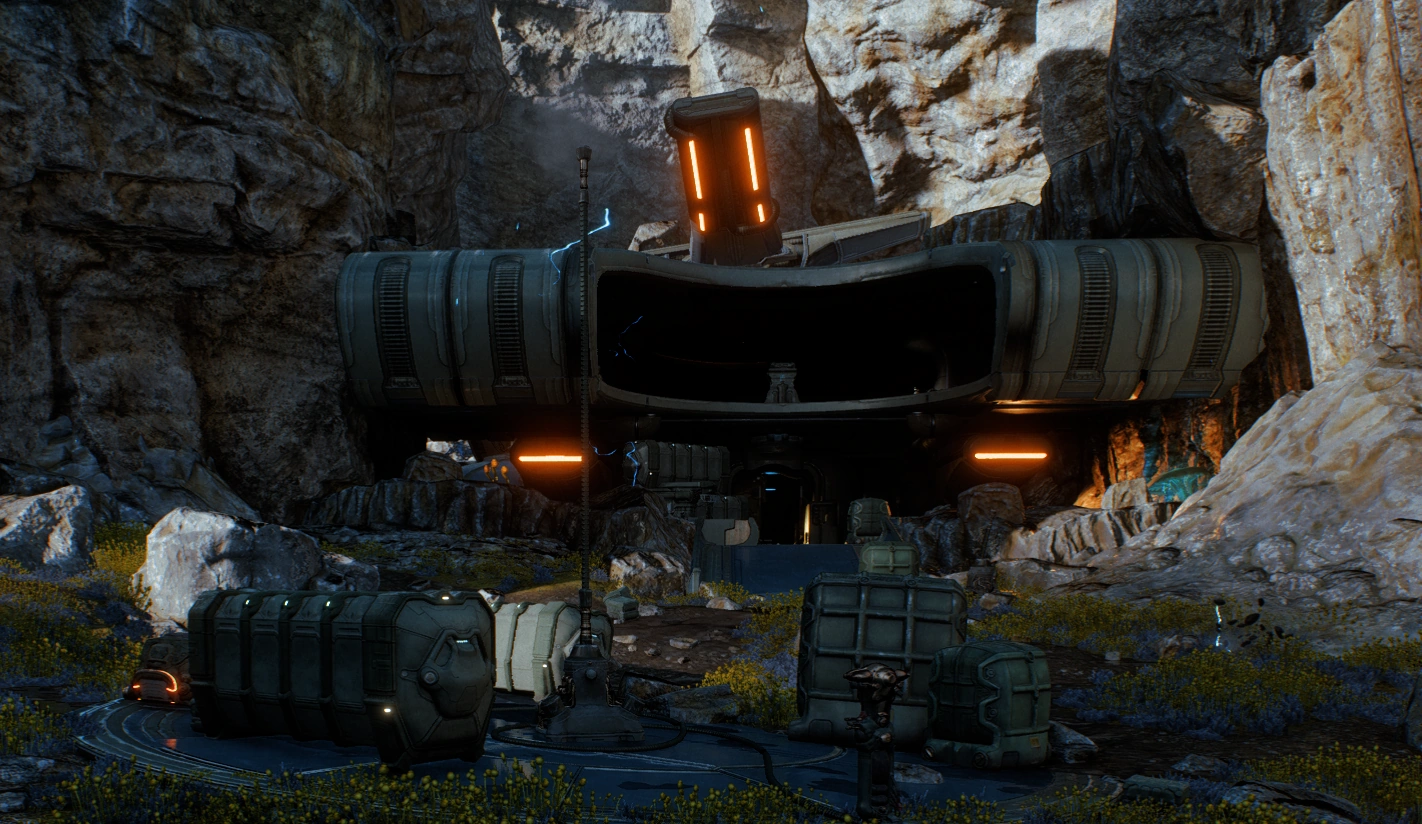
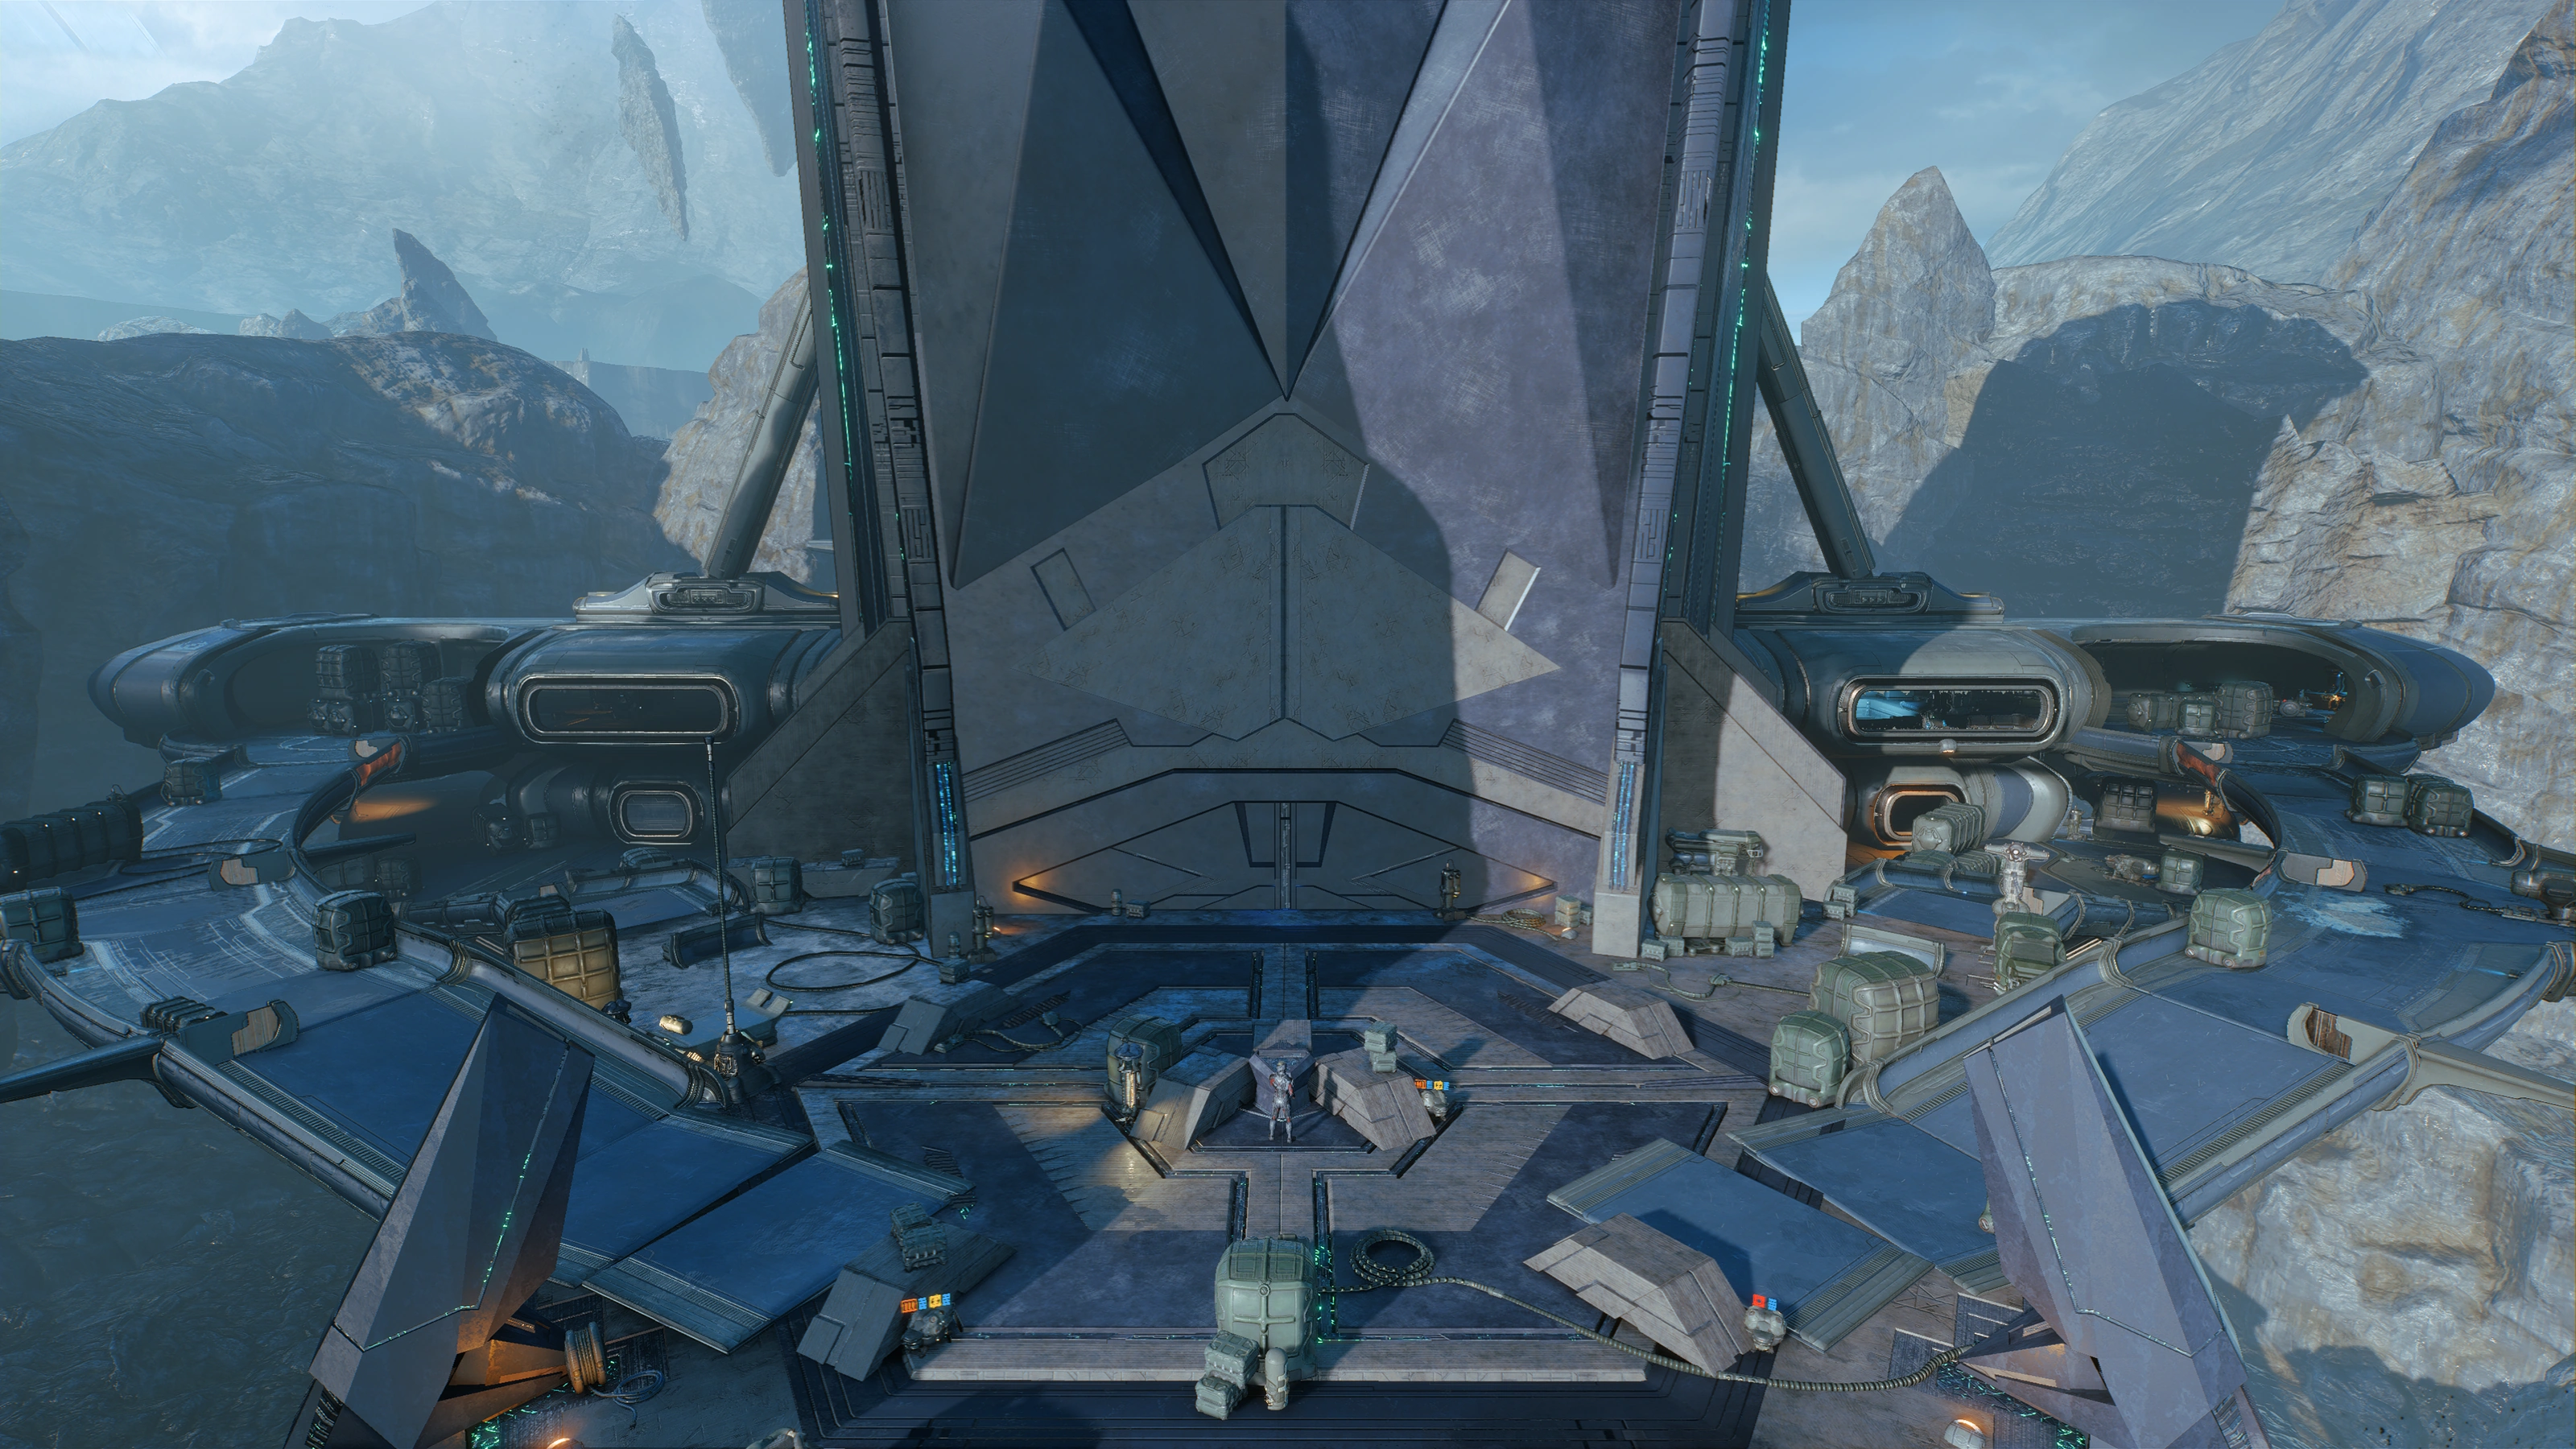
The closest one is the alien building, which is just a gatehouse with a tunnel door and has a foot patrol of four enemy units. There's an ammo cache and a t-shaped device (+10![]() ) beside the building. Turns out the building can't be entered from this side, though: might as well, as Liam insists you're not equipped for whatever's on the other side. If you're really curious, proceed southeast along the wall until you see an opening you can jump to. You will see a shielded base of some kind, and at this point can't do anything to proceed further. The coast is clear for now, and Liam reiterates getting out of there quickly. You can't jump back up easily if you dropped down, so again proceed along the rock wall until you see the other side of the tunnel door. Activate the two consoles to open the one-way doors, and you'll end up back outside. You will be returning to this later.
) beside the building. Turns out the building can't be entered from this side, though: might as well, as Liam insists you're not equipped for whatever's on the other side. If you're really curious, proceed southeast along the wall until you see an opening you can jump to. You will see a shielded base of some kind, and at this point can't do anything to proceed further. The coast is clear for now, and Liam reiterates getting out of there quickly. You can't jump back up easily if you dropped down, so again proceed along the rock wall until you see the other side of the tunnel door. Activate the two consoles to open the one-way doors, and you'll end up back outside. You will be returning to this later.
Optional: Investigate the crashed alien ship[]
Southeast from the enemy building, there is a debris field guarded by multiple two-legged and four-legged aliens that will attack on sight. Simple proximity to the site will trigger this objective. Kill them (+20XP).
The battlefield is once again an open lightning-prone area, with numerous boxes available for cover. There's an ammo cache in case of need.
There are 5 unique scannable objects here. The multiple phallic light sources can be encountered on other sites, though no less scannable for RD if not yet catalogued. The crashed ship and four pieces of debris can all be scanned for +10![]() each, also reinforcing the idea the aliens aren't from Habitat 7.
each, also reinforcing the idea the aliens aren't from Habitat 7.
It appears that the aliens were bringing in supplies from off-world. To complete this optional objective, examine the container next to the crashed ship.
Optional: Explore the cave[]
Proximity to the cave system's contents will trigger this sub-objective.
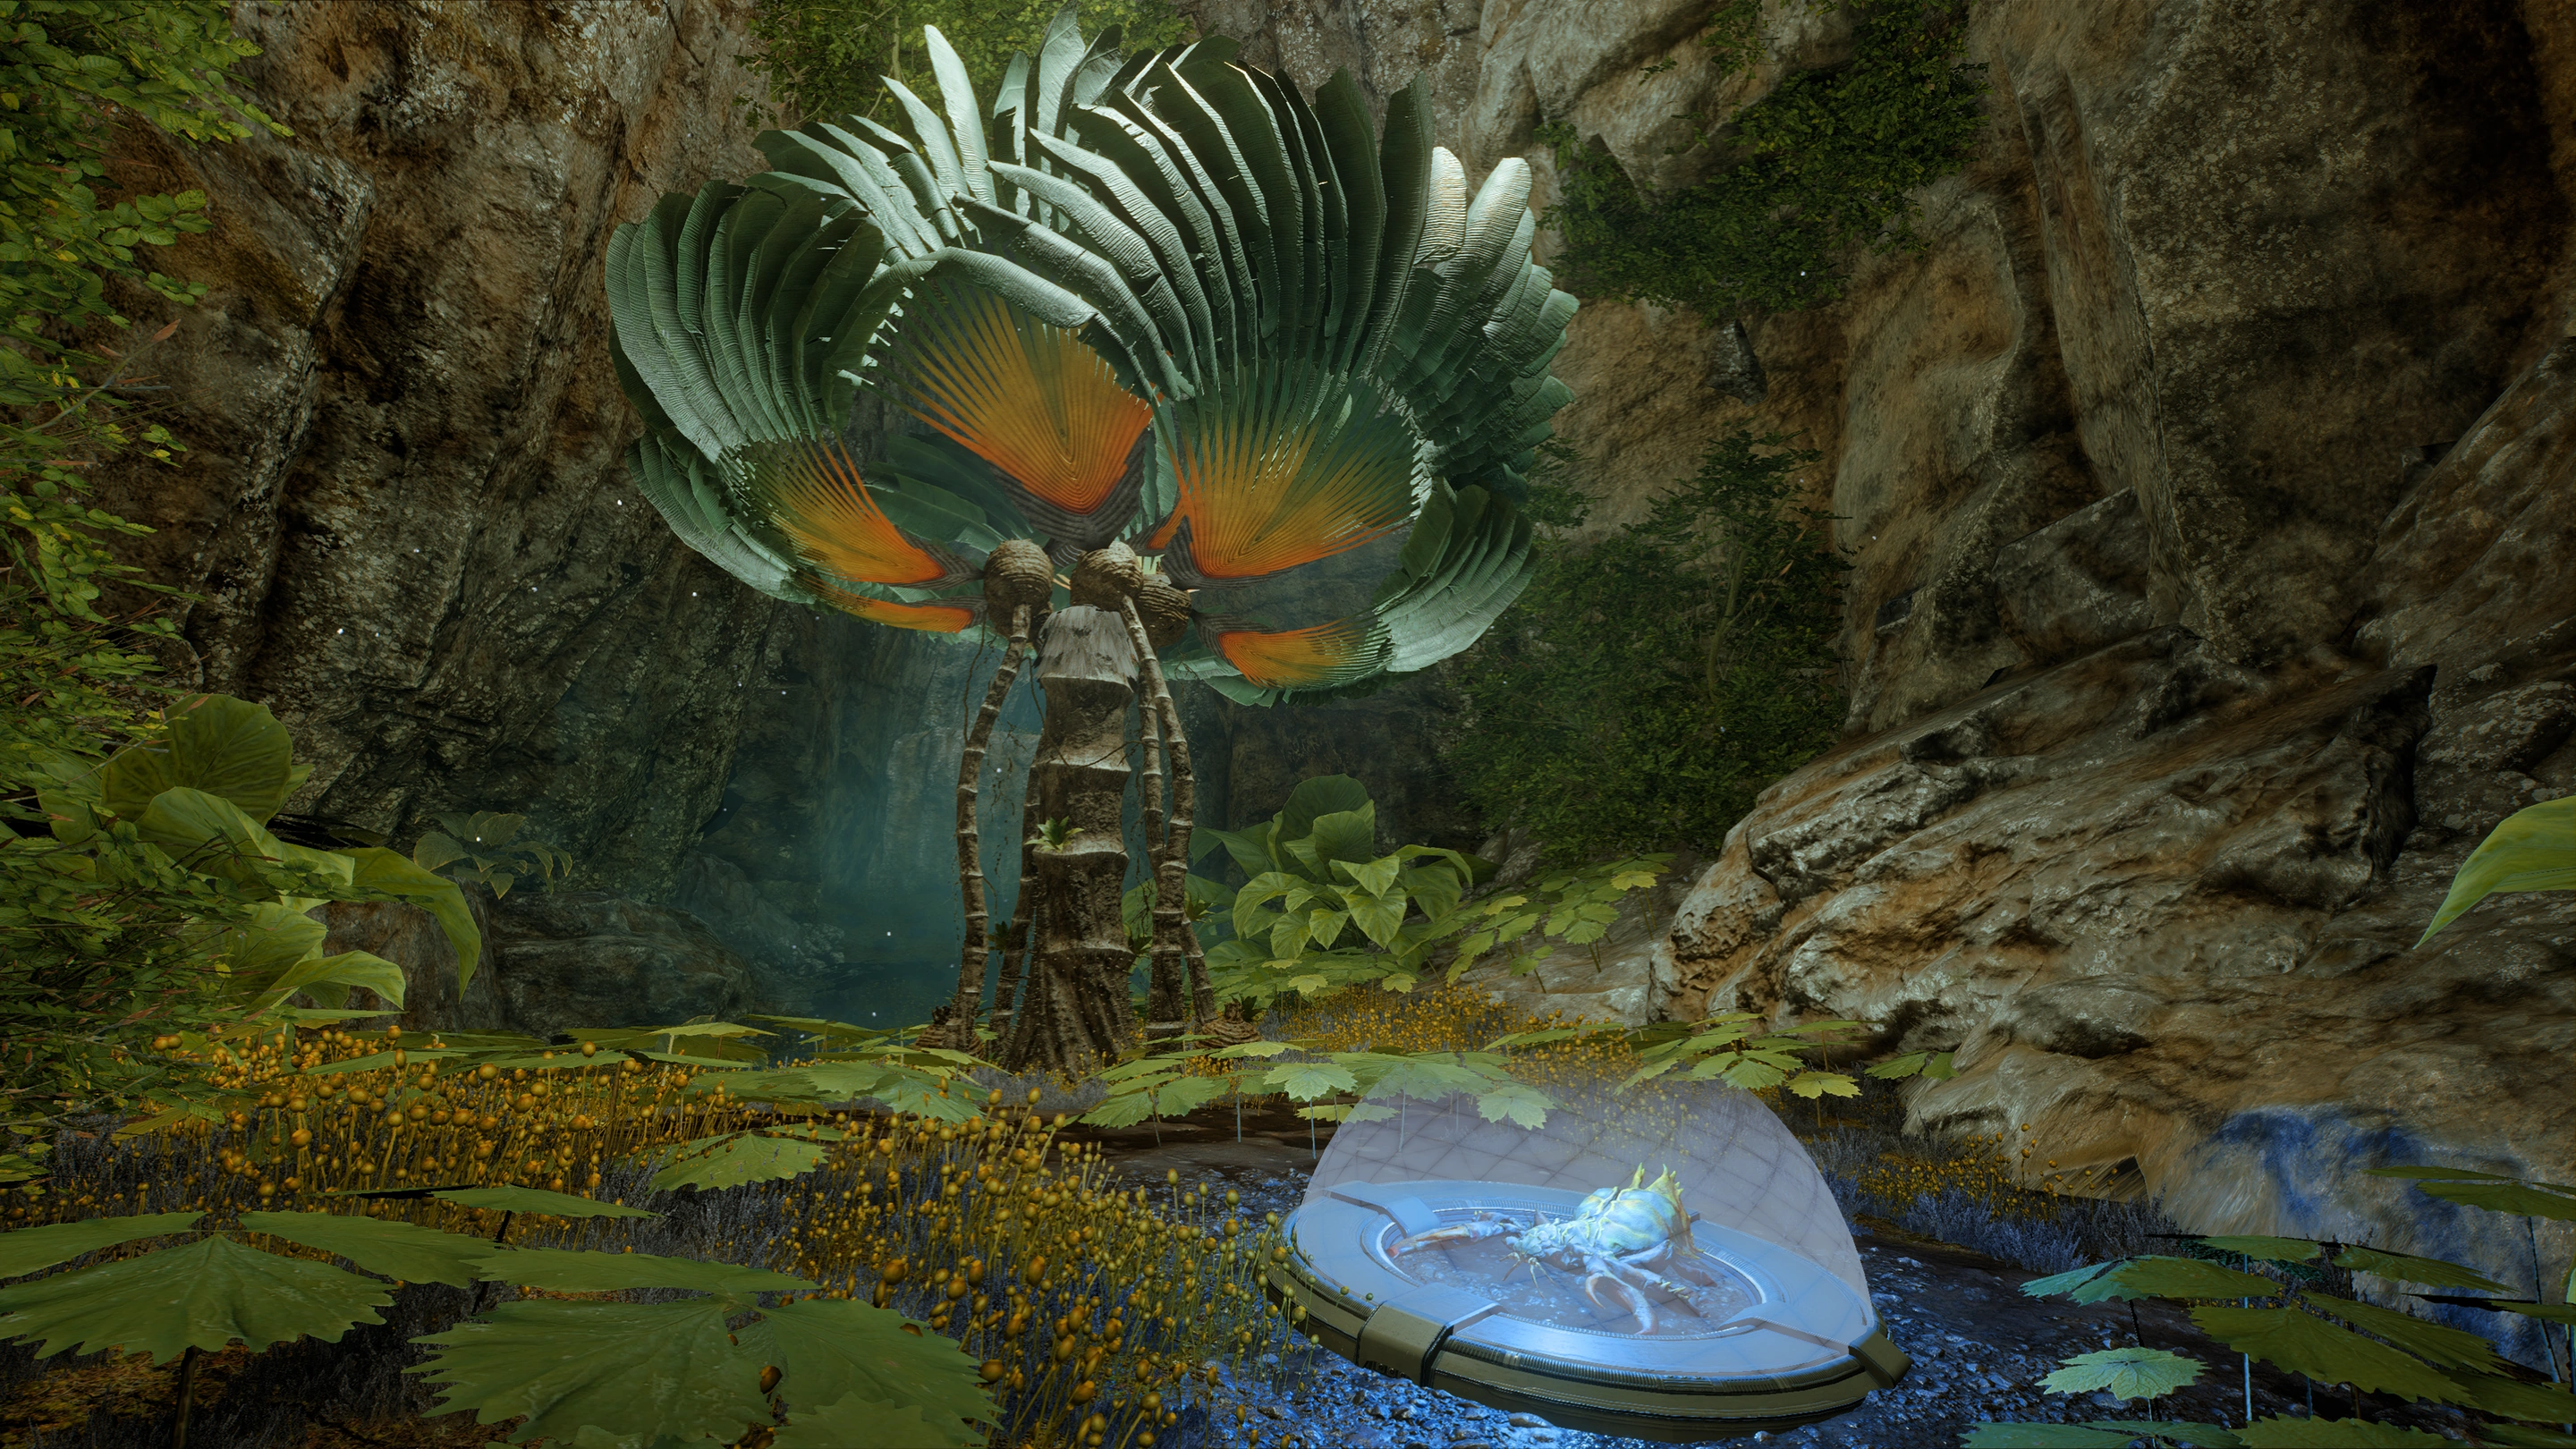
Inside the mysterious cave is an Unknown Plant and an Unknown Lifeform that can be scanned for +10![]() each. The cave is a micro-biome where the native species of Habitat 7 have survived while the rest of the planet has gone to ruin. The dead animal appears to have been caught recently, speculated by Ryder and Liam to be a food source for the hostiles. You only need to scan the plant to complete this objective.
each. The cave is a micro-biome where the native species of Habitat 7 have survived while the rest of the planet has gone to ruin. The dead animal appears to have been caught recently, speculated by Ryder and Liam to be a food source for the hostiles. You only need to scan the plant to complete this objective.
- Northern Path
South of the cave and ship debris is a large chasm populated by narrow (and often interlocked) hexagonal platforms. You'll have to make liberal use of jump-jets to keep from plummeting. There is a distinct machinelike humming emanating from the depths, causing Ryder to joke they're from underworld alien gods. If you venture at a nearby cliff, Ryder may even note it's a good way to break the neck.
This area has exactly one lootable container. There are two examples of scannable items, though you will likely have encountered those on other sites already.
On the southwest portion of the chasm, hugging the narrow cliff, is a small cave. Creep inside slowly; there's a floating robot here that can be scanned for +50![]() . If it detects you, it flies away, and it will fly away on approach. What's left are two large containers.
. If it detects you, it flies away, and it will fly away on approach. What's left are two large containers.
Backtrack from the cave and follow the cliff wall. Along this path, Liam will hear a predatory growl. It's one of those aggressive four-legged animals that can cloak, and you can scan it dead or alive (if you wandered here first before resuming the northwest path from Fisher - people may sometimes take the north path, see the chasm, then turn back and take the northwest instead).
Further south, you eventually arrive at Fisher's location - you have circumnavigated the region, and there's nothing else left but to head to the other team's shuttle.
Optional: Investigate the flares[]
This objective appears once you've progressed a considerable distance in either northwest or north path from Fisher. Three flares light up the sky at set intervals. Note: These flares are continuously sent up: another batch appears as soon as the previous one falls out of sight.
Once you reach a close enough distance at whichever direction, Ryder will hear choppy comms from Cora, who reports repairs on their shuttle are underway but they're surrounded by hostiles. The sub-objective is then marked finished.
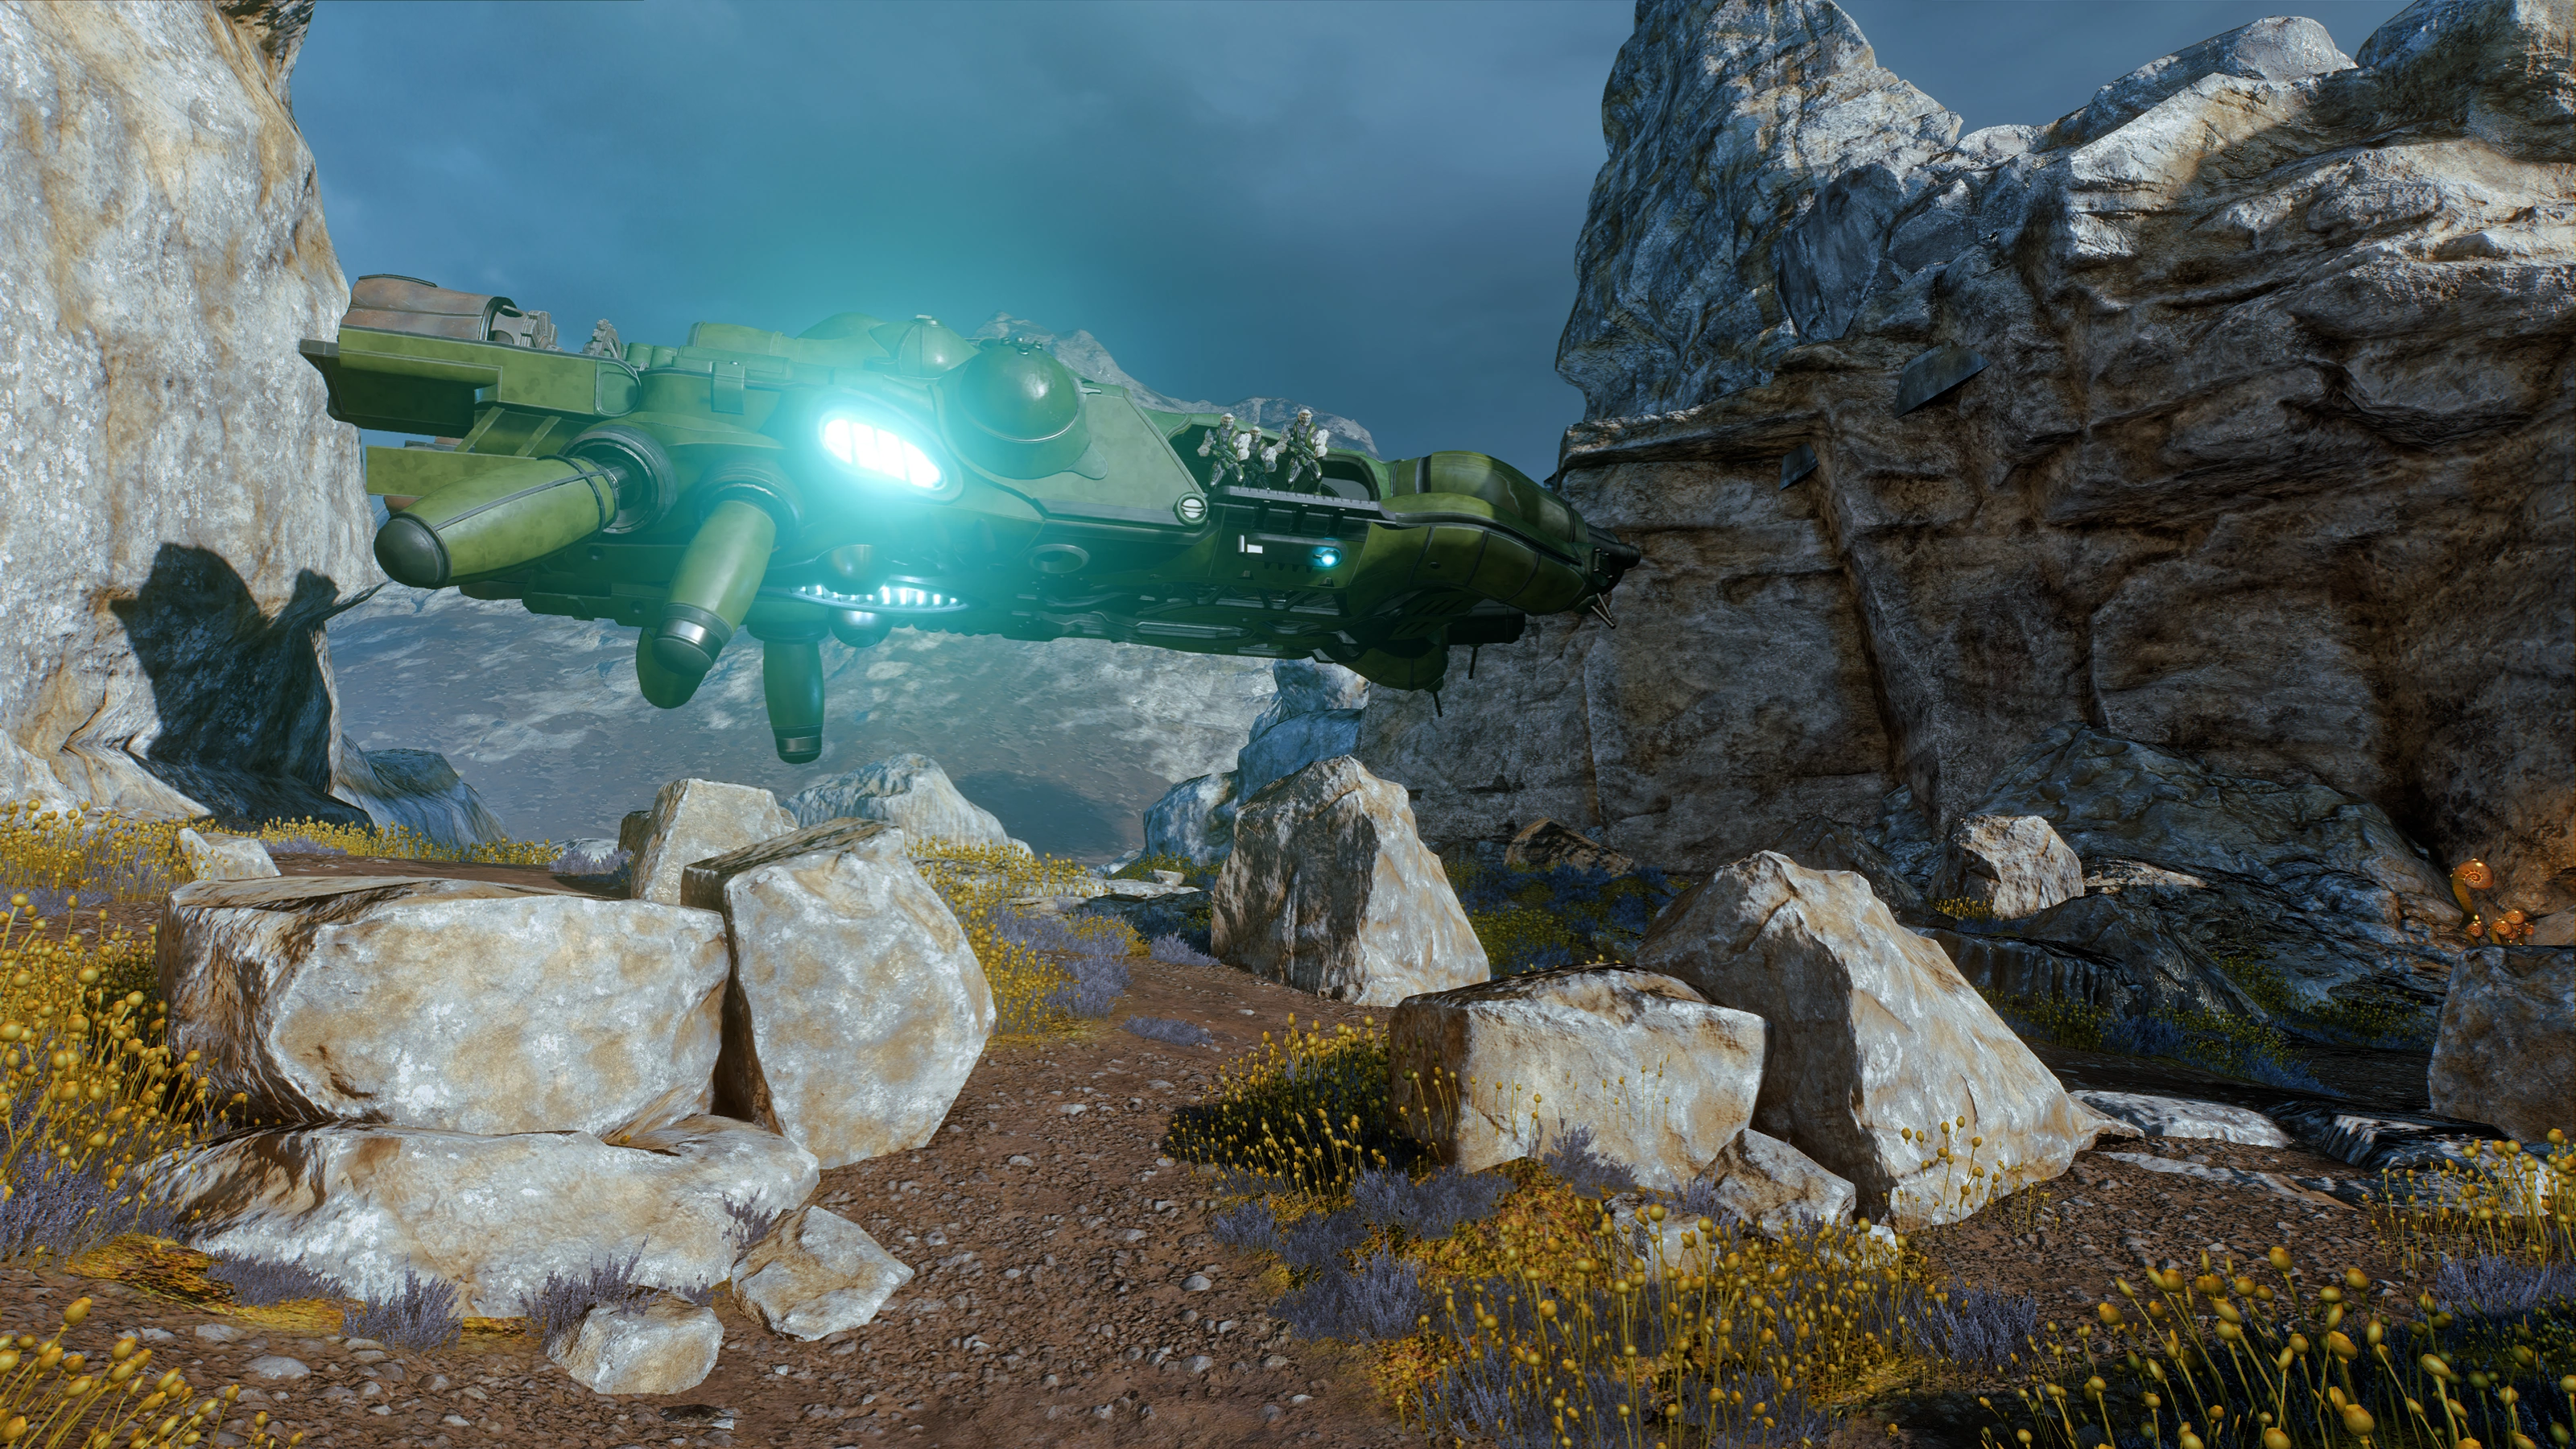
Locate the second shuttle[]
Head north to the second shuttle.
You'll get here eventually; what matters is if you have already explored and looted everything of importance before reaching Cora and the others. This is because the storms are worsening and the game will prevent you from backtracking once you wade in on their position via enforced mission boundaries.
This is a point of no return. Most of the prior optional missions not yet completed will be marked as failed afterward (the mysterious cave lies within the boundary, so later you can backstep this far). Once you're fully sure you have nothing else to do, proceed.
Defend the Pathfinder team from hostile aliens[]
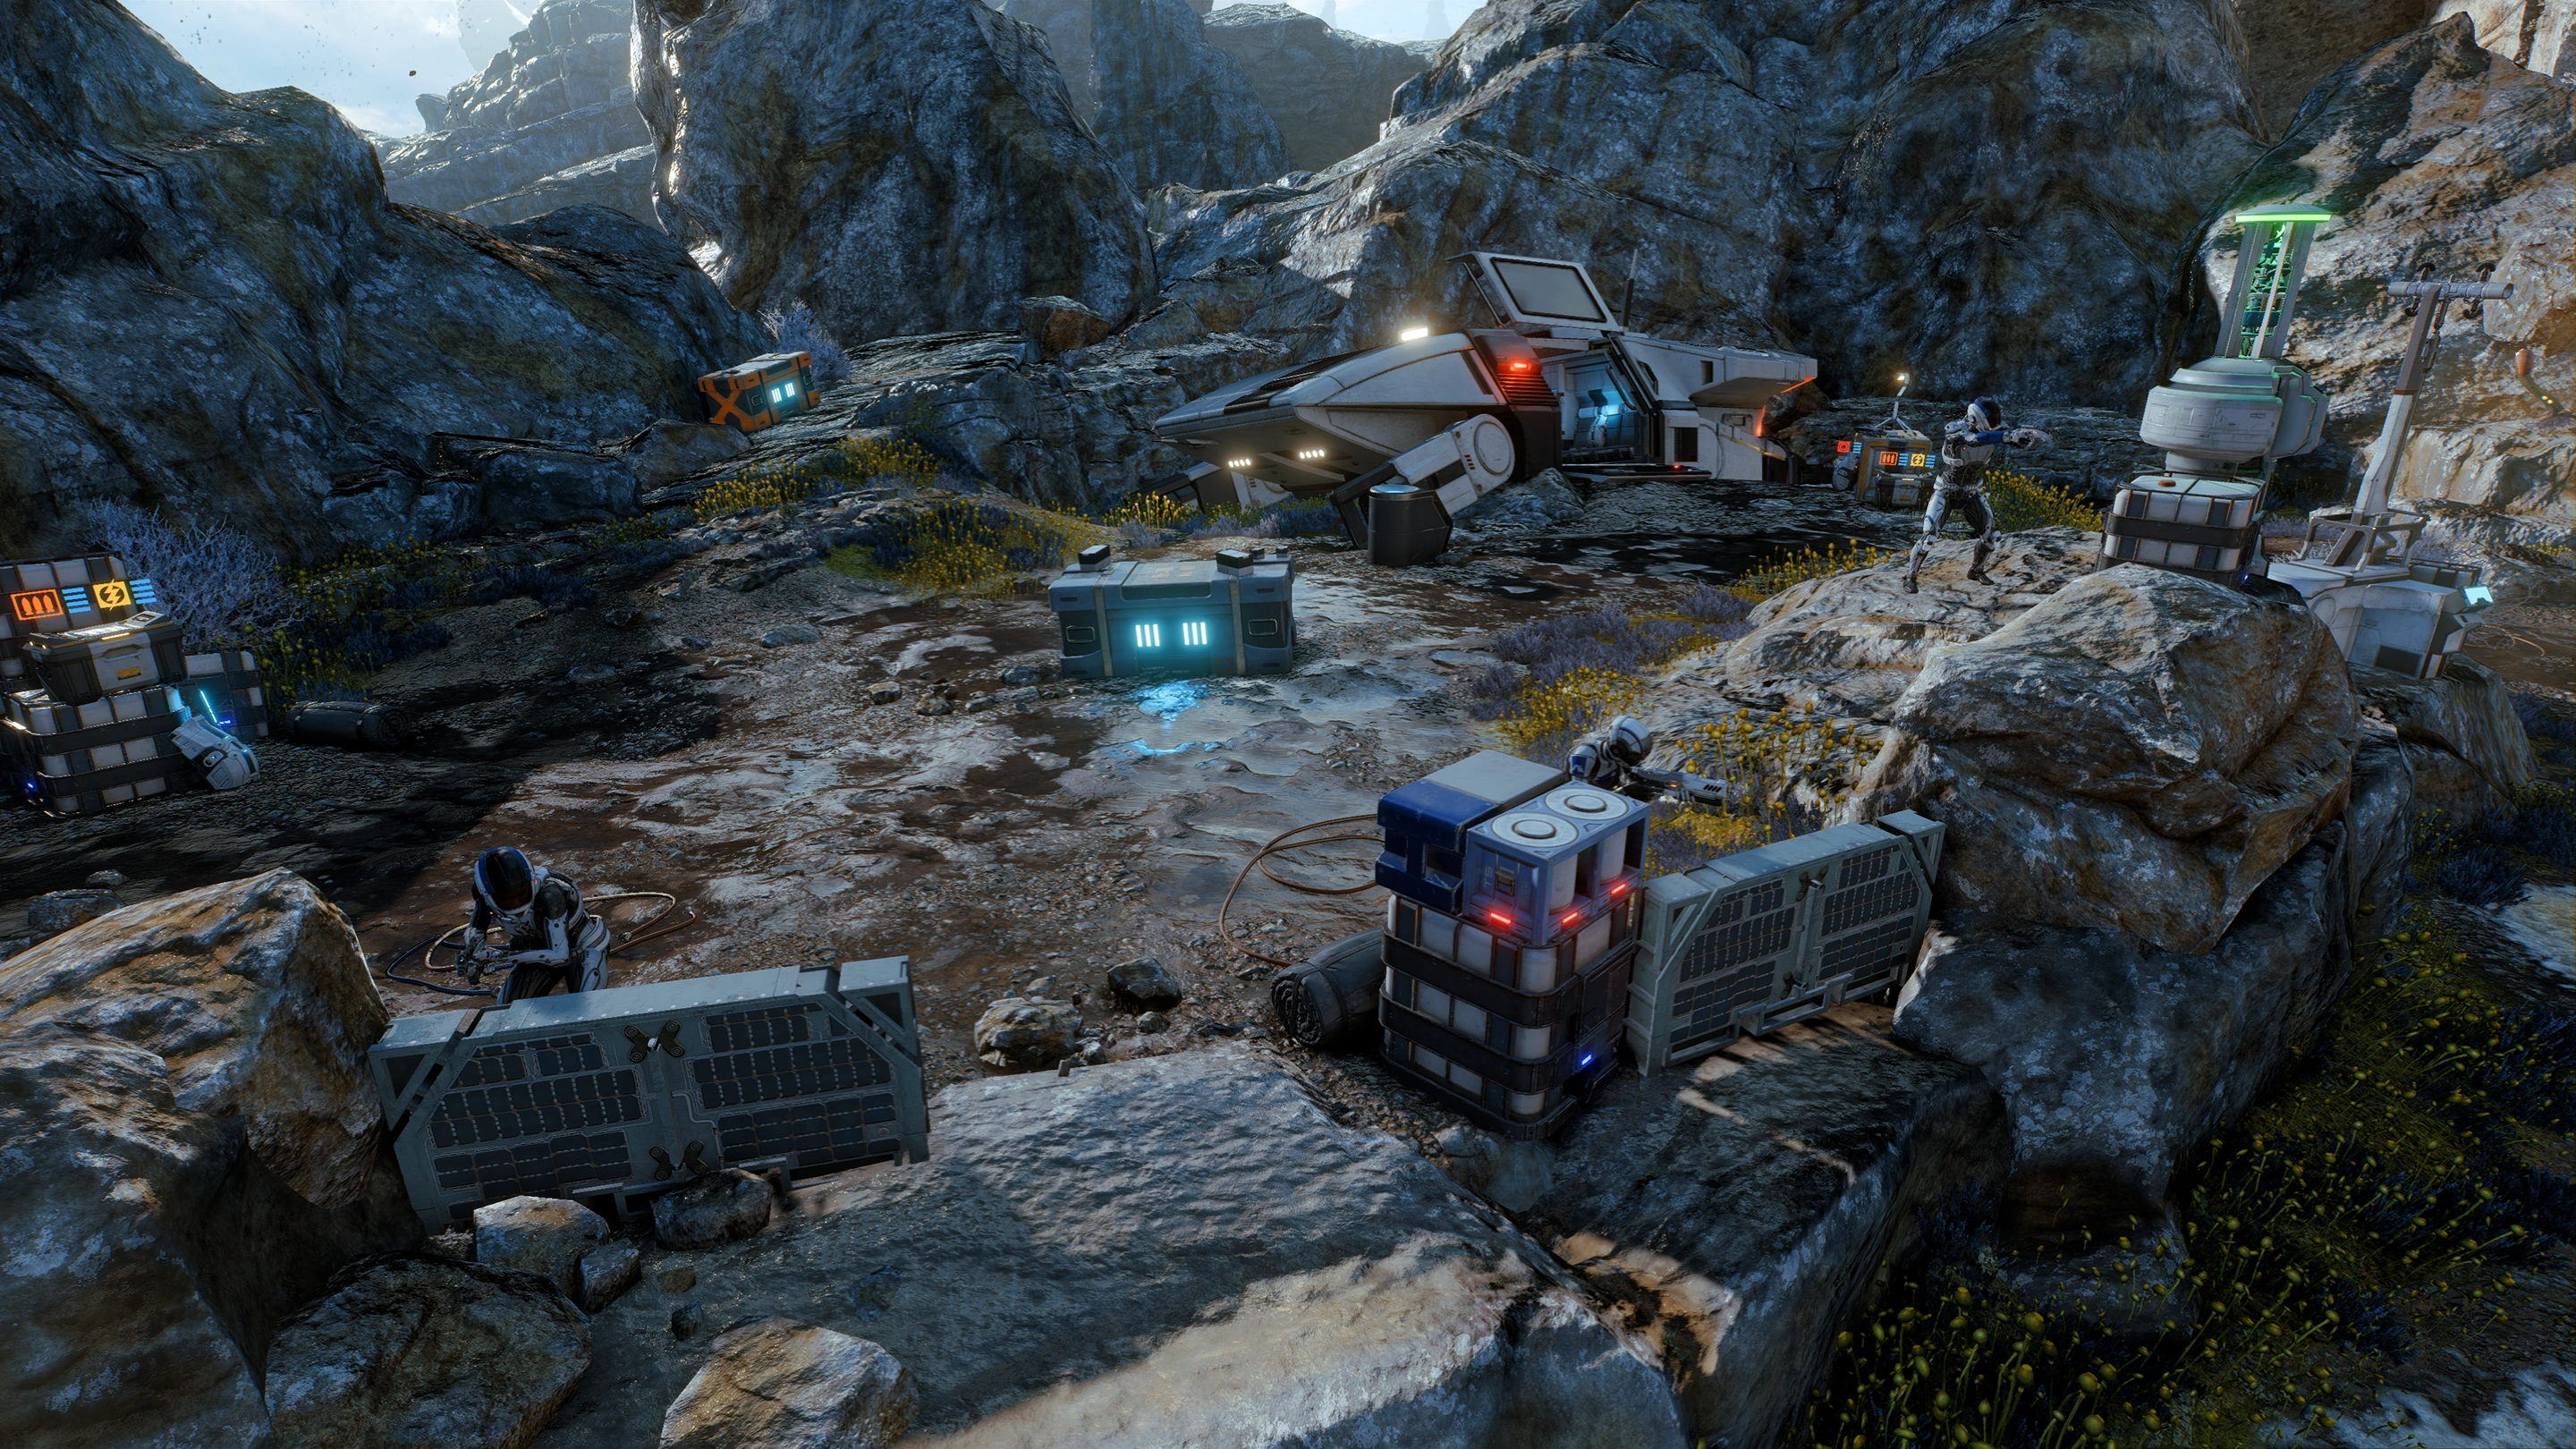
As you approach the area, Cora and two other crew members Hayes and Dr. Harry Carlyle are trapped by the aliens. You and Liam will have to save the day while the others lay down covering fire. Defeat all of the enemies. (+904 XP).
There are plenty of large rocks to take refuge in here. Whether you favor an in-your-face approach or cover-based shooting style, the area is spacious enough and well-suited for practicing any of your preferred styles of warfare.
After the battle, Cora announces that the team almost has their shuttle repaired and there is additional weaponry there if you want it. Pathfinder Alec Ryder has left to scout ahead.
Optional: Collect ammo and additional weapons[]
When you reach the ammo cache in the area, this objective is added. Quickly interface with the Weapons Cache or the opportunity to get extra weapons is lost. The weapon depends on your starting class: M-23 Katana for Scrappers and Leaders, Charger for Securities and Biotics, and Viper for Technicians and Operatives. If you didn't check on Kirkland's body earlier, there's also an Avenger rifle in the cache.
There are two ammo caches and a health cache in the area, as well as a large lootable container east from the shuttle.
A short while later whether you rearm or not, the enemy resumes their assault. This next battle consists of two shuttle airdrop waves (the first gets zapped by lightning after deploying). First wave is just footsoldiers and cloaking beasts while the second wave introduces a heavy alien with shielding. Careful where you step, the riverbed between your team and the aliens' drop zone is a level 2 toxic hazard.
When the last adversary falls, Cora inquires about your shuttlemates and the answer depends on whether you found Greer. She shortly reveals her biotic powers by saving Hayes and Dr. Carlyle from a lightning strike. Communications are re-established and Alec Ryder contacts the group to inform them of his plan to stop the storm which is preventing them from departing in the repaired shuttle. In the middle of explaining the plan, Alec is interrupted by an unseen enemy force. Cora announces she will join Ryder and Kosta to reach the Pathfinder's position.
Locate the Pathfinder[]
Head towards the marked objective in the east, past the large tunnel doorway that previously had enemies. Lightning strikes have become more frequent, and some lightning rods have been extended to help draw away the blasts. There are a lot of corpses here - more than you and Liam killed if you explored this area earlier - and the party comments that Alec has been busy. Now that SAM's around you can scan the corpses again for additional analysis, but no RD.
You'll reach a couple of broken pipes which are spilling toxic waste. Move south but look to the western wall and you'll see a small chasm, the one leading to the shielded base if you explored it earlier. Climb up to go through and a cutscene will start.
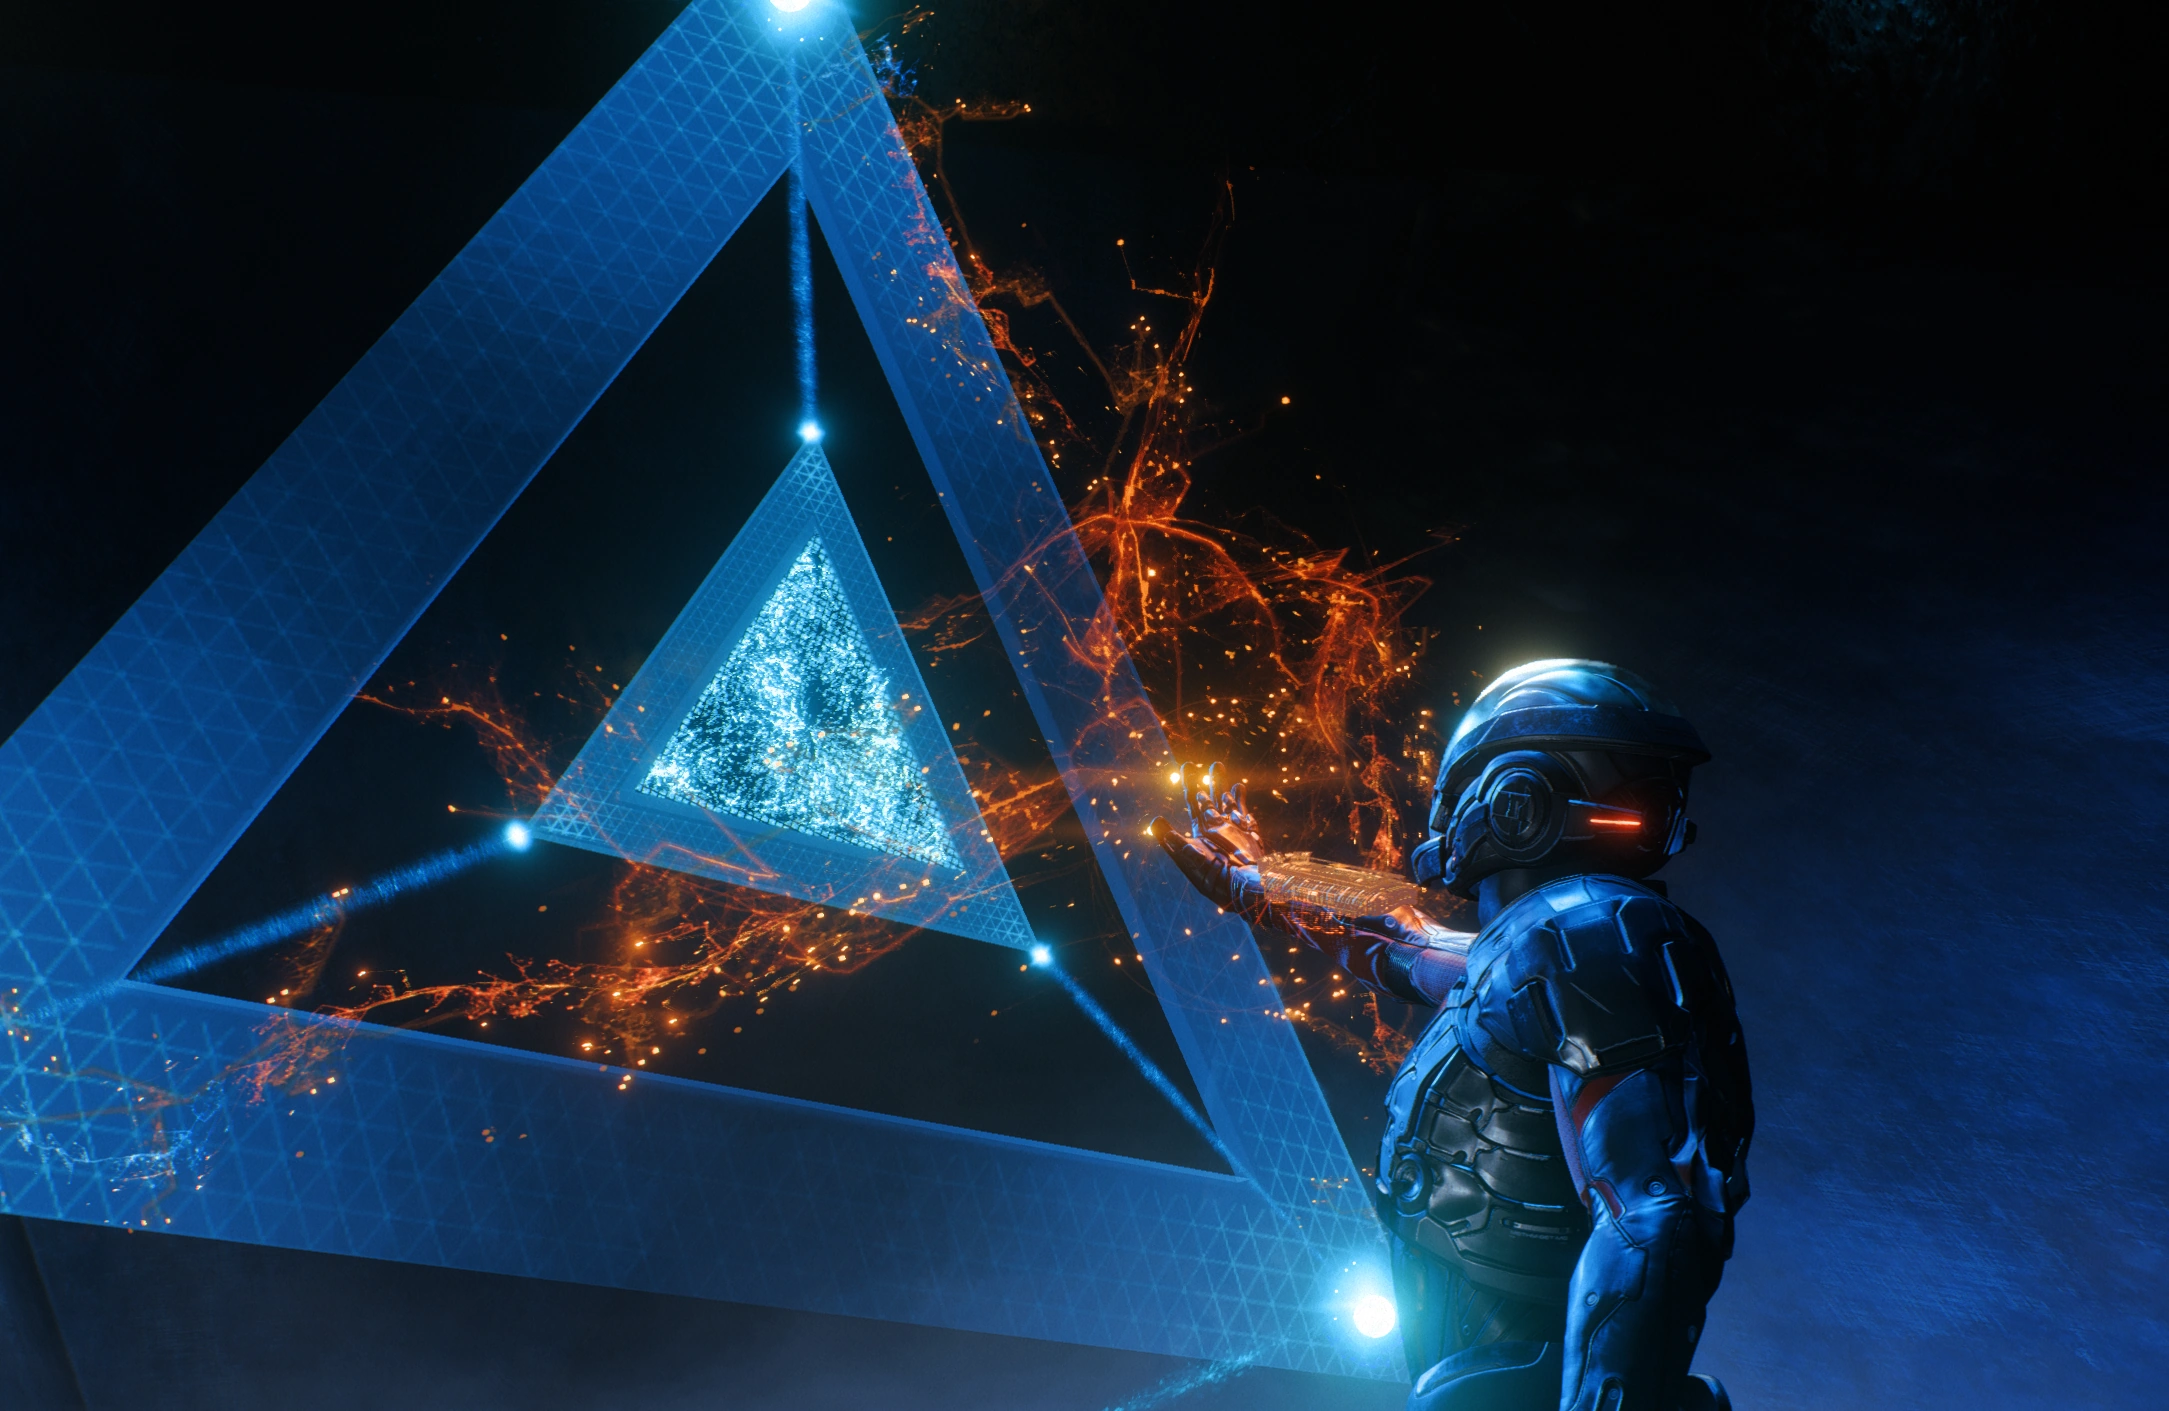
Alec Ryder had been attempting to gain readings on the giant monolith. He had ideas about how to stop the storm that brought down the shuttles and was now keeping the repaired one from flying safely. Alec believes the power from the tower is reacting to the energy cloud and is causing the storms. His theory is that if the tower is shut down, the storms will stop.
If you explored the abandoned lab to the west, Alec praises your effort: "Good work. You actually did some scouting." If not, he has some choice admonitions. If you went through the mysterious cave nearby (optional objective not required to be accomplished), you'll have something to share when Alec explains the planet's climate disruption.
With the mission clear, the battle to take the tower begins as the Pathfinder blows up two of the lightning rods that have been protecting the aliens from the deadly strikes.
Follow the Pathfinder[]
Accompany Alec Ryder as he takes out the nearby stronghold that is protecting the tower. There are numerous loot containers and supply dumps throughout the battle area. Alec can slay enemies by himself with his nifty Profiles, so you can hang back and explore for a bit. There is no time pressure to move forward quickly to keep up with Alec.
There will be several waves of enemies that show up as the team moves through the building but each one can be taken out before moving forward. Watch out for telltale rising rocks that precede lightning strikes, they're very frequent here.
If you consult your map, the "Unknown Megastructure" layout follows a terraced design with ascending ramps and walkways, with the ultimate objective at the easternmost end. There are no scannable items from this point forward except for possibly one. At the bottom platform, there's a health cache and an ammo cache. The next platform has an open sort-of barracks with another health cache, an ammo cache, and two small containers. The next platform after that, with the damaged connecting walkway, has two small containers and a health cache.
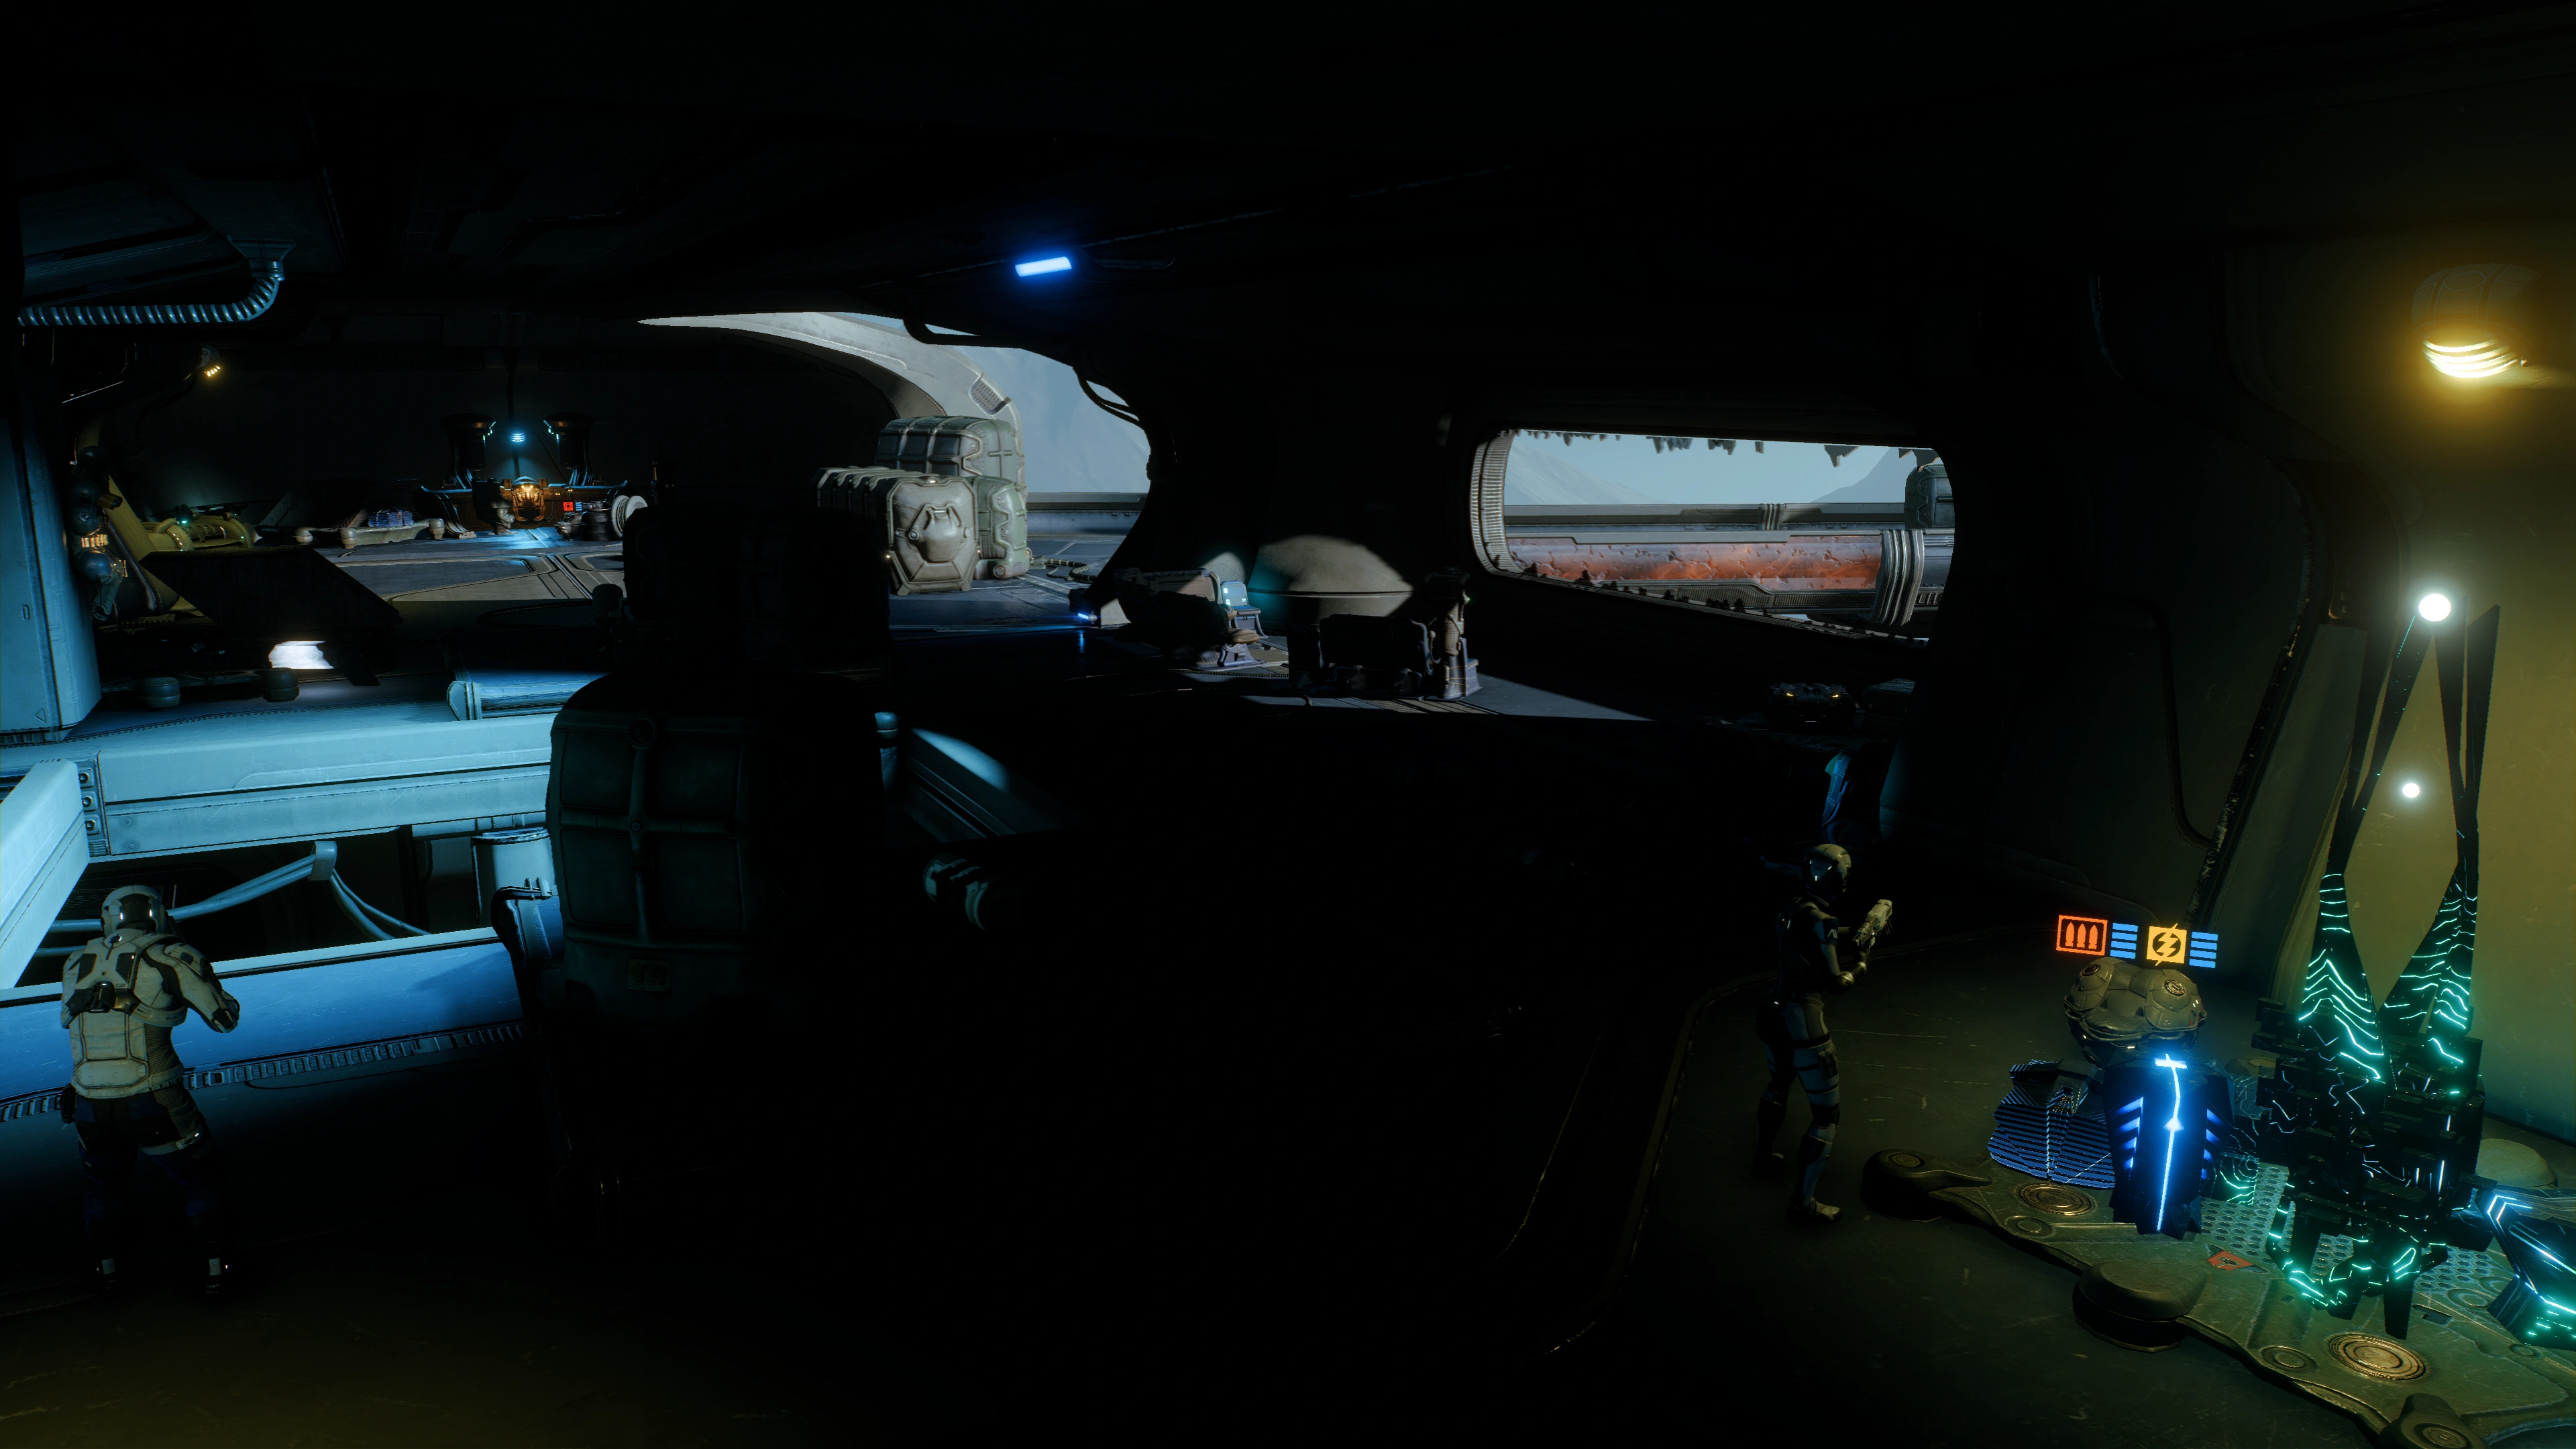
The damaged walkway leads to a door with an ammo cache to the right. Inside the door is a dark indoor chamber filled with artifacts, three lootable containers, two supply caches, and the body of Lucas Greer if you never bothered to save him. His corpse can be scanned for +10![]() and the team will have some reactions to it, but you will have to press onward.
and the team will have some reactions to it, but you will have to press onward.
Parallel to the chamber is a walkway, but it's exposed to lightning and there's nothing of value there. There's an upper level reachable from the chamber by jumping atop crates next to the easternmost lootable container, but you can backtrack to this later.
Once you reach the upper end of the ramp after the chamber, this objective concludes and switches to the next one.
Defend the Pathfinder[]
When you make it to the top, there's still some enemy resistance in the area. The bare minimum is an Unknown Heavy if Alec was left to his own devices for too long and killed everyone else before your arrival. Once they're all down, Alec walks over to a console and begins deciphering its language.
The lightning strikes have abated for the time being. Use the time to restock, replenish health, and explore the few remaining nooks and crannies of the place. Warning: All regions beyond the walkways leading to the door are now off-limits once you meet up with Alec.
The immediate area in front of the big door has two ammo caches and one health cache. Next to the door (south side) there's a large container. The upper level reachable from the dark chamber earlier leads to three lootable containers, a health cache, and an ammo cache.
The walkways and chambers on the opposite side of the door lead to precisely nothing. There are a few large crates and zero illumination, nothing lootable.
Join the Pathfinder[]
Simply walking over to Alec will complete this objective, so you'll have to deliberately avoid him if you're still exploring.
Optional: Order Cora and Liam to defend both flanks[]
Place the squadmates in the white circle spots marked out on the ground on either side of the platform. This is a timed optional objective; it will be marked as failed if you haven't done so by the time the reinforcements arrive. Conversely, if you accomplished this ASAP, expect enemies almost immediately.
Alec starts decrypting for real when the hostiles arrive. Kill everyone you can until the decryption process is complete. Don't worry about the Pathfinder - he's invincible - worry more about yourself dying.
Waves of enemies attack from both sides. Cloaking beasts will attempt to sneak by, in addition to regular troops and heavy weapon wielders. Help each squadmate by going back and forth between the two flanks (if you stationed them there) until Alec is done. If you have an offense-oriented playstyle, keep in mind the enemies will come to you, and you can't come to them because of mission boundaries.
Decryption only lasts for a couple of minutes. Near the end of the process, enemies start pulling back. When decryption is complete the door opens though it becomes stuck. Alec will ask you for help prying it open (+215XP) - when he walks over to the door and handles it, the defend the Pathfinder objective is marked complete. The remaining enemies do not have to be defeated. Warning: Alec will call for you three times. If you still don't help him after the third try, the mission failure screen appears.
Open the door[]
This is the final objective. If you wish to loot from dead enemies, do so quickly before interacting with the door.
After the lifting the door open, the Ryders step inside during a cutscene. Alec uses SAM as a translator for the automated device in the chamber and shuts the tower down. The Ryders walk outside and notice that Alec has apparently succeeded; you can form one of two opinions on that. Note: If you imported a previous playthrough, your helmet reverts to the one you were wearing the first time around.
However, both Ryders are blindsided by the fast-moving dark cloud coming from the monolith behind them. They're knocked down and off the platform. The visor in the younger Ryder's helmet is shattered, leaving them suffocating in the alien atmosphere. Alec limps over to his child and calls for the shuttle. Knowing it won't arrive in time, he makes a decision that he hopes will save Ryder Jr.'s life, likely at the cost of his own. He gives up his helmet and transfers Pathfinder authority and SAM to his child before he loses consciousness.
The younger Ryder is rushed to the Hyperion med-bay by their squadmates, Dr. Carlyle, and Dr. Lexi T'Perro, then forwarded shortly to SAM Node in an attempt at resuscitation by integrating SAM further into their brain via a hardwired connection. Ryder awakes at the SAM Node and learns that not only can they privately communicate with SAM, but they've also been transferred the position of Pathfinder as their father's last act.
Aftermath[]
The Hyperion has been saved from the strange energy cloud near Habitat 7 as the cloud receded once Alec Ryder communicated with the tower on the planet's surface. Heading to join the other arks at the Nexus with the new Pathfinder Ryder, things seem to have stabilized somewhat.
After the humans' departure from Habitat 7, the alien leader arrives, uses a floating surveillance drone, reviews Alec's captured actions, and tries to mimic him. Now the aliens know there are people out there who can interface with this technology they're interested in. Finding and capturing them becomes a priority.
The mission Nexus Reunion starts automatically after this mission ends.
Rewards[]
- None
Trivia[]
- If you save Greer, he claims he intends to go back to Fisher's position. He disappears from the cave upon loading an autosave or going out and in, but if you backtrack to check on Fisher Greer isn't there.
| ← Previous Mission | Mission Index | Next Mission → |
|---|---|---|
| Prologue: Hyperion | Missions (Mass Effect: Andromeda) | Nexus Reunion |