Firebase Hydra is a multiplayer map included in the Mass Effect 3: Resurgence Pack. It is located on Arvuna.
Description
Note: Despite this official description, the game itself lists Firebase Hydra's location as being Arvuna.
Firebase Hydra is located in an old abandoned quarian colony which humans took over when they originally settled the world of Ontarom. It has since been converted into a massive dam facility which powers the communications hub located at Firebase Dagger and the kinetic barrier which protects it. Without this critical power source, Systems Alliance communications within the entire theater would go dark.[1]
Locations
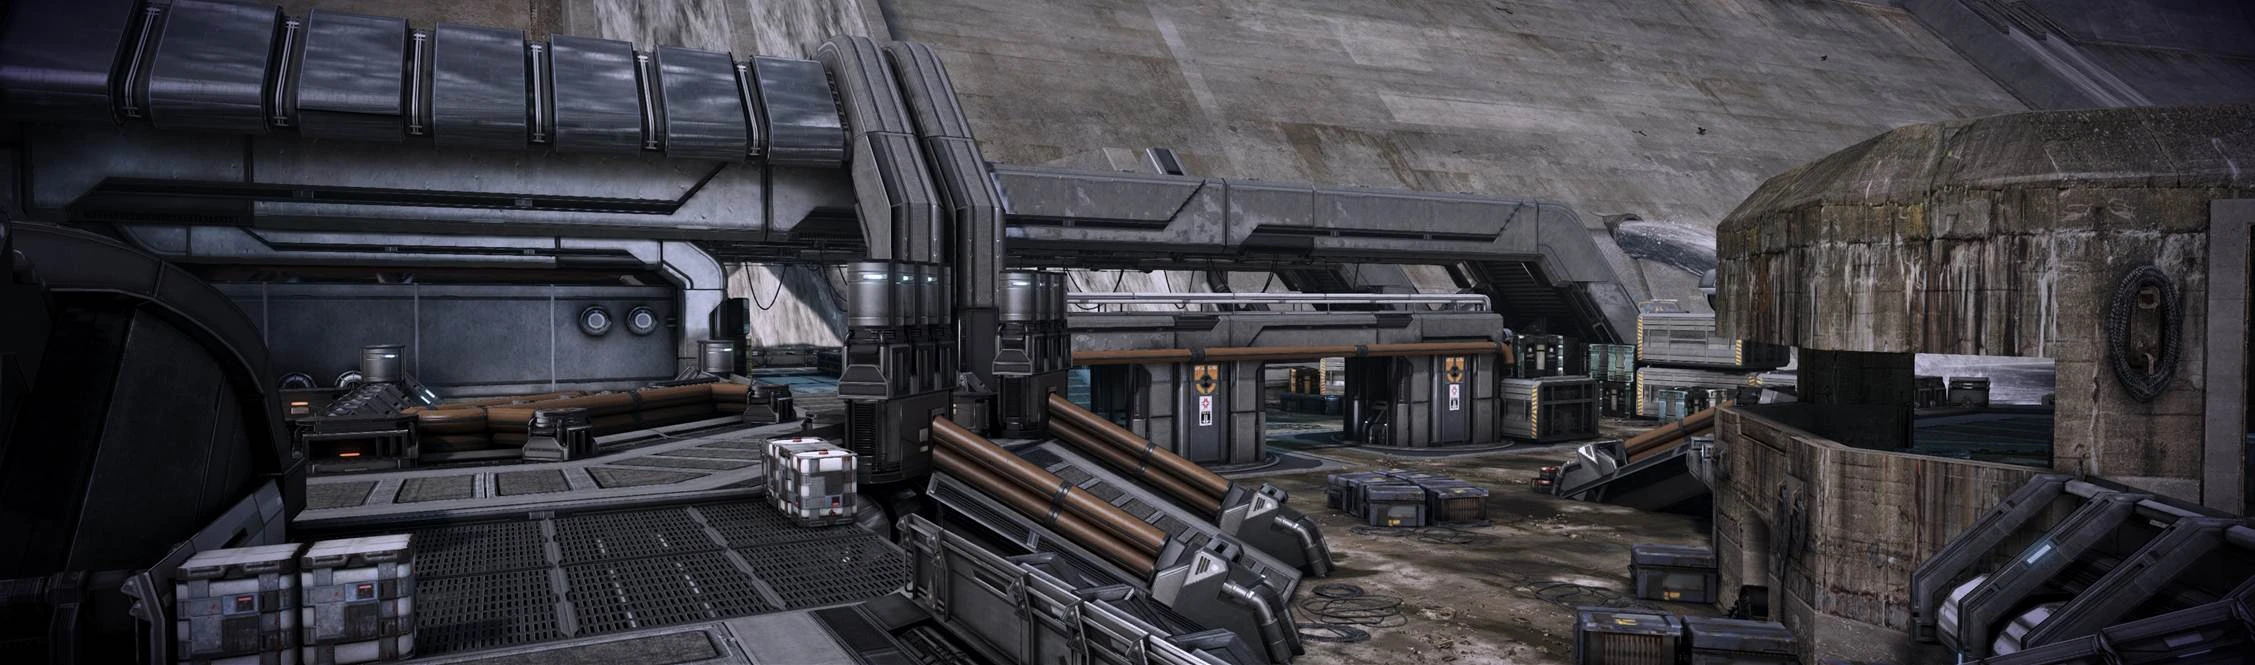
Catwalks
The upper level catwalks that run the length of the map. Players begin and extract near the ocean by the parked geth fighters. Connects directly to Traffic Control, the Corridor, and Sluice Gate. Leads down to the Yard at two ramps. An ammo crate that grants 2 grenades (doubled on Bronze) is located near the extraction zone along the rail that runs parallel to the direction players face while spawning in.
Traffic Control
A small flight monitoring outpost. Connects directly to the Catwalks (near the landing zone) and to the Yard via ramp.
Yard
The lower ground level of the dam. Four ramps lead to the Catwalks, Sluice Gate, and Traffic Control. An ammo crate that grants 2 grenades (doubled on Bronze) is located against the railing that leads up to Traffic Control.
Sluice Gate
A raised platform near the water channel. Forks to Operations and the Catwalks, and down to the Yard via a ramp and one-way drop. An ammo crate that grants 2 grenades (doubled on Bronze) is located against the railing across from the ramp to the Yard.
Operations
Dam control room containing geth platform pods. Connects directly to the Corridor and Sluice Gate.
Corridor
A long hallway in the corner of the map. Connects the Catwalks to the Operations. An ammo crate that grants 1 grenade (doubled on Bronze) is located against the inner wall toward Operations.
Player Notes
- Characters with access to the Sentry Turret and Geth Turret powers can dominate this map if their turrets are deployed in the Yard. This gives the turret access to any enemy crossing through the open areas of the map, as well as clear shots at two different spawn points. The Sentry Turret is especially effective when upgraded with a Rocket Launcher at Rank 6; with enough Power Damage bonuses, one rocket can wipe out almost an entire spawning of basic "Trooper-style" enemies on Bronze or Silver.
- The Control Room is an excellent location for a team to bunker down, as it has only two possible entrances, and lots of cover.
- Sniping by the ammo crate near the LZ is advisable. Enemies mainly spawn at the other end of the Yard, so the long sightlines to everywhere the enemies can go are useful. The flip-side is true for enemies to use against you, as they can and will come from all directions in front of you. Be wary of being overrun.
- Waiting in the extraction zone on this map is highly inadvisable. There is limited cover, long sightlines for enemies, and two open flanks, making this an absolute nightmare to defend, particularly on Gold or Platinum.
- From the edge of Sluice Gate, it is possible to roll or dash outside the map and onto the edge of the dam. (Dropping onto the ledge can also be achieved with certain characters' melee attacks.) By proceeding along the ledge toward the crates on the right-hand side and then turning left in the corner, the player ends up in a spot convenient for sniping. The spot provides limited cover, though moving too far back will cause the character to drop and respawn by the LZ. Note: caution should be observed in the corner by the ledge and crates, as it is possible to become stuck there permanently.
References
| Mass Effect 3 Multiplayer Maps | |
|---|---|
| Original Maps | Firebase Dagger • Firebase Ghost • Firebase Giant • Firebase Reactor • Firebase Glacier • Firebase White |
| Resurgence Maps | Firebase Hydra • Firebase Condor |
| Rebellion Maps | Firebase Jade • Firebase Goddess |
| Earth Maps | Firebase Rio • Firebase Vancouver • Firebase London |