All the colonists of Freedom's Progress have mysteriously vanished. The Illusive Man would like a team to investigate the disappearances.
Acquisition[]
The mission is acquired automatically after your briefing with the Illusive Man.
Preparation[]
Be sure to access the Armor Locker in Minuteman Station and configure your armor to suit your play style. Unless it's your first playthrough, you're likely to have at least a few choices available.
Walkthrough[]
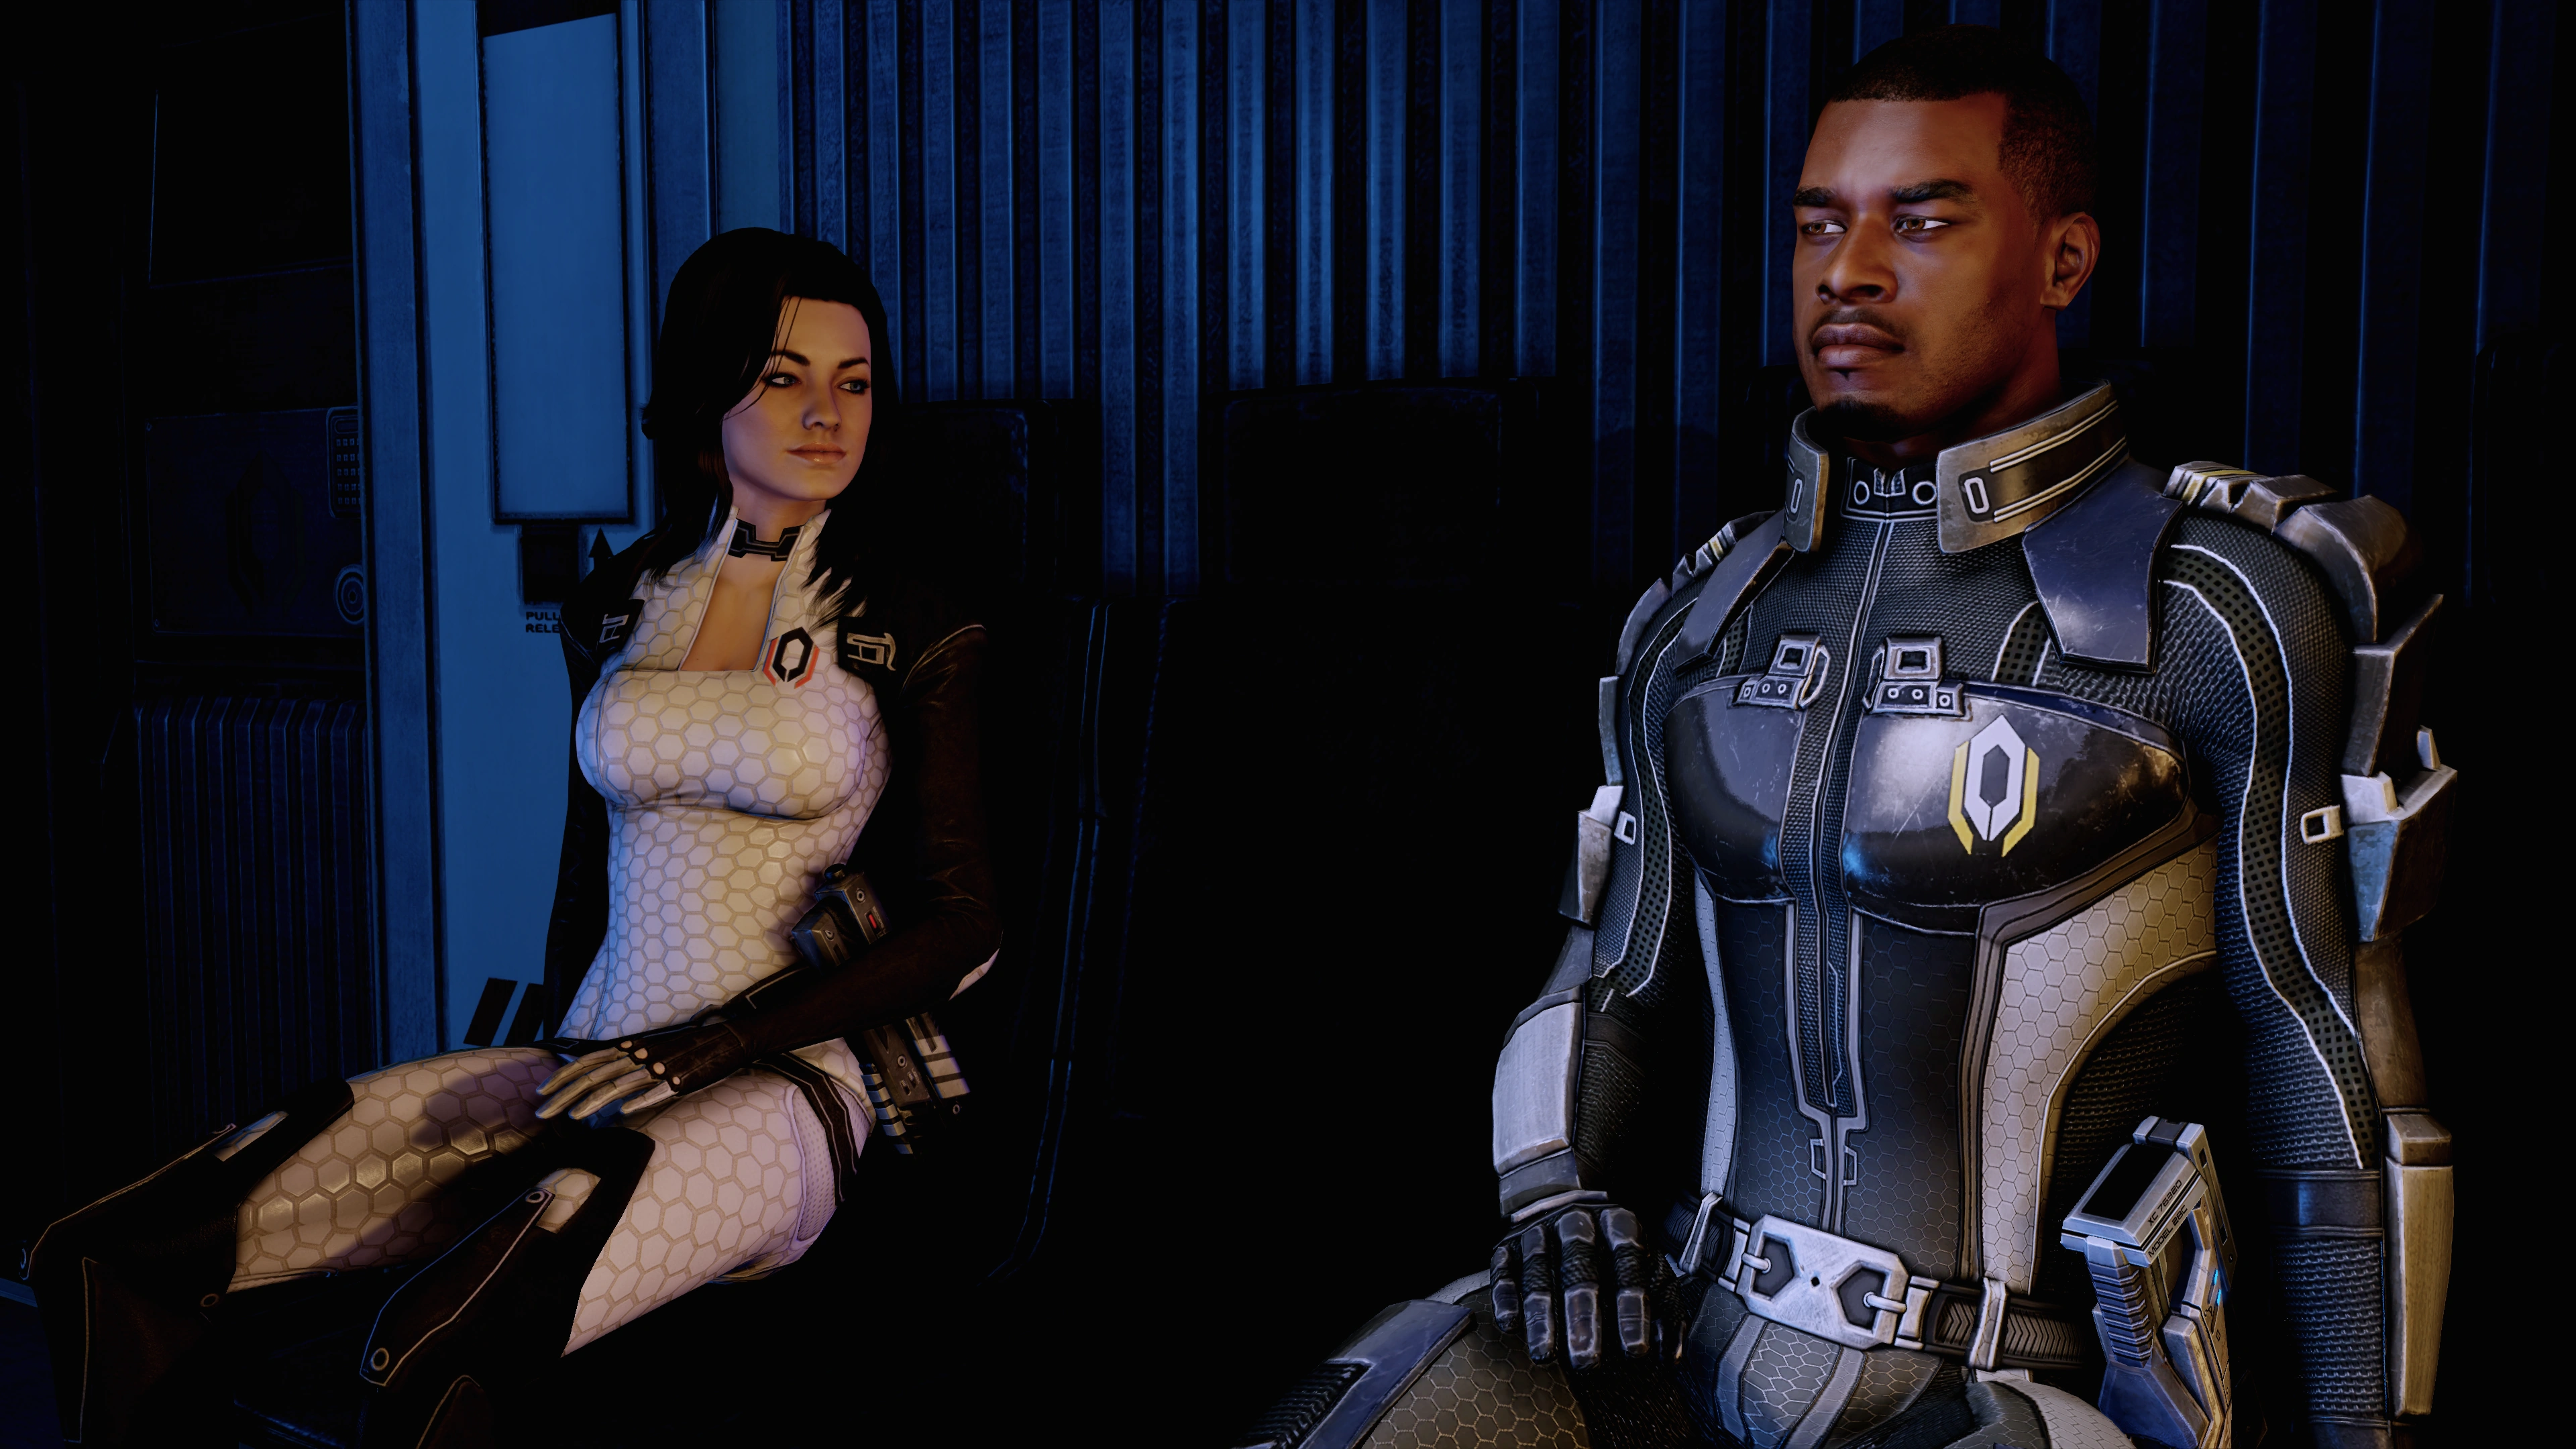
Freedom's Progress is the third and final mission in the prologue, where Commander Shepard's embryonic team investigates the recently attacked colony of Freedom's Progress. Your mission is to recover any clues or information as to who is responsible, with help from newfound squadmates Jacob Taylor and Miranda Lawson.
You start in the shuttle, talking with Jacob and Miranda. When Jacob asks for specific orders, there are morality points available: you can get Paragon points for emphasizing looking for survivors, or Renegade points for prioritizing the mission over everything else.
On arrival, be sure to check the Squad menu and assign your available points to powers. Pay attention to the numbers on the sides of buildings for navigation.
Arrival[]
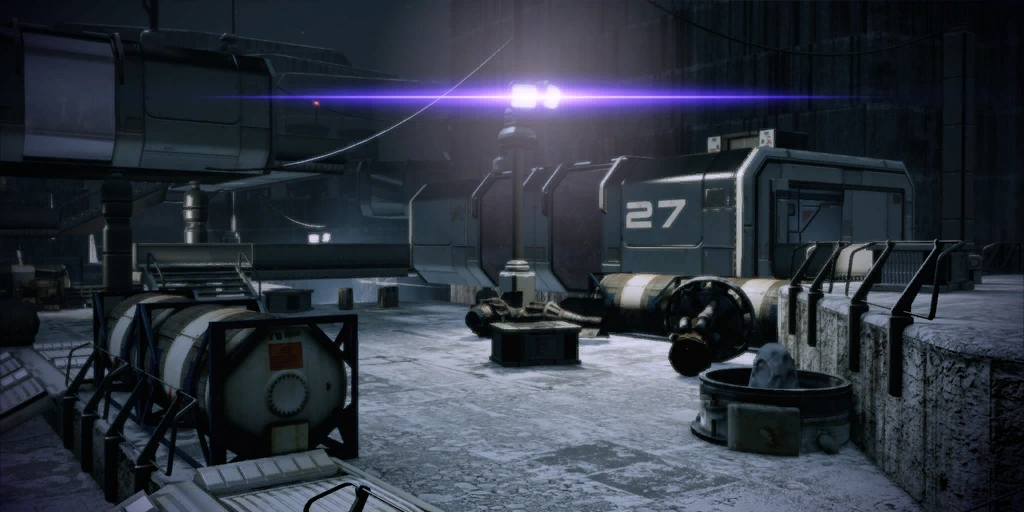
When you gain control you're at a landing pad with the shuttle behind you. You need to go through the big door in the distance, which means going through the building labeled 27 in front of you. Jacob and Miranda both comment on the suddenness of disappearances and the palpable lack of any evidence.

Beside the big garage door beneath the floodlights is a pile of lootable spare parts (1000 credits). Beyond the door, there will be two LOKI Mechs in the prefab house across from you, unreachable except for gunfire and powers. Up the stairs to the side are two inactive LOKI mechs that activate on proximity, and a currently locked door. When the first two LOKIs are destroyed the other two activate, and the door opens to reveal two FENRIS Mechs. A few seconds later, another LOKI mech will appear where the first two were. After this encounter you'll gain the Codex entry for mechs.
Combat Strategy: For the first battle of a prologue mission, this can get surprisingly tricky on higher difficulty levels since the LOKI mechs flank the one obvious cover position and the FENRIS mechs approach relentlessly. You'll need to be quite nimble in switching directions and concentrating on the most threatening target. An alternative tactic if you're having trouble is run back through the door as soon as the enemies spawn and take cover in the previous area. There is a large pipe some distance back from the door where you can take cover, and you can place Miranda and Jacob to the right up on a small ledge. Enemies are not able to follow you through the door and you can pick them off at your leisure. Unless you're confident in your skills, don't take on four LOKIs at once by baiting the dormant ones while the first two are still active.
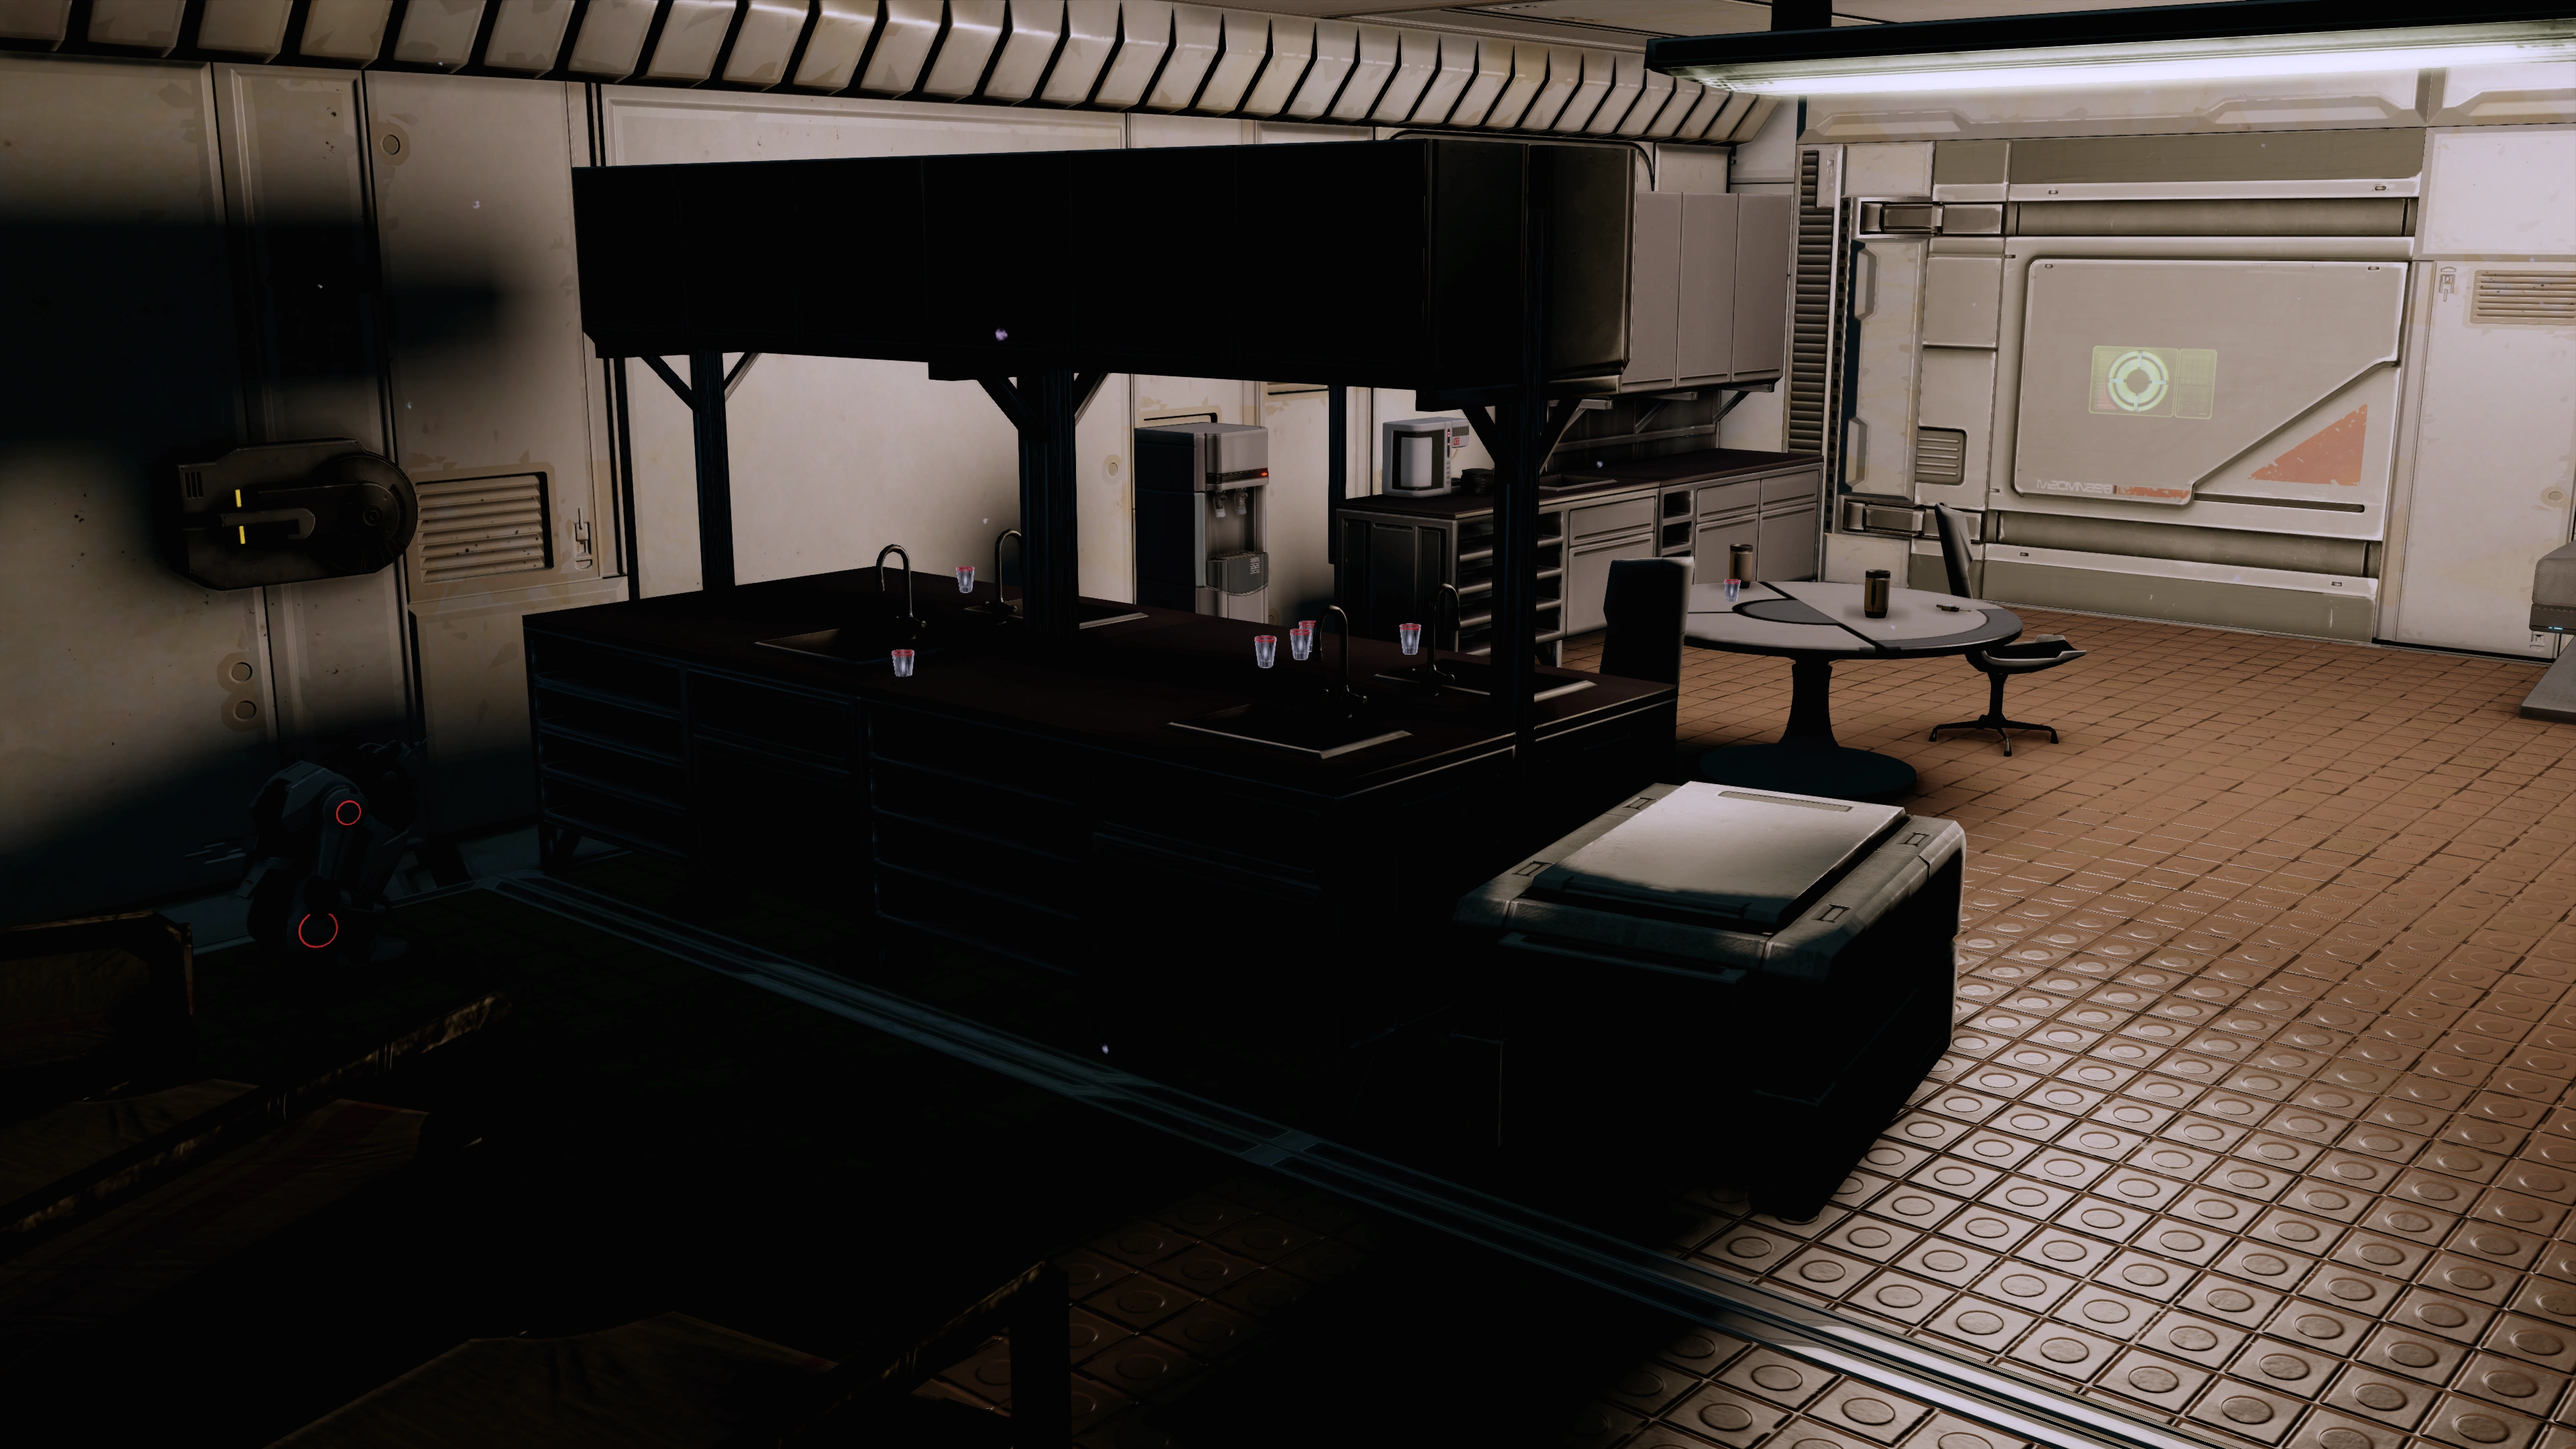
When all the mechs are scrapped proceed to the building labeled 75. Inside is a Med Kit with 1 medi-gel (if your medi-gel is full any excess will be converted to 100 credits) and a Wall Safe worth 2000 credits (bypass required). Outside is another pile of spare parts (1000 credits) and another building, labeled 92 on the side. This building is initially locked: it is guarded by one LOKI Mech and one FENRIS mech, both inactive but will go online when you approach. Destroy them both and the building becomes accessible. Note: Before opening the door, make sure you retrieved everything you need from the environment up to this point as they will be inaccessible afterward.
Inside prefab 92 your squad will run into Tali'Zorah vas Neema and a group of quarians under her command, all of whom express great distrust for Cerberus. Tali explains that their mission is to find Veetor, an unstable and sensitive quarian who came to the colony on Pilgrimage. They suspect that Veetor, nervous to begin with, must have suffered damage to his suit during the attack, with the subsequent infection causing him to become paranoid and reprogram the security mechs.
The two squads decide to work together to find him. Again, multiple morality points are available depending on how you play this encounter out, and if you imported a game from the first Mass Effect where you helped Tali with her Pilgrimage you can even leverage it here.
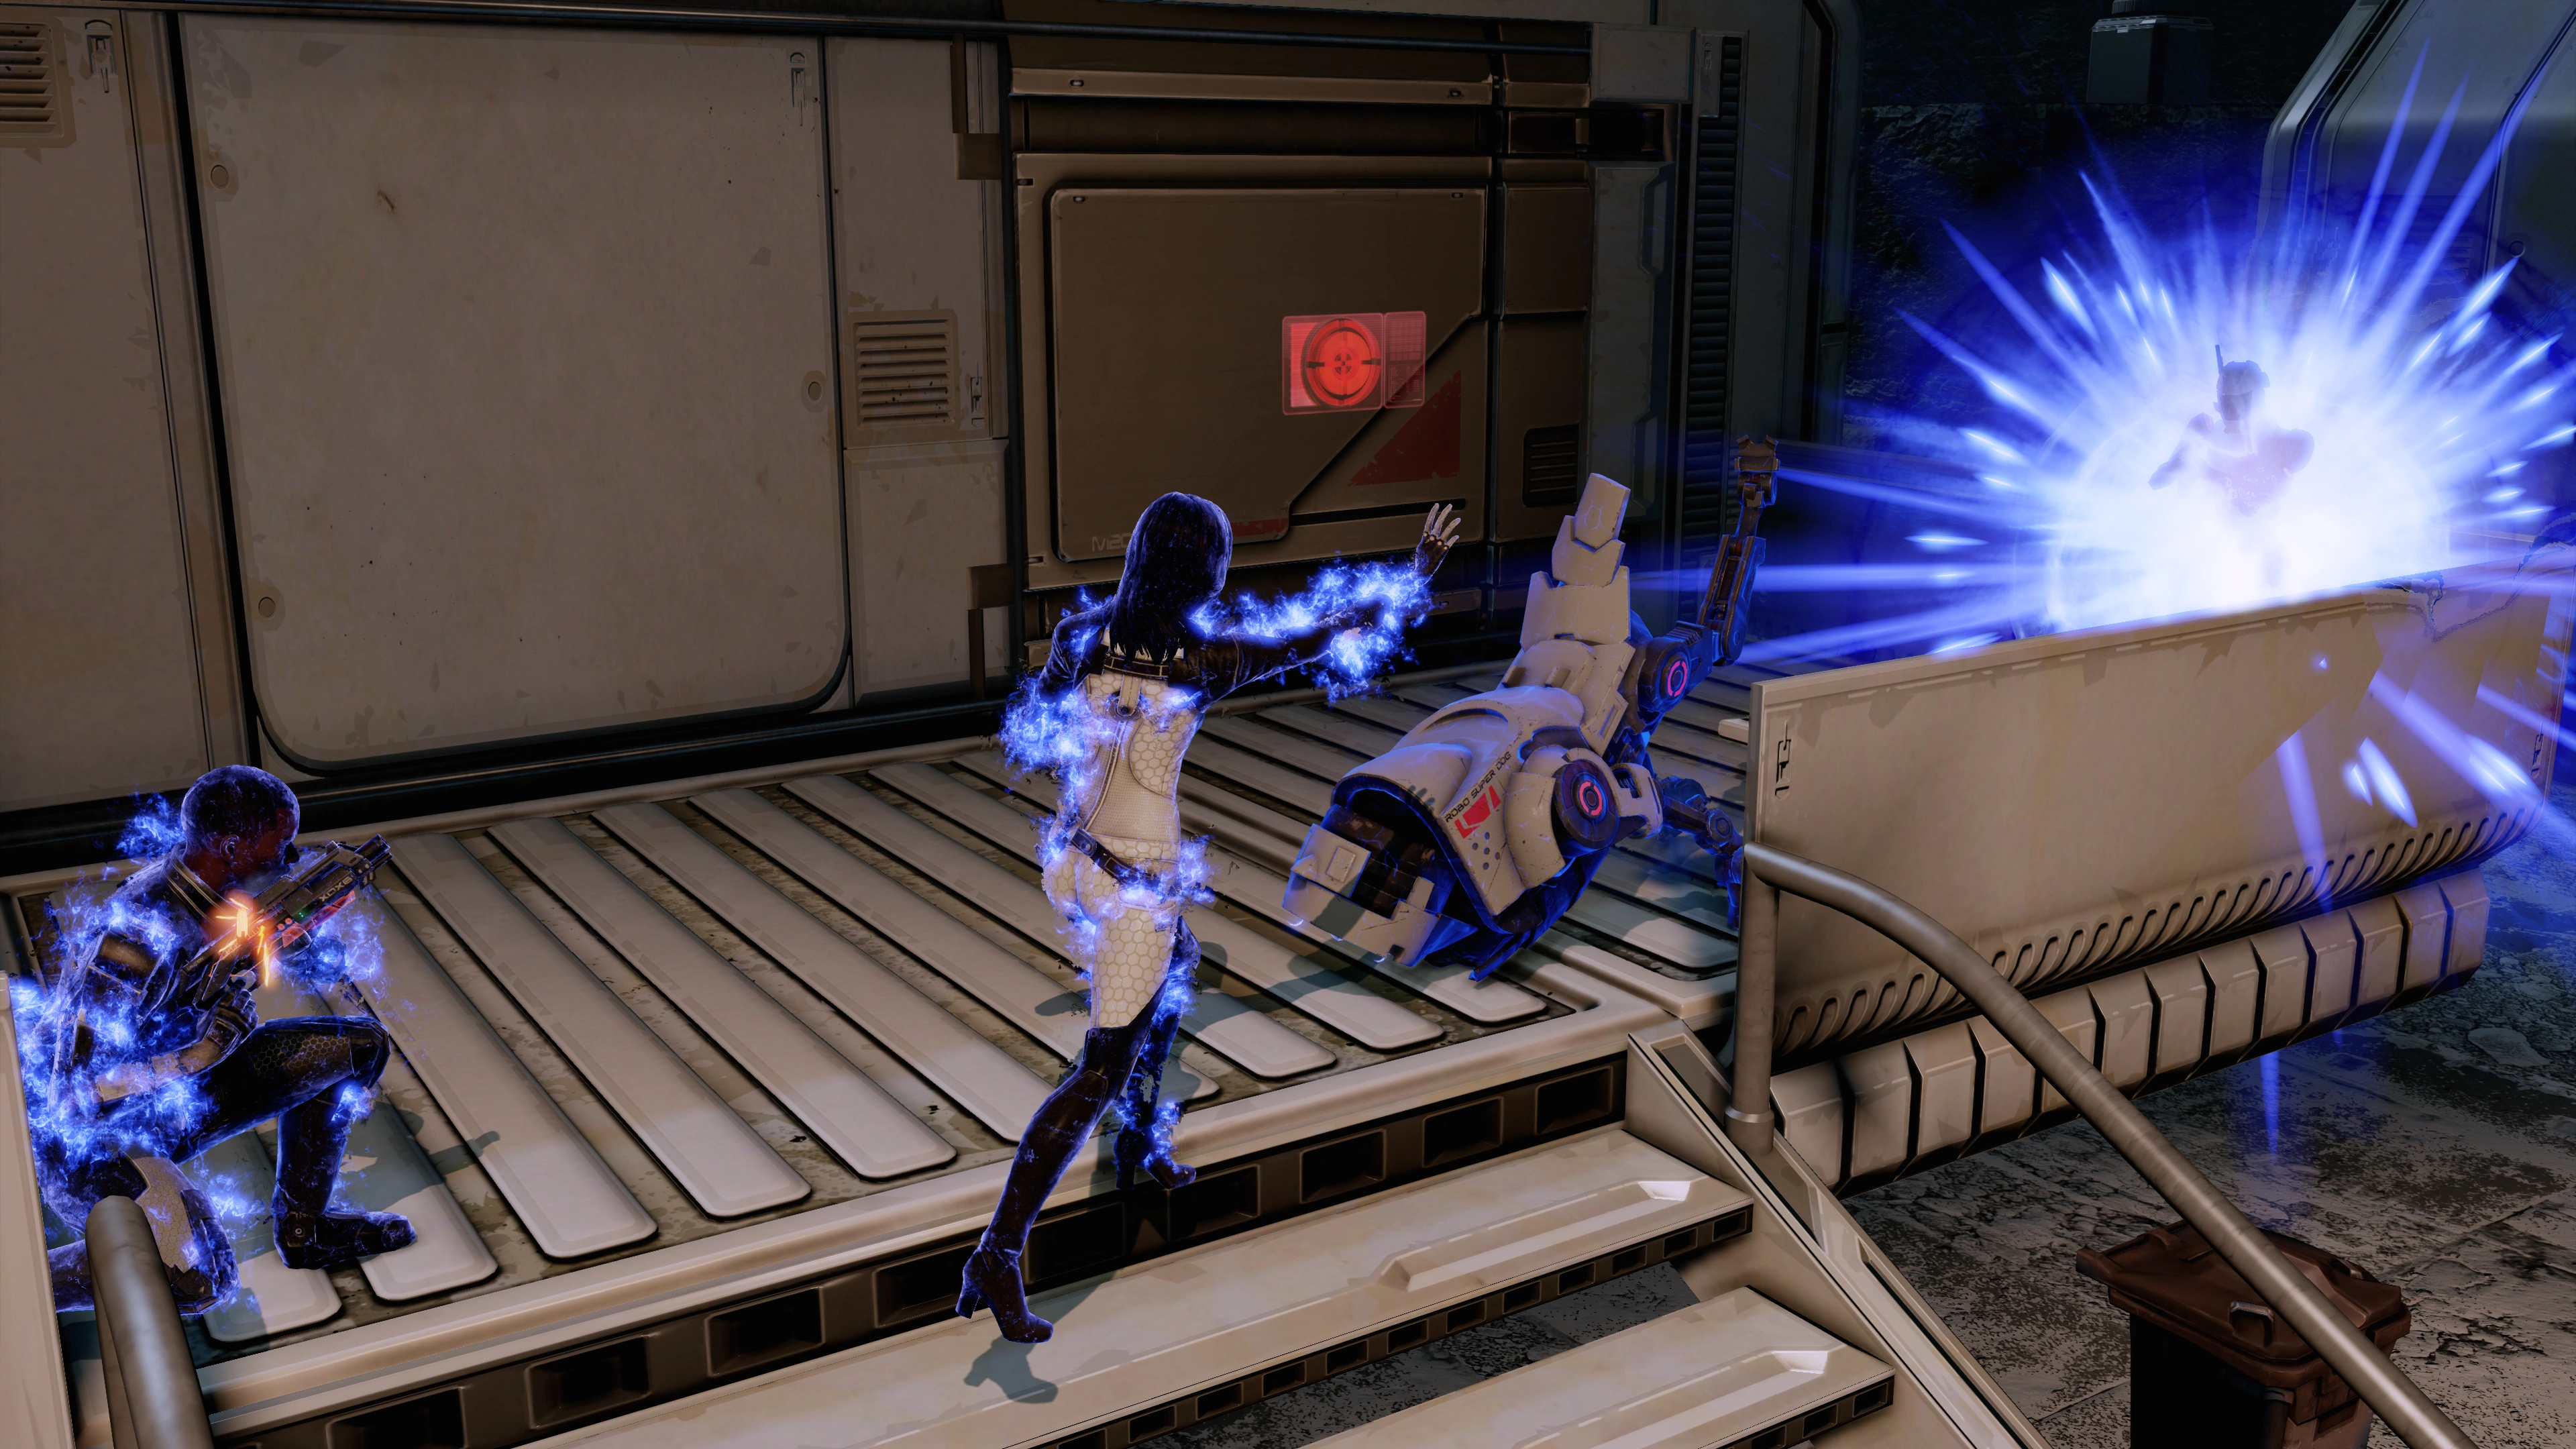
When you regain control, the door where you came in will be locked, so there's only one way to proceed: a walkway to the next building (labeled 55). Outside, Tali will warn of security drones, which you will see fly past you, and Jacob thanks her for the heads-up. Inside building 55 one LOKI mech is bundled up next to a Wall Safe worth 2000 credits (bypass required). The time it takes for it to stand up is enough to do significant damage.
Outside building 55's exit you'll see buildings 56 and 57. Two Assault Drones and one Rocket Drone will appear, and three more of the same will replace them after they're destroyed. Jacob helpfully suggests using Overload on them, which at least Miranda has if you don't have it. Tip: If you're replaying and have Stasis it will destroy any drone you use it on.
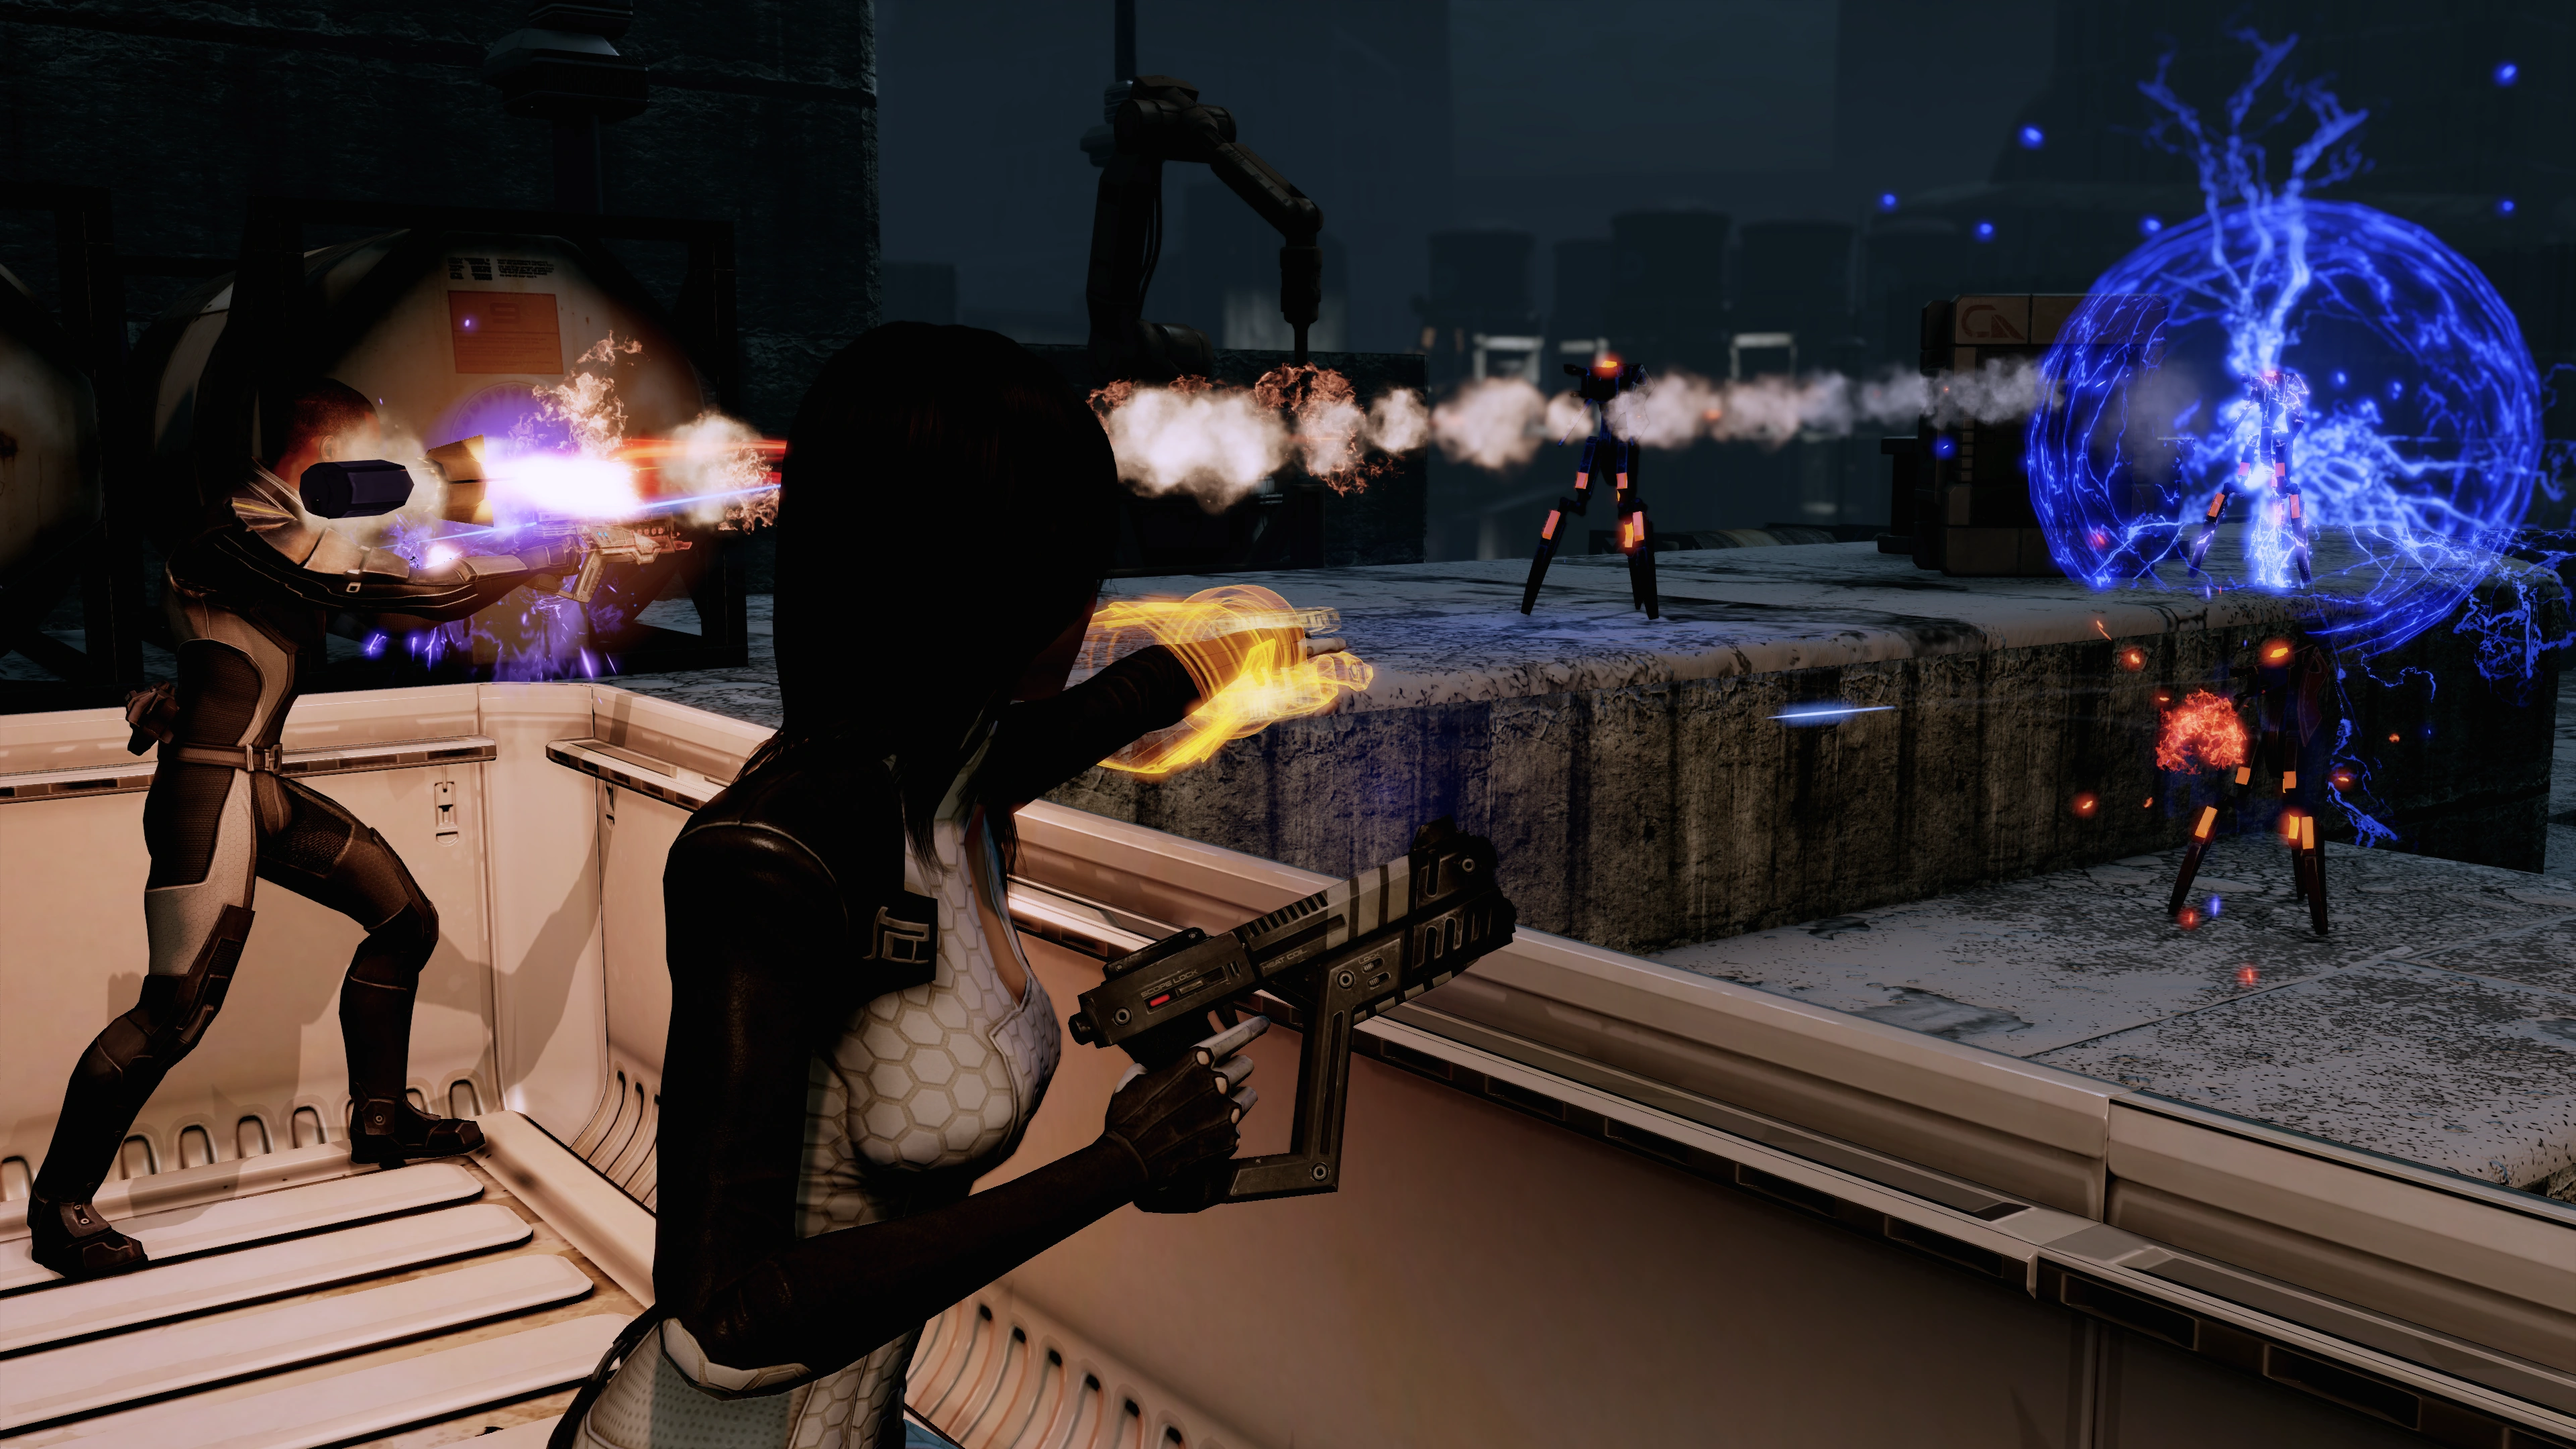
The drones can quickly strip your shields and health if you're not careful, so stick to the banisters as much as possible. The first 3 drones take position on the lower rectangular block to the left of building 55, so the obvious cover position is the banisters bounding the walkway. Be careful, as the reinforcements will have a height advantage and possibly negate your banister cover: one Assault Drone perches on the tanks next to building 55 while the Rocket Drone goes on top of building 57. You can take shelter at prefab 56 and lean out of its doorways to fire at these guys. Note: You can also remain at the exit of building 55 to deal with all of the drones by edging out carefully, leaving both Jacob and Miranda safely inside to assist with powers. However, if you go too far out both of them will suddenly teleport outside and you get locked out of the building.
When the drones are all down Tali will contact you saying that Prazza and the other quarians went on ahead, despite her protests, in an attempt to locate and remove Veetor before Cerberus can question him. In building 56 will be a thermal clip, and a Med Kit. Note: If the drones dropped thermal clips at their assigned positions there's no legal way to reach those places. You'll have to make do with the ones reachable by walking.
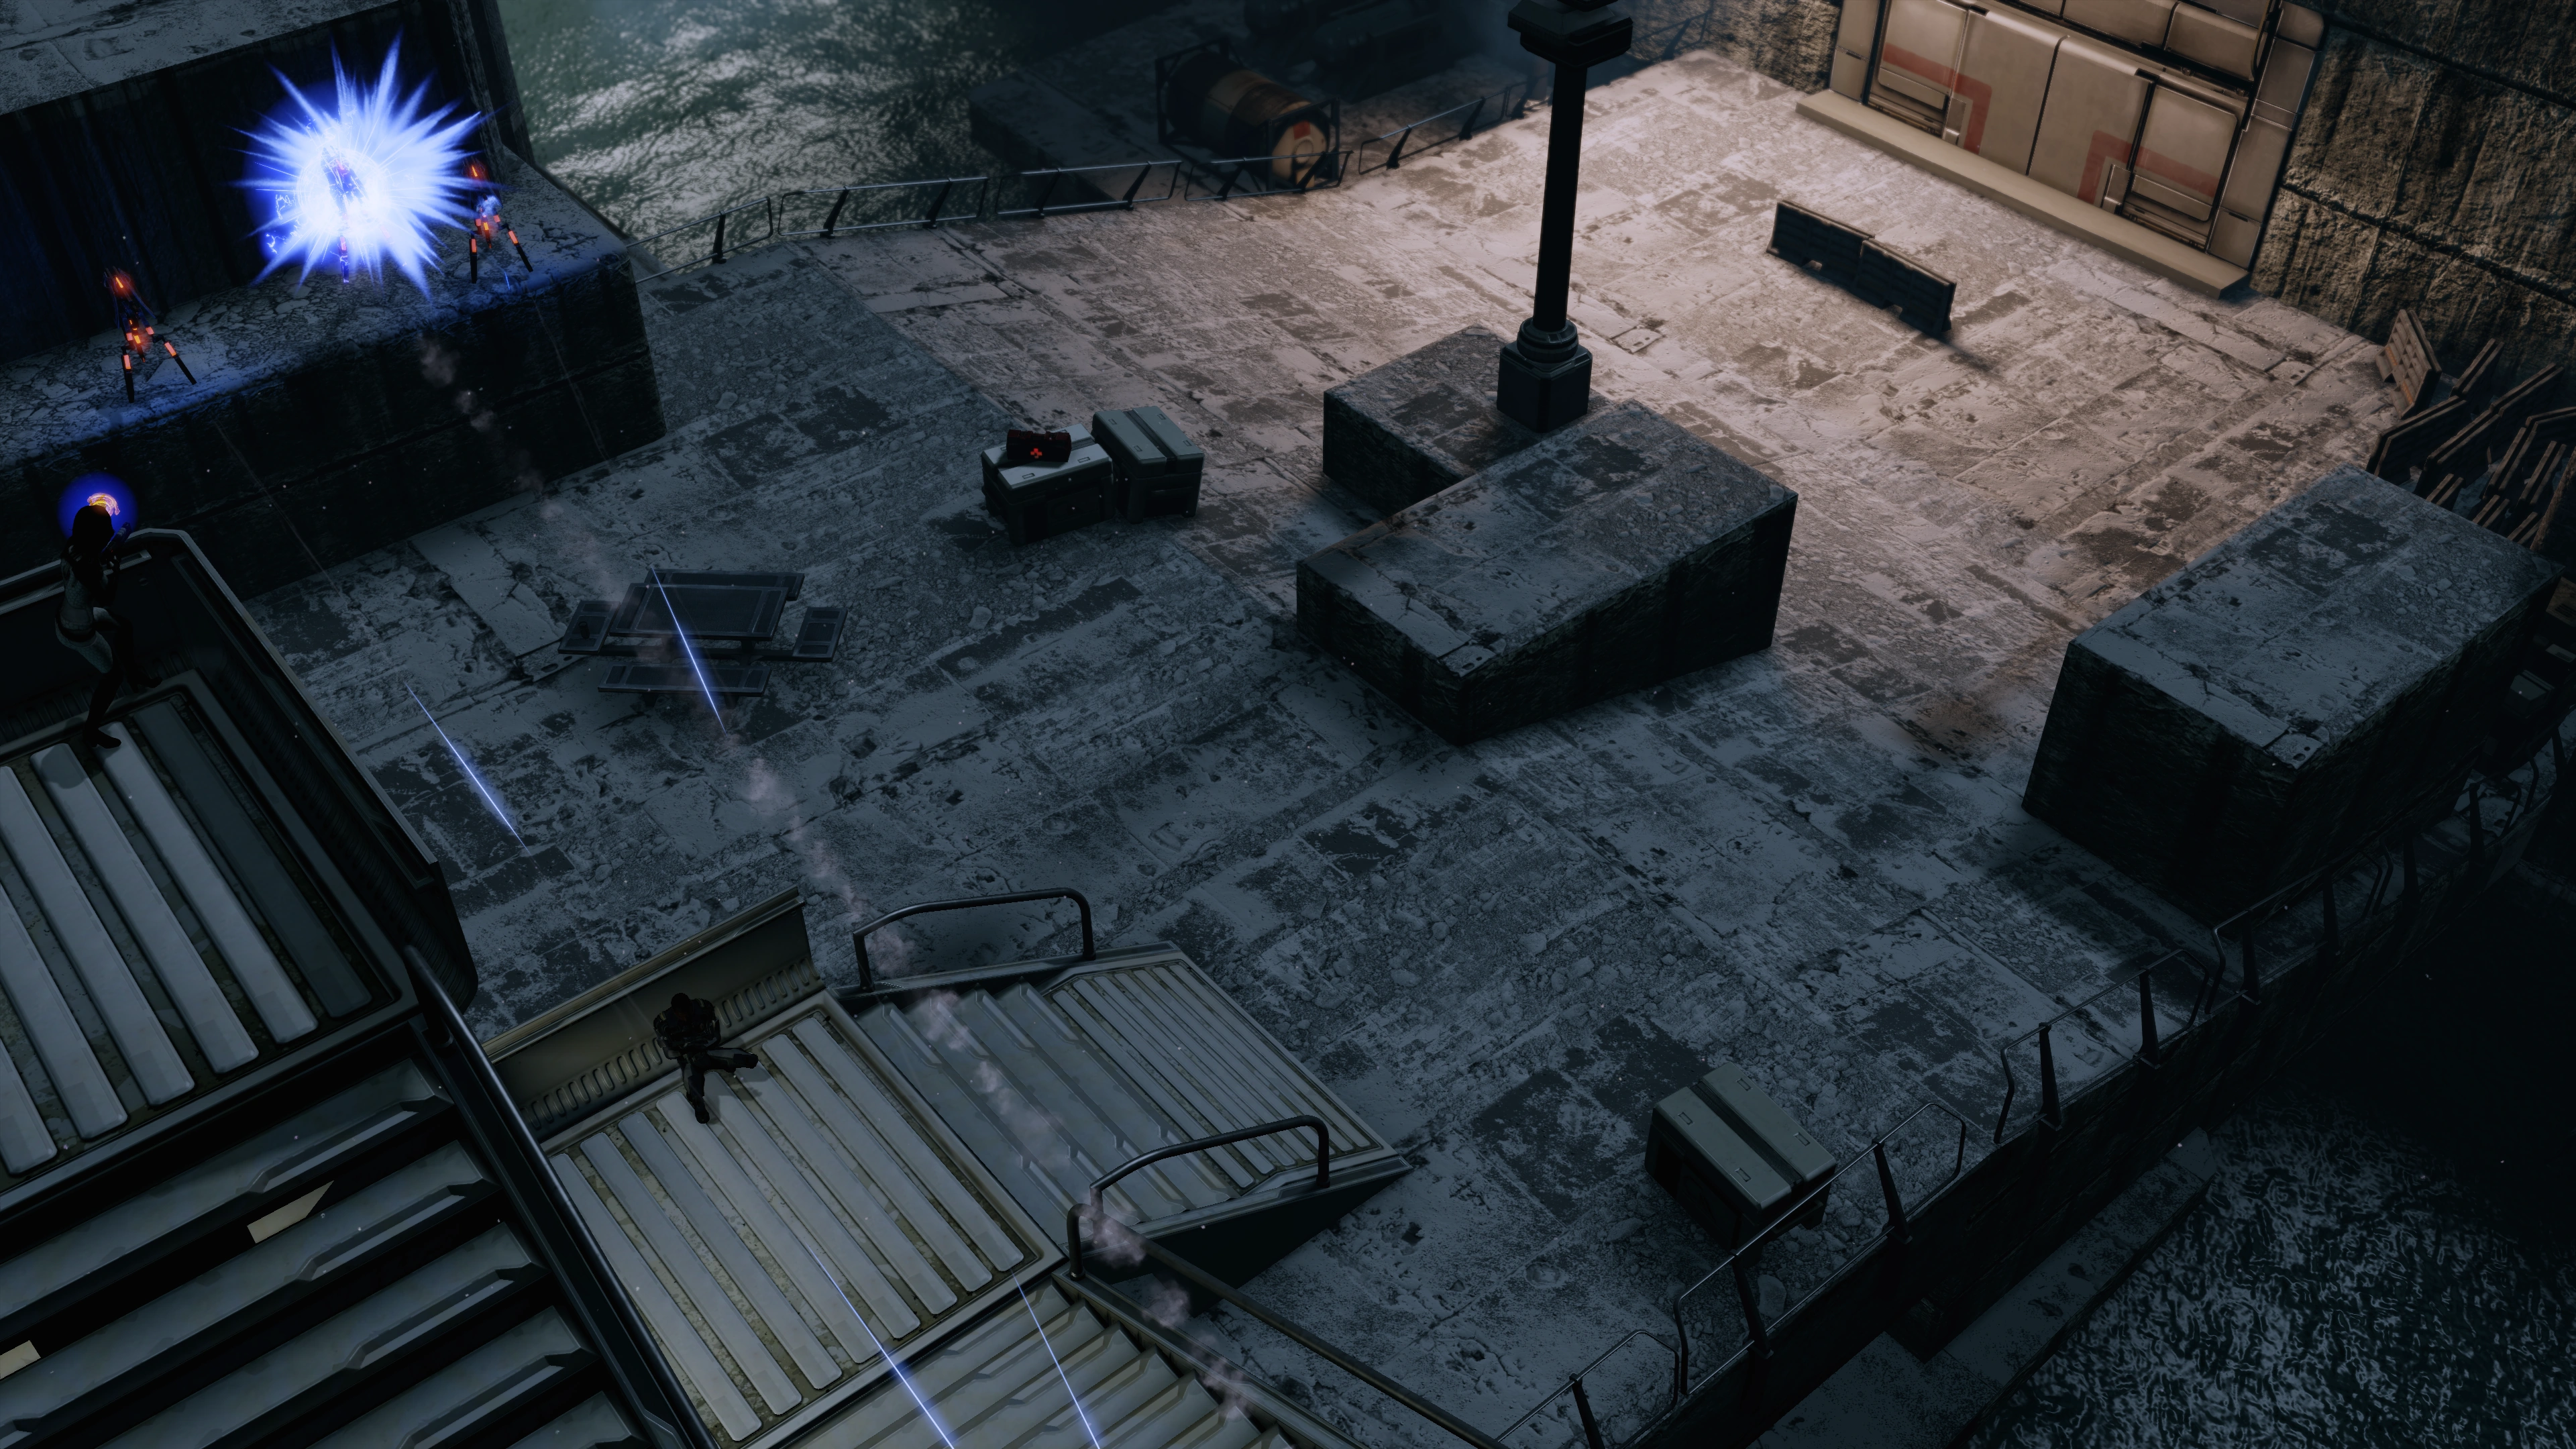
Proceed to building 57, which is empty, then down to three flights of stairs. Shortly before descending the second flight you'll run into two Assault Drones and one Rocket Drone, each with a back-up (same as the previous drone encounter).
The drones initially land on the long blocky level next to the green body of water, in front of you when descending the second set of stairs. However, they periodically switch places between that and two smaller rectangular platforms on the descending ramp to the big (currently disabled) gate. Quickly returning to the top of the staircase gives you the high ground and the best cover for taking out the drones regardless of their placements.
When the last drone explodes Tali urges you to hurry: Veetor reprogrammed a heavy mech that's now laying waste to Prazza and his team, causing Miranda to remark they did want to get to Veetor first. Tali wants you to order your squad to both sides of the large door's entrance and hide yourself at the barricade in front of it.
But first, sweep the area for lootables: thermal clips, if they fell from the drones on accessible places, spare parts (1000 credits) next to the building labeled 2 (which in turn is directly below building 57), a guaranteed thermal clip next to the pile of spare parts, and a Med Kit on the ramp. Note: This is the last chance to sweep the preceding areas as the garage door will lock once you get in.
Once you're all in position, Tali will open the door remotely then hide.
Cargo Docks[]
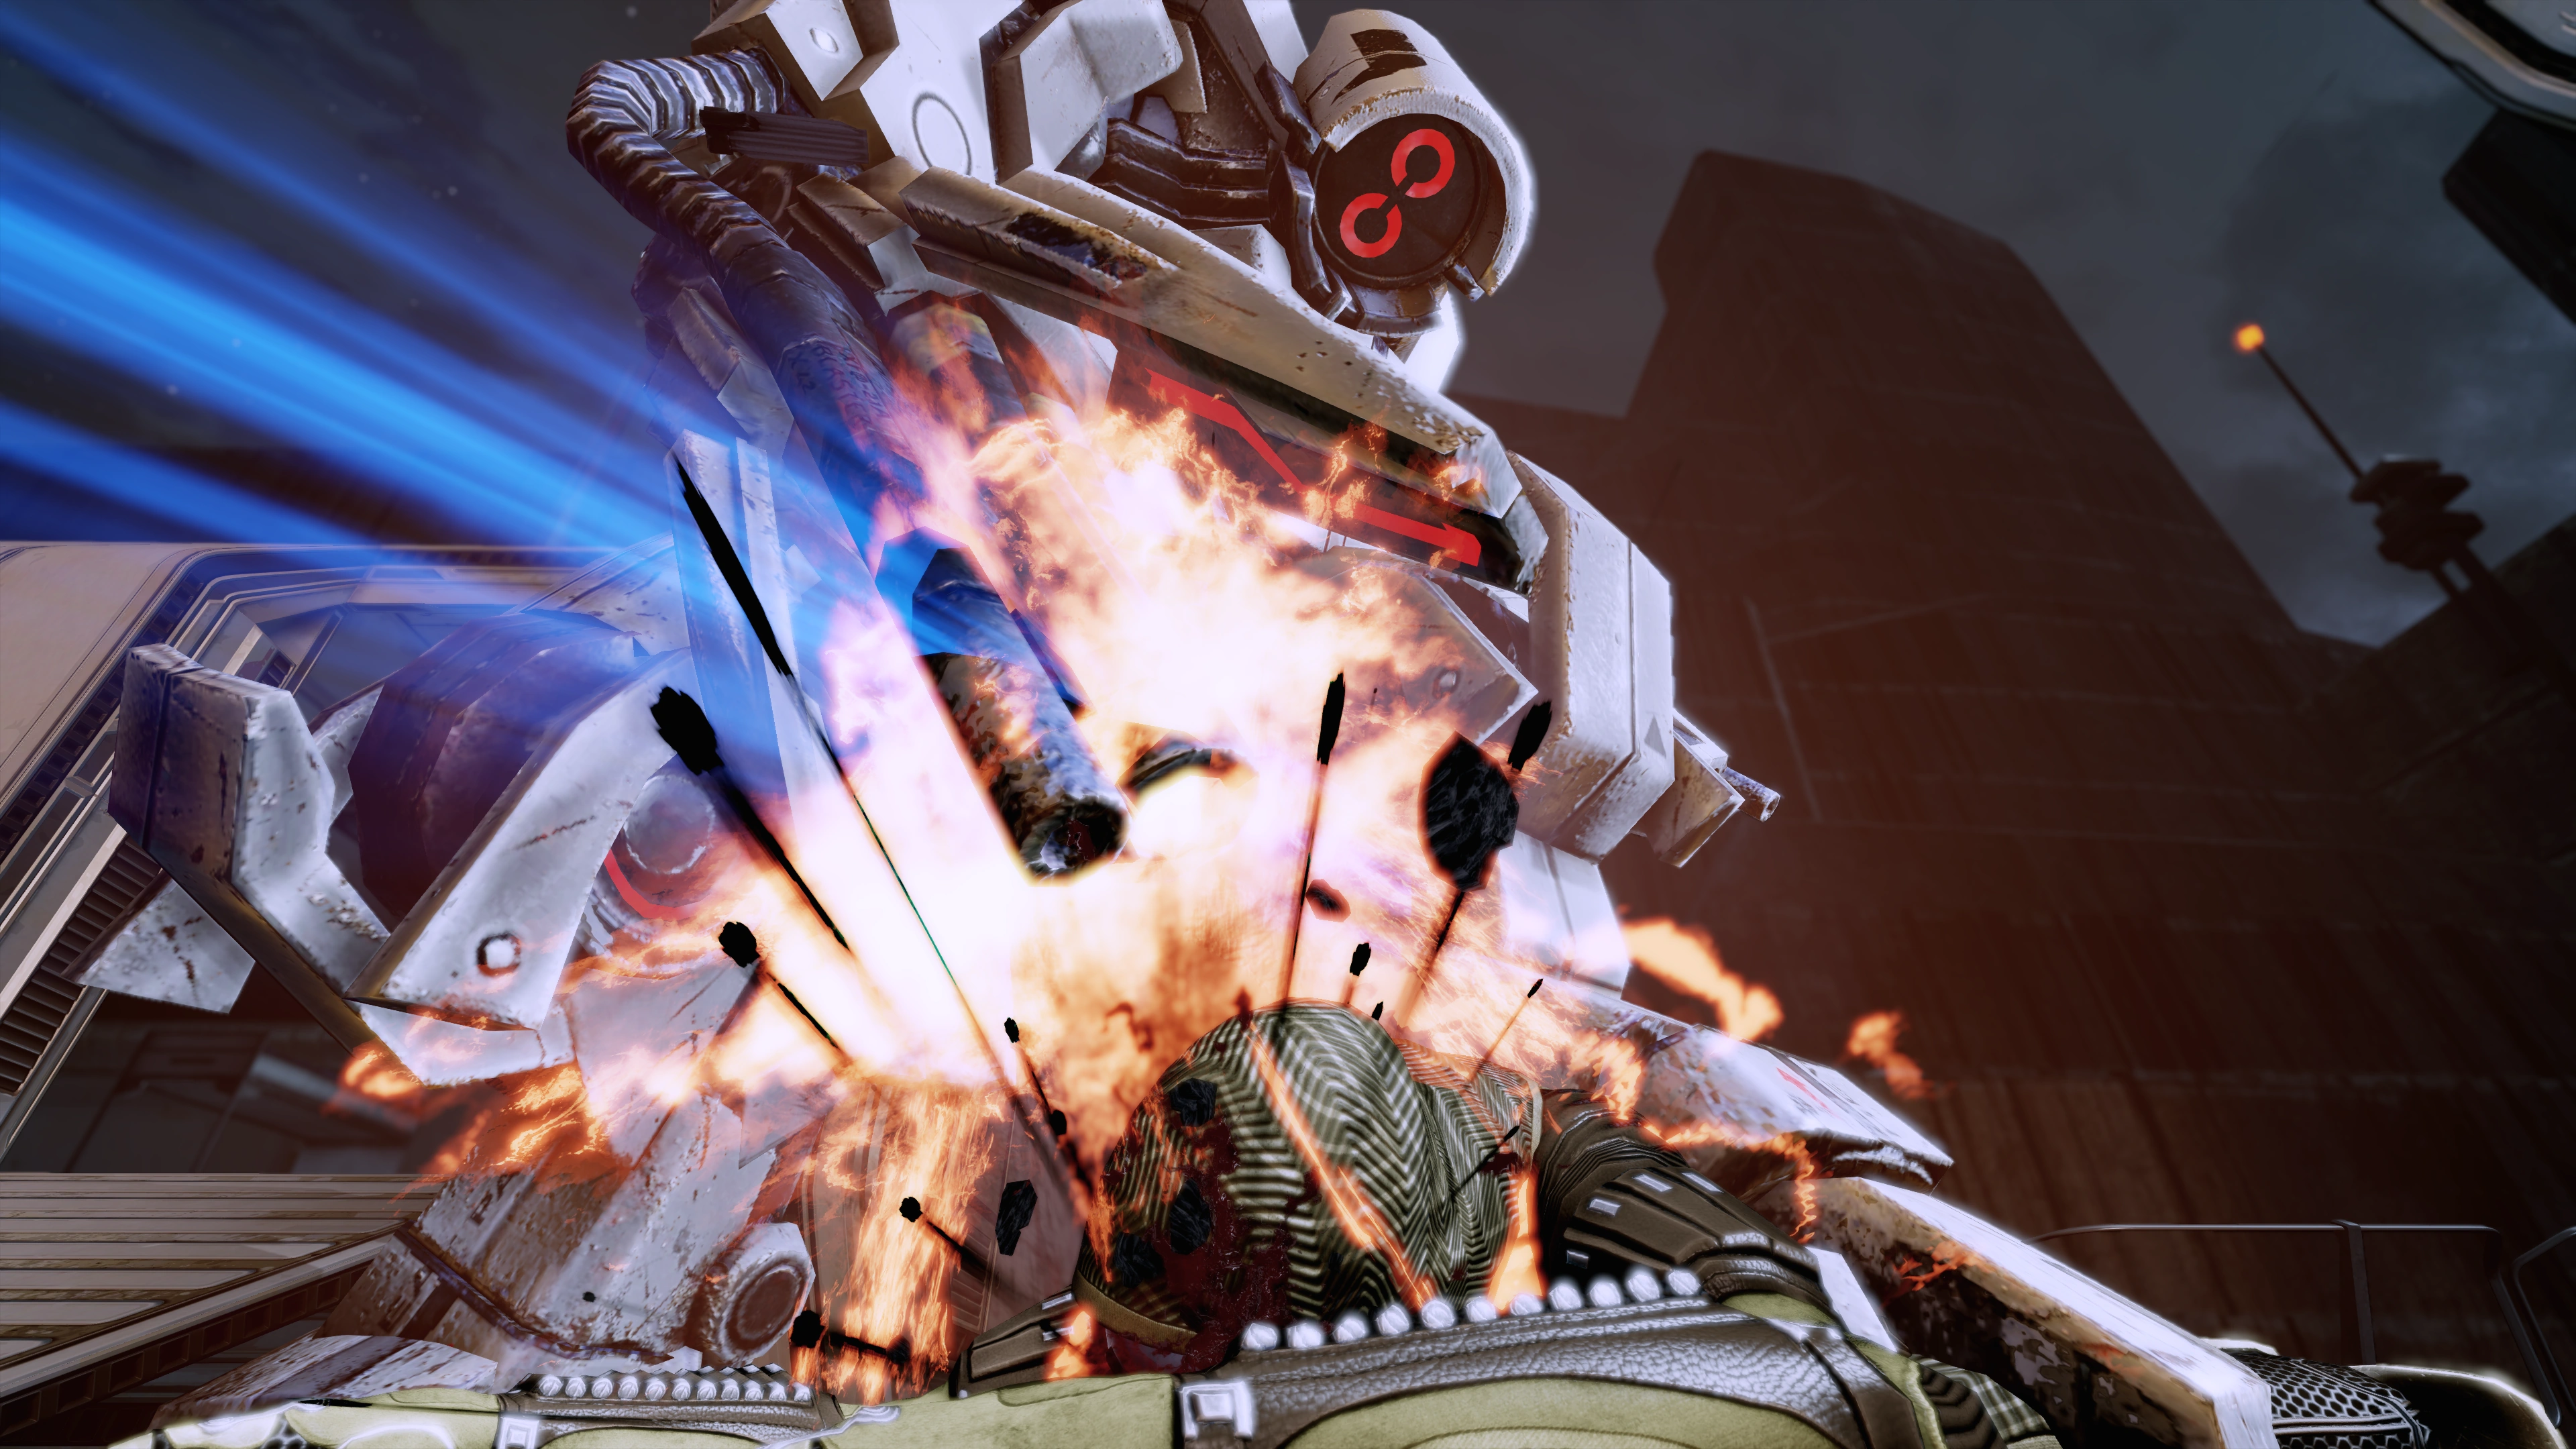
You get in just in time to see a YMIR Mech slaughtering almost the entire quarian team, then its attention turns on you.
The mech is protected by shields and armor, and is equipped with a rocket launcher and machine gun. Limit your exposure to as little as possible - its weapons can incapacitate you within seconds. The YMIR advances on your position and may catch you off-guard by flanking. Most of the time the mech will focus completely on you, leaving its back open for your squadmates; you will be completely safe from both its machine gun and rocket launcher as long as you stay in cover, but you can pop your head up and help your squad out when the mech pauses between switching weapons.
There are a bunch of boxes around: three yellow boxes, one set of white man-height boxes, and a waist-high white box with a barricade. Hide behind the white boxes as they are indestructible, and do not use the yellow boxes for cover as the YMIR will shoot through those. The waist-height white box is indestructible but not optimal as the YMIR will simply look down on you and shoot when it reaches you there, and so it should only be used in a pinch.
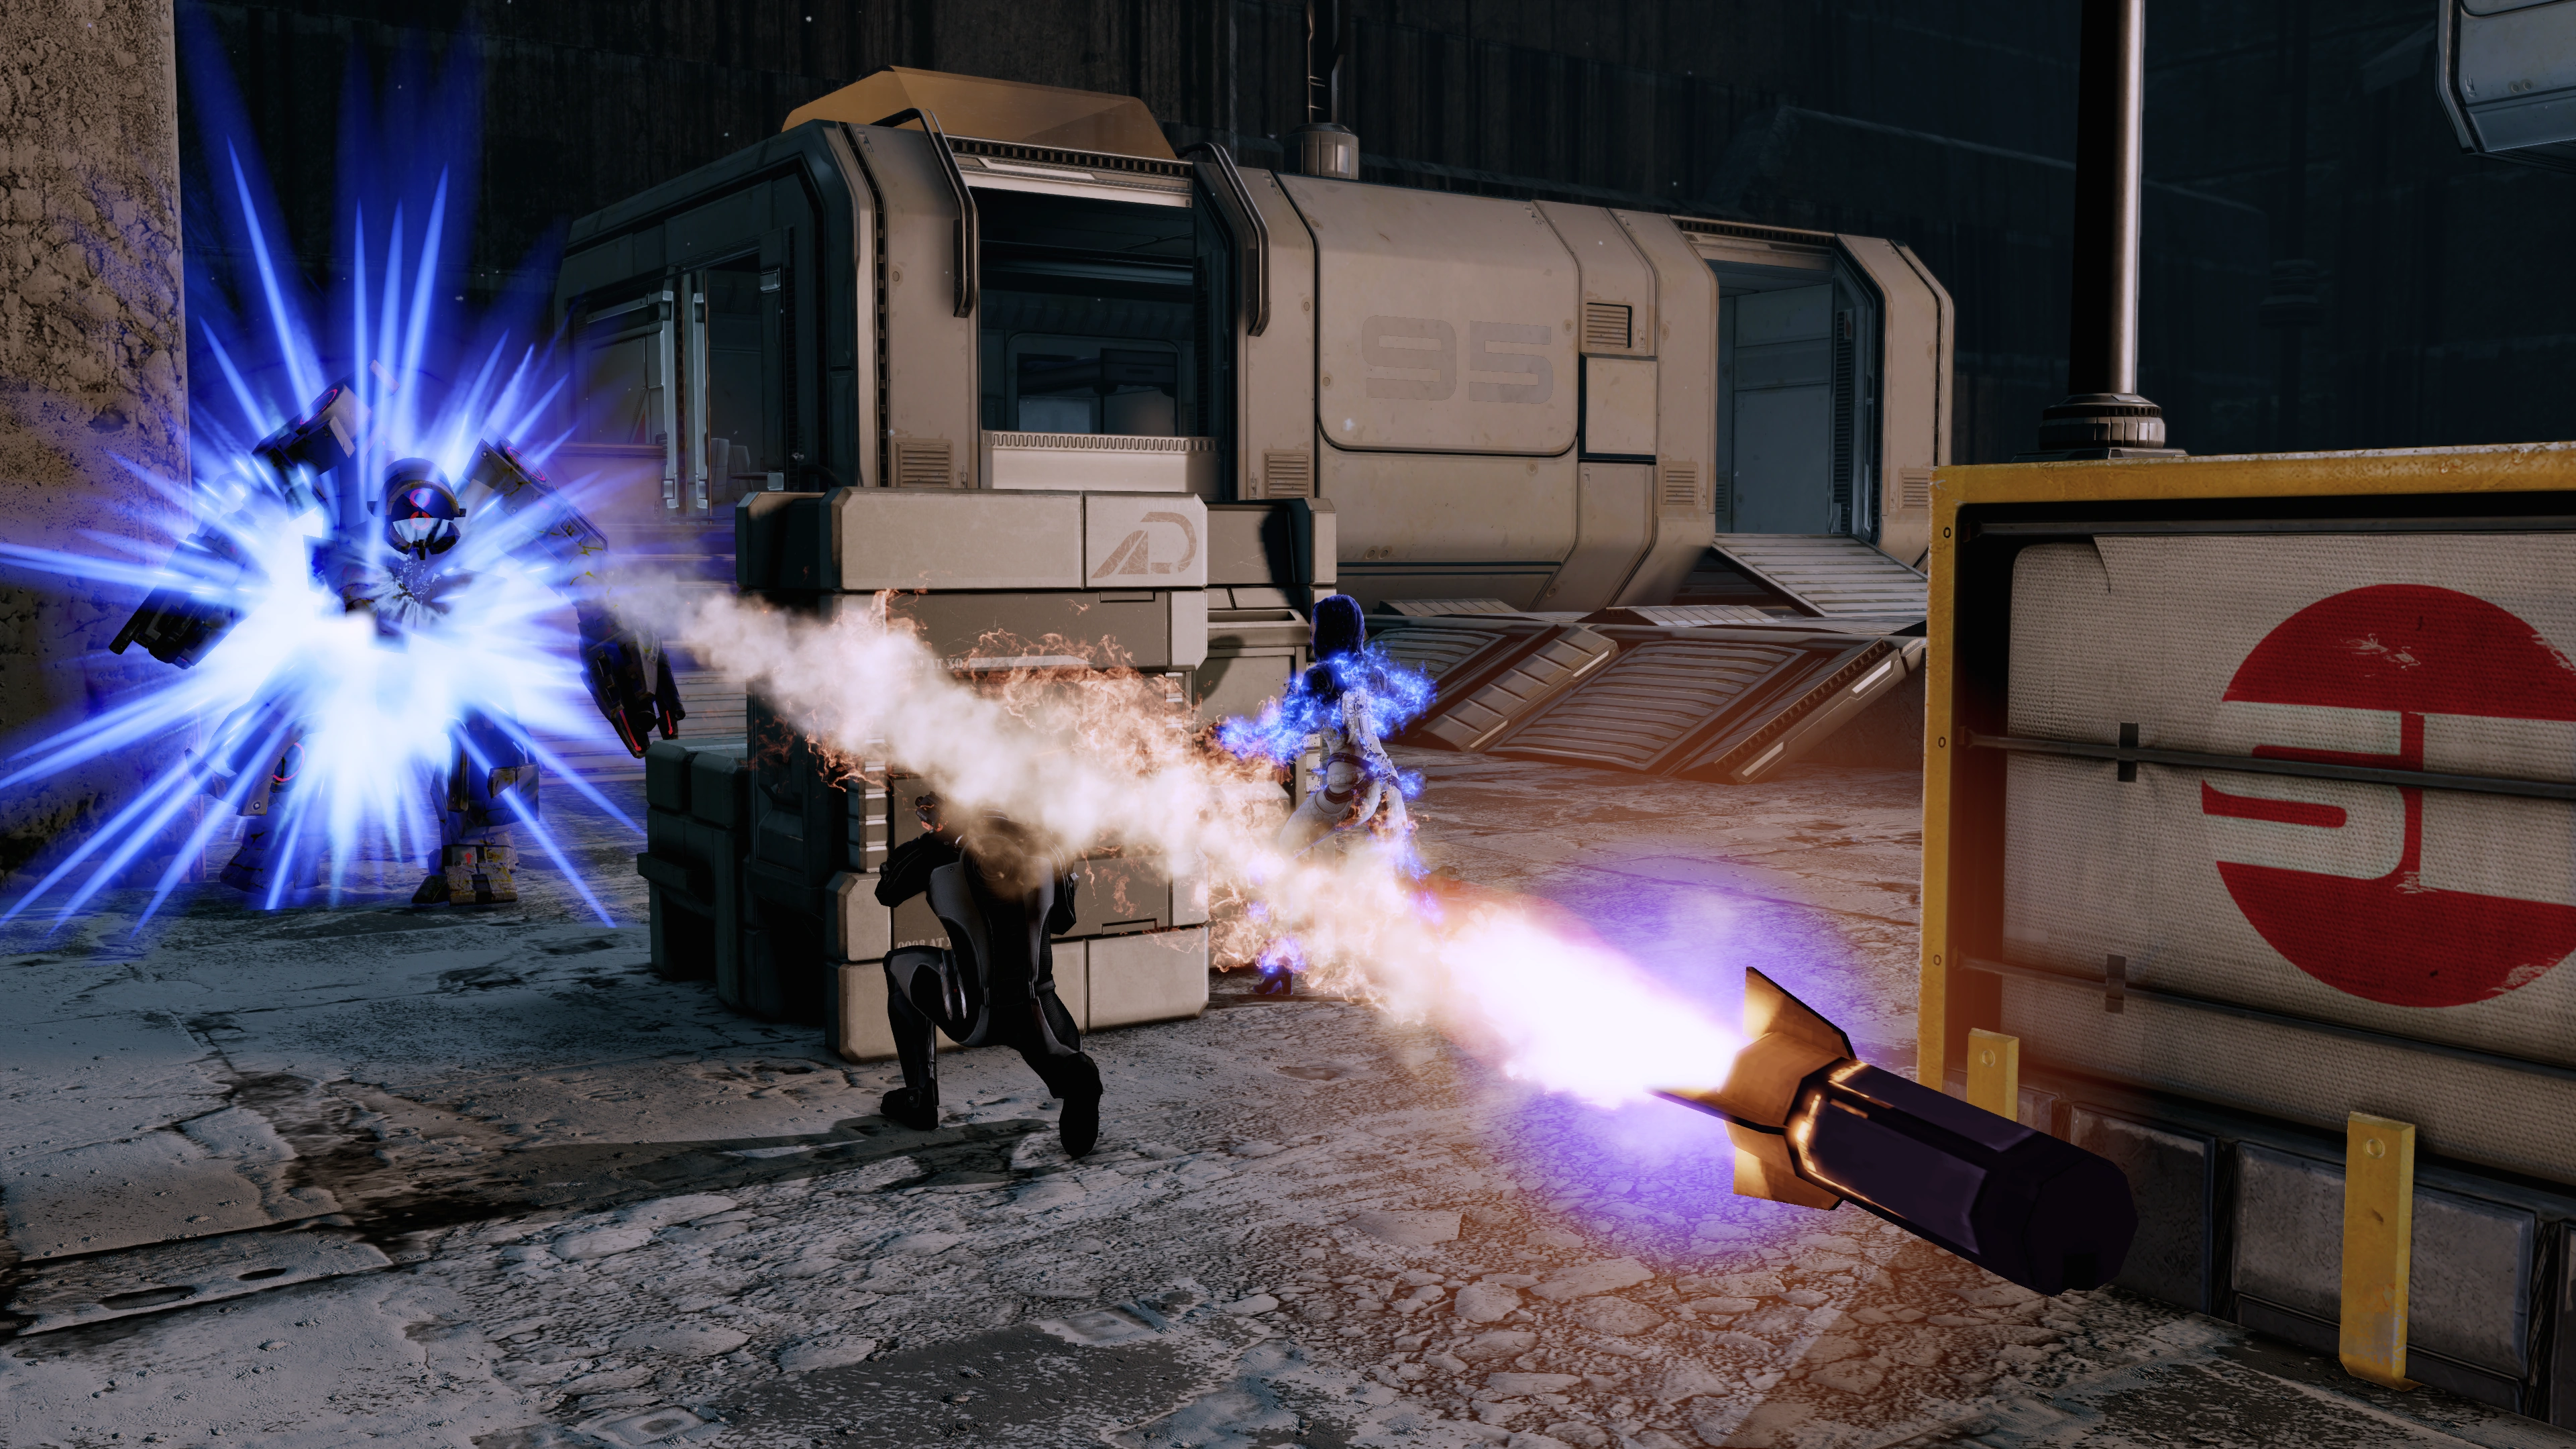
One good tactic is to position your squad off to the right or in the doorways of the nearby buildings, then get the mech's attention and simply dance around the white man-height boxes you start behind. The YMIR should only focus on you, allowing your squad to damage it. Keeping large objects interposed between you and the mech as you move shouldn't be a problem given the mech's slow speed, and each time it finishes firing a rocket you have a moment to step out and take some quick shots. Staying on the move without getting fully "into cover" will help keep you mobile and avoid splash damage from the rockets.
Alternatively, you can run inside the buildings 25 or 95, because the YMIR can't follow there. Both buildings have low-walled windows where you can take cover behind and shoot. Starting behind your original position, wait for the mech to walk down the ramp and towards you, then run for it. Waiting until the mech walks down the ramp will ensure that you take minimum damage during your sprint for the building, since the mech will have to turn to aim at you. Obviously powers such as Adrenaline Rush, Tactical Cloak, or using Stasis on the mech will all make this easier.
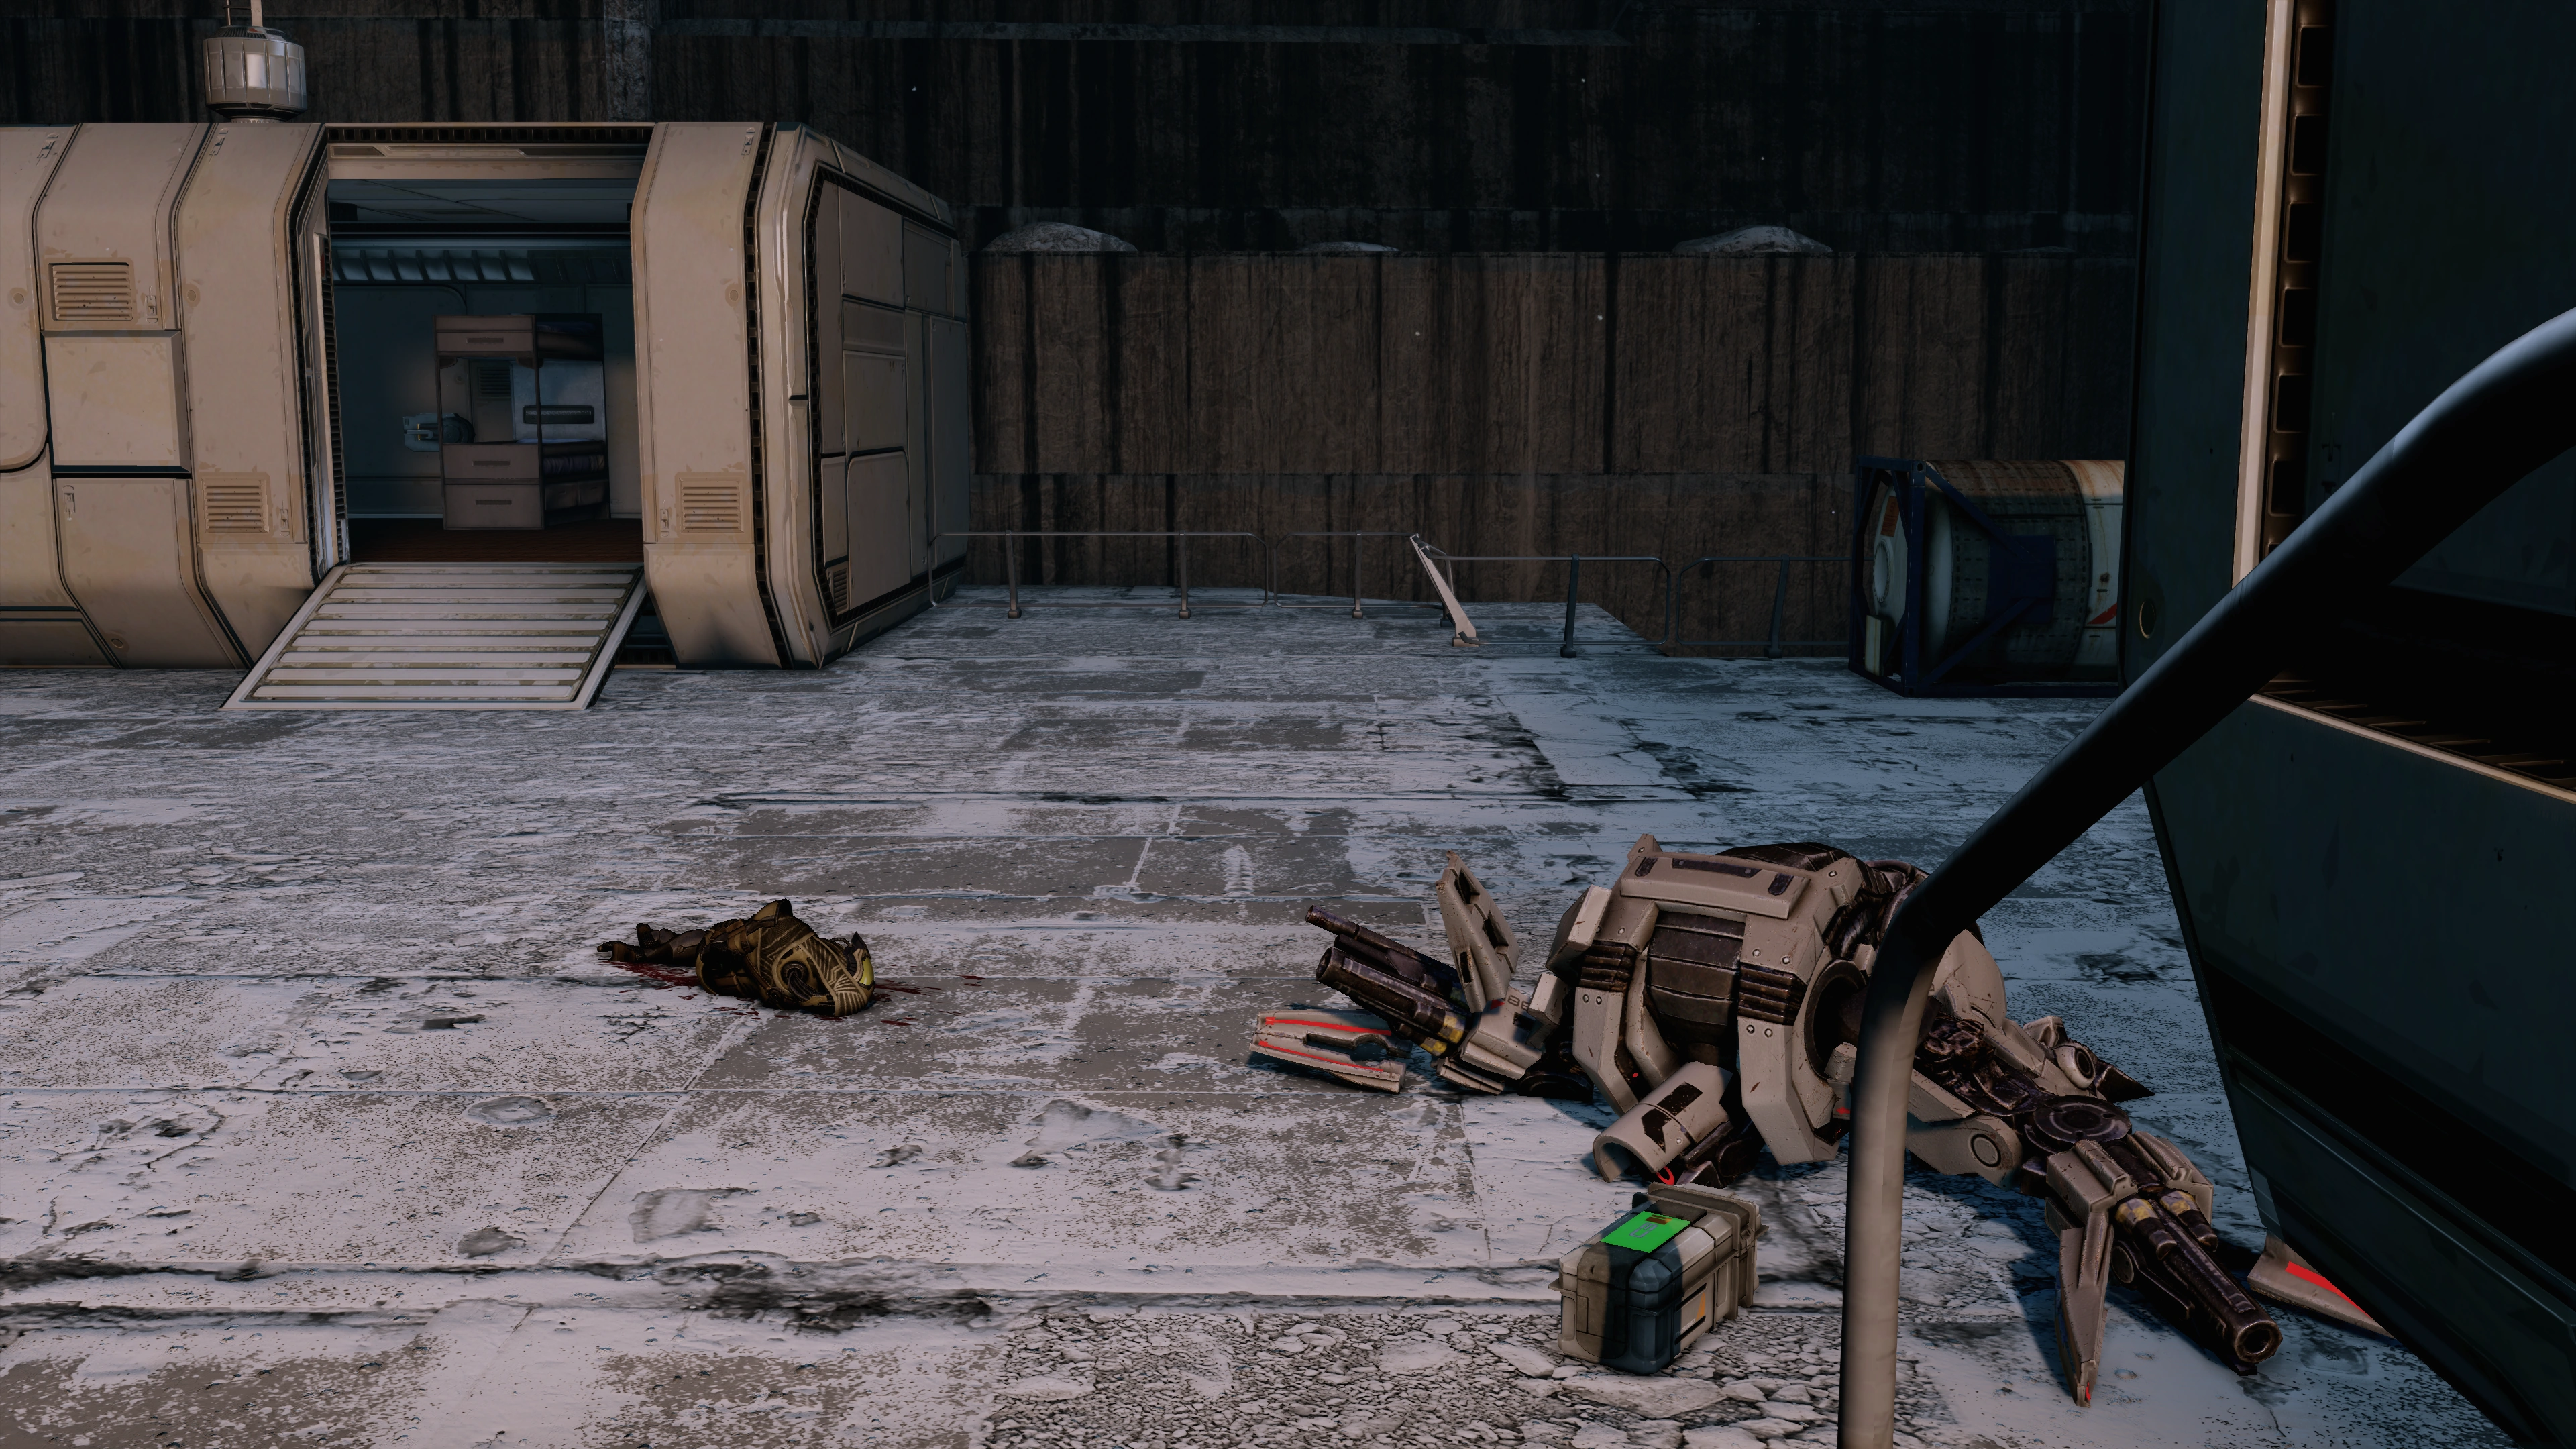
Once the mech is destroyed, it's time for the usual item sweep. Building 25 has a Med Kit as well as Tali taking care of the wounded. Building 95 has power cells that increase your heavy weapon ammo supply, a Wall Safe with 3000 credits (bypass required), and a thermal clip. Scan the damaged YMIR Mech below building 79 for a Heavy Weapon Ammo upgrade, and collect the 2000 iridium right next to it. Go up the stairs and into the building Veetor is holed up in.
Finish the mission by entering building 7, right next to building 79. Inside is Veetor, who is babbling in a paranoid manner about monsters out to get him, and watching garbled footage on a wall of display screens. You will have either a Renegade interrupt option, consisting of shooting one of the screens, or a Paragon interrupt, which simply turns them all off with your omni-tool, depending on your first dialogue choice. Both get Veetor to stop muttering to himself, and to finally address you.
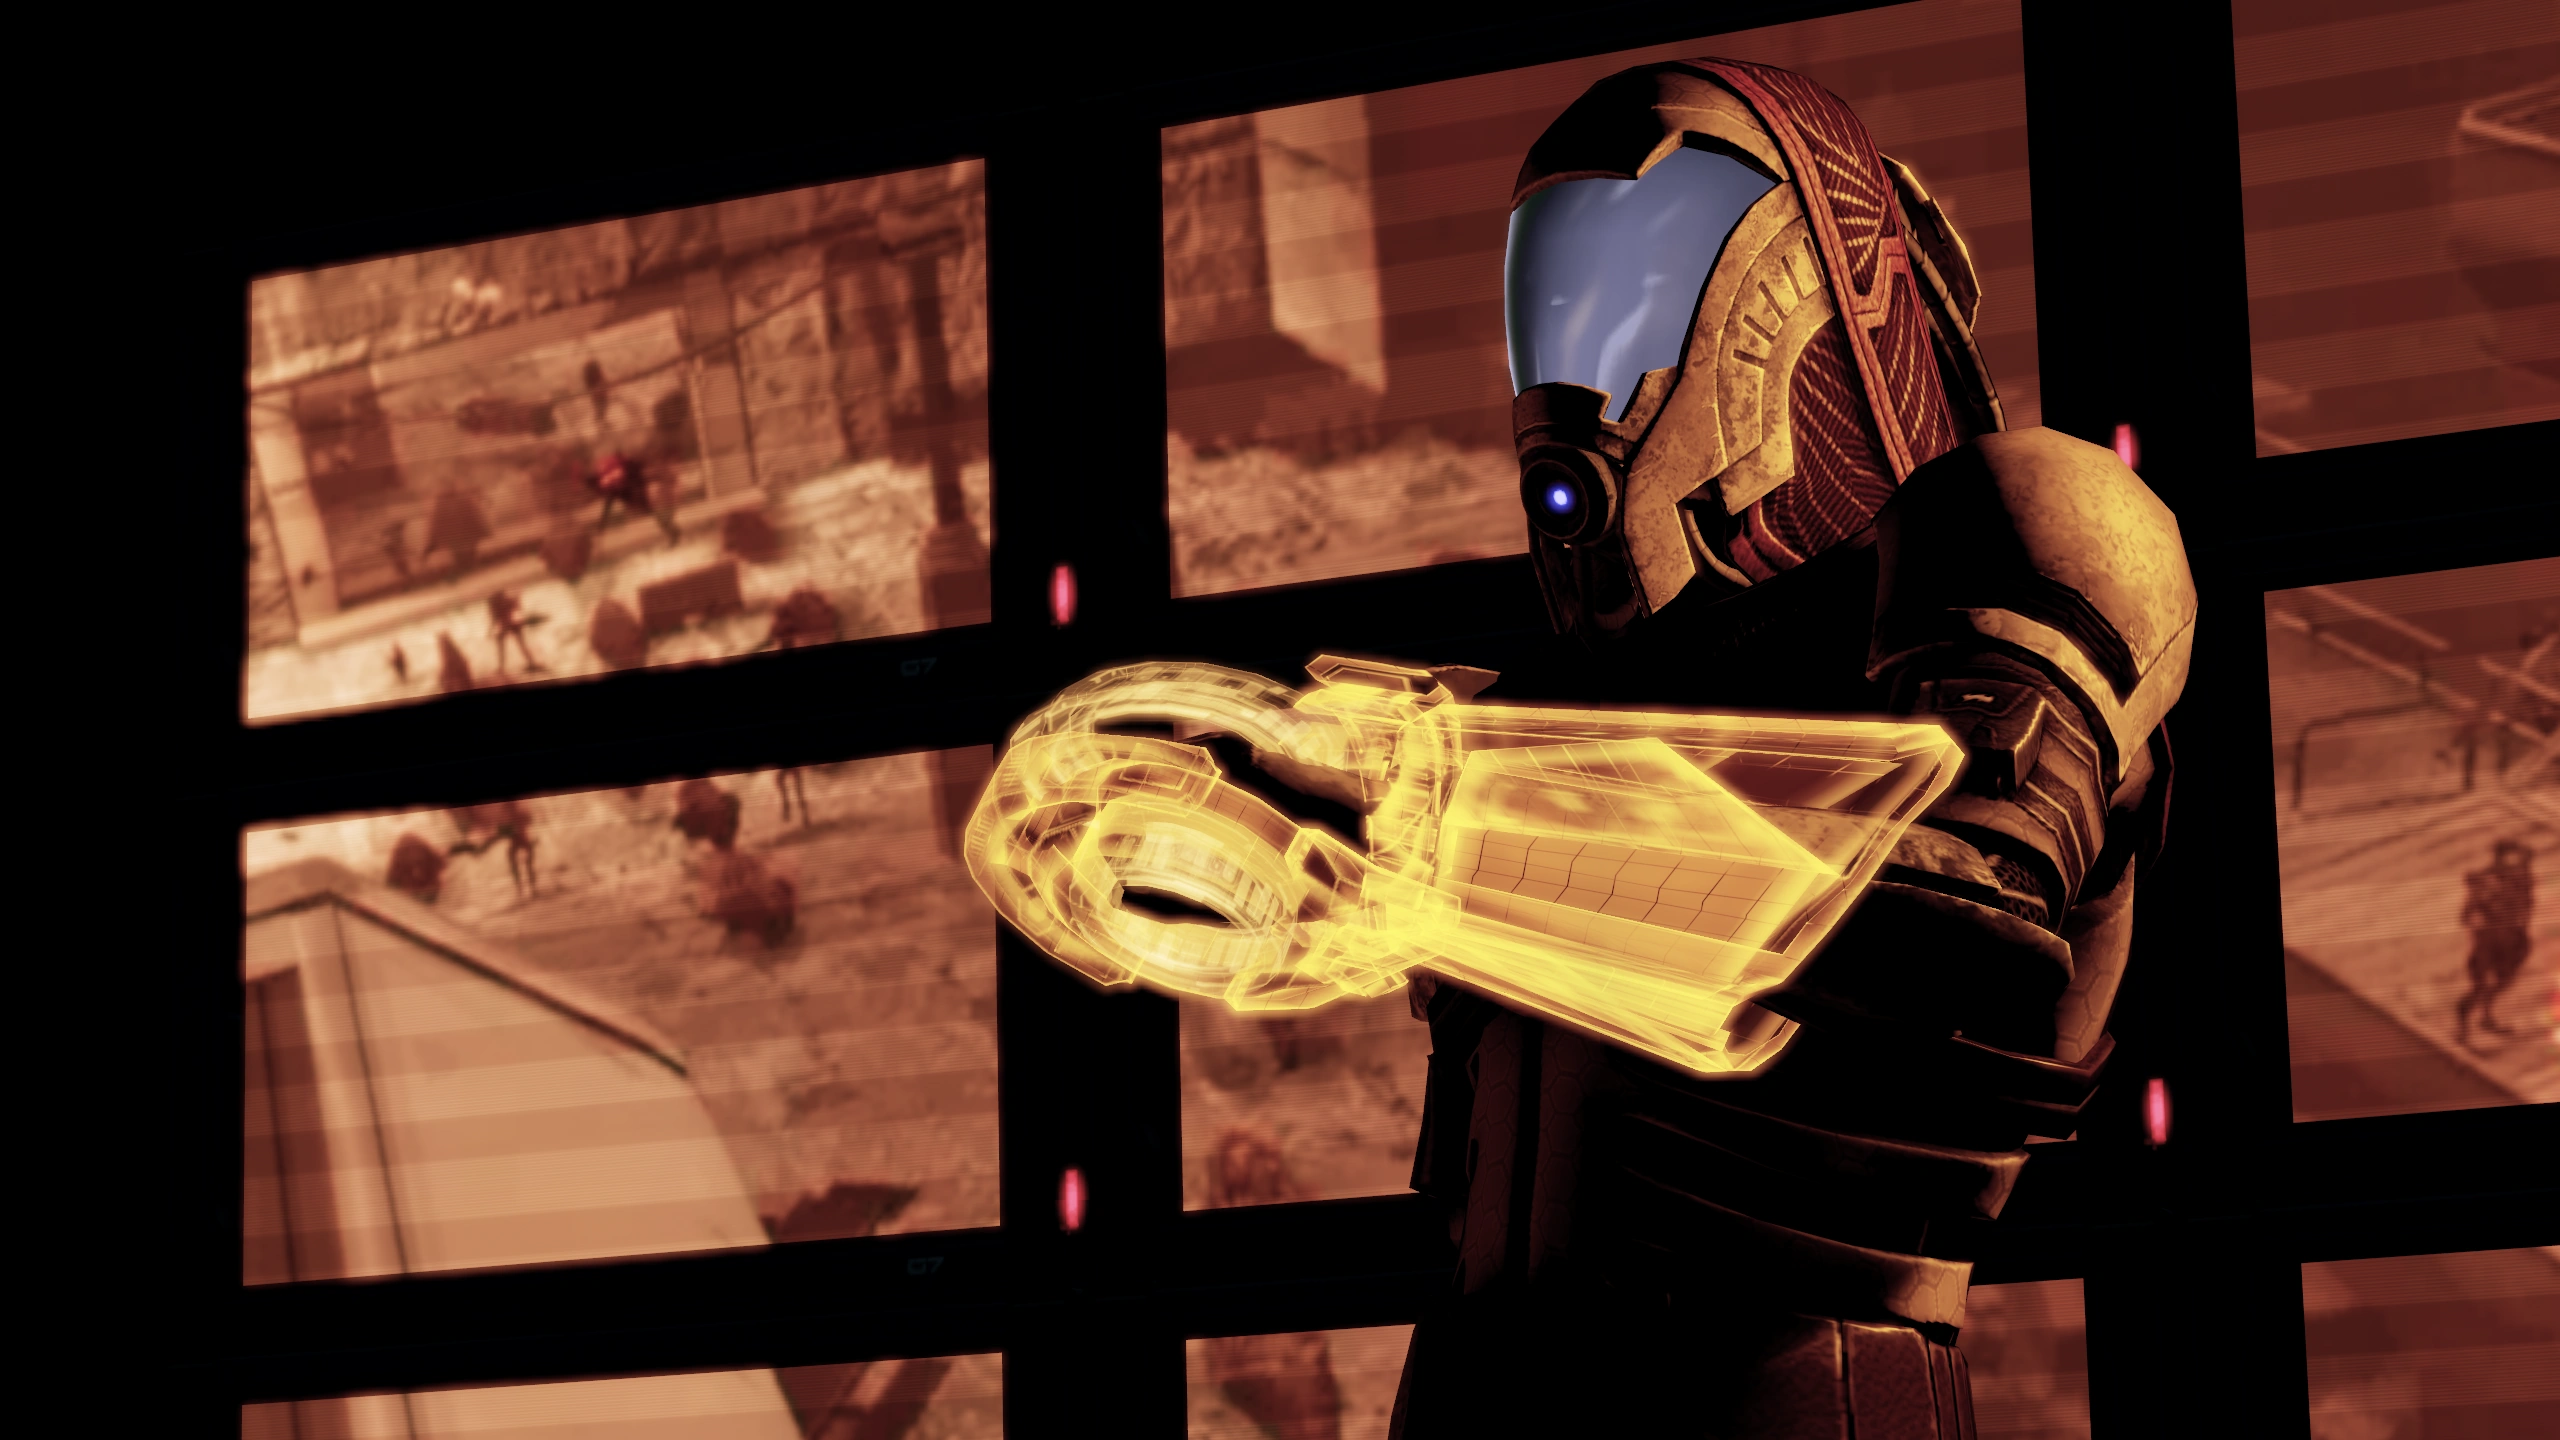
Tali walks in shortly afterward. Veetor, though delirious, has managed to piece together footage from the colony's security cameras to reveal that the Collectors are behind the abductions. The group theorizes that Veetor was spared because the Collectors are only scanning for human vital signs, or are only interested in humans. Miranda will insist that the quarian be taken into custody for interrogation, but Tali objects, demanding that he be taken back to the Flotilla for medical attention. The final decision rests with Shepard, after which the squad heads back to the Cerberus facility.
Note: In Tali's Loyalty Mission, Veetor has the option to testify on her behalf if he is allowed to return to the Flotilla.
Aftermath[]
Back in Minuteman Station, you debrief via holo with the Illusive Man. He tells you what he knows about the Collectors and how they must be in league with the Reapers. To that end, he has compiled a list of specialists you'll need to take the fight against the Collectors, and expects you to use your natural talents to convince them to work with you. But what about your team from the first game? You may ask. The Illusive Man has kept tabs of your previous squadmates, whom you may inquire individually about, and long story short they're all unavailable. Same deal with your Spectre perks and resources because you were gone a long time. As usual, there are morality points available at certain junctures of the conversation.

The Cerberus leader concludes the chat with two things: first, he recommends you travel to Omega to recruit Mordin Solus, who may be able to devise a countermeasure to the Collectors' paralytic Seeker Swarms. Secondly, he introduces you to your new old pilot: Joker's back, and he will be helming the Cerberus-built Normandy SR-2 for your travels.
After the reborn Normandy's launch from Minuteman Station both the mission and the game's "prologue" end. Shepard is given the freedom both to explore the Normandy and to move about the galaxy in it. But first, there is a small coda where EDI, the ship's new artificial intelligence, introduces herself to you. Your attitude to her presence is the last set of morality points available before you can freely roam the ship.
While the Illusive Man monitors for Collector activity, you gain the first four recruitment missions for expanding your team: Dossier: The Professor, Dossier: The Convict, Dossier: Archangel, and Dossier: The Warlord. If you have the DLC installed or are playing Mass Effect Legendary Edition, you can also do the recruitment missions Dossier: The Veteran and Dossier: The Master Thief. EDI, Miranda, and the Illusive Man all highly recommend you get Mordin first, and the Normandy is conveniently deposited in the Sahrabarik system on your first run of the Galaxy Map, though of course this is your game and you can proceed however you see fit.
Lastly, several miscellaneous assignments become available if again you have the DLC or are playing Legendary Edition: Overlord (assignment), Project Firewalker: Rosalie Lost, and Normandy Crash Site (assignment).
Enemies[]
Mission Summary[]
Collectors confirmed as source of attacks on Freedom's Progress.
Paragon: Quarian survivor Veetor returned with Tali'Zorah to the Migrant Fleet. Will examine his omni-tool data for anything useful.
Renegade: Quarian survivor Veetor will be interrogated and released to the Migrant Fleet once we are satisfied he has provided all available information.
- Experience gained: 1,000 (1,250)
- Total Credits: 20,000
- Cerberus Funding: 10,000
- Credits Found: 10,000
- Upgrades:
- Resources
- Iridium: 2,000
Bugs[]
- Freedom's Landing Arrival (Xbox 360): When leaving the room with the bundled LOKI mech in front of the safe you encounter rocket equipped drones. If you take cover just outside the door it is possible for the blast of a rocket to knock you through the door and back into the room with the safe preventing you from completing the mission. The door no longer has an opening mechanism on either side and it is not possible to switch between your characters (they will teleport into the room with you).
- When you first encounter the attack drones, wait for them to land before attacking. If a drone is destroyed in midair, the game will not register the kill and the cursor will indicate that the drone is still alive, despite it being dead, and preventing you from progressing further.
| ← Previous Mission | Mission Index | |
|---|---|---|
| Prologue: Awakening | Missions |