The Moshae says the Archon has a Remnant map that may point the way to Meridian. But you don't know where his ship is. You must first track down the angaran traitor, Vehn Terev, in Kadara Port, and learn what you can from him.
Acquisition[]
Automatically acquired following the confrontation between Evfra and the Moshae in his office in the Resistance Headquarters.
Walkthrough[]
This mission can be thought of as divided into two major parts: intelligence gathering and infiltration. Combat isn't mandatory in the first part, and you have ample time to properly configure your loadouts before going into the second part. Both parts require making a couple of permanent binary choices that decide which characters will be present going forward.
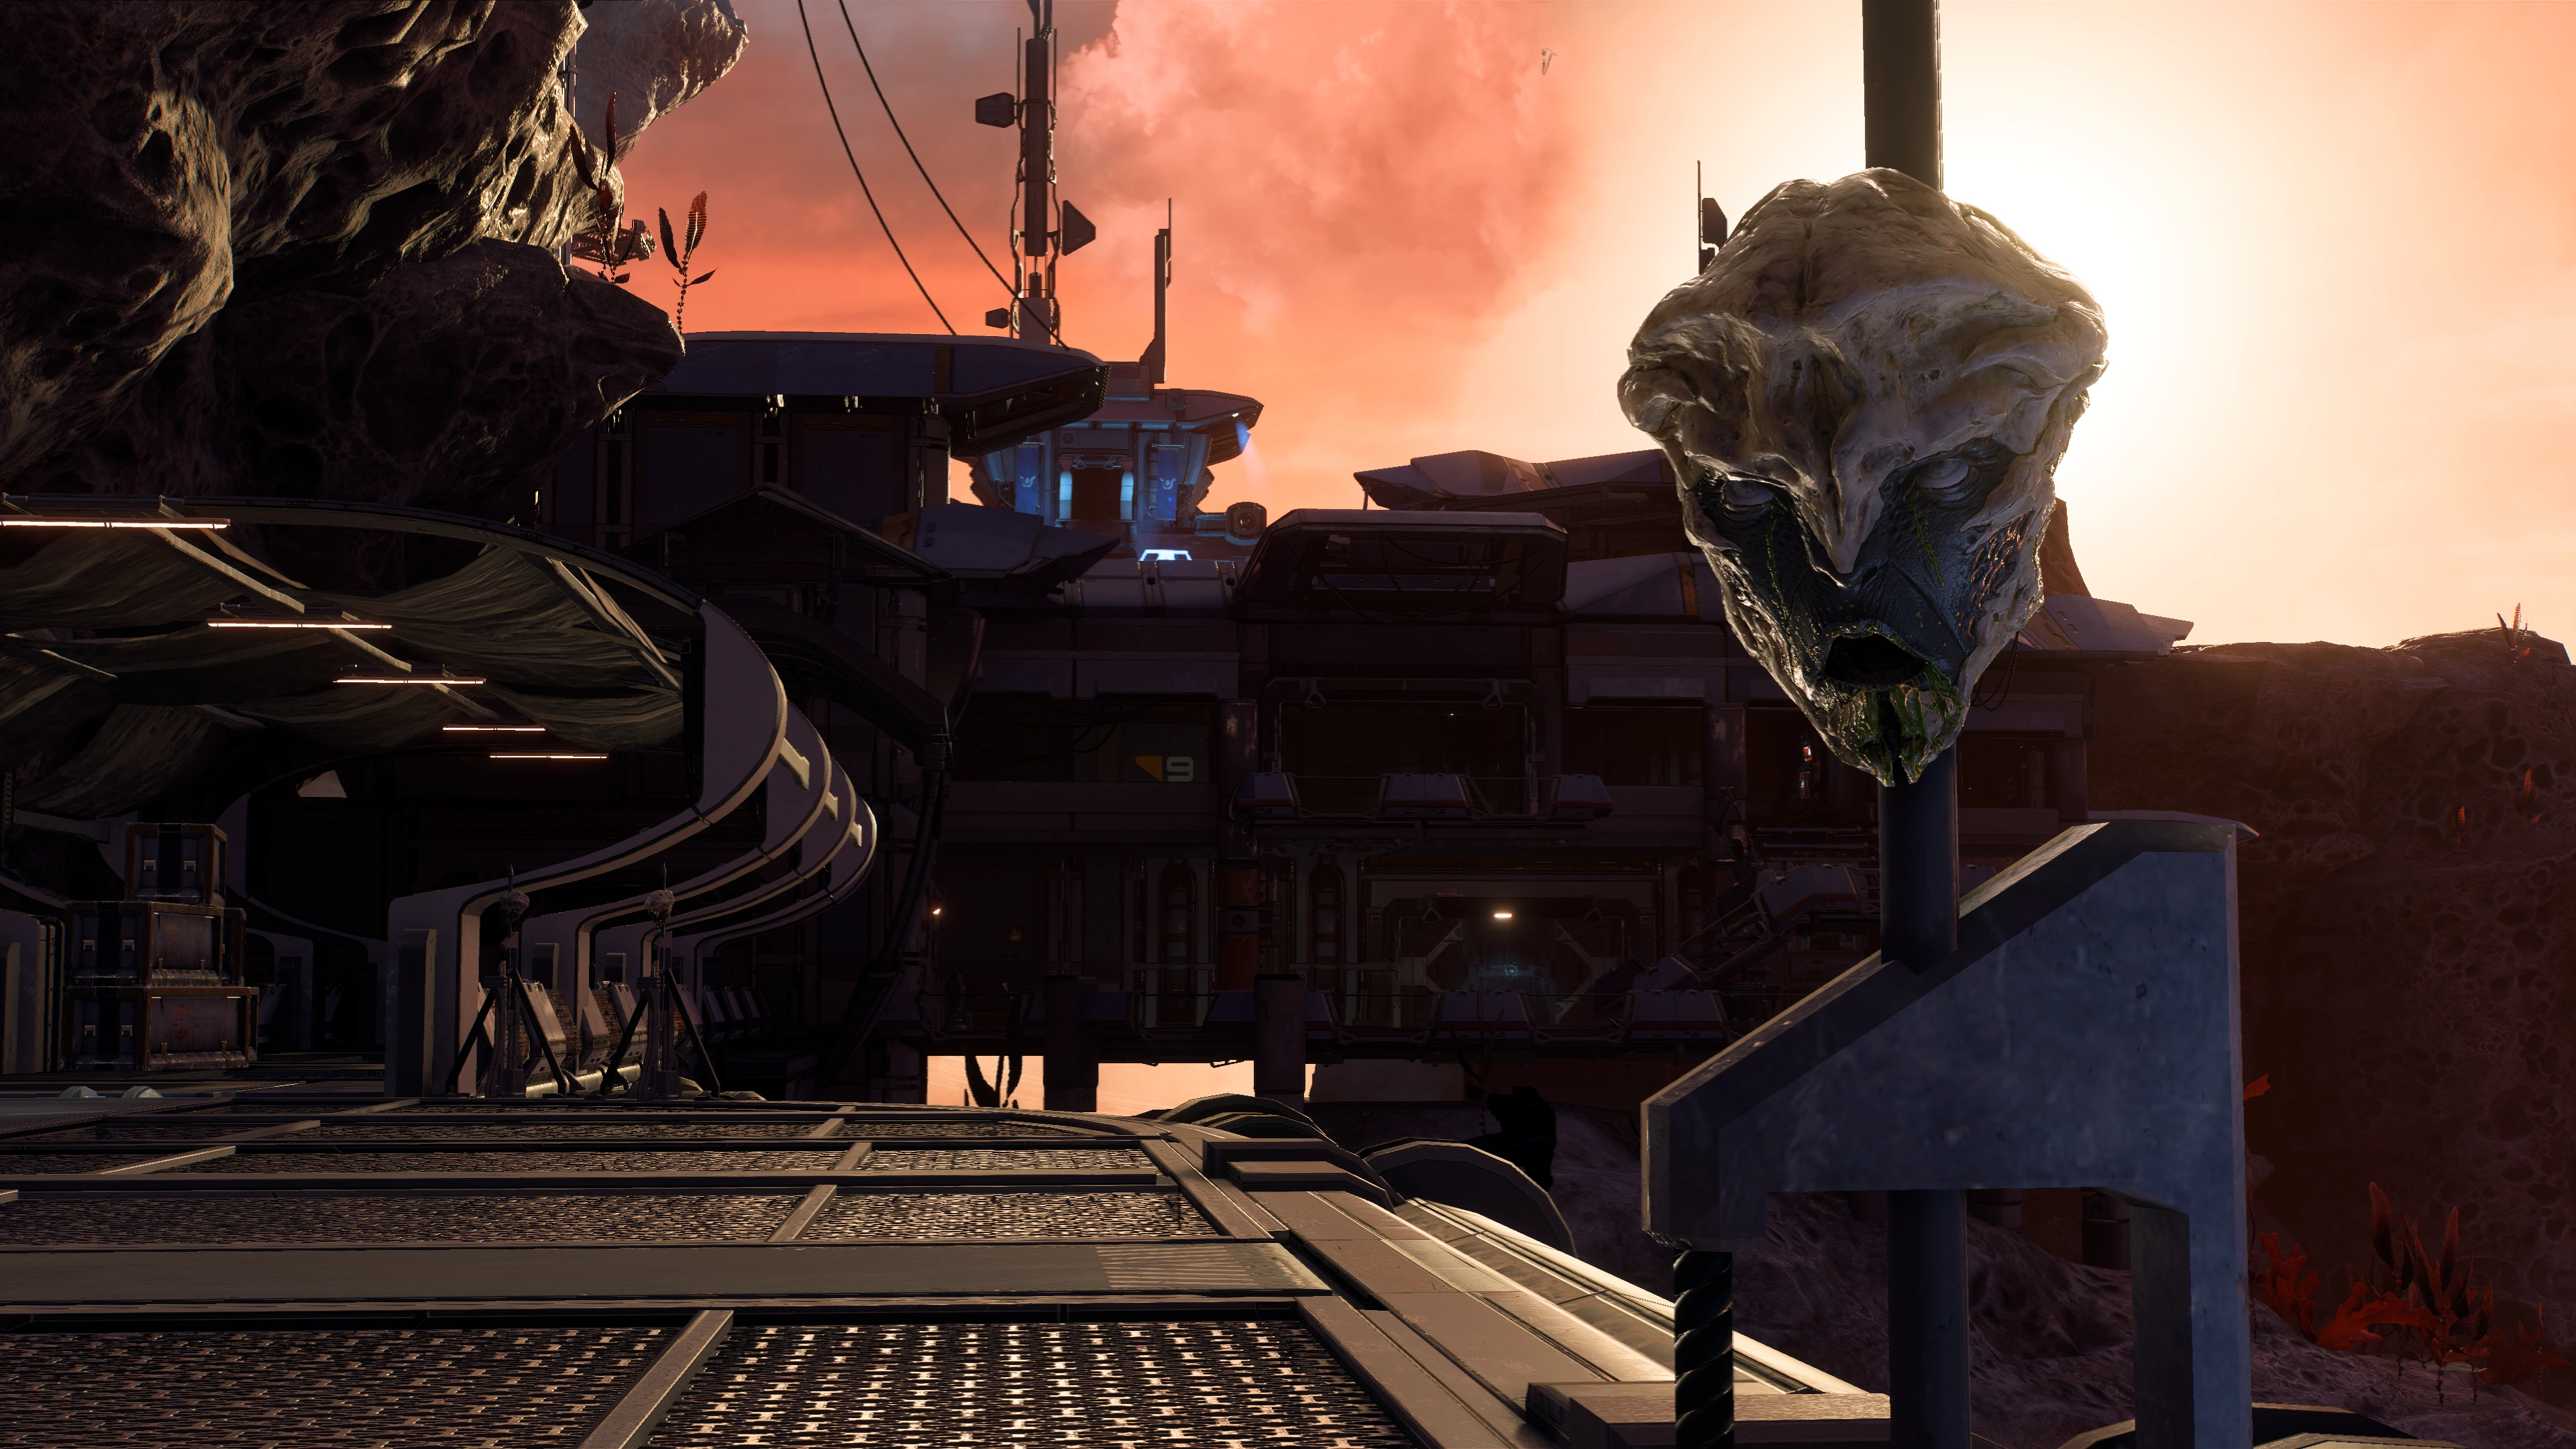
Go to Kadara Port in the Govorkam System[]
During the landing on Kadara, Pathfinder Ryder receives a message from Evfra de Tershaav with new information on the traitor and that the contact's code name is Shena. The mission is updated with the next objective after the Tempest has landed.
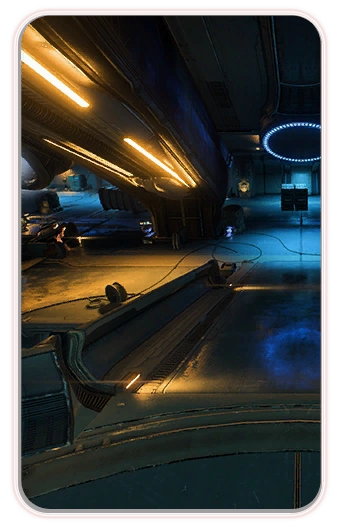
Drack and Vetra accompany you up to Kadara Port's observation deck, where they announce they have a "completely legitimate business deal" to attend to and leave you to your own devices. At this point, you can only roam around Kadara Port since access to Kadara Slums below and the rest of the planet is restricted while Liam negotiates parking space for the Nomad.
Note: Returning to the Tempest for the first time after arriving on Kadara will trigger a team meeting called by Drack, unlocking the Priority Ops Elaaden: A New World and H-047c: A New World as well as a number of other side missions. None of these new missions need to be dealt with right away.
Speak to the Resistance contact at Kralla's Song.[]
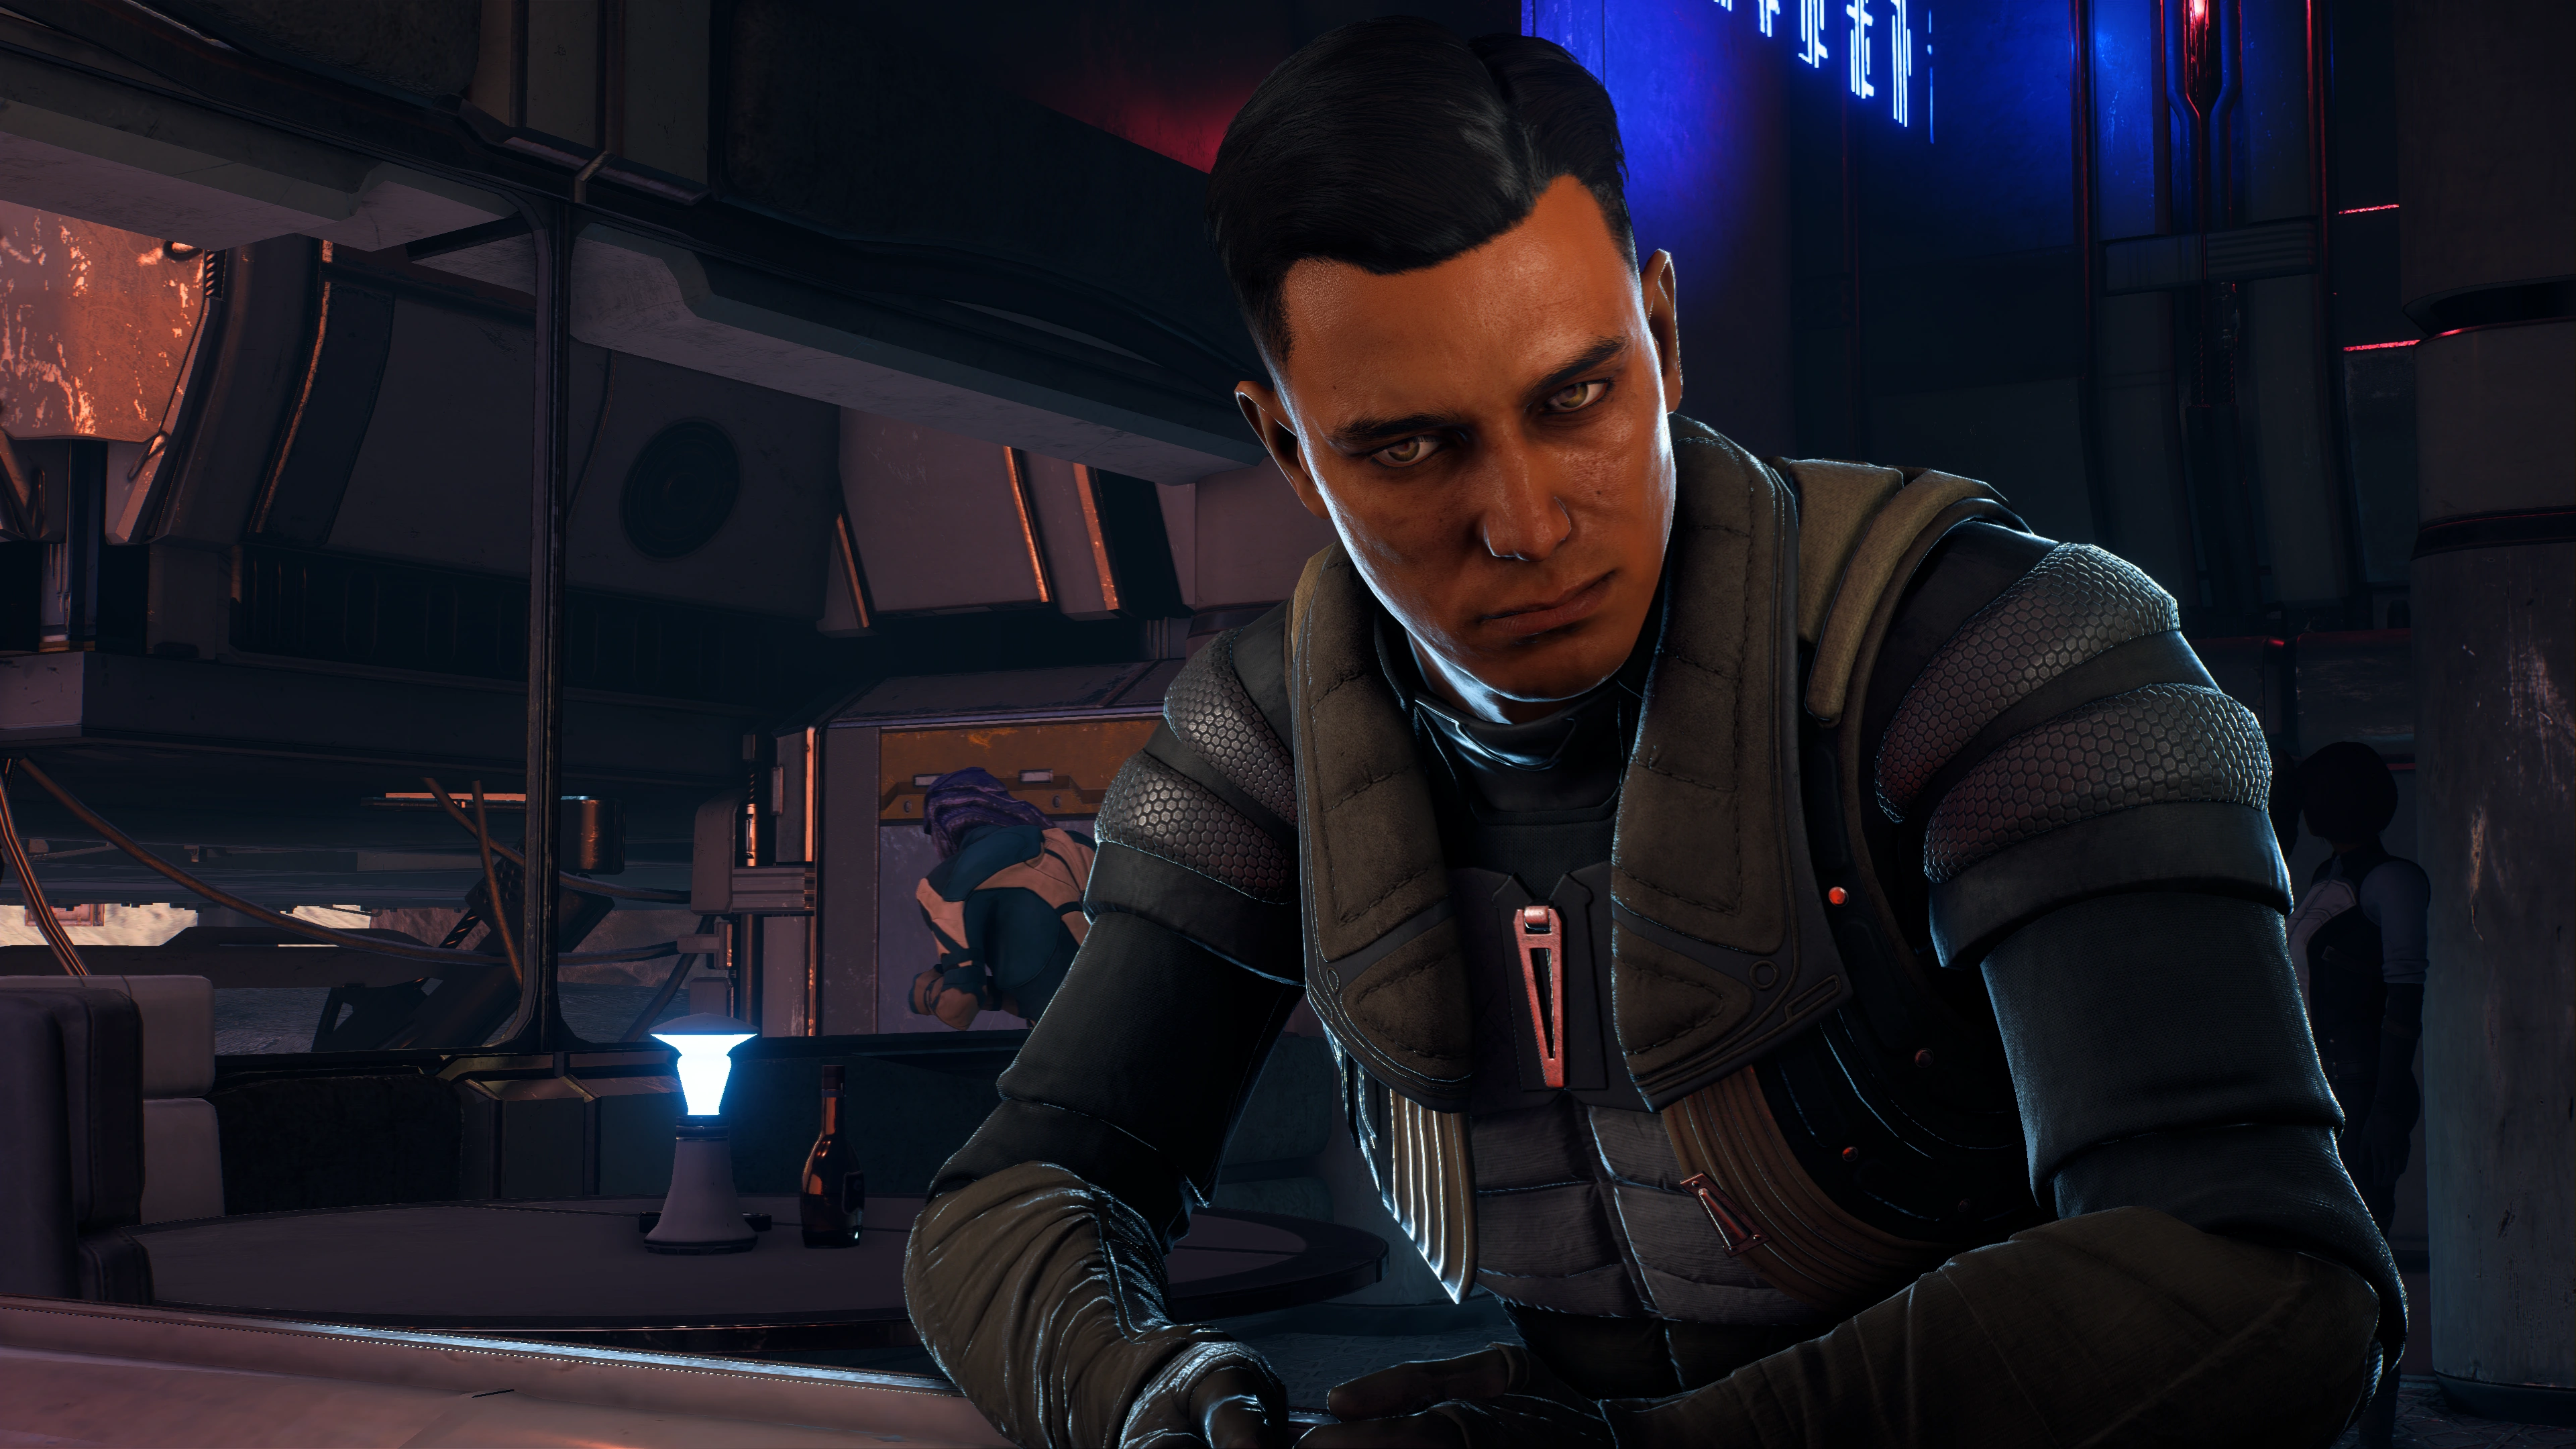
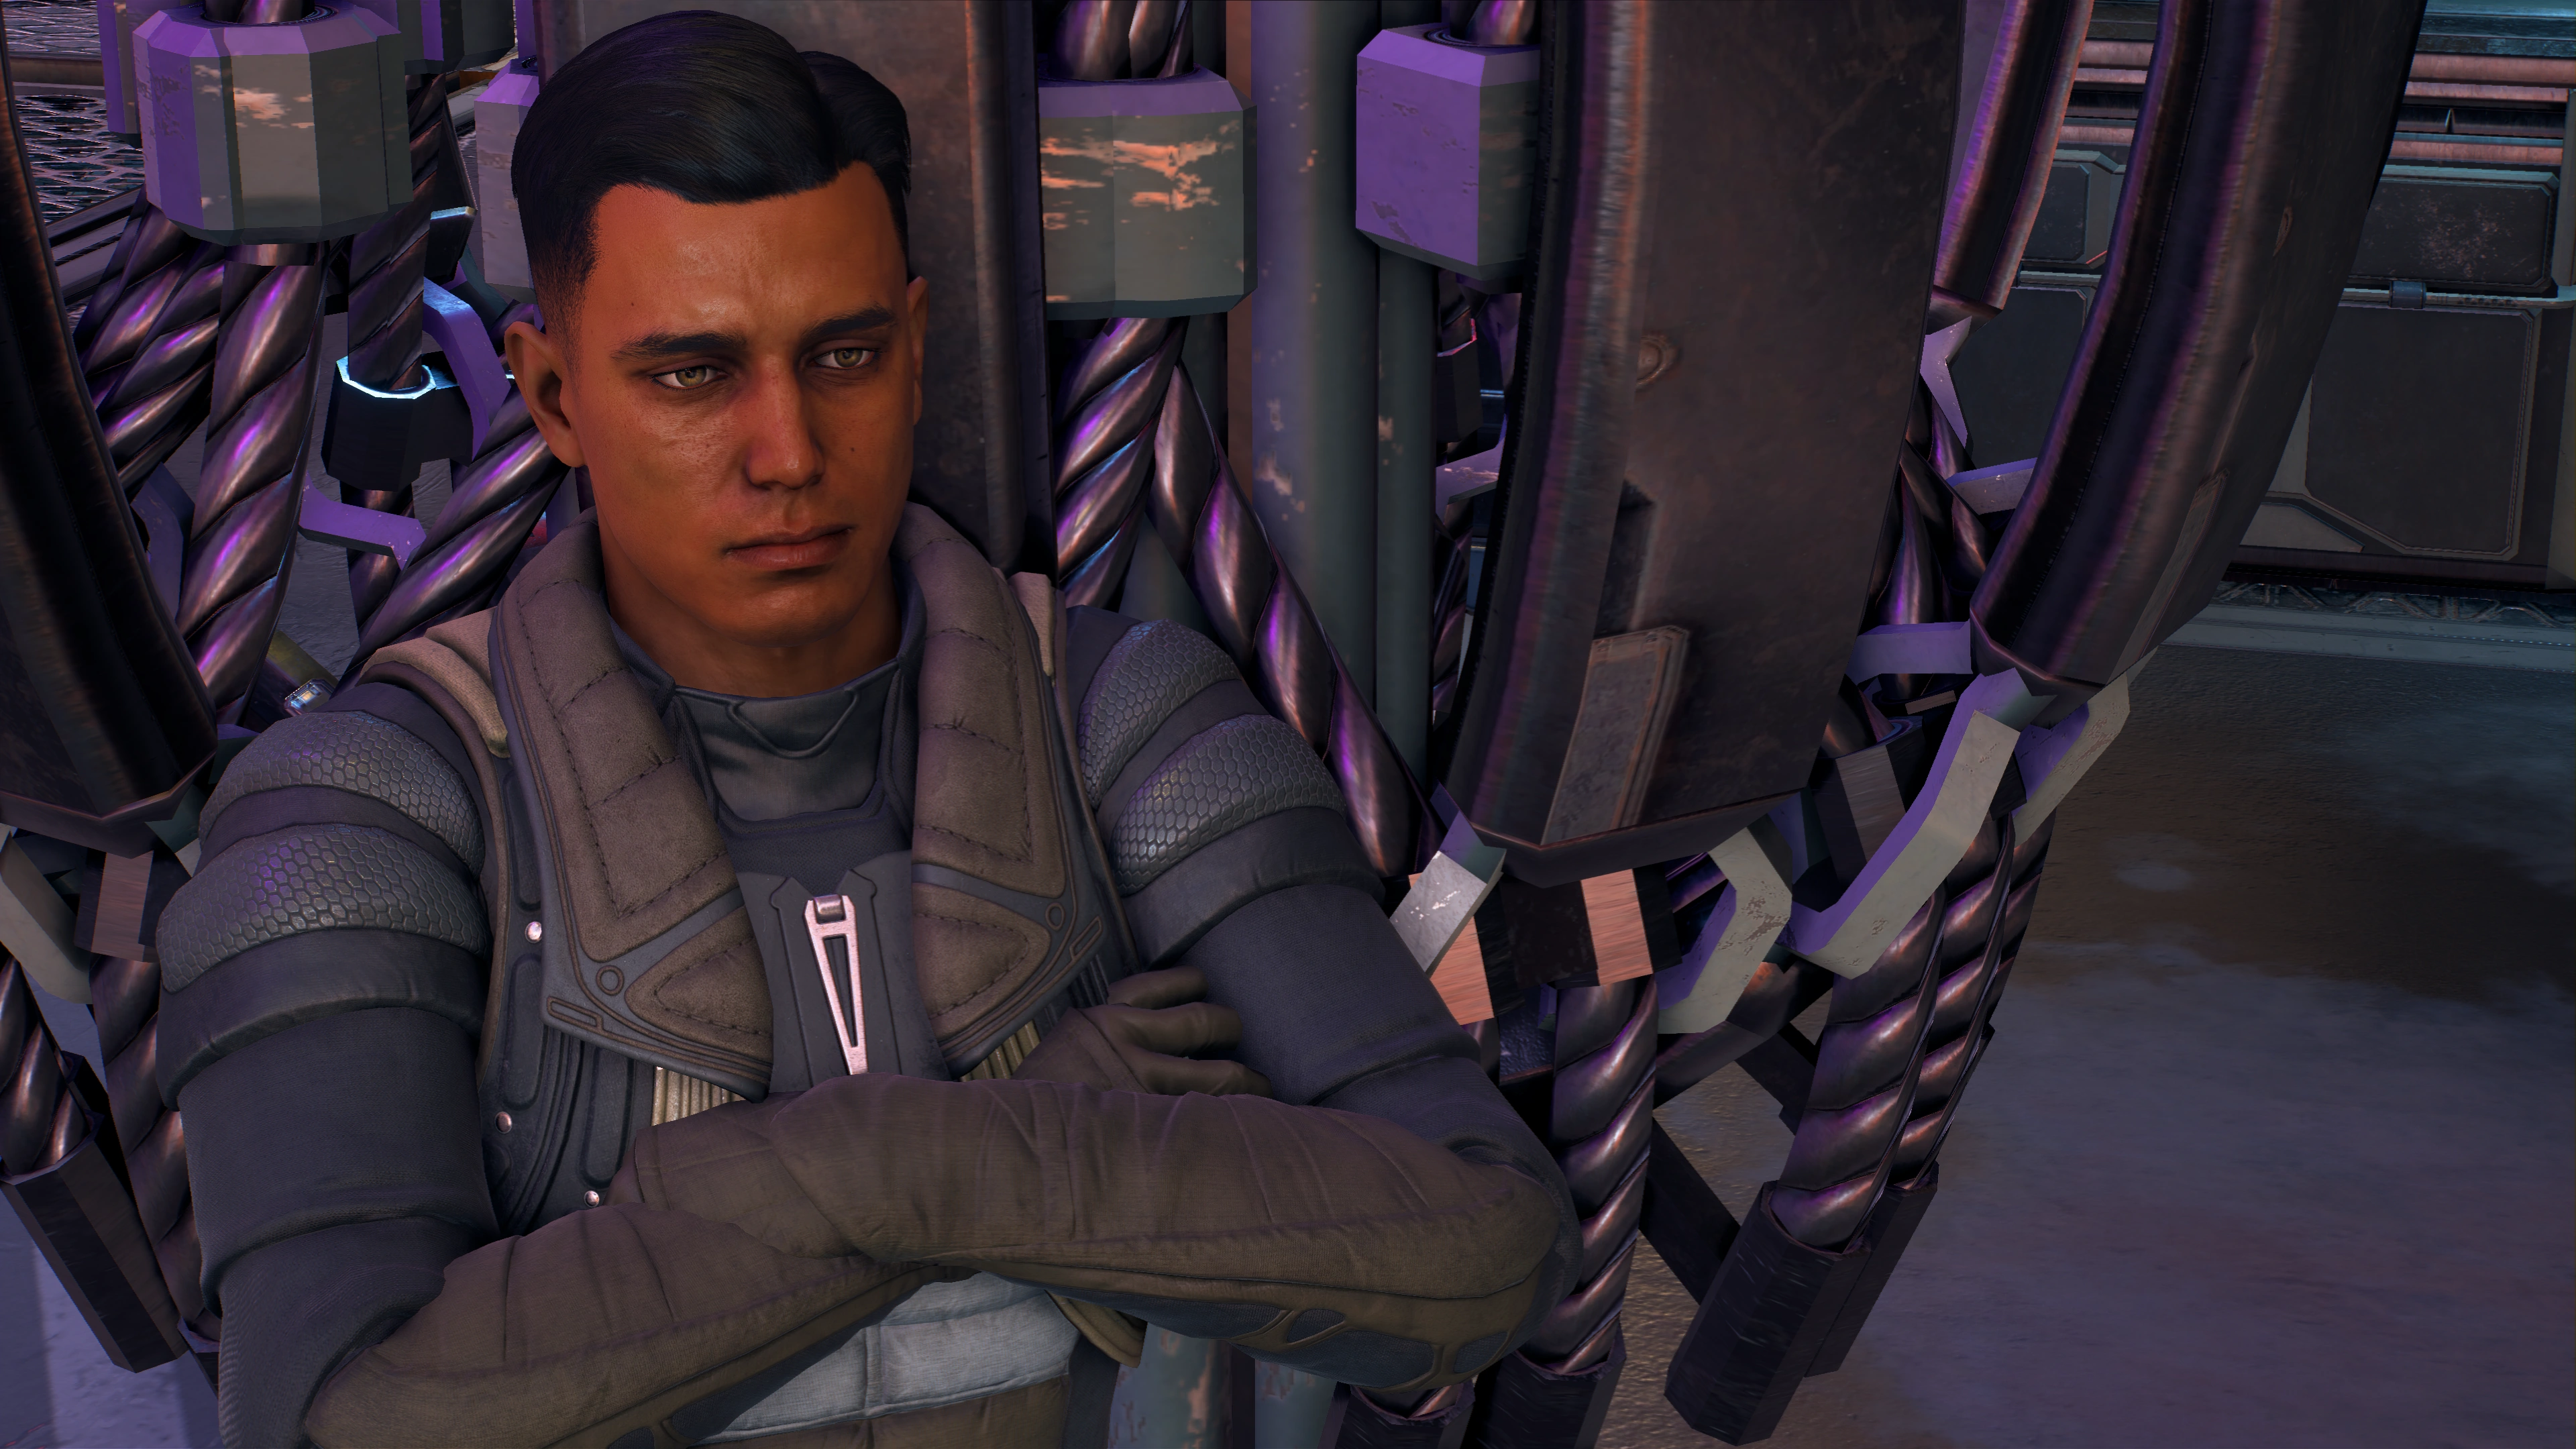
The contact at Kralla's Song is a man named Reyes Vidal. The traitor Vehn Terev is in prison because the people in Kadara don't like what he did to the Moshae. As the port's leader Sloane Kelly is a "woman of the people," Vehn is facing execution. Because Sloane was part of the uprising on the Nexus, she can't be expected to give up Vehn easily to someone who works for the Nexus. Vidal suggests that Ryder works Sloane while he talks with the angaran Resistance.
At the conclusion of the talk, bartender Umi Henon badgers you to pay for the drinks Reyes ordered, regardless of whether you took one or not, though no actual credits are spent. Exiting the bar, SAM gives you a brief overview of Sloane.
Meet Sloane Kelly in the Outcast headquarters on Kadara Port[]
The conversation with Sloane Kelly can go a few ways. She asks about your concern with Vehn Terev, and you can either be honest with her, or say it's none of her business.
If you truthfully answer Sloane's question and accept her counterproposal without fuss, she allows you to see Vehn. The holding cells of Outcast Headquarters becomes accessible, and the guards there warn you against contact other than talking. She also lets you stay around her throne room for asking her follow-up questions and the like. The other two outcomes result in Sloane's chamber temporarily locking out and requiring Reyes' assistance outside to advance the mission.
If you don't want to tell Sloane why you need to see Vehn, Sloane signals her aide, who draws a pistol at you. A narrative action prompt appears, though whether you take it or not the result is the same: you back out of the room.
If you tell Sloane you want Vehn's intel, but insist his punishment is not up to her, she dismisses you.
Speak to Reyes Vidal[]
If negotiations with Sloane failed, Reyes is waiting outside the Outcast Headquarters. He gives you access codes for a maintenance shaft that can be used to reach Vehn, along with something that will break the traitor out of the prison.
If you're planning to start a romance with Reyes, an opportunity to flirt will appear in the conversational choices.
Enter the holding cells through the maintenance shaft[]
Around the corner of the armor shop in Kadara Market will be a navpoint![]() to a console. This console will open a section of floor grating leading to a tunnel. Enter the tunnel and a second console will open another section of floor grating so that you can climb up into the stockroom leading to Vehn.
to a console. This console will open a section of floor grating leading to a tunnel. Enter the tunnel and a second console will open another section of floor grating so that you can climb up into the stockroom leading to Vehn.
Interrogate Vehn Terev[]

If Sloane granted you access to Vehn, the door beyond the prison is open. If not, it's closed, and nobody finds out you're there. Either way, Vehn doesn't know where the Archon's ship is, but he suggests that Ryder use the transponder he buried outside town to triangulate the Archon's position.
Depending on how your meeting with Sloane went, Vehn will either be left in prison (Sloane gave permission), or he breaks out of jail to be spirited away by the Angaran Resistance (you pissed off Sloane). If Vehn escaped prison, a datapad detailing what the Outcasts did to address the security leak will show up on your next return to the market, next to the entrance of the maintenance shaft. The datapad will remain there for subsequent visits to the market though the maintenance shaft will be sealed next time.
The Kadara Slums below the port is now accessible, and with it access to the world's other locations. If you antagonized Sloane, the lockout to her throne room ends once you take the port elevator down to the slums. Note: Using the transit console to go to the Tempest and return does not count.
Retrieve the kett transponder from the badlands[]
While going from Outcast Headquarters to The Docks for this section of the mission, you may encounter a dead angaran body in the market. This unlocks the Heleus Assignment Murder in Kadara Port. Note that it's possible to sidestep acquisition by going around the corpse through the Mods Merchant's section of the market.
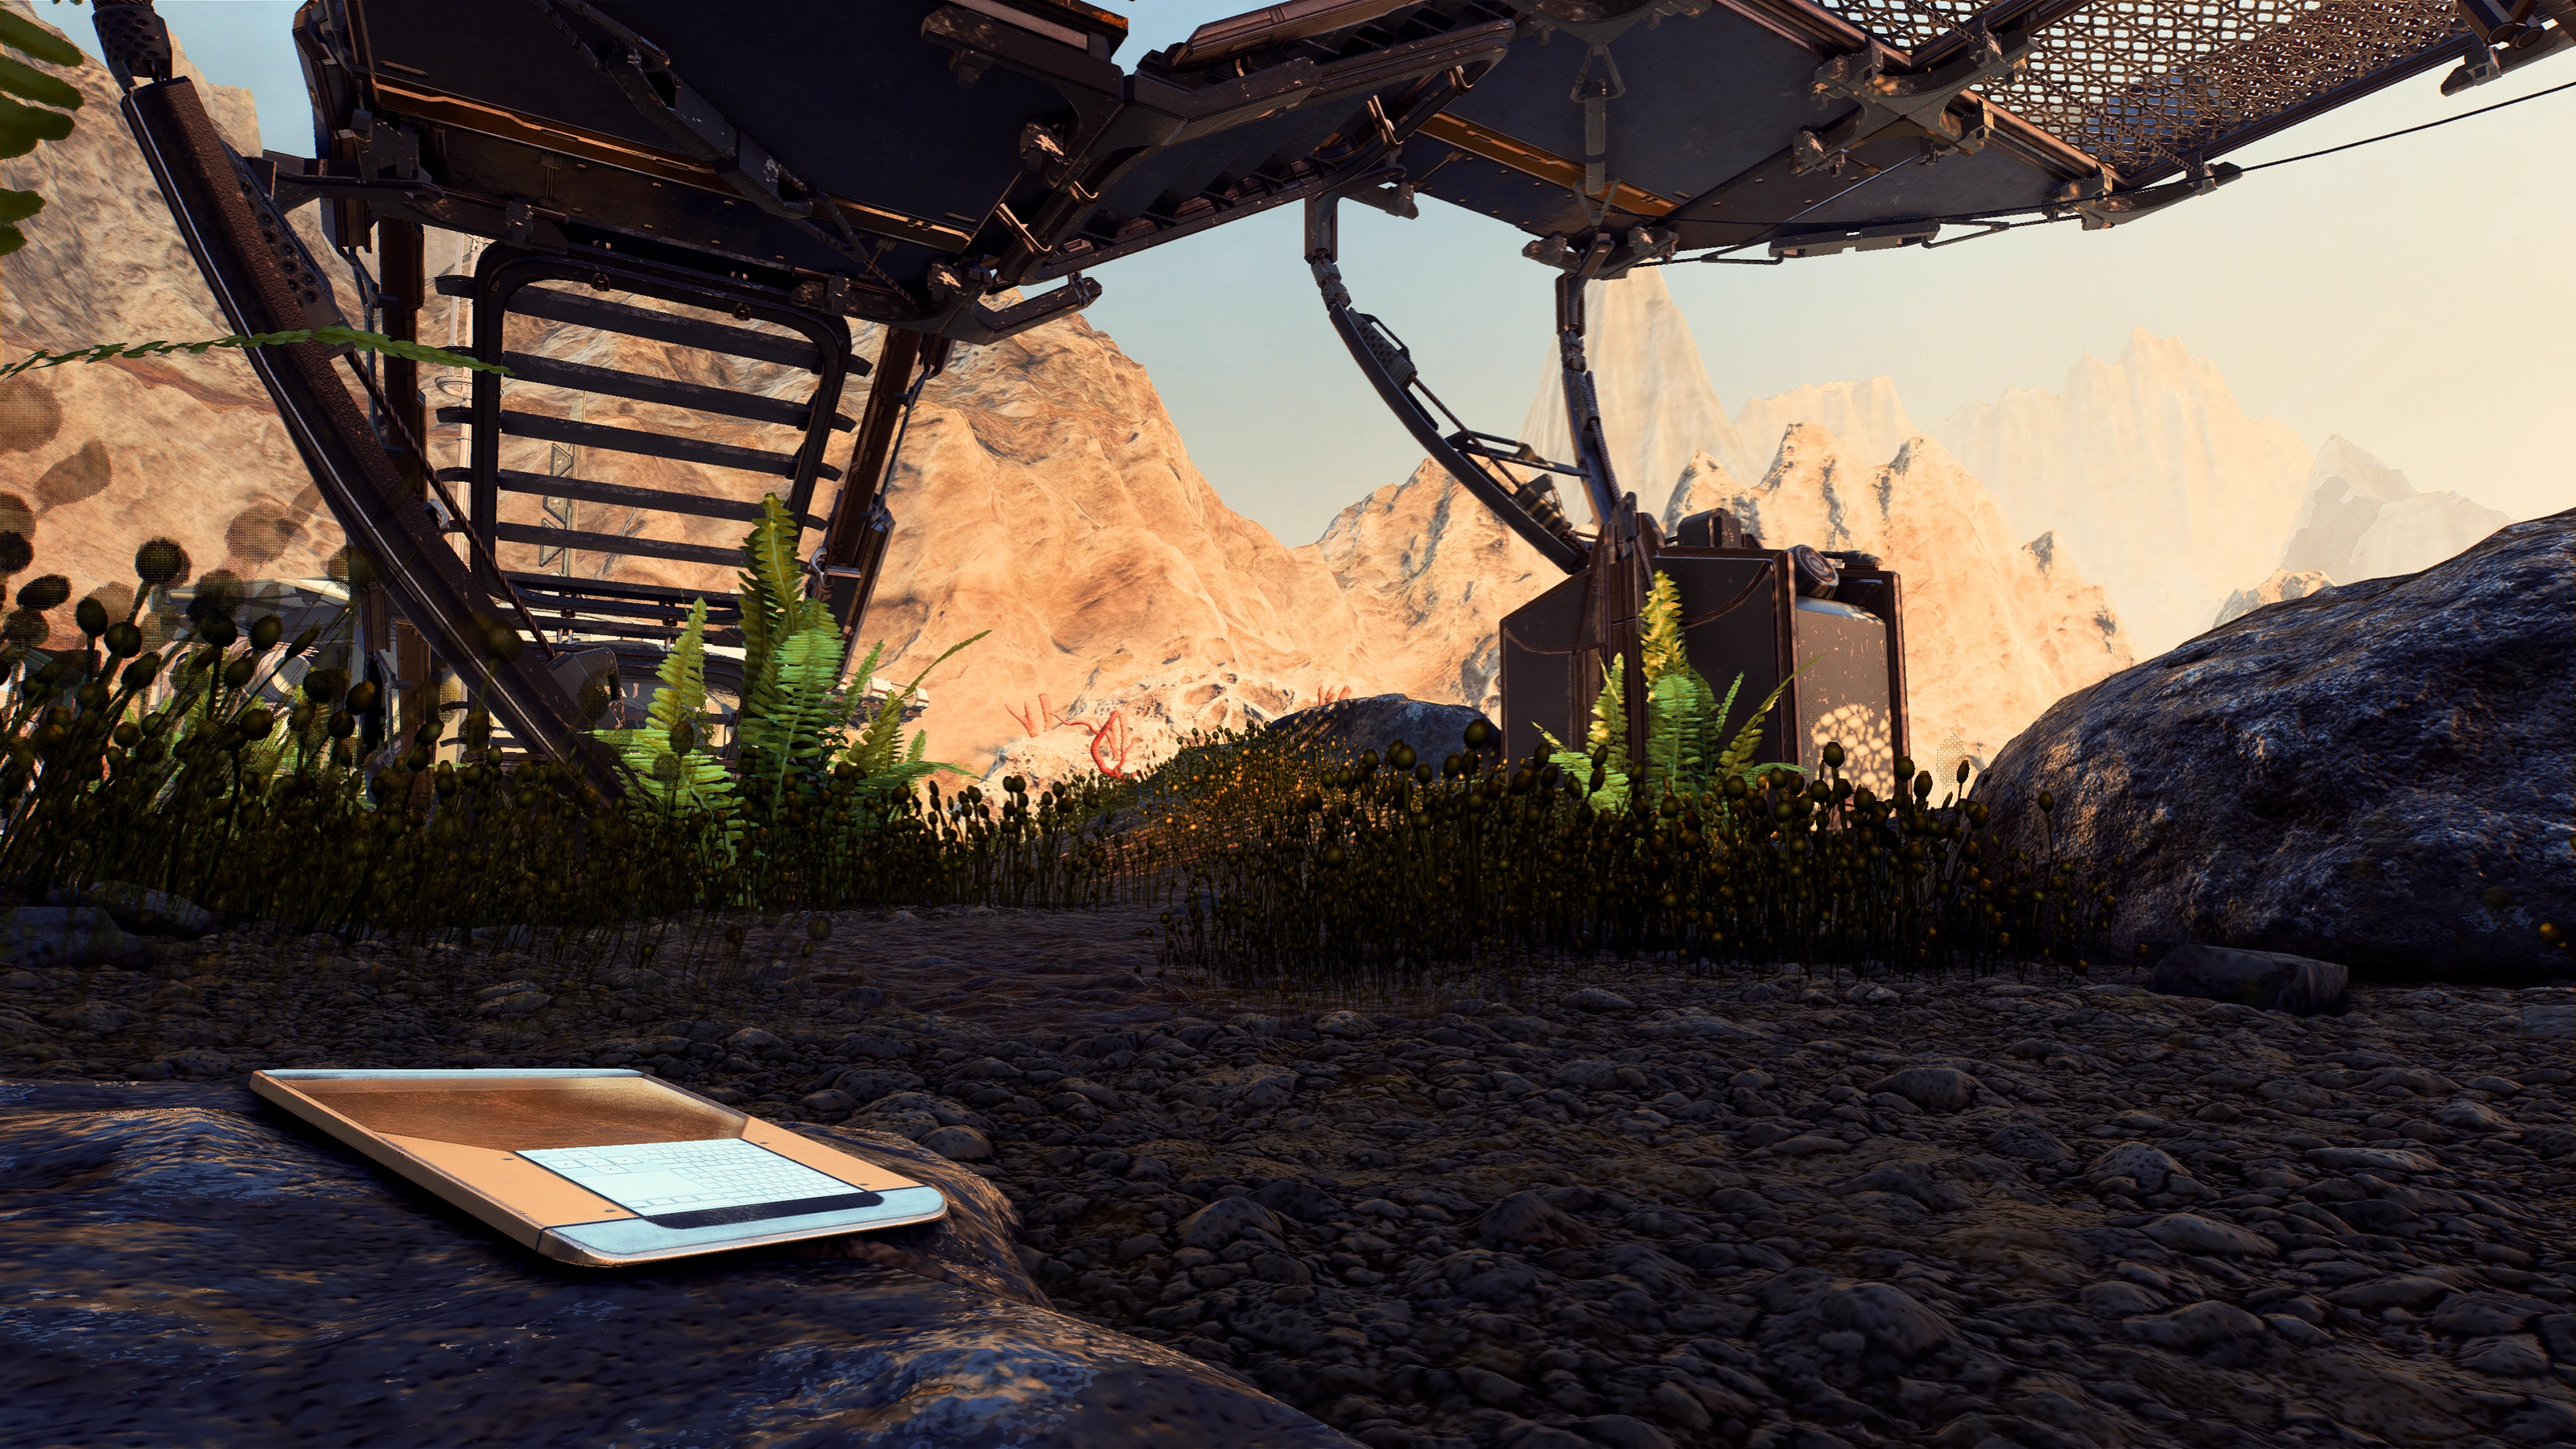
Take the elevator to the slums from the docks. Go outside to discover Haarfel, call down a Forward Station to its nearby location, and deploy the Nomad for faster travel. Go to the navpoint at Charybdis Point in the Sulfur Springs region and pick up the transponder lying under the taller buildings. The transponder power source is drained but Ryder thinks Gil Brodie can fix it.
Note that while you can encounter numerous aggressive wildlife, Remnant, or Outlaws while going to Charybdis Point, none of them are mandatory fights and you can easily reach the destination without firing a shot biotic or otherwise.
Speak to Gil in Tempest engineering[]
Return to the Tempest. The fastest way is by hopping into the Nomad and calling for extraction. Once aboard, speak to Gil. After accidentally contacting the kett on the other side Gil shuts that off and gets the transponder working: it points to a location in the Tafeno system.
Locate the kett flagship in the Tafeno system[]
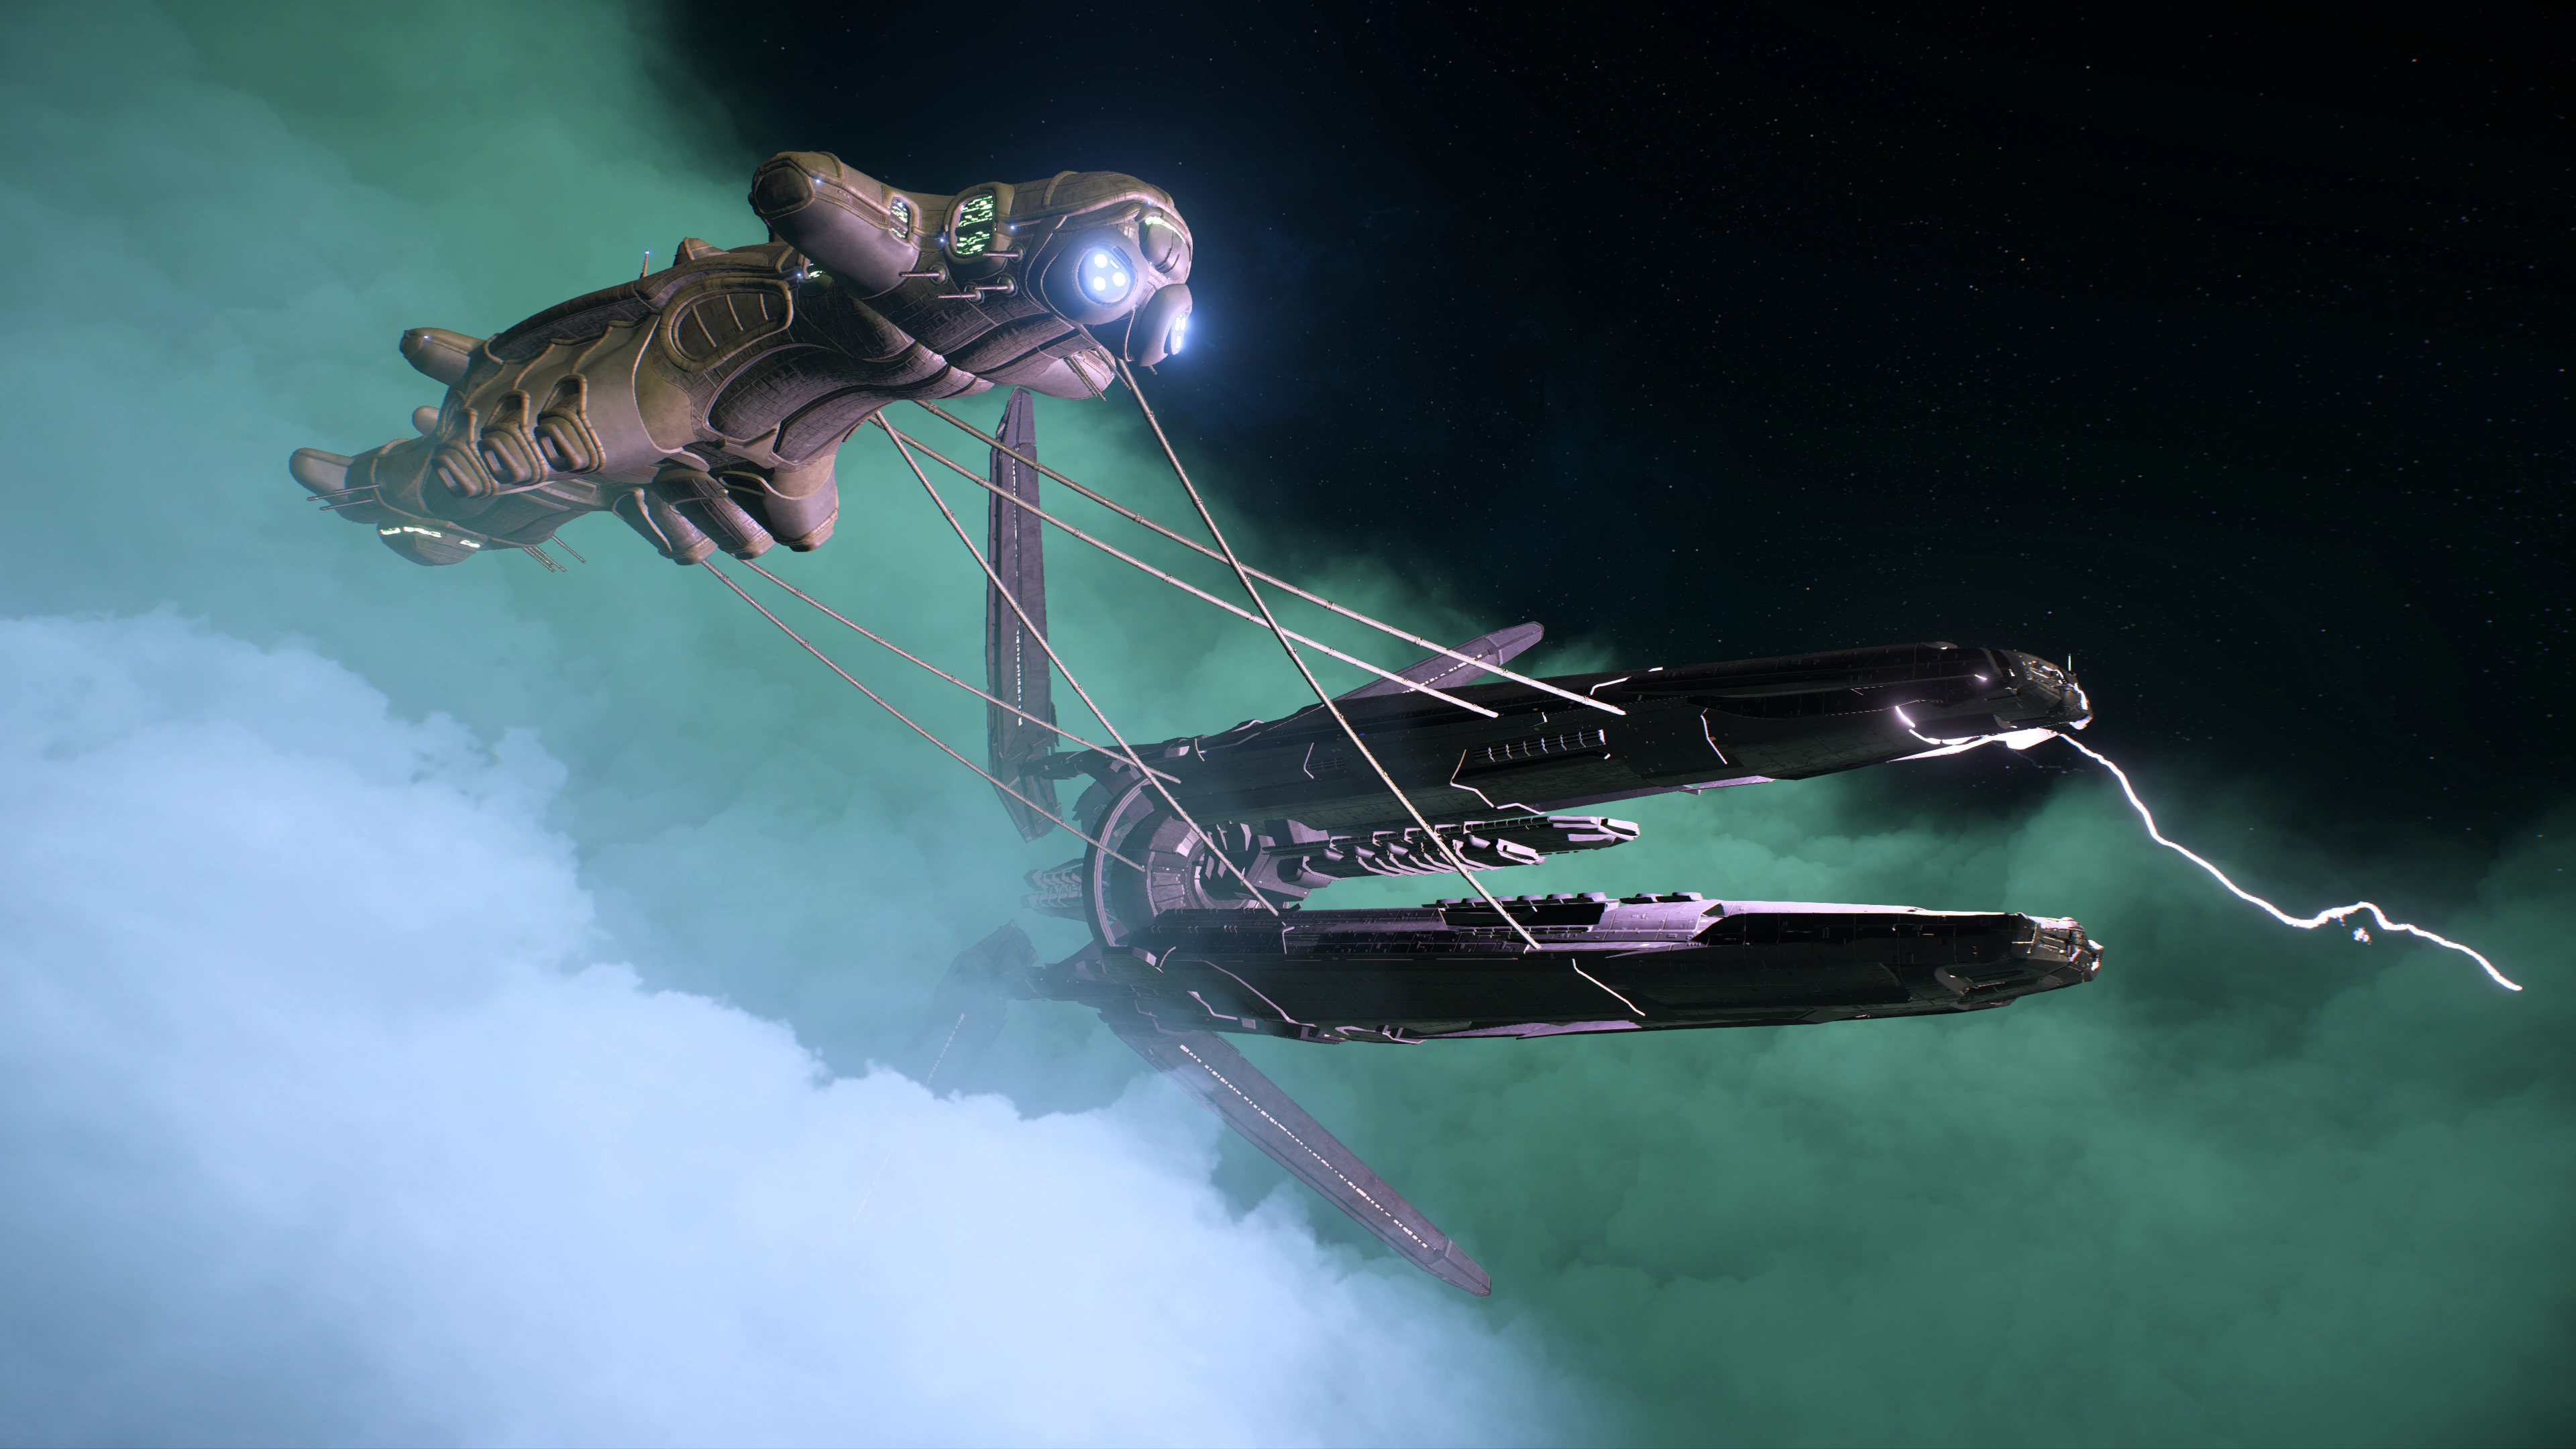
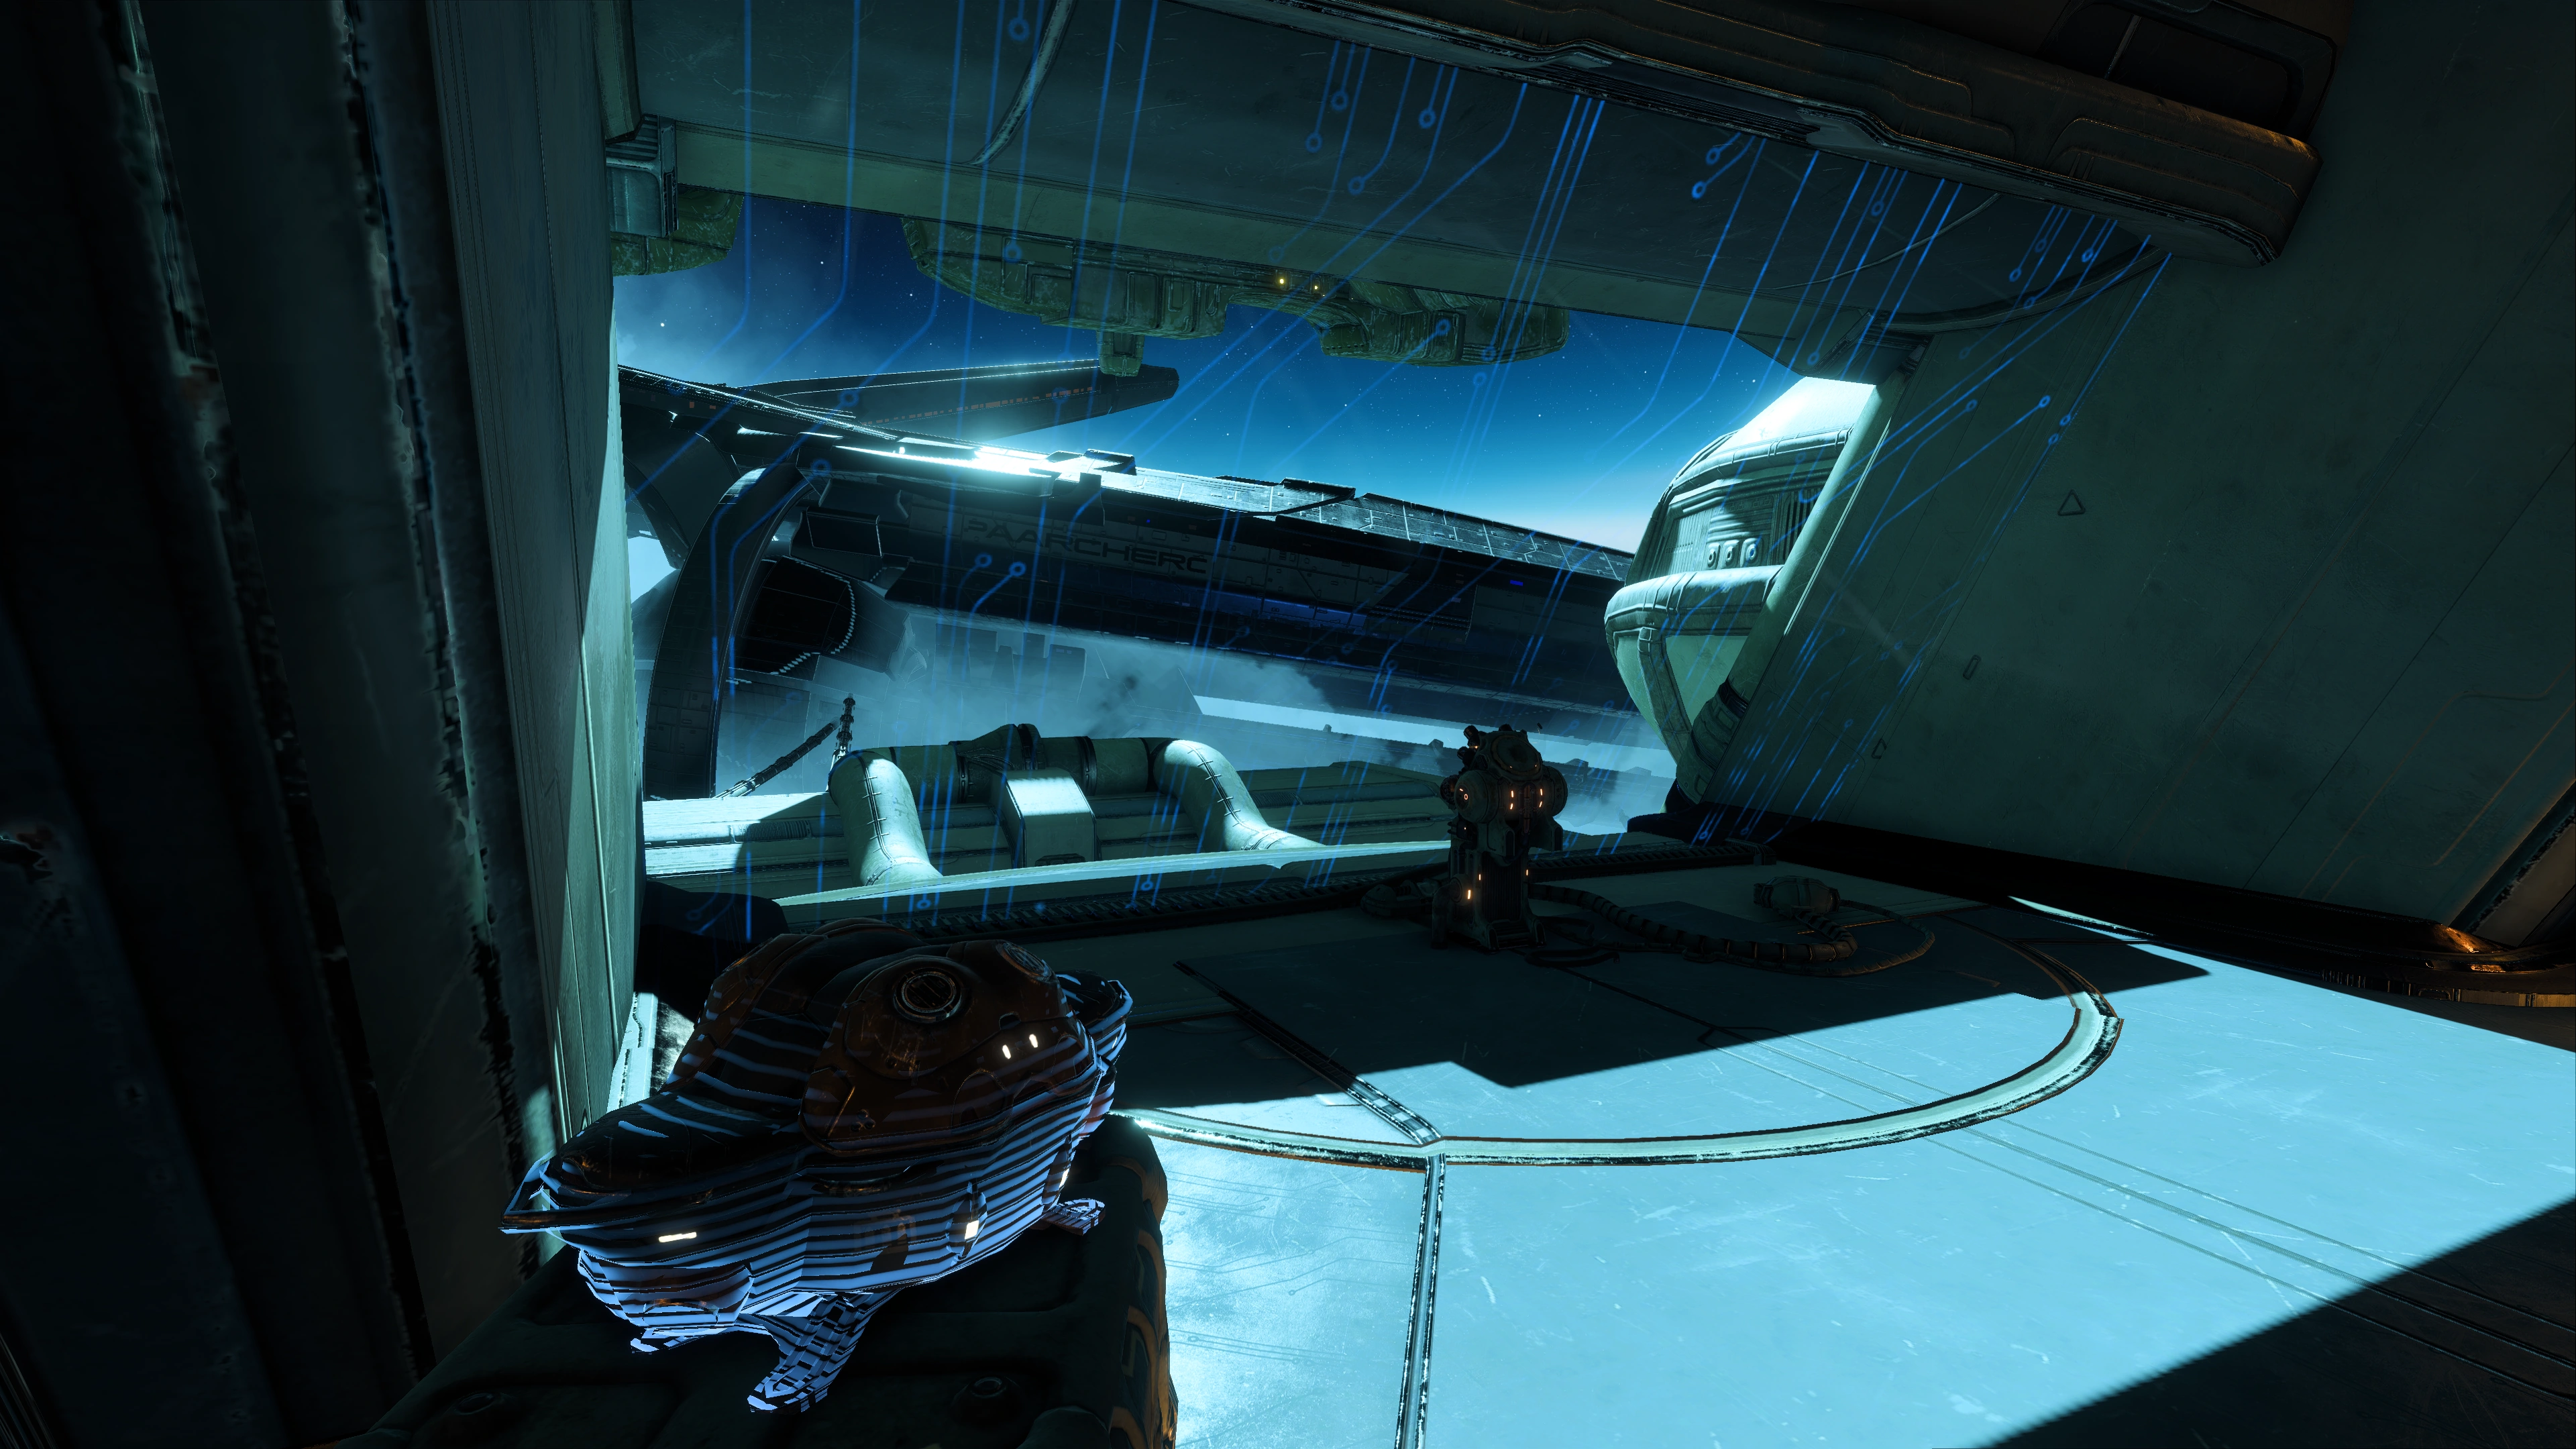
Upon entering the Tafeno system, the Tempest goes into stealth mode. The kett flagship Verakan has captured the salarian ark Paarchero holding it with several tethers. The flagship is unaware of the Tempest's presence. The ark is undamaged and its power on standby but the fate of the salarians is unknown.
Access the Paarchero's docking bay to mark this section complete and begin the final leg of this mission. This is a point of no return and saving is disabled for the rest of the mission except for autosaves. Prepare your loadouts, squadmates, skill distributions and other configurations accordingly.
Ryder contacts the Moshae to learn exactly what they are looking for. It's a Remnant relic depicting Meridian and it's kept in the Archon's chamber.
The plan is to board the ark and sneak into the flagship through the tethers.
Patch SAM into the ark's systems[]
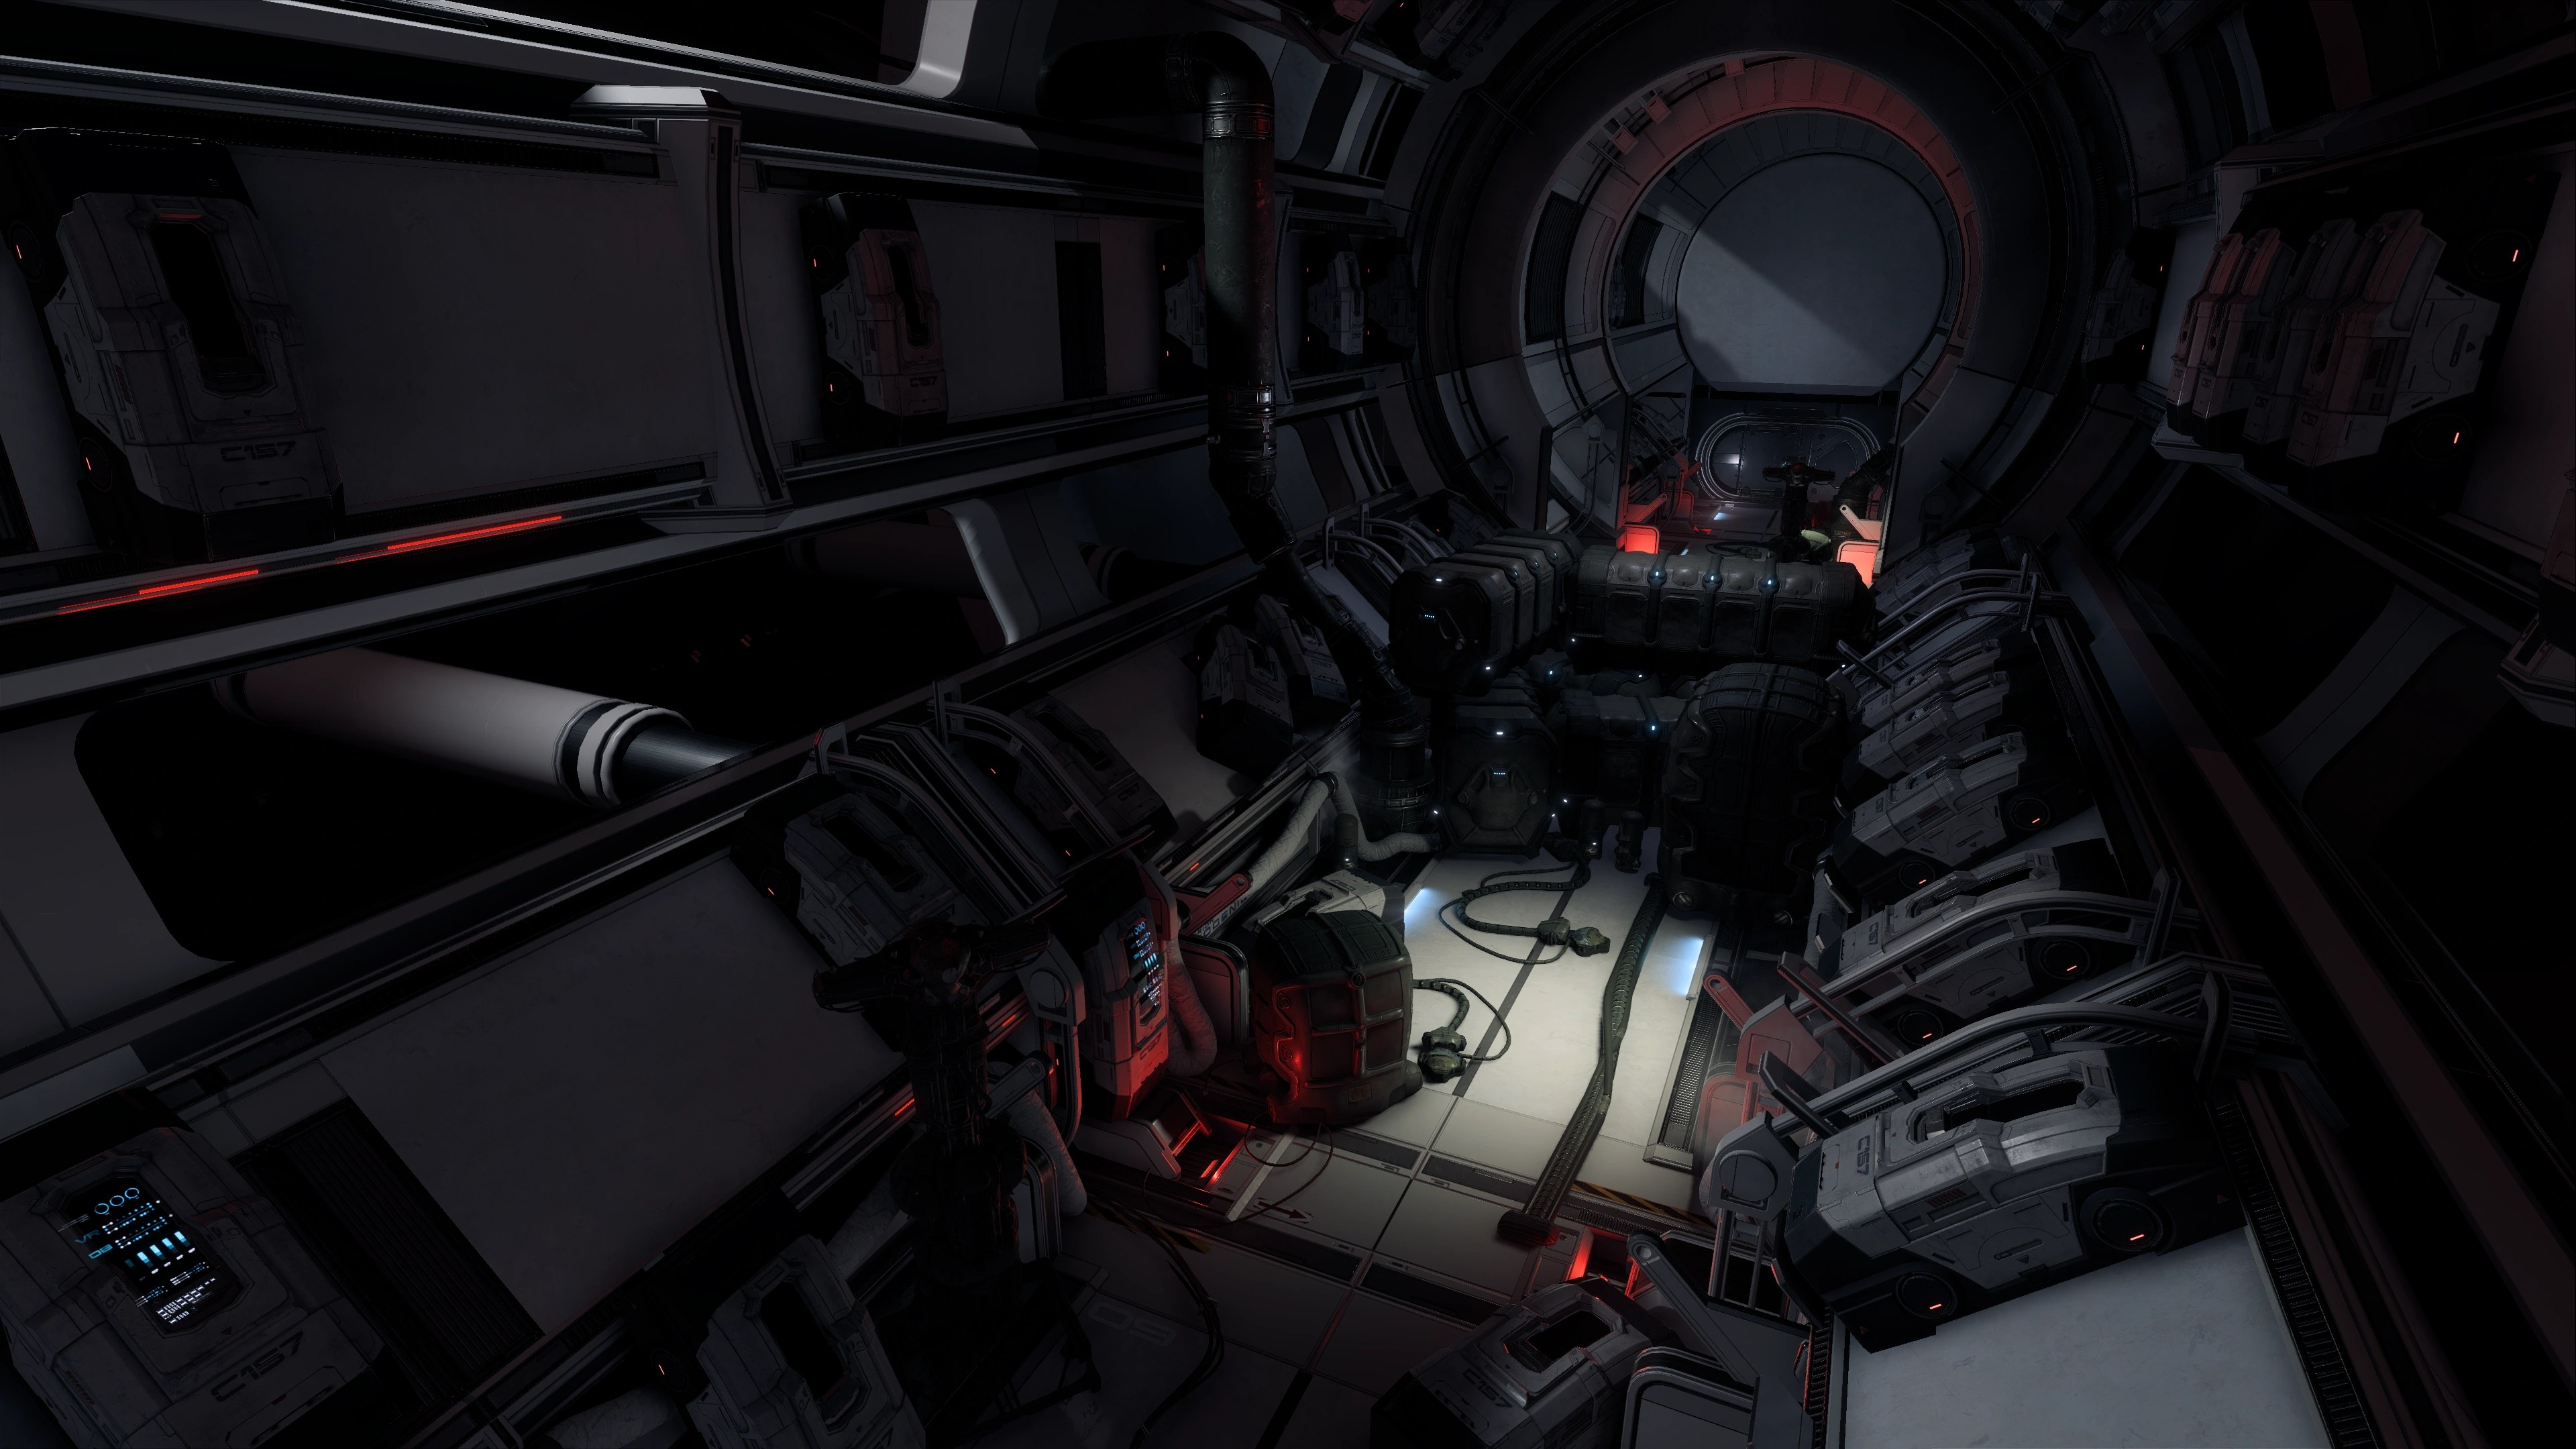
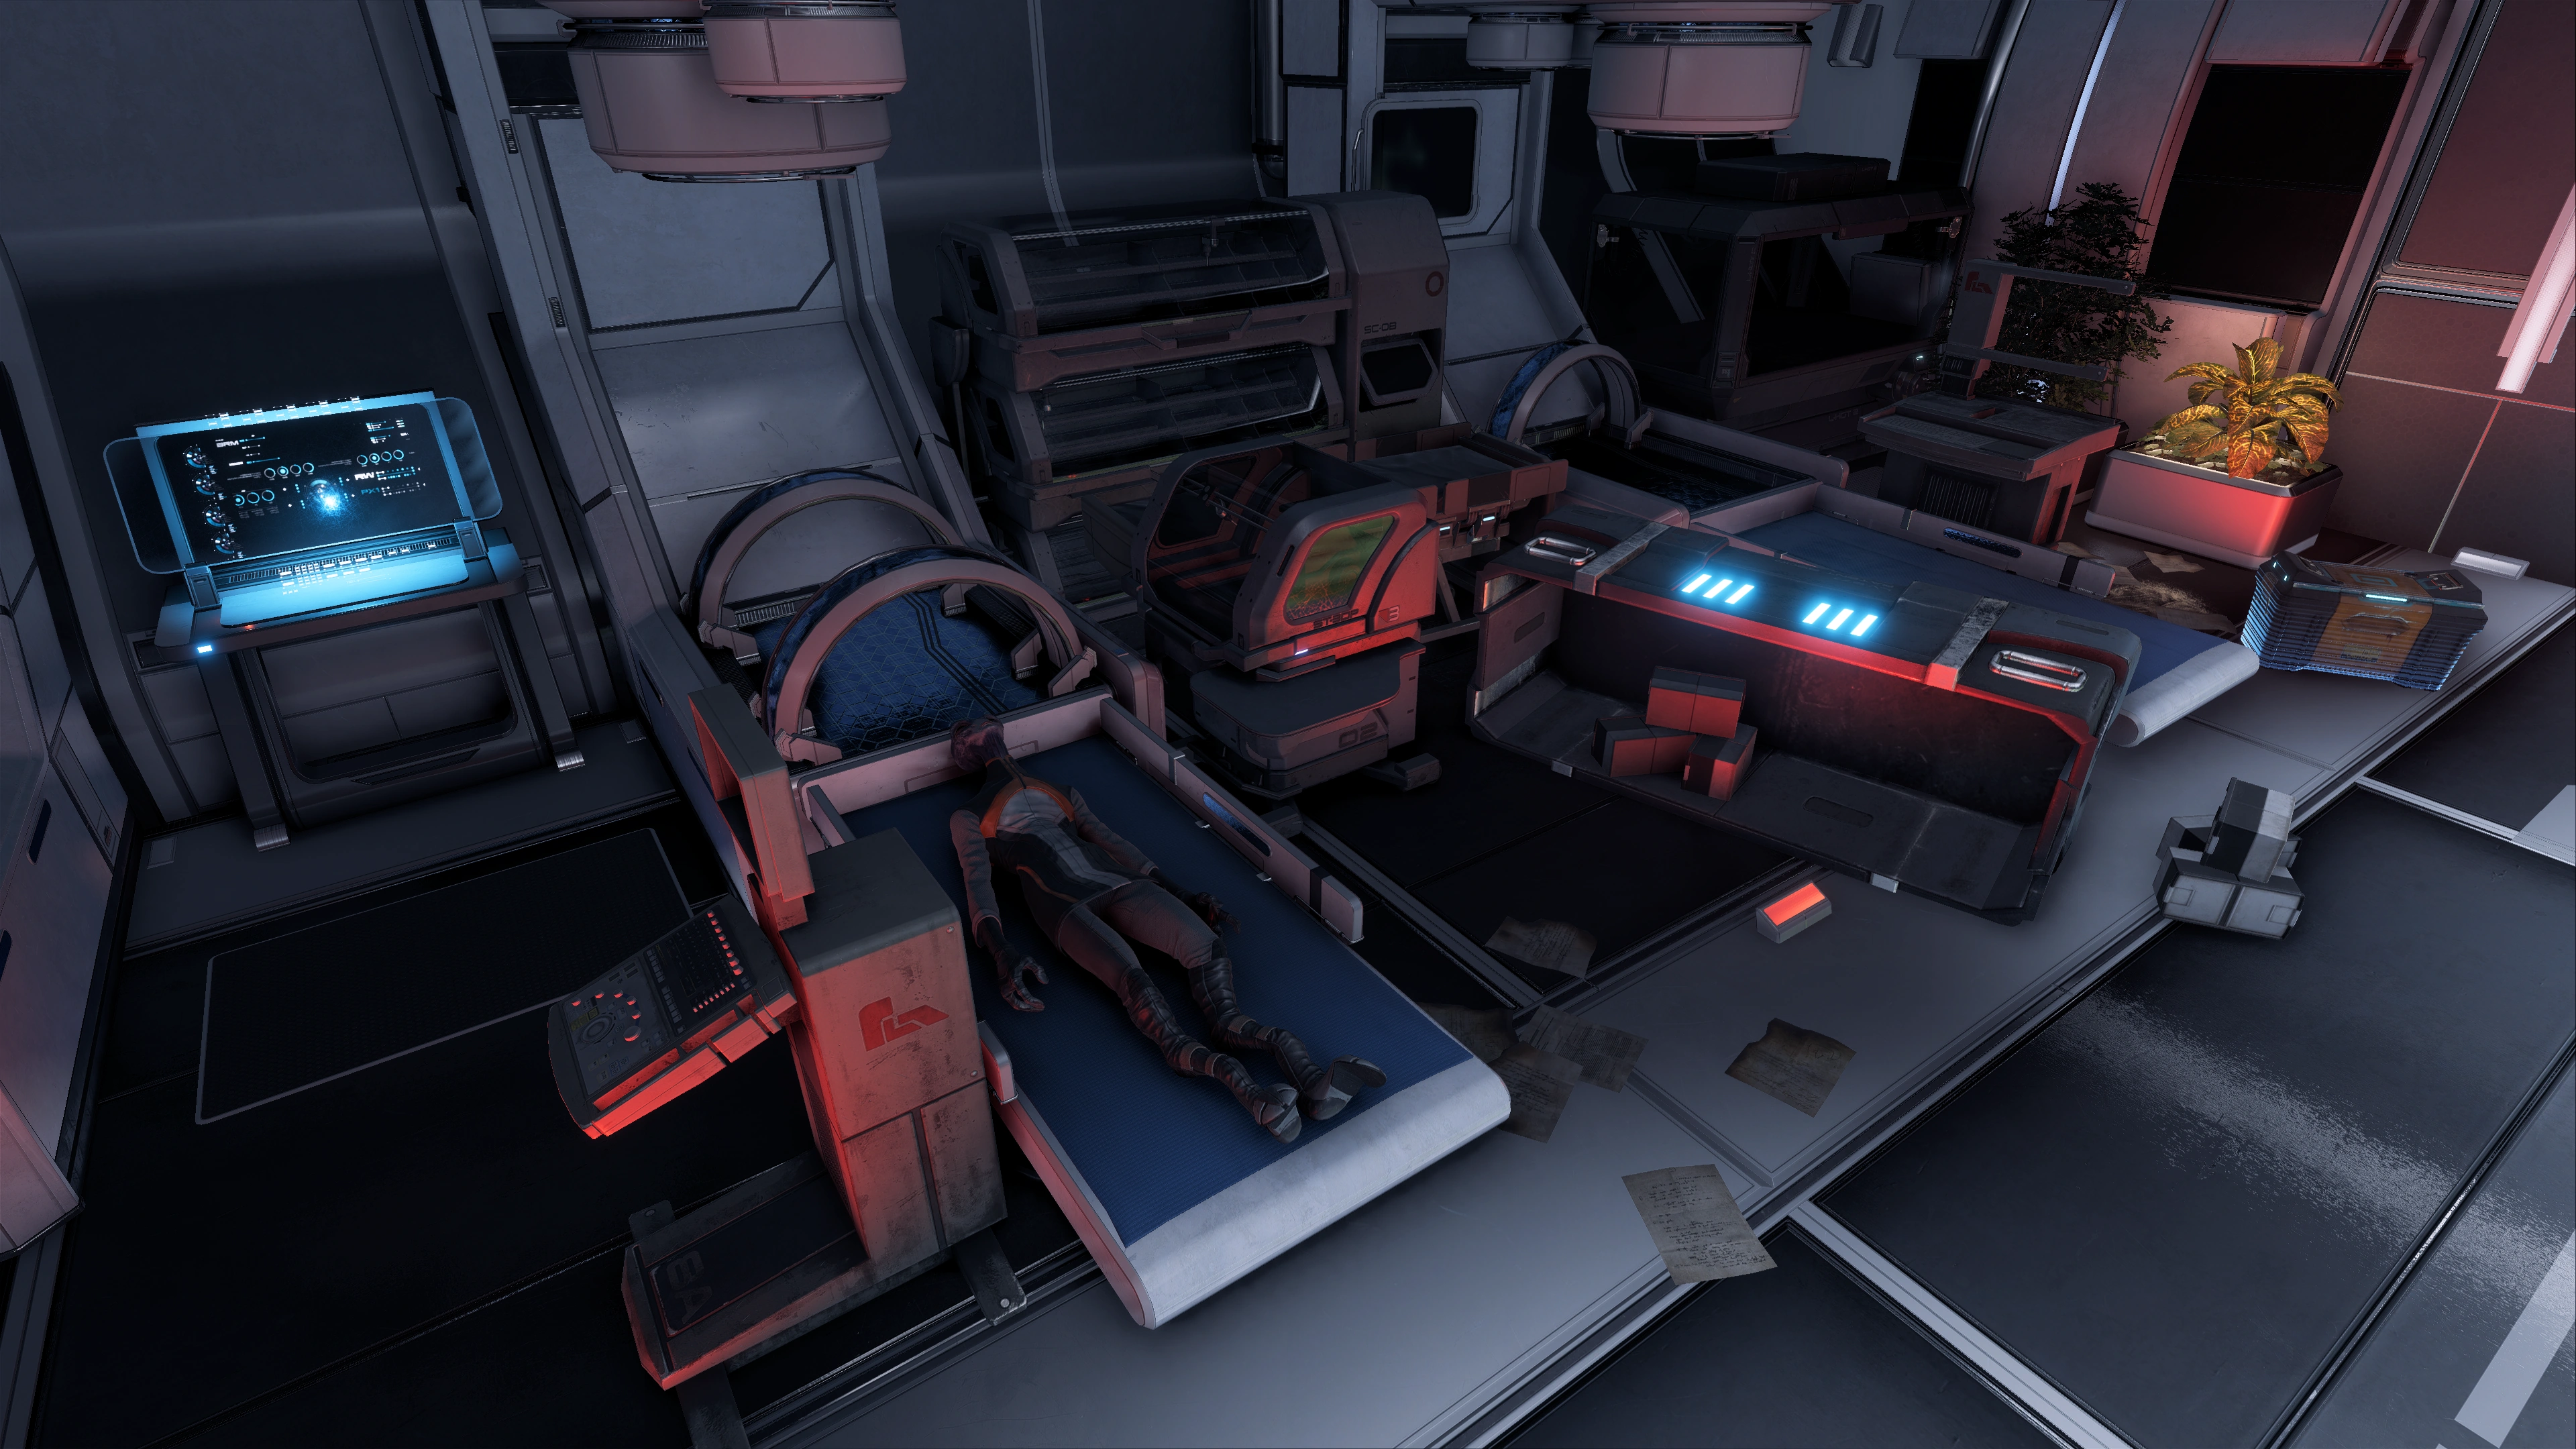
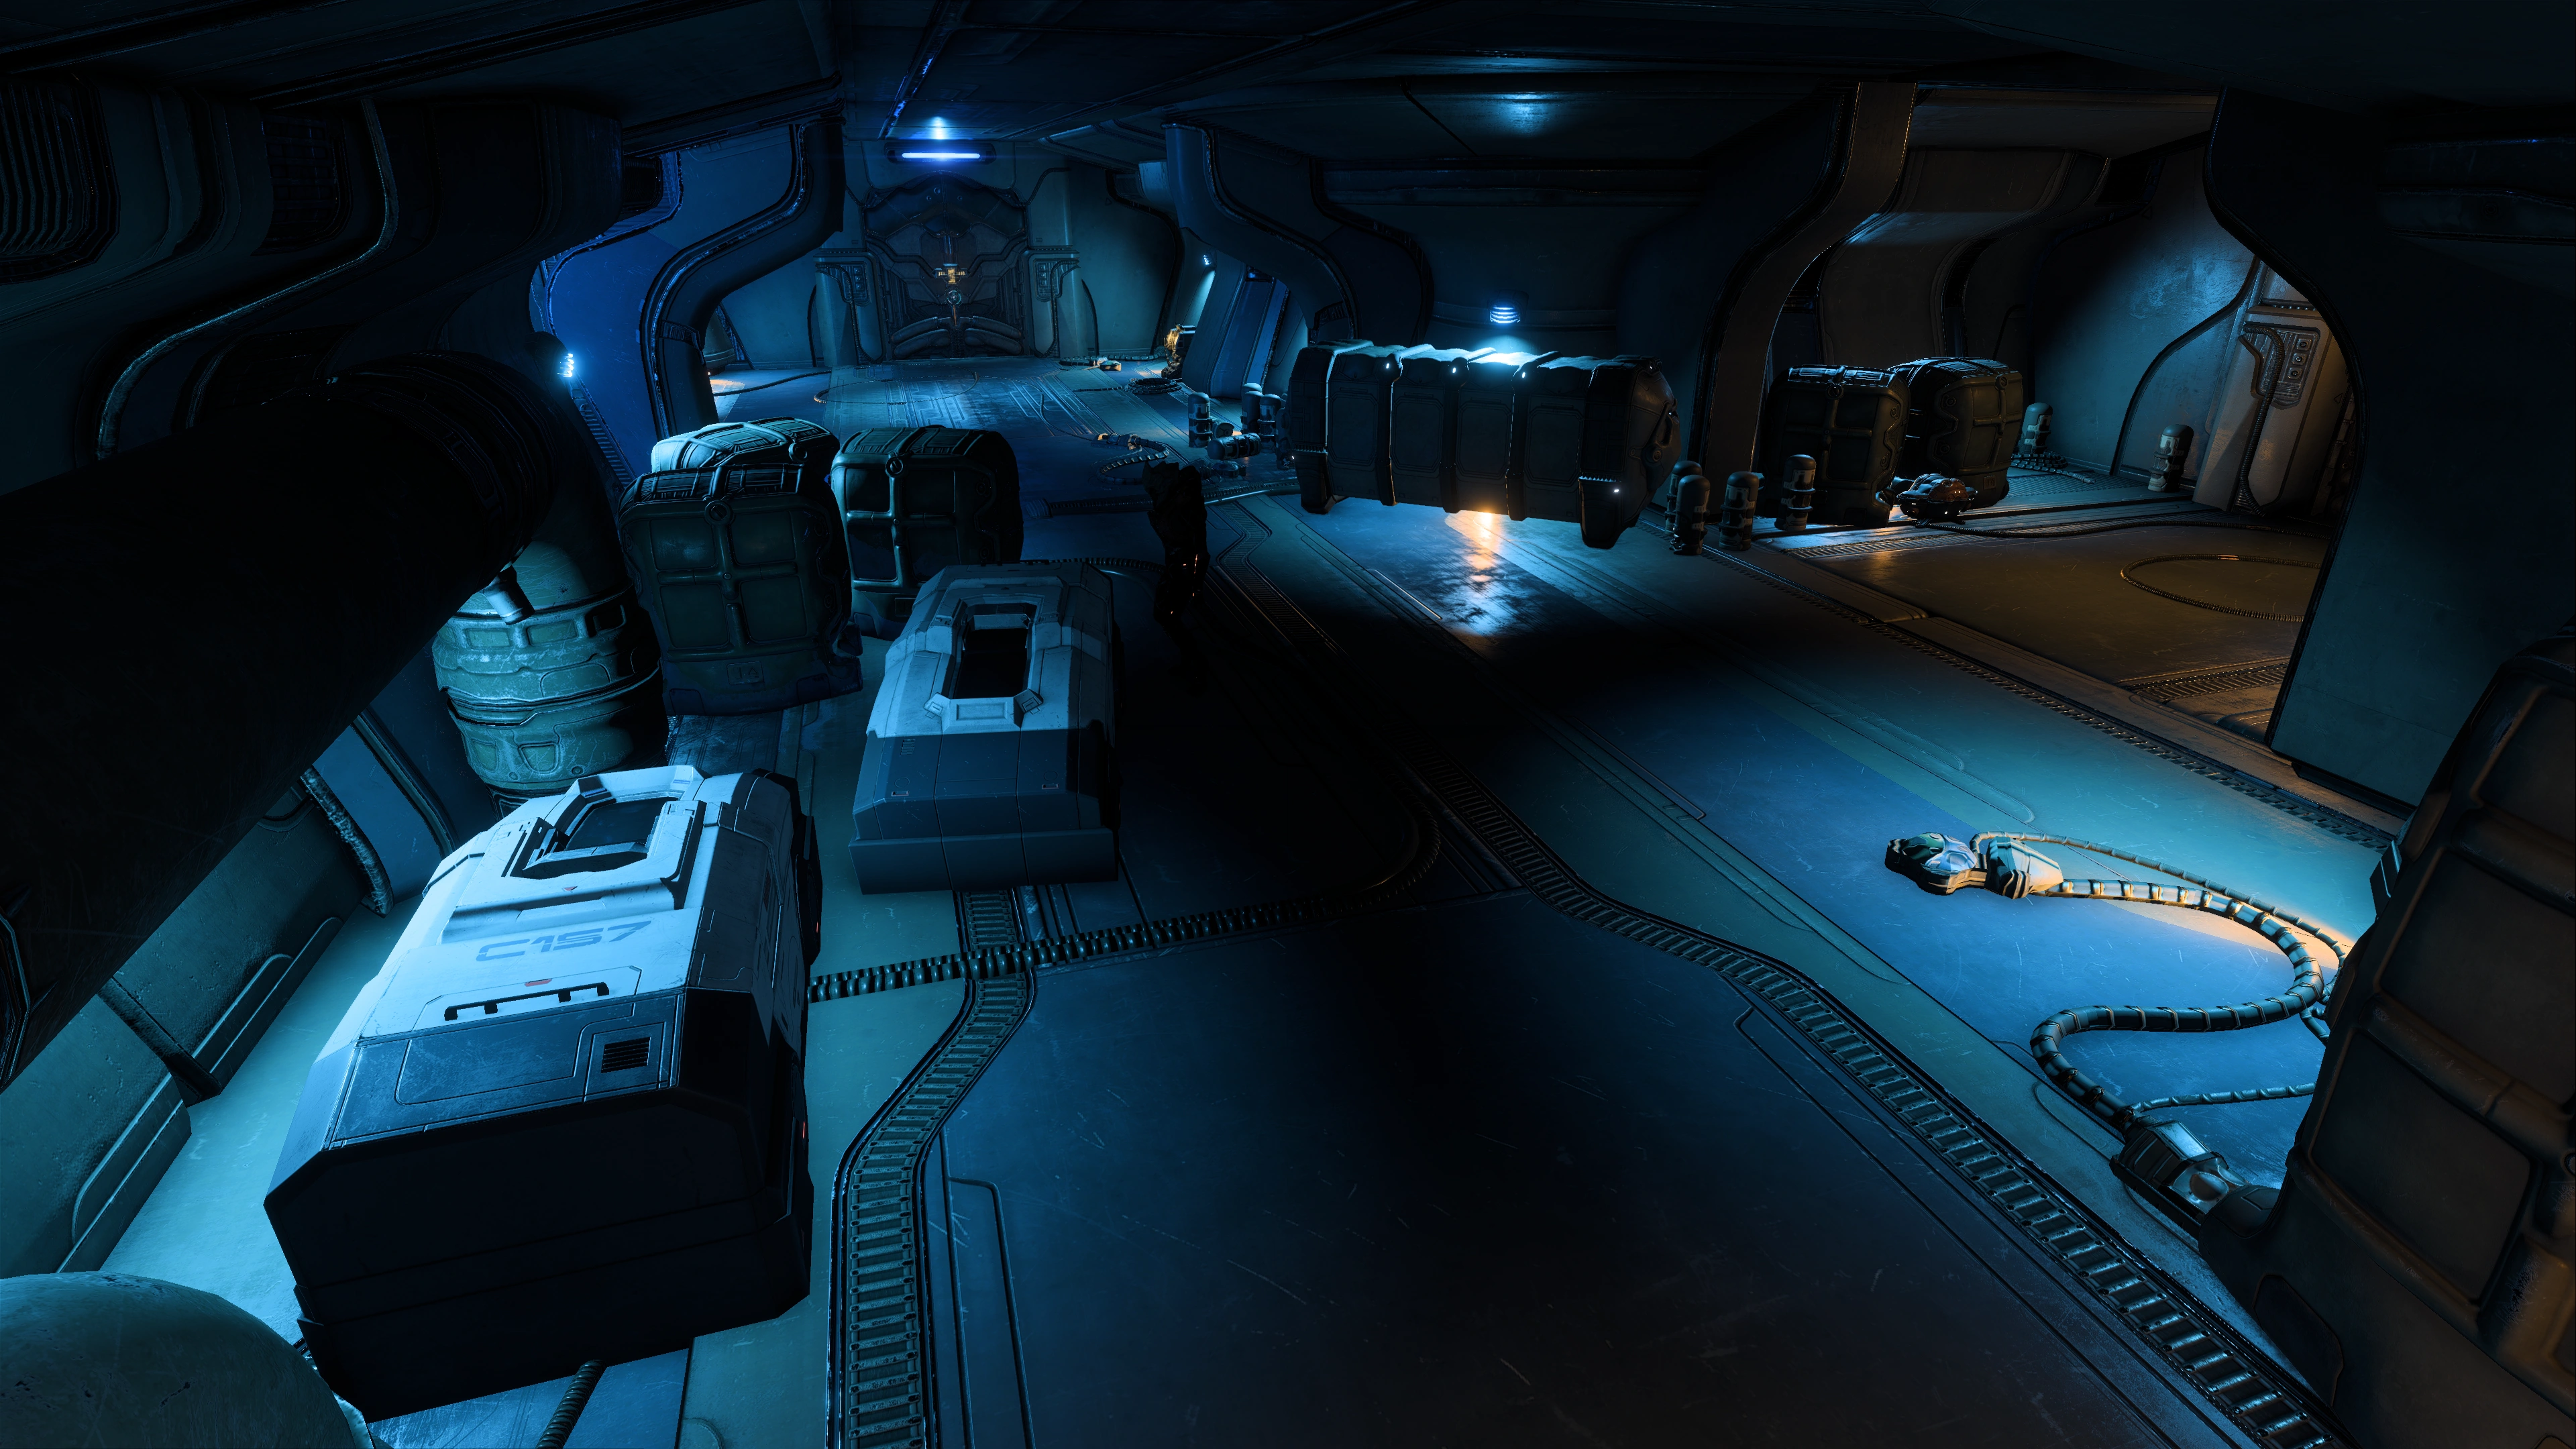
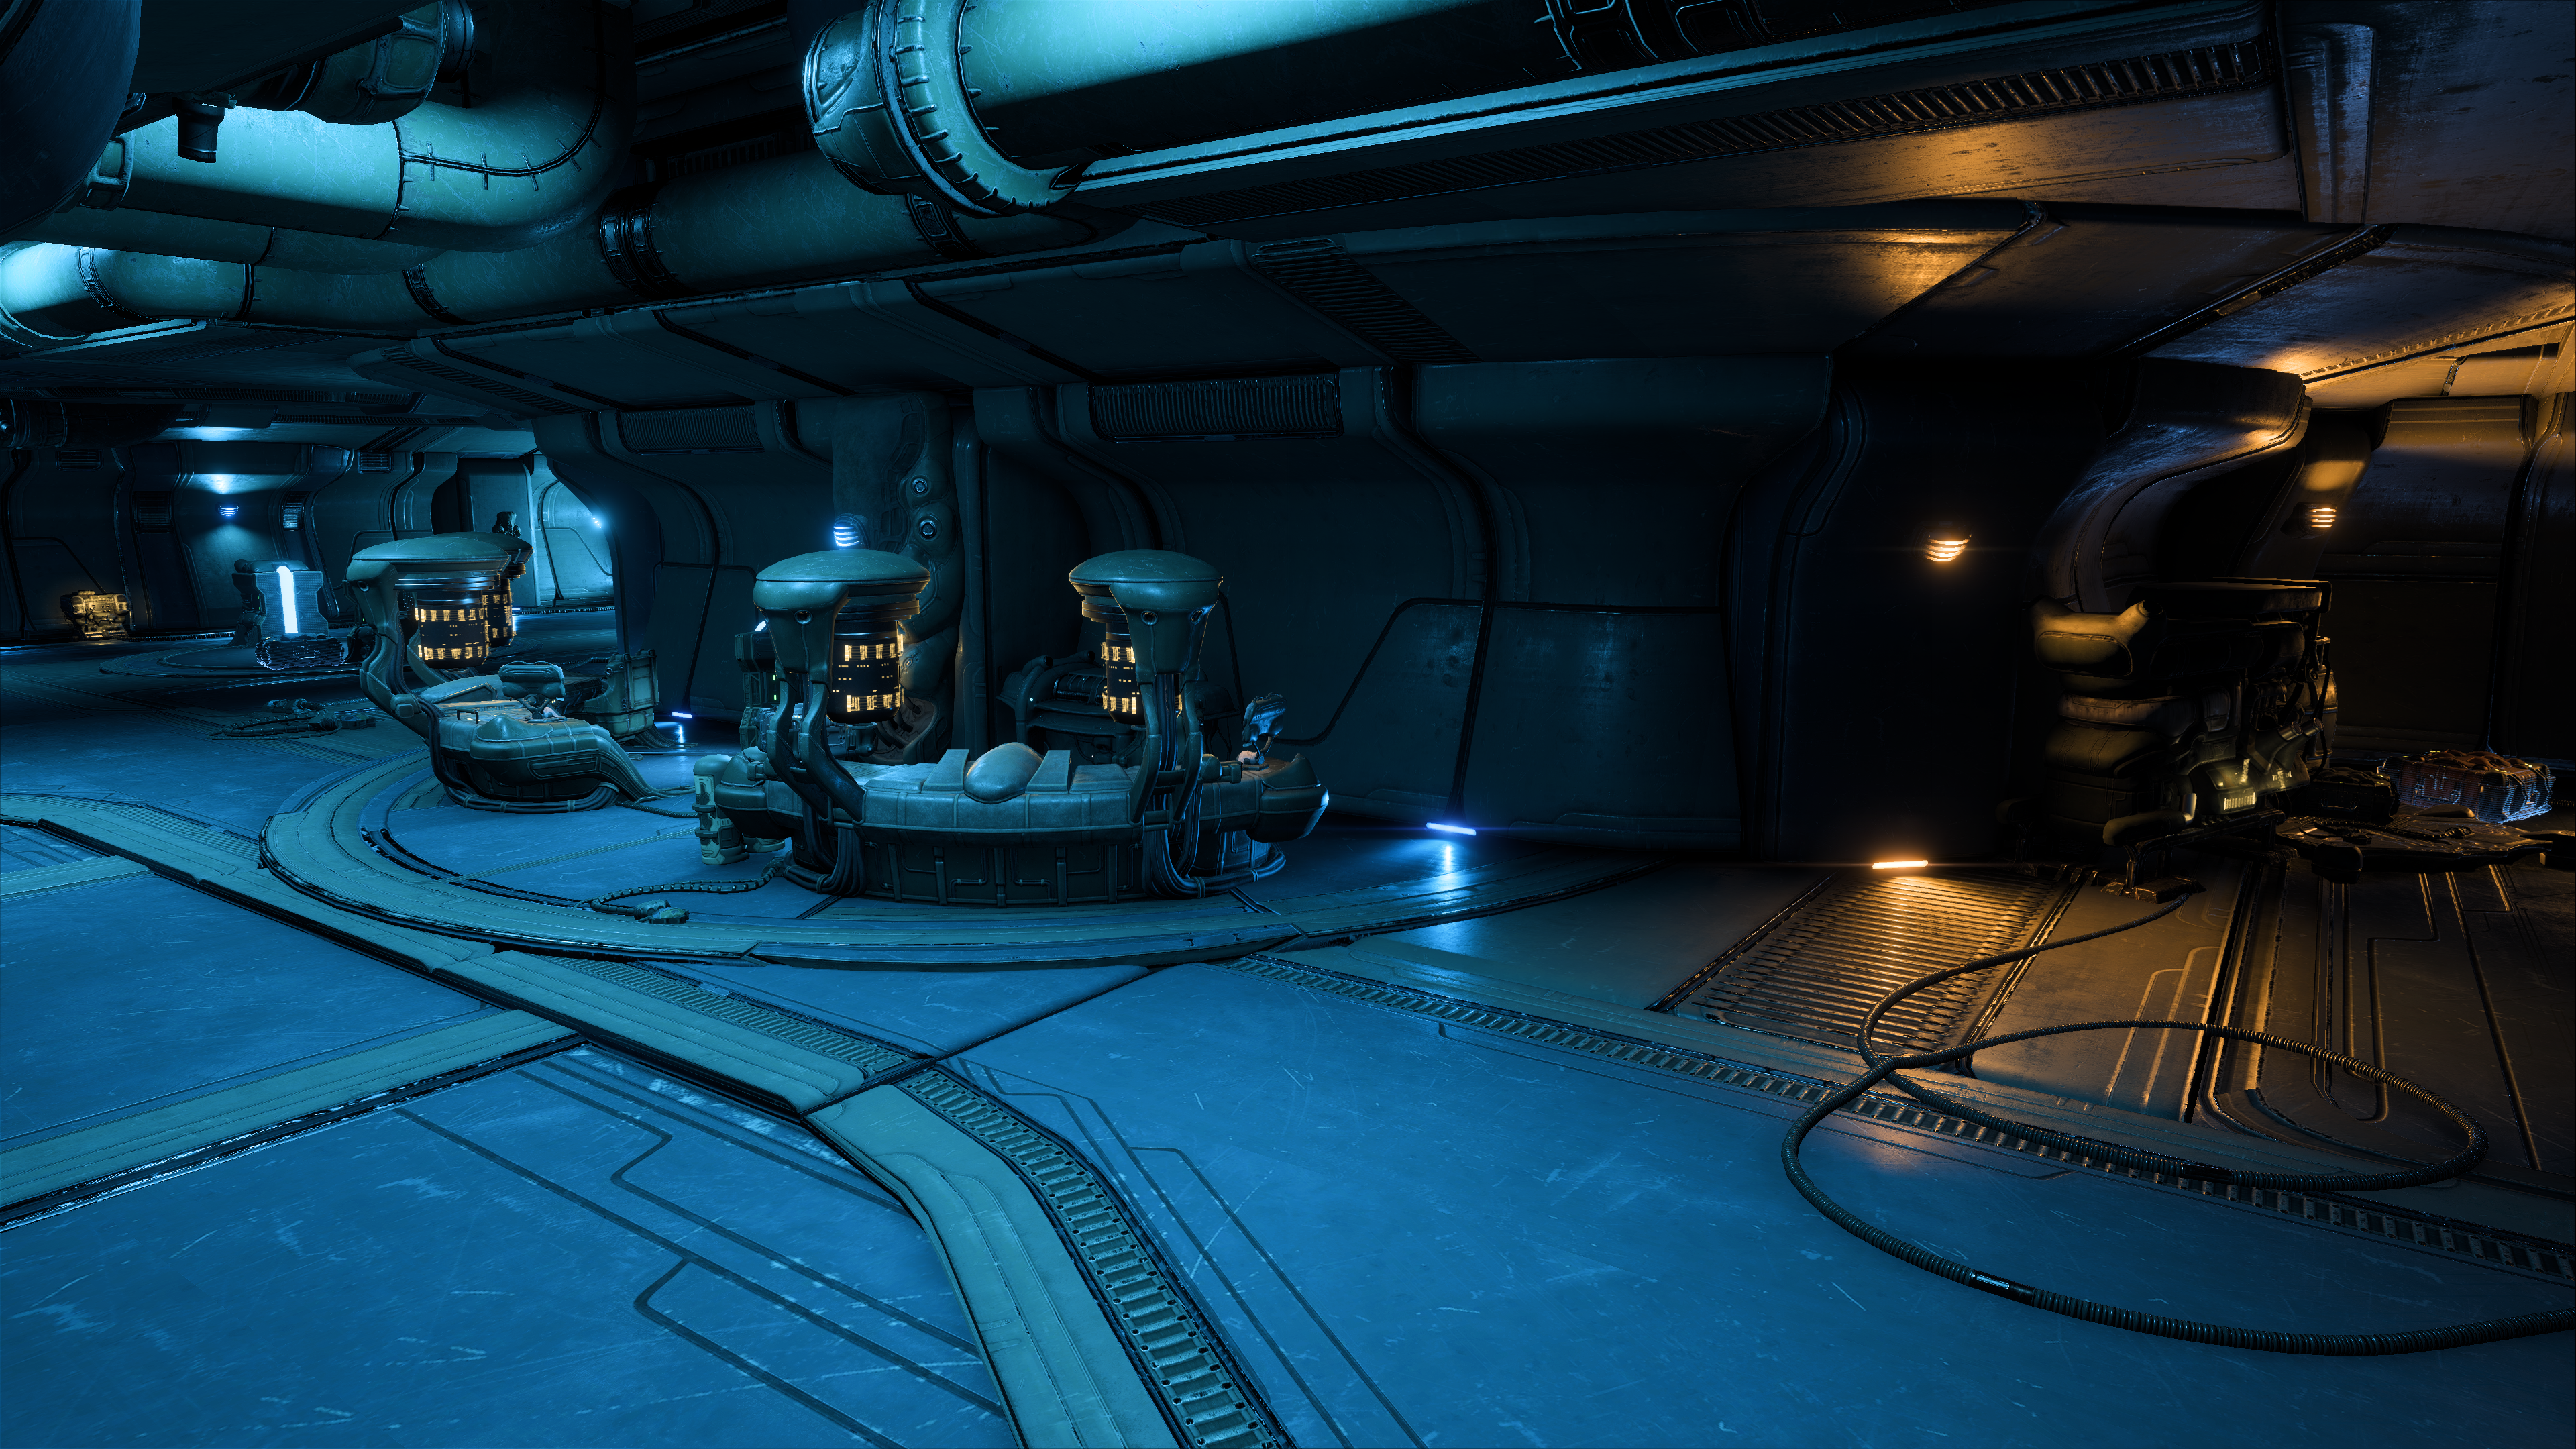
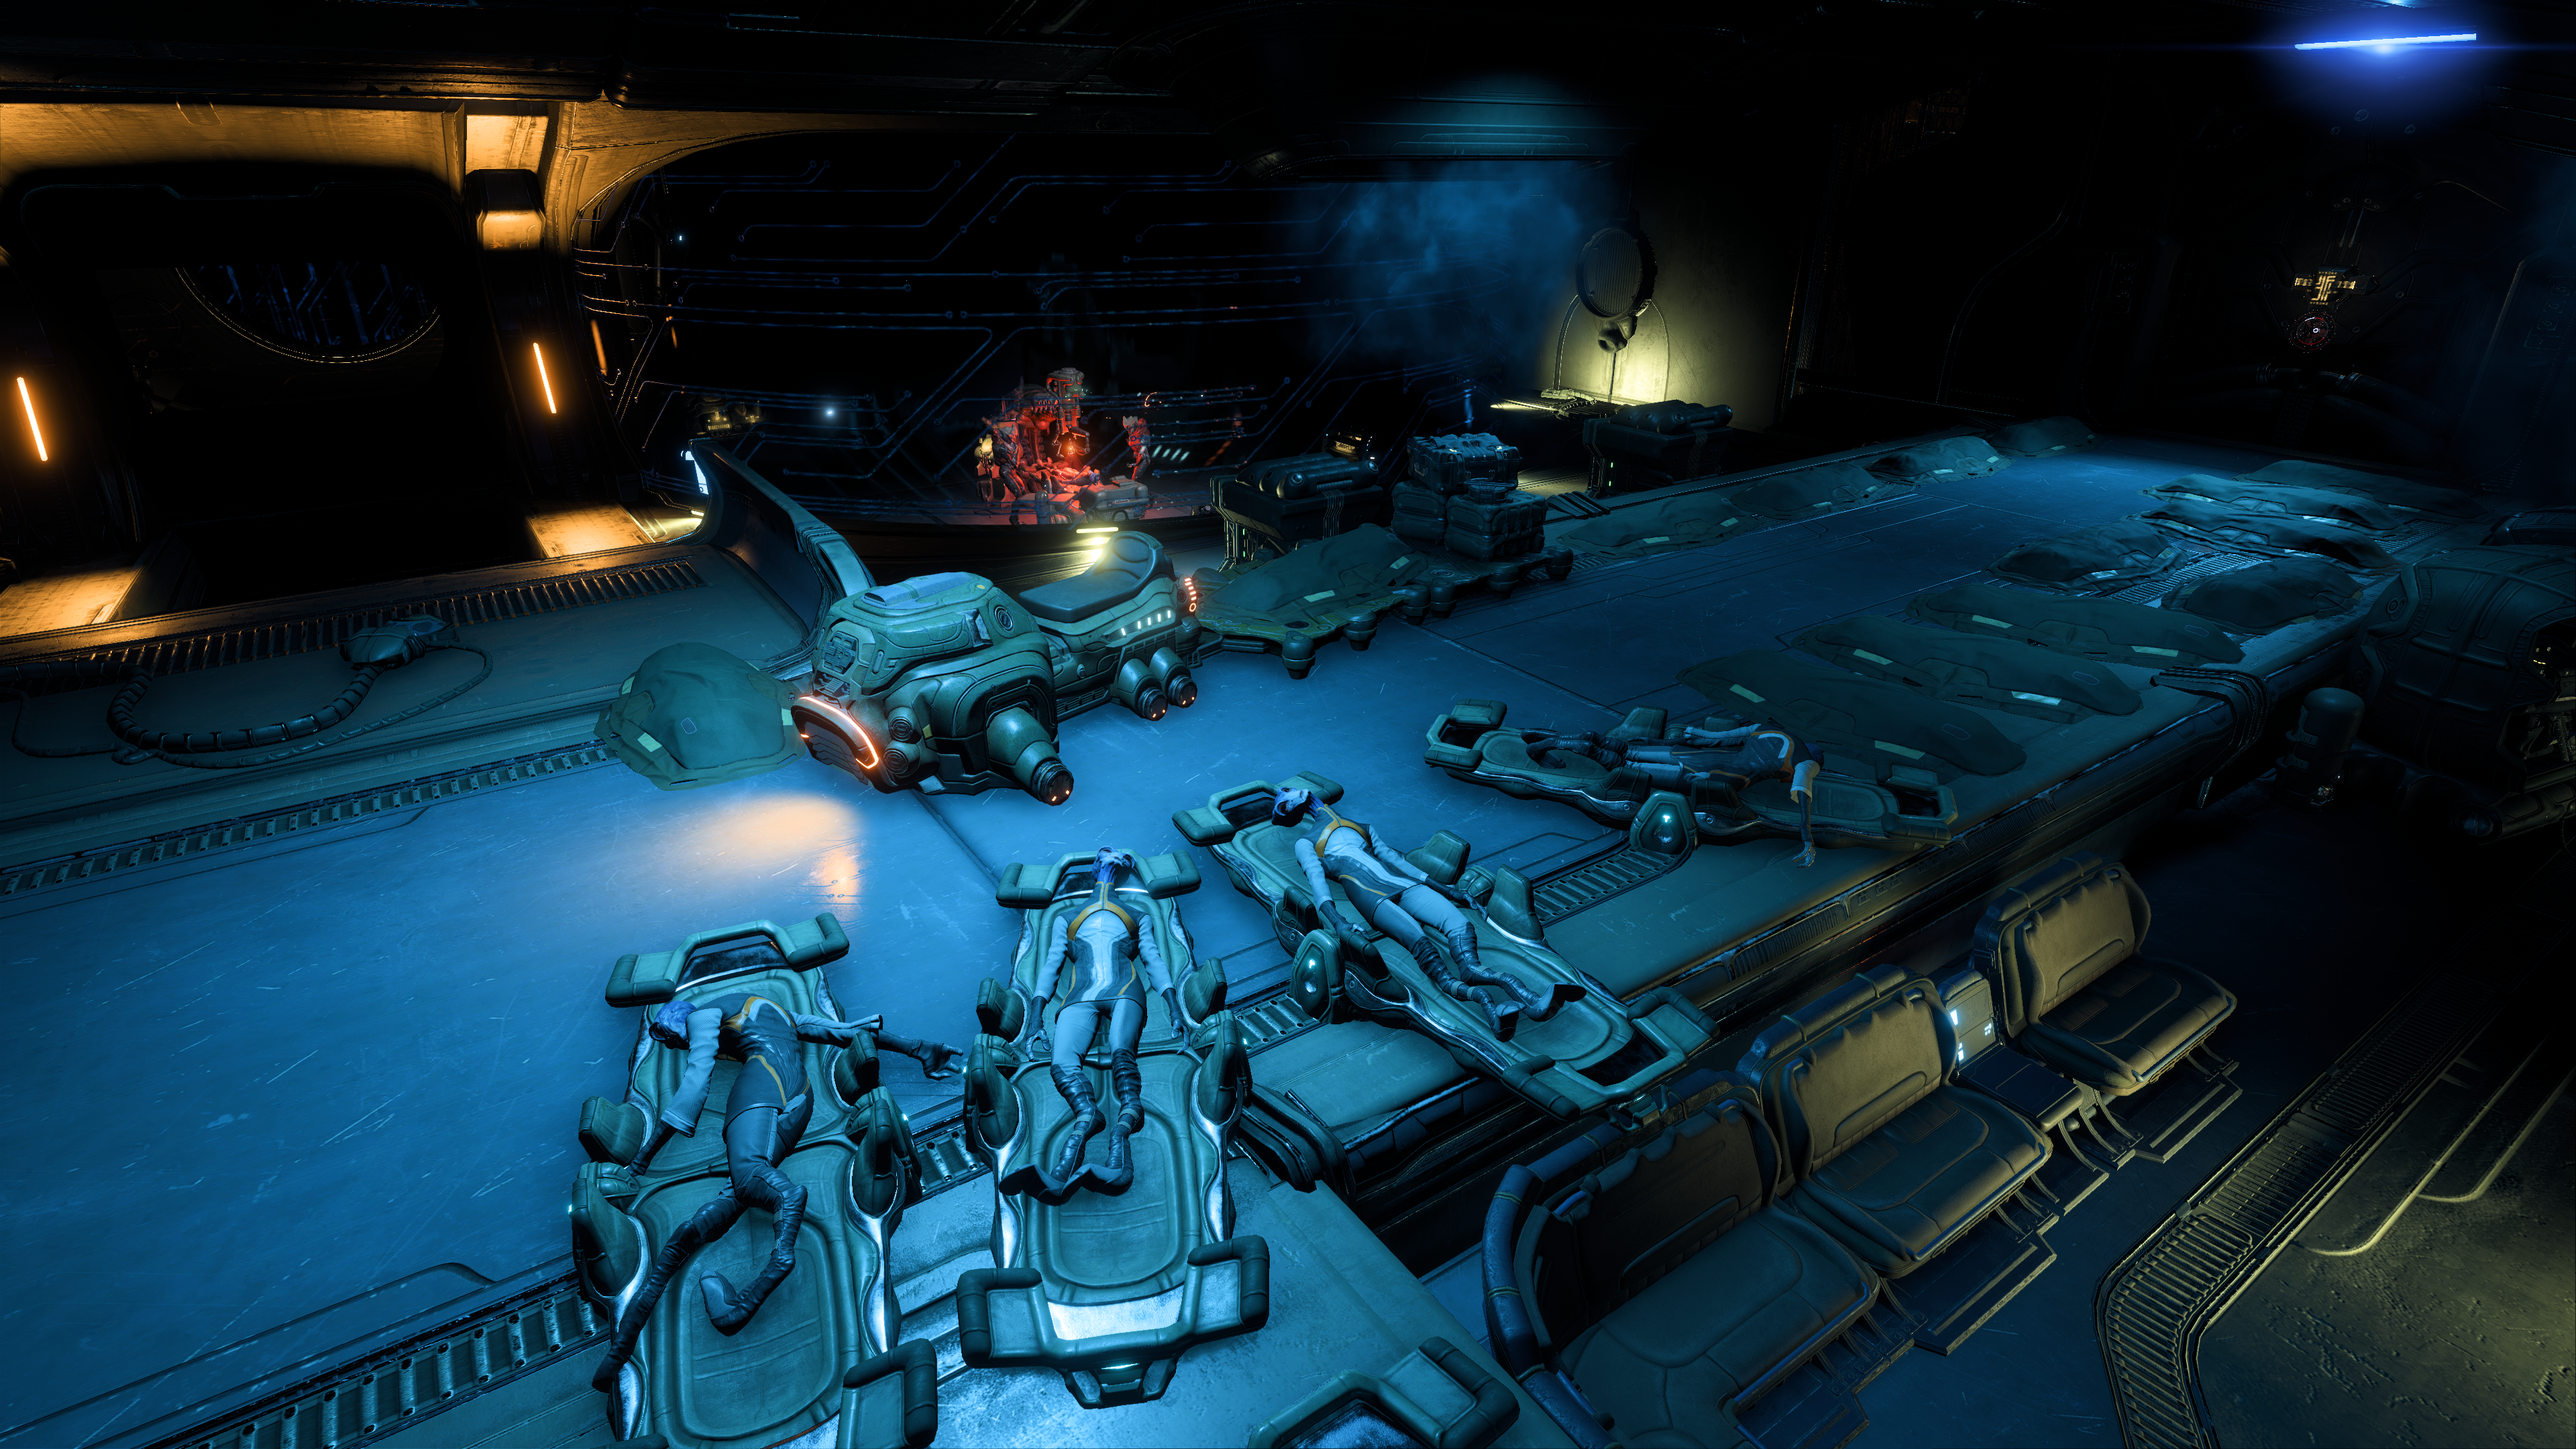
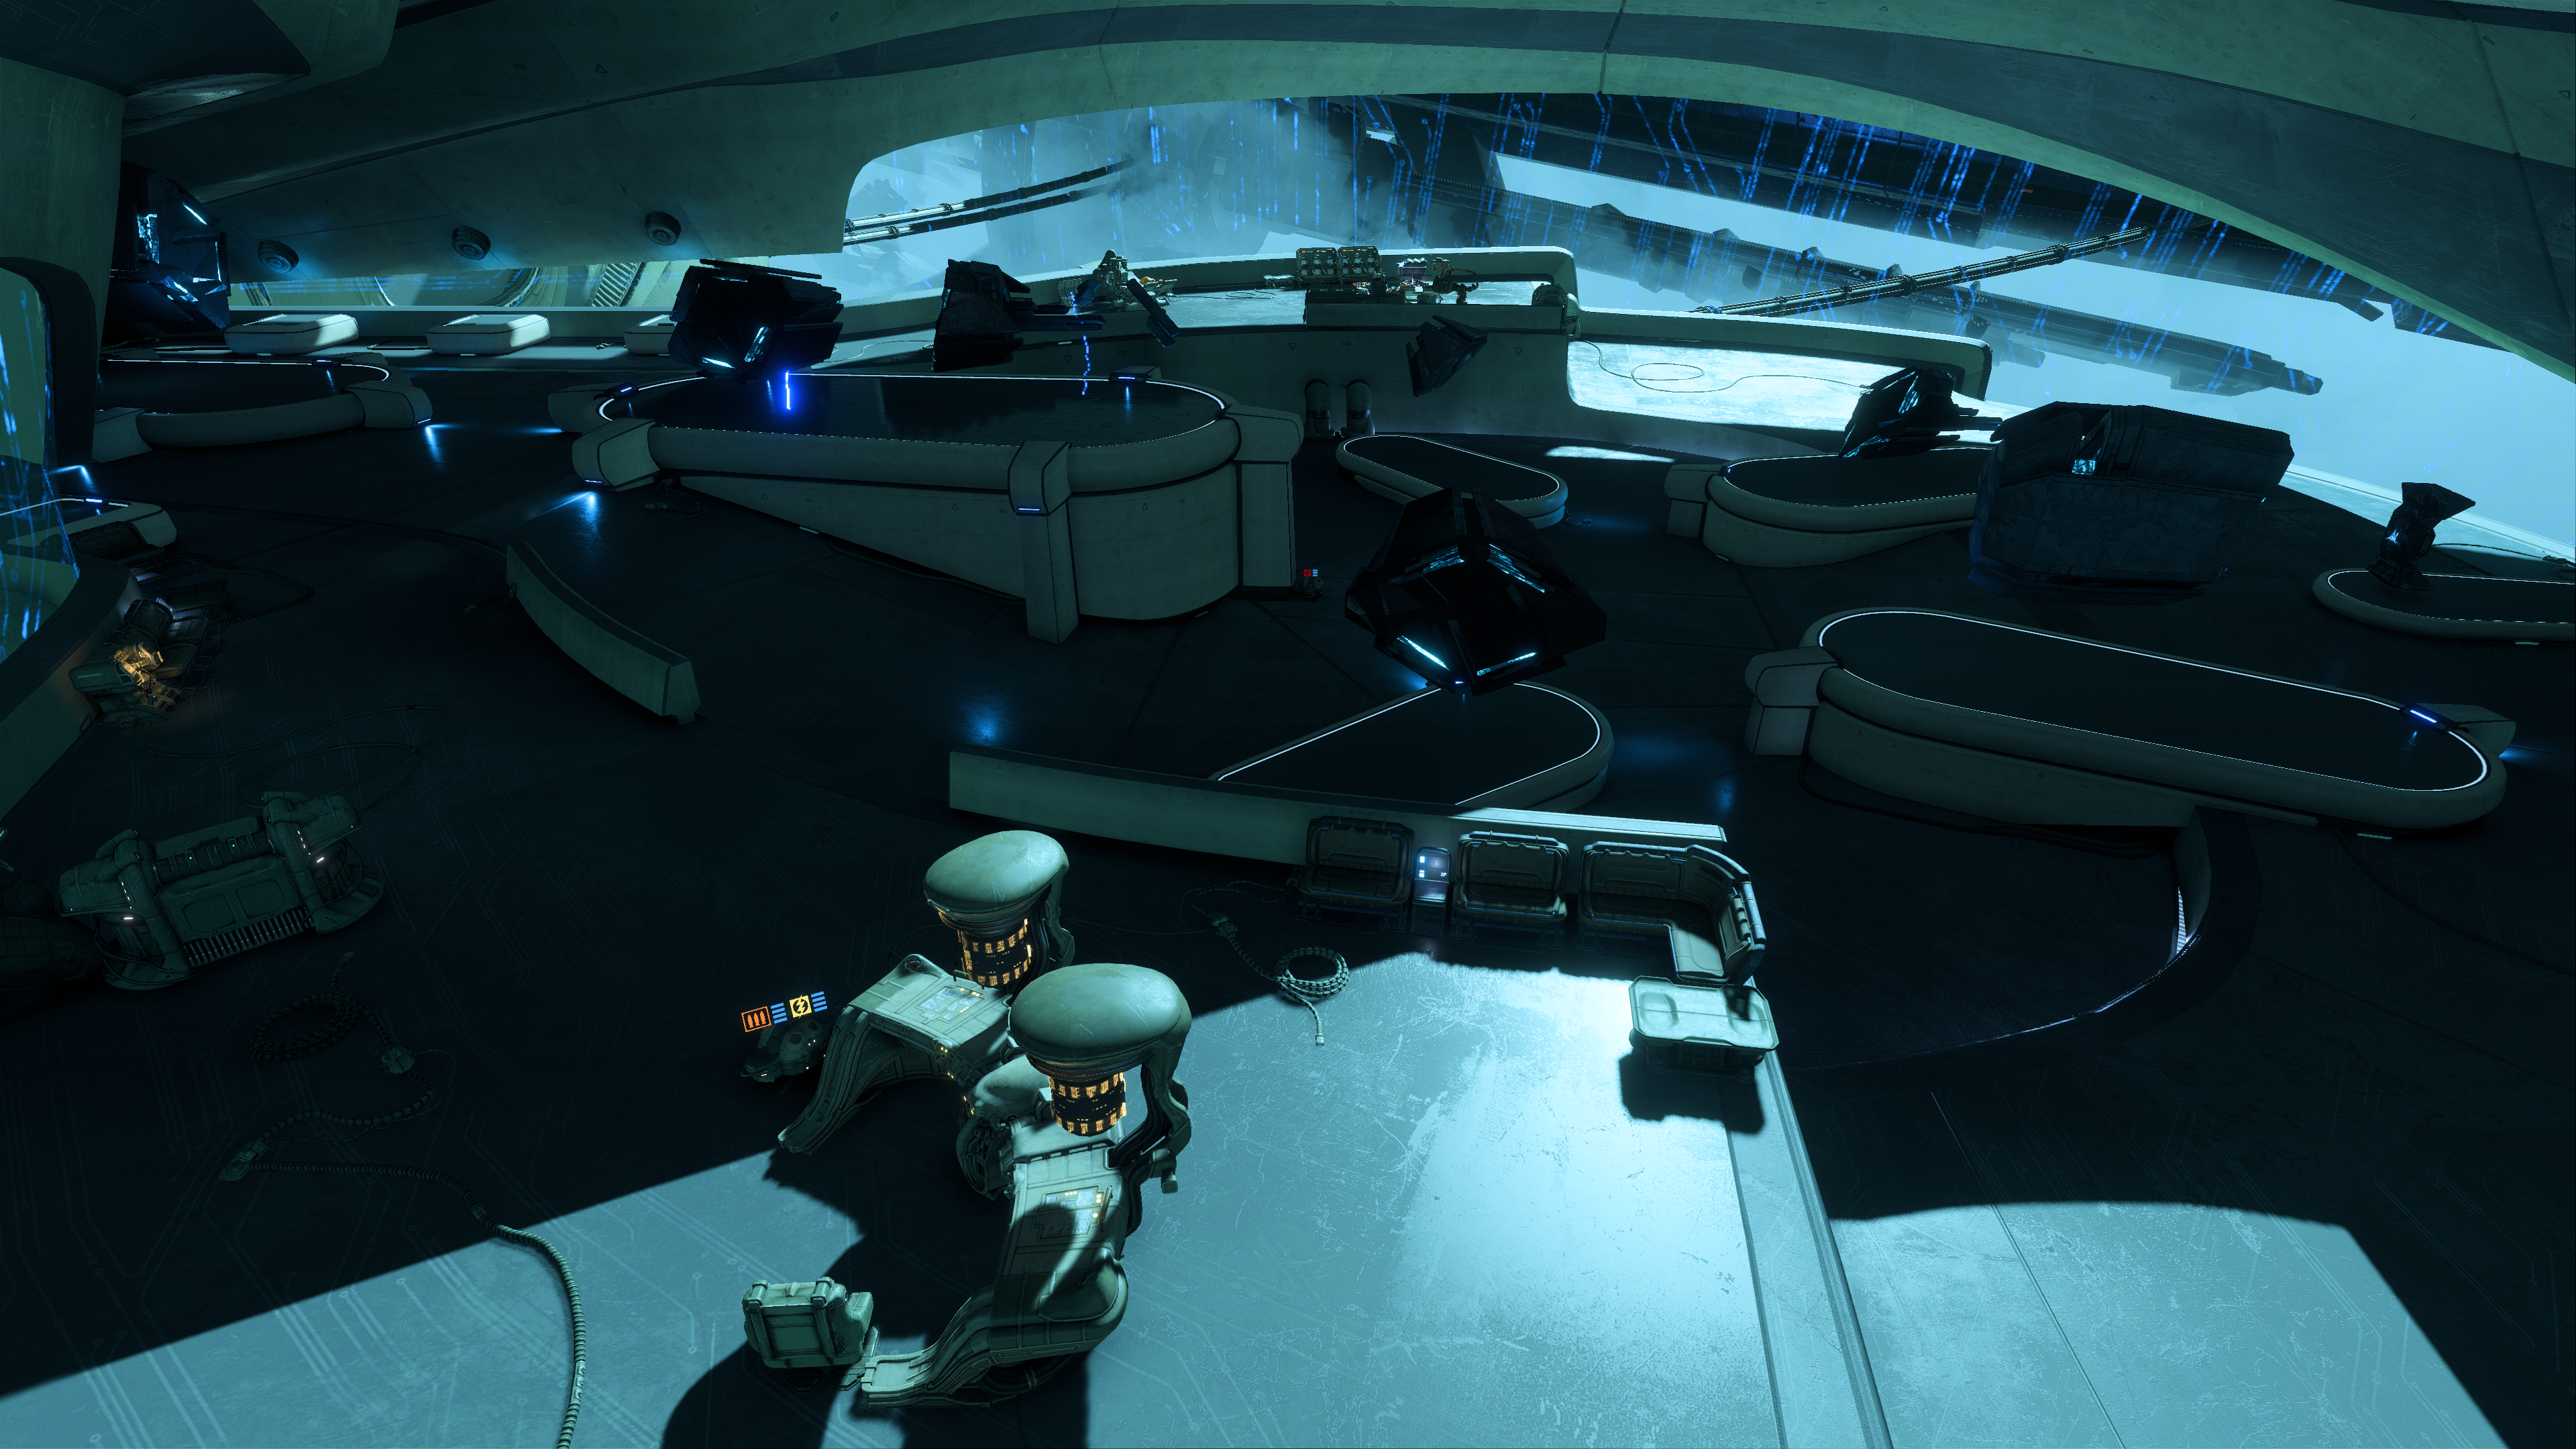
Your team will begin in the cryobay, specifically Medical Bay A12. +270 XP is awarded at level start.
Between the second and third beds to the right (east) is a lootable container. At the second bed to the left (west) is a datapad that can be read for additional details.
Access the console at the far end of the room to patch SAM in. It's similar to the one on Hyperion, except the salarians added additional data encryption in. Accessing any of the available options there starts off normally then invariably changes into a message by Paarchero's captain Lumont Hayjer explaining they have been captured by hostile aliens and their Pathfinder Zevin Raeka must be located. Afterward, SAM overrides the bulkhead door to the right. You are ejected out of the console control after seeing any of the options, although you can access it again to explore the other two if you wish.
Locate the salarian Pathfinder, Zevin Raeka[]
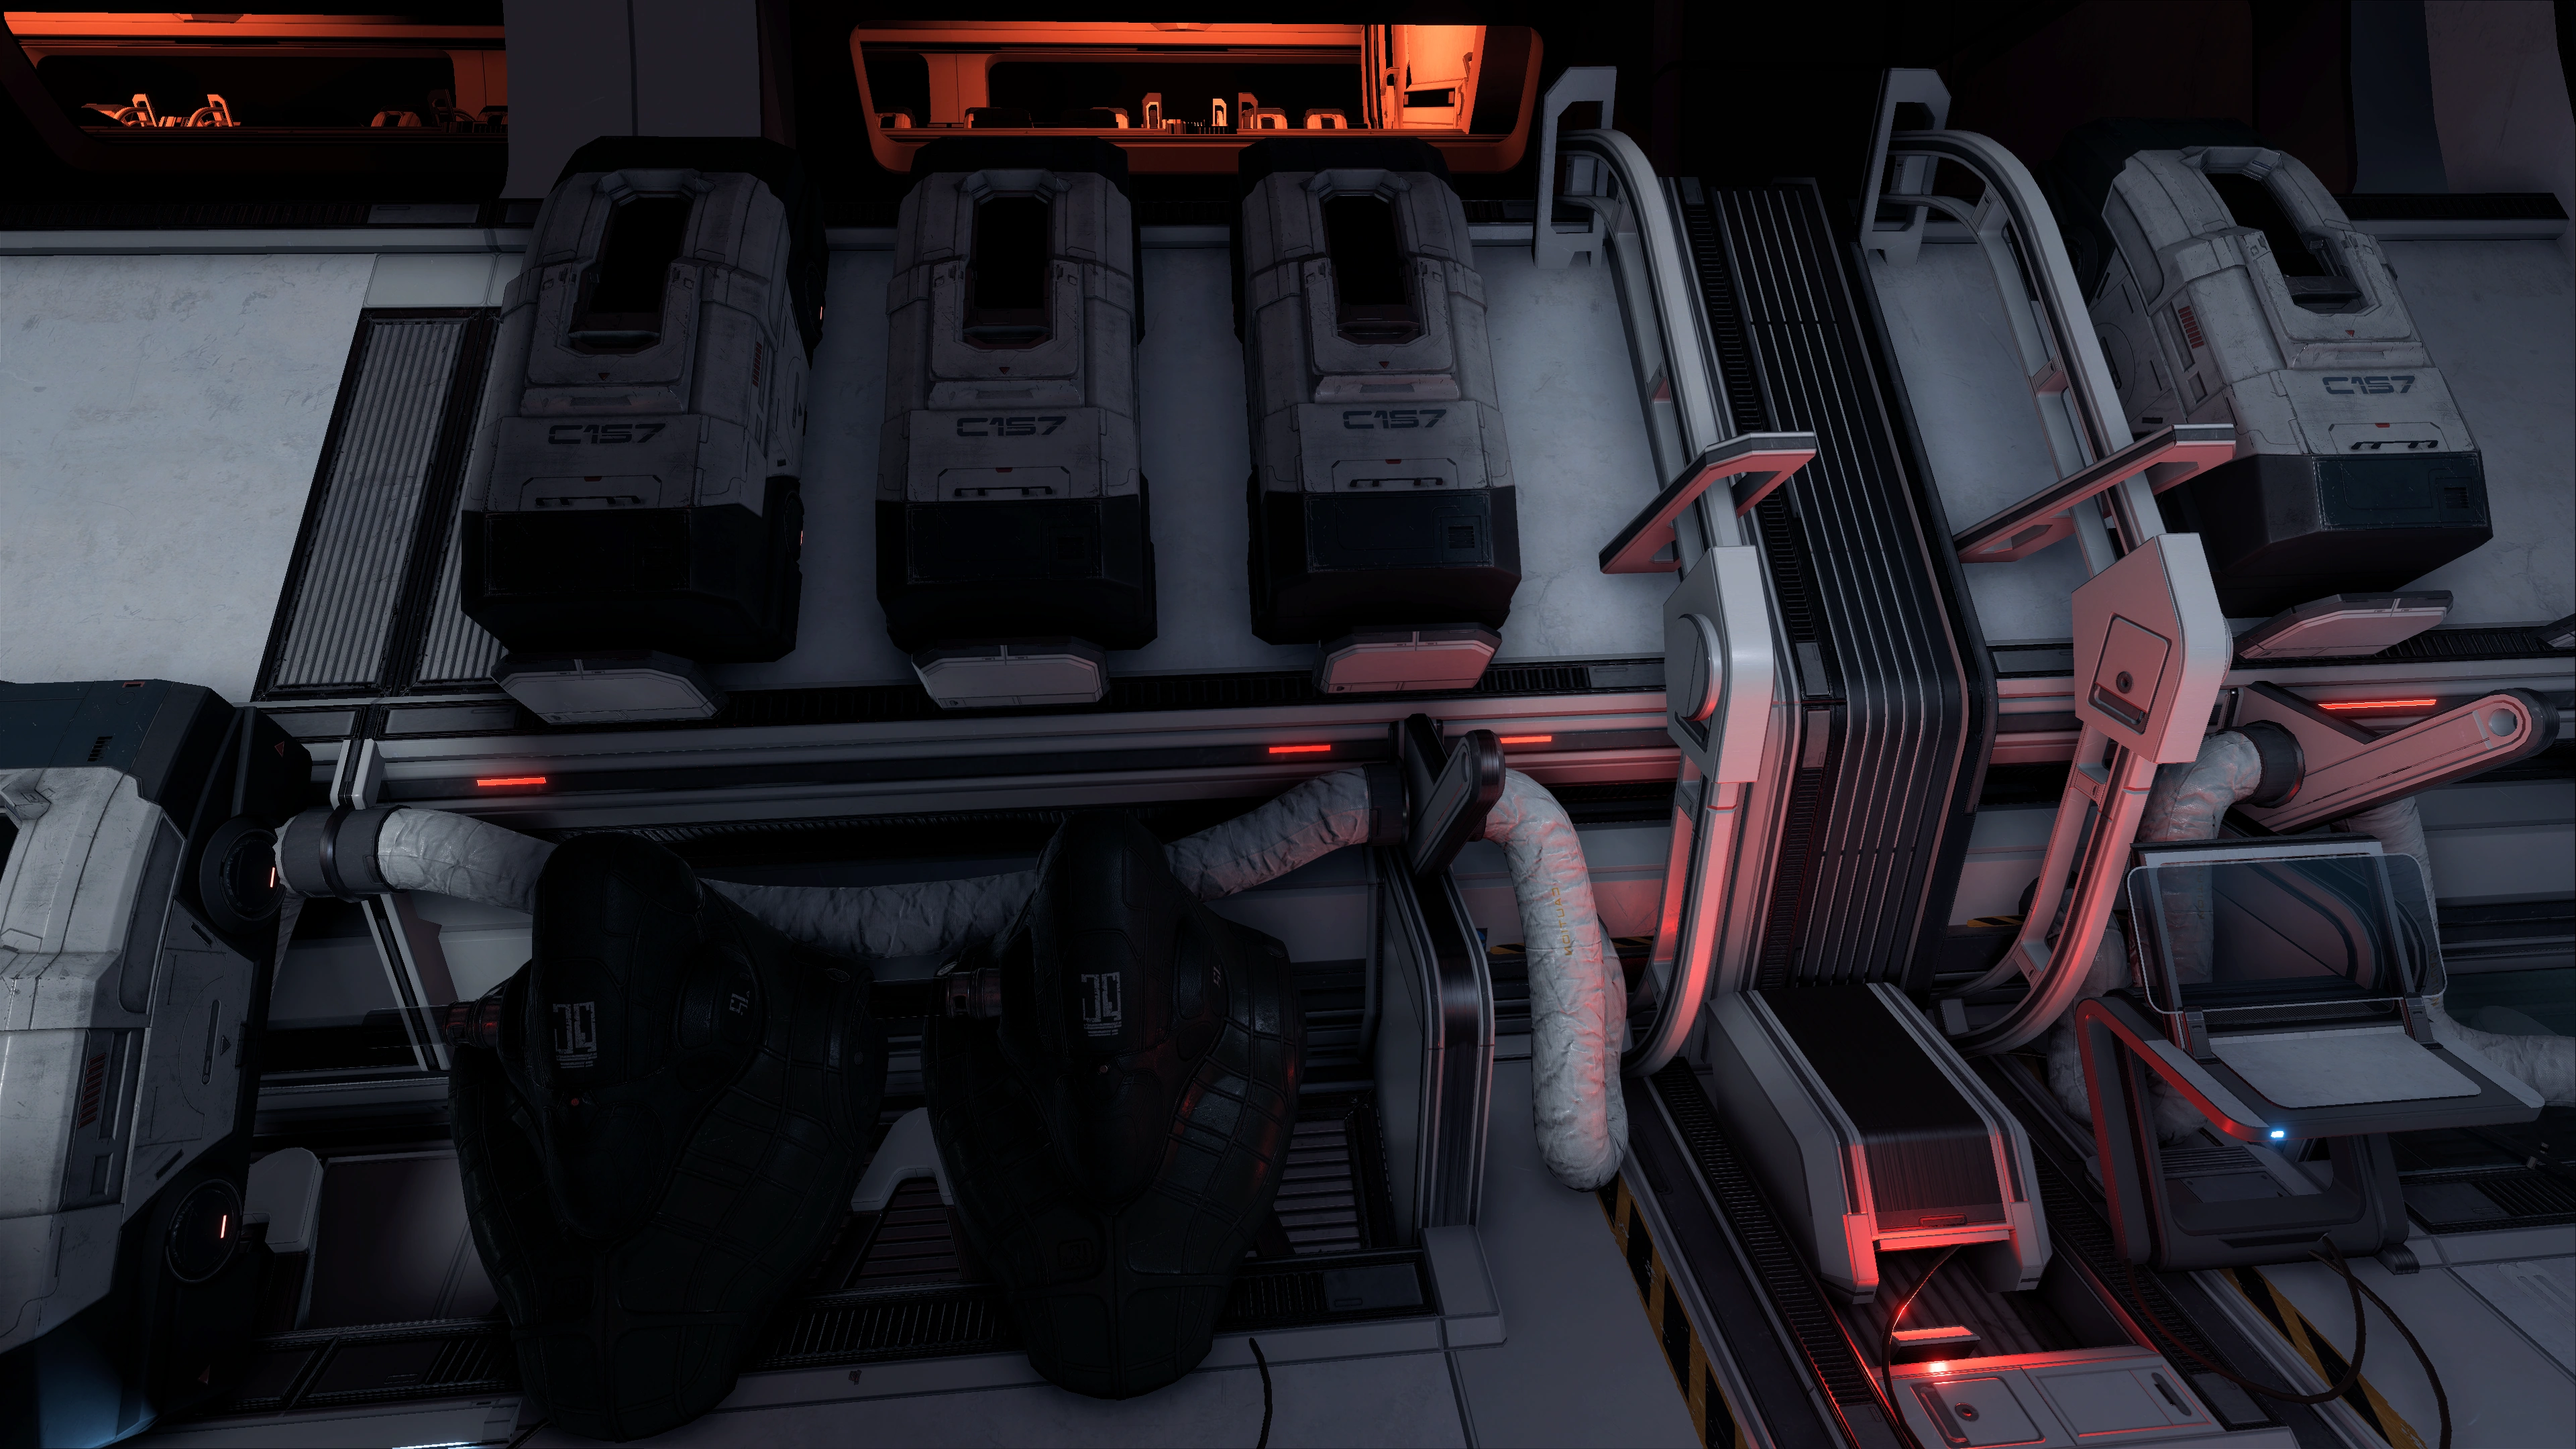
Head to the right through a doorway into the ark's cryobay proper. Again, similar to the Hyperion's, only this time there are some kett equipment strewn about. Learning that most of the ark is in good condition and flight-ready, Ryder suggests stealing the ark from the kett. They can pull it off as long as the right salarians are still on board. The squadmates have reactions to that, as well as on the observation that there appears to be no signs of struggle.
A couple of green T-shaped devices are scannable in the corridor. Scan one to learn it's called a Kett Forklift (+10![]() ), used to unload the ship's cryopods.
), used to unload the ship's cryopods.
Straight ahead in the corridor and through another doorway leads to Medical Bay A13. +270 XP is awarded for entering the room.
Right across from the door next to a bunch of cryopods there is an Adapted Initiative Core Tech that can be scanned for +100![]() . On the first bed to the right (east) is another datapad that can be read for additional details.
. On the first bed to the right (east) is another datapad that can be read for additional details.
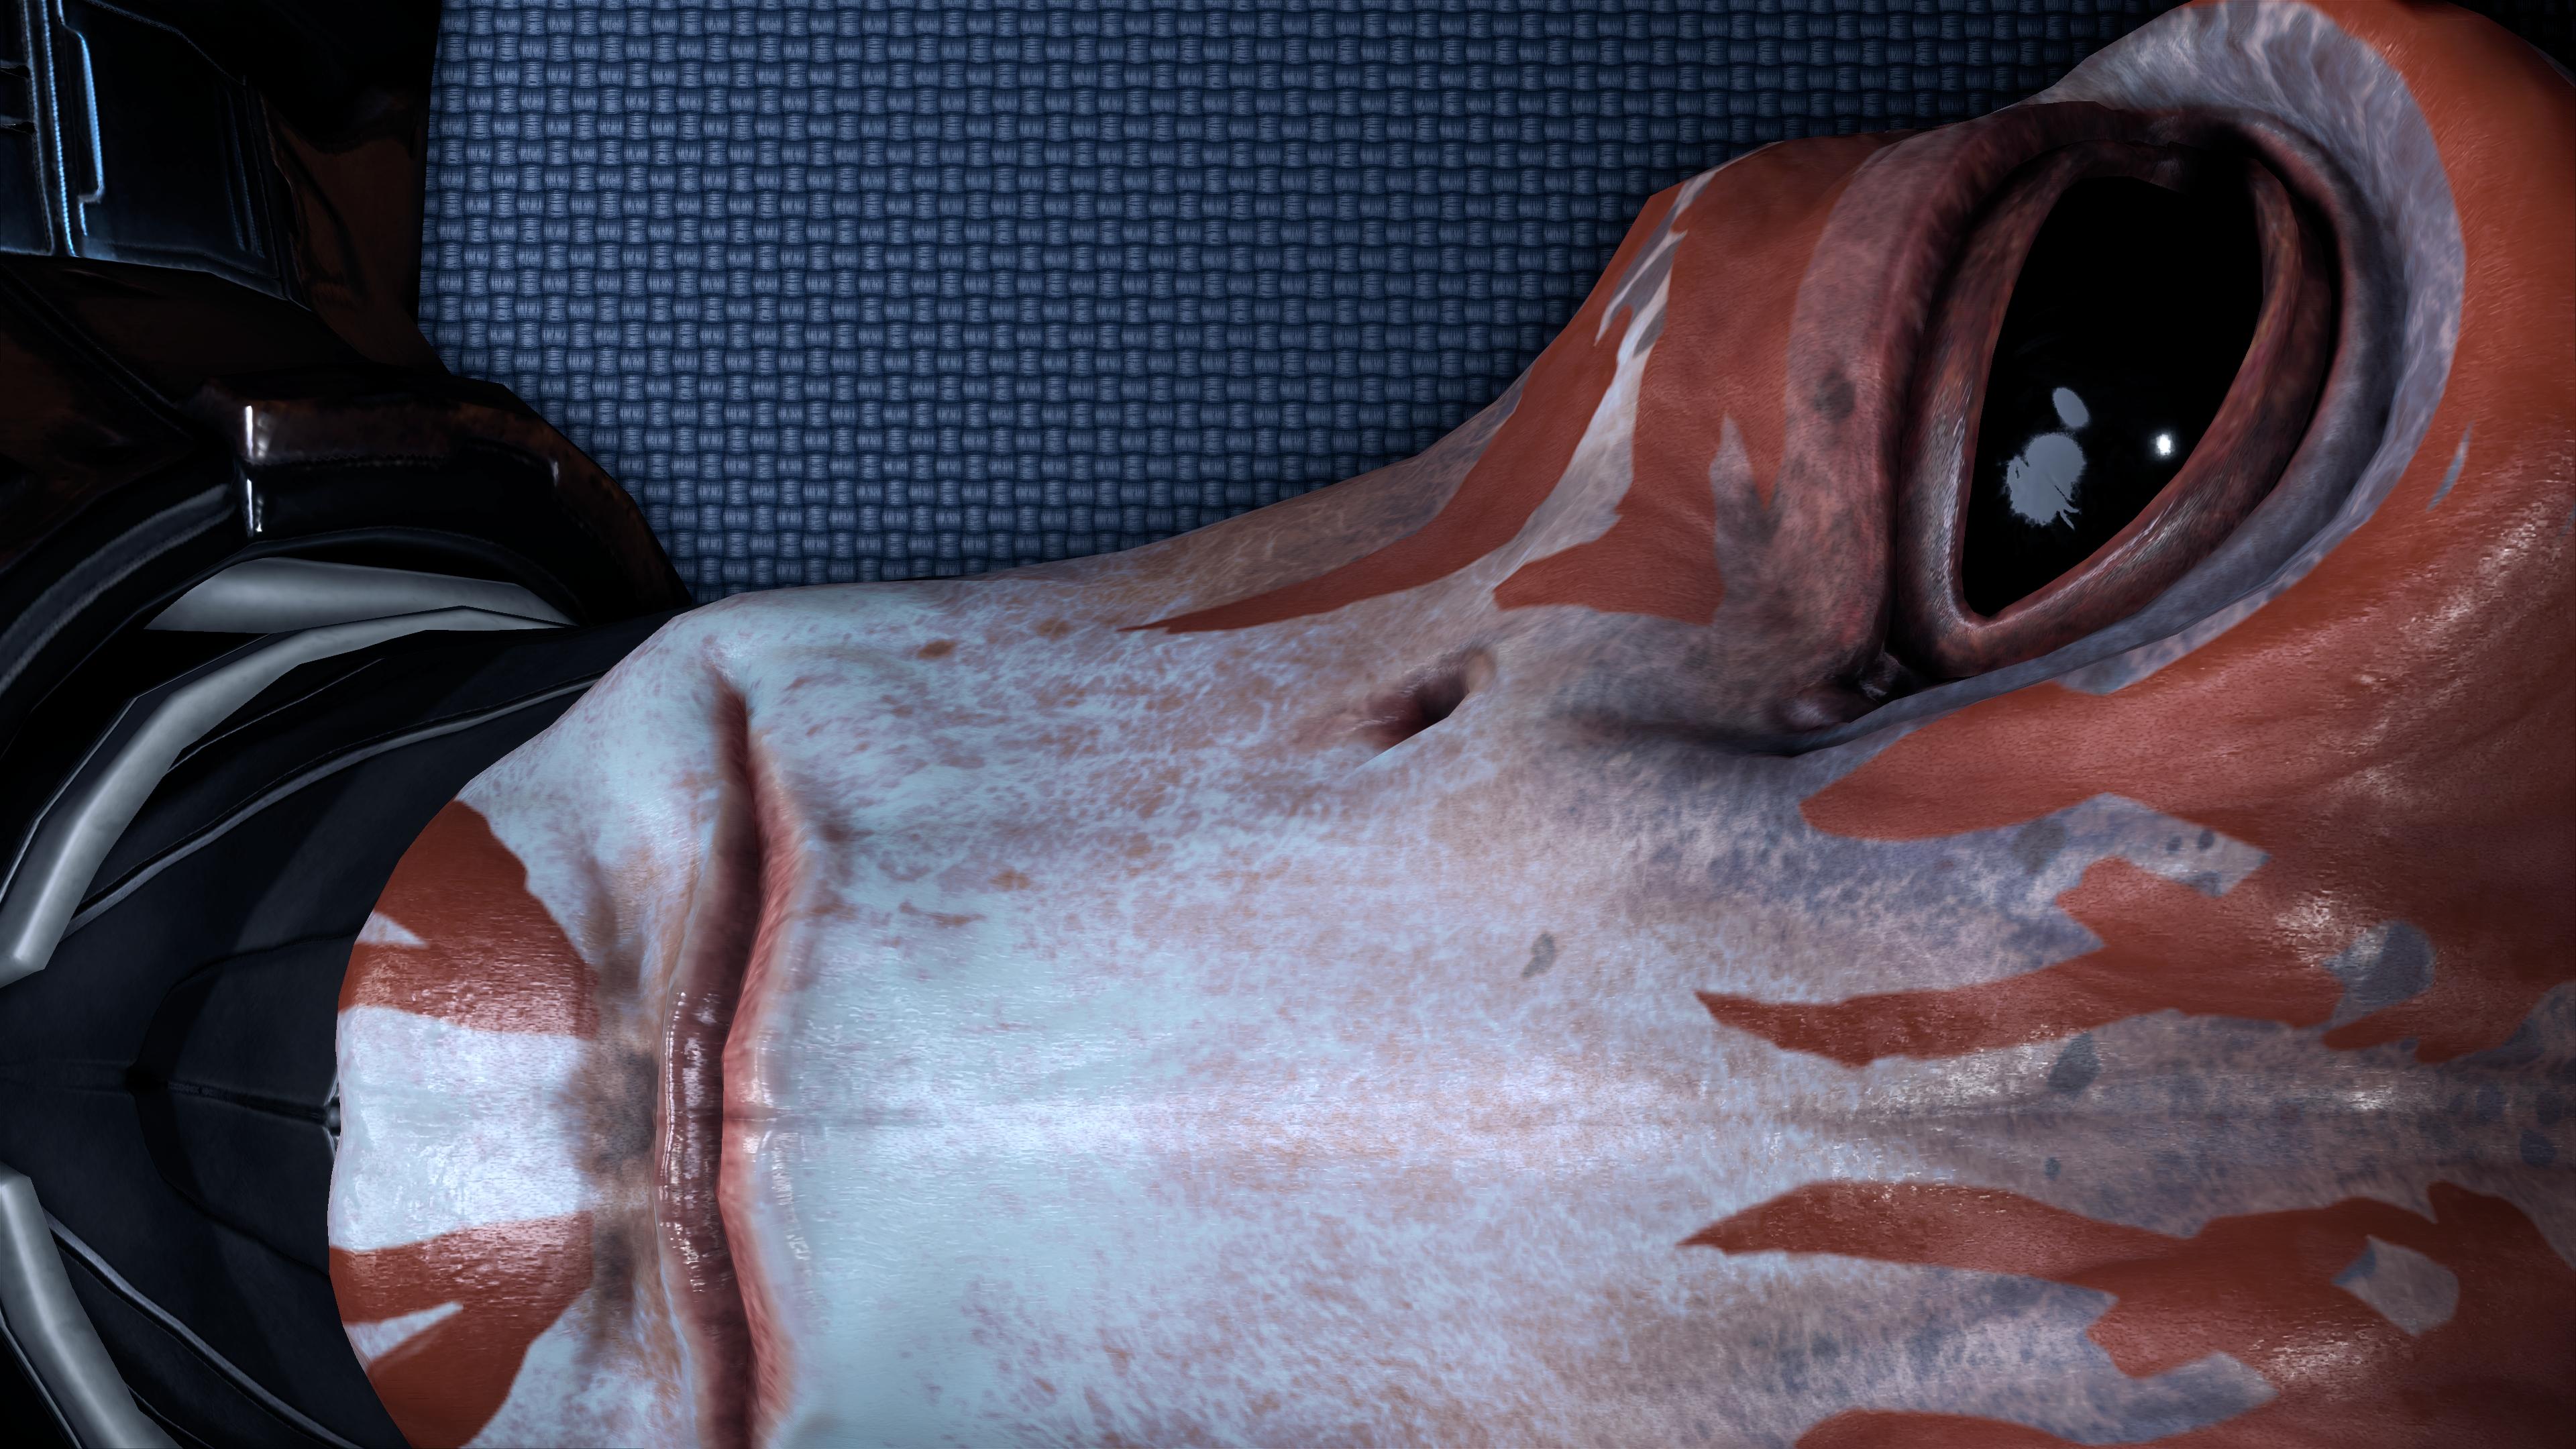
There are two dead salarians on medical beds, one on the second bed right (east) and one on the third bed left (west). The latter one is next to an active console, and is the one you're looking for. Accessing the console completes this section, while scanning the salarian (+10![]() ) is a requirement in the next. From the console you'll learn that the corpse is labeled "Zevin Raeka", although Initiative records list the Pathfinder as female while the corpse is male.
) is a requirement in the next. From the console you'll learn that the corpse is labeled "Zevin Raeka", although Initiative records list the Pathfinder as female while the corpse is male.
There's also a lootable container in the same row as the fake Pathfinder corpse, near the inaccessible door.
Identify the dead salarian[]
If you haven't done it yet, scan the dead salarian to get a DNA sample. There is minor dialogue change with SAM depending on whether you scanned the body before or after accessing the console.
You need to take the sample to a medical terminal for analysis. A new navpoint will be added pointing to the terminal in the room, in between two plants and near the Adapted Initiative Core Tech earlier. Interacting with the terminal reveals that the dead salarian is actually Jeks Arlan based on a DNA match and not the Pathfinder. With the switcheroo confirmed, Ryder suggests checking Jeks Arlan's cryopod if the real Pathfinder's there. One of your squadmates remarks on the salarians' sneakiness afterward.
Locate the dead salarian's stasis pod[]
A new navpoint will be added back down the cryobay corridor you came through earlier. More squadmate banter concerning the number of missing pods is there. Ryder's optimistic but the evidence suggests otherwise.
Pull up your scanner and you should see a highlighted pod or three, depending on distance, near the door to Medical Bay A12. Scan them in any order: the first two are decoys while the last one always contains the Pathfinder. Each pod awards +10![]() (+30
(+30![]() total).
total).
Revive the salarian Pathfinder[]
To the right of the pods is a console that can be interacted with to revive the Pathfinder. This is a point of no return, so scan everything and loot every box in the connected rooms if need be.
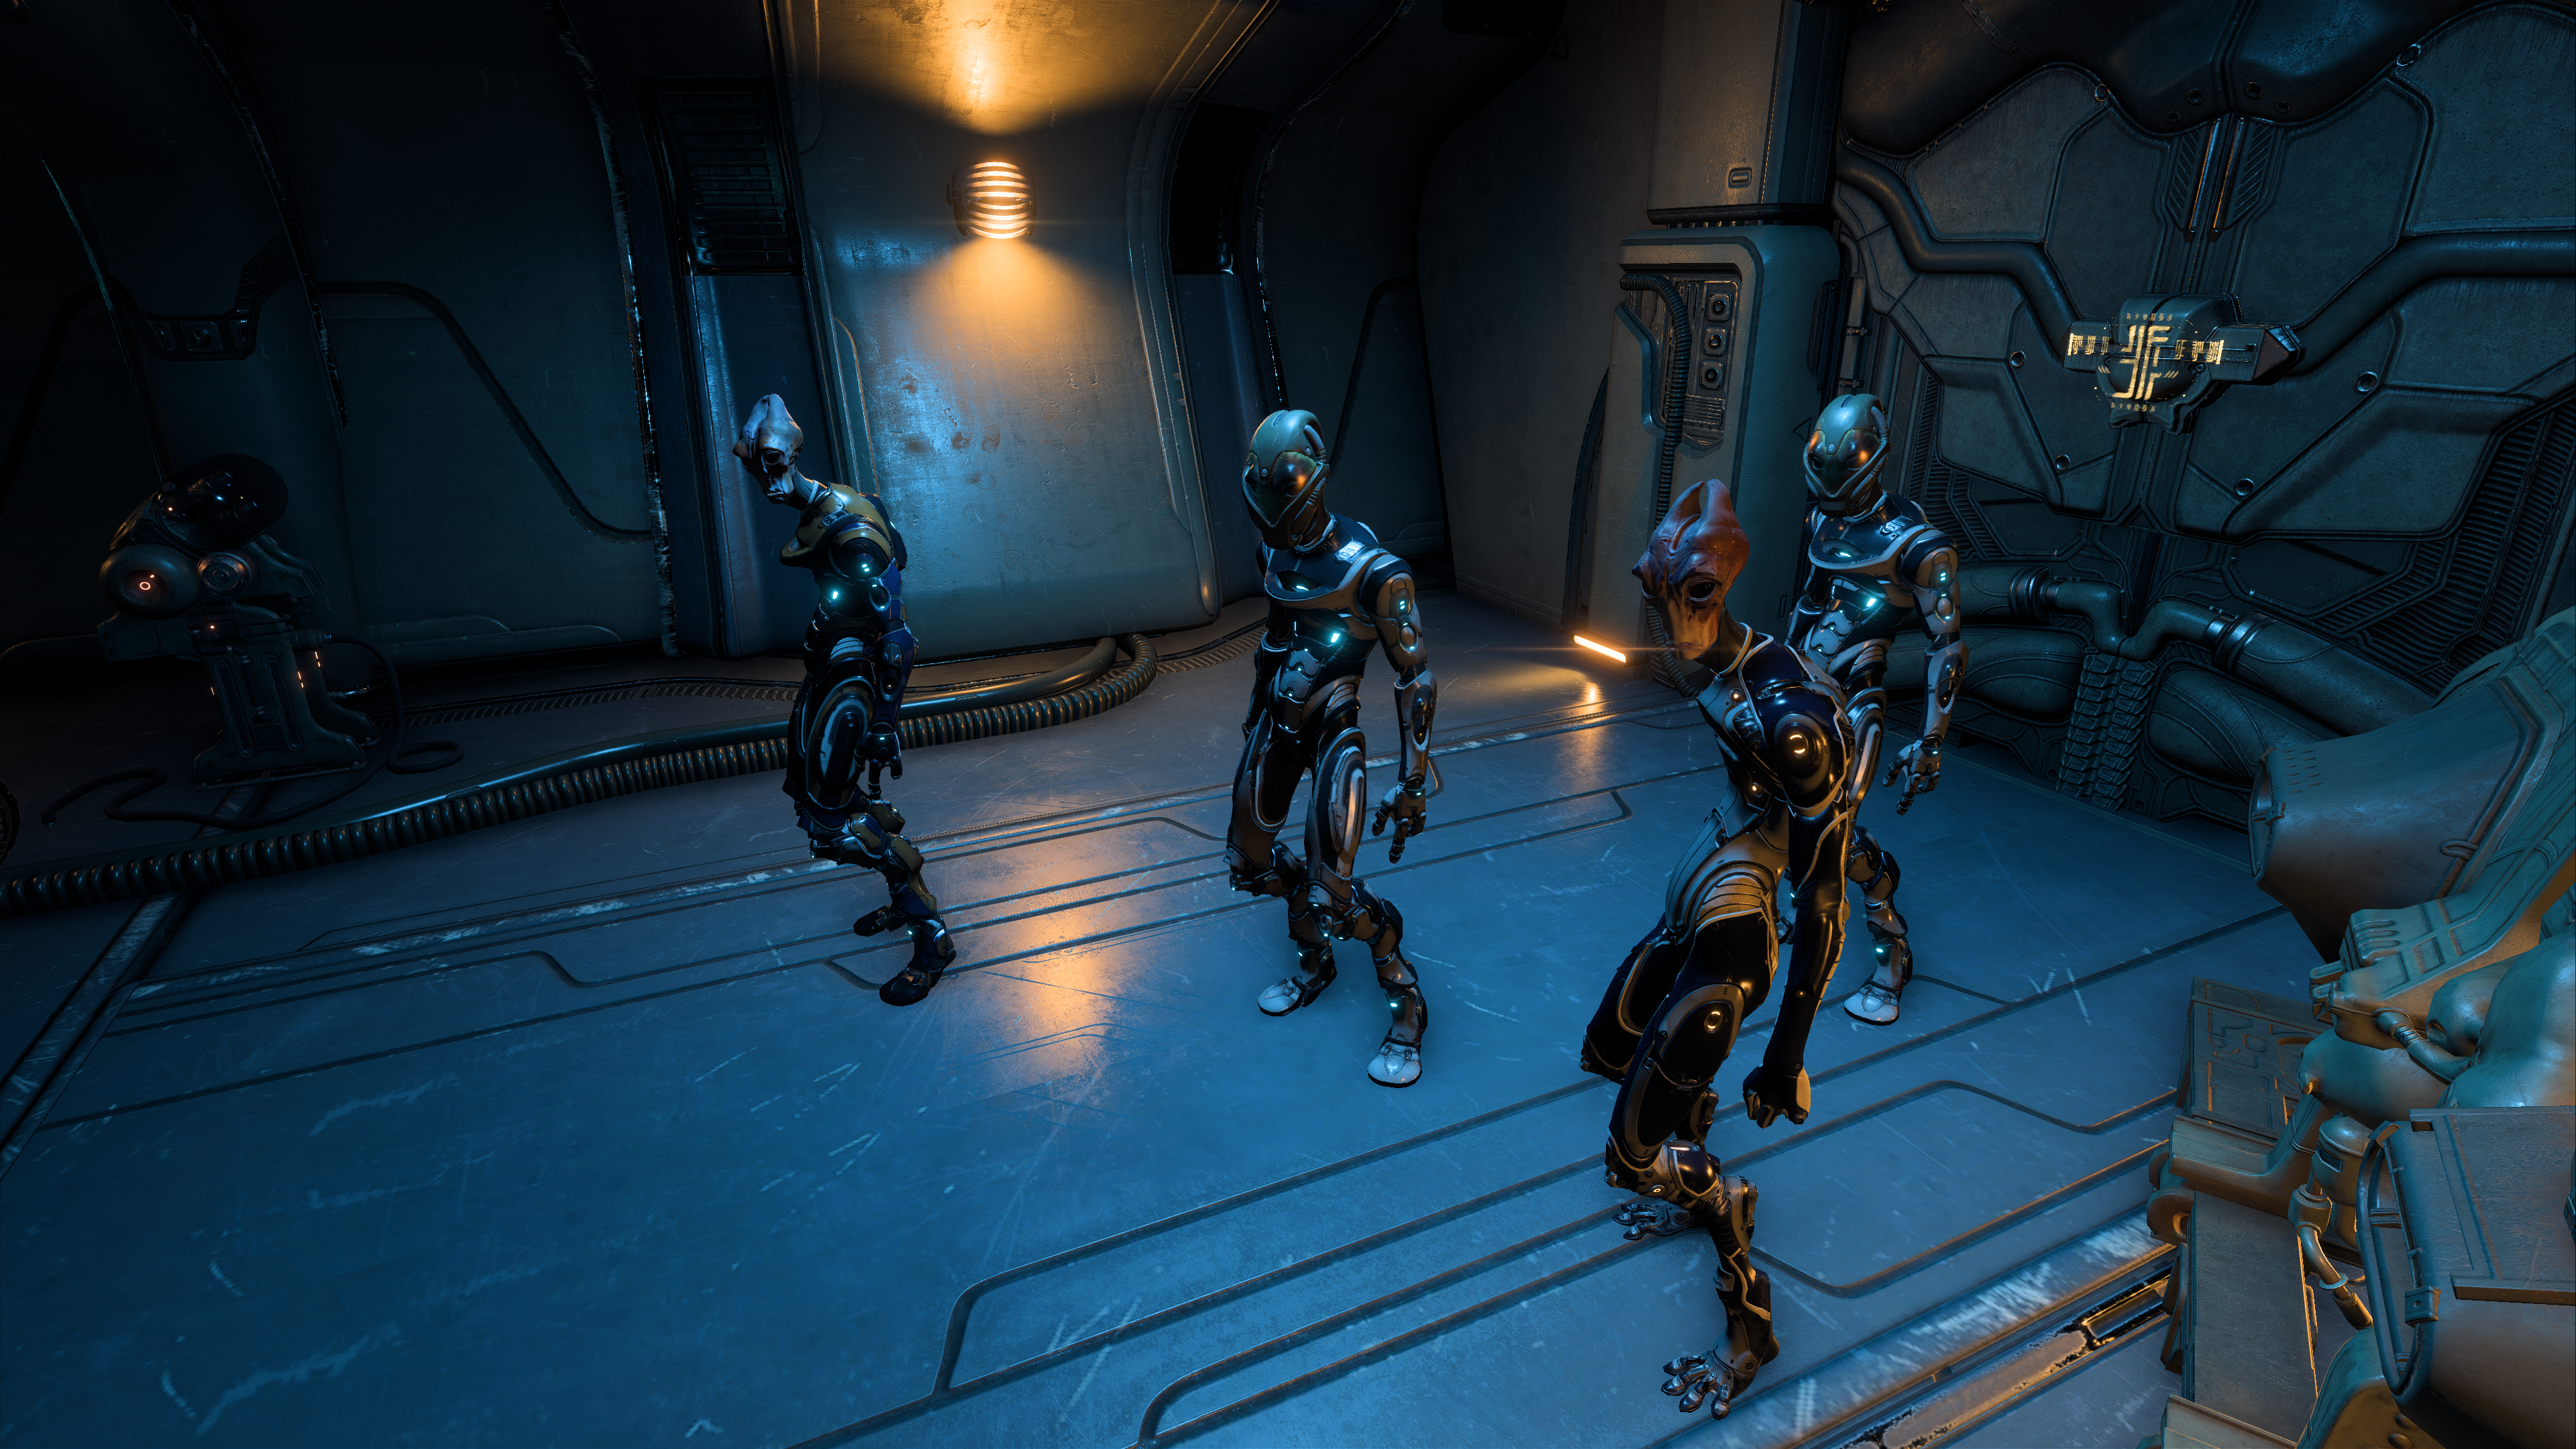
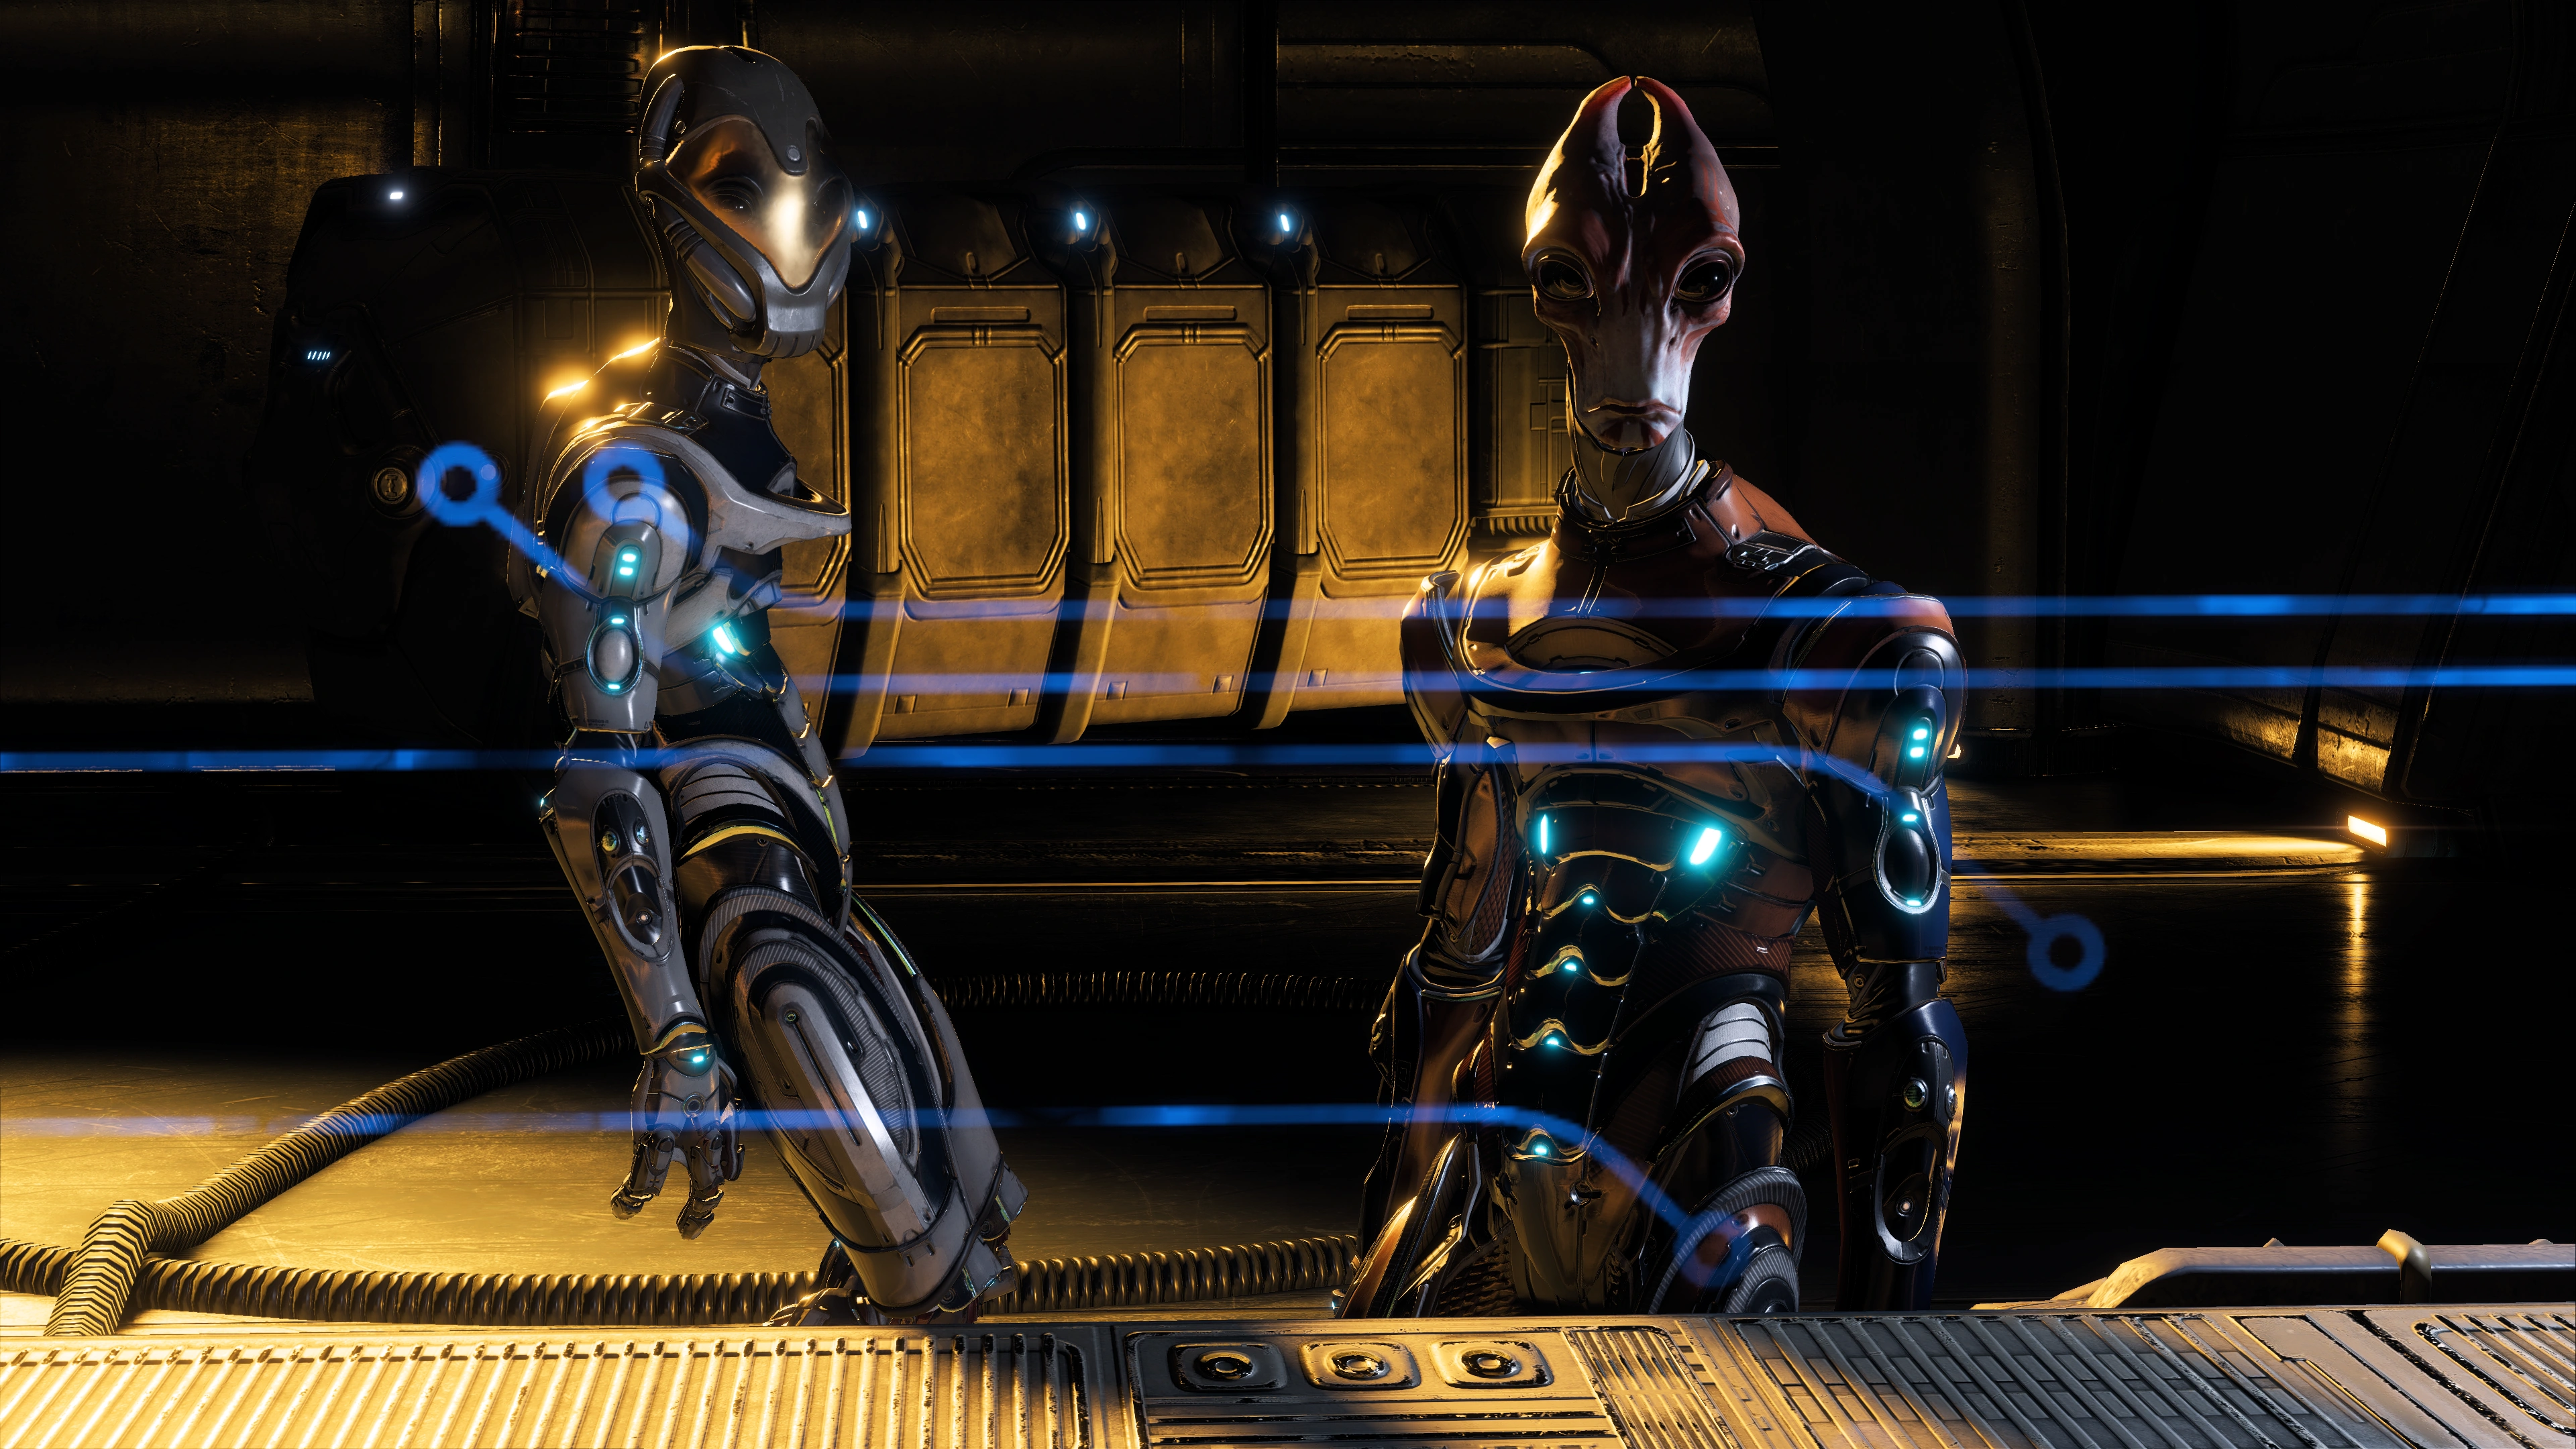
The scene changes to Medical Bay A12. Raeka wakes up, her recovery near-instantaneous because of salarian metabolism. She briefs Ryder: the captain surrendered so they would live to fight another day, and ordered the Pathfinder to hide among the population and dismantle her SAM to avoid detection.
Ryder asks her to wake up a flight crew and be ready to fly the ship away, while your team infiltrates the kett ship through the tethers to gather intel. She offers to work on freeing the ark after waking the crew, and you can encourage or discourage her on that. With Raeka's own SAM inactive, Ryder's SAM connects to her so she has the assistance of an AI. Afterward your squad walks over to the other ship using a tether.
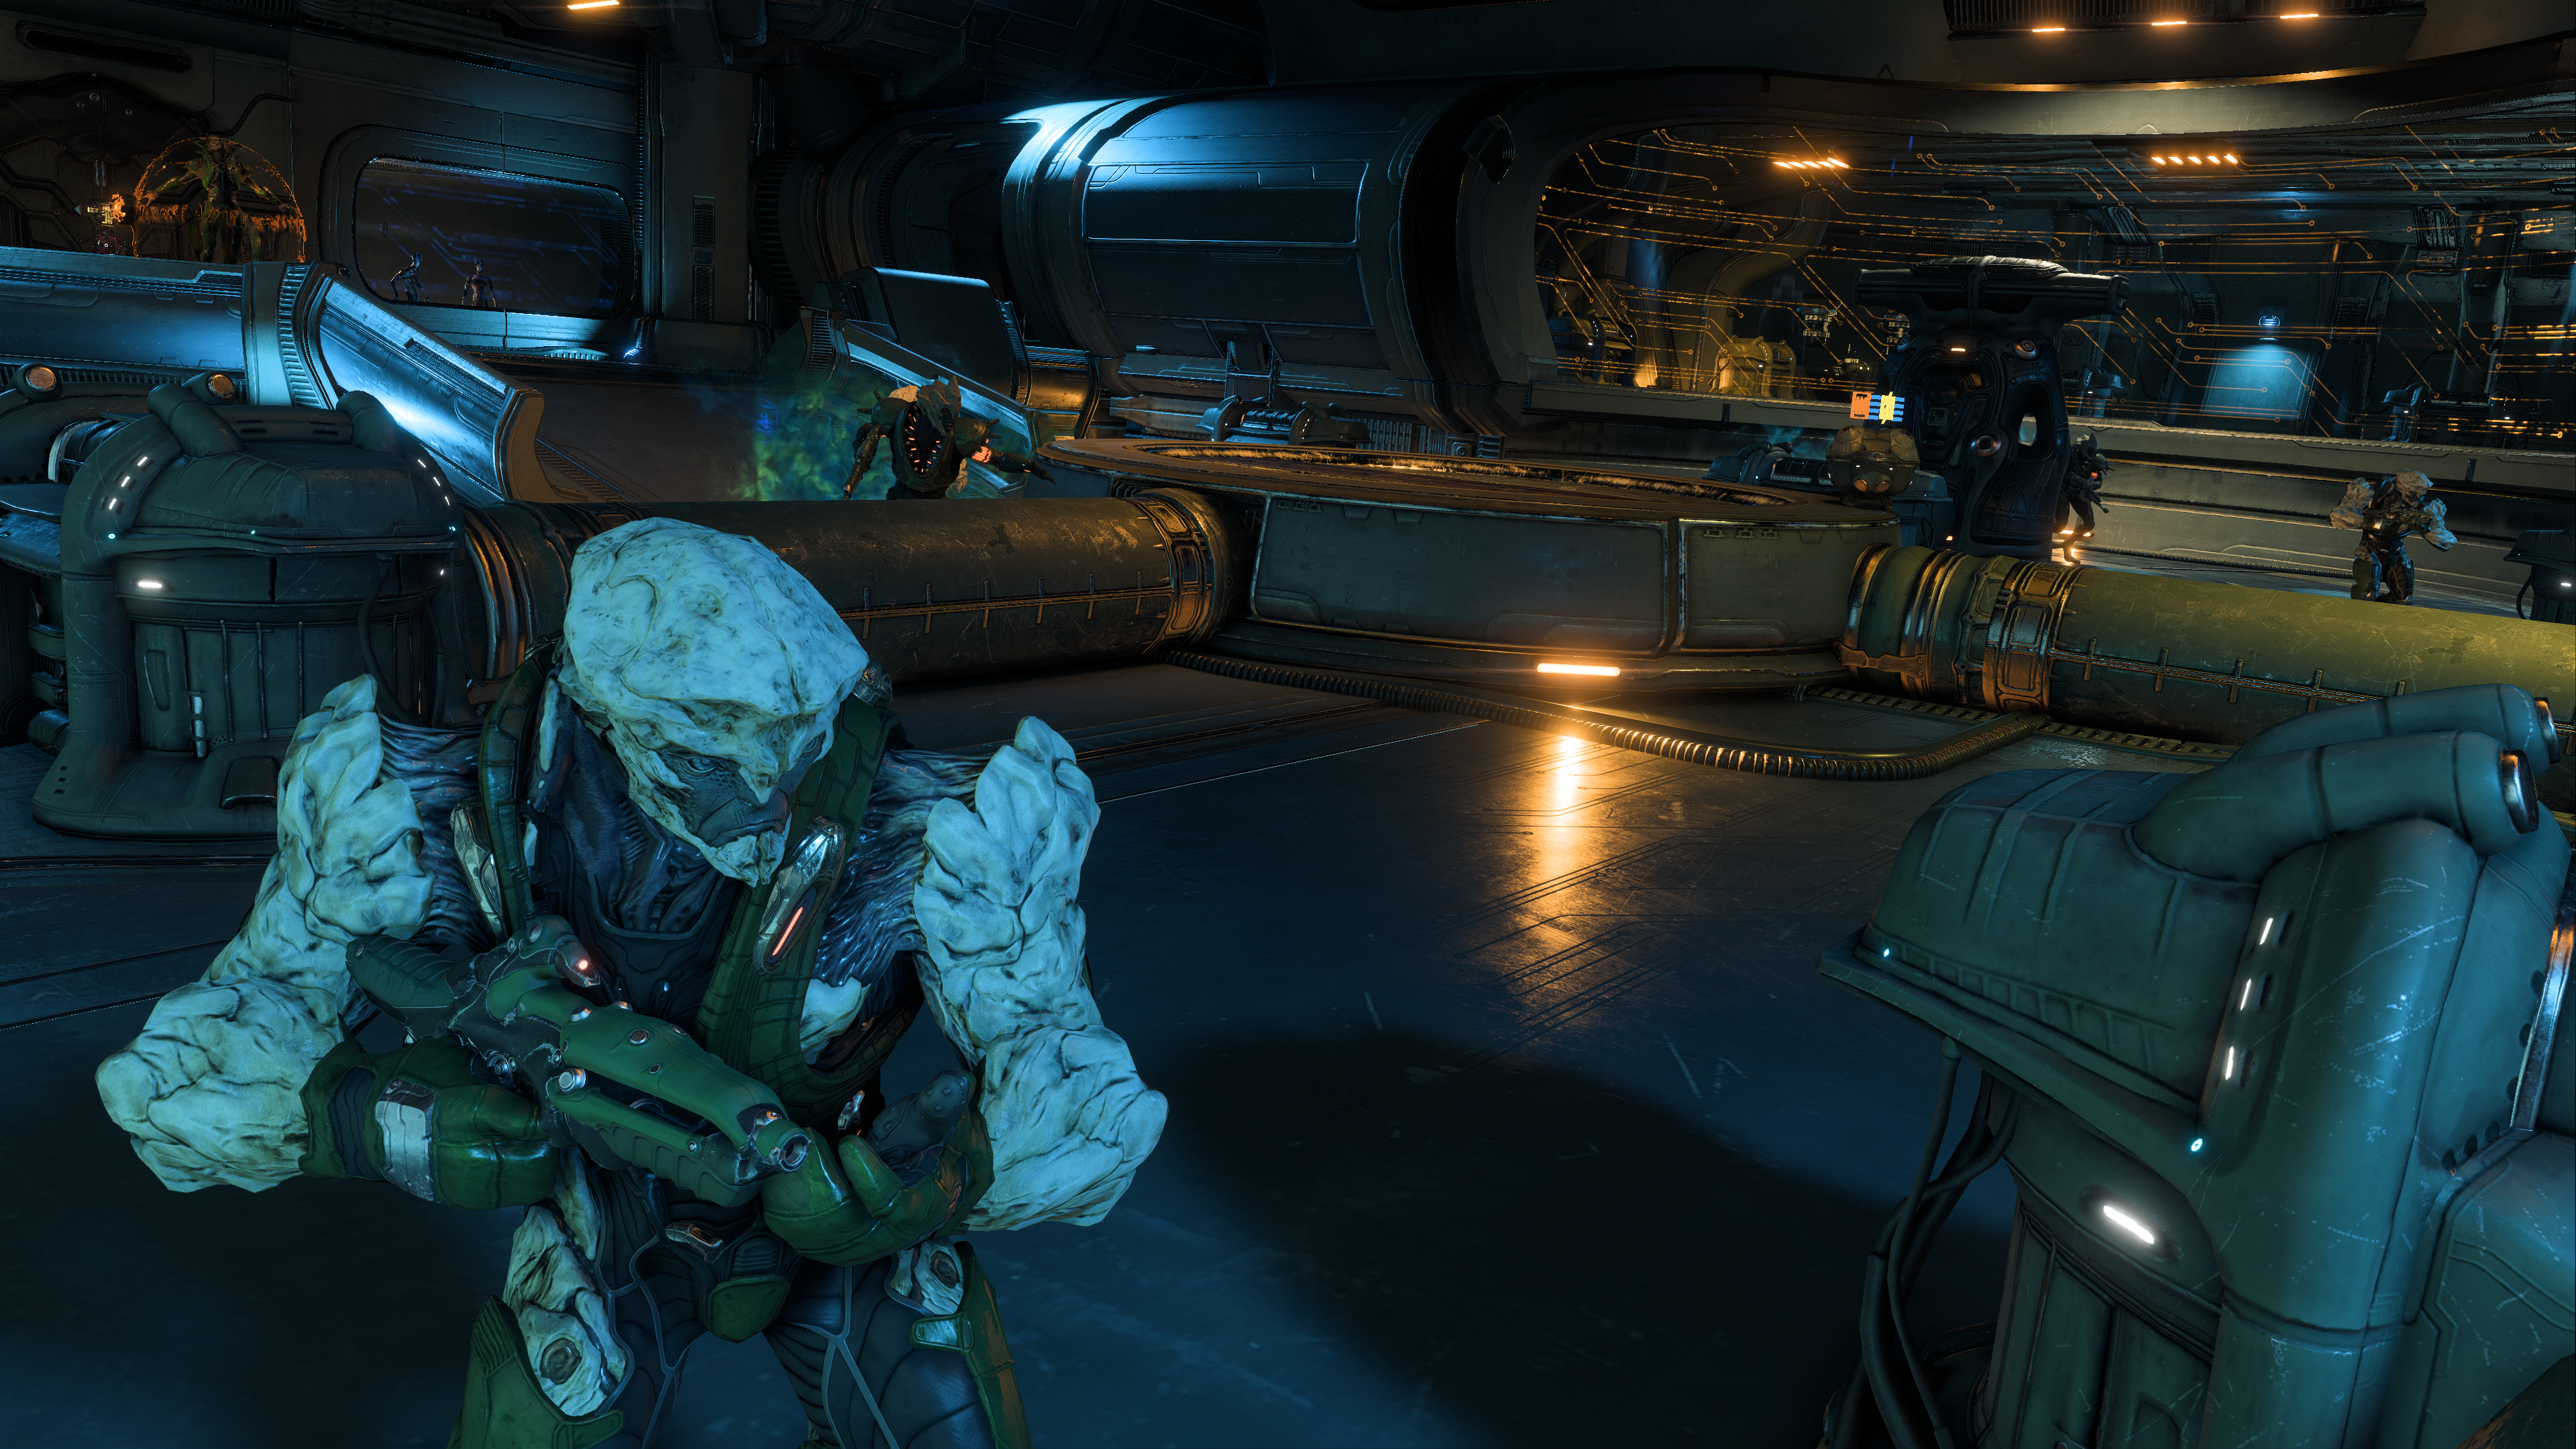
Infiltrate the kett ship[]
You resume control after arriving in front of a door on the kett ship, and an autosave is generated. Opening the door immediately leads to a fight - so much for the element of surprise.
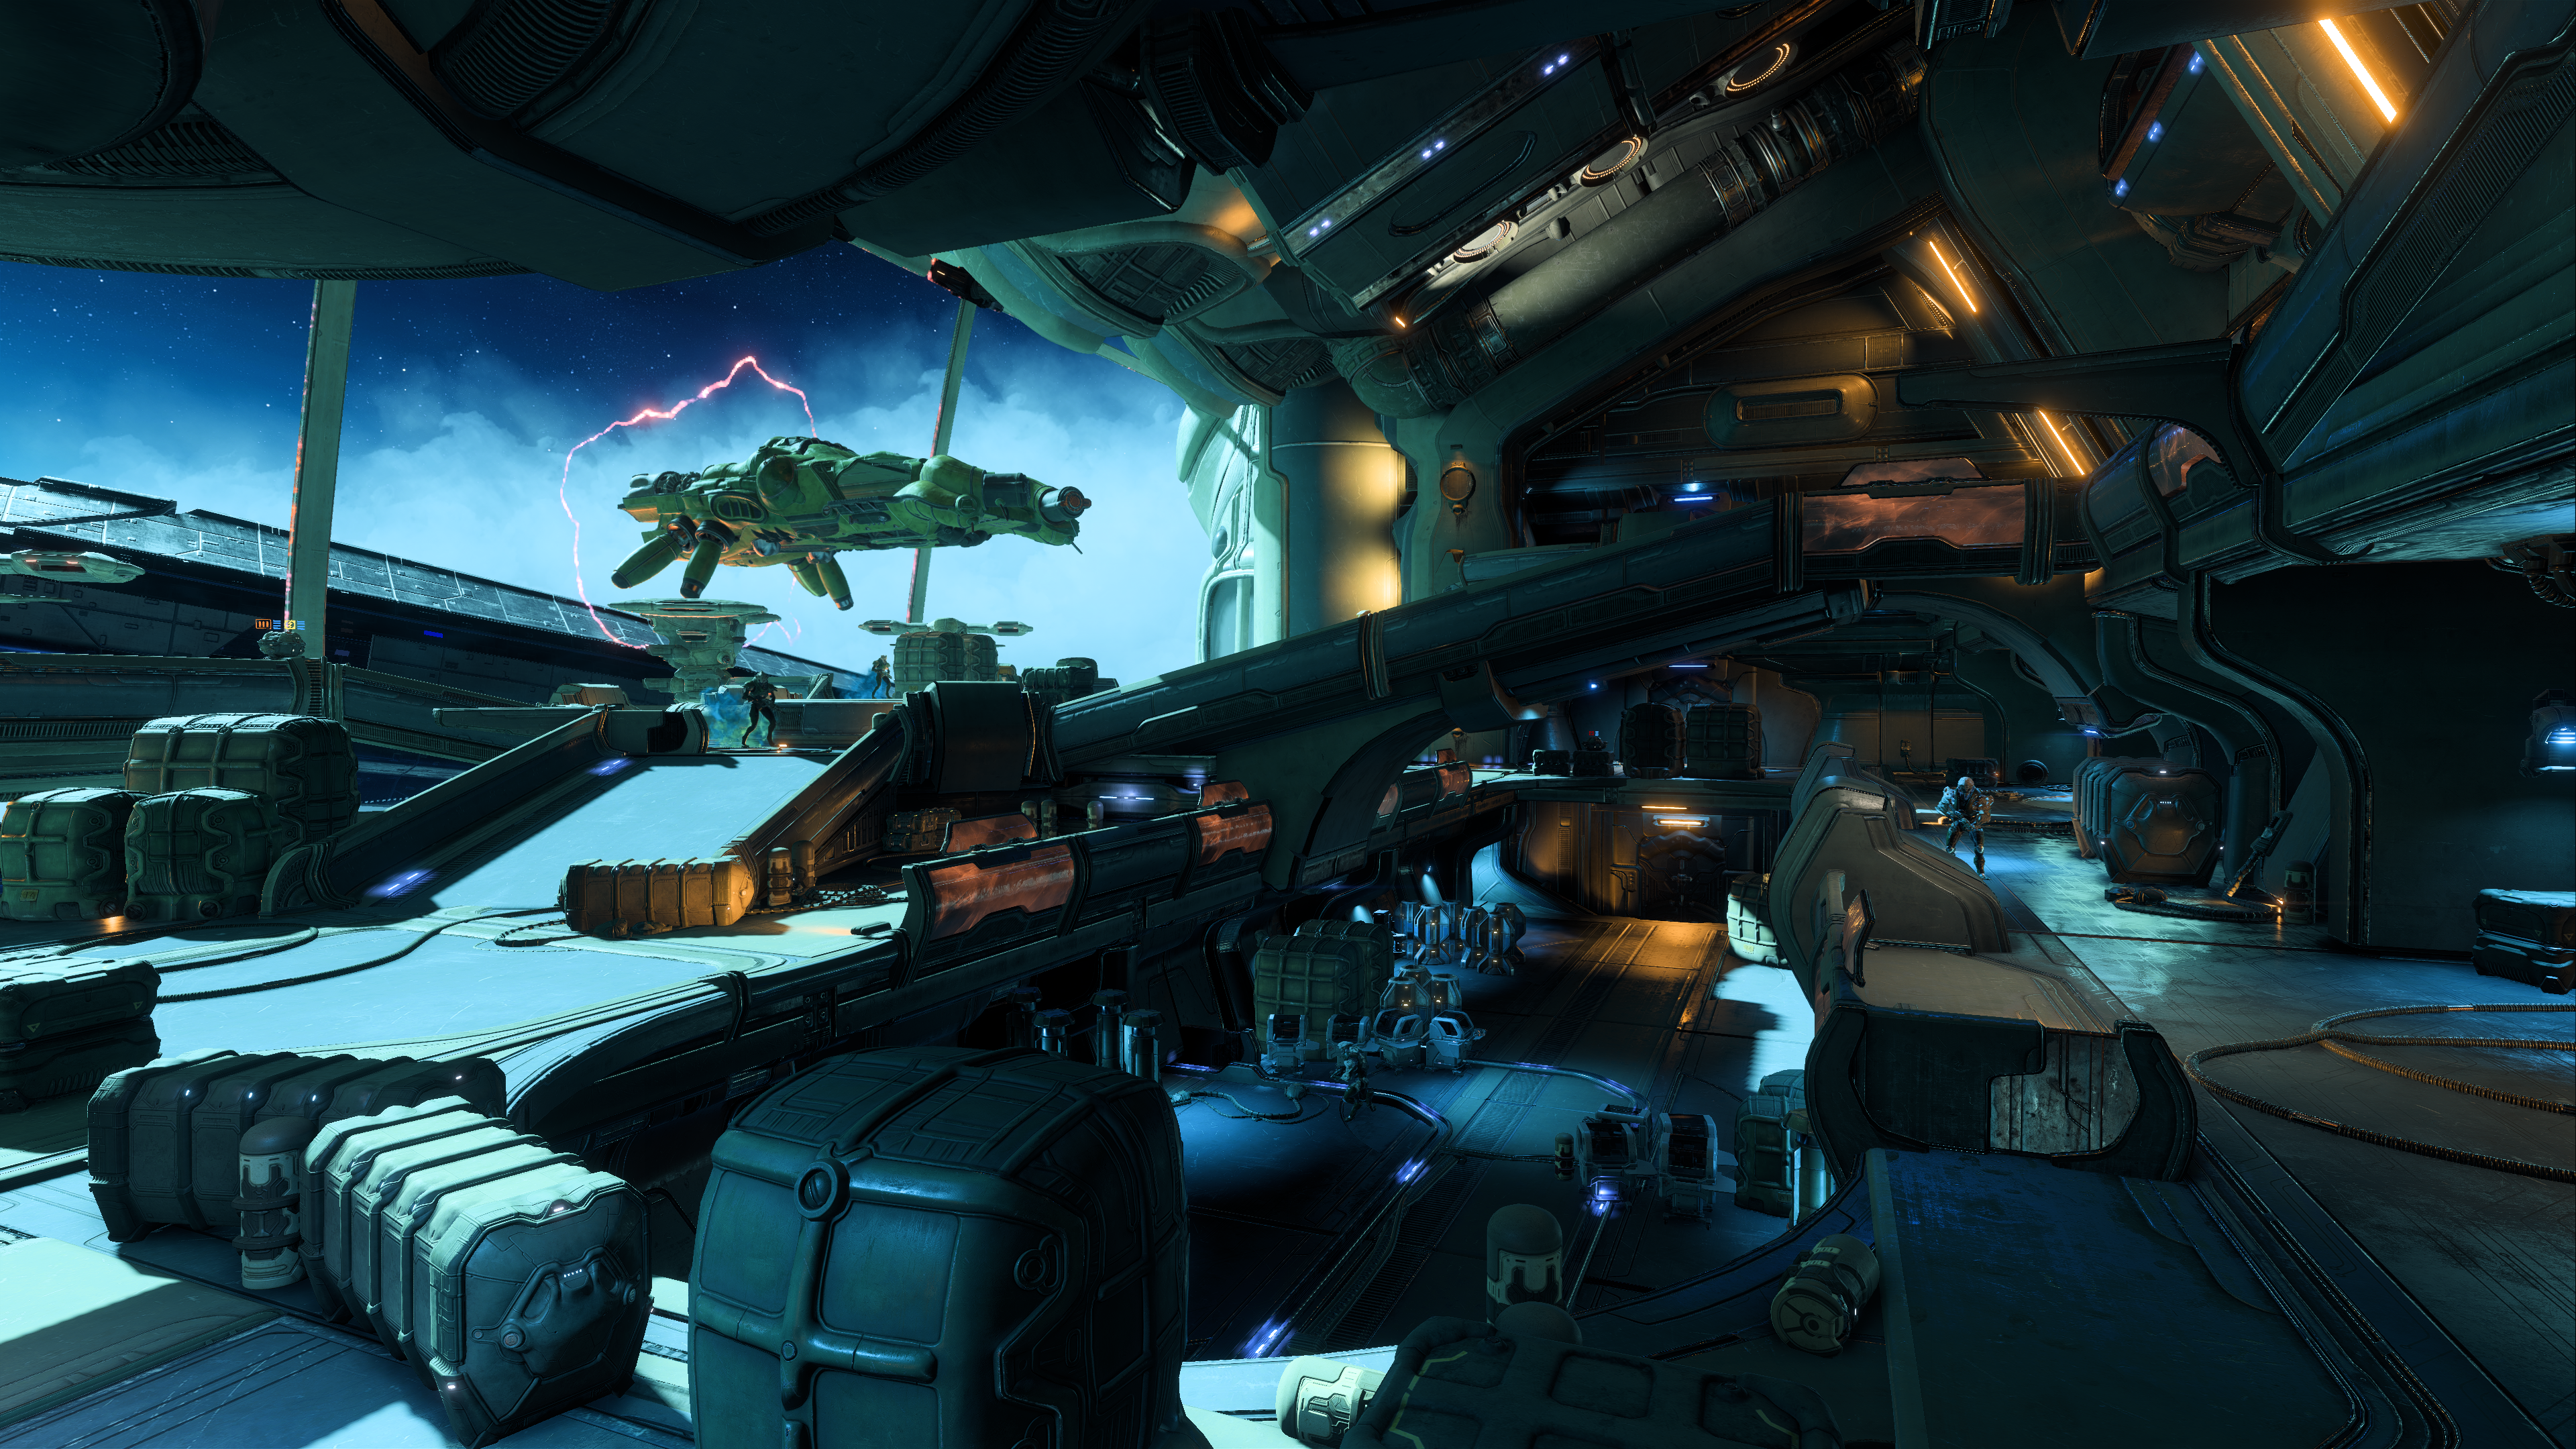
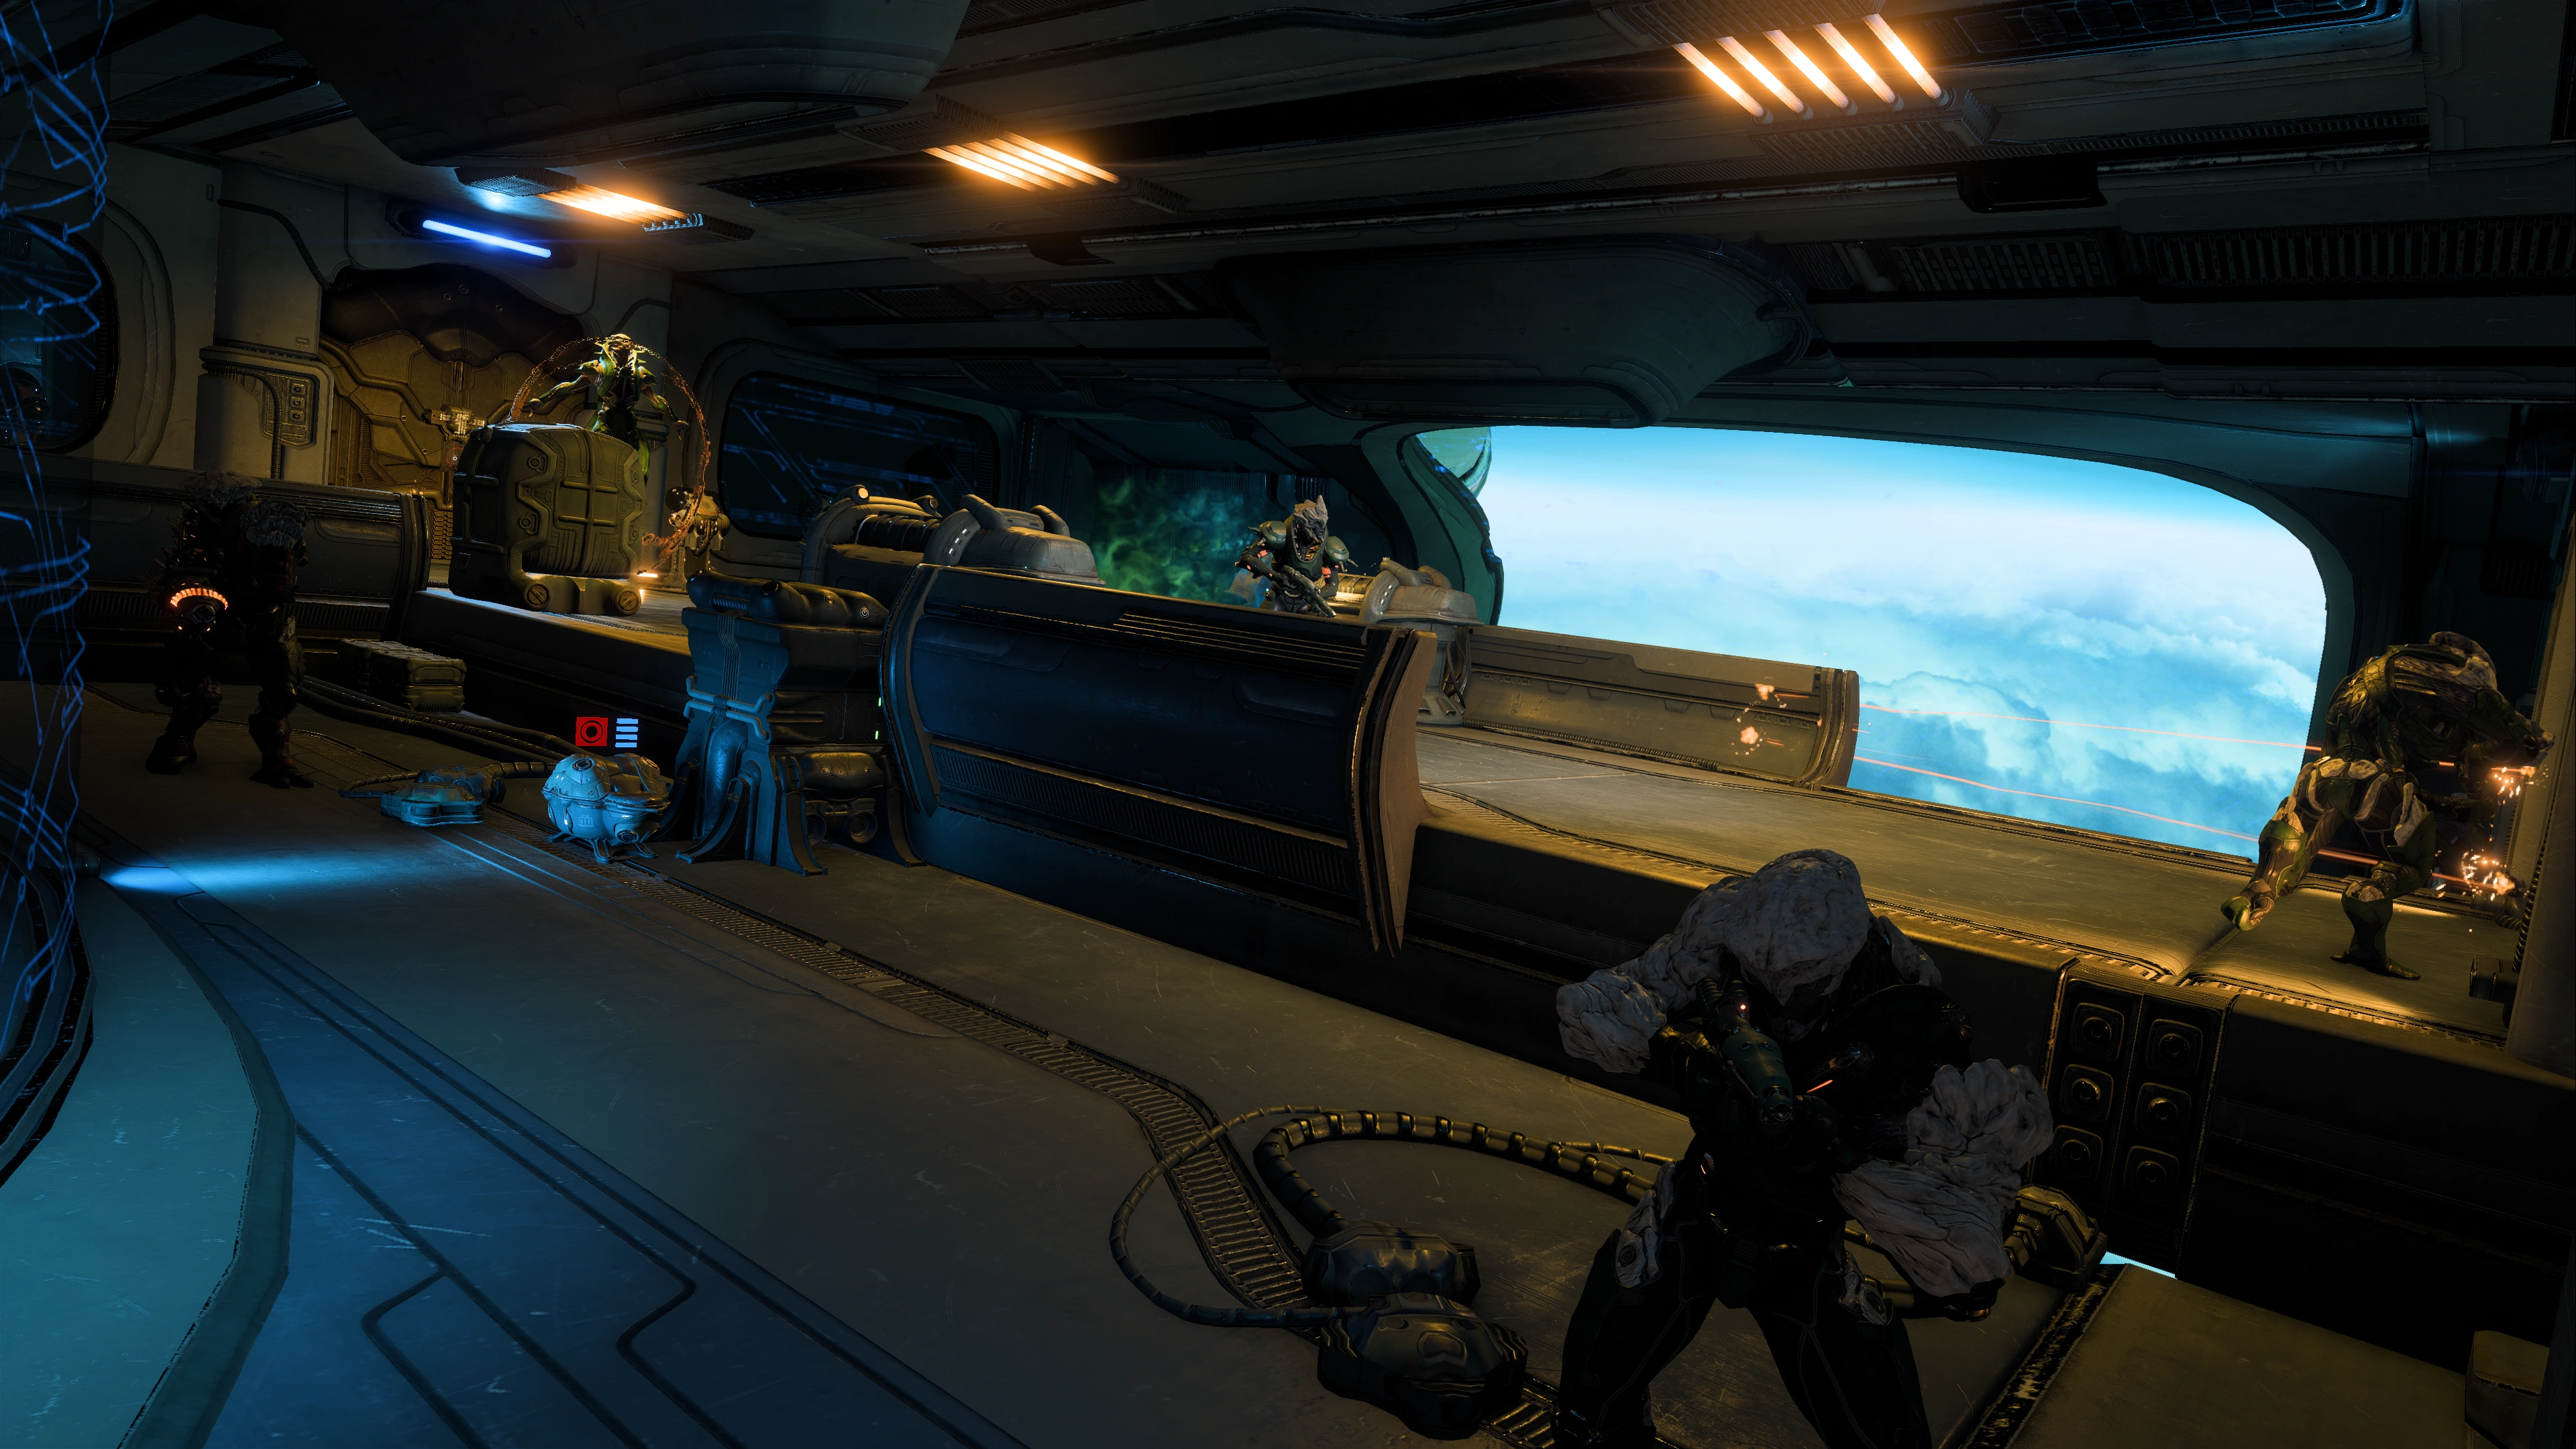
You're on the outer decks, specifically a docking bay, with an initial 3 Chosen welcoming party upstairs, plus 2 more and a Destined as reinforcements coming in from the west when you've killed the first guys. The first 3 Chosen usually start to the right of the door, one level up, so aim your guns in that direction for efficiency. Listen to your squadmates: aside from the snarky banter they also give sound tactical advice. You start at a low ground disadvantage so work your way up when you see an opening.
There is a container on the entry level that can be looted, on the left from the entrance and near a window. There's also an ammo supply cache upstairs from that, by a support column. Lastly, another container next to the console relevant to the next objective.
Patch SAM into the kett ship's systems[]
All doors leading farther into the ship (east and west) are locked at the moment. Interact with the console at the navpoint, on a platform above the docking bay door. SAM locates the Archon's chamber and has counteracted an alert temporarily. The info doesn't say if the Archon is in his chamber though.
You can interface with the console again after leaving it the first time.
Send the salarian Pathfinder team on their way[]
When you exit the console, Raeka, captain Hayjer, and 2 salarian colonists also show up in the docking bay, either below the ramp or at the general area by the supports, and explain they're there to rescue their fellow salarians trapped aboard the ship. They're talking through comms even if you run up right next to them. Two of the salarians are just civilians, but Raeka and Hayjer encourage them to be creative in leveraging their particular skills.
A new navpoint will point to another console on the middle level, toward the eastern door. The salarians need your SAM to override the door through that console, so go there and assist. As you have your own mission, you cannot accompany them (the game prevents you from proceeding through the open door).
Make your way to the Archon's private chamber[]
Afterward, you query SAM for directions, and the door to the west is now unlocked. Your squadmates quip about the odds: three of you vs. a ship full of kett. A new navpoint will be added in the opposite direction that the salarians headed.
This is the lengthiest section of the flagship infiltration objective, repeated 3 times in the journal between 3 sub-objectives that will arise and be completed naturally as you progress.
Along the way to the navpoint are two containers in the armory room right before the hangar. Your squadmates may have comments here.
Just before the ramp to the door to next area, your radar will register enemy dots and an autosave is generated. This is a point of no return for the docking bay you left behind so ensure you have no further business there before crossing this.
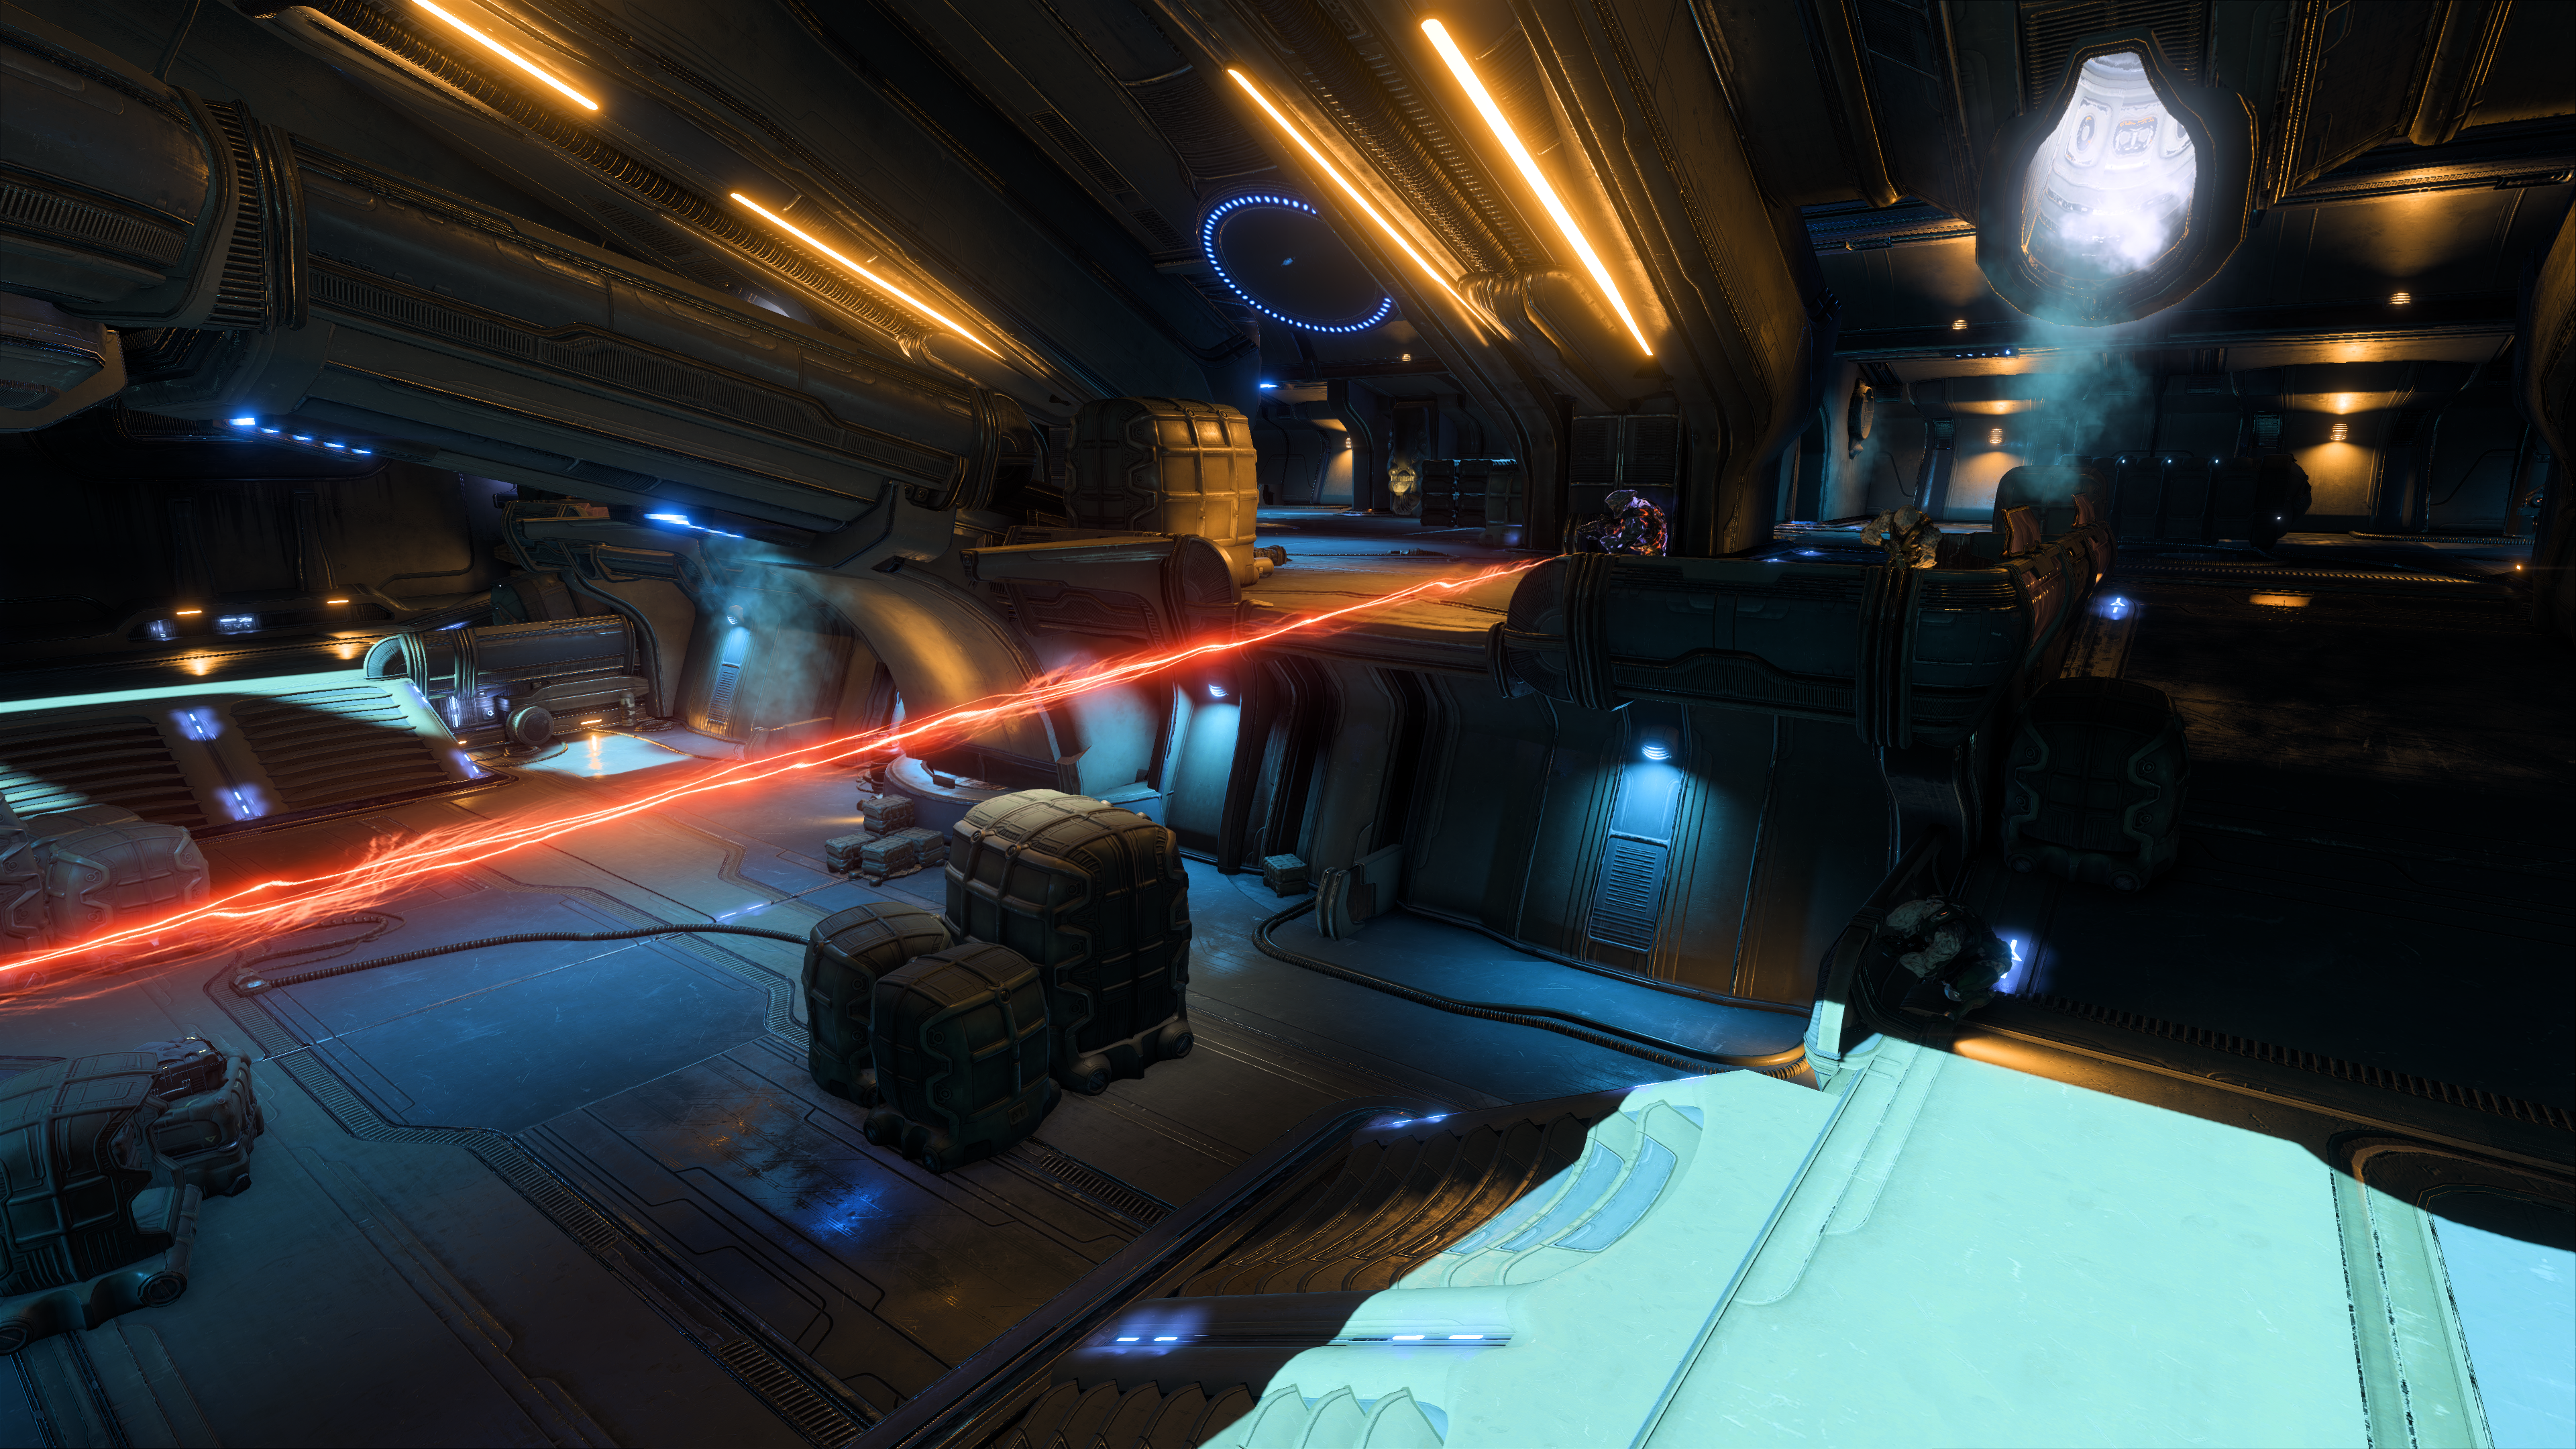
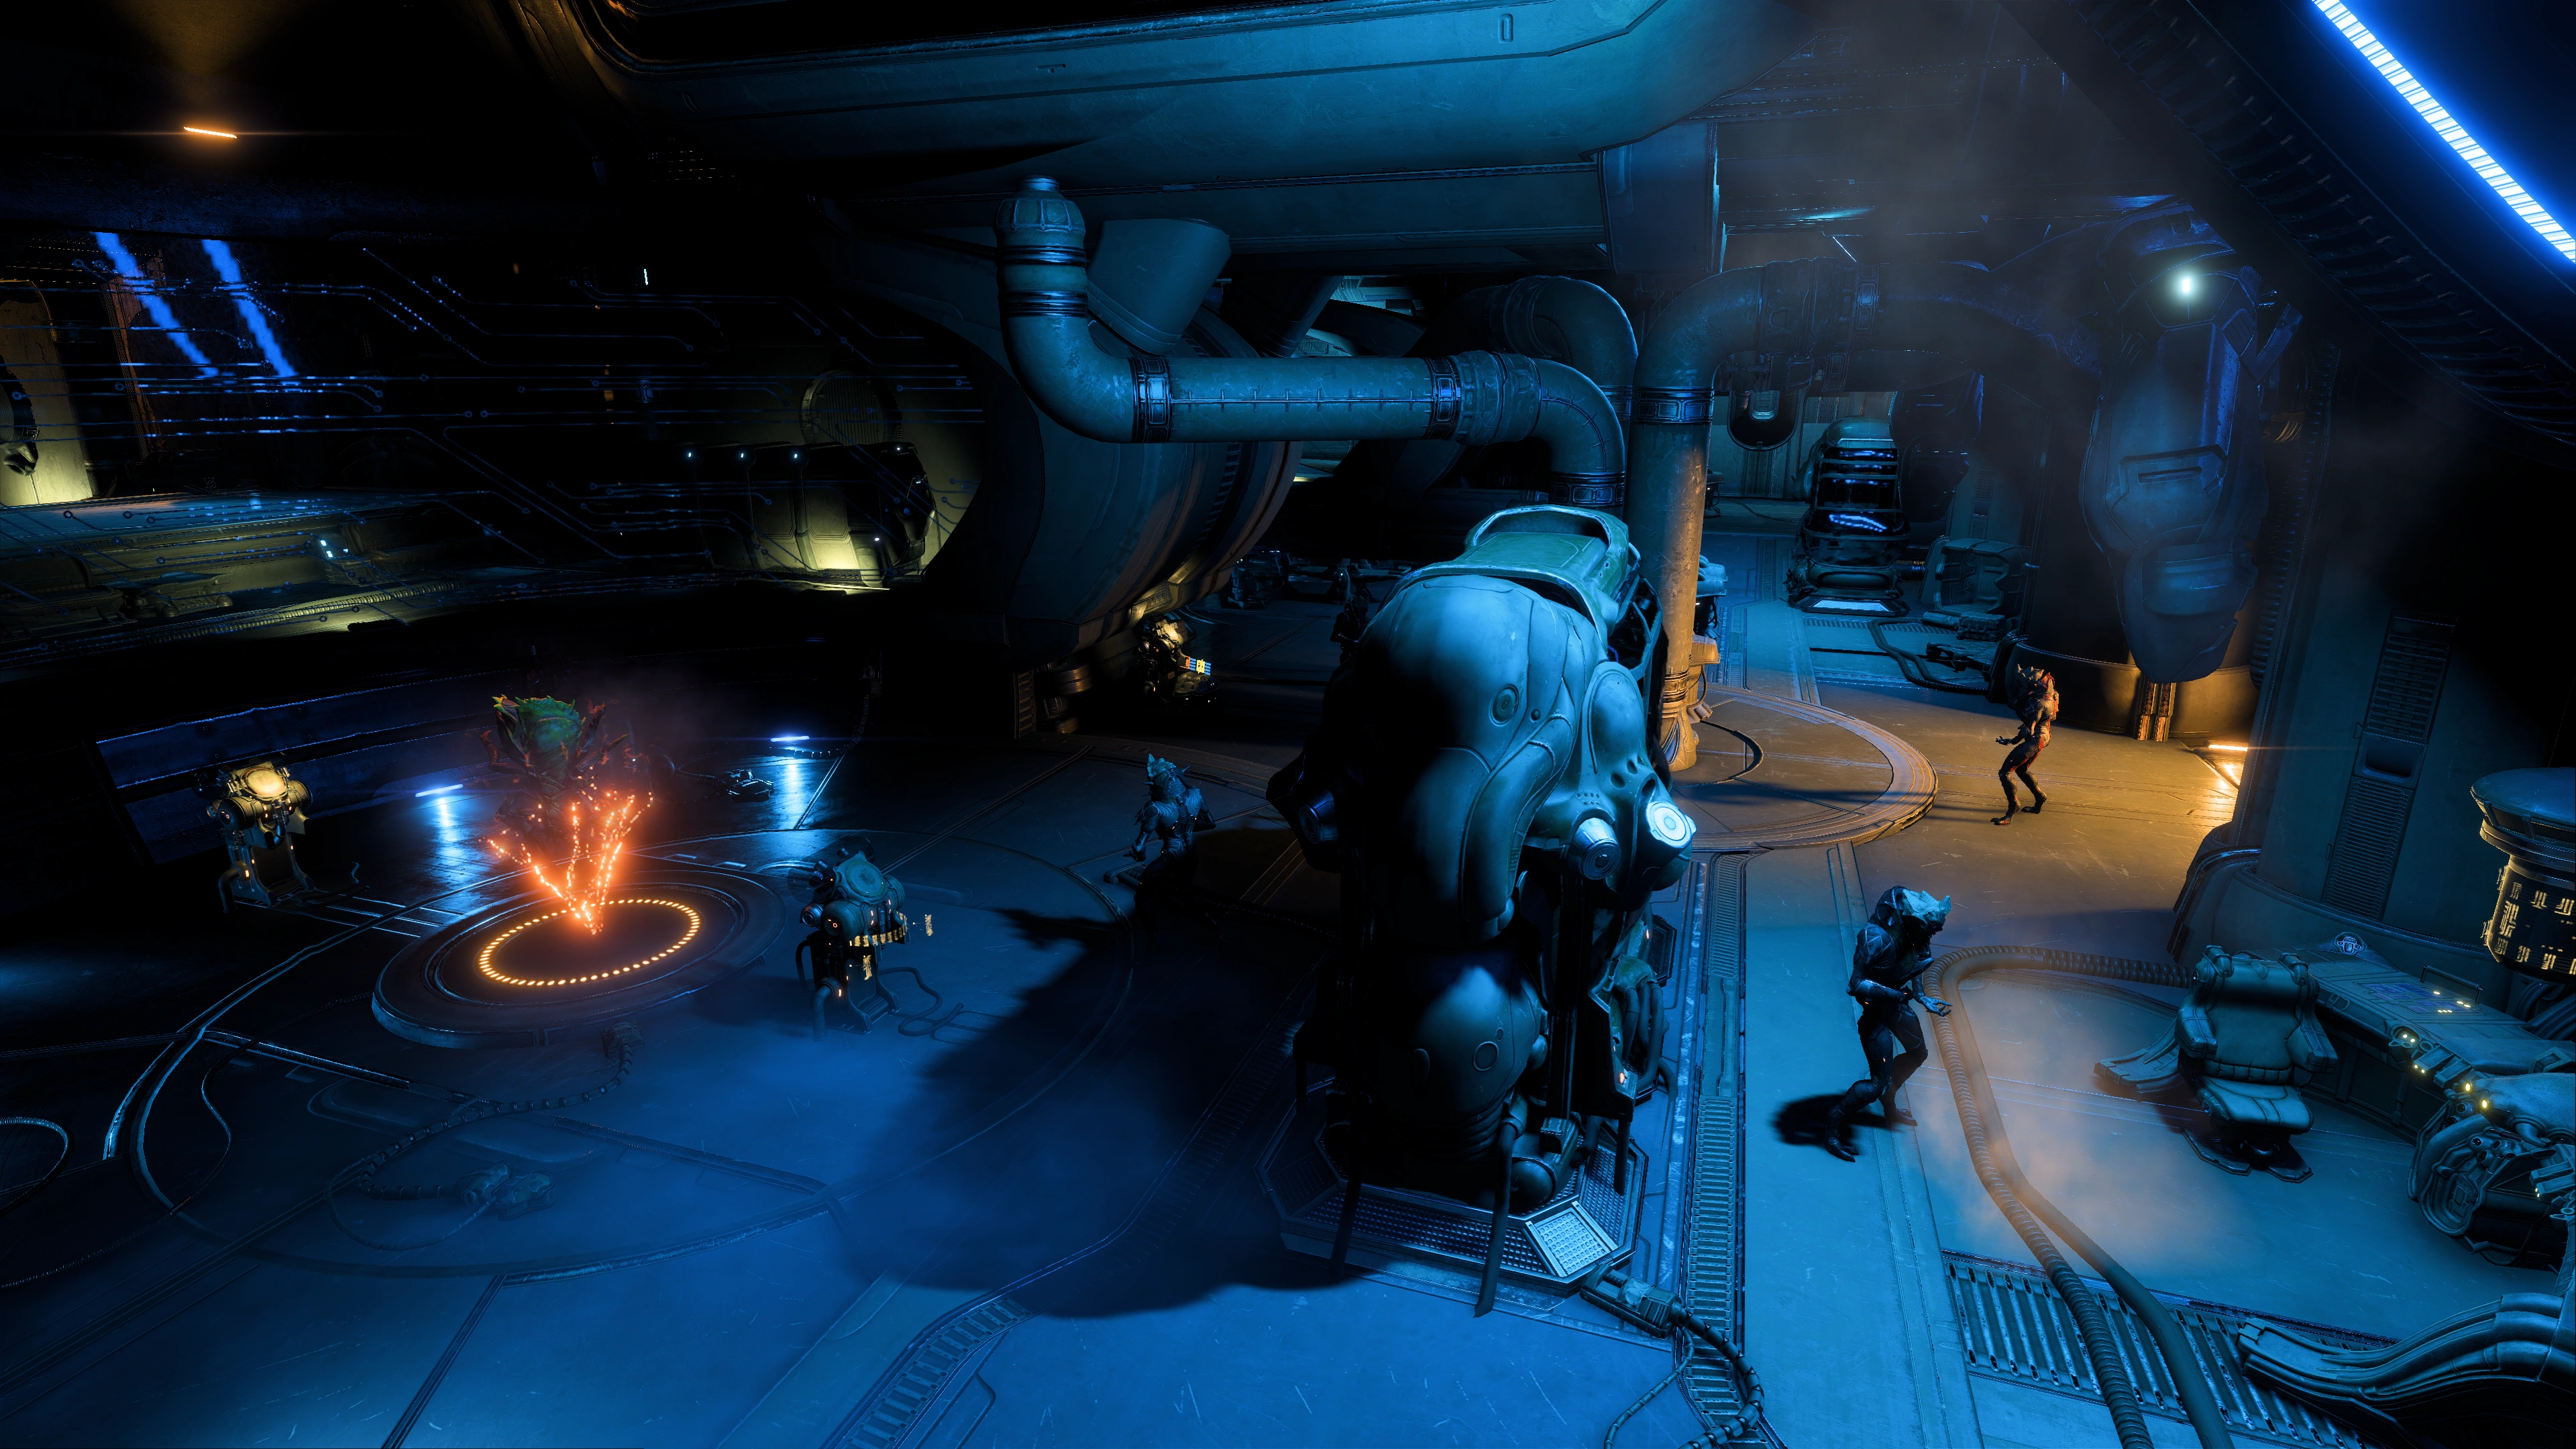
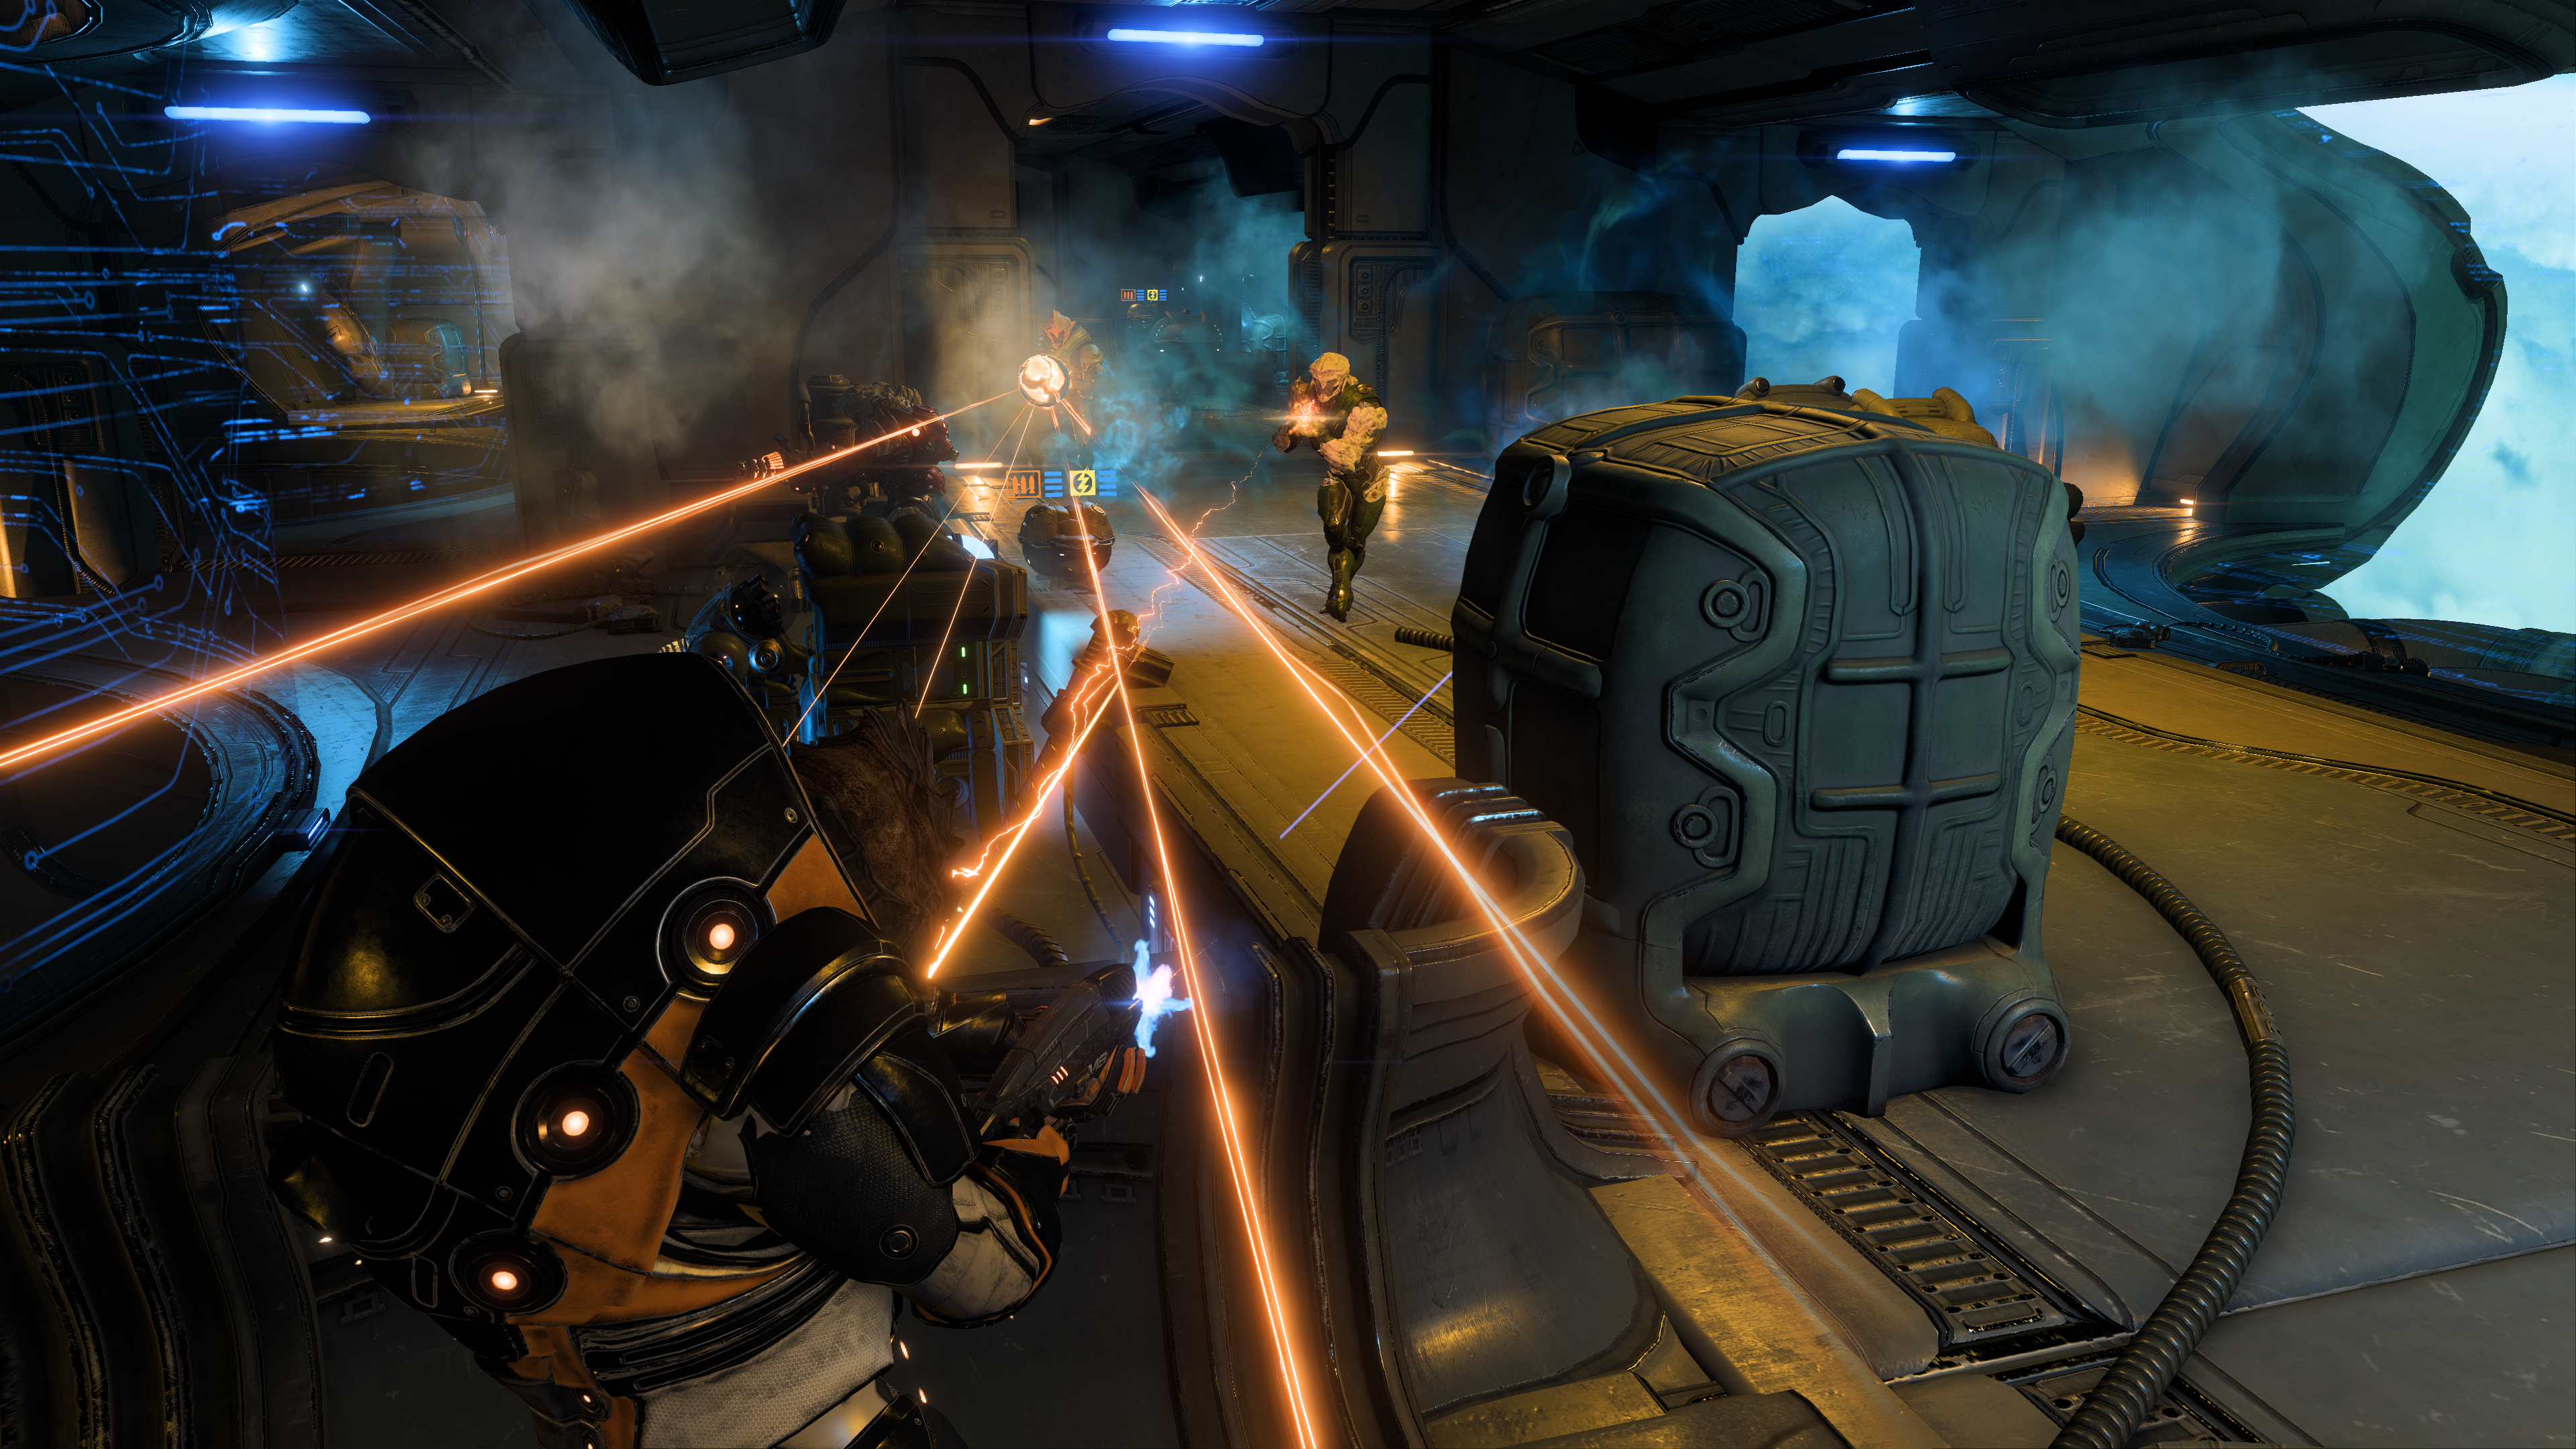
When you open the door you arrive at a spacious hangar. If you have been playing multiplayer the layout should be familiar as it's similar to the main battleground of Firebase Nimbus, give or take a few things. The kett initially have their backs turned on you so you have the element of surprise up until one of them notices your team.
The alarm starts sounding. Enemy headcount is at least 2 Destined and 3 Chosen initially, then a dropship worth of the same, and then more of the same, plus maybe an Anointed, arriving from the doors at the far end. There are numerous explosive canisters in the area, take advantage of them.
Once you've killed everyone there SAM says you're still on course to the Archon's chambers, and your squadmates hope the Moshae is right about the relic there. It's possible to just ignore the enemies and rush to the next area, though of course at the expense of experience and possibly items.
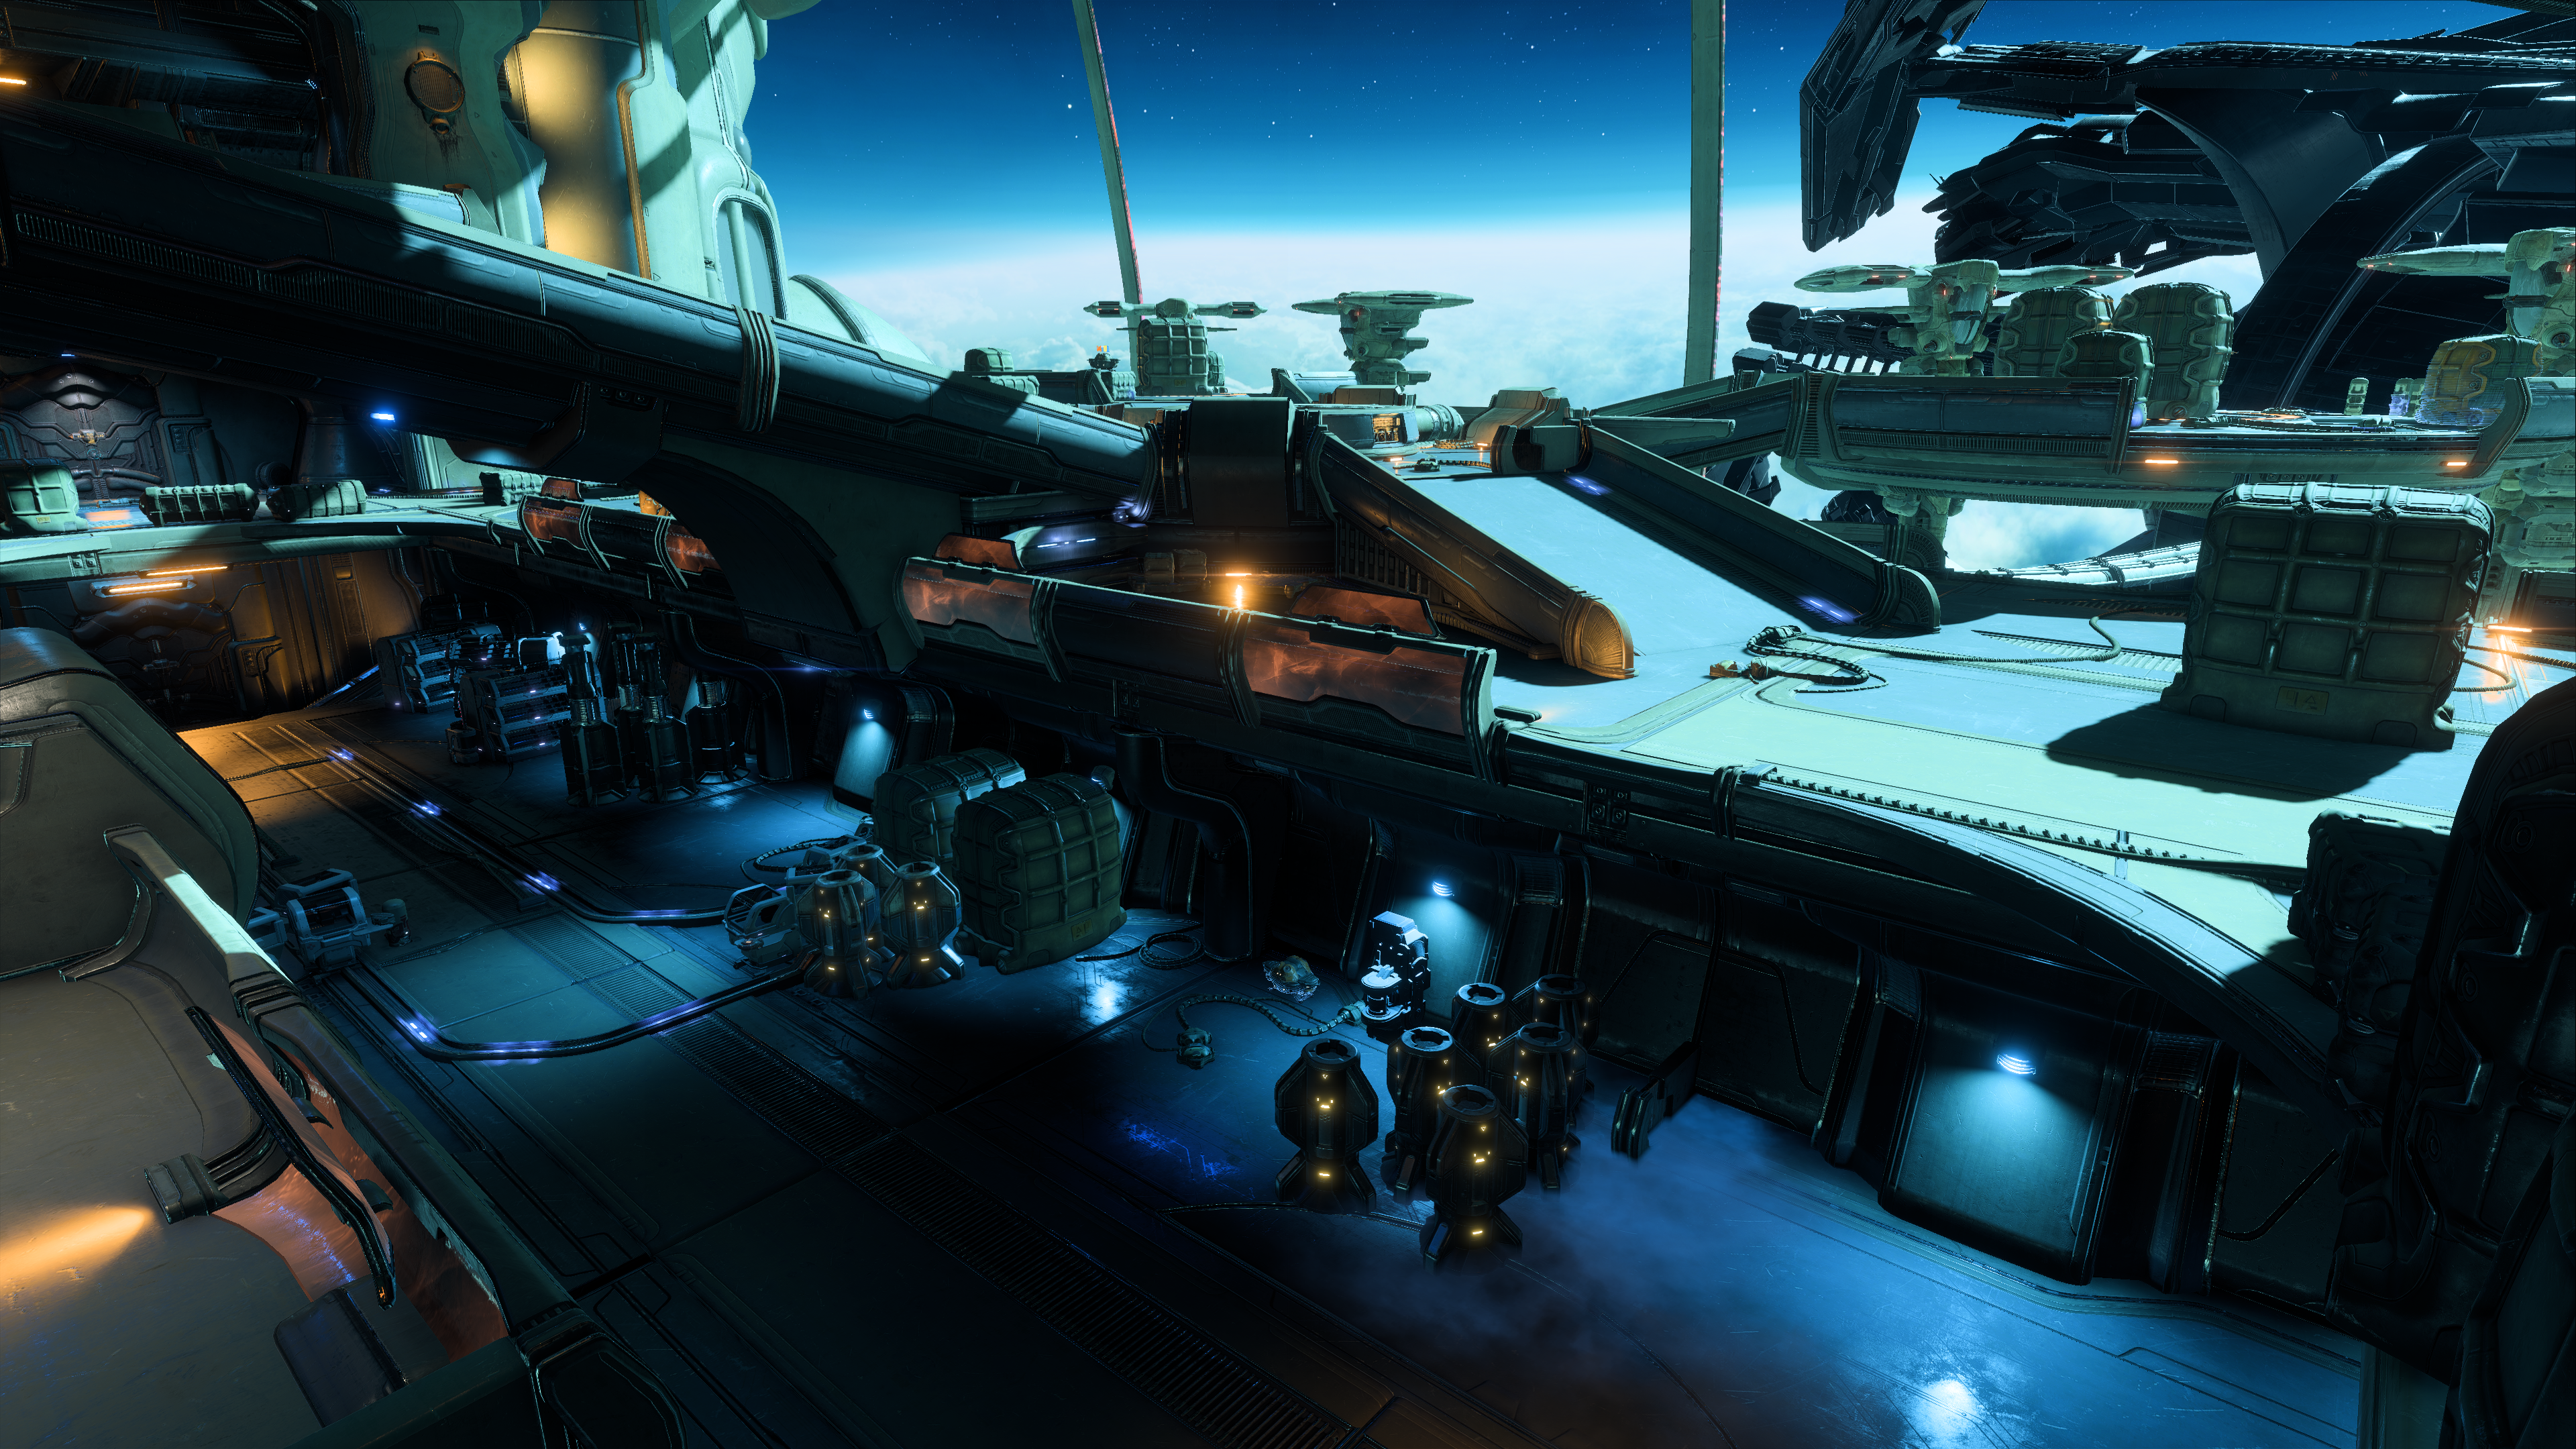
There are 3 ammo caches and 1 health cache in the hangar. The Kett Fighters docked at the circular pads can be scanned for +10![]() . On the left side in the second hangar bay is a large lootable container. On the higher portion of the area is another lootable container, on the side closer to the initial entrance.
. On the left side in the second hangar bay is a large lootable container. On the higher portion of the area is another lootable container, on the side closer to the initial entrance.
On the lowest area there are Paarchero equipment indicating the kett have been looting the ark, and the other squadmates also have their say. No sign of the salarian passengers though, so you hope Raeka has better luck. There are two datapads telling some of the Archon's intentions, an audio log from the Primus telling what's to be done with the stuff, and a small container on the left side just after the audio log.
There are only two doors going forward, on the ground level and on the upper level. Both lead to the same area, you can jump from the lower to the upper level and vice versa. Raeka checks in asking about the alarms, because you tripped them and they are undetected thus far. Through the upper door, you can find a container to the left down a small ramp. In the lower area underneath the walkway is a Kett Core Encryption Tech (+100![]() ).
).
In the next area is a hostile "Scientist" (just an unarmed Destined if you scan it) and a container that can be looted. The Scientist quickly runs toward the eastern door but if you're faster you can kill it (can't take any chances, as your Ryder says).
The scientist was looking at two salarian stasis pods. One of them belongs to Dr. Medrow Aden, who may be encountered later, during the mission Truth and Trespass. Both pods belong to members of the ark leadership and both of them are empty, which may elicit some comments from the squad.
In the opposite direction, you can continue through the 2-door system to the next room. An autosave is generated prior to the second door. This is now a point of no return for the hangar.

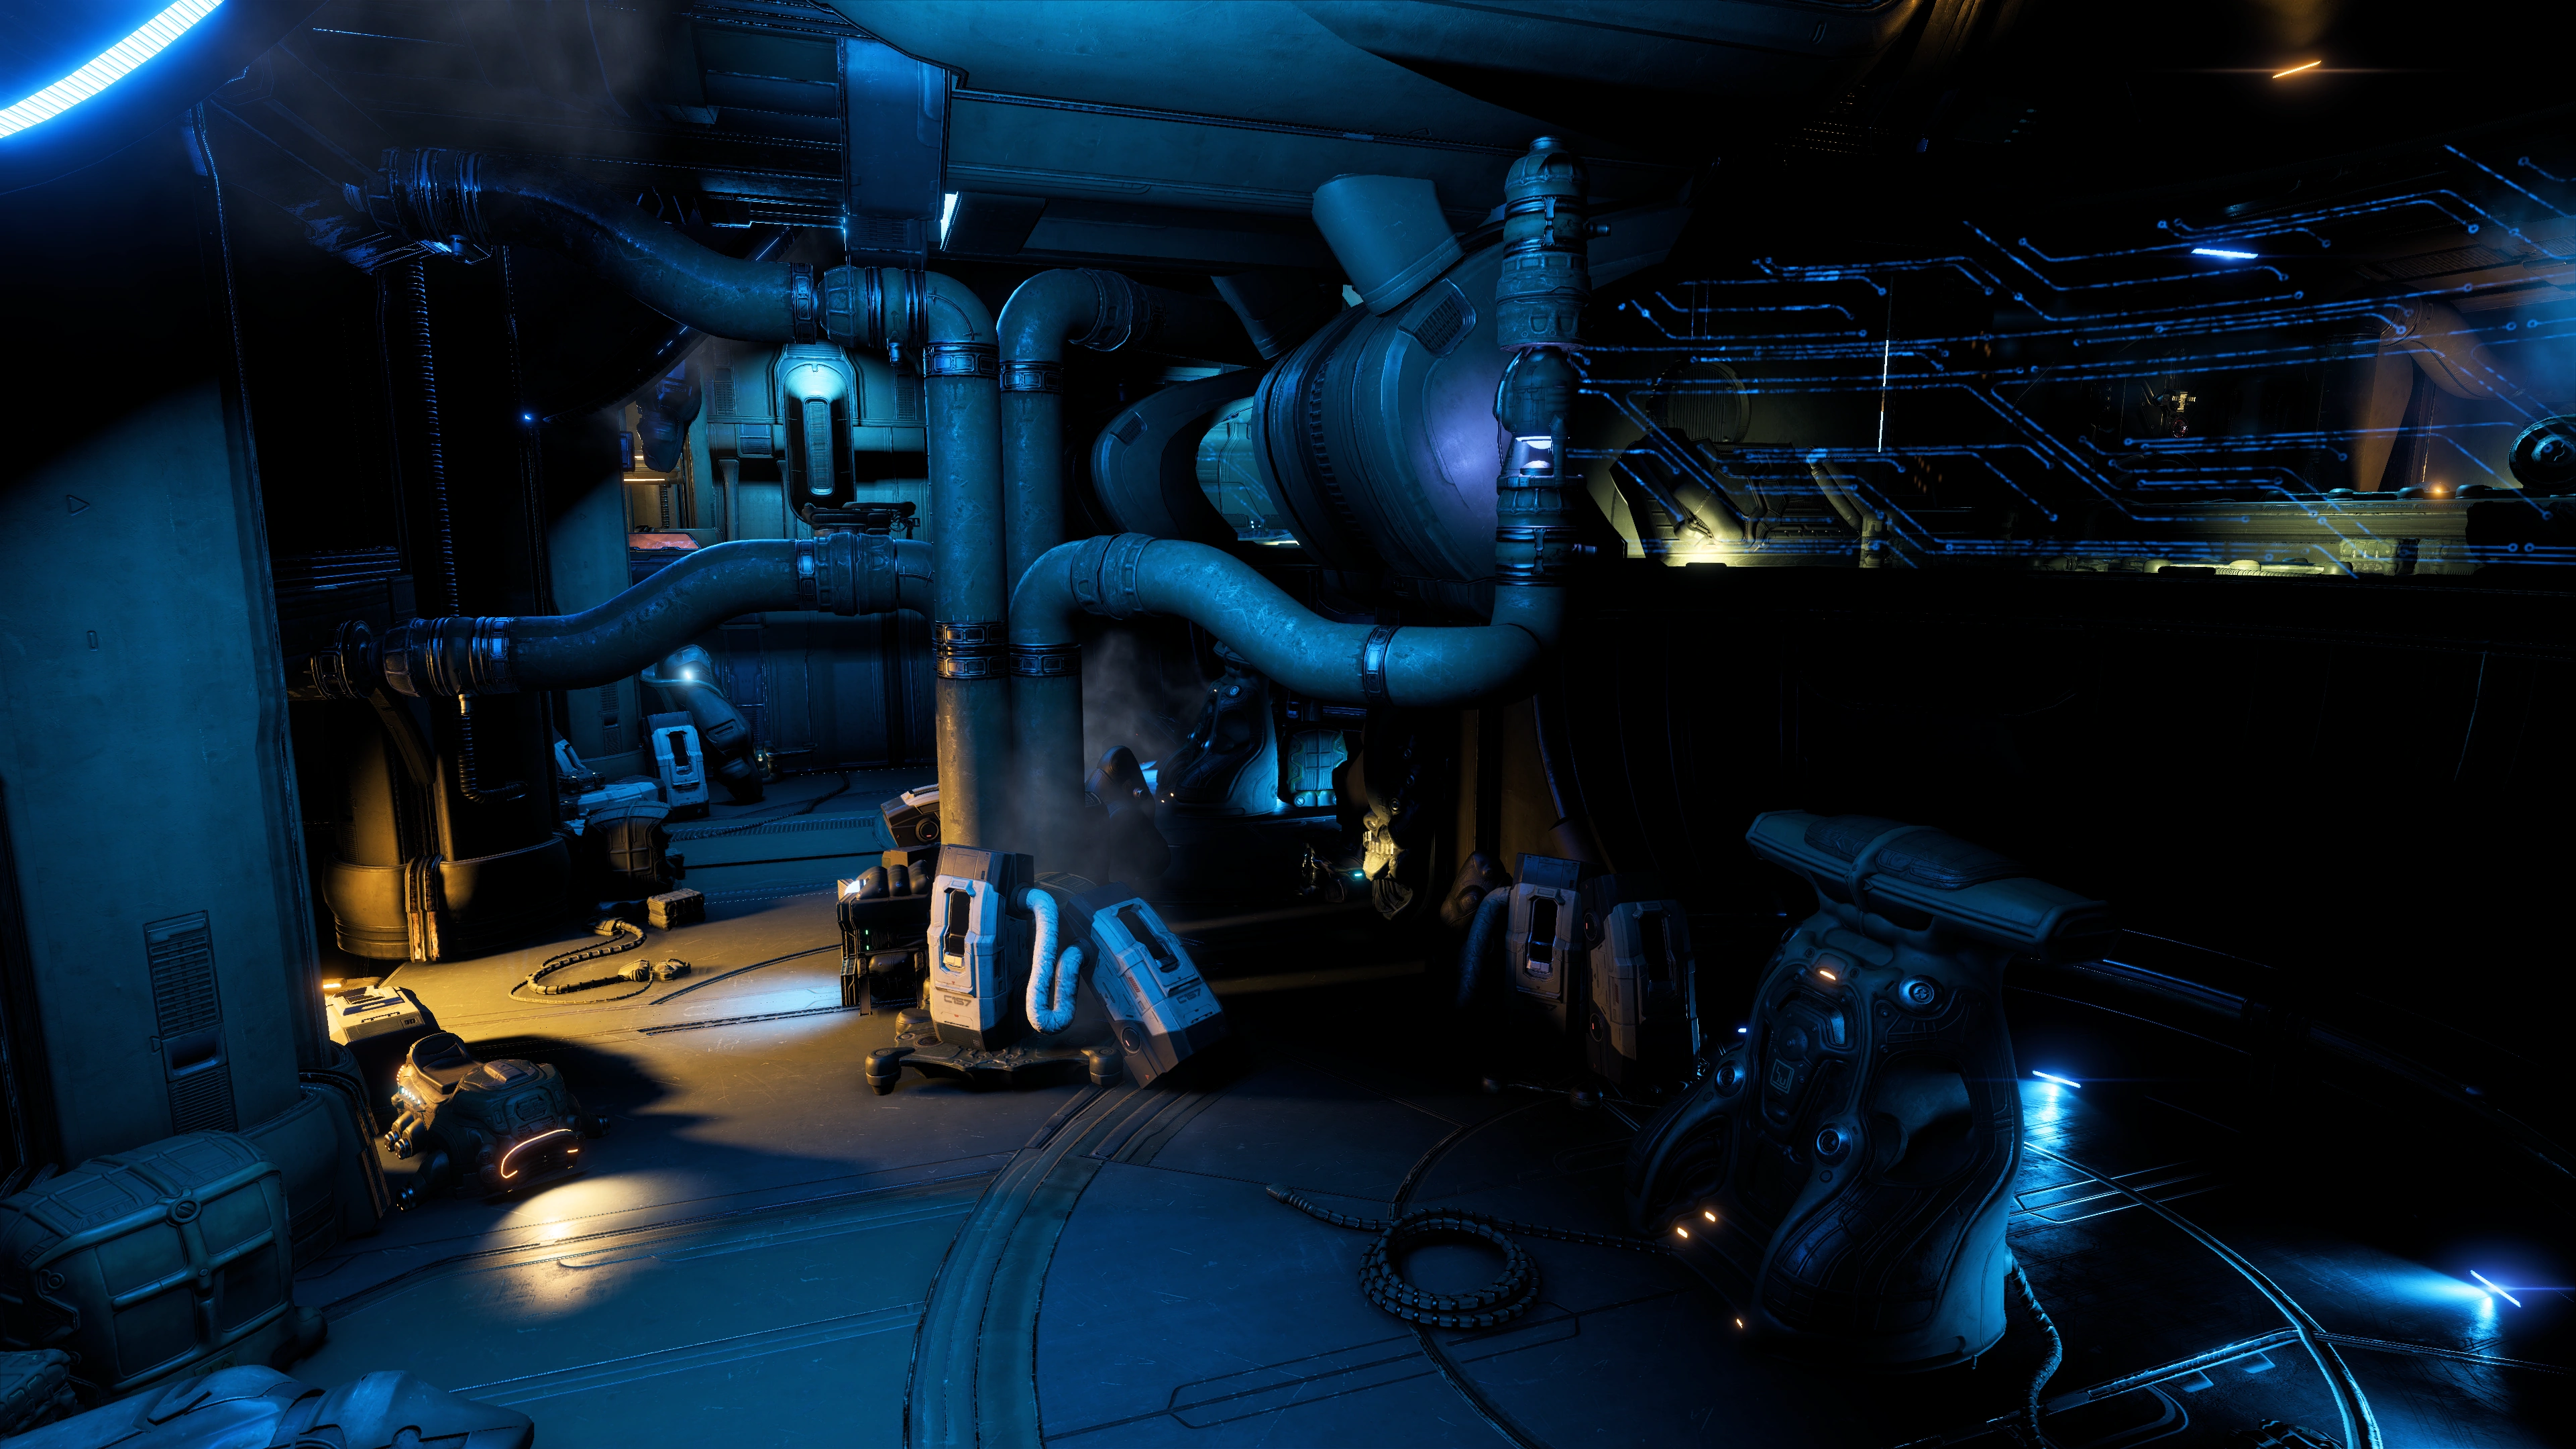
You arrive at the Gun Battery, part of the Verakan's inner decks. Ryder sees powerful guns pointing at the ark and they will be a problem. The gun battery is empty of enemies at the moment, you can explore for a bit. It has 3 ammo caches and 2 health caches. There is one container in the platform above the way you came in. Your squad also has some comments on the gun battery as long as you dither about in the room.
If you investigate the consoles at the window and the hologram at the ops center, you learn that SAM can't disable the guns because authorization from the Archon is required. The holo is a firing solution to the ark targeting the stasis holds to ensure maximum destruction. Head to the navpoint at the other side of the room when you're ready.
Survive the ambush[]
When trying to leave the room the door becomes locked, and numerous kett attack, spawning from the other doors. The room with the empty stasis pods you came from is now also inaccessible. It should be expected by now: large "empty" room plus supply caches (and occasionally a bunch of explosive canisters) means a fight will happen. Defeat the enemies.
The enemy composition is Chosen, Destined, Anointed, later followed by Wraiths, and finally an Ascendant. You have two floors to jump around, though of course high ground is always an advantage. Plenty of guardrail cover there too, just be wary when parking behind orange sections as those are breakable. Be on alert for flanking Wraiths as there are few locations where you don't need to watch your back.
Fortunately, Raeka and her team later emerge at the inaccessible highest platform above and lay down covering fire. They withdraw after a while when one of the colonists, Seldin the history teacher, gets hit, though you'll have the situation under control by then.
Once all enemies are down an autosave is generated and the sub-objective is marked completed.
A new navpoint is added after the battle as SAM finds another way to the Archon's room. Proceed to the upper door in the center of the room.
Continuing up the ramp, on the right side at the top is a lootable container.
In the next room you meet the salarian team behind an indestructible window, down to 3 as Seldin died of his wounds. They need help unlocking a door, the console is on your side. The door forward on your side is also locked, so use the console.
Ryder warns the salarians of the Gun Battery and they have a solution. Venro, the surviving civilian, used to repair FTL drives and can repurpose one to make an EMP bomb. He and Hayjer focus on the EMP while Raeka goes on alone to search for her missing people.
After the conversation one of your squadmates complains about keeping your voices down as the enemy already knows you're here. Banter shenanigans occur.
The next 2 rooms after this prove staying quiet is unnecessary as there are no enemies. In the first room there's a small container in the first alcove on the right. The second room is some sort of reception area with 2 containers that can be looted. If you dally about here your squadmates ask how many salarians will be left if they fail to rescue the ark, and the answer is not enough.
When you attempt to proceed to the navpoint the door shuts out. A new navpoint appears and points to the door to the right, but it also gets locked out. The kett are playing hardball with their security.
Bypass kett security[]

Scan the nearby Security Access Panel on the left side of the doorway. Interact with the console to learn that it is voice-controlled. SAM modulates Ryder's voice to sound like a kett. The intercom asks for authorization, and you can respond in two ways: speaking kett, or claiming you're extra security. If you try to speak their language Ryder botches the job and is denied access, though there's no real penalty as you can try again for the other option.
The doorway leads into Laboratory 16. An autosave is generated and the sub-objective is marked complete just before you proceed.
The general layout of the lab is a very long hallway with observation windows peering into side chambers on both sides, some of which are accessible. However, the hallway is partitioned by locked doors, so you have to go in and out through the side chambers which contain raw materials or experiments. Squadmates comment on your new location, and there's a datapad in the hallway you arrive in.
Enemy red dots register on your radar, they are literally next door, and there's a clear observation window separating the hallway you're in and the hostiles, but they don't seem to mind your presence for now. If you do move to their area you see that they're just unarmed scientists and will run away fast to the west. Killing or not killing them makes no difference.
The chamber the scientists vacated has a bunch of interactable objects. Just in front of the entrance there's a console that opens the wall behind it, revealing a small room with a lootable container. Along the walls are Exaltation Pods (+10![]() ). In the middle of the room is an ammo cache, between two operating theaters. One is empty and the other has a kaerkyn specimen in suspension, next to two consoles. Using the console near the window of either operating theater tints the window and back, while using the other one by the kaerkyn frees the bug and turns it hostile. Another console at the end of the chamber functions the same as its counterpart on the other end, opens/closes a tunnel wall leading to a small room, but this one is empty except for an Exaltation Pod. You'll be seeing a lot of these tunnel walls with small rooms - some accessible, some not - as you go through the lab.
). In the middle of the room is an ammo cache, between two operating theaters. One is empty and the other has a kaerkyn specimen in suspension, next to two consoles. Using the console near the window of either operating theater tints the window and back, while using the other one by the kaerkyn frees the bug and turns it hostile. Another console at the end of the chamber functions the same as its counterpart on the other end, opens/closes a tunnel wall leading to a small room, but this one is empty except for an Exaltation Pod. You'll be seeing a lot of these tunnel walls with small rooms - some accessible, some not - as you go through the lab.

When you depart the room and into the hallway there's a bunch of kett with guns, alerted by the fleeing scientists who are nowhere to be found if you didn't kill them. They are two Anointed, a Destined, and a Chosen. They have already taken up defensive positions in the room. Deal with them. Squadmates are quite talkative during and after this skirmish. Note: The small rooms behind tunnel walls function as one-hit-kill areas. If you fling an enemy there, or drag one to it with Pull, it will die on hitting the ground.
Further into the next side chamber are salarian stasis pods. Before jumping down, loot the container beyond the tunnel wall to the south. There's also an ammo cache if you need it.
There are about 18 scannable Initiative pods mixed in with Exaltation Pods. The Initiative pods go for +10 ![]() each. However, the actual number of pods you can scan is limited to how fast the conversation about it concludes. You and your squadmates chat about the pods being empty, and immediately afterward all pods cease being highlighted red in your scanner regardless of whether you actually got them. The arrangement of pods in the pit further makes it clear it's impossible to scan all 18 pods in that short timeframe.
each. However, the actual number of pods you can scan is limited to how fast the conversation about it concludes. You and your squadmates chat about the pods being empty, and immediately afterward all pods cease being highlighted red in your scanner regardless of whether you actually got them. The arrangement of pods in the pit further makes it clear it's impossible to scan all 18 pods in that short timeframe.
There is another lootable container in the alcove on the right in this lower area. There's also another tunnel wall console when you jump back up, but don't bother with it as it leads to an empty room.
You emerge at the third and final hallway section of the lab. There are four dead salarians near the doorway navpoint, going for +10 ![]() each, and like the stasis pods earlier once the conversation about them stops they are all marked scanned regardless of whether you actually did (fortunately this one's easier: longer conversation, only 4 scans). Organs were removed from them while they were still alive. Your squadmates express horror and revulsion at the sight. There is another lootable container just past the dead salarians and a datapad.
each, and like the stasis pods earlier once the conversation about them stops they are all marked scanned regardless of whether you actually did (fortunately this one's easier: longer conversation, only 4 scans). Organs were removed from them while they were still alive. Your squadmates express horror and revulsion at the sight. There is another lootable container just past the dead salarians and a datapad.
In the observation window you can see 2 scientists "working" on a live salarian in the next room. You can focus look at the point of interest and your squadmates may bellow threats, but it's futile as there is actually no way in there. One of the scientists goes to a console and darkens the window afterward.
Exit the lab through the doorway navpoint once you've explored and looted the place to your satisfaction. On opening the door you'll immediately see a bunch of kett scientists running to the north door, and a bunch of kett goons pour in from that door.
Defeat the kett. Headcount is a Chosen, an Anointed, and 2 Wraiths in an open hallway. Having been denied blood in the lab earlier, your squadmates settle for this opportunity to vent their anger. You'll be sitting ducks for the Anointed's Soned due to the lack of nearby cover in the hallway, so backtrack to the lab if necessary to bait the Wraiths. Once the beasts are down it's a trivial issue to deal with just 2 kett, cover or no cover.
There are two lootable containers in the hallway: one by the seats to the west and one next to the northern door. There's also an ammo cache in the middle of the hall.
Head to the navpoint to the northern door. It locks out on approach and the navpoint pivots to the one due west. Accessing the door generates an autosave and then a cutscene.
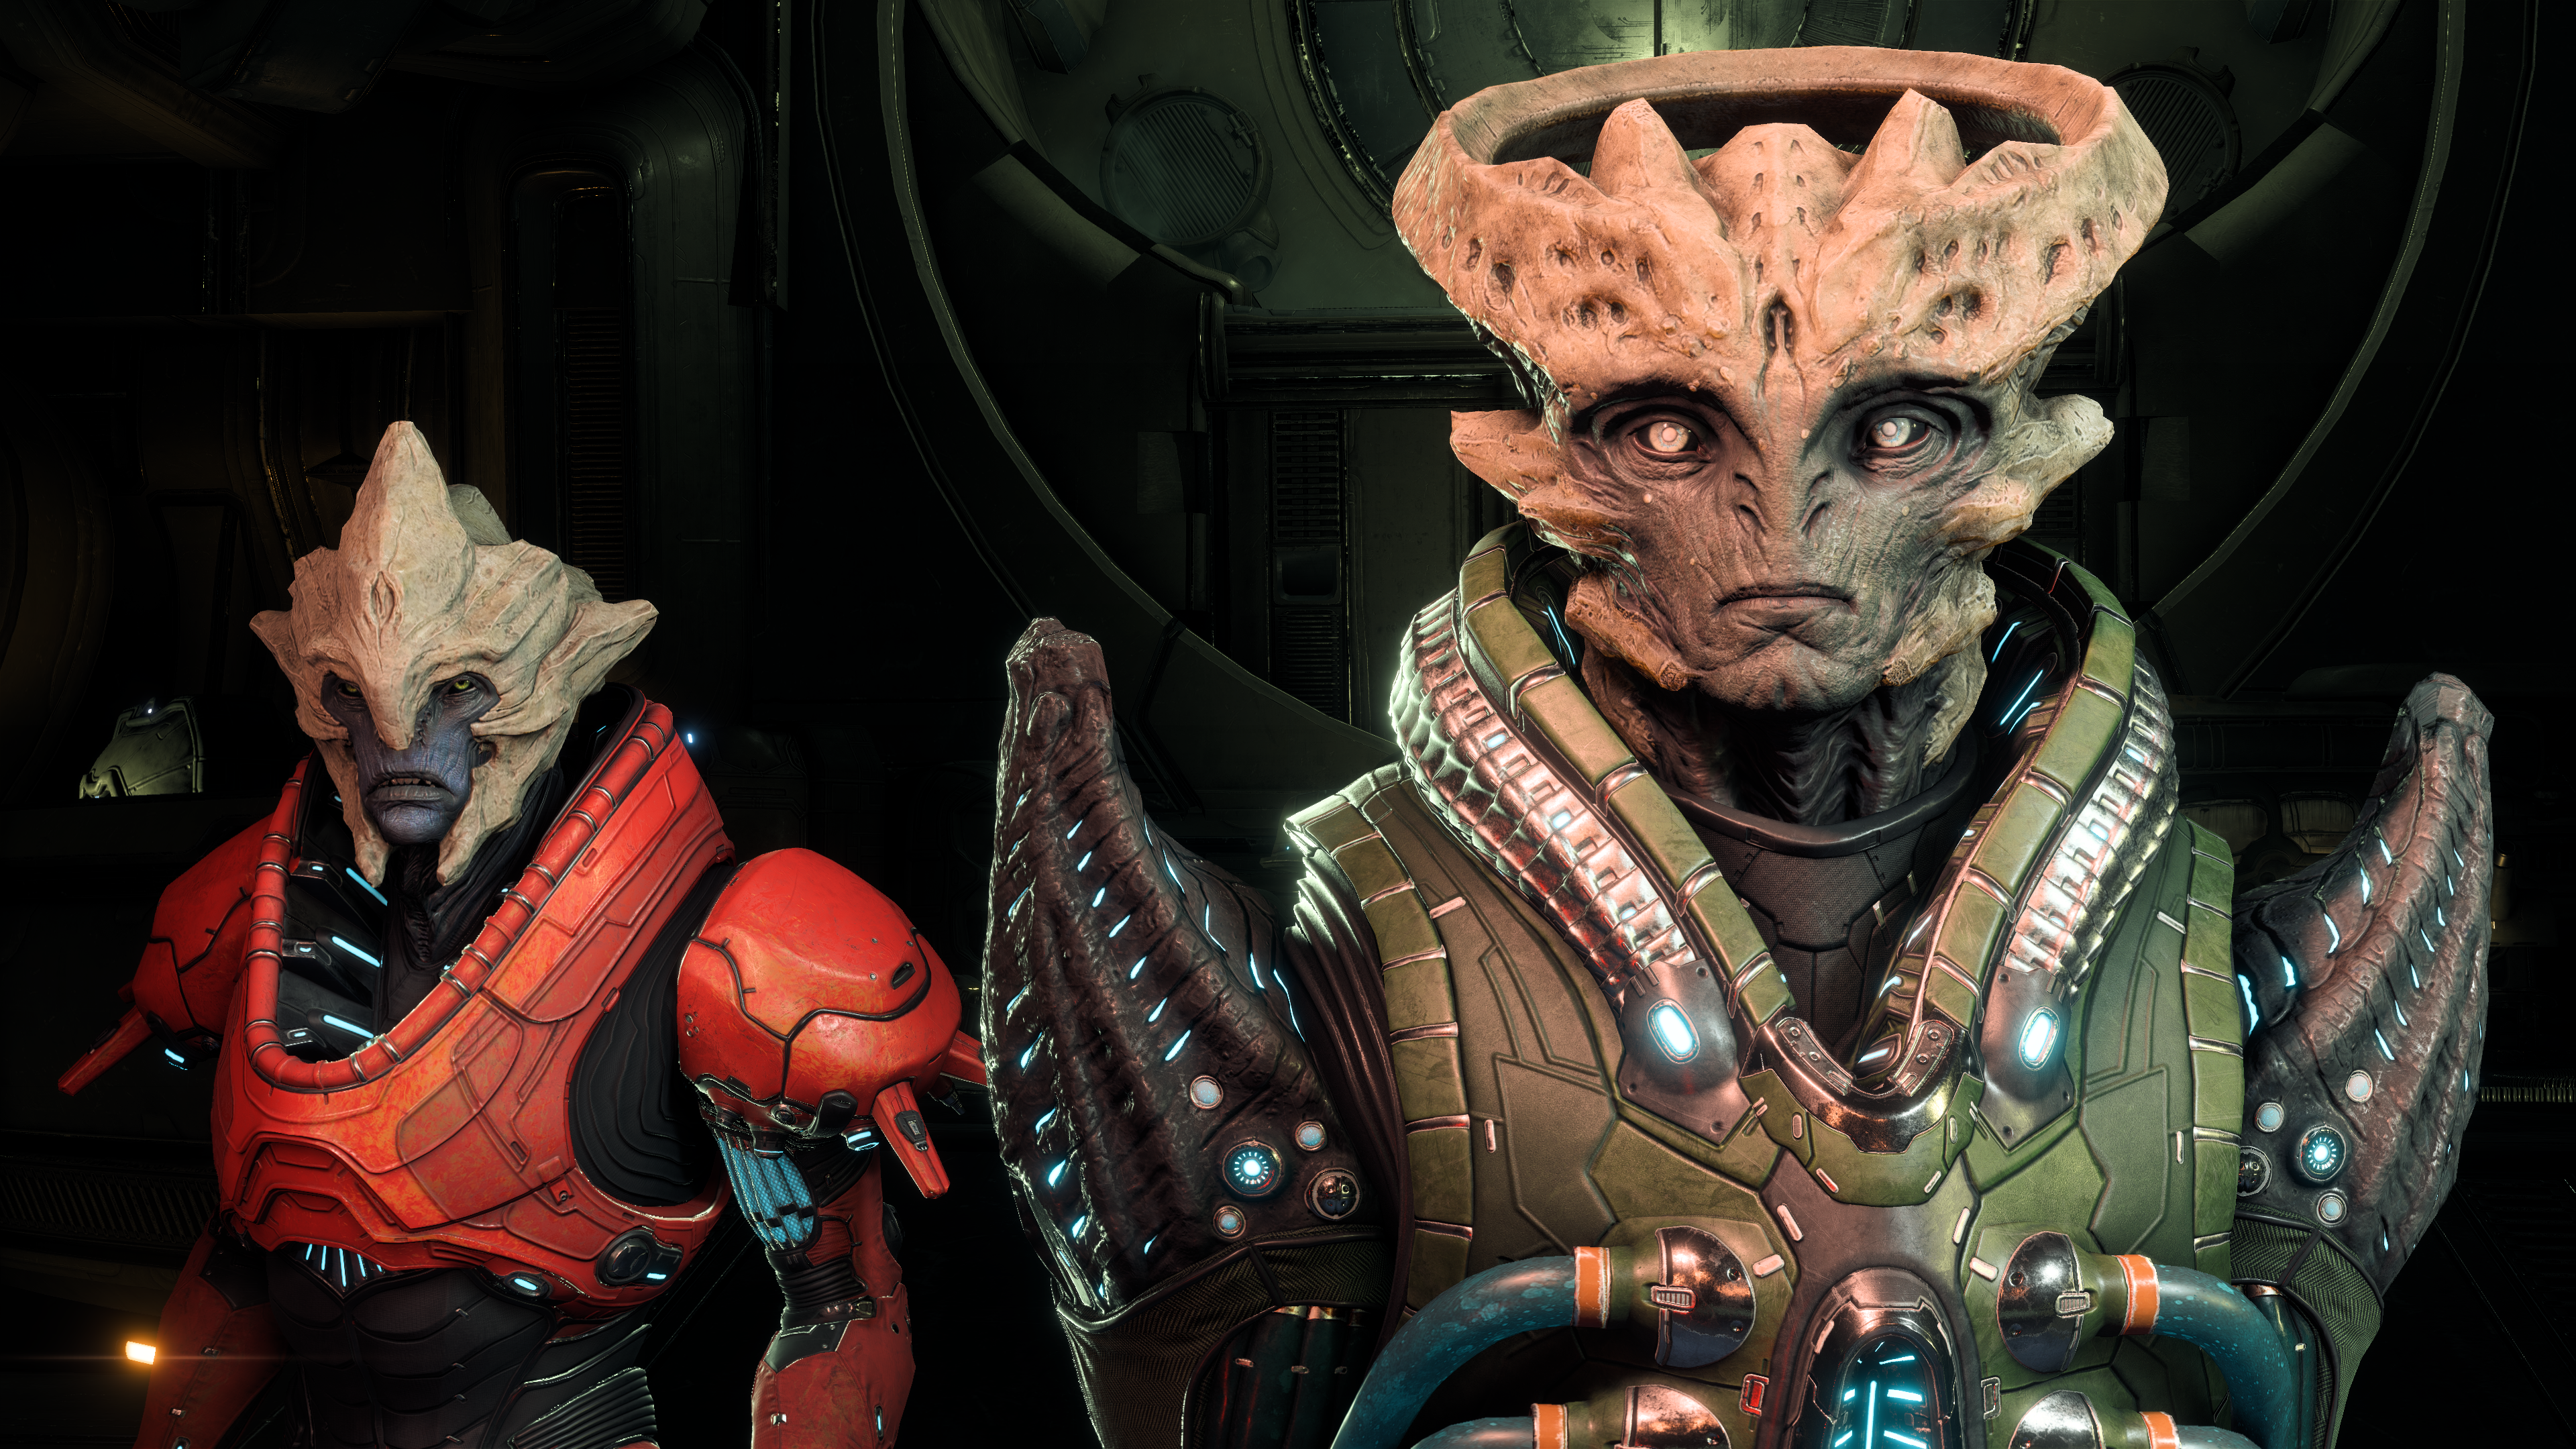
The next room is the central laboratory. There, your team is caught and suspended in an energy field and the Archon enters, guarded by his yet-unintroduced lackey. You have a chance to respond to his bad-guy speech, though whatever you say to him he'll grab Ryder's neck, eliciting cries of concern from your squad. He injects a biological transmitter into Ryder's bloodstream and taunts the Pathfinder to save their strength as this is the first sample. The Archon is interrupted by an alert of another problem somewhere else - probably the salarian team - and leaves.
SAM mentions that he would attempt to remove the Bio Tracker injected by Archon, though that's second priority compared to getting out. SAM suggests an unpleasant way to escape the field: stop Ryder's heart to fool the containment field into releasing "dead" weight. Whichever your response, you agree to the plan and "die" for the second time, freeing you from the field. SAM then cardiovascularly stimulates Ryder's heart twice before coming back to life. You resume control after Ryder frees the rest of the team.
Escape the trap[]
Raeka hijacks the ship's loudspeakers and taunts the Archon's forces. On comms with you she explains it's a diversion to give Hayjer and Venro time to set up the EMP device.
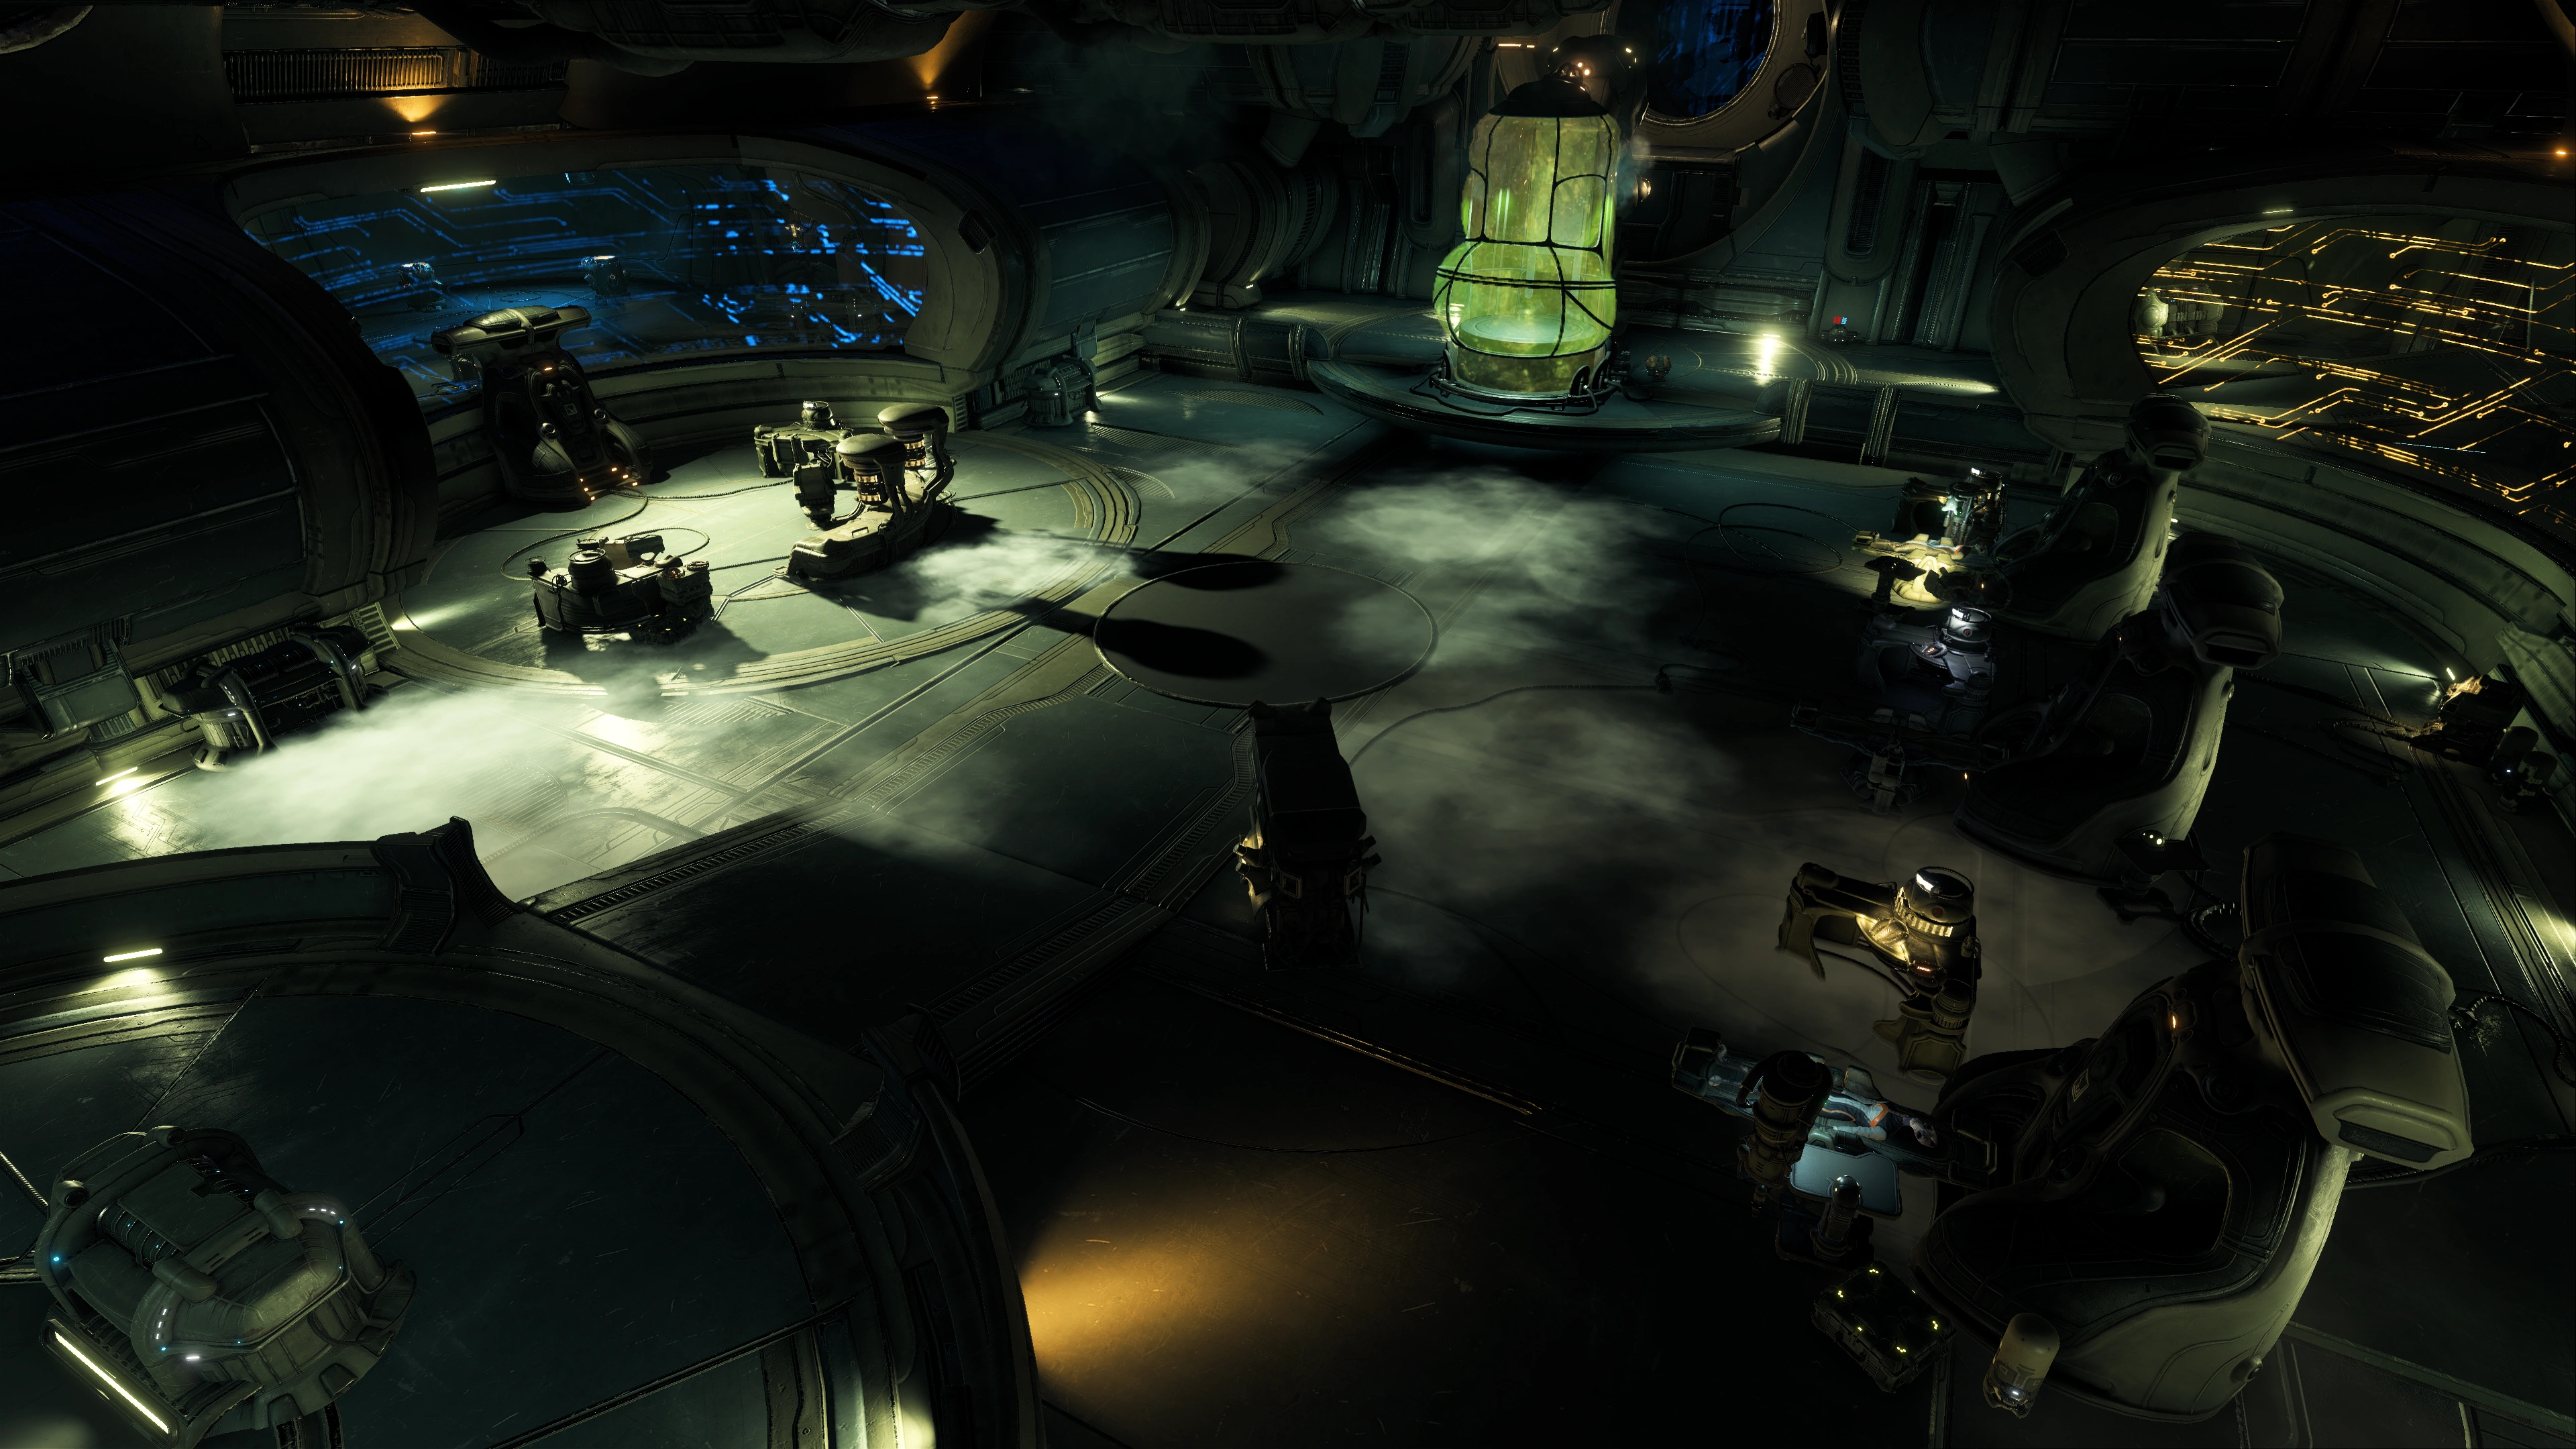
The central lab is huge and looks like an arena for a boss fight, though it isn't. It's merely a trove of kett intelligence gathered from several sources. There's no time pressure for busting out, take as much time as you need to learn what you can from the enemy.
There are numerous audio logs from the Primus and Archon interrogating the salarians and the Moshae.
The large Holding Tank can be scanned (+10 ![]() ) and a lootable container is next to the tank. On the wall behind the two is a health cache.
) and a lootable container is next to the tank. On the wall behind the two is a health cache.
In the east room, there are more audio logs, a lootable container, and a Kett Core Encryption Tech (+100 ![]() ).
).
There are two entrances to the west room. There is a lootable container next to each entrance.
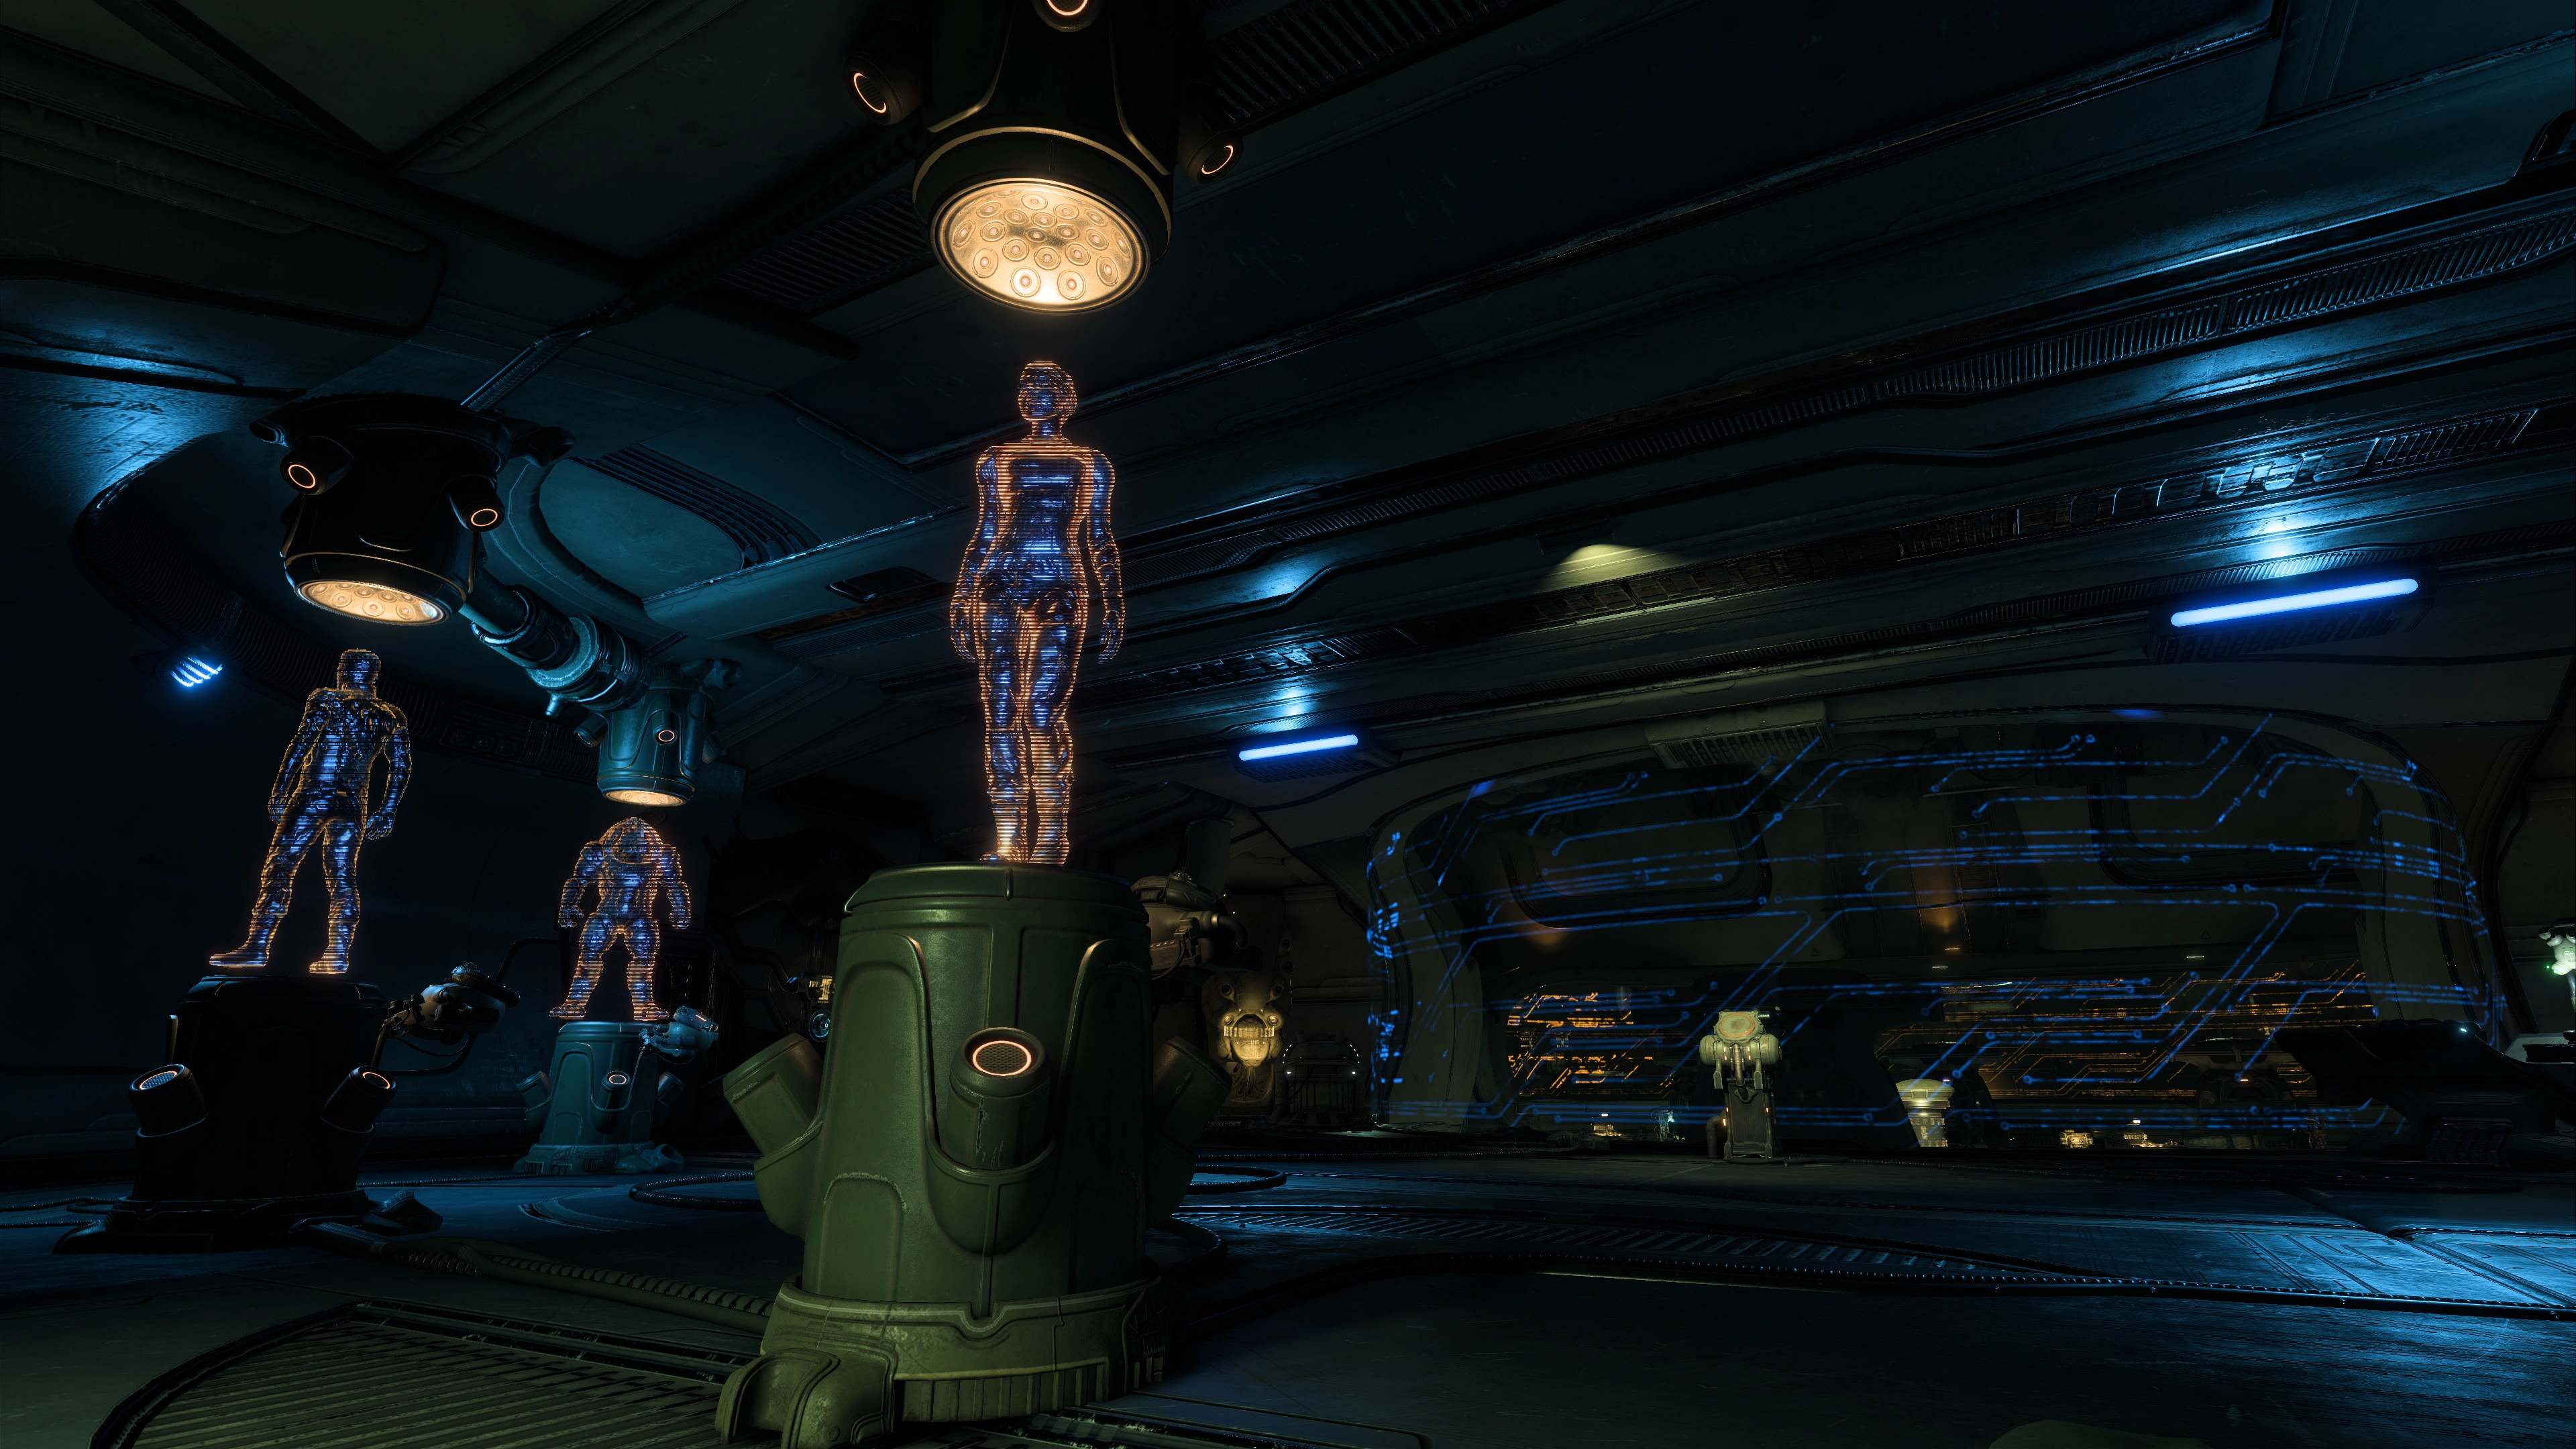
In the west room there are holographic images of the Milky Way races and the Archon assesses their useful genetic traits. There is a datapad in the table and a lootable container at the nearest door to these.
The large tunnel wall to the south can be scanned and is identified as a maintenance hatch. Use the Maintenance Hatch console at the center of the holo room to open a way out through the Maintenance Corridor. A new navpoint will then be added. Climb up and through the newly opened corridor. Note: If you already used the console before scanning the tunnel wall, you can still scan it for no research points.
There is a one-way drop at the end of the corridor leading further into the maintenance tunnel. Going through it completes this section and generates an autosave.
The maintenance corridor is in near-total darkness, lighted primarily by your armor's flashlight. You will hear screaming in the distance and encounter more empty salarian stasis pods. Fortunately the path is straightforward, just alternating between due west and north. Along the way your squadmates may voice their opinions on the kett being as evil as the worst they left behind in the Milky Way.
There are four containers to loot along the path, and no scannable objects except for the empty stasis pods (which also award no research points). A single Wraith will roar in the distance then come out of the shadows at you, when you're headed north past the room with windows and the third lootable container. Kill the animal then look for the single salarian corpse in the area. Your squadmates suppose he may have escaped through the ducts, and the animal was unleashed to hunt him. Scanning the corpse awards +10![]() . The fourth lootable container is also in the vicinity.
. The fourth lootable container is also in the vicinity.
Past the room with the dead salarian Raeka reports over comms that she has found some of her people still alive and is heading to them. The EMP is also armed and ready.
The corridor exits to the Antechamber. There are two lootable containers in the Antechamber, on opposite sides of the room, unlighted because Ryder switches off their lights even though the lighting here is also terrible.
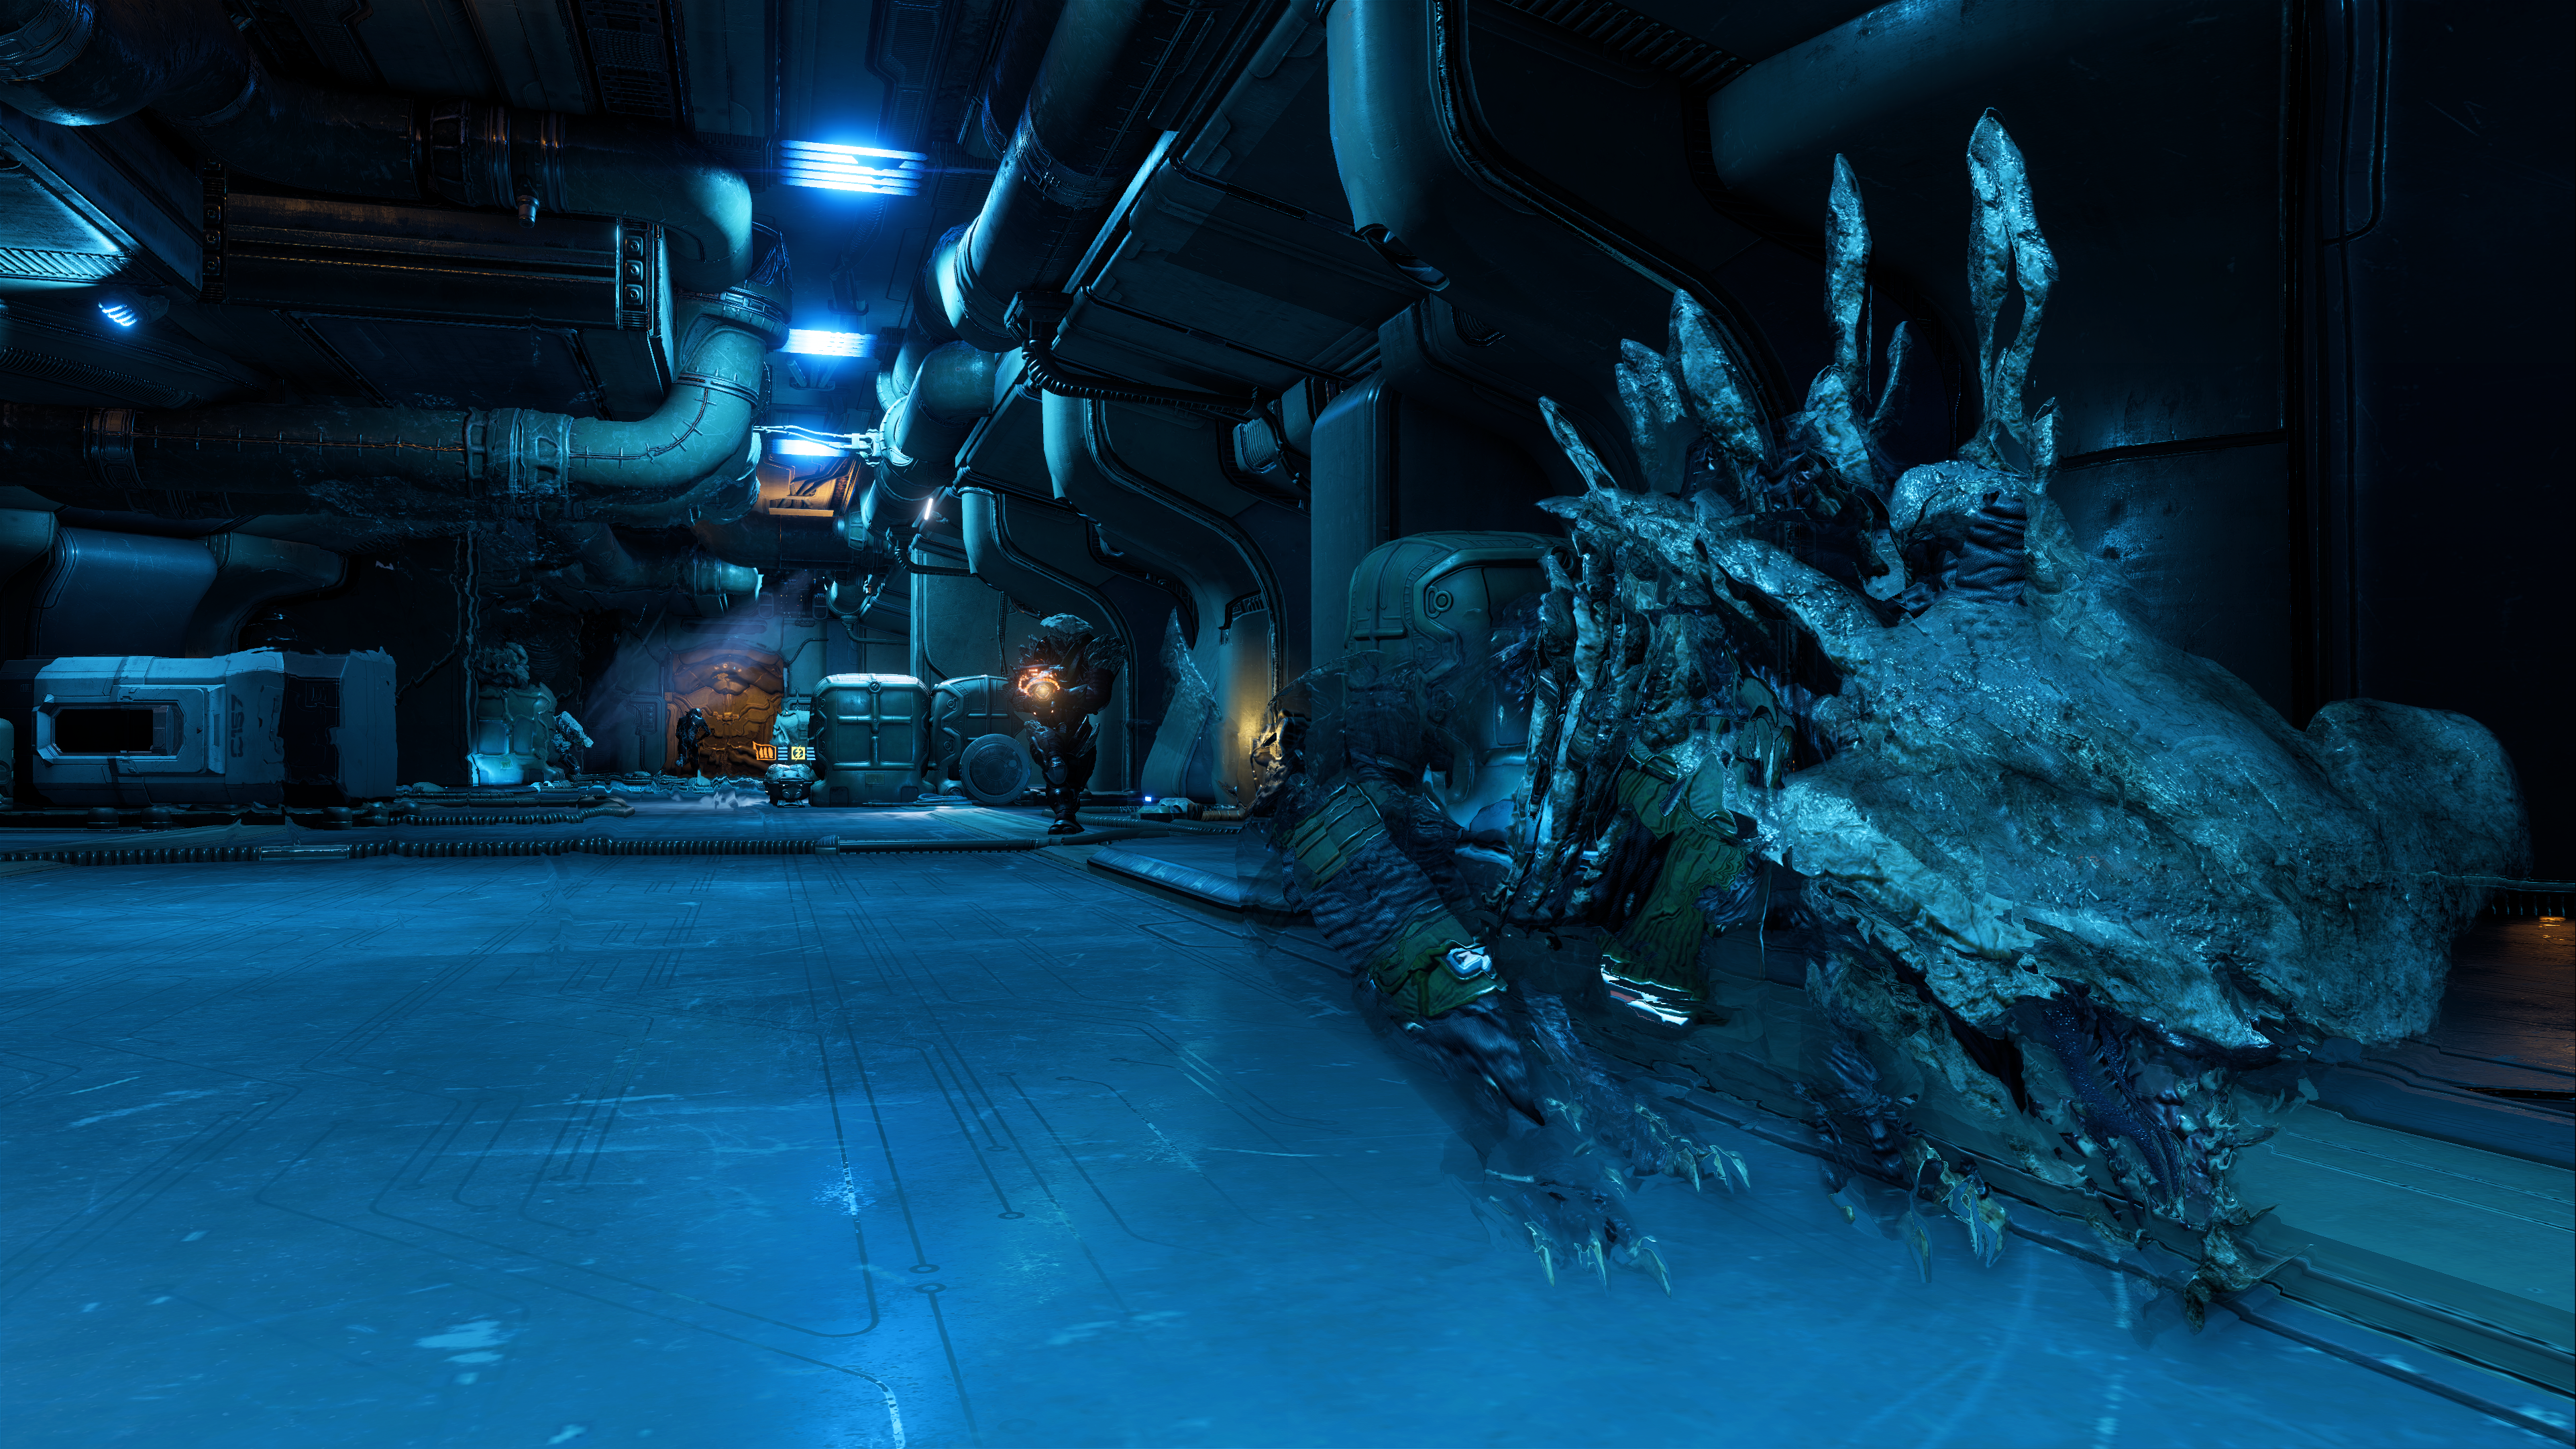
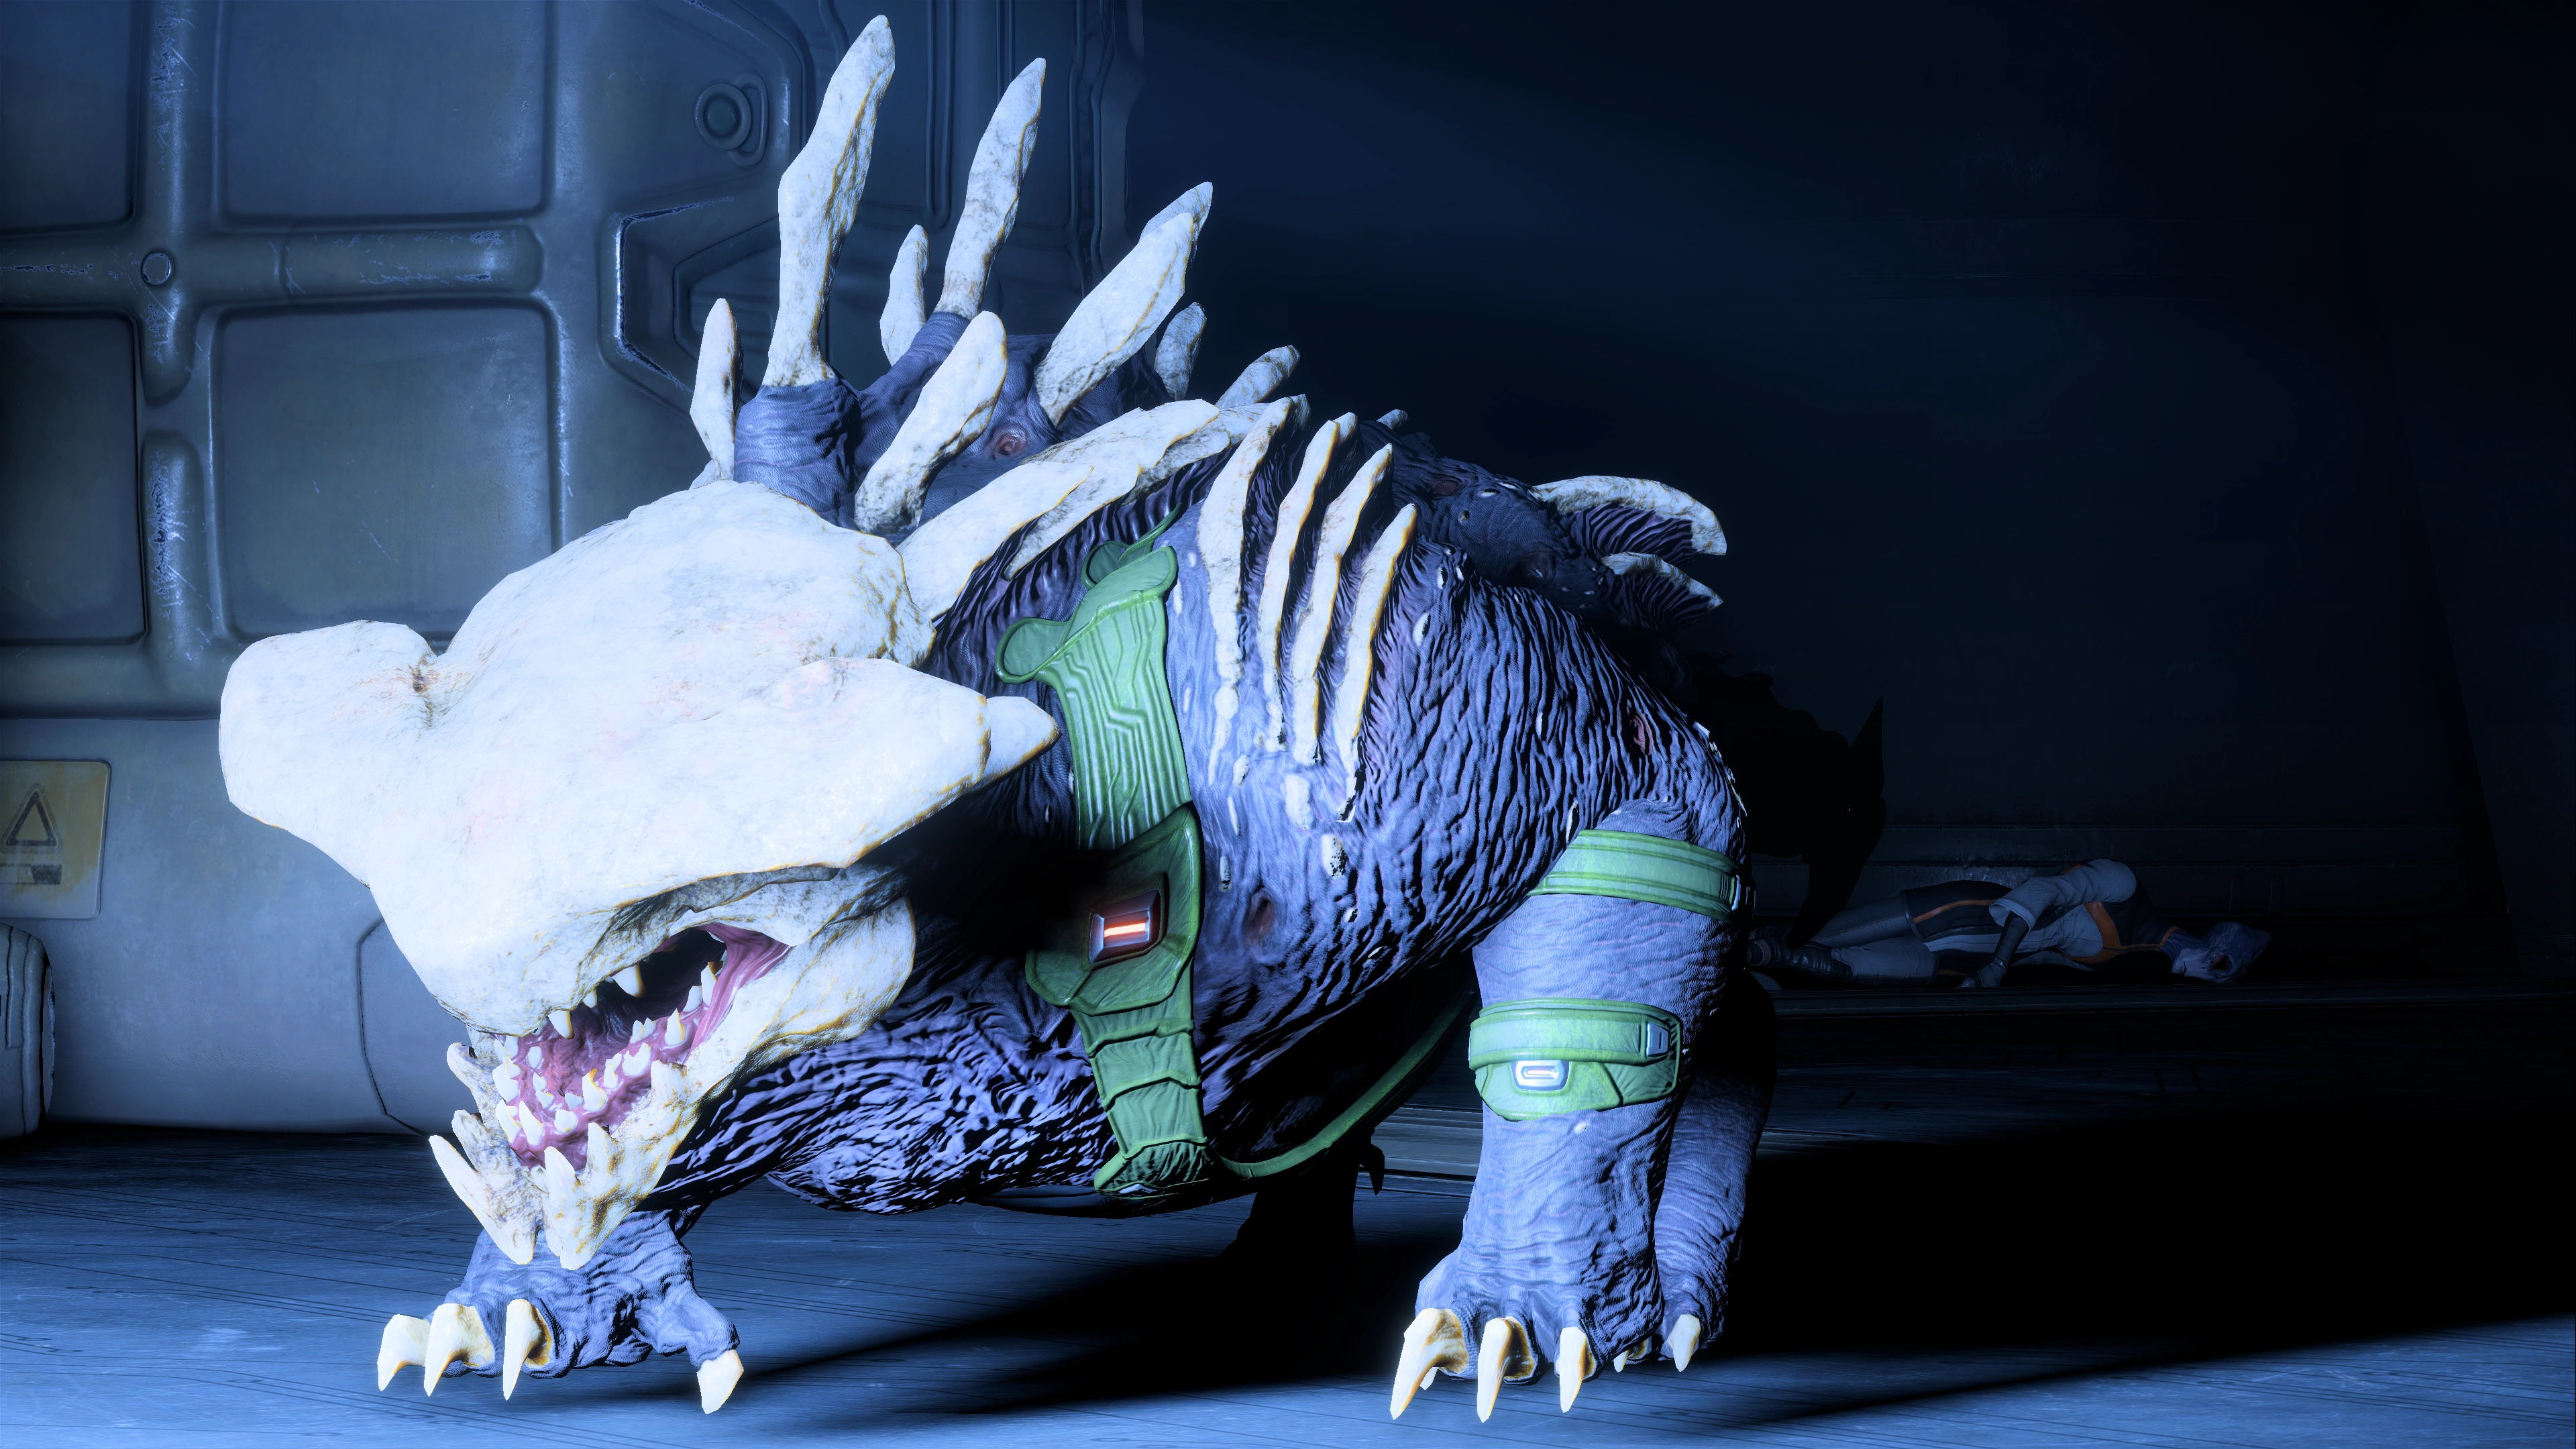
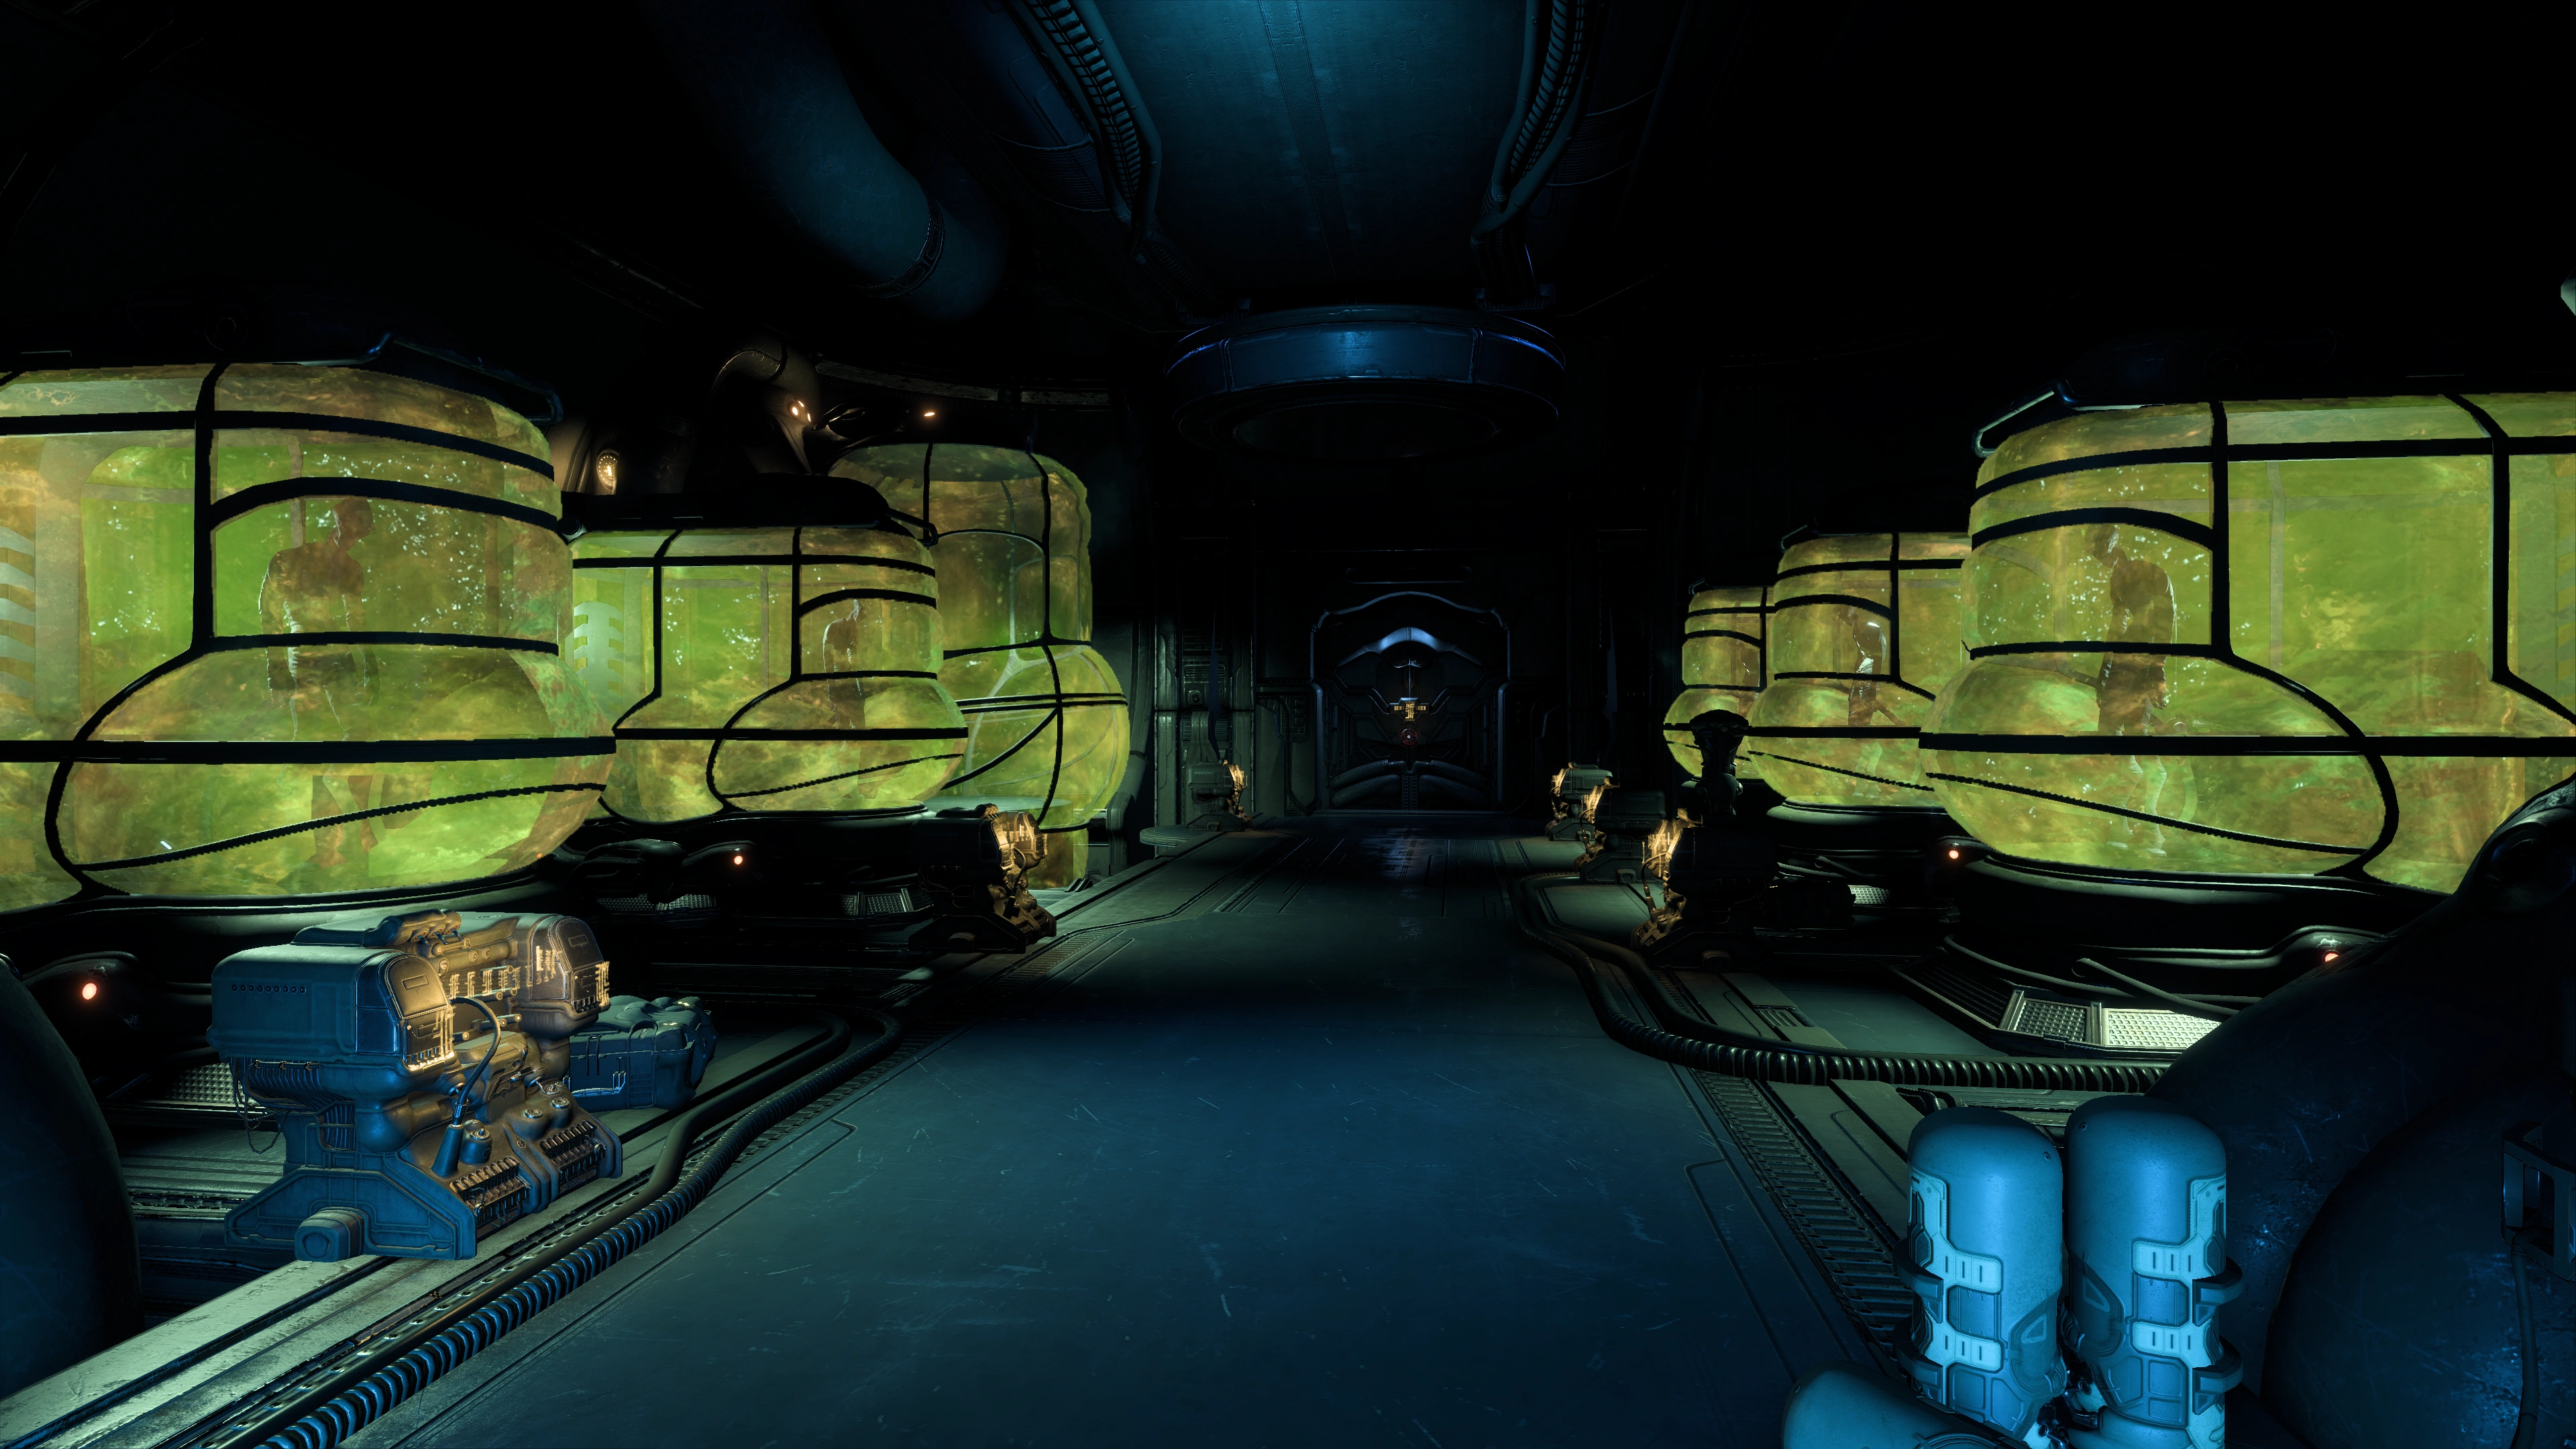
Accessing the door starts a cutscene and generates an autosave. There are more large holding tanks, most holding salarians, and one holding something that looks like a krogan but heavily modified - one of Drack's missing scouts. Gruesome indications that kett are making progress in their studies of exalting Milky Way species. After discussing the tanks, your squad finally enter the Archon's room.
Find the relic[]
The door locks when you go inside the chamber. Including the main objective, there are 11 Remnant objects in the room that can be scanned for +10![]() (+110
(+110![]() total). Some are the equivalent of junk but the Archon doesn't know better. Scan them before accessing the objective as they will become unavailable later.
total). Some are the equivalent of junk but the Archon doesn't know better. Scan them before accessing the objective as they will become unavailable later.
There is also a Kett Core Encryption Tech (+100 ![]() ). On the left side of the room is a lootable container. Paarchero is viewable to the south; Ryder has some comments here before and after achieving the main objective. Take note of the supply cache locations here, if you think this room is suspiciously shaped like a boss fight zone you are right.
). On the left side of the room is a lootable container. Paarchero is viewable to the south; Ryder has some comments here before and after achieving the main objective. Take note of the supply cache locations here, if you think this room is suspiciously shaped like a boss fight zone you are right.
The Meridian relic is in the other end of the room, opposite of the only door. Accessing it reveals a map showing the location of Meridian as well as its shape. The Archon shows up as a holographic image and is arrogant to Ryder. Unfortunately the Archon now knows about SAM. The Archon says he will destroy their ships and Ryder immediately alerts the salarian team to fire the EMP device. An electrical discharge takes place and the gun battery is disabled.
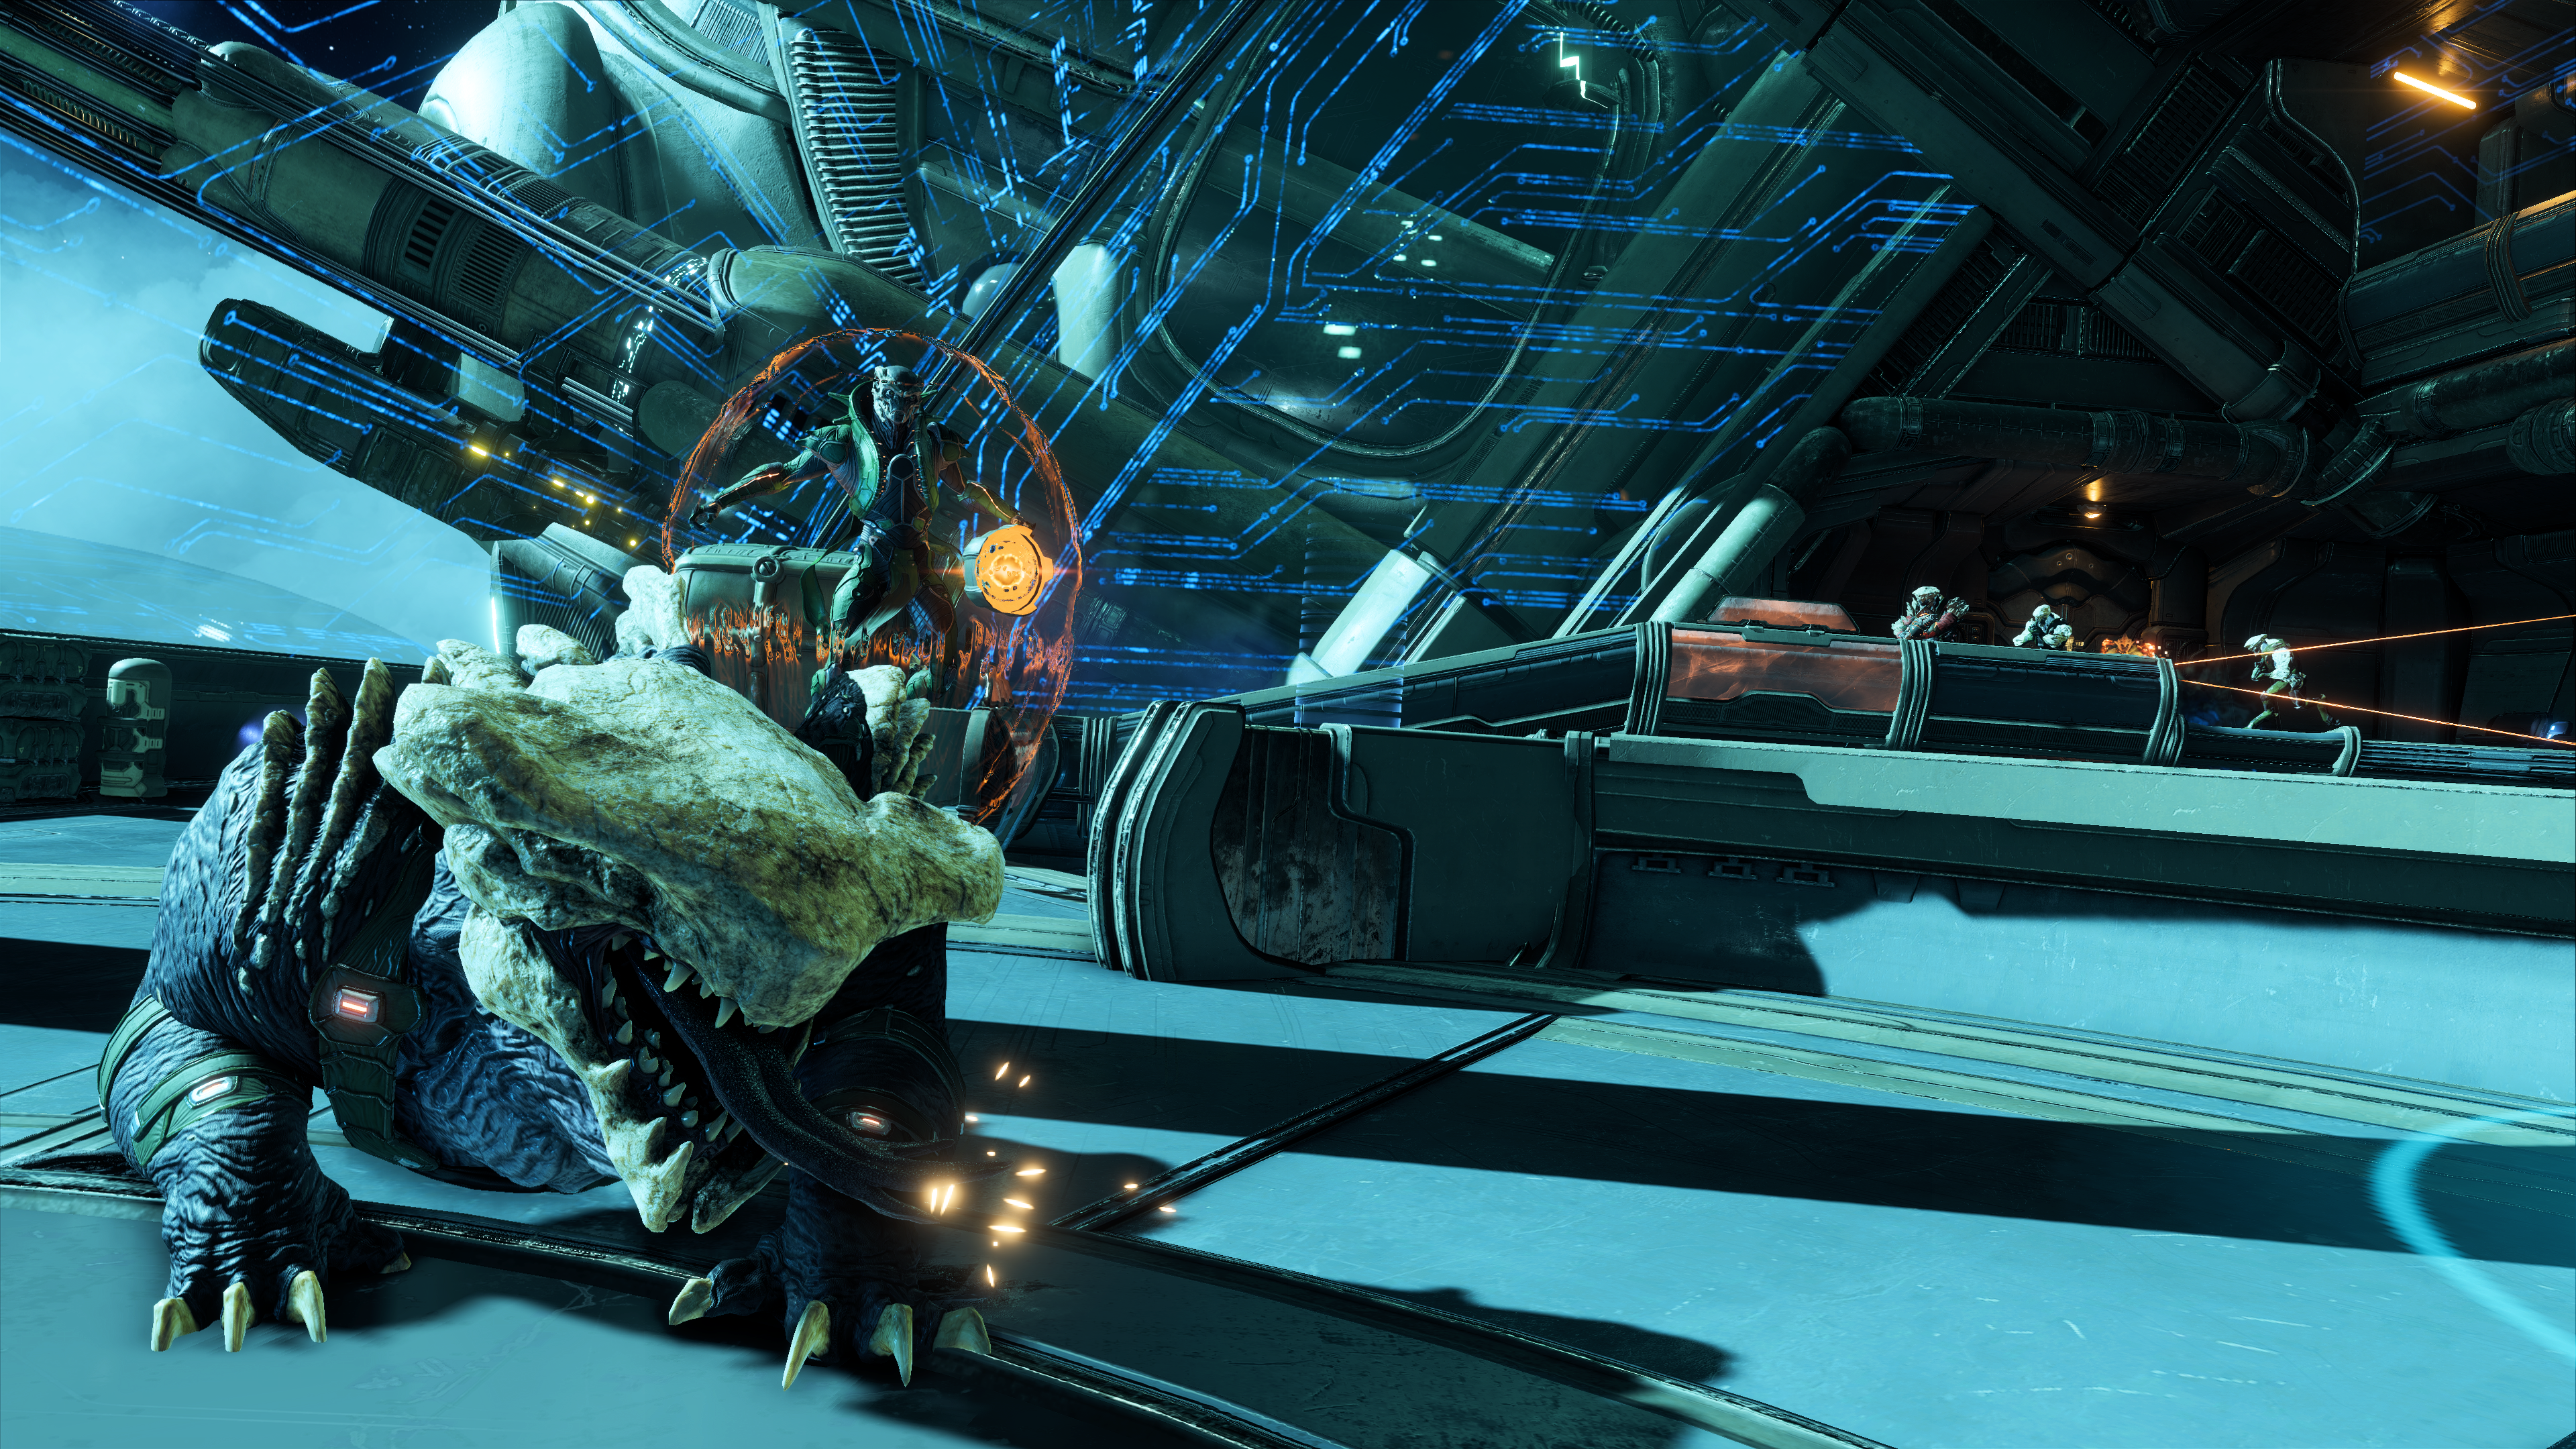
Kill the exalted krogan and the kett[]
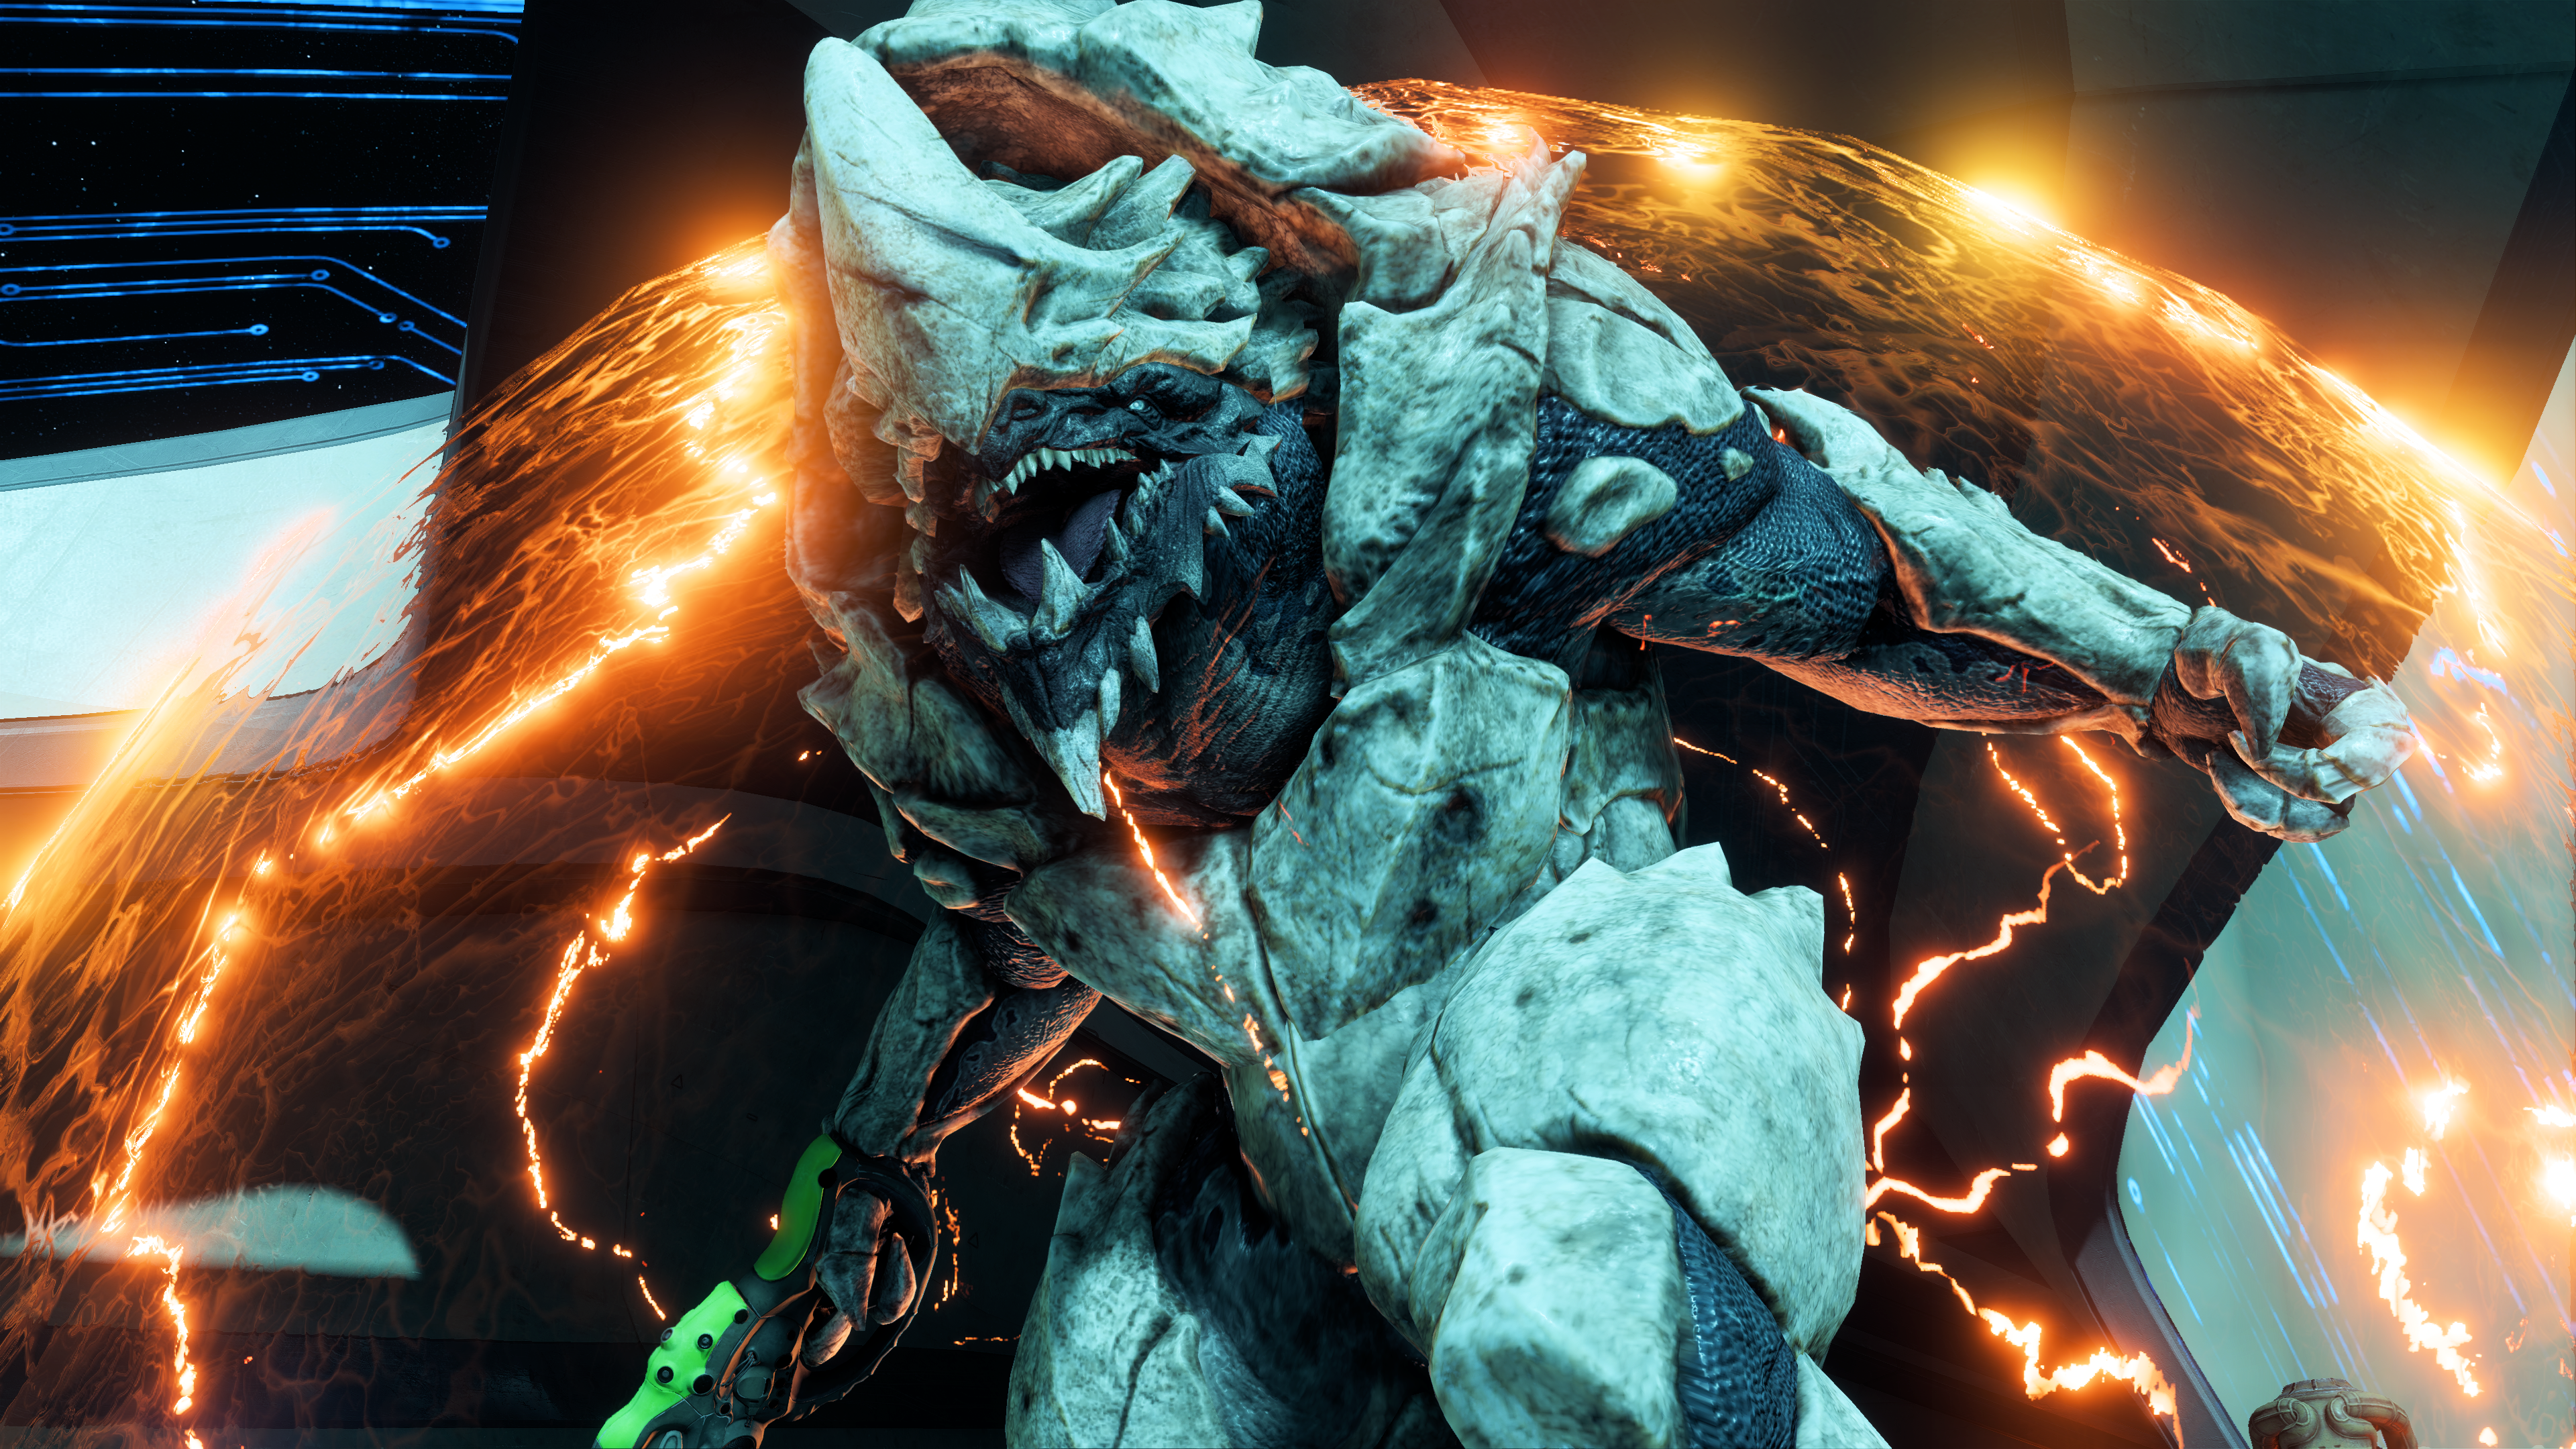
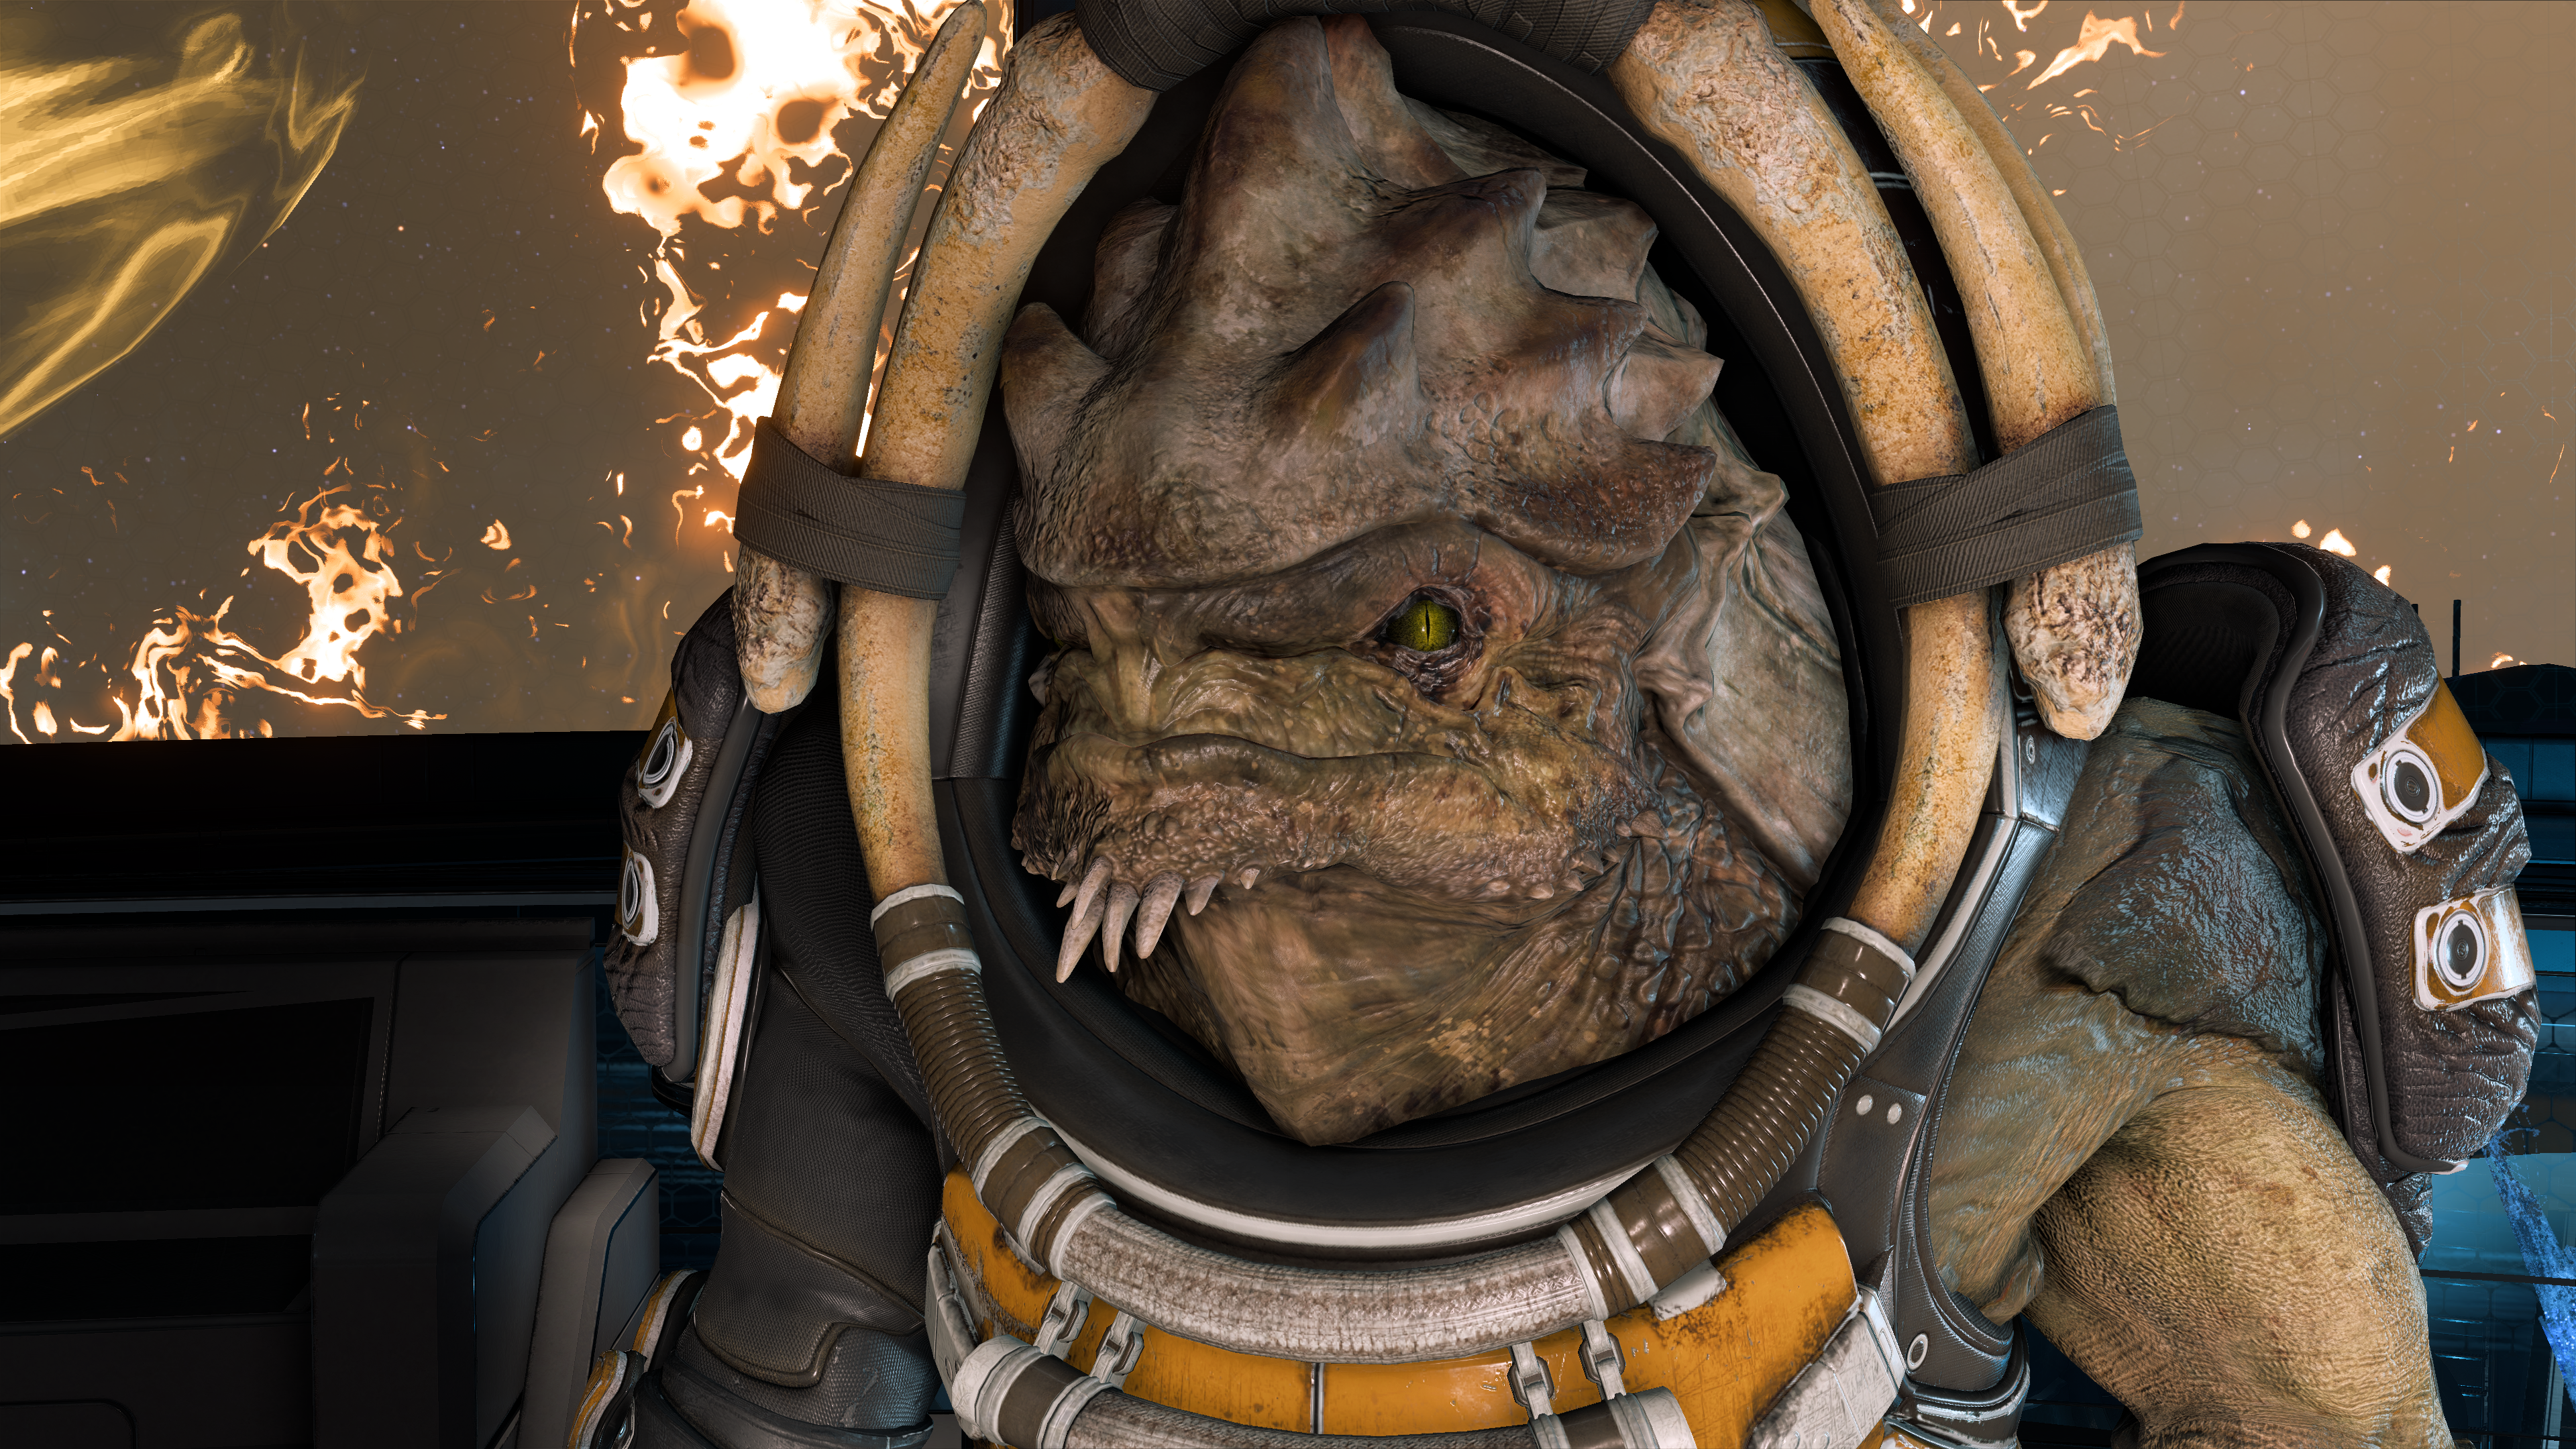
In the previous room, the exalted krogan Behemoth is freed from its tank and comes at your team using the Archon's Chamber as its "boss fight" arena. Your squadmates bring up Drack if he isn't in the party, or Drack himself tries and fails to command his former subordinate. There's no way out of here but violence. Meanwhile Hayjer comms in to provide a status report, but Ryder tells him off as you're busy fighting.
The initial battle is just your team against the Behemoth. When its armor drops down to certain levels, waves of kett arrive to reinforce it: first is a group of 3 Chosen, then more Chosen and a Destined. You might be better off dealing with the standard kett first before the Behemoth, as the creature is a veritable damage sponge that occasionally heals itself while the reinforcements are not unlimited.
Note: If you want to scan the Behemoth for Aid APEX, then it is strongly suggested to do so now. Depending on your upcoming decision in the aftermath of this fight, either this is the only Behemoth your Ryder will face, or you will have a few more opportunities to scan it further in the game.
When you've killed all the enemies, the chamber door is accessible again and a new navpoint appears. SAM nags you to escape the ship immediately, but there's no time pressure. Make sure you have no further business here before leaving.
Escape the kett ship[]
You return to the previous area with the tanks and SAM discovers krogan life signs. They are scheduled for exaltation. Raeka is pinned down as well, she says over the comm. You only have time to save either the krogan scouts or the salarian Pathfinder.
You are now at a game-changing crossroads: Go back for Pathfinder Raeka, or continue on with liberating the krogan. One of the next two objectives below becomes the relevant next step of this walkthrough, and there are further repercussions in the aftermath of this mission. An autosave is generated once you arrive at the next area, which differs depending on your choice.
Rescue the captive salarians[]
Your squad arrives at Laboratory 19, outside a closed door. Raeka seems fine, but beyond the door is all-out kett resistance.

Once the conversation is over the door automatically opens and Raeka charges ahead. A navpoint is added at the far end of the hallway and a large number of kett enemies arrive. Enemy composition is a bunch of Chosen, an Anointed, and some Destined initially. Later waves include more of the same and Wraiths. Don't worry about Raeka's health, she's invulnerable but deals crap damage anyway, so it's still up to you to finish the mission off quickly.
You will be fighting in two corridors going west, with Paarchero in view at the windows to the south, then to a large chamber. There are 2 ammo caches and 1 health cache in the corridors and zero scannables or lootable containers.
The large chamber is initially empty but fills up with enemies once you go in. It has an initial enemy composition of 3 Chosen, 2 Destined, 1 Anointed, and 1 Ascendant, the last one emerging from the cell of the salarian prisoners. Reinforcements arrive from the doors to the north, Destined and Anointed, so do not be blindsided when engaging the enemy. There is an ammo cache in the center of the room.
Once the kett are defeated, interact with a console at the navpoint to release the salarians and finish this portion of the mission. The final mission autosave is then generated.
Rescue the captive krogan[]
Your squad arrives at Laboratory 34, outside a closed door. A krogan named Birtak is waiting there who either talks to you or Drack if he's present. He managed to escape during the EMP attack, but the rest of the scouts are held beyond the door.
Once the conversation is over the door automatically opens and Birtak charges ahead. A navpoint is added at the far end of the hallway and a large number of kett enemies arrive. Enemy composition is a bunch of Chosen, an Anointed, and some Destined initially. Later waves include more of the same and Wraiths. Don't worry about Birtak's health, he's invulnerable but deals crap damage anyway, so it's still up to you to finish the mission off quickly.
You will be fighting through a very long corridor similar to Lab 16 earlier, only this time the main forward doors are open and there's no access to the side chambers. Window views to the north show the orbited gas giant but no salarian ark. First section has an ammo cache, second section has an ammo and health cache, third section has 2 ammo caches, and the fourth one has the scout holding cell as well as a health cache. There are no scannables or lootable containers throughout this level.
The final section has an Ascendant outside the holding cell of the scouts, supported by a gaggle of Anointed, Destined, and Chosen. The doors to the final section are initially closed but automatically open on approach. The fight may be a bit more challenging since there is little room to maneuver whenever the Ascendant fires off its huge barrier-killing attack.
Once the kett are defeated, interact with a console at the navpoint to release the krogan and finish this portion of the mission. The final mission autosave is then generated.
Aftermath[]
When it's over, the Tempest and Paarchero escape before the Verakan has powered up its guns.
On the Tempest briefing room, Raeka or Hayjer relay that the ark is en route to the Nexus. Drack shows up to provide his take, his mood and dialogue dependent on who you chose to save and whether he was in the squad that time. SAM recognizes you made a hard call and claims Alec would have been proud; you can accept it or dismiss it.
Back on the kett ship, it's revealed the Archon has accessed Ryder's memory flashes and other intel crucial to understanding Meridian. Primus reminds him their mission is to exalt the Heleus Cluster, not to study the Remnant, and that questions have been asked from their superiors about the Archon's judgement. The Archon is unconcerned, viewing footage of whoever was left behind on the flagship being corralled for study and/or exaltation.
Again on the Tempest briefing room, Dr. Suvi Anwar explains the security breach to you and you can choose how to react. After this conversation the mission is finally complete. The next Priority Op is activated: The Journey to Meridian.
Several missions become available after the completion of this one. Read emails and talk to crew members to begin them. You must read all your emails before talking to the crew or else you will get failed step notification on at least two of the crew side quests. If you're pursuing a romance with any character, some of the unlocked missions will advance that progress.
Meanwhile, you may have escaped the Archon but the Initiative ships are still in Tafeno when you access the galaxy map. Paarchero will be gone from the system once you jump out, and show up docked at the Nexus the next time you visit the station.
Sometime after the mission one of the salarians emails you, forwarded by Kallo:
The impact of this mission on upcoming events is thus:
- If Pathfinder Raeka is saved
Behemoths show up in The Journey to Meridian and Meridian: The Way Home. Lasske Vel will be on Prodromos after the mission. Not saving the krogan scouts will prevent Nakmor Drack: Clutch Moment from being acquired after Epilogue: Home and Away.
- If the krogan scouts are saved
Salarians show up in the game's final battle, not yet exalted but hostile. Raeka is assumed dead and Captain Hayjer is chosen as the next Pathfinder for the salarians. Grendmar will be on Prodromos after the mission.
Rewards[]
- +3300 XP (not shown on screen)
- +1000 AVP

Enemies[]
| ← Previous Mission | Mission Index | Next Mission → |
|---|---|---|
| A Trail of Hope II | Missions (Mass Effect: Andromeda) | The Journey to Meridian |