Lessandra C (talk | contribs) m (Made the location a link) |
m (v. aids) |
||
| Line 9: | Line 9: | ||
== Walkthrough == |
== Walkthrough == |
||
| − | [[File:CapekMechs.jpg|right|200px|LOKI Mechs shortly before self destruction]] |
||
For this mission, squadmates with [[Overload]] will be invaluable. Also Zaeed’s disruptor ammo is a good choice. [[AI Hacking]] isn’t as effective as you would think, but it isn't a bad idea to bring [[Tali]] or [[Legion]]. |
For this mission, squadmates with [[Overload]] will be invaluable. Also Zaeed’s disruptor ammo is a good choice. [[AI Hacking]] isn’t as effective as you would think, but it isn't a bad idea to bring [[Tali]] or [[Legion]]. |
||
When you land, run forward and get into cover because two [[FENRIS Mech]]s and two [[LOKI Mech]]s will come out of the facility’s main door. Taking them down isn’t a problem, but the rest of this mission will be. Enter the facility and once you are inside, head forward into the room. Inside you will see a med-kit, a wall safe, and a computer, however there is also a LOKI mech walking in the hallway. Don’t shoot it, because your bullets won’t penetrate the glass, and it will explode, shattering it anyway. Grab the [[Medi-gel]] and the credits from the wall safe before proceeding. |
When you land, run forward and get into cover because two [[FENRIS Mech]]s and two [[LOKI Mech]]s will come out of the facility’s main door. Taking them down isn’t a problem, but the rest of this mission will be. Enter the facility and once you are inside, head forward into the room. Inside you will see a med-kit, a wall safe, and a computer, however there is also a LOKI mech walking in the hallway. Don’t shoot it, because your bullets won’t penetrate the glass, and it will explode, shattering it anyway. Grab the [[Medi-gel]] and the credits from the wall safe before proceeding. |
||
| − | {{Warning}}When you enter the main room, be aware that you will now face an almost endless series of LOKI Mechs, until you reach a certain point. |
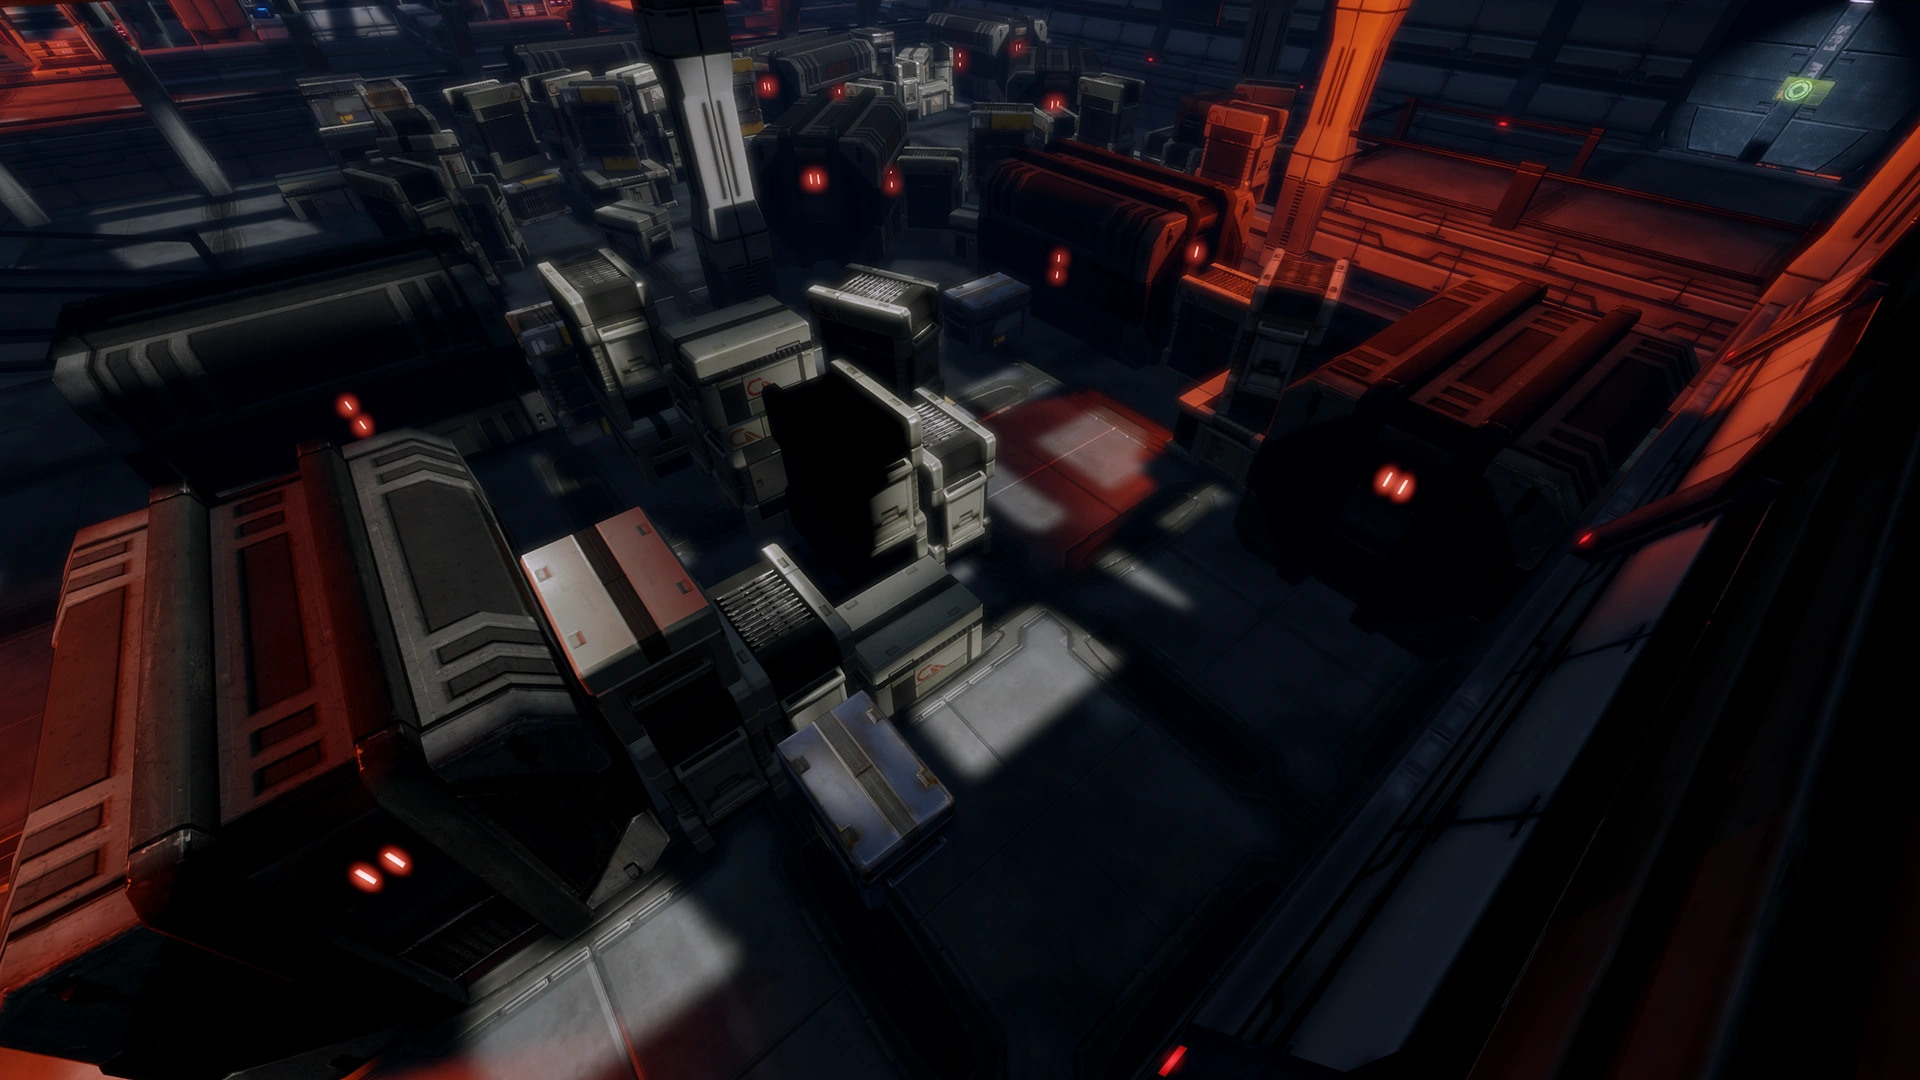
+ | [[File:Capek - h-k facility obstacle overview.png|260px|right|The initial trio of LOKI mechs will spawn in the southeast quadrant of this image, use the terrain wisely or just get to the door fast]]{{Warning}}When you enter the main room, be aware that you will now face an almost endless series of LOKI Mechs, until you reach a certain point. |
When you enter, examine officer Gamble's pad, then move up to cover and face the last two FENRIS Mechs on this assignment. Once they are dealt with, grab the eezo on the wall to the right and now your assignment is to get to the end of this maze alive, and that won’t be easy. When you first move down, get your squadmates into cover, and shoot the LOKI Mechs in the wave, then move up to the next cover position. You will have to repeat this process through the factory. The first corner can be tricky, as the waves are very close together, so moving up will be a problem. However, once you are past the first and second corners, and into the small clear area, all you need to do is hold off about ten more LOKI mechs before they stop. |
When you enter, examine officer Gamble's pad, then move up to cover and face the last two FENRIS Mechs on this assignment. Once they are dealt with, grab the eezo on the wall to the right and now your assignment is to get to the end of this maze alive, and that won’t be easy. When you first move down, get your squadmates into cover, and shoot the LOKI Mechs in the wave, then move up to the next cover position. You will have to repeat this process through the factory. The first corner can be tricky, as the waves are very close together, so moving up will be a problem. However, once you are past the first and second corners, and into the small clear area, all you need to do is hold off about ten more LOKI mechs before they stop. |
||
| − | When the LOKIs finally stop coming, before heading up the ramps, there is a side passage near the ramp that has some more eezo at the end of it. There are also some power cells near the entrance to the area (where Gamble's body is). When you have it, backtrack to the ramps, go up and through the door. Inside are some more ramps, and on the lower level the final crate of eezo, be sure to grab it before moving on. Head up the ramps and you arrive in the factory’s control center. Hack the terminal to shut down the production line, and you are then treated to a cutscene where the squad is running out as the LOKI Mechs’ self-destruct procedures are activated. Then, as the squad leaves, they all self-destruct as the [[UT-47 Kodiak Drop Shuttle|Kodiak]] lifts off from the facility and is seen though the skylights. |
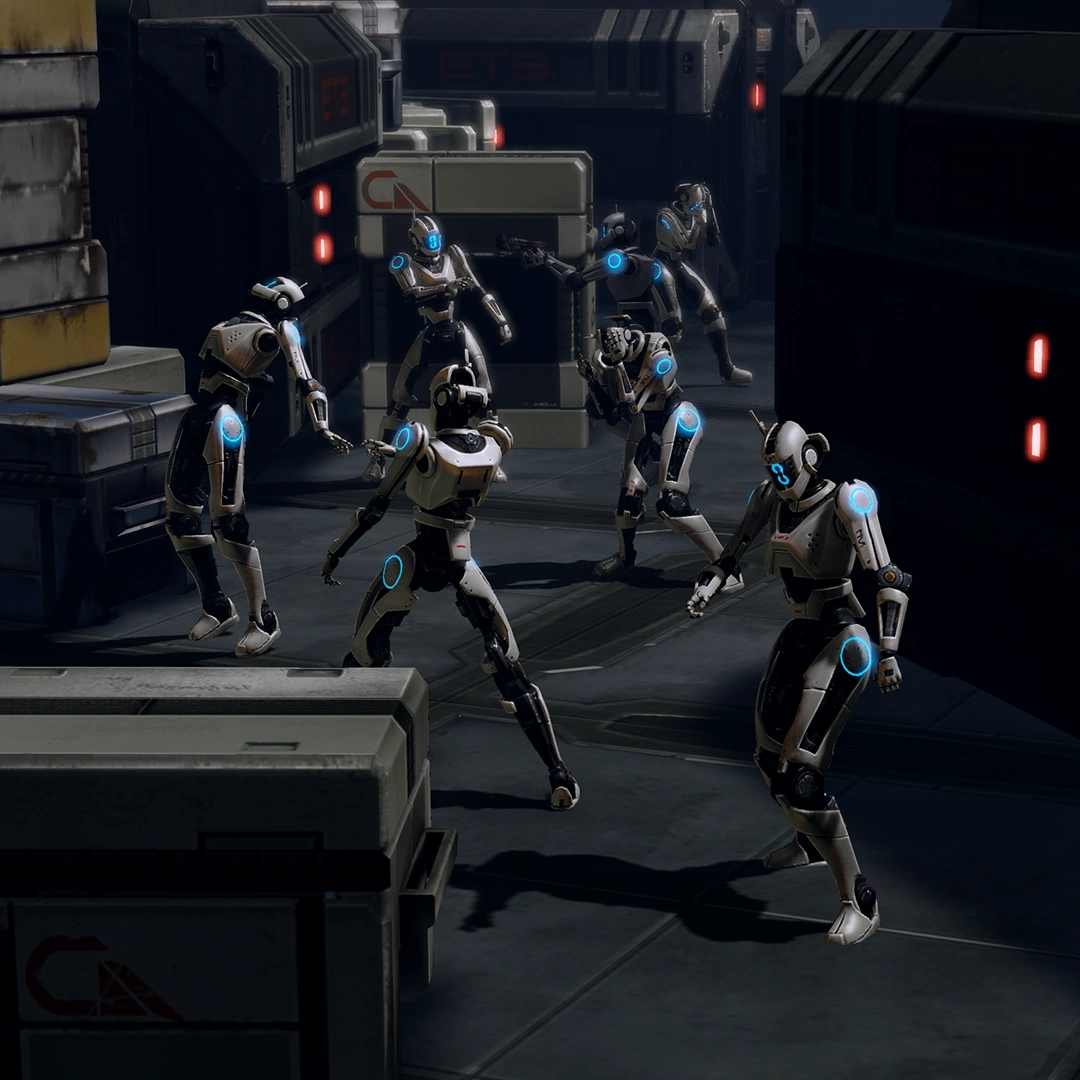
+ | [[File:Capek - loki malfunction.png|200px|left|Malfunctioning LOKIs moments before they explode]]When the LOKIs finally stop coming, before heading up the ramps, there is a side passage near the ramp that has some more eezo at the end of it. There are also some power cells near the entrance to the area (where Gamble's body is). When you have it, backtrack to the ramps, go up and through the door. Inside are some more ramps, and on the lower level the final crate of eezo, be sure to grab it before moving on. Head up the ramps and you arrive in the factory’s control center. Hack the terminal to shut down the production line, and you are then treated to a cutscene where the squad is running out as the LOKI Mechs’ self-destruct procedures are activated. Then, as the squad leaves, they all self-destruct as the [[UT-47 Kodiak Drop Shuttle|Kodiak]] lifts off from the facility and is seen though the skylights. |
{{note}}There is a way to avoid these endless amounts of LOKI Mechs, if you’re going through it on the Insanity difficulty. When the first three Mechs appear, run past them, and the others that you would normally encounter after the first three do not spawn at all. |
{{note}}There is a way to avoid these endless amounts of LOKI Mechs, if you’re going through it on the Insanity difficulty. When the first three Mechs appear, run past them, and the others that you would normally encounter after the first three do not spawn at all. |
||
Revision as of 16:53, 21 September 2012
A Hahne-Kedar facility on the planet Capek is in a state of high alert. This facility is the source of the VI virus that has corrupted mechs and mech parts throughout the sector. Stopping the production line is key to ending the outbreak.
Acquisition
After the completion of N7: Abandoned Research Station, Shepard receives a message from EDI about the facility as the possible source of a VI virus that caused the MSV Corsica to crash and led Jarrahe Station's internal VI to kill the scientists aboard.
A scan of Capek (Titan Nebula / Haskins System) yields the following message:
“Surface scan detects mech production facility matching the registration parameters of Hahne-Kedar Corporation. Facility reports emergency lockdown at this location. Personnel scans report no living beings detected. Hazard scans show a large number of virus-infected mechs quarantined within the facility. Deactivation of the primary production line controls should disrupt the creation of additional infected mechs.”
Walkthrough
For this mission, squadmates with Overload will be invaluable. Also Zaeed’s disruptor ammo is a good choice. AI Hacking isn’t as effective as you would think, but it isn't a bad idea to bring Tali or Legion.
When you land, run forward and get into cover because two FENRIS Mechs and two LOKI Mechs will come out of the facility’s main door. Taking them down isn’t a problem, but the rest of this mission will be. Enter the facility and once you are inside, head forward into the room. Inside you will see a med-kit, a wall safe, and a computer, however there is also a LOKI mech walking in the hallway. Don’t shoot it, because your bullets won’t penetrate the glass, and it will explode, shattering it anyway. Grab the Medi-gel and the credits from the wall safe before proceeding.
Warning: When you enter the main room, be aware that you will now face an almost endless series of LOKI Mechs, until you reach a certain point.
When you enter, examine officer Gamble's pad, then move up to cover and face the last two FENRIS Mechs on this assignment. Once they are dealt with, grab the eezo on the wall to the right and now your assignment is to get to the end of this maze alive, and that won’t be easy. When you first move down, get your squadmates into cover, and shoot the LOKI Mechs in the wave, then move up to the next cover position. You will have to repeat this process through the factory. The first corner can be tricky, as the waves are very close together, so moving up will be a problem. However, once you are past the first and second corners, and into the small clear area, all you need to do is hold off about ten more LOKI mechs before they stop.
When the LOKIs finally stop coming, before heading up the ramps, there is a side passage near the ramp that has some more eezo at the end of it. There are also some power cells near the entrance to the area (where Gamble's body is). When you have it, backtrack to the ramps, go up and through the door. Inside are some more ramps, and on the lower level the final crate of eezo, be sure to grab it before moving on. Head up the ramps and you arrive in the factory’s control center. Hack the terminal to shut down the production line, and you are then treated to a cutscene where the squad is running out as the LOKI Mechs’ self-destruct procedures are activated. Then, as the squad leaves, they all self-destruct as the Kodiak lifts off from the facility and is seen though the skylights.
Note: There is a way to avoid these endless amounts of LOKI Mechs, if you’re going through it on the Insanity difficulty. When the first three Mechs appear, run past them, and the others that you would normally encounter after the first three do not spawn at all.
Outgoing Message Logs
Logged by Giana Talarassan
Transcript Log: Security Report
Officer Keith Gamble, Security
Enemies
Mission Summary
Shut down the Hahne Kedar Experimental Mechanics facility's production line on Capek.
Deactivated all infected mechs.
- Experience Reward: 125 (156)
- Credits: 7,500
- Cerberus Funding: 3,750
- Credits Found: 3,750
- Resources:
- Element Zero: 500
| ← Previous Assignment | Assignment Index | |
|---|---|---|
| N7: Abandoned Research Station | Assignments |