| This article is about the mission in the Mass Effect 3: Omega DLC. For the mission in Mass Effect 2, see Omega: Aria T'Loak. |


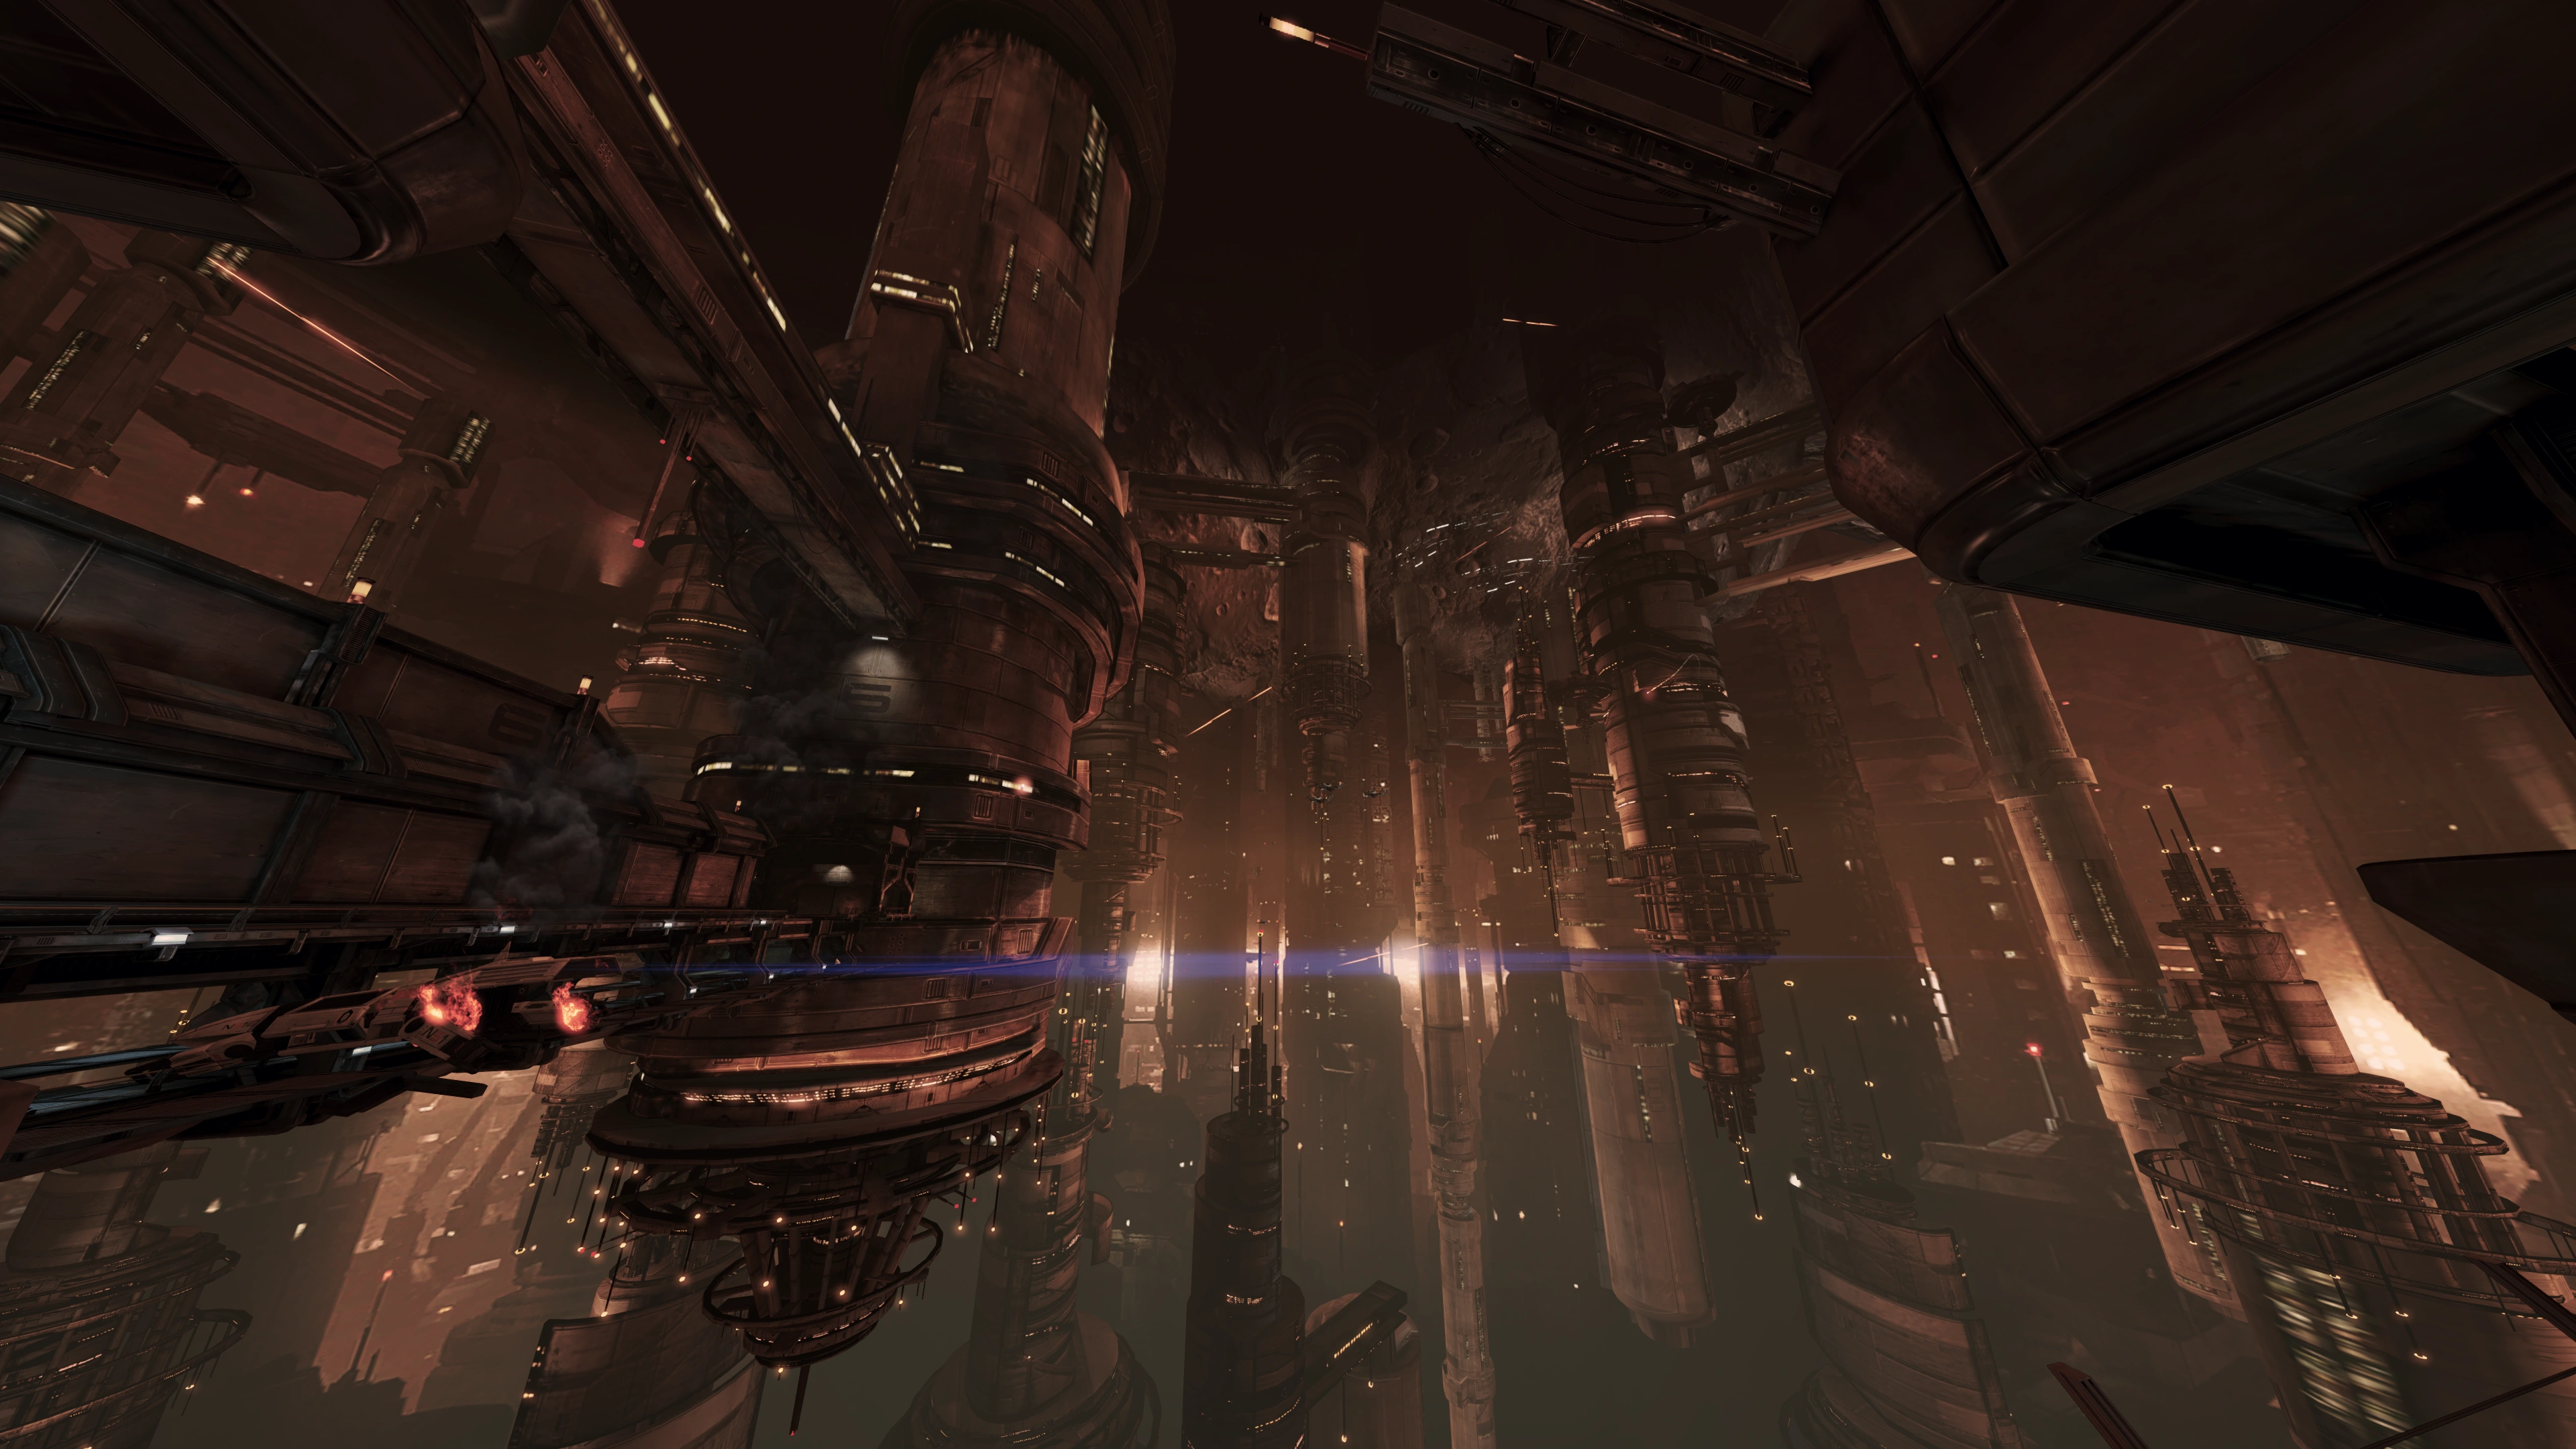
Rendezvous with Aria's Fleet.
Acquisition
Complete Citadel: Aria T'Loak.
Preparation
Travel to Aria's Fleet in the Widow system, Serpent Nebula next to the Citadel to begin the mission. Once you rendezvous with the fleet, you will be heading to Omega for a rather long mission, so this is your last chance to change bonus powers, retrain abilities, etc. There will be opportunities along the way to change weapons, mods, and armor however.
When you make the rendezvous, you'll have a chance to allocate squad points to Aria; be sure to check and update her weapon loadout as well since it defaults to fairly vanilla stuff. Since she'll be your principal companion throughout your sojourn on Omega, consider which of her powers will work best with your Shepard. Your enemies include a mix of familiar Cerberus types and some new opponent types. It's perhaps worth noting for preparation purposes that both of the new enemy types are highly vulnerable to the Energy Drain/Overload/Disruptor Ammo family of powers, which also have broad application against Cerberus.
A few items worthy of particular consideration include the Shield Piercing evolution on Aria's Lash ability, which will then provide a disable against even elite Cerberus forces in addition to ripping the shields from Guardians; likewise the final evolution of her Biotic Boss passive ability will increase Shepard's health and shield bonuses. Aria's unique Flare power has interesting possibilities despite a long recharge, but you should also consider which of her abilities can help Shepard detonate power combos. You'll want to upgrade her Carnage if you're looking for tech/fire/cryo explosions; her other three powers can all help create biotic explosions, with Reave being the most versatile in that regard.
Tip: You'll find that Omega has a LOT of spare grenades lying around as you move forward. So, if your Shepard has a grenade ability, you can use it multiple times in every battle without fear of running out.
Walkthrough
The Invasion of Omega
Disable Defense System
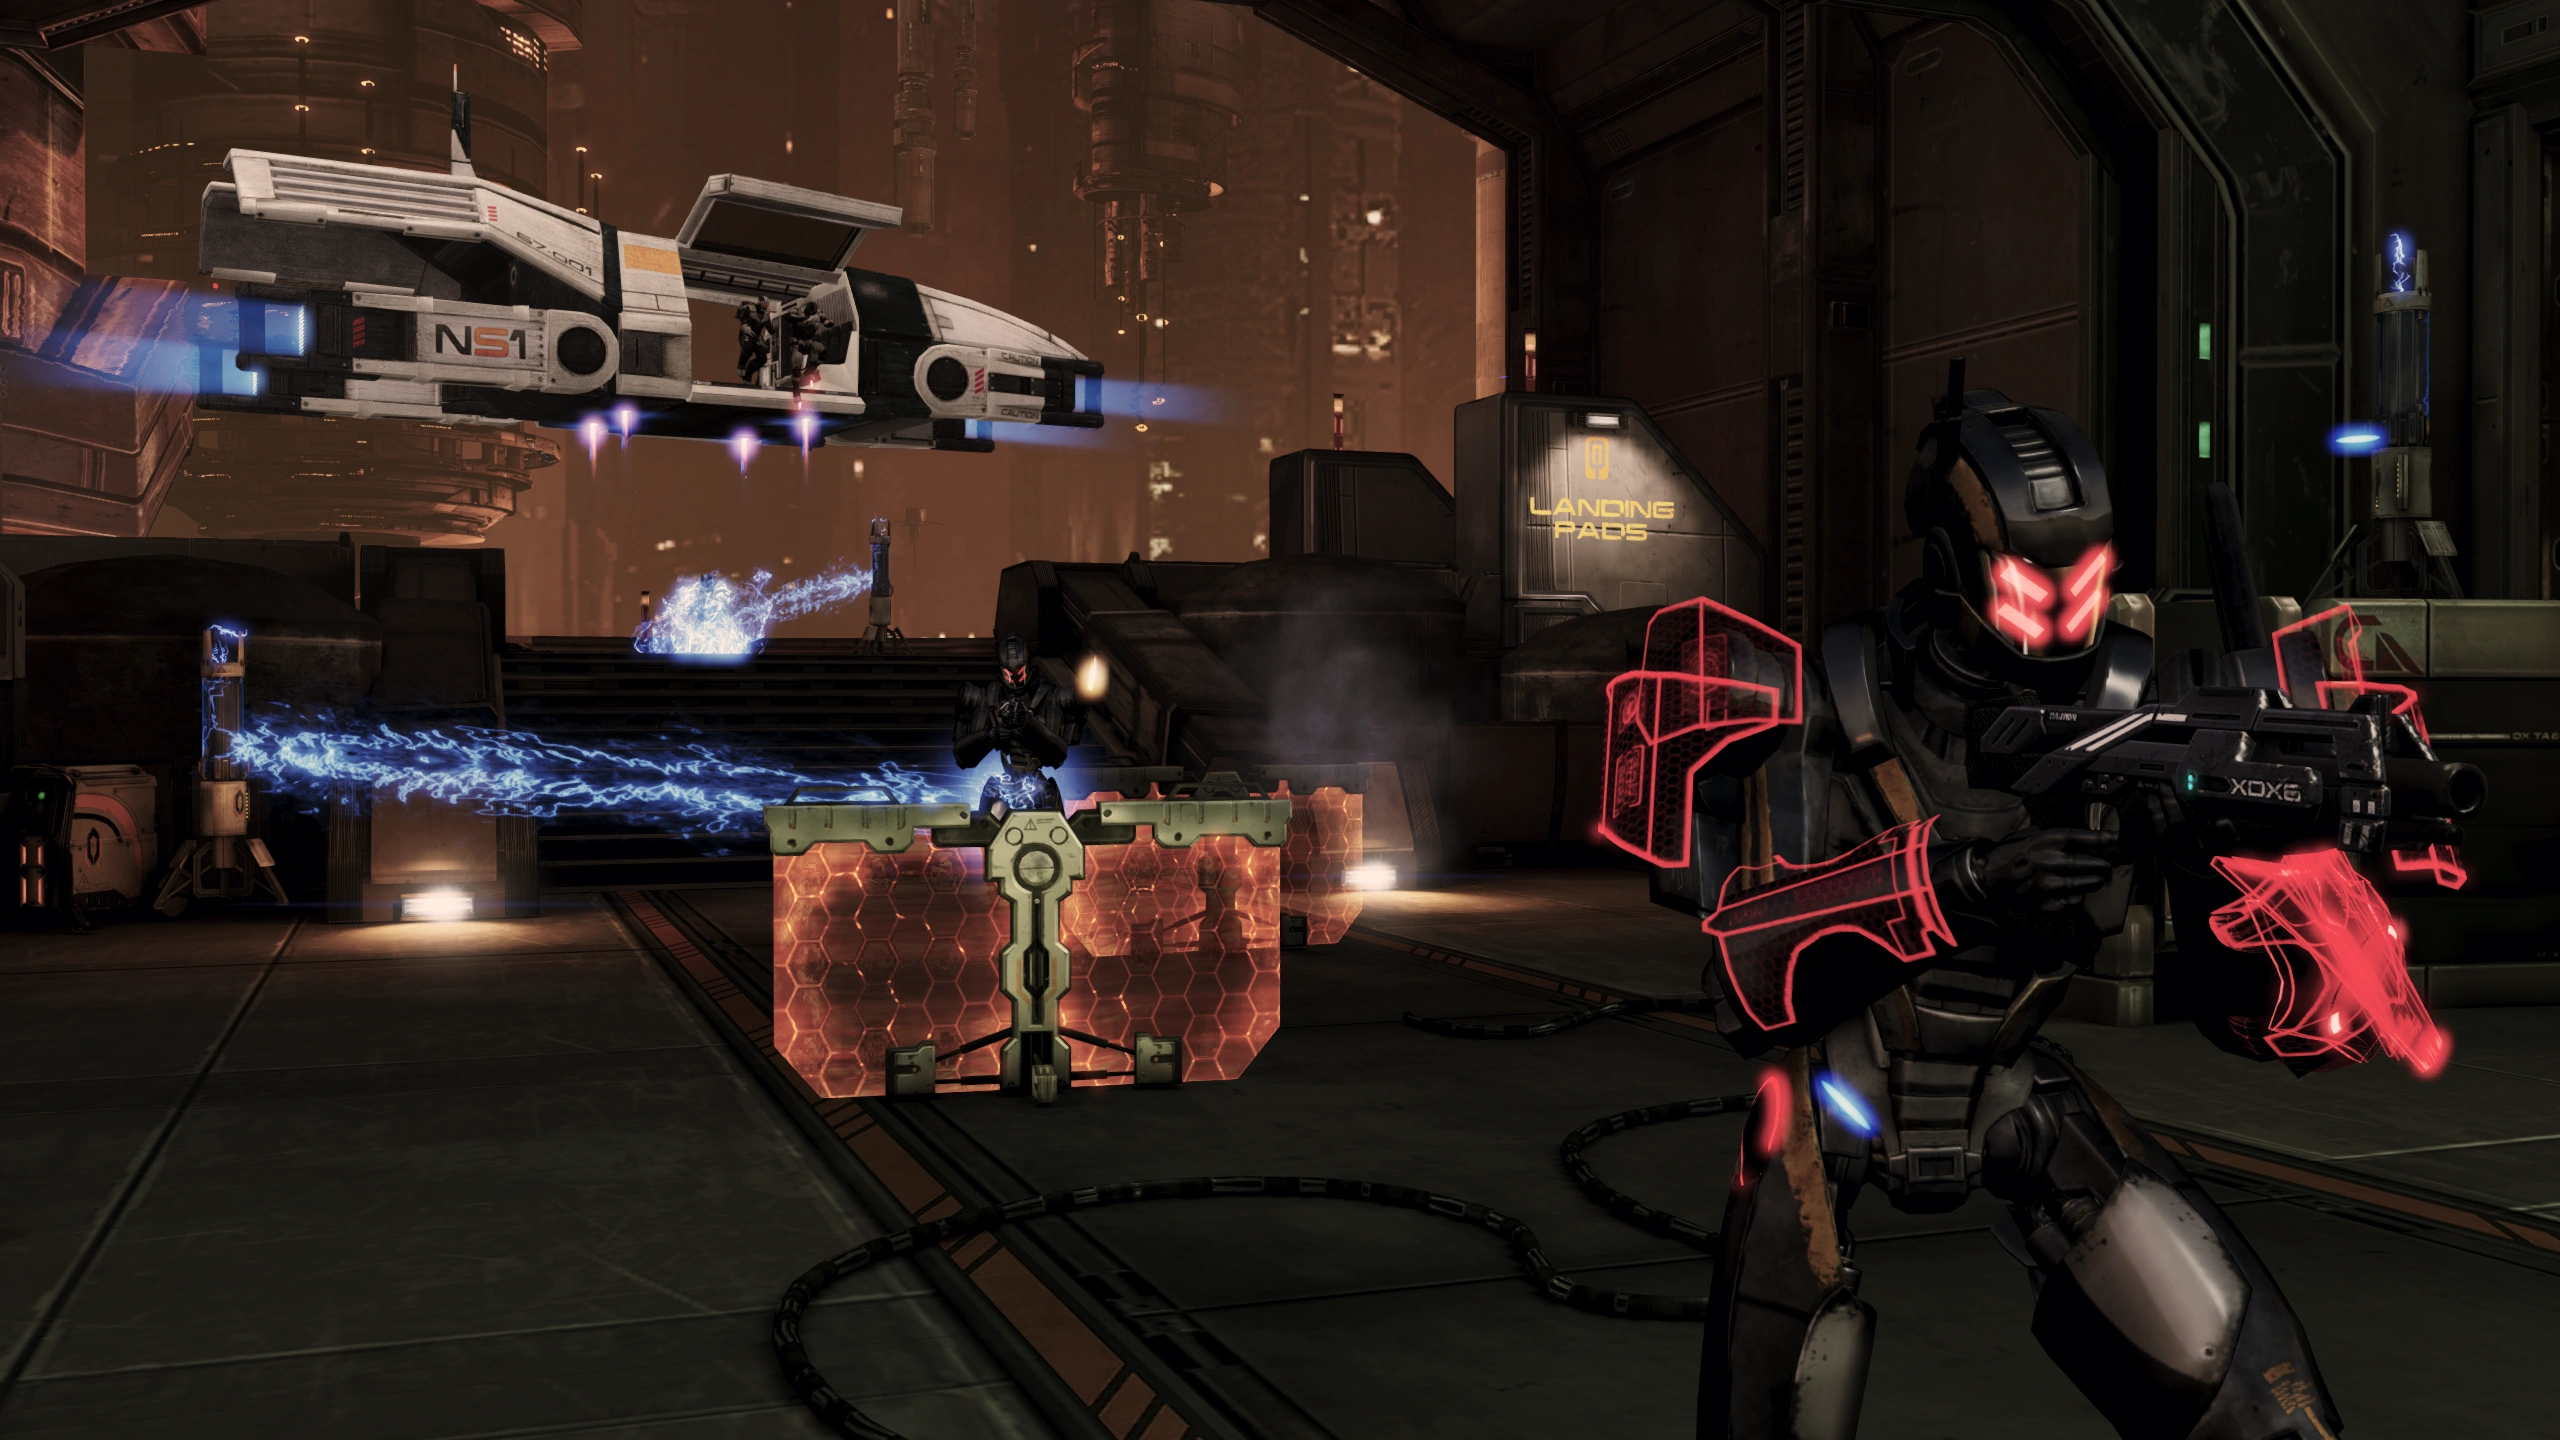
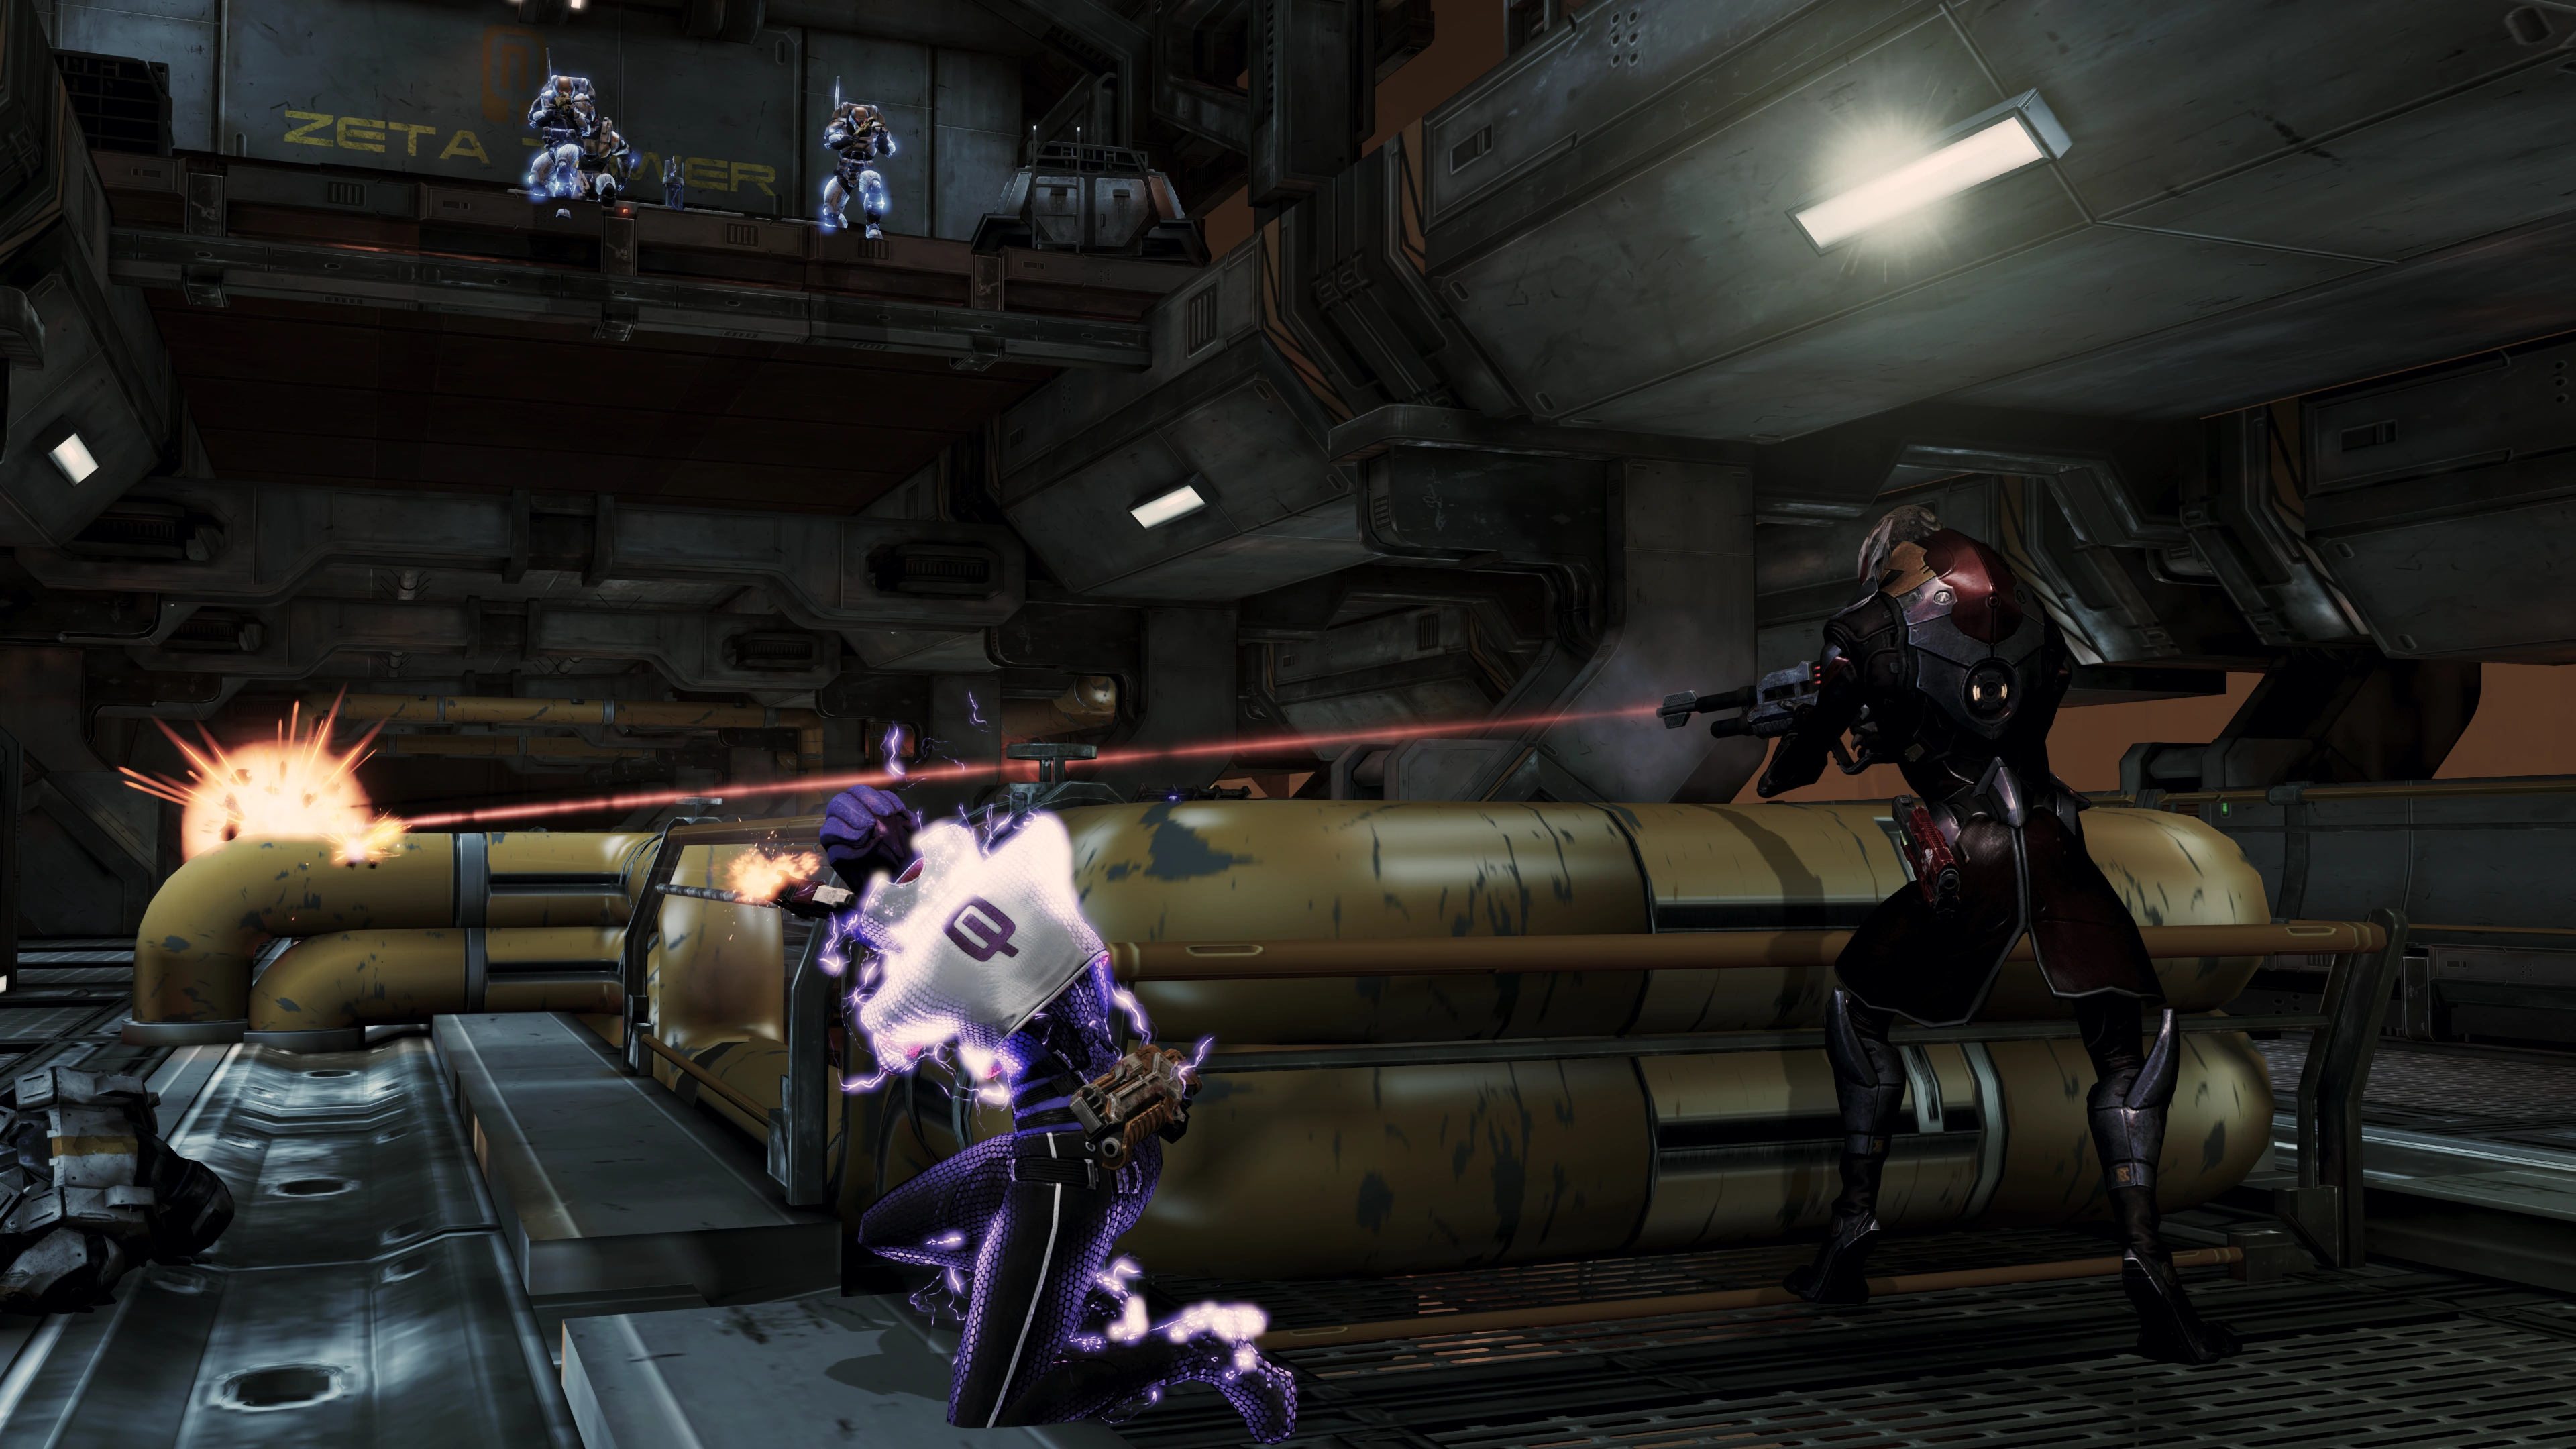
After you evacuate from Aria's ship in escape pods, you crash into a hangar filled with Cerberus operatives. Once you regain control of Shepard, clear the room of Cerberus Troopers and Centurions. If you haven’t already, this is a great time to allocate squad points to Aria. Be sure to pick up the two Medical Kits nearby before advancing. Once you're ready, use the panel to open the blast doors.
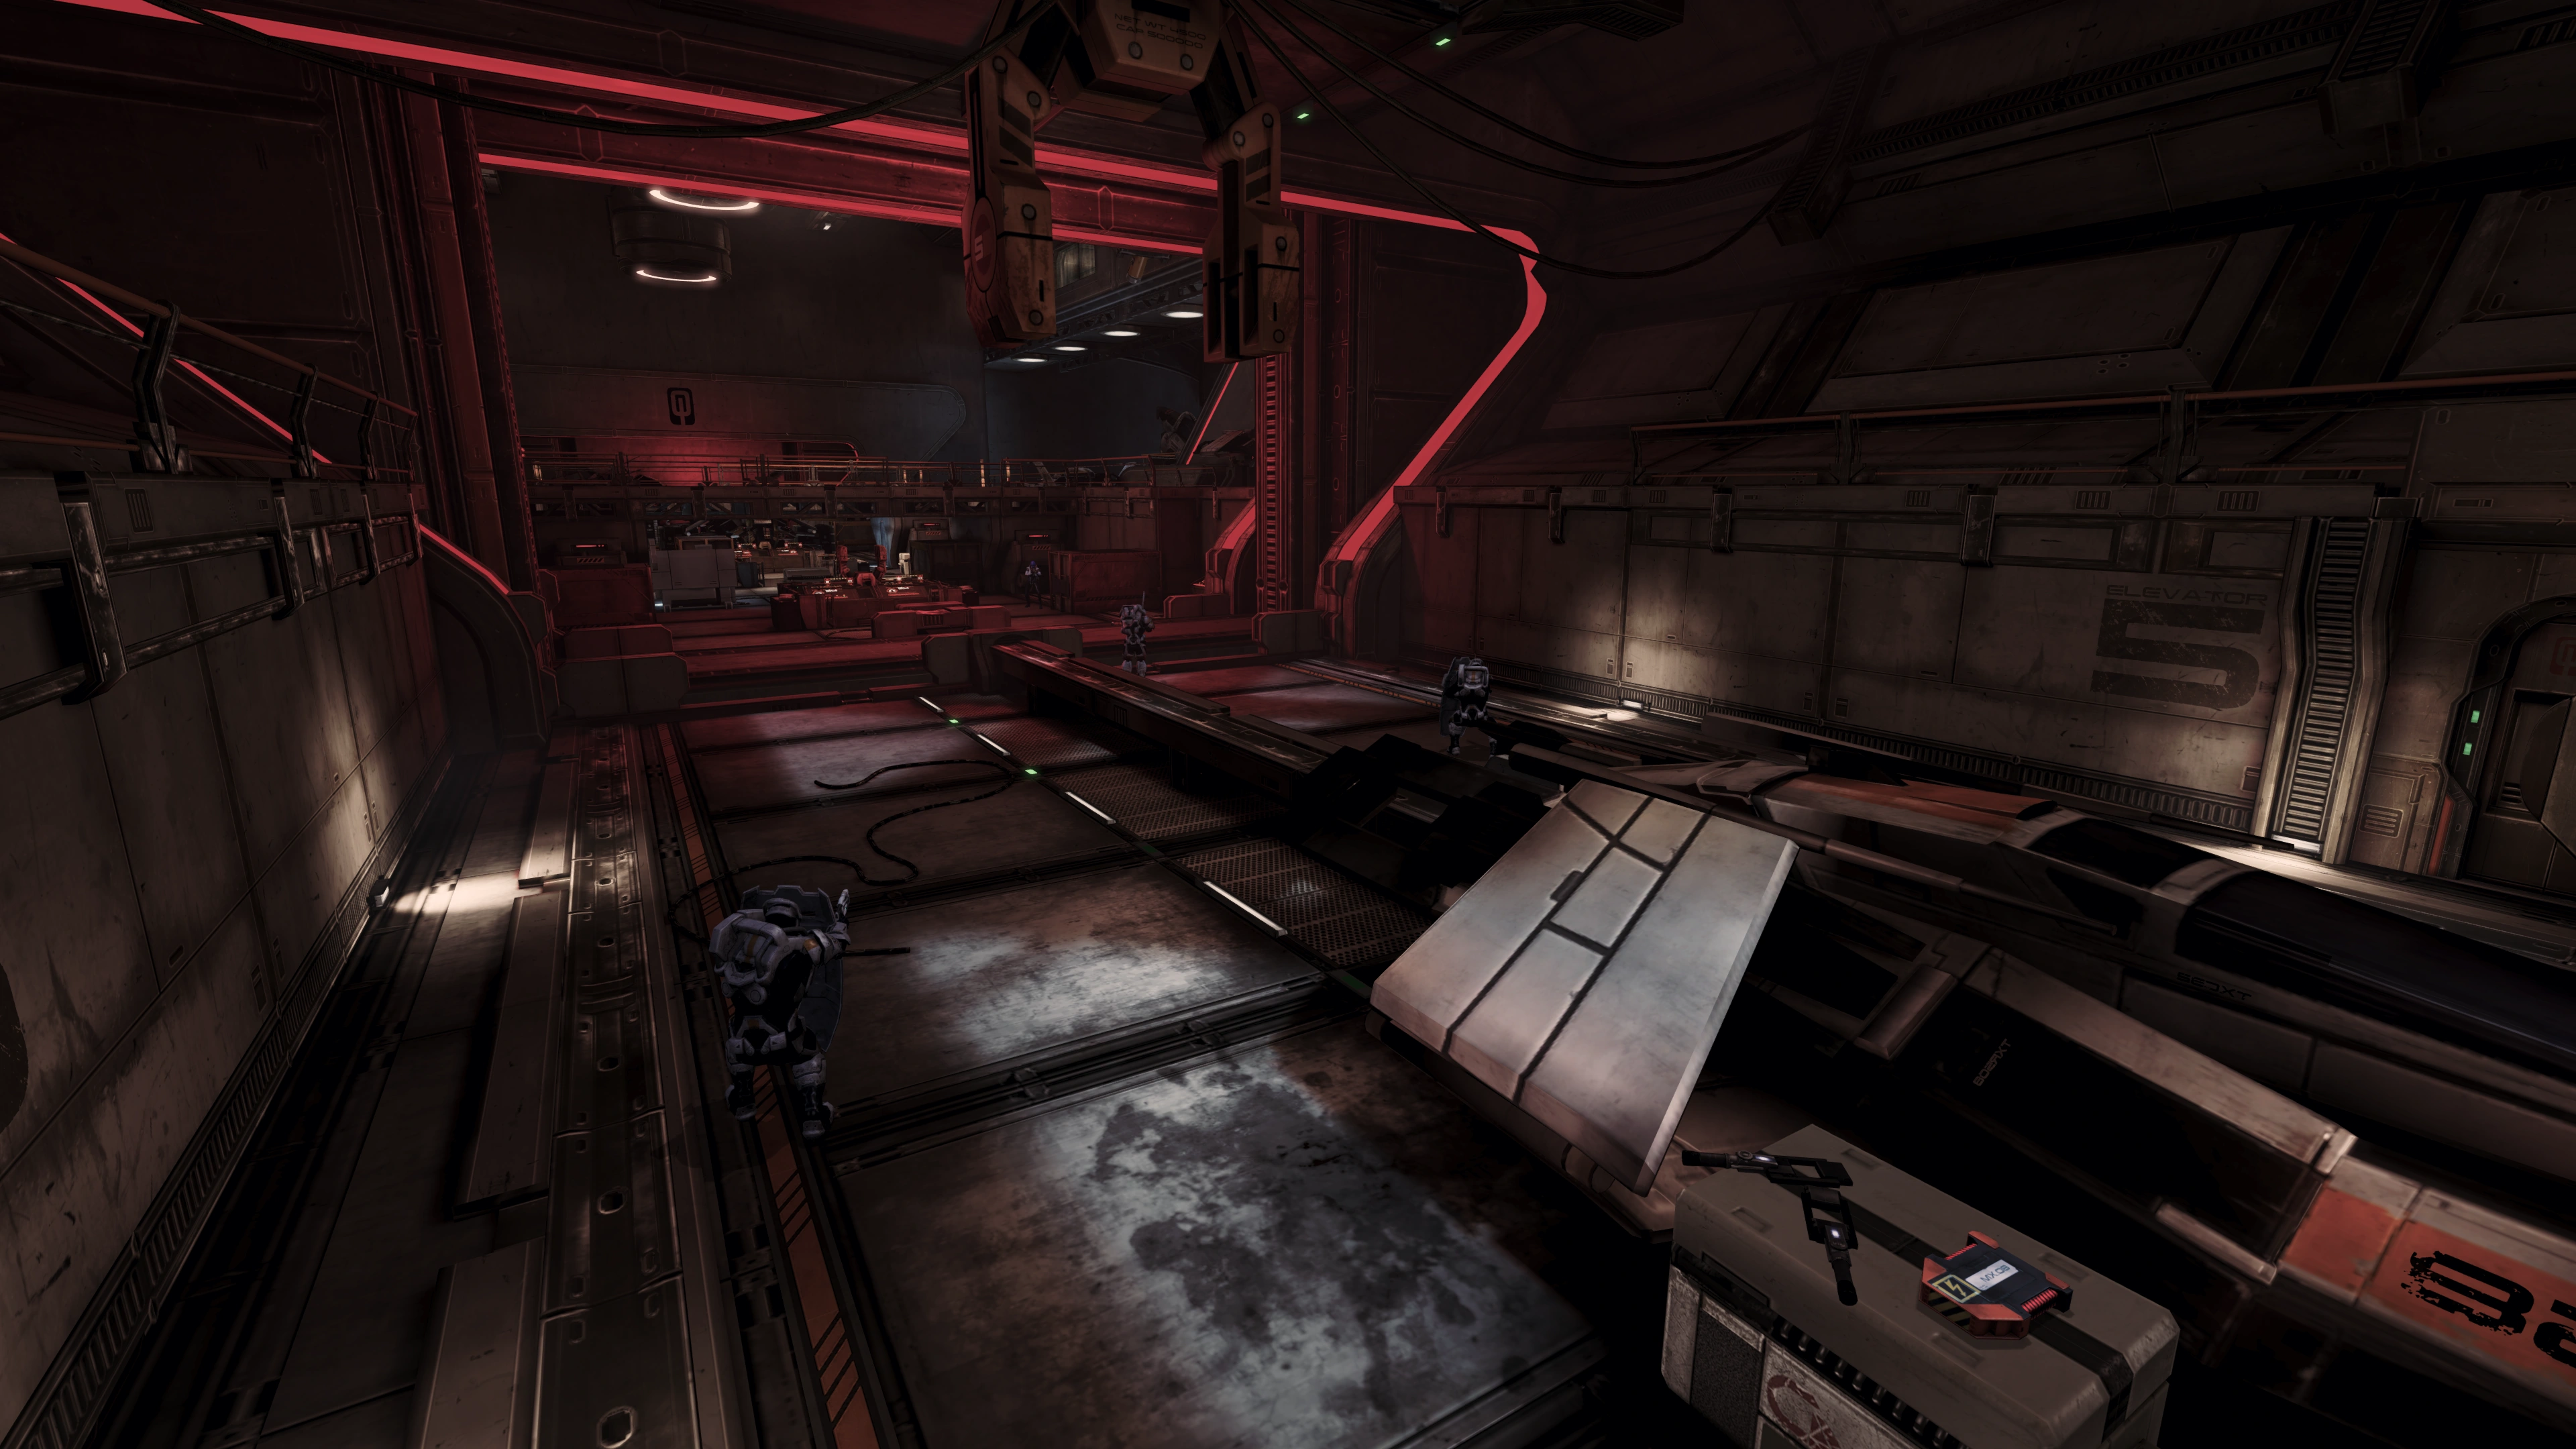
More Cerberus units are present inside the next room, including Guardians. Aria’s Lash ability may be useful here to players without effective control against them, as it removes their riot shields. Once you clear out this room, look across from the door at the end of the room; there are some crates next to a docked fighter where you'll find some salvage worth 3000 Credits, and an Assault Rifle High-Velocity Barrel mod. After collecting any missed items, use the door on the right to enter an elevator, which takes you to an upper level.
The next area, highlighted on screen as containing the ‘Defense System’, has a point of entry through the right of Atrium 9. Before entering look to your left to examine a computer terminal. Next, you’ll enter what appears to be a ventilation room, filled with more Cerberus troops. Cerberus Engineers are found in this area, and you should try to dispatch them before they deploy Turrets. There is a computer terminal you can examine near the right wall, close to where you entered the area.
Once cleared, Aria will call to Shepard’s attention that the room ahead needs to be pressurized. You’ll have to hold off another wave of Cerberus soldiers whilst you wait. They will enter the room from behind you at this point. There is a lot of cover for you, and it shouldn't be too hard to take them all down. Once the door’s panel turns green, you are able to carry on. Before leaving this room, there is a Med Station to the right of the door on the wall.
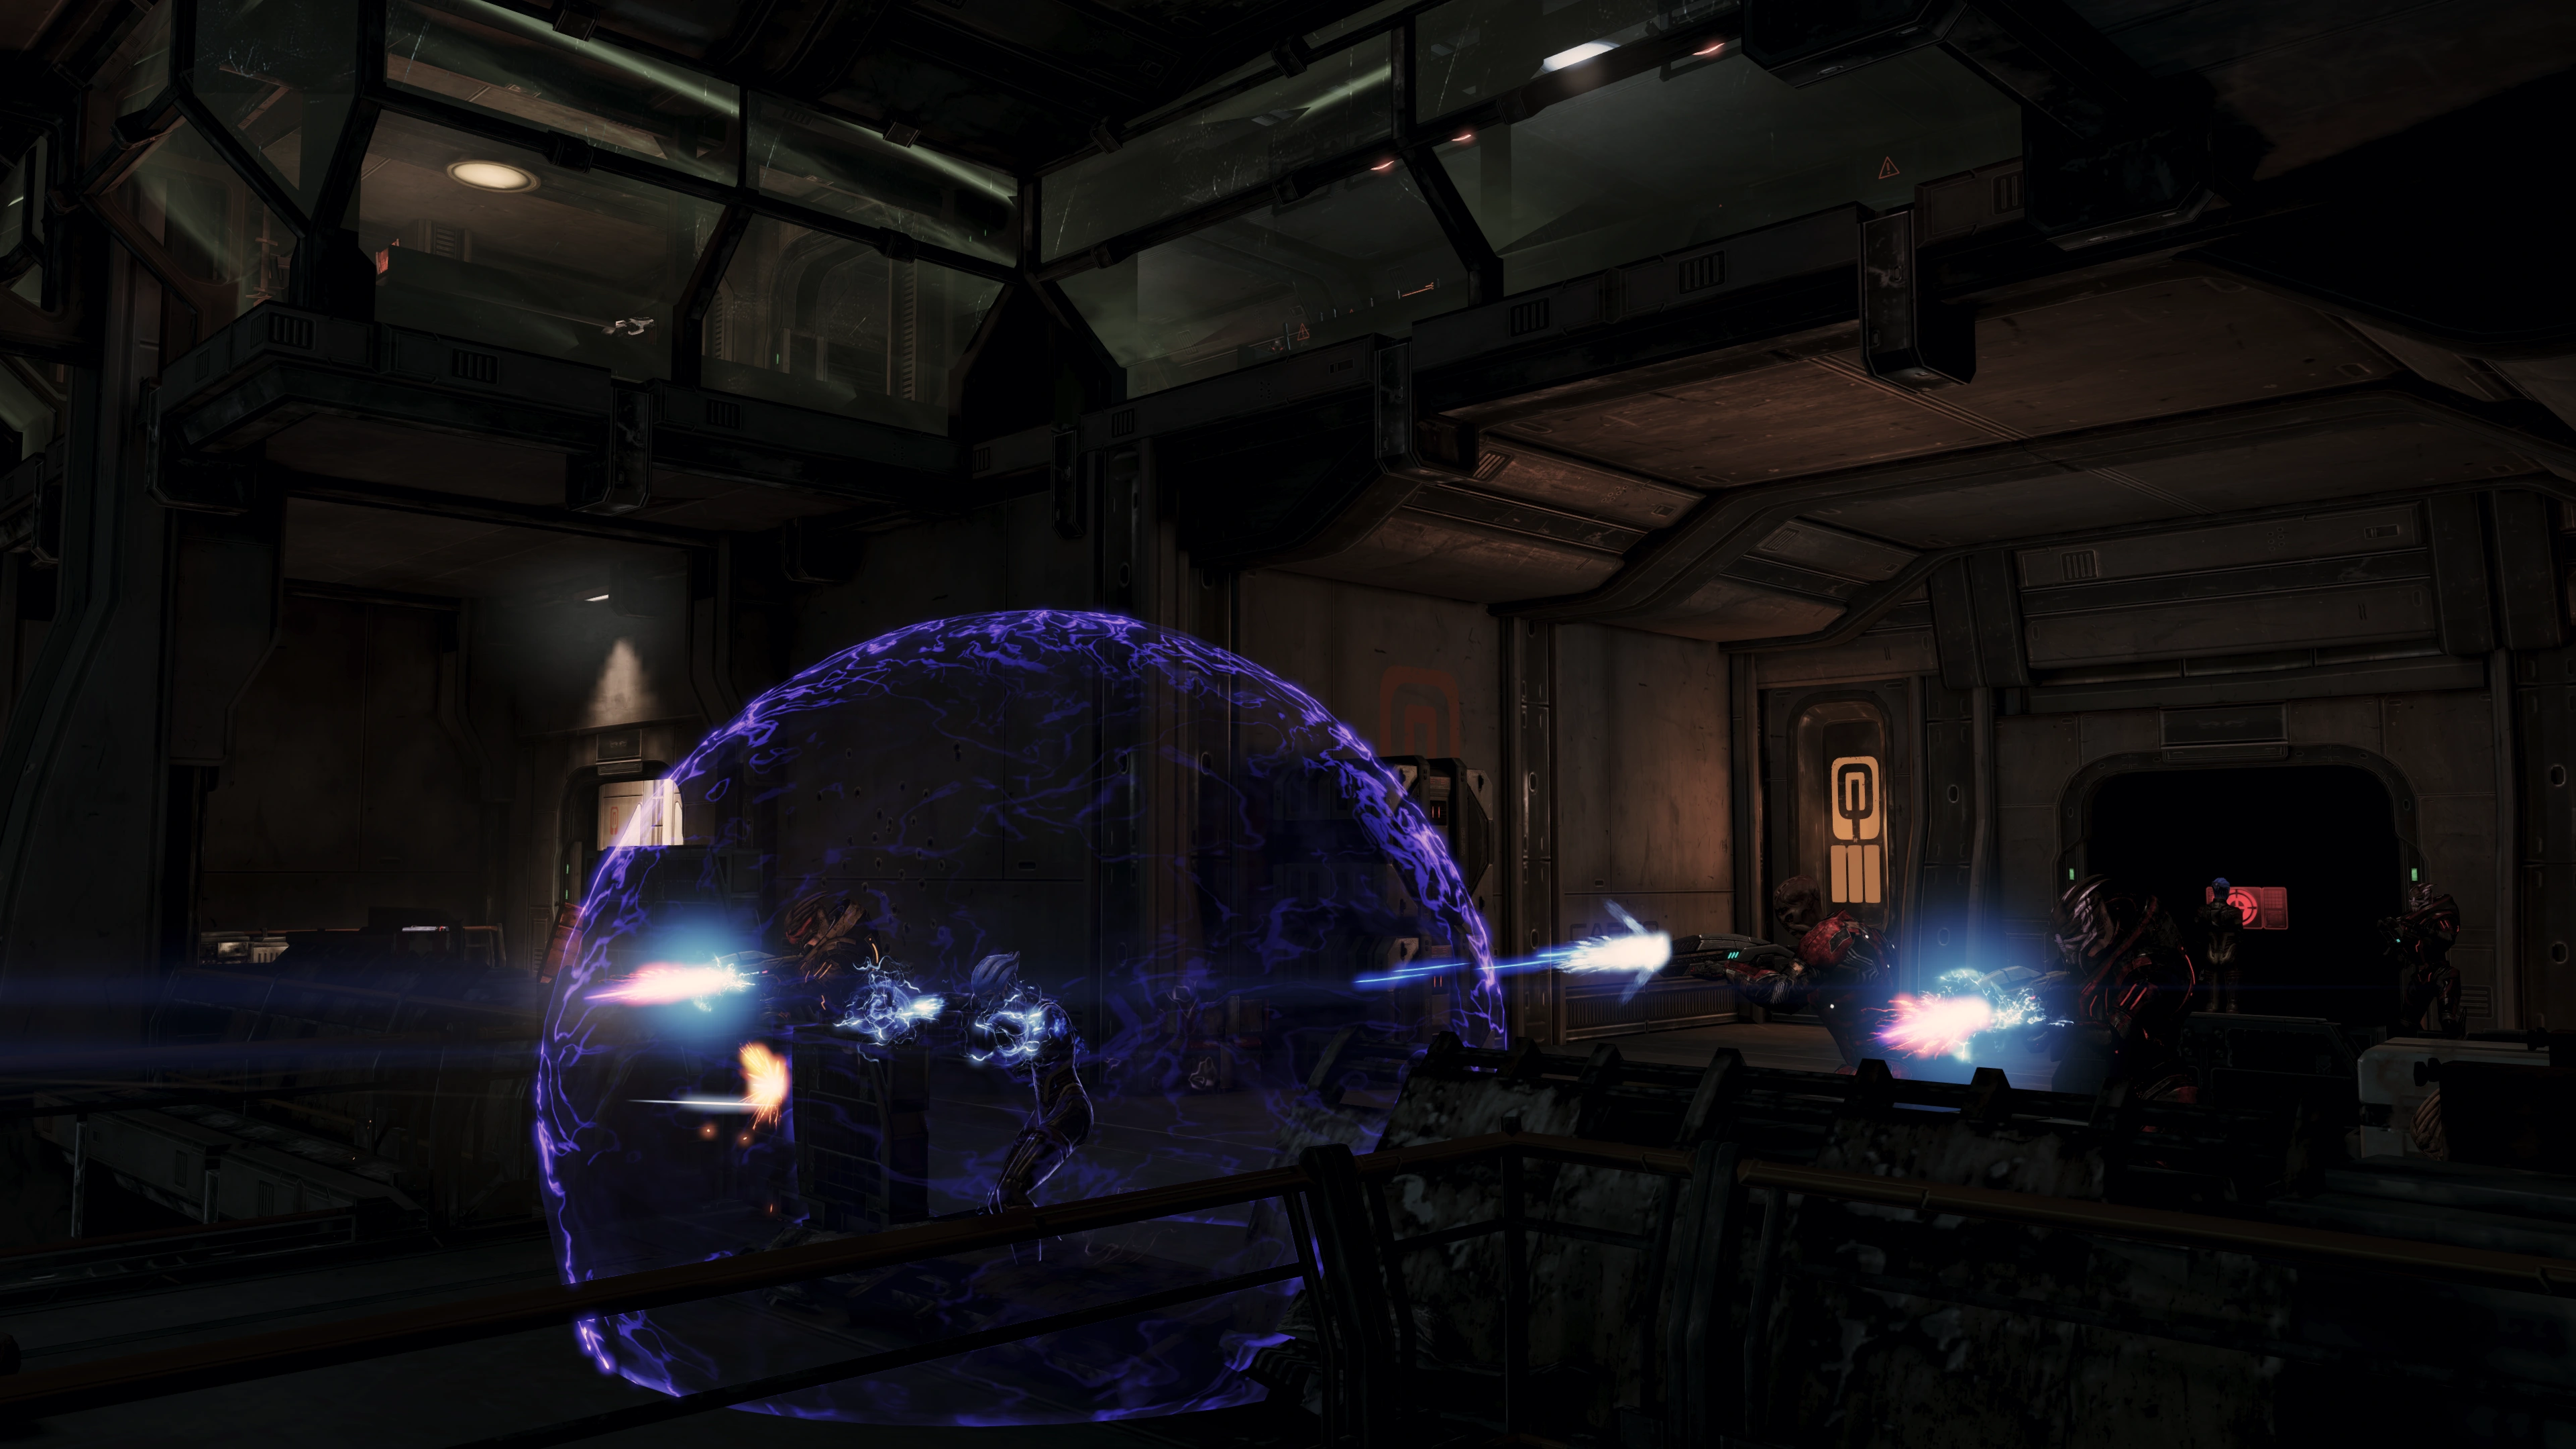
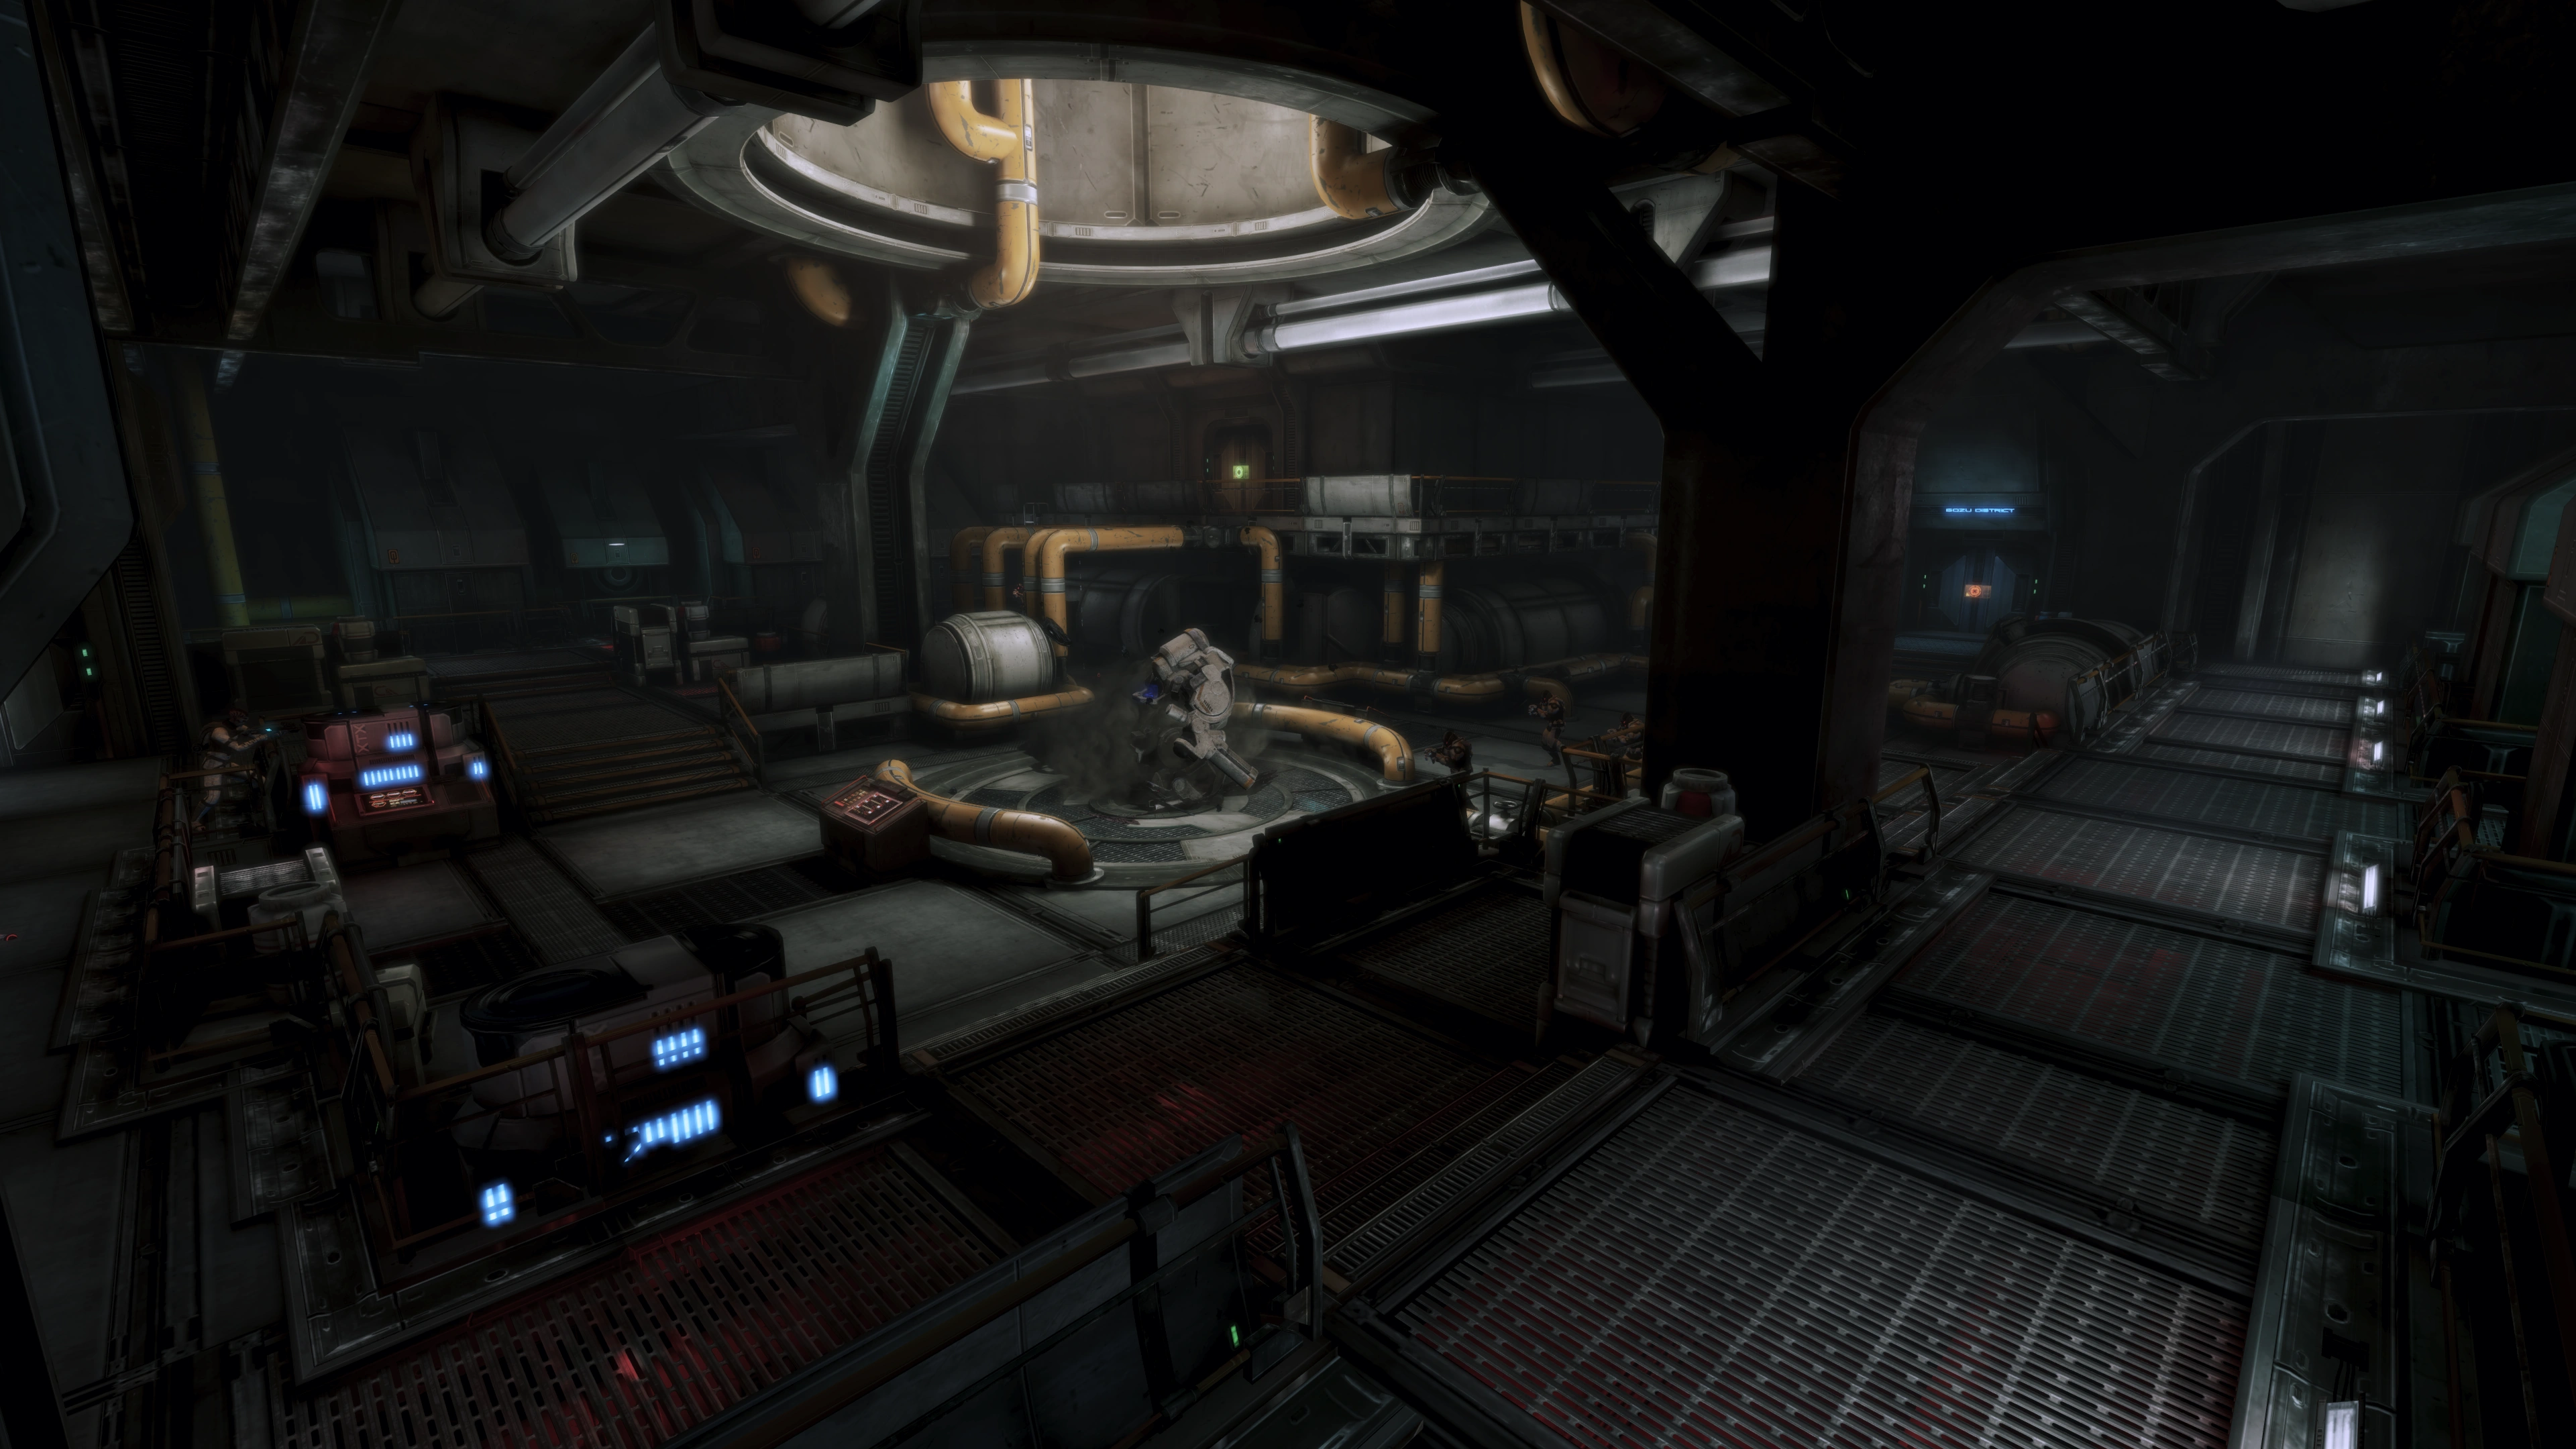
After walking down a hallway, where Aria and Shepard comment on the crashed escape pod, you will have to bypass the door which leads to the control room for the defense guns that are ripping Aria’s fleet apart. A short firefight will ensue, but again, there is plenty of cover and it shouldn't be too hard. Aria’s Flare will work wonders against the tightly packed enemies in this room, especially combined with a Biotic-Shepard's Power Combinations if playing on higher difficulties.
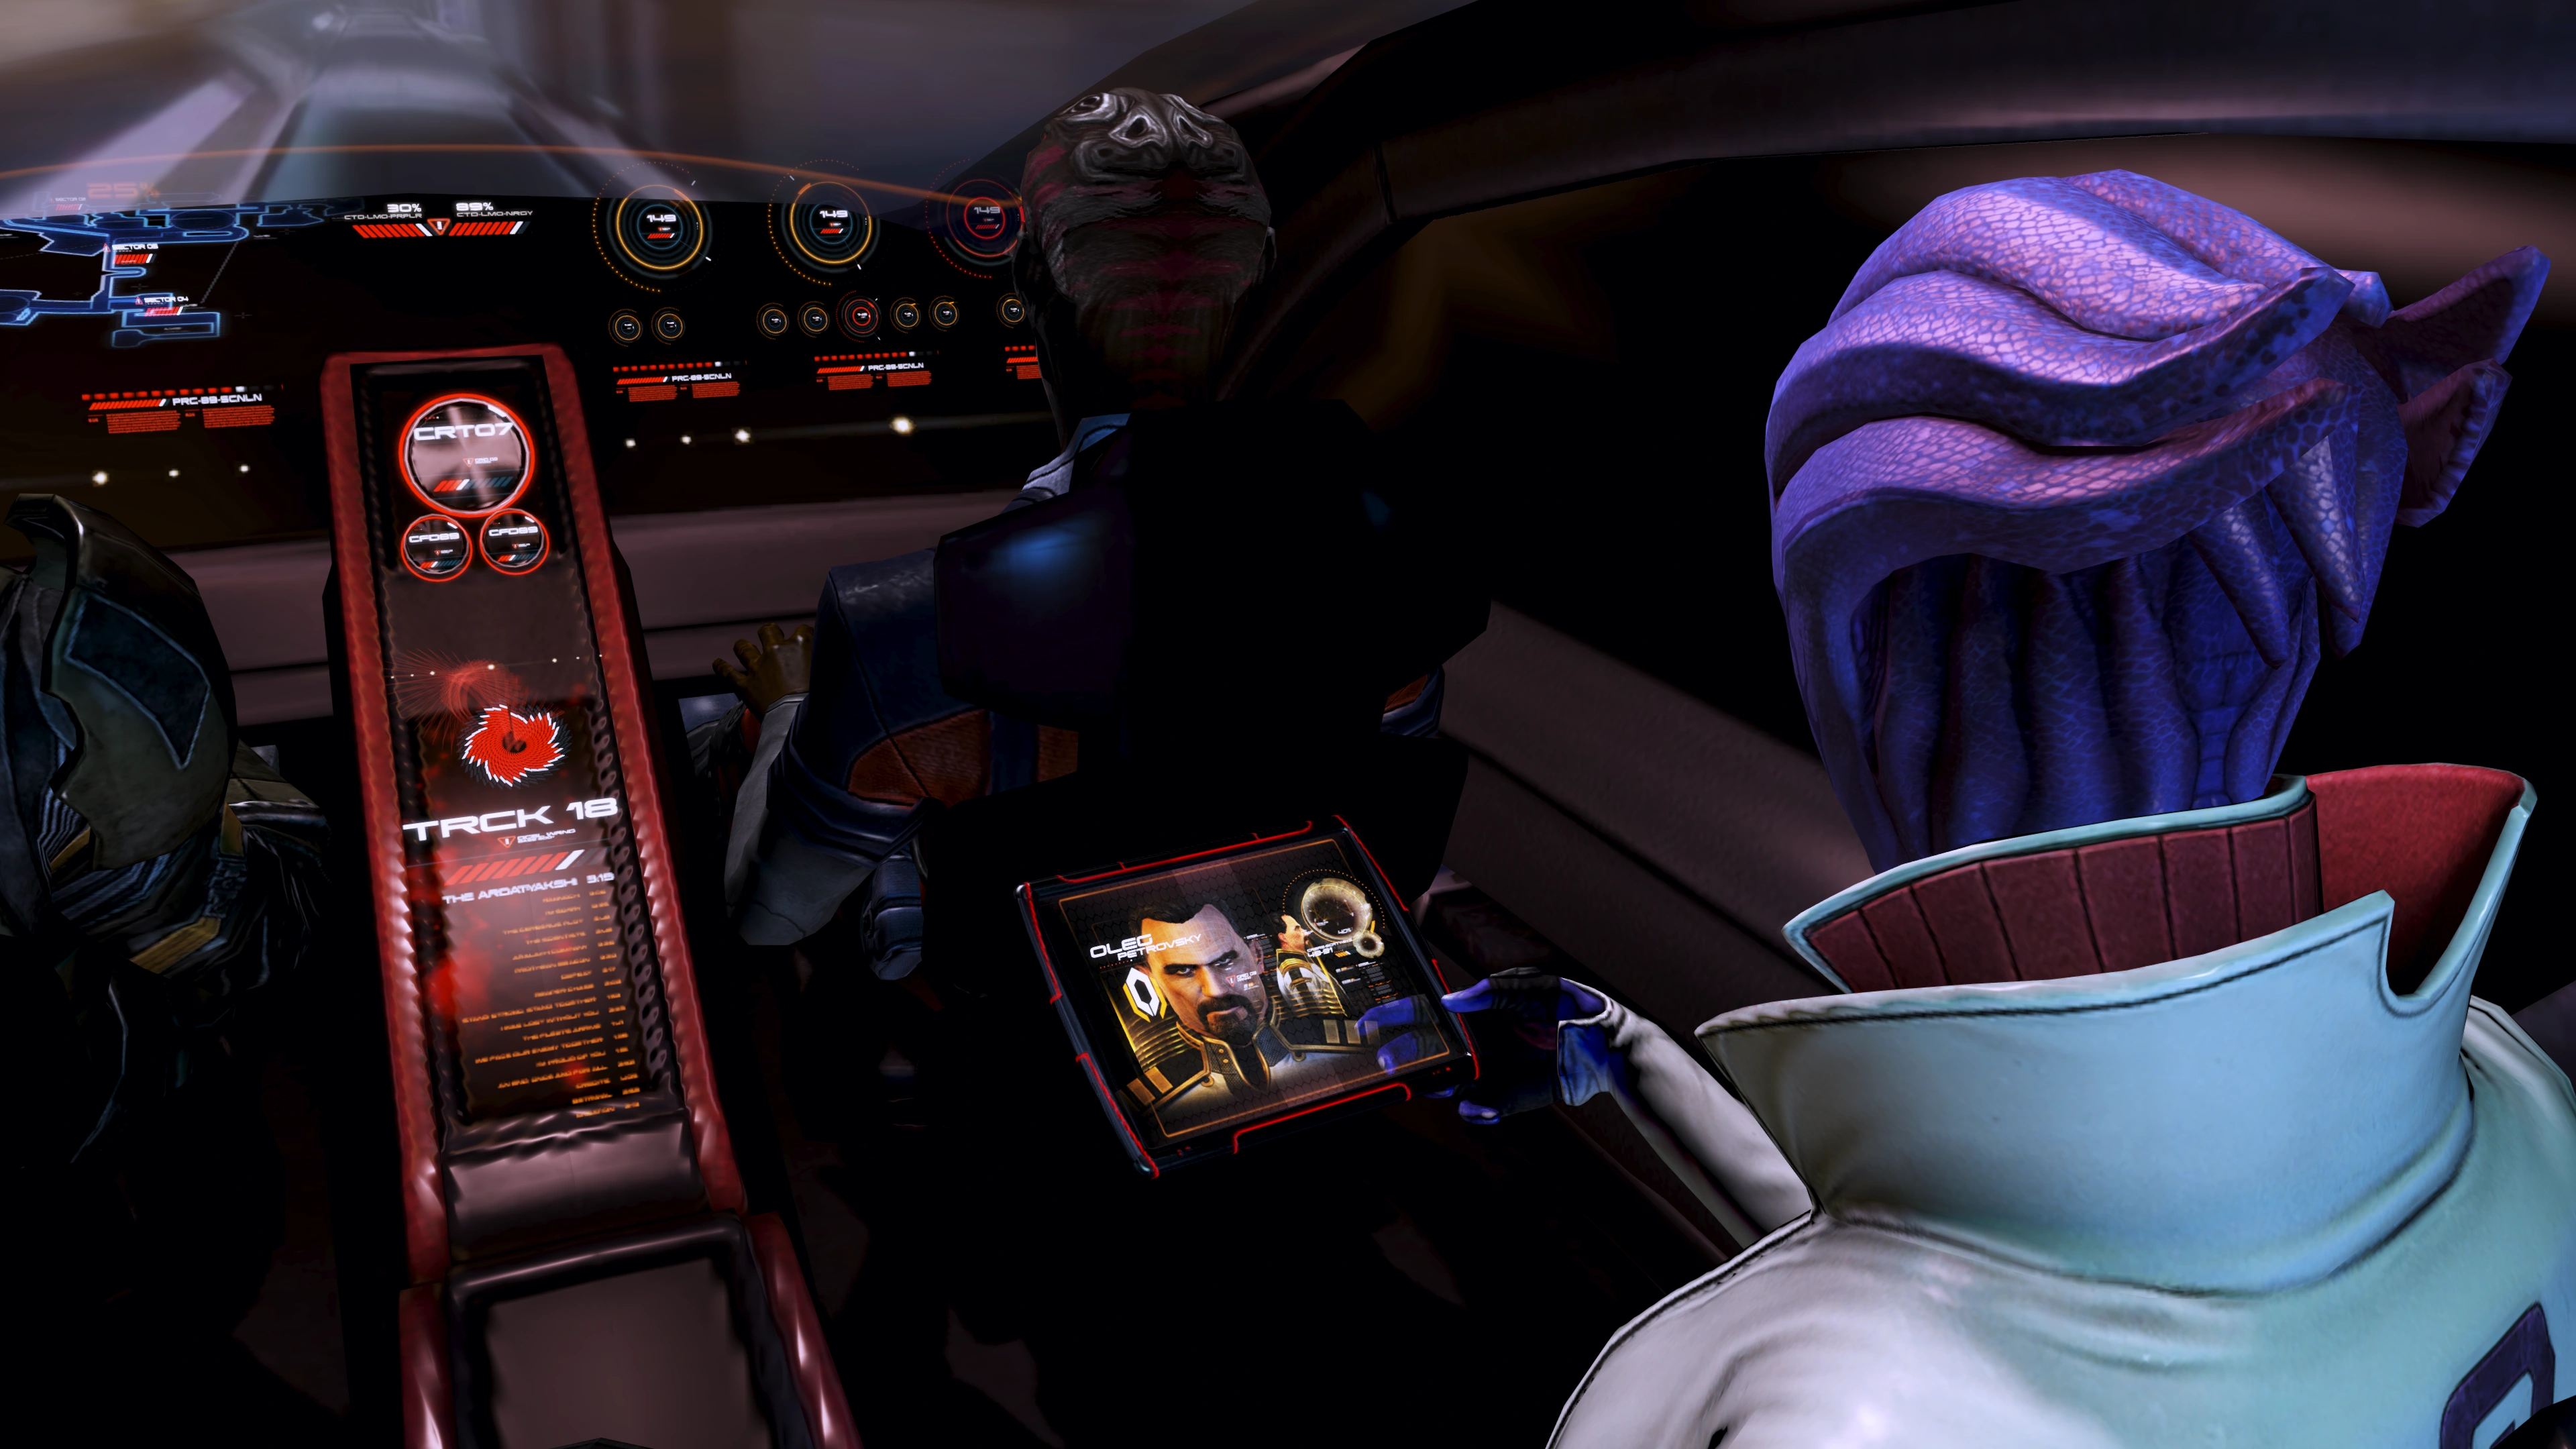
The panel in front of the holographic map needs to be deactivated for the guns to stop firing, allowing the fleet to then enter Omega. A short cutscene will play out. While General Petrovsky occupies his time with a game of chess, continue to another elevator. You get a Renegade interrupt to shoot a surveillance camera - if not taken, Shepard alerts Aria to the device, allowing her to shoot at the camera herself.
Before leaving the control room, you can find both a Med Station on the leftward wall and a Med Kit. Before entering the elevator, look up to examine the screen, showing Cerberus troops fighting the other pod's teams.
Moving on, you will be shot at immediately after the doors open, so stay on your toes. You'll find 3000 Credits in a Wall Safe on left-hand wall right as you enter, but don't be distracted by it as you will suddenly face two Assault Troopers and a Centurion attacking at fairly close range from the other side of the counter. It can get a bit grenade-y in the tight space behind the counter if you camp there, so have an exit plan ready. If Shepard carries grenades you can fight fire with fire, as Cerberus doesn't have much room to dodge them either and there is a handy grenade resupply right there on the counter. Clear out the garage, then proceed through the far door.
The Streets of Omega
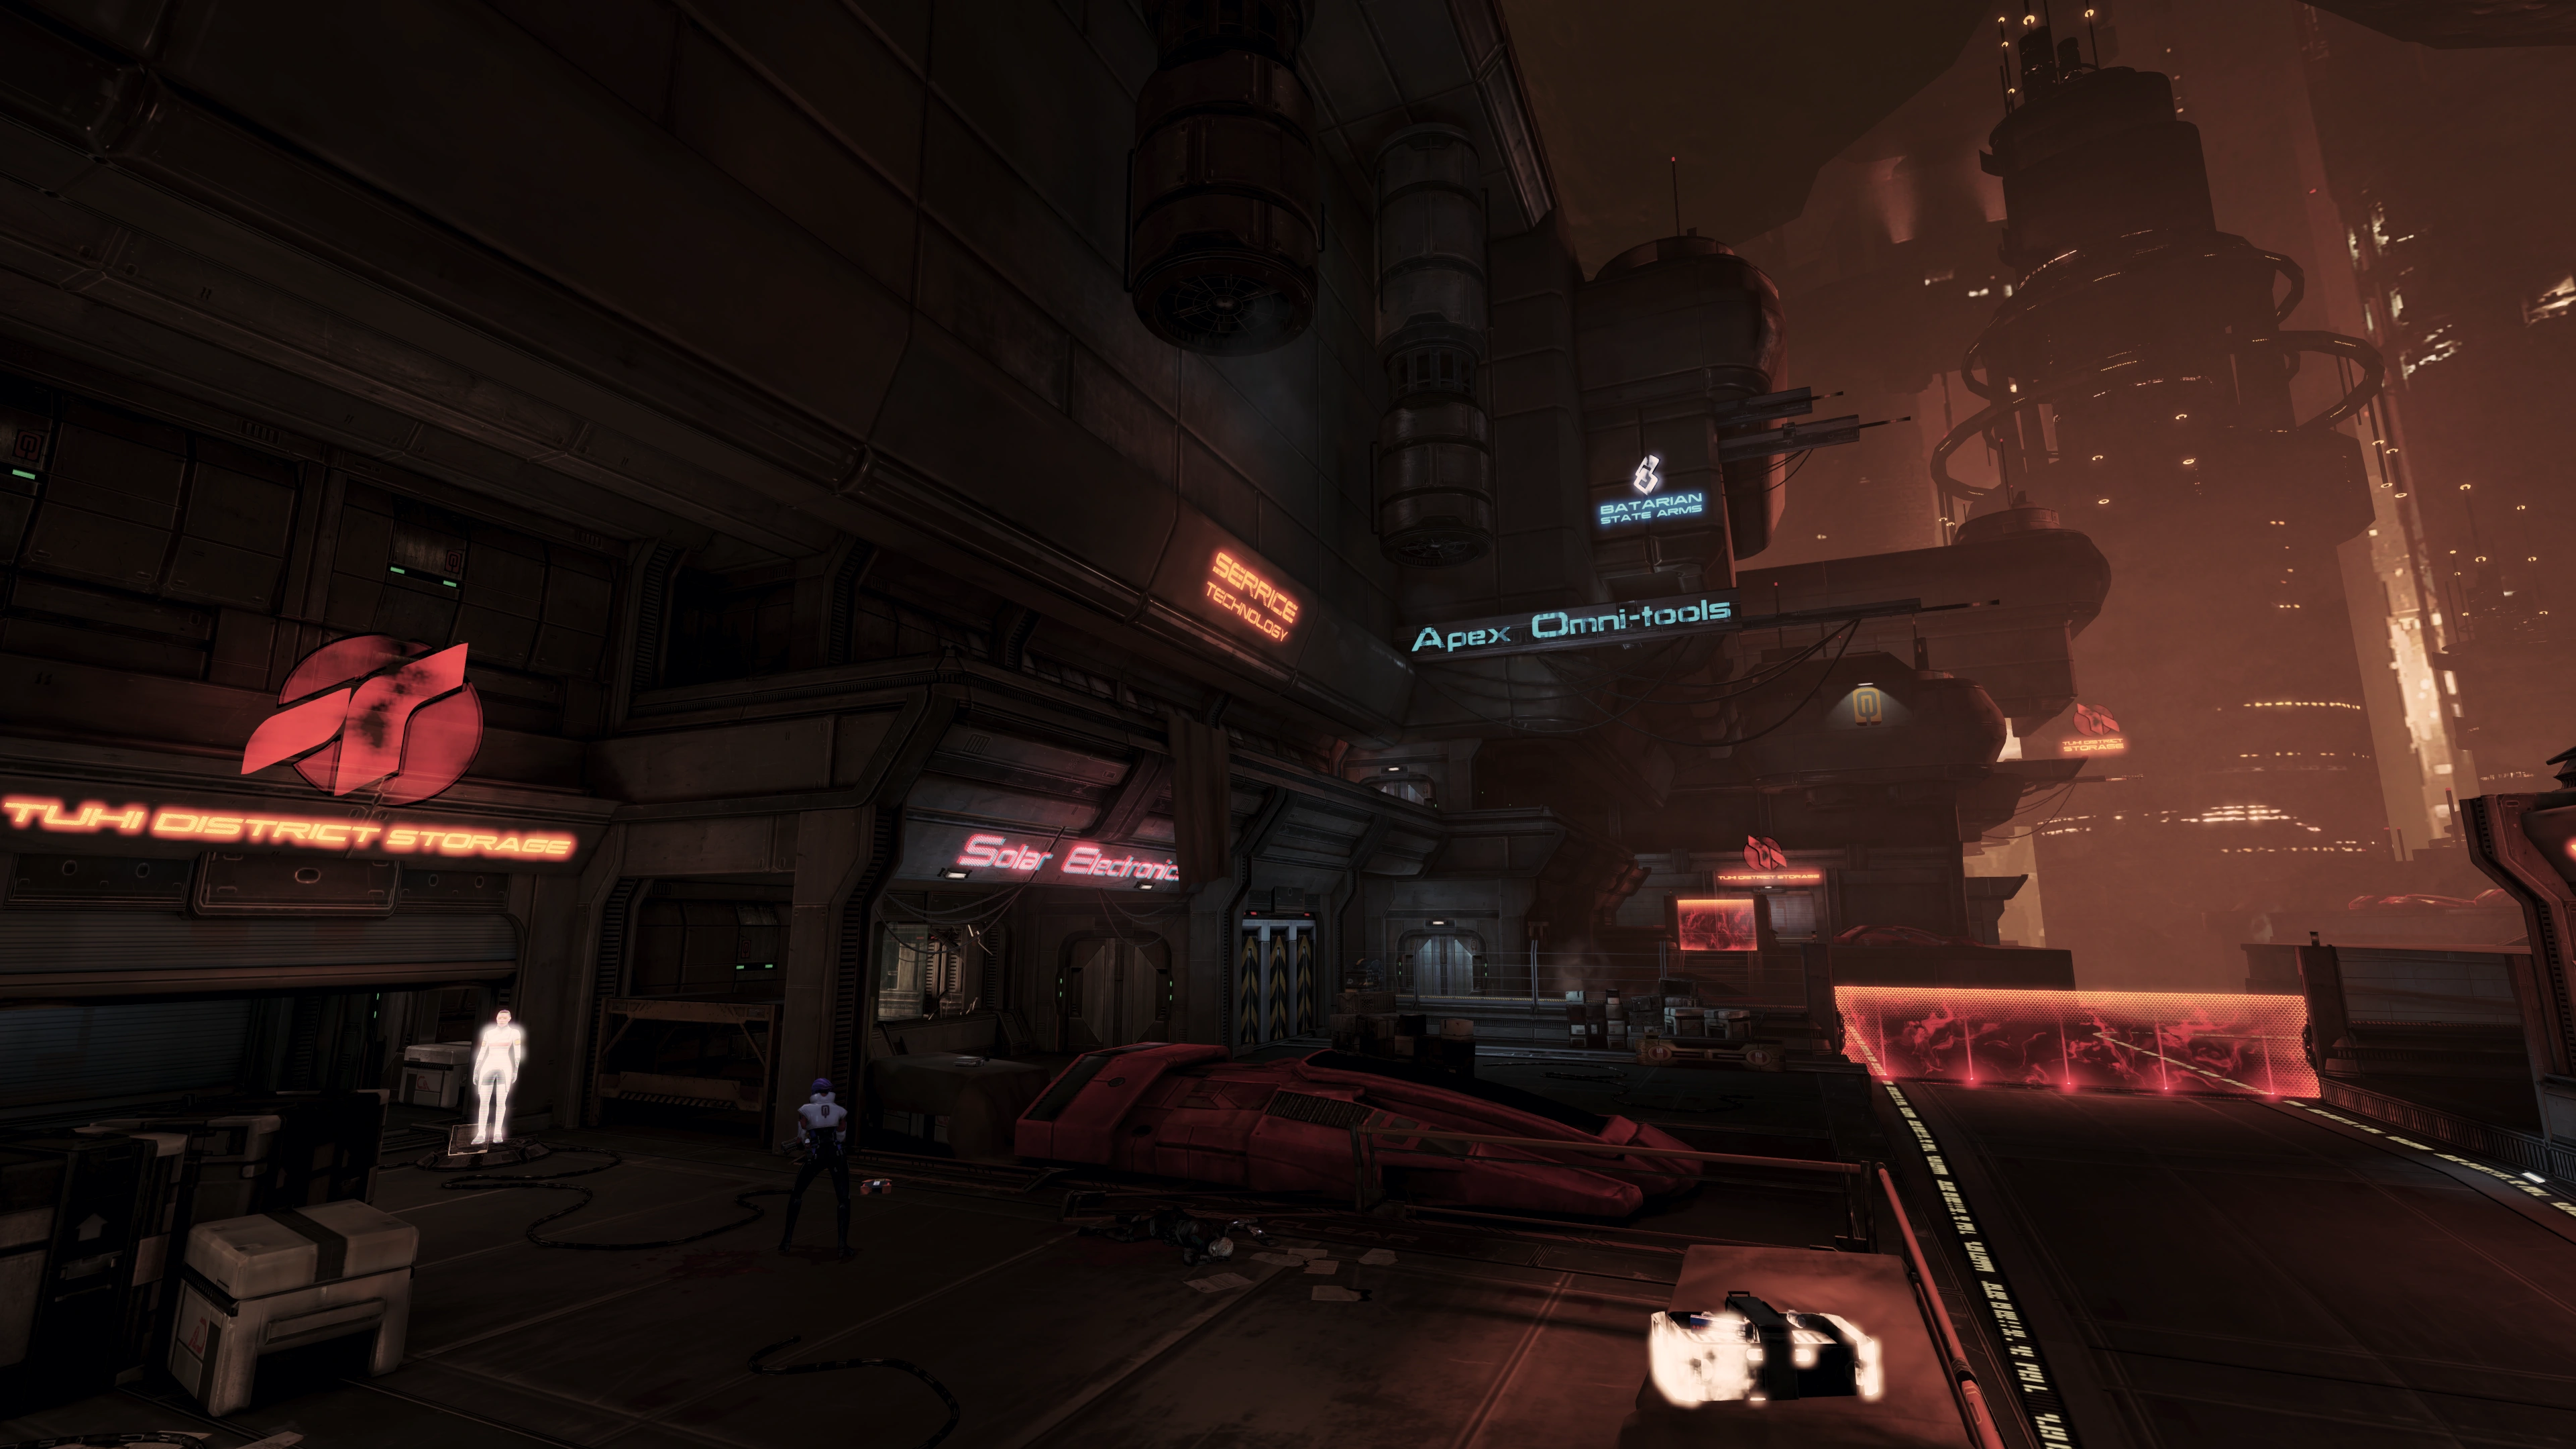
You emerge onto the streets of Omega to discover that Cerberus has deployed orange-colored force fields, blocking off certain areas of the station.
Before moving onward, be sure to pick up the 1500 Credits from the salvage next to the dead batarian, a Pistol Heavy Barrel mod to the left of the same corpse. Examine the terminal to activate a Cerberus VI which gives a clue as to how much Cerberus has the station locked down. Later, you will find a Med Kit in the hallway you will need to traverse to continue. Crossing over a crate, you will find more Cerberus soldiers protected by two Shield Pylons. Tip: Start developing some techniques for taking out Shield Pylons and Generators that are hidden from your direct line of fire: arranging for a nearby explosion either by arcing a grenade in or detonating a power combo will make fights like this shorter and much safer, and you'll be seeing a lot more Shield Pylons on Omega.
After taking the Cerberus troops down, another elevator awaits you. When accessing the elevator, Aria comments on the Talon graffiti on some crates. Exit the elevator into a hallway where Shepard can examine another crate marked with Talon graffiti. Nearby, you can find some salvage containing 2250 Credits. Follow the rendezvous point marker to advance.
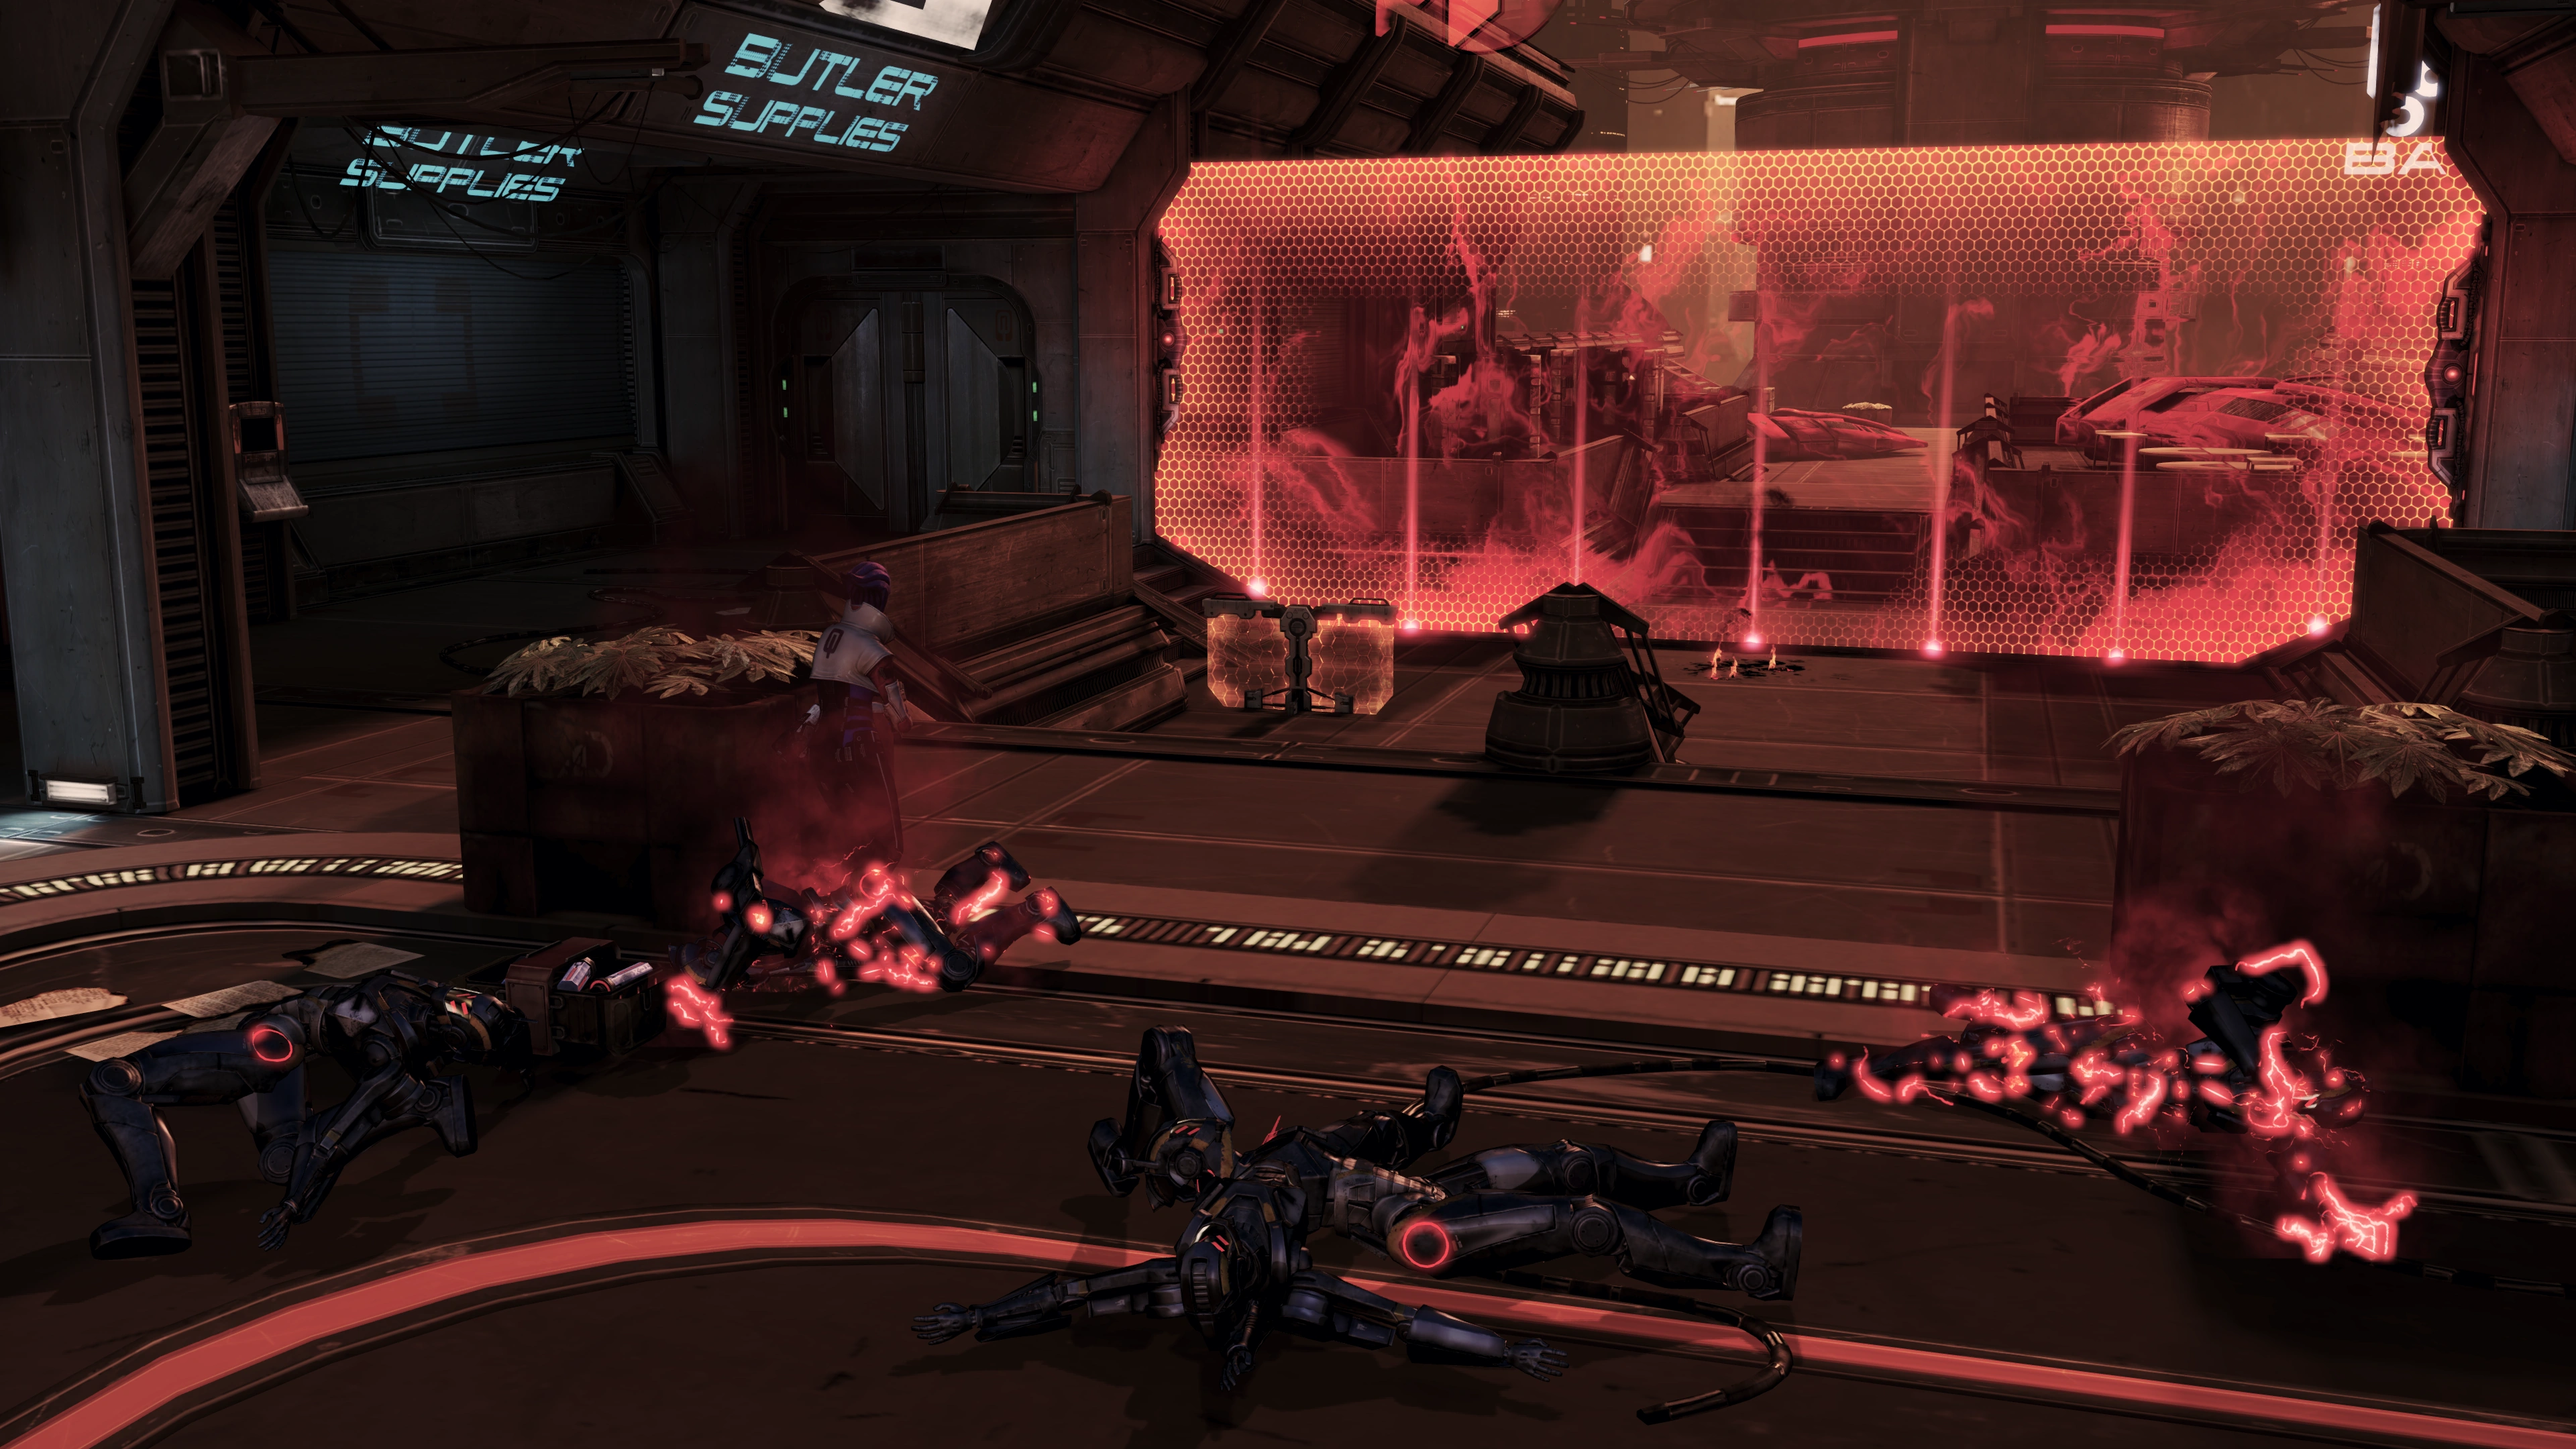
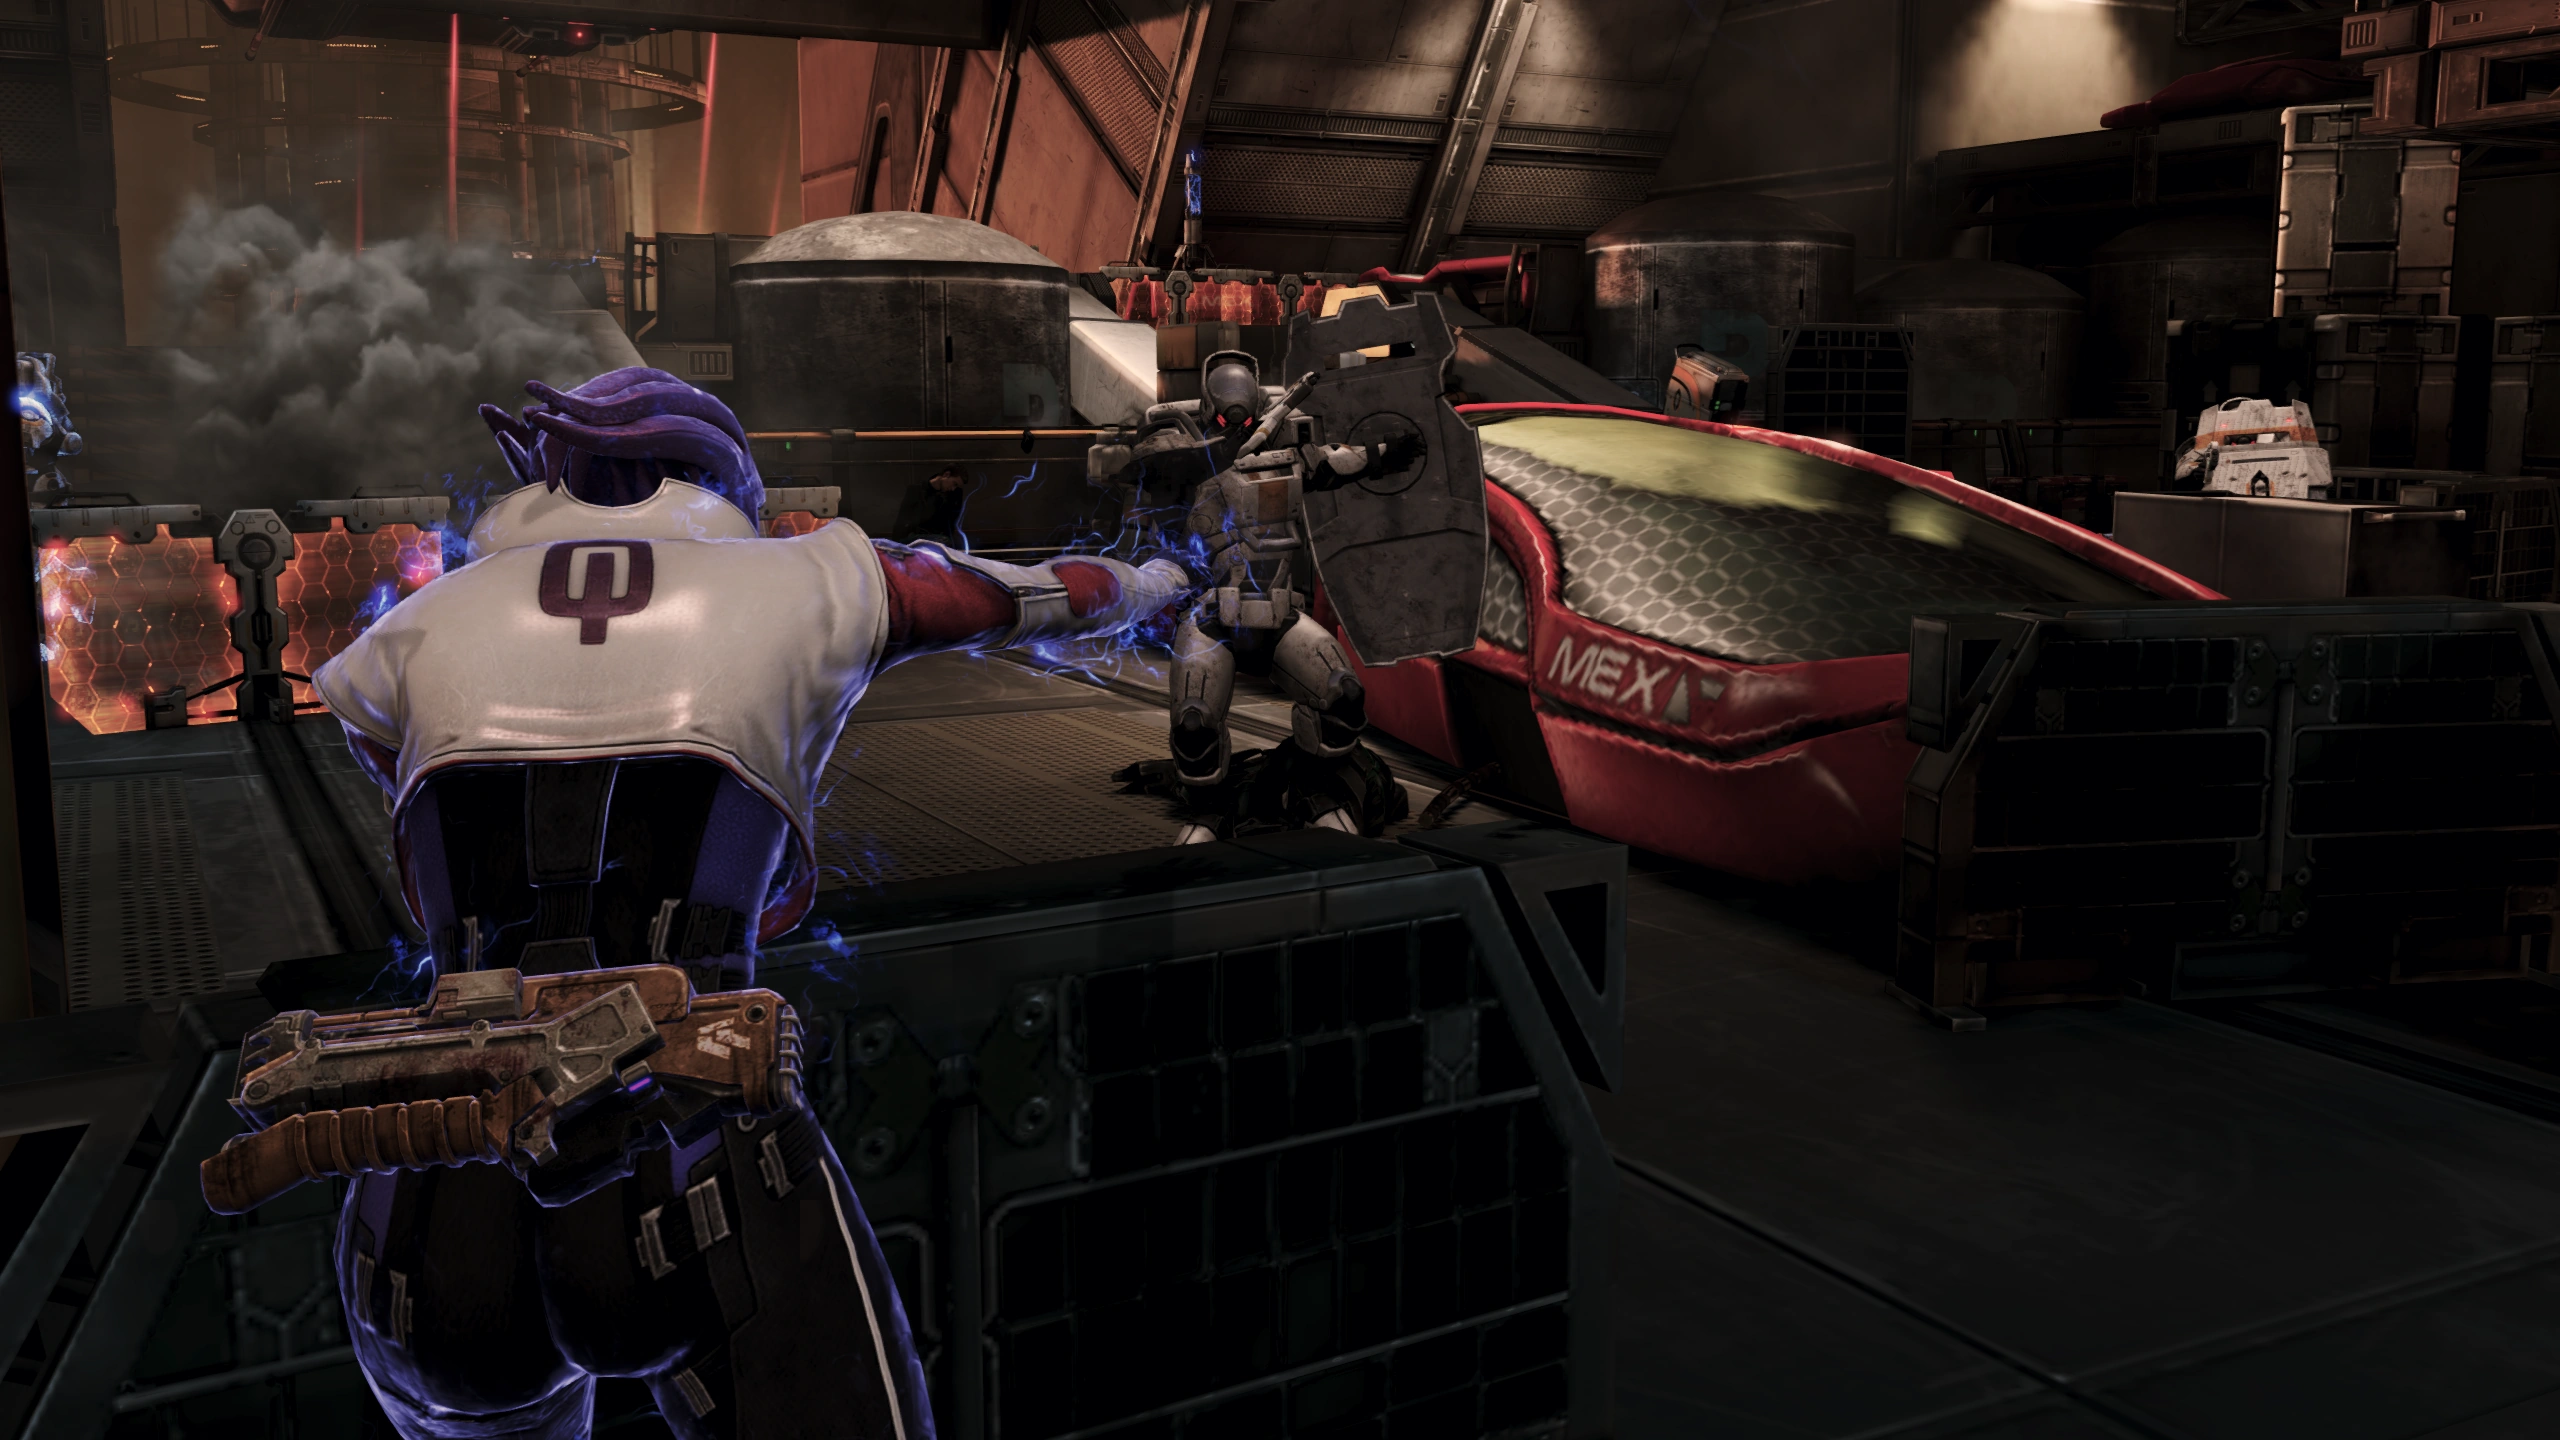
Move ahead and turn to the right to see one of Aria's soldiers and jump down to witness a grisly scene, and a new enemy.
Rampart Mechs are synthetic foes that will try and close the distance to effectively use their shotguns. Thus, try and keep them at a distance. Powers that affect armour and synthetics can help dispatch them - and remember that as synthetics they are vulnerable to Overload, Energy Drain, and Tech Bursts even though they appear as armoured. And since you have Aria with you, you can safely unleash any type of combo explosion to eliminate large swathes of them at once. Note: When destroyed, Rampart Mech remains discharge intense heat for a short period which damages you, squad or enemies upon contact.
Finish them off then join Aria at the force field. There is a Med Kit at the far end of the hall near the force field for you to collect. Aria will then show Shepard a secret passageway with a ladder that leads into the next area. Before following down the ladder, be sure to pick up the Shotgun High-Velocity Barrel mod on the crates in the middle of this small room. There is a Med Station on the leftward wall. When ready, enter Aria's secret tunnels to gain another new squad member.
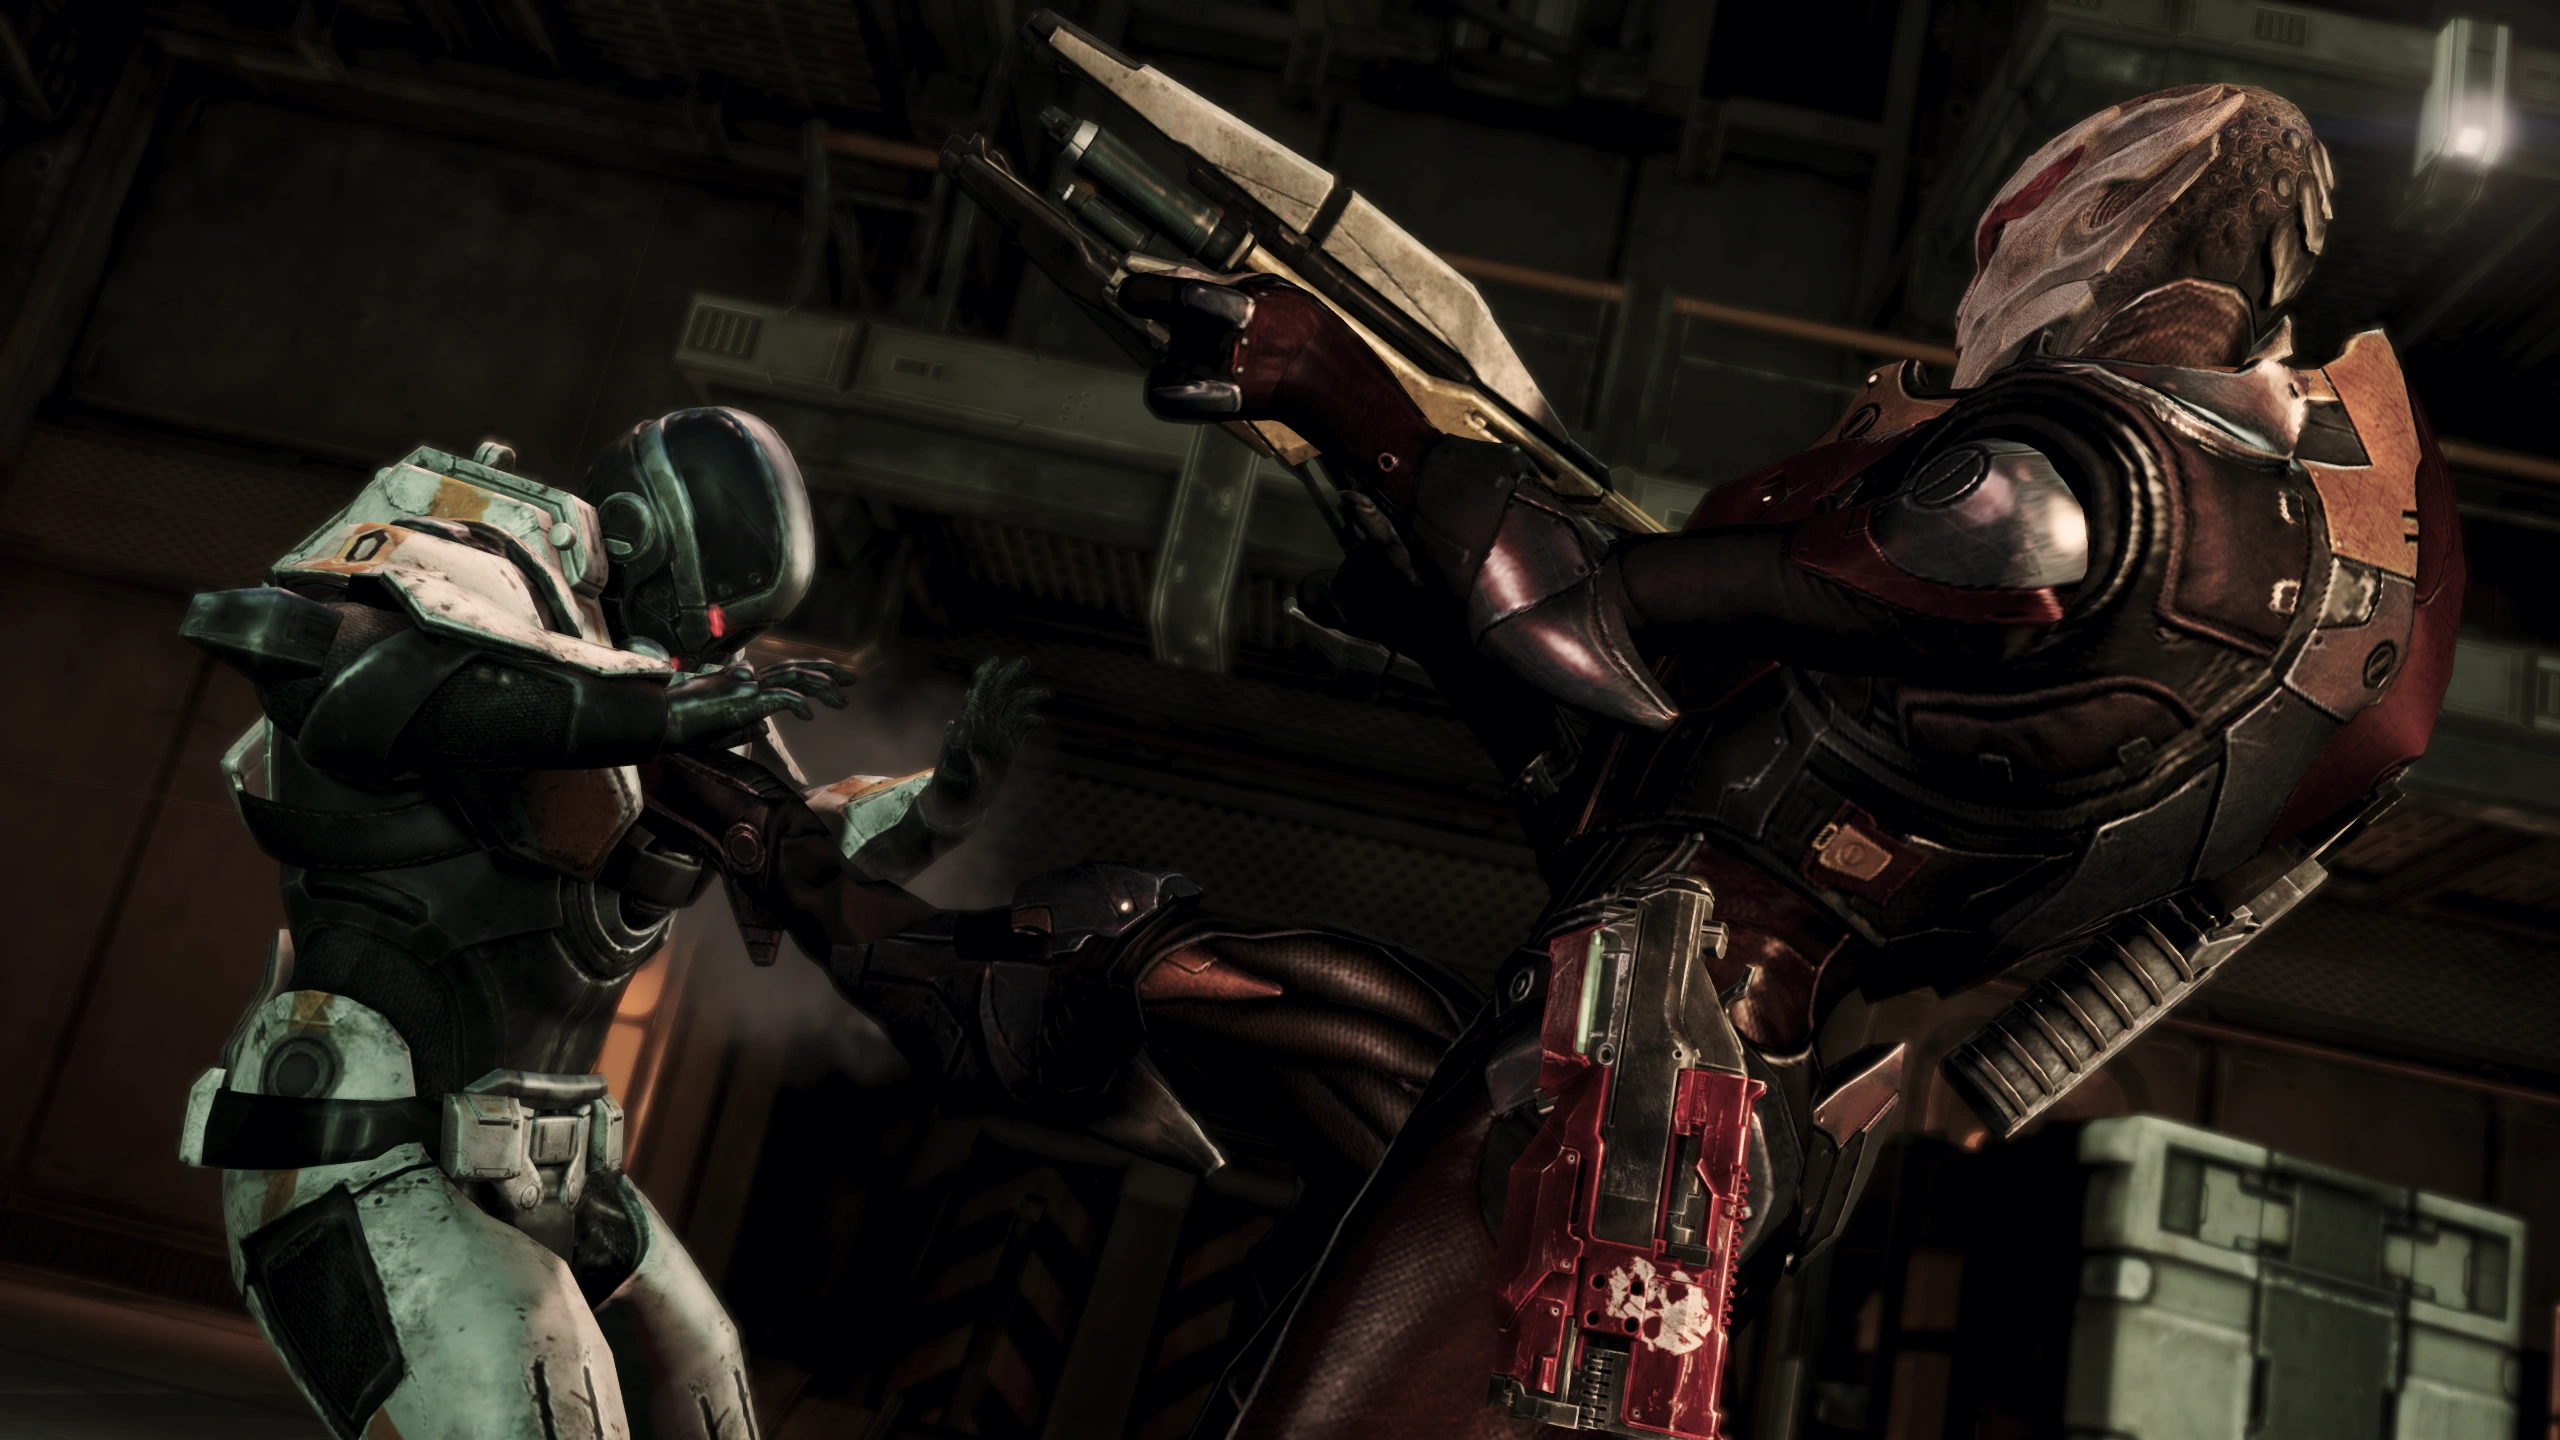
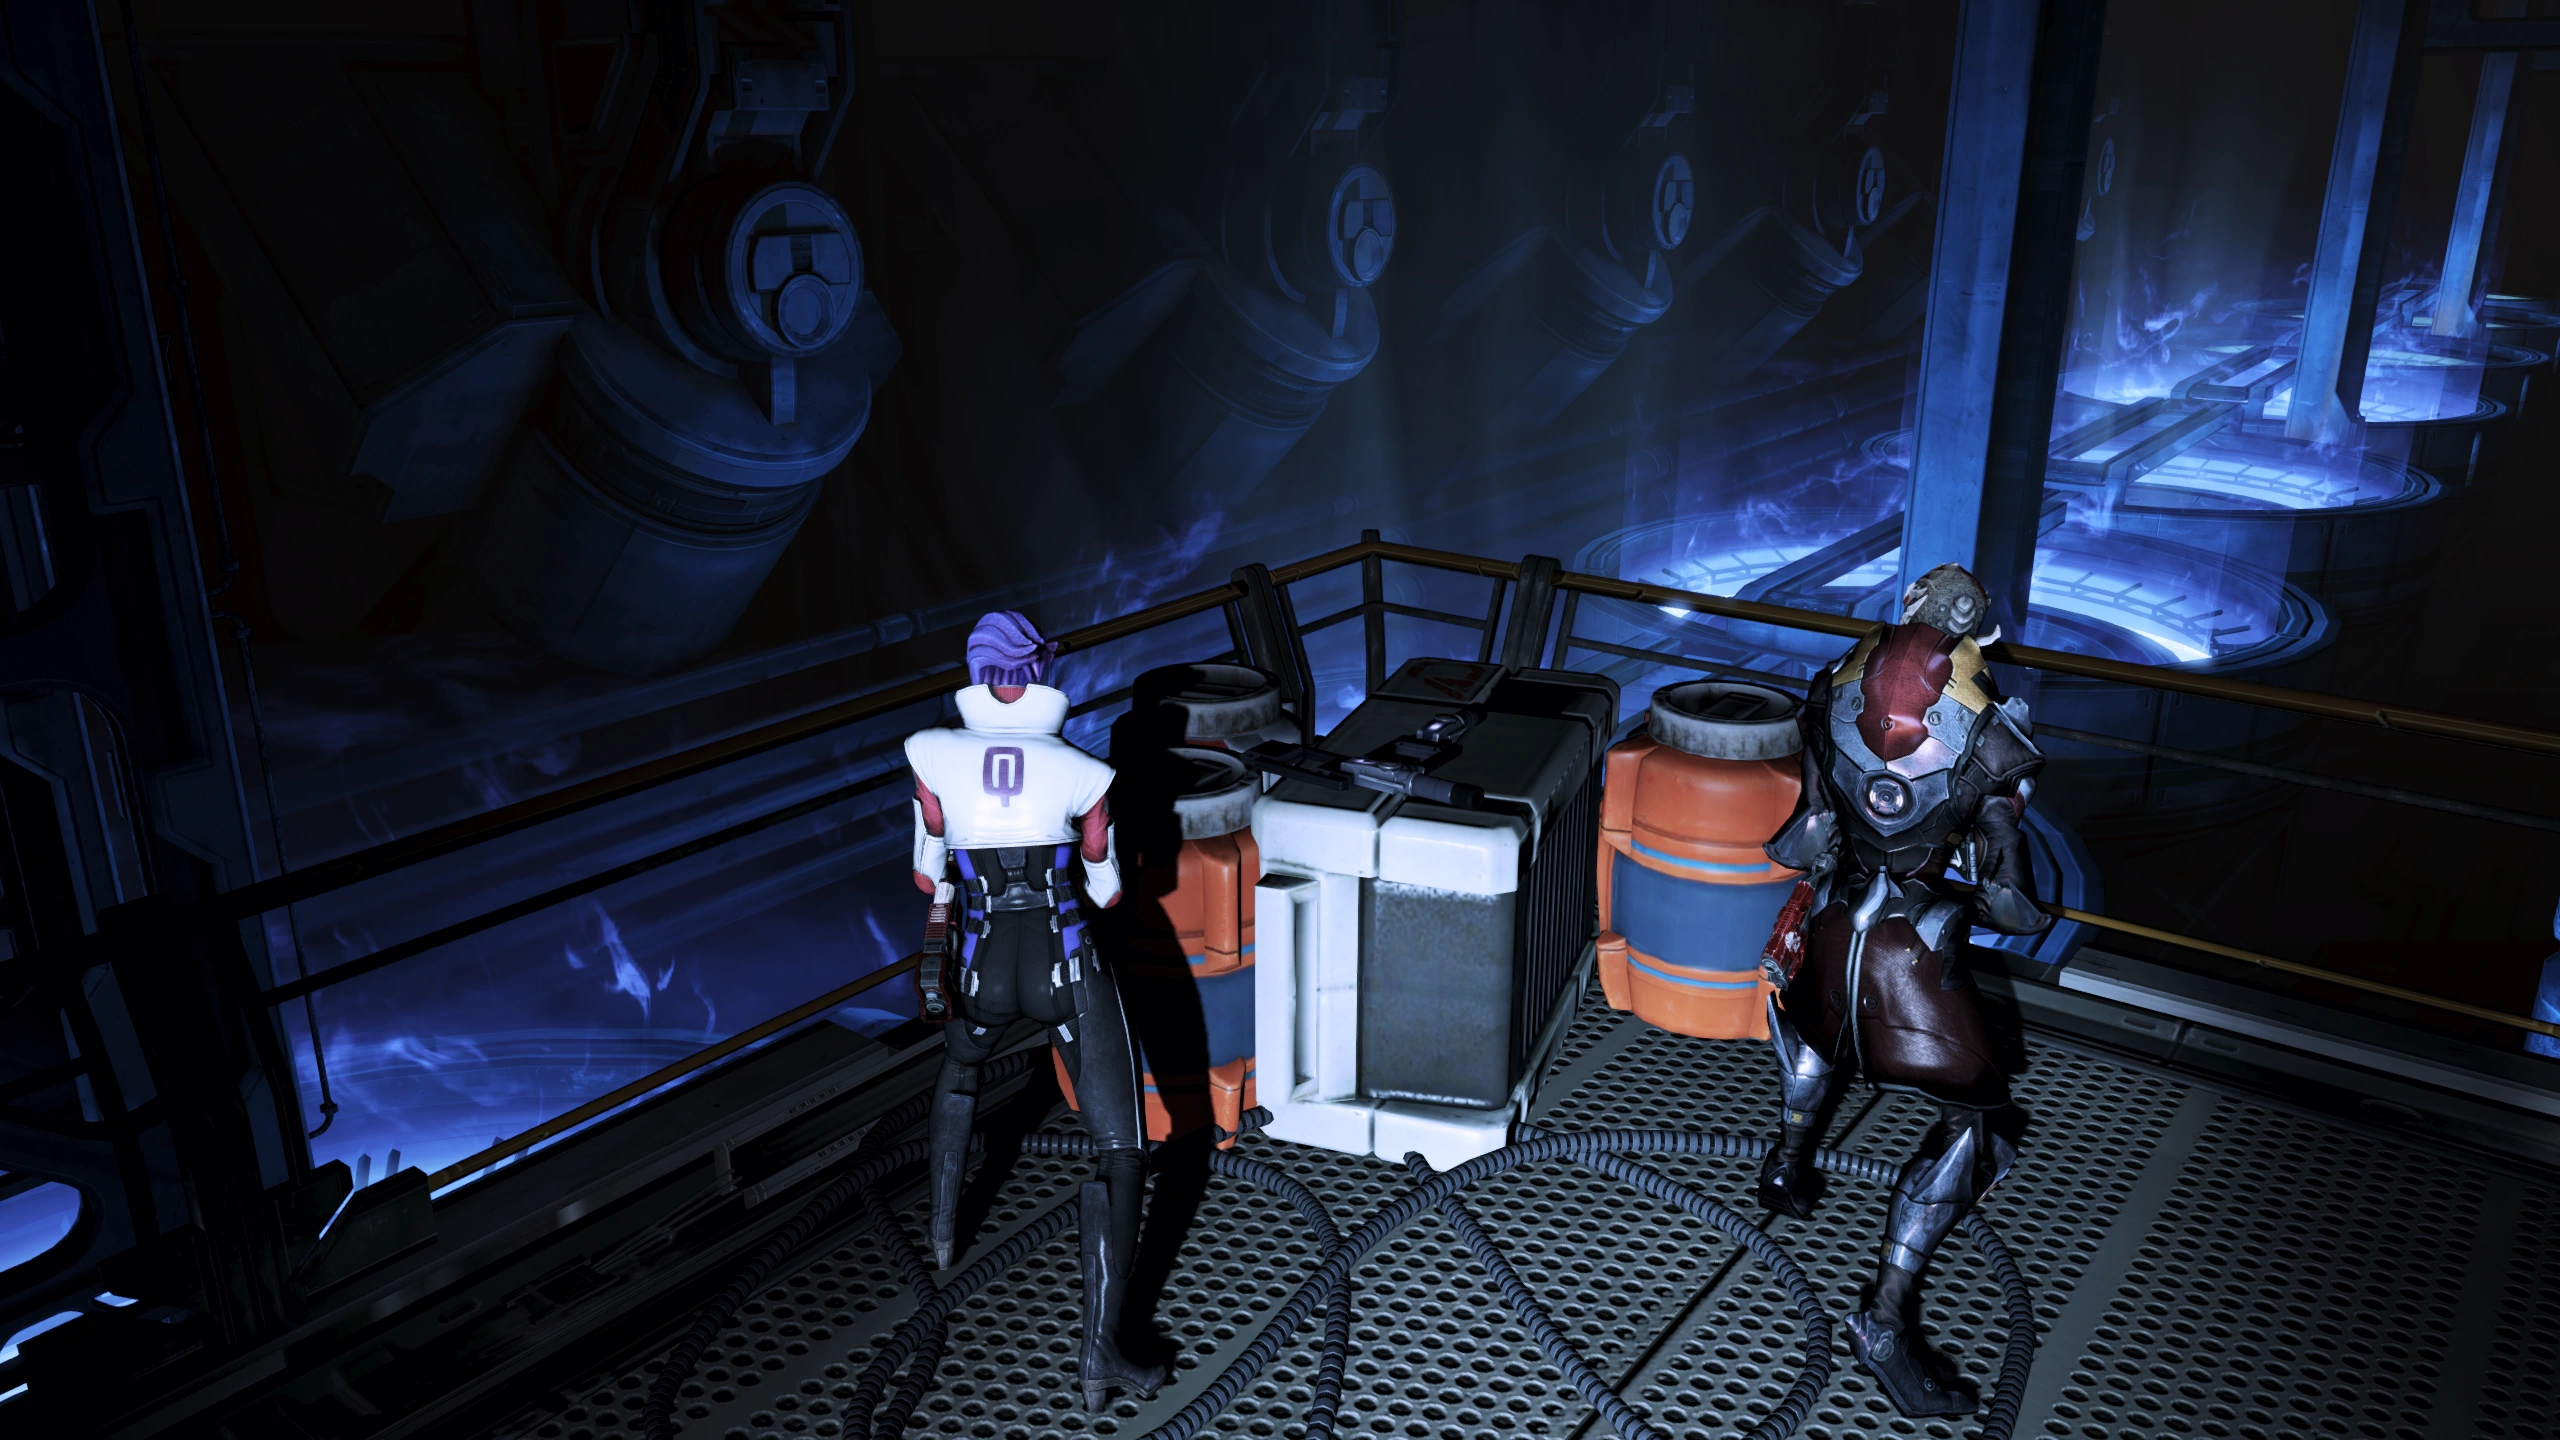
Meet Nyreen
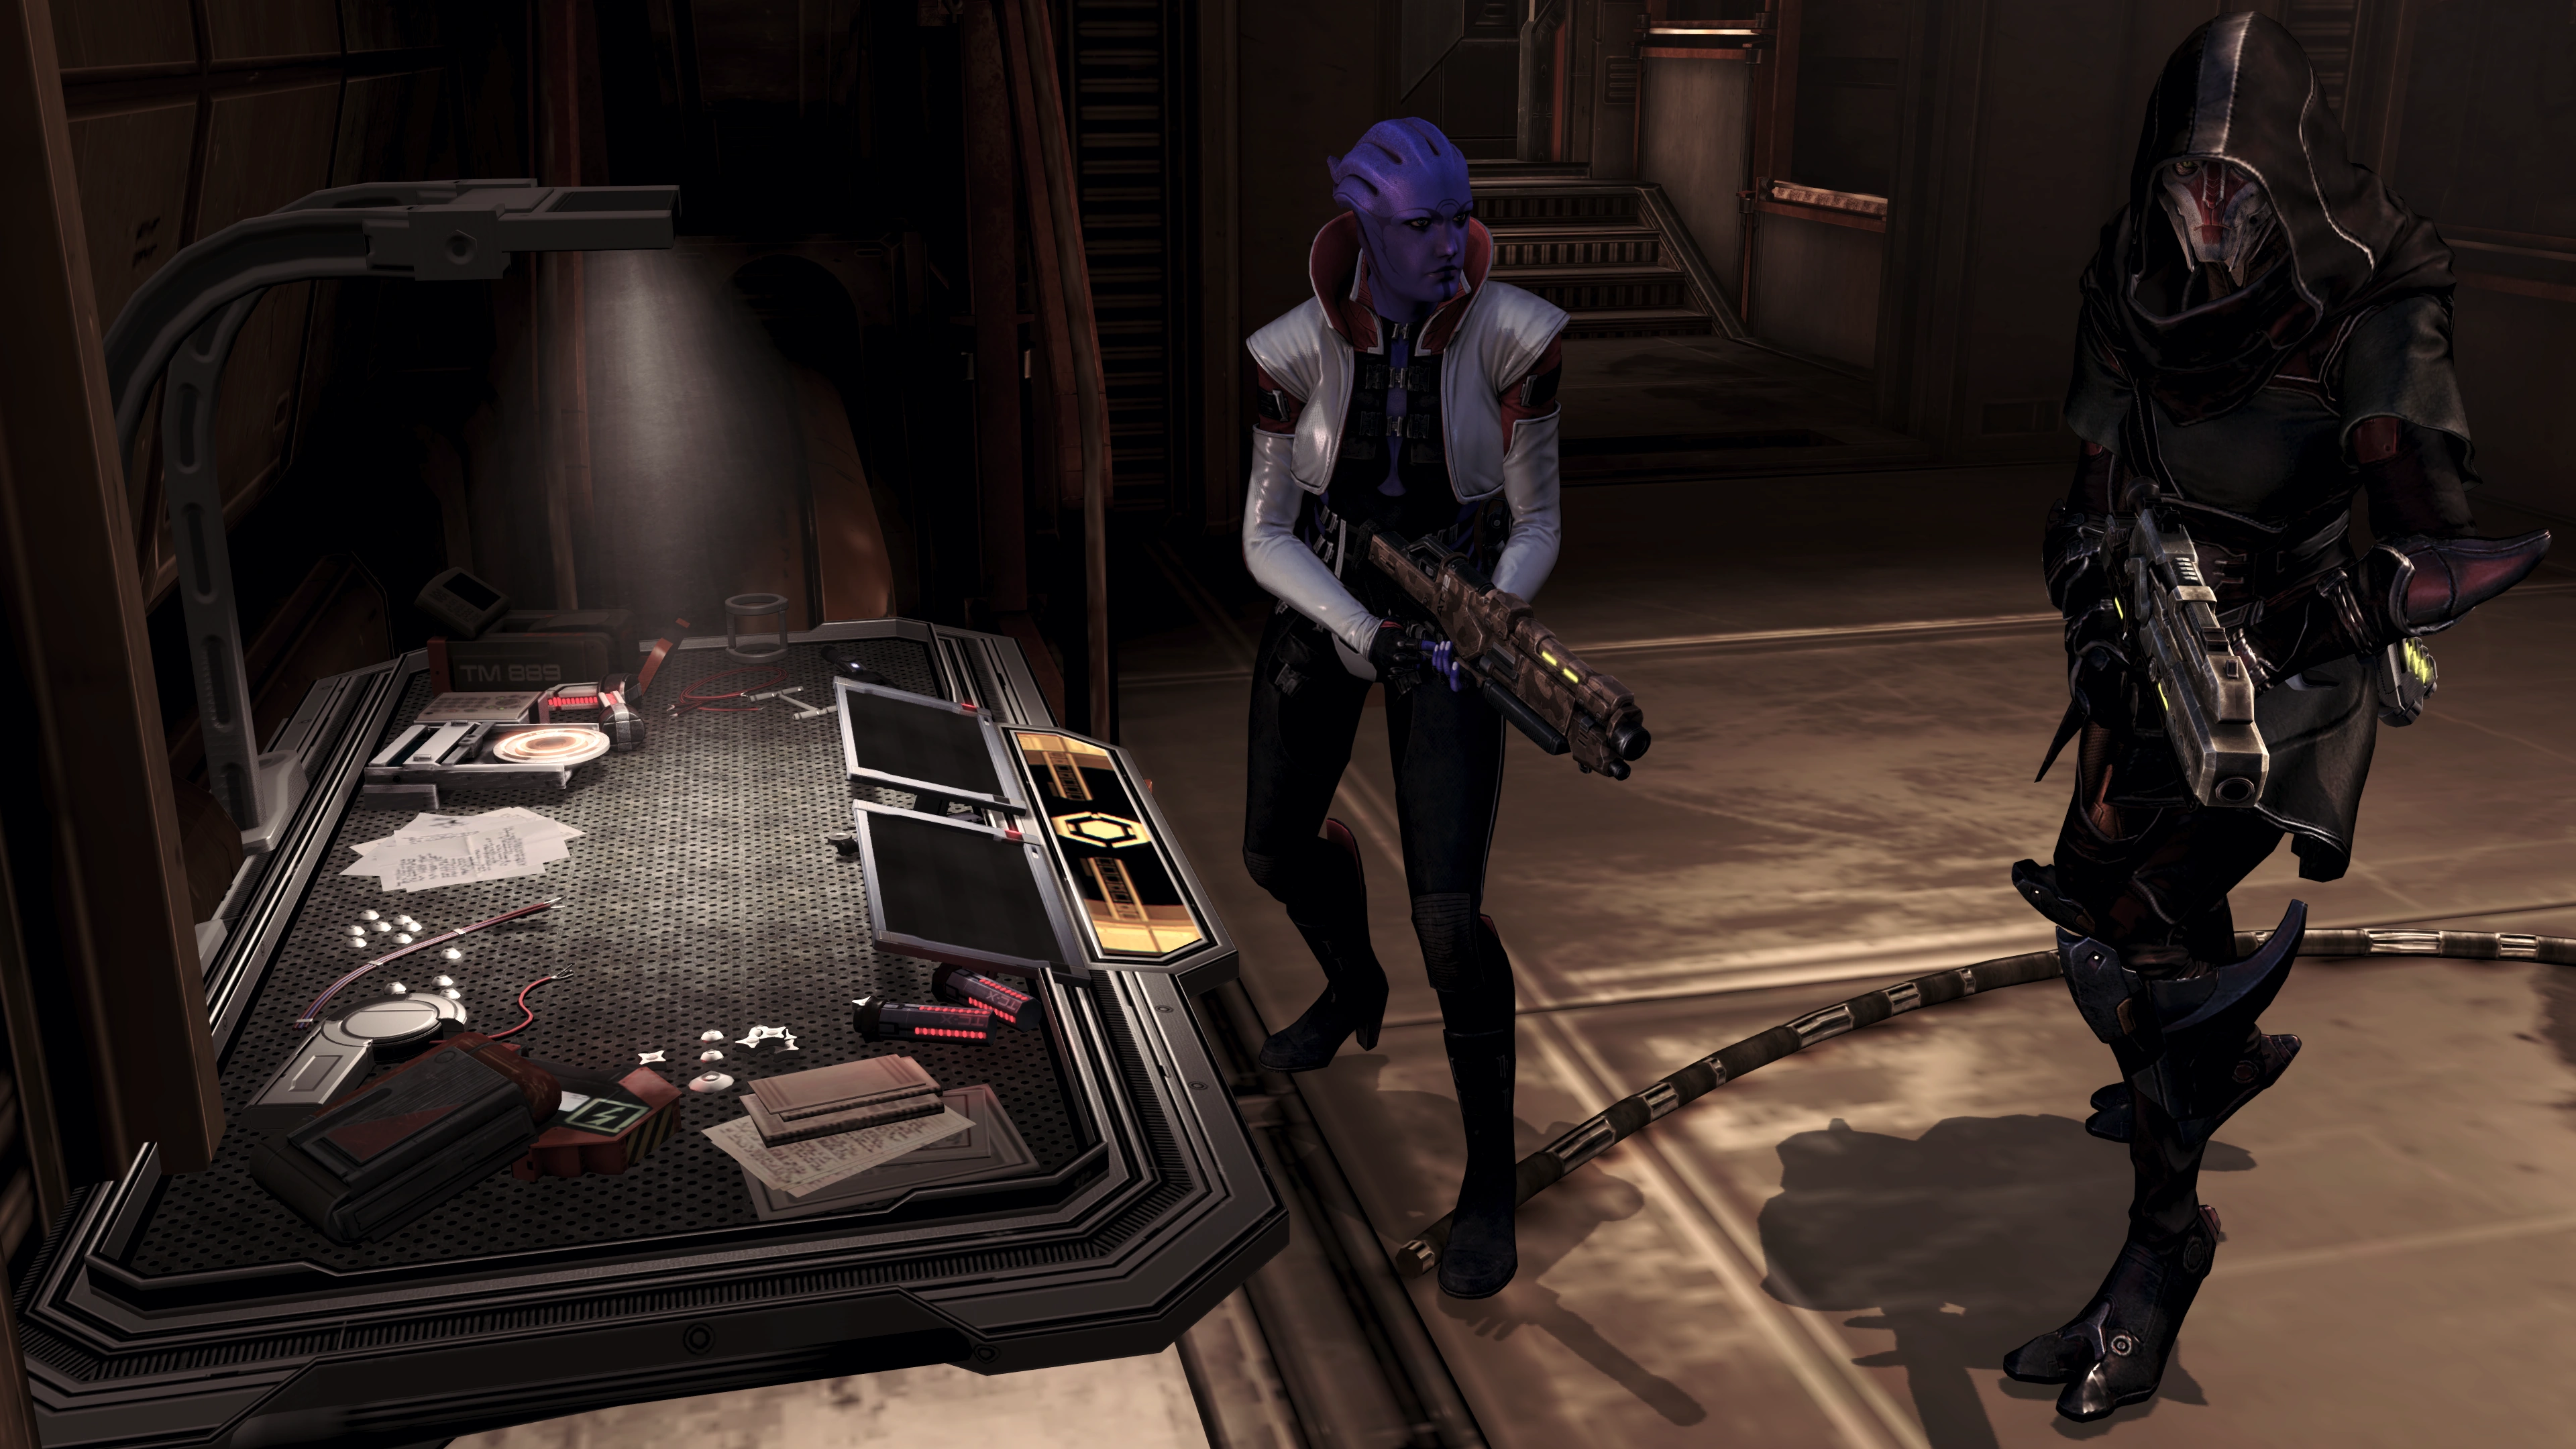
Meet Nyreen Kandros, a female turian. You can allocate points to her from the Squad menu as soon as you regain control. Tip: Because there are so many grenade pickups on Omega, leveling up Nyreen's Lift Grenade power and setting one of your shortcut keys/buttons to point to it is recommended.
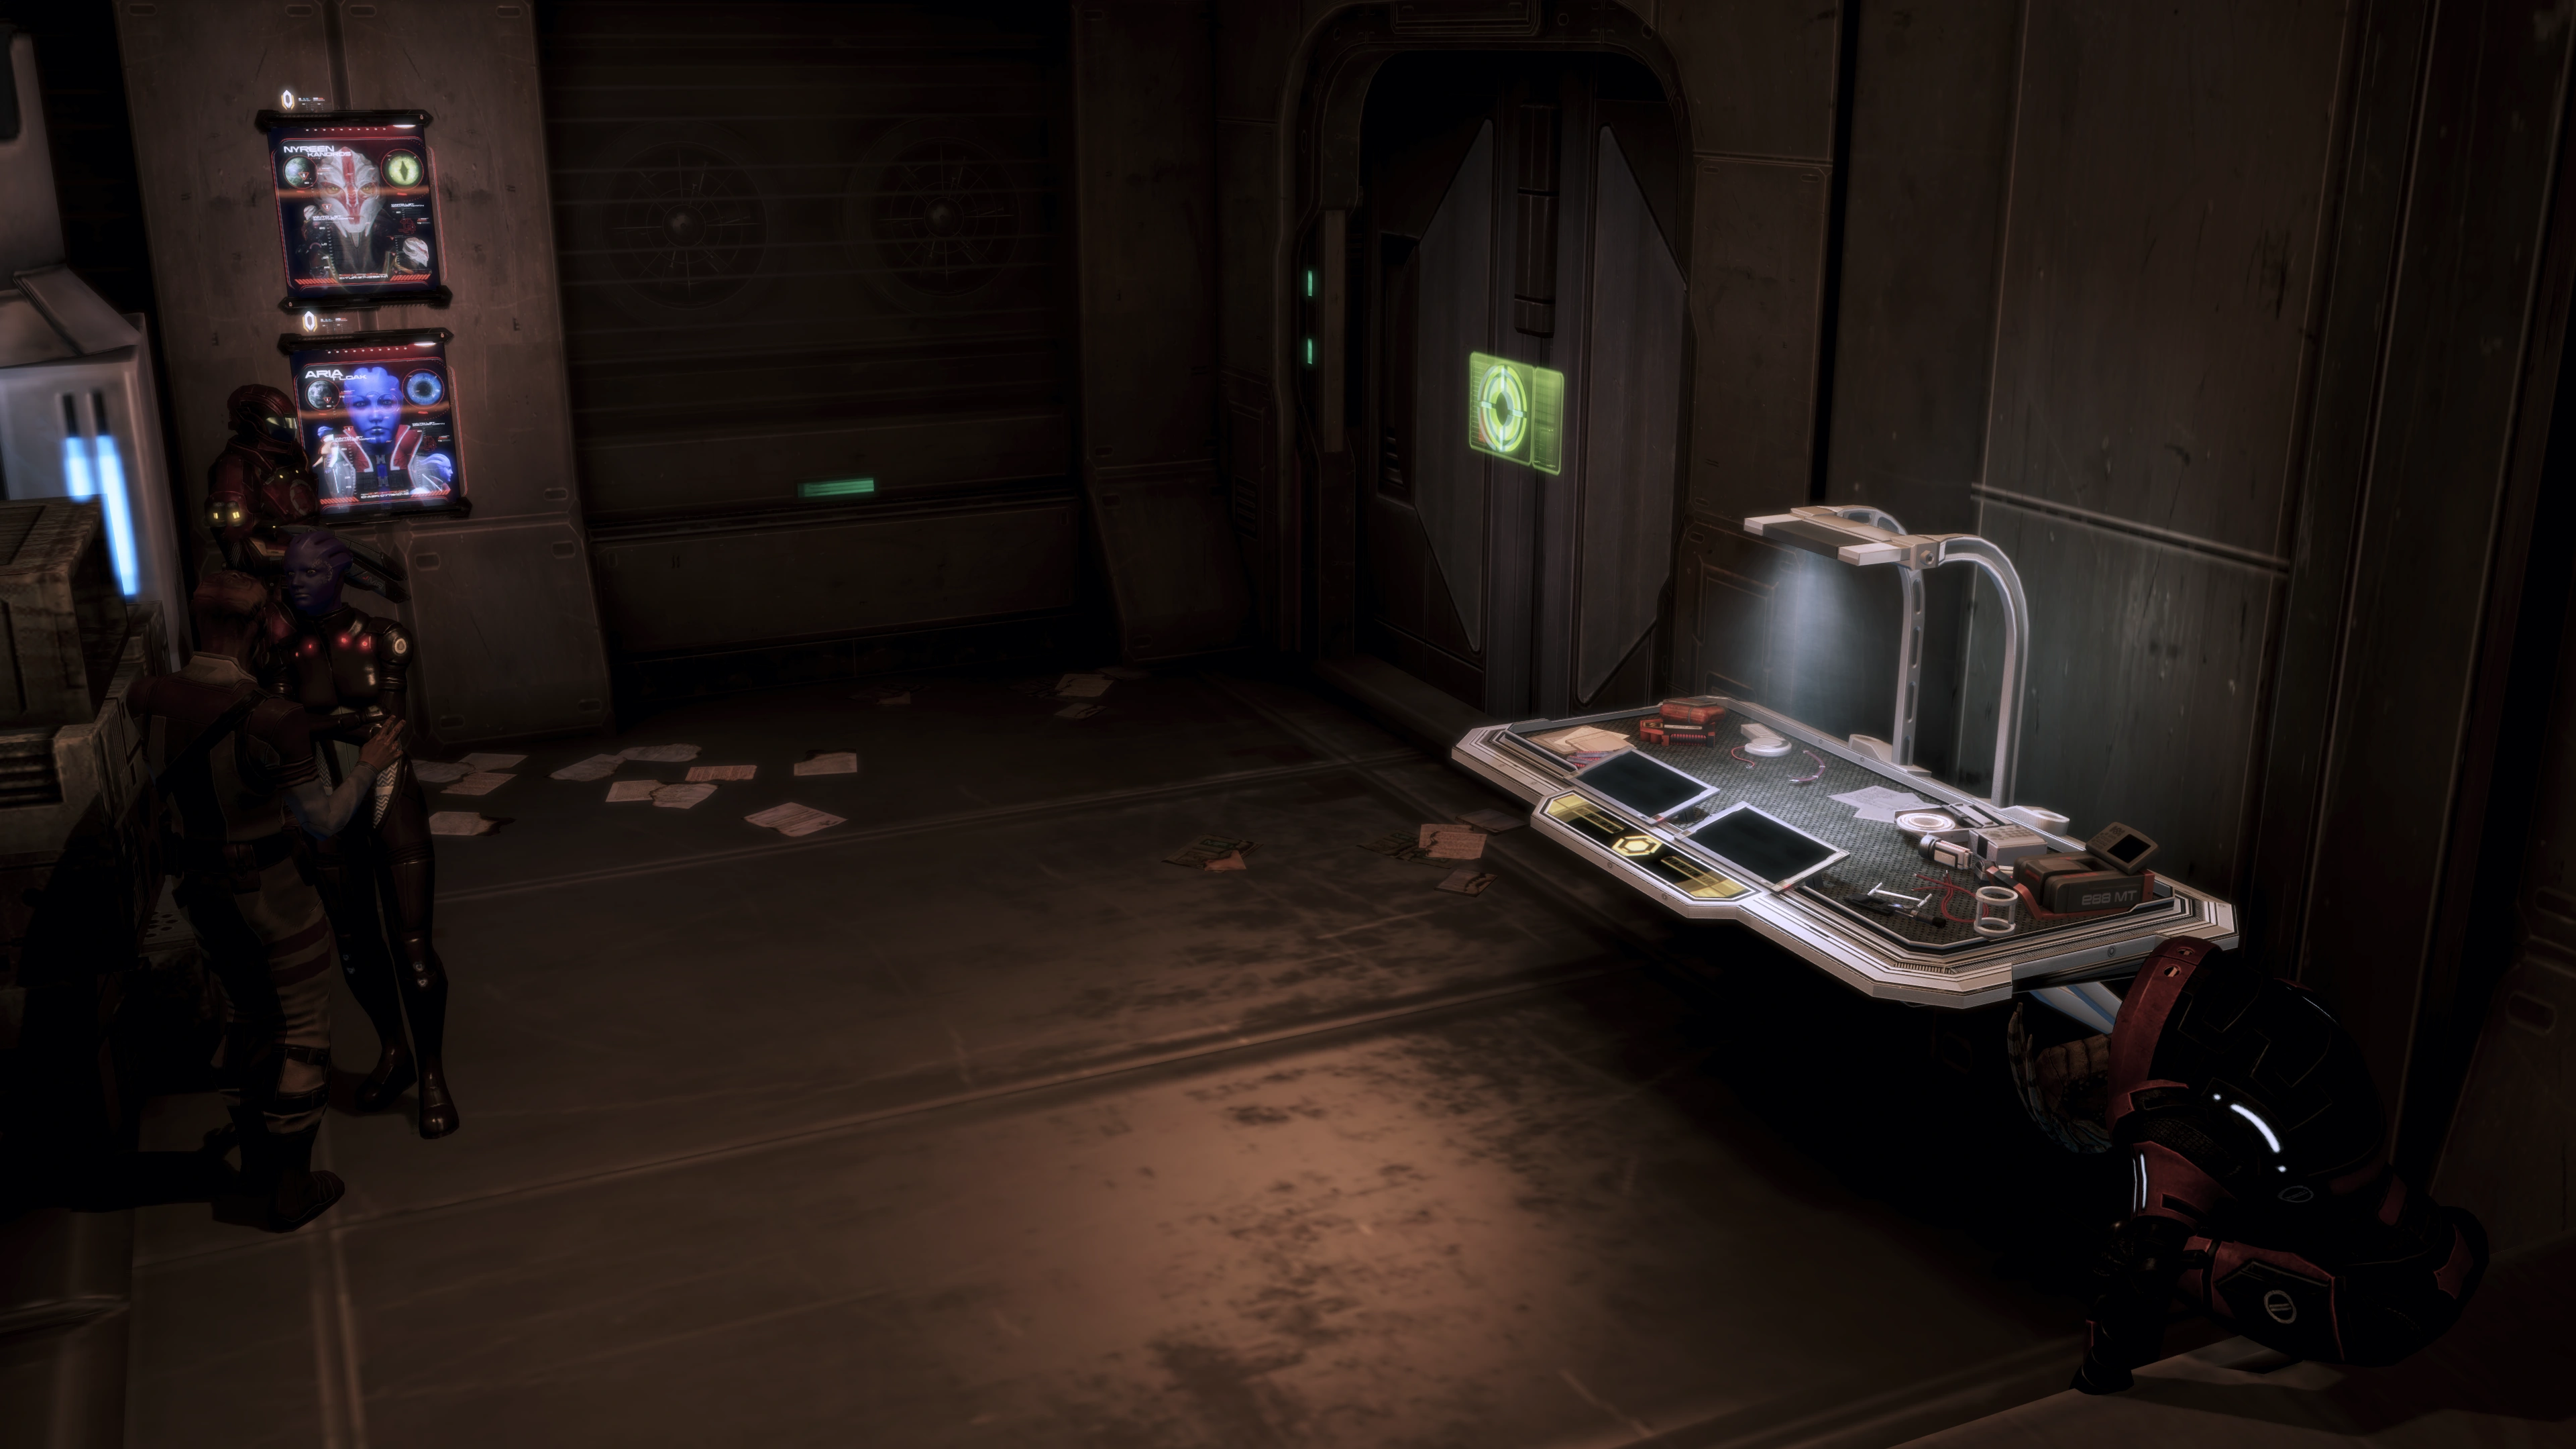
Before moving on through the next door, there is some salvage with 3000 Credits and a Datapad worth 2250 Credits you can pick up, as well as the Valkyrie assault rifle if you don't already own it through pre-order bonuses. Bypass the door ahead to continue. There will be a weapons bench against the wall to your right. It is advised to use the feature to upgrade or swap out Nyreen's weapons, as she will have started with the most mundane of gear. If you forgot to swap out Aria's weapons at the beginning, you can also do so now.
Aria's Cannons
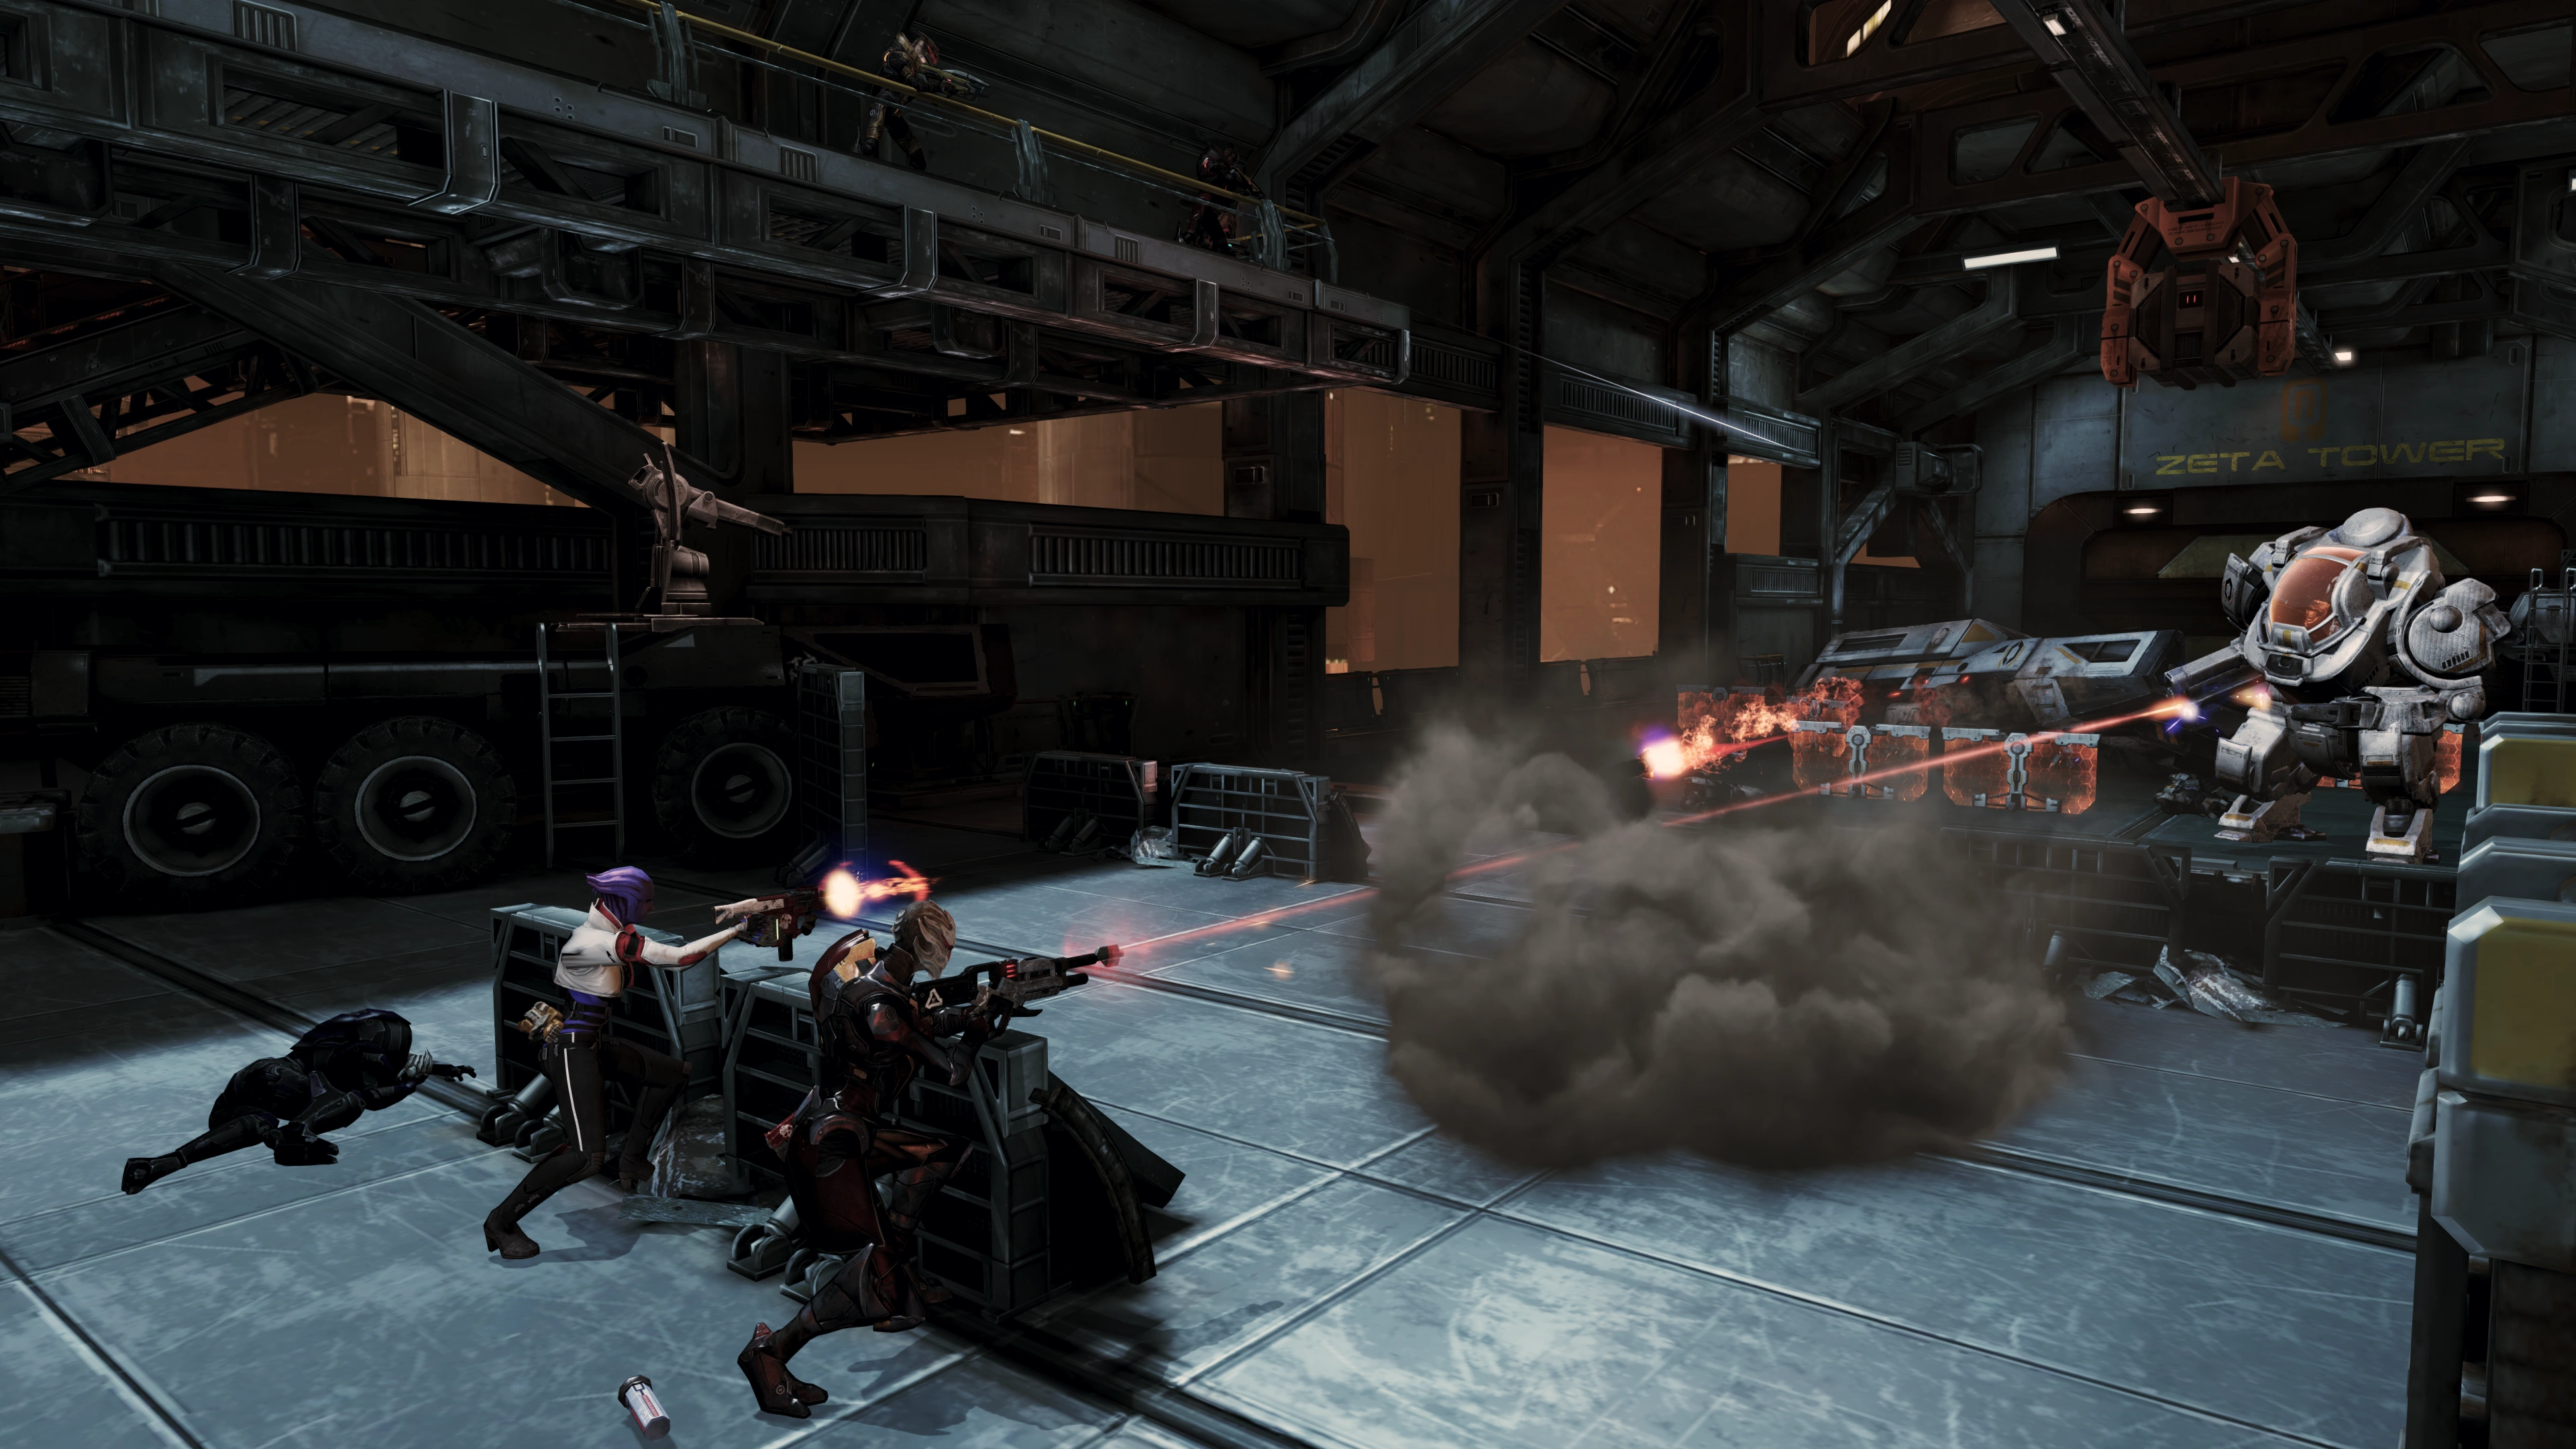
Move ahead down the tunnel, and then use the ladder to get to the upper level. Before rushing through into battle be sure to use the Med Station, that is obscured by the fire near the window opening you can then use to jump onto the balcony below. There will be a large amount of Cerberus infantry on the balcony in front of you. Rampart mechs and even an Atlas will be present. It’s easier to take care of the weaker enemies before concentrating on the Atlas. Once you clear out the first wave, more enemies will jump down. There is a Med Station (on the inner wall of some bar at the left) and two Med Kits (one near the Med Station at the bar and other right on the other side of the battleground), so be sure to grab them before moving forward.

Tip: You can actually shoot through the windows of the small room with the fire. Take out the Atlas from here. Then, if you have a sniper rifle, hop out the window and take cover behind the farthest crate on the left (away from the bridge and cannons) or up on one of the elevated areas across from the window opening. This way no one can flank you while you snipe. Keep your squadmates down low to take care of any enemies that you miss. Their powers really come in handy in this fight. There are also ammo piles on the elevated areas.
Aria's lieutenant, Bray, will point out a target for you. The target is a Cerberus Engineer who is jamming the cannon controls. Concentrate on the other troops before you take him out, because as soon as you do, another Atlas will deploy in front of the cannon controls. Second target is the cannon controls itself. Once you activate it the cutscene will follow, finishing the fight and relocating your squad to the Aria's Bunker, so be sure to grab everything you need beforehand. This may be the quickest way to finish the battle (no need to deal with the Atlas or the other troops) if you have already grabbed everything you need, though it might be easier to deal with the Atlas first to search the place without disturbance.
Note: Your allies will be firing across the bridge inaccurately. Their shots will not damage you.
Aria's Bunker
Inside Aria's Bunker, Aria leaves you to your own devices and says to meet her in the control room to discuss the next leg of the mission. Take this time to acquire two side missions, Omega: Assist the Hacker and Omega: Assist the Mechanic, both of which can be completed in the next mission area. You can also make use of the weapon bench and armor locker in a corner of the room to prepare.
Once ready, speak to Aria. She wants to recruit the Talons to her cause, so she needs to locate their leader. Aria is informed by Bray that Nyreen has vanished from the bunker, but chooses to forge ahead with the mission. You can now exit the bunker via the door Aria pointed out to progress, or continue preparing and acquiring side missions. Speaking to Aria again will provide new dialogue options that shed some light on her state of mind, her past with Nyreen, her thoughts on General Petrovsky and the state of the liberation campaign.
Access the unlocked door when ready.
Talon Territory
After the cutscenes, head down the corridor and examine the crates for discussion of the Talons and red sand. You'll learn that Aria believes a turian by the name of 'Derius' is their leader. Head right across the gap and up the ladder to find a datapad (1500 credits) to the left before the stairs.
On the right after the stairs you will find the first hacker terminal and a lift control. The lift is jammed until you shoot the explosive crates on it. Head back down to the now functional lift and use it to get the Assault Rifle High-Velocity Barrel, then return to use the airlock control to access the vents and continue towards Talon territory. (Note: you can also simply climb over the crates next to the mod you just found and end up in the same vent.)
A datapad (1500 credits) can be found straight ahead soon after Ahz patches you in to Cerberus comms. Examine the control switch and terminal, which you'll find will not work without power. A datapad with a mission report is to the right of the terminal. Reactivate the generator to operate the terminal, which is not one of the three hacker terminals, and open the air seal to continue.
After you go down the ladder outside the vents, you will find salvage on the left behind some crates (1500 credits). At the bottom of the stairs, you'll find another salvage (1500 credits). Open the door and head down the stairs into a fight with centurions, assault troopers, a combat engineer, and a shield pylon in the far right of the room. The second hacker terminal is in the right corner of the room, when facing the windows with Omega's skyline.
Rescue Talons
A small room with a broken window contains a datapad (1500 credits), and there is medical station to your left before the next door. An assault trooper will be standing with his back to you when you open the door, and an engineer waits in the adjacent room. Take them out and deactivate the lockdown in the next room. A datapad (1500 credits) is in the right corner of the lockdown control room. A medical station is on the left wall of the corridor.
Releasing the lockdown opens the elevator door on the far side of the main room, letting out some Rampart Mechs and a Guardian. A perfect time for a grenade or a fire/biotic explosion! Taking out the mechs while all three are in the elevator may set the guardian on fire. Revive the downed Talon in the other room for some exp and then access the hacker terminal behind him. Enter the elevator once you're done.
As you head down the corridor, assault troopers and more Rampart Mechs will run into the corridor from the landing pad. Take them out before taking cover behind the door frame, because a charging mech, an Assault Trooper, a Combat Engineer, and a deployed turret await. You may want to take out the shield pylons at the middle and far end of the landing pad before you finish killing off the enemies here, because as soon as the last one falls a shuttle flies in to drop another wave of Rampart Mechs, Troopers and Combat Engineers, followed by a wave of Centurions, Troopers, and another Engineer. A good way of dealing with them is to use Aria's Flare on them as soon as the shuttle's door opens, and they're still huddled together.
There's a Med Station on the left wall of the area before the first landing pad, and a medkit is found at the lower landing pad drop point. Two more downed Talons are to either side of the destroyed shuttle on the lower landing pad, go revive them for more exp. Then head down the stairs and bypass the door.
Nyreen Returns
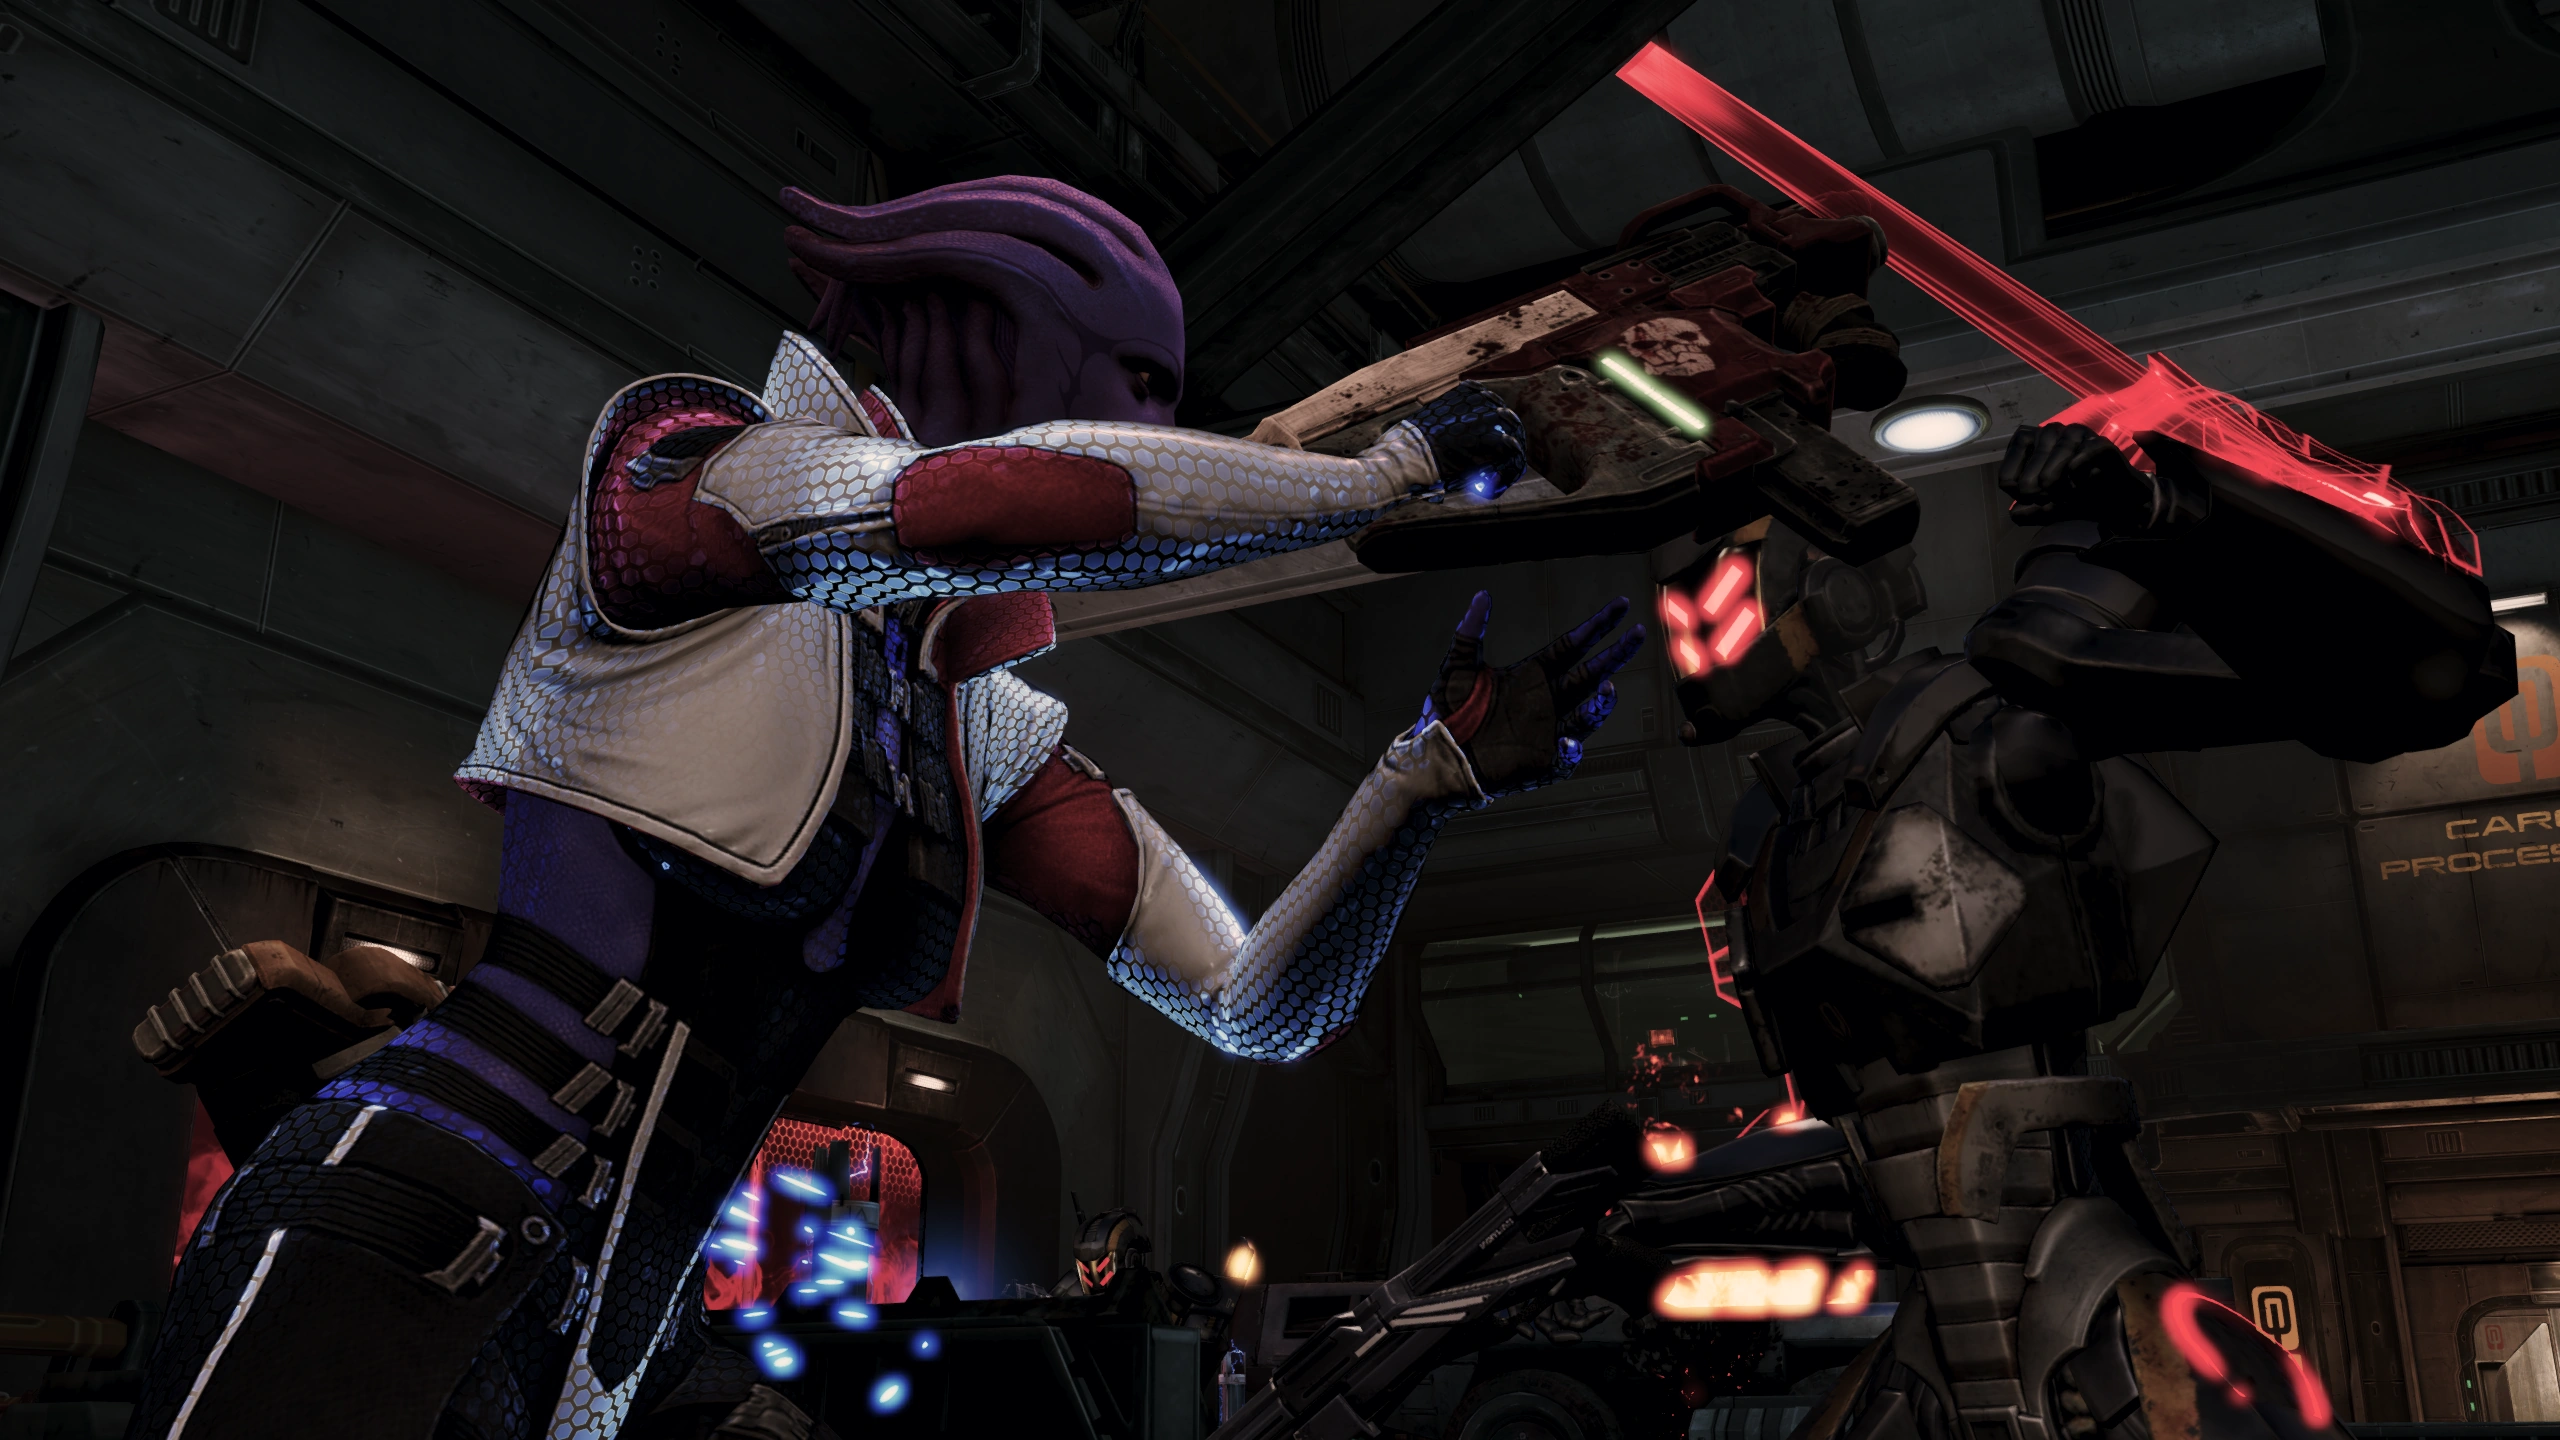
A short, but revealing, cutscene is given of some Cerberus goons trying to interrogate Talon mercenaries, and Nyreen, hoodless, rescuing them in style.
She is revealed to be the real leader of the Talons. Whatever your reasons for being in Talon territory, the answer is no. Or so Nyreen claims, because whatever you reply to her, she'll be convinced to rejoin you and Aria once more.
After you regain control, you'll be facing the exit. There's a Shotgun High-Velocity Barrel, and a datapad (1500 credits) to grab in the room. Right near the exit there is a Phaeston (provided you don't already have it) next to a med station and a bunch of ammo clips. If you leveled up fighting all those Cerberus goons it might be a good time to bring you and your squad's skills up to speed. When you're ready, go through the doors and take the elevator up.
As you enter the open area ahead, Rampart Mechs will start streaming in through the red forcefield to your left, next to two shield pylons. If you have a gun with a decent scope, it may be worth your time to take out the pylons while you're still near the elevator. Once you're down to only one Rampart Mech, an Atlas will show up. Remember that Nyreen has Overload and it's useful against the shields. Not to mention there are two Hydra Missile Launchers in the center of the area, one near the left barrier and the other on the stack of crates towards the right. Deploy them as needed. Tip: Save one of the Hydras for later, as it may come in handy on the upcoming battle at the outpost catwalk.
Afterwards, salvage (1500 credits) on the right side of the room just before a jumpable gap, and a med kit on the right in the open area under the burning shuttle. One more med kit is on the left near the entry point close to the burning fire. Head through the far doors to the elevator.
Your ride is cut short when Cerberus cuts the power. You'll see a "health" meter for the latch: shoot it to open emergency access and drop a ladder into the elevator. If you took a missile launcher with you, you'll need to drop it (just switch weapons) to shoot the latch, then pick it up off the floor again. Note: Do not drop the missile launcher prior to the blackout, as it will disappear. Grab the datapad (1500 credits) off the catwalks before descending the ladders in the elevator shaft until you reach the door.
The Catwalks
There will be a medkit immediately on your right as you exit onto the catwalks leading directly to the Talon outpost entrance. There's also some salvage (1500 credits) in front of the burning gap in the catwalks. A shuttle will drop off Cerberus troops behind a smokescreen on the catwalks, followed by two Phantoms, then Centurions, Troopers, and some Nemeses. The Hydra missile launcher from earlier will come in handy to quickly end the fight against the Phantoms. Tip: Don't fire your missile launcher at the first sign of Cerberus - the Phantoms drop in from above a bit after the first shuttle of enemies arrive, so save the missile for them. Again, just switch weapons and the Hydra will drop at your feet for retrieval when you need it.
Warning: Vanguards will find it prudent to limit usage of Biotic Charge in this section as executing it improperly WILL cause Shepard to die even with full health and shields. See Bugs section below.
There's a Sniper Rifle Thermal Scope on the right-side catwalk near an ammo pile. Pick it up then examine the door at the end to start a continuous wave of Centurions and Troopers dropping down to the catwalks from a bridge above. Tip: Before starting to open the door, turn around and look up at the floor above you, where you will be able to shoot out a shield pylon. There's another one hidden up there on the right as well - you can decide if it's worth lobbing a grenade in.
Cerberus troops will continue to spawn while the door bypass continues. Towards the end, Nyreen will comment that they've hacked the bridge controls, which will prevent two Atlases from dropping into the fight, although they can still shoot you for a while before the bridge closes off.
Talon Outpost
Head in through the doors, grab the medkit, then take the elevator to enter the Talon Outpost. After regaining control, there is a Shotgun Omni-Blade immediately on your right. If you revived the Talon in the lockdown room earlier, he will say thanks, and you can overhear more about Adjutants near him. To your left, behind some boxes where a salarian and a turian are discussing medical supplies, you'll find the Kehri Inverter that the mechanic is looking for. A datapad with a scout report is near Nyreen.
Talk with Nyreen to kick off the cutscene with Aria's inspiring speech. Looks like Nyreen is not the only one who disapproves of the speech, as Cerberus forces are once again assaulting the outpost en masse. A fight in the landing pad area against Centurions, Assault Troopers, and Rampart Mechs awaits, and note that Nyreen won't be joining you on this one since she and her people will be holding the front doors so deploy your standard tactics with only Aria in mind.
Also note that the area before the first door to the landing pad is the last place for manual saving in this section, so take advantage of that fact if you must.
After the fight, there are two more Talons you can revive for more experience - one against the wall to your left, and one in the right back corner.
Defend Talon Outpost
Your last fight at the Talon outpost will be at the main gates against Centurions, Troopers, and Rampart Mechs. The last wave will be another Atlas that likes to keep itself concealed with smokescreens. The area is studded with cover barricades and shield pylons will be supporting the Cerberus troops on the far end. Depending on your moves that may either turn out to be a hindrance or an advantage. There are two turrets by the sealed base door, but they cannot be mounted so fight with your own skills and Nyreen's. She will join you on this so maim, kill and burn accordingly. There are also two Med Kits close to the right wall near the entrance. Make sure to grab them before you take out the rest of the Cerberus forces, as this will trigger a cutscene.
However, the turret in the wheeled vehicle just outside to the left of the barricades and accessible via ladder is mountable, so provided you've cleared a path to there you can use it to mop up the remaining goons with less effort. After the fight finishes, you'll automatically return to Aria's Bunker.
Aria's Bunker, Part 2
You now have a rest stop at Aria's Bunker. Talk to the mechanic to give him the inverter and finish his mission; the hacker will thank you as well if you stop by. Harrot will ask you to get him coordinates for Aria's couch, and has a few weapon mods for sale at his kiosk. Make use of the weapon bench and adjust your armor as necessary.
Talk to Aria to go over the plan, and again for further background. Nyreen will be waiting near the Med Bay doors and will ask to speak with you, giving you the opportunity to inquire about her past and what's happening on Omega. Use the door to leave the area when you're ready.
The Mines
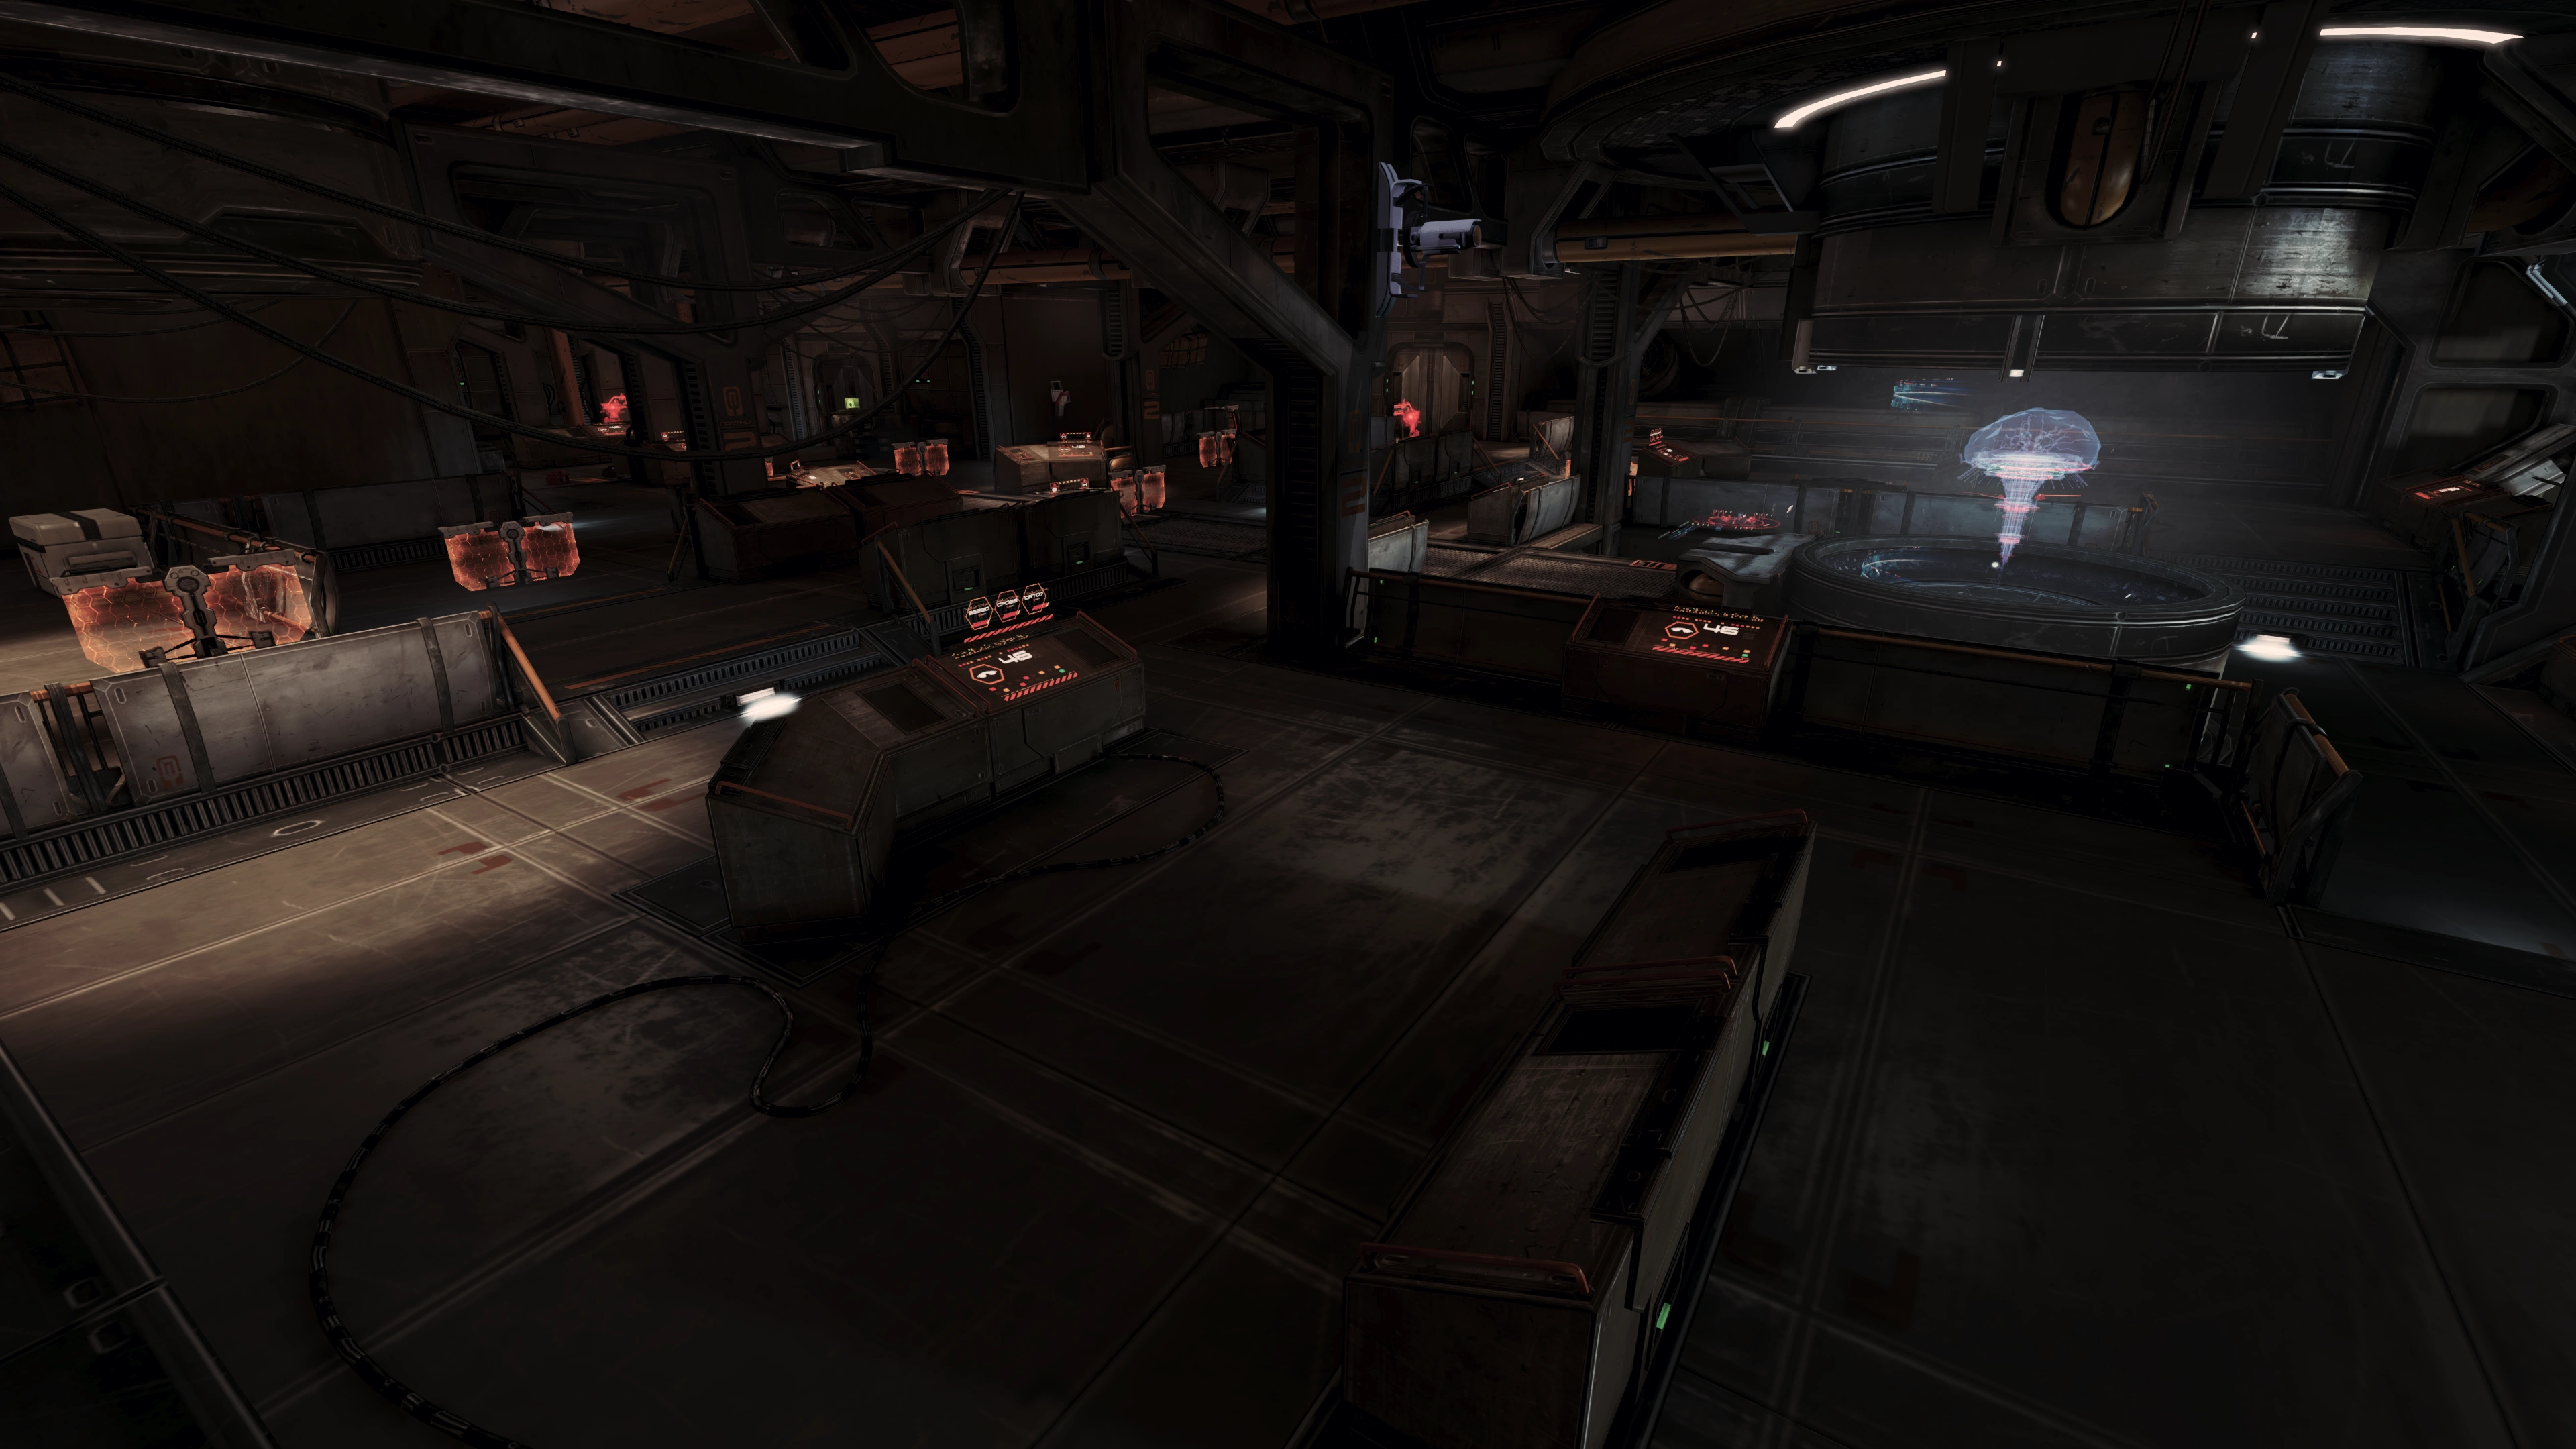
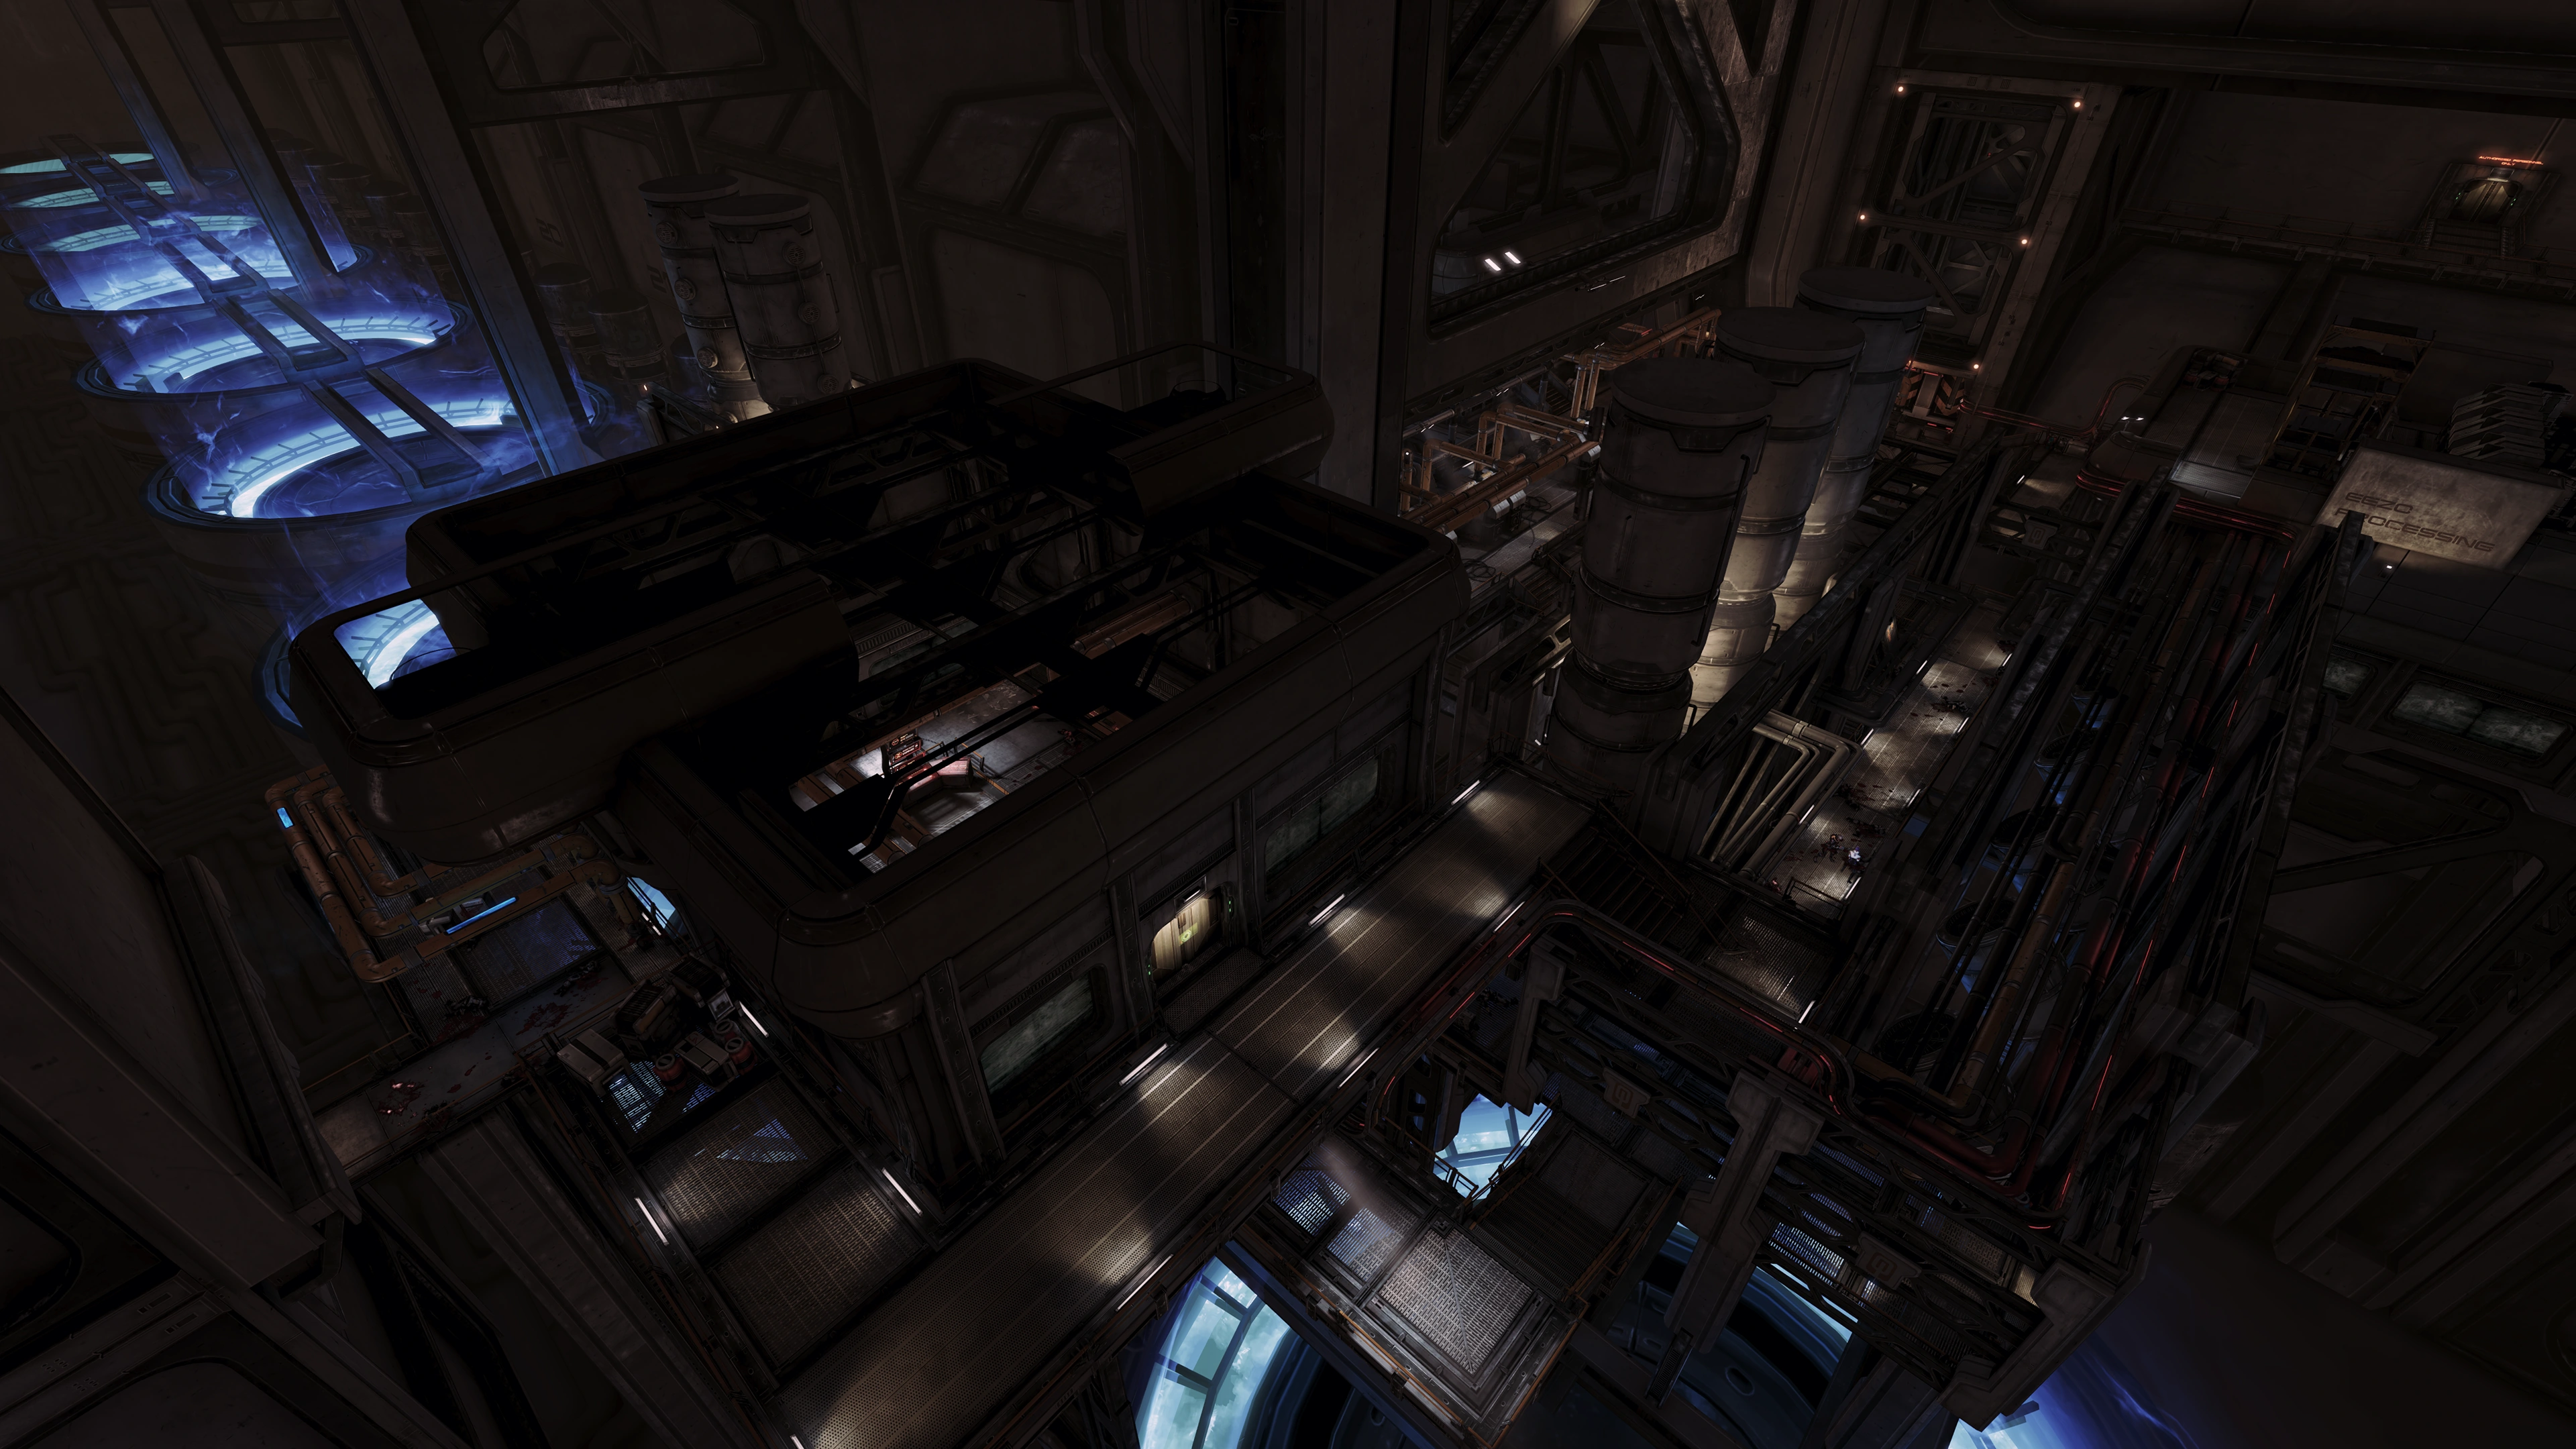
Eezo Processing Plant
First off, note that this section from the Eezo Processing Plant until up to Omega's reactor will be the last section you get to have Nyreen as a squadmate so use and level her abilities to the fullest extent.
You'll initially be wandering around an eezo processing facility in the dark, so you may want to wait until you power the place up to look for items. If not, no worries, they're still there regardless of lighting conditions.
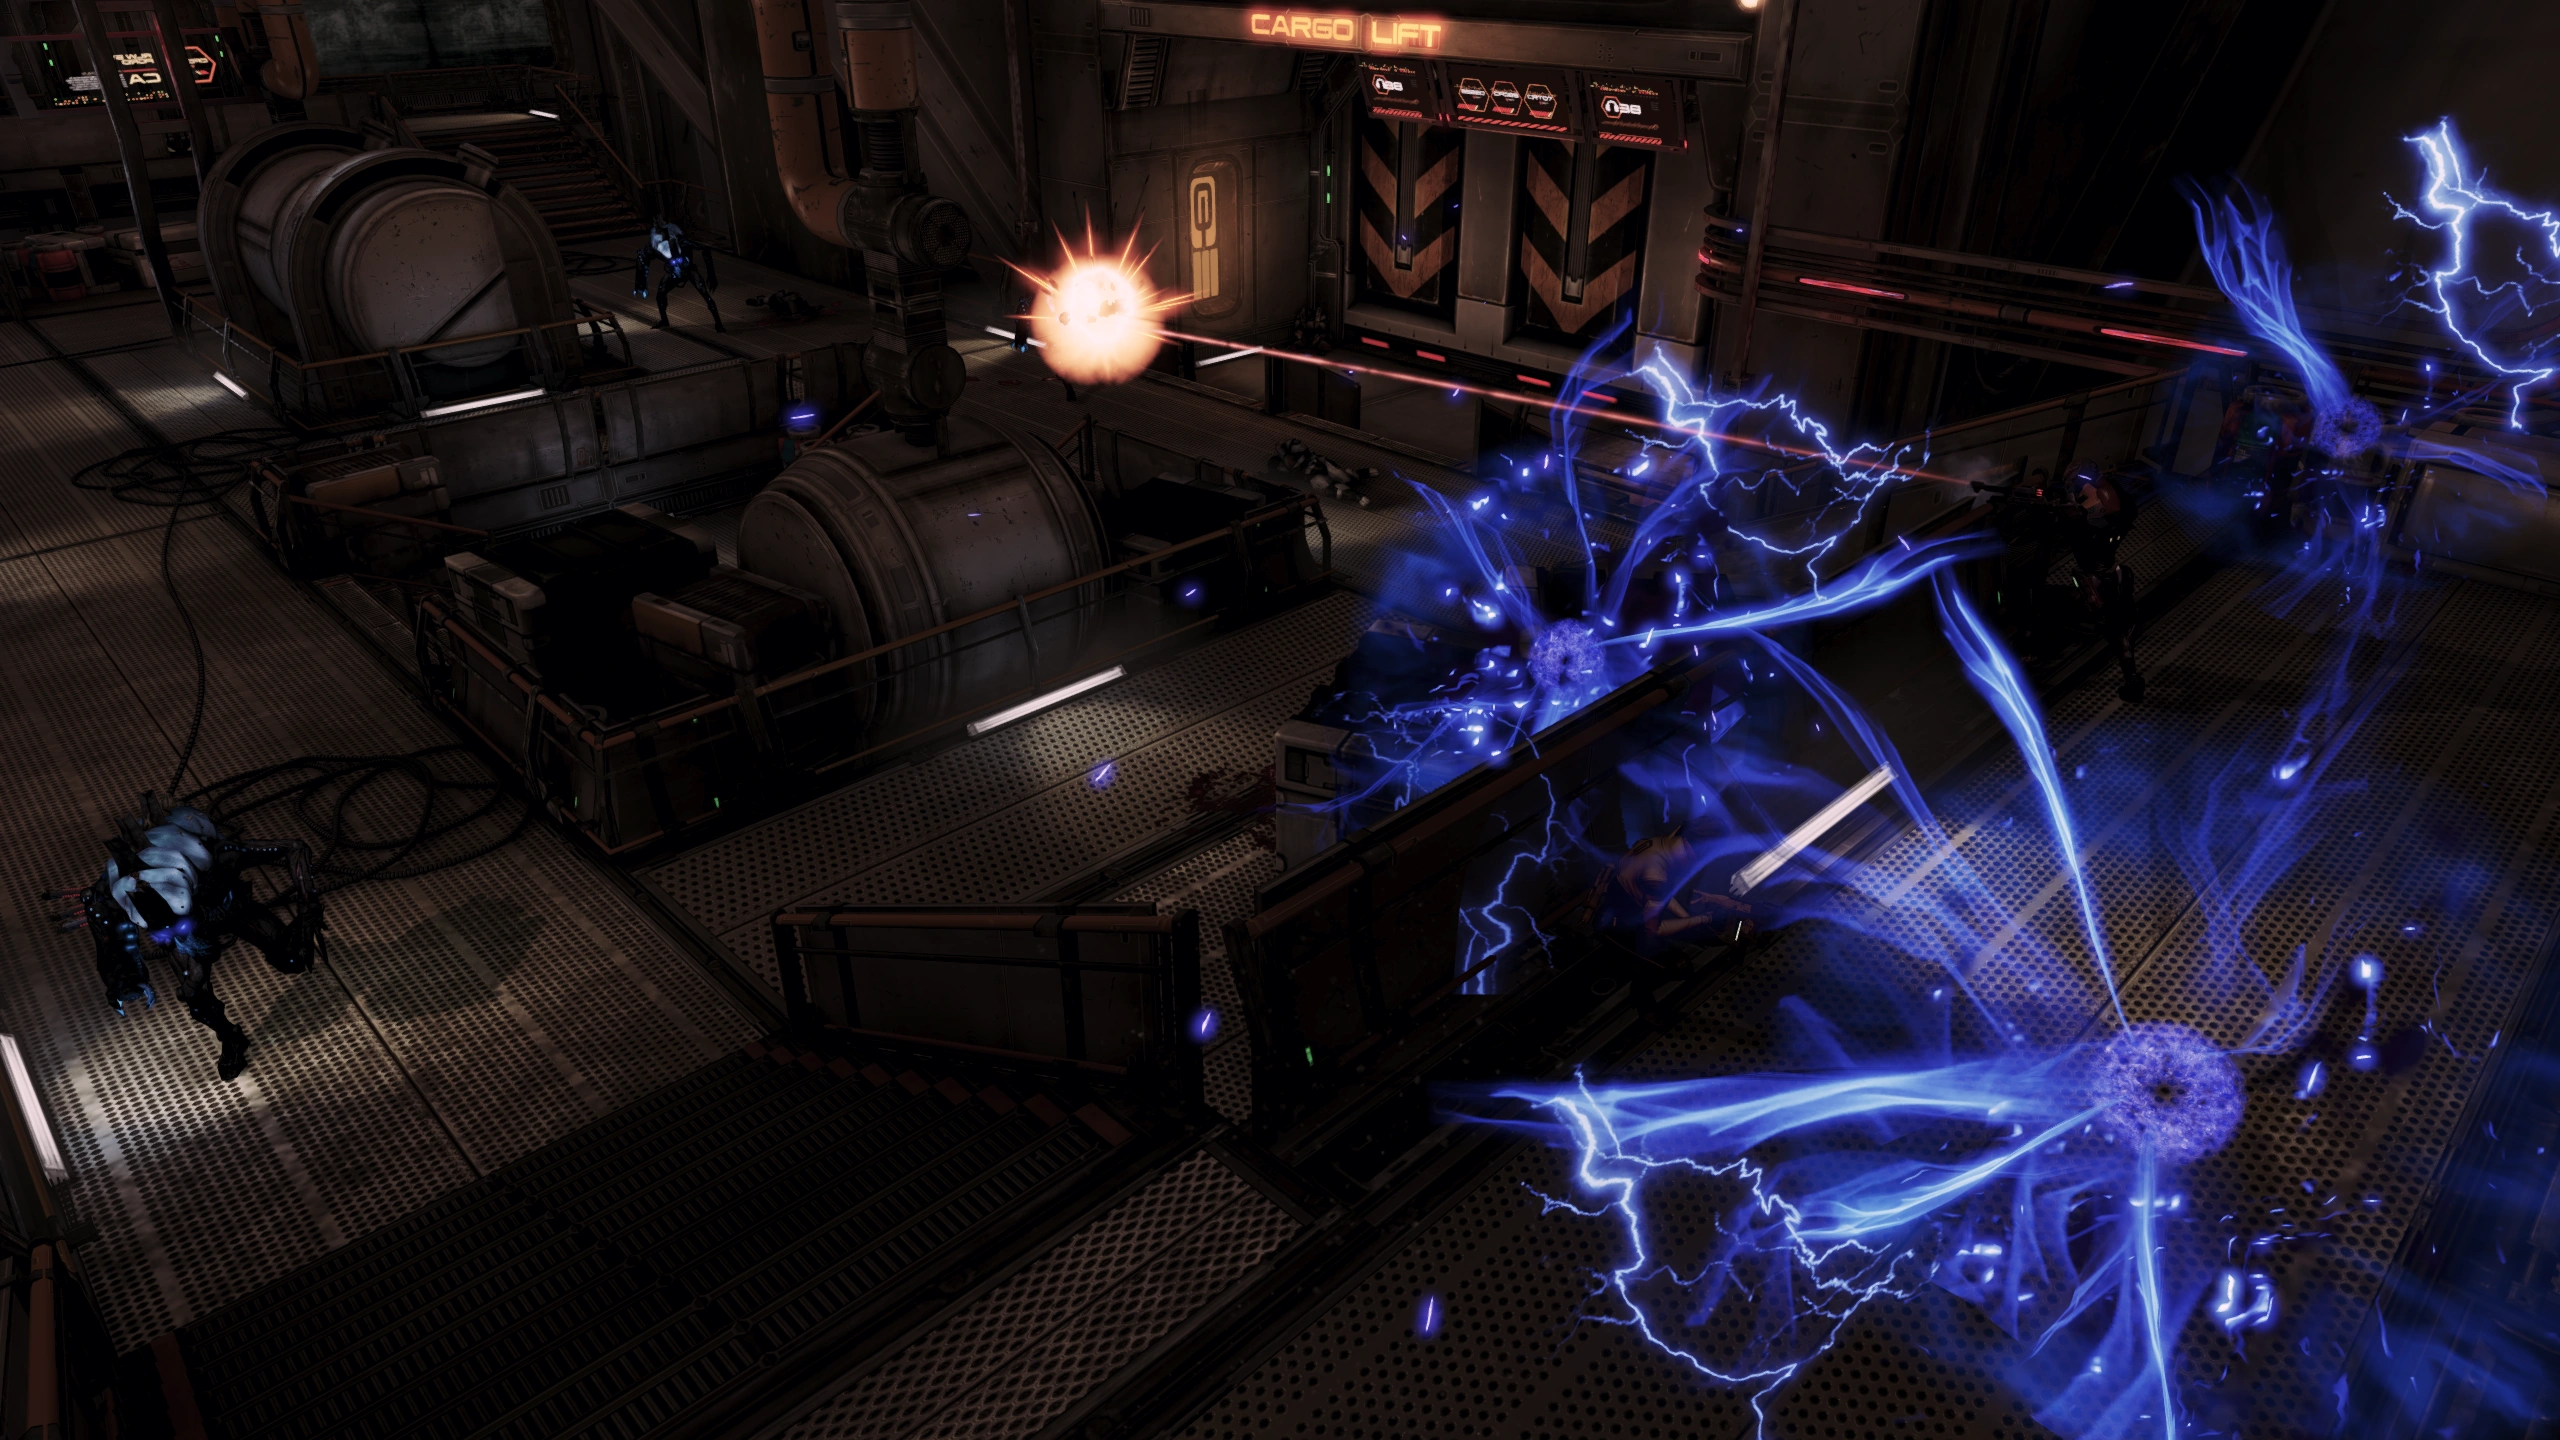
So at first, just follow the trail of dead Cerberus Troopers. When your companions warn you, turn to the left and you'll spot something jumping over the pipes above. You'll need to head this way.
After finding the powered-down cargo lift and the glowing red power lines turn so the power lines and door are behind you, head up the stairs and around to the left to find salvage (2250 credits) on top of some crates. A datapad across from the disabled elevator controls contains a security memo discussing the facility lockdown.
When that's done, follow the pipes to a ladder to access an upper catwalk. Drop down to the pipes and jump the gap to another pipeline on your right, following the glowing power pipes to another catwalk. Ignore the open doorway and go ahead around the corner to salvage 1500 credits from a pile of boxes.
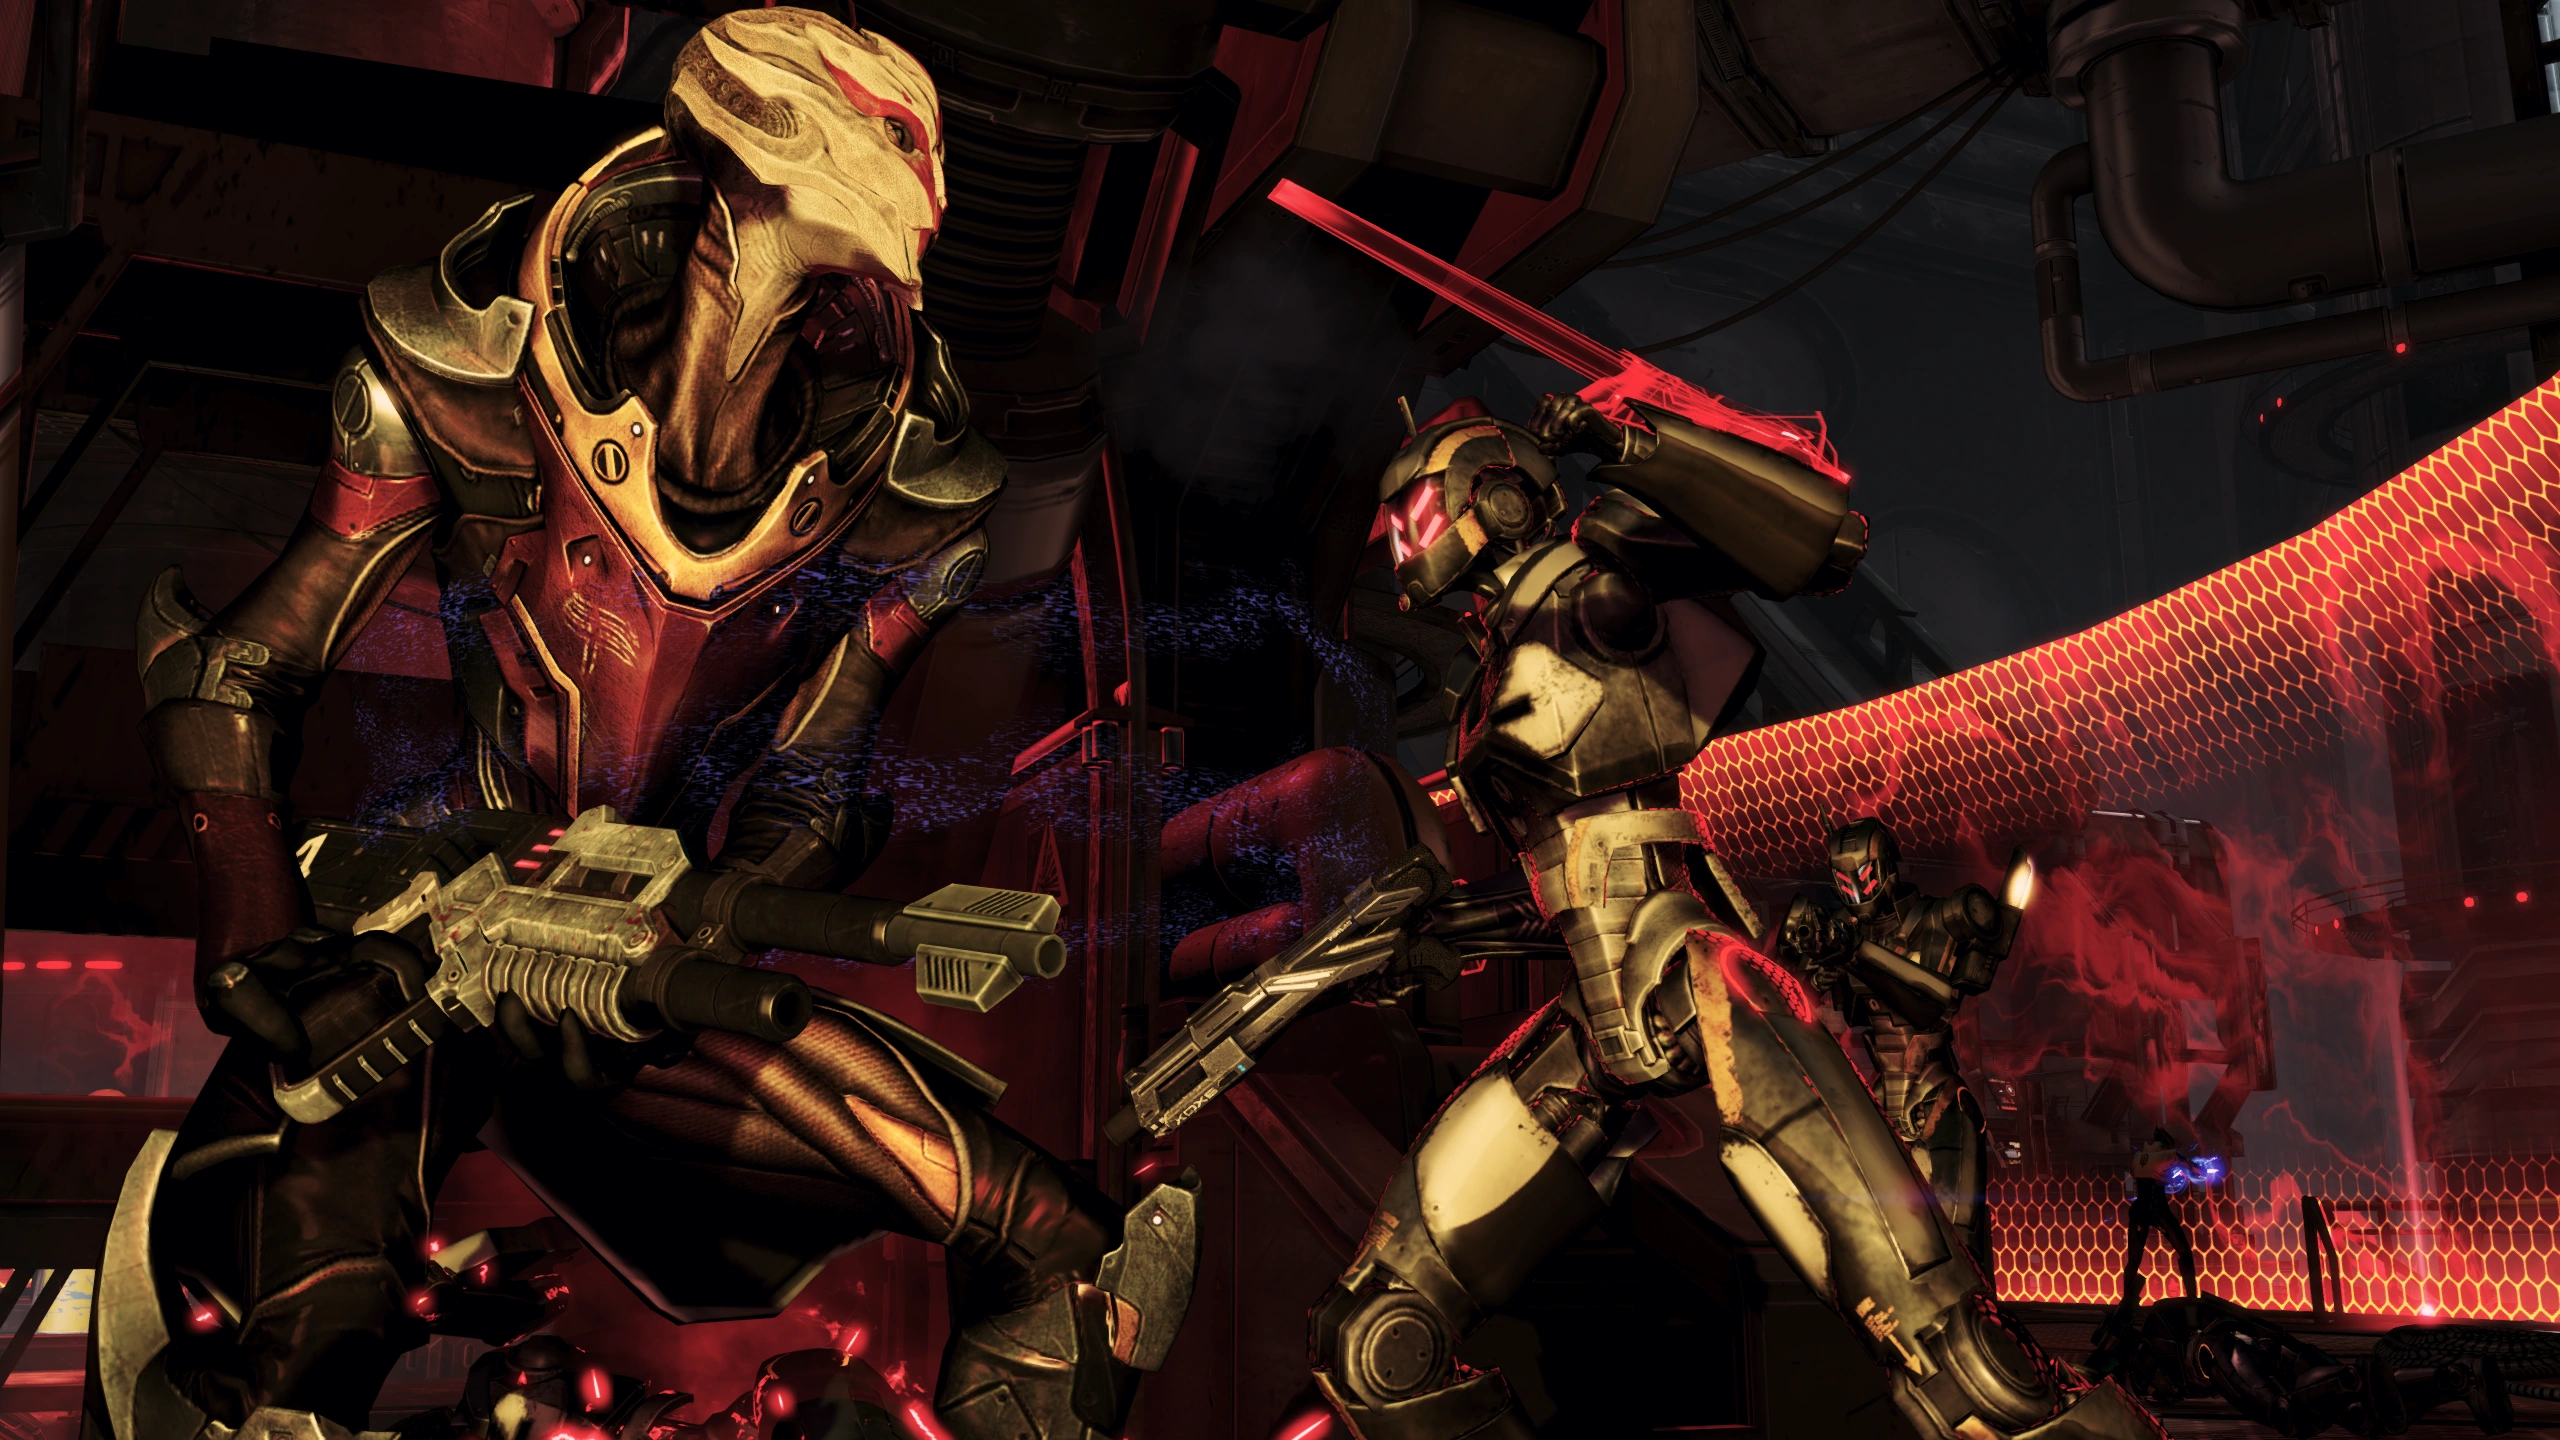
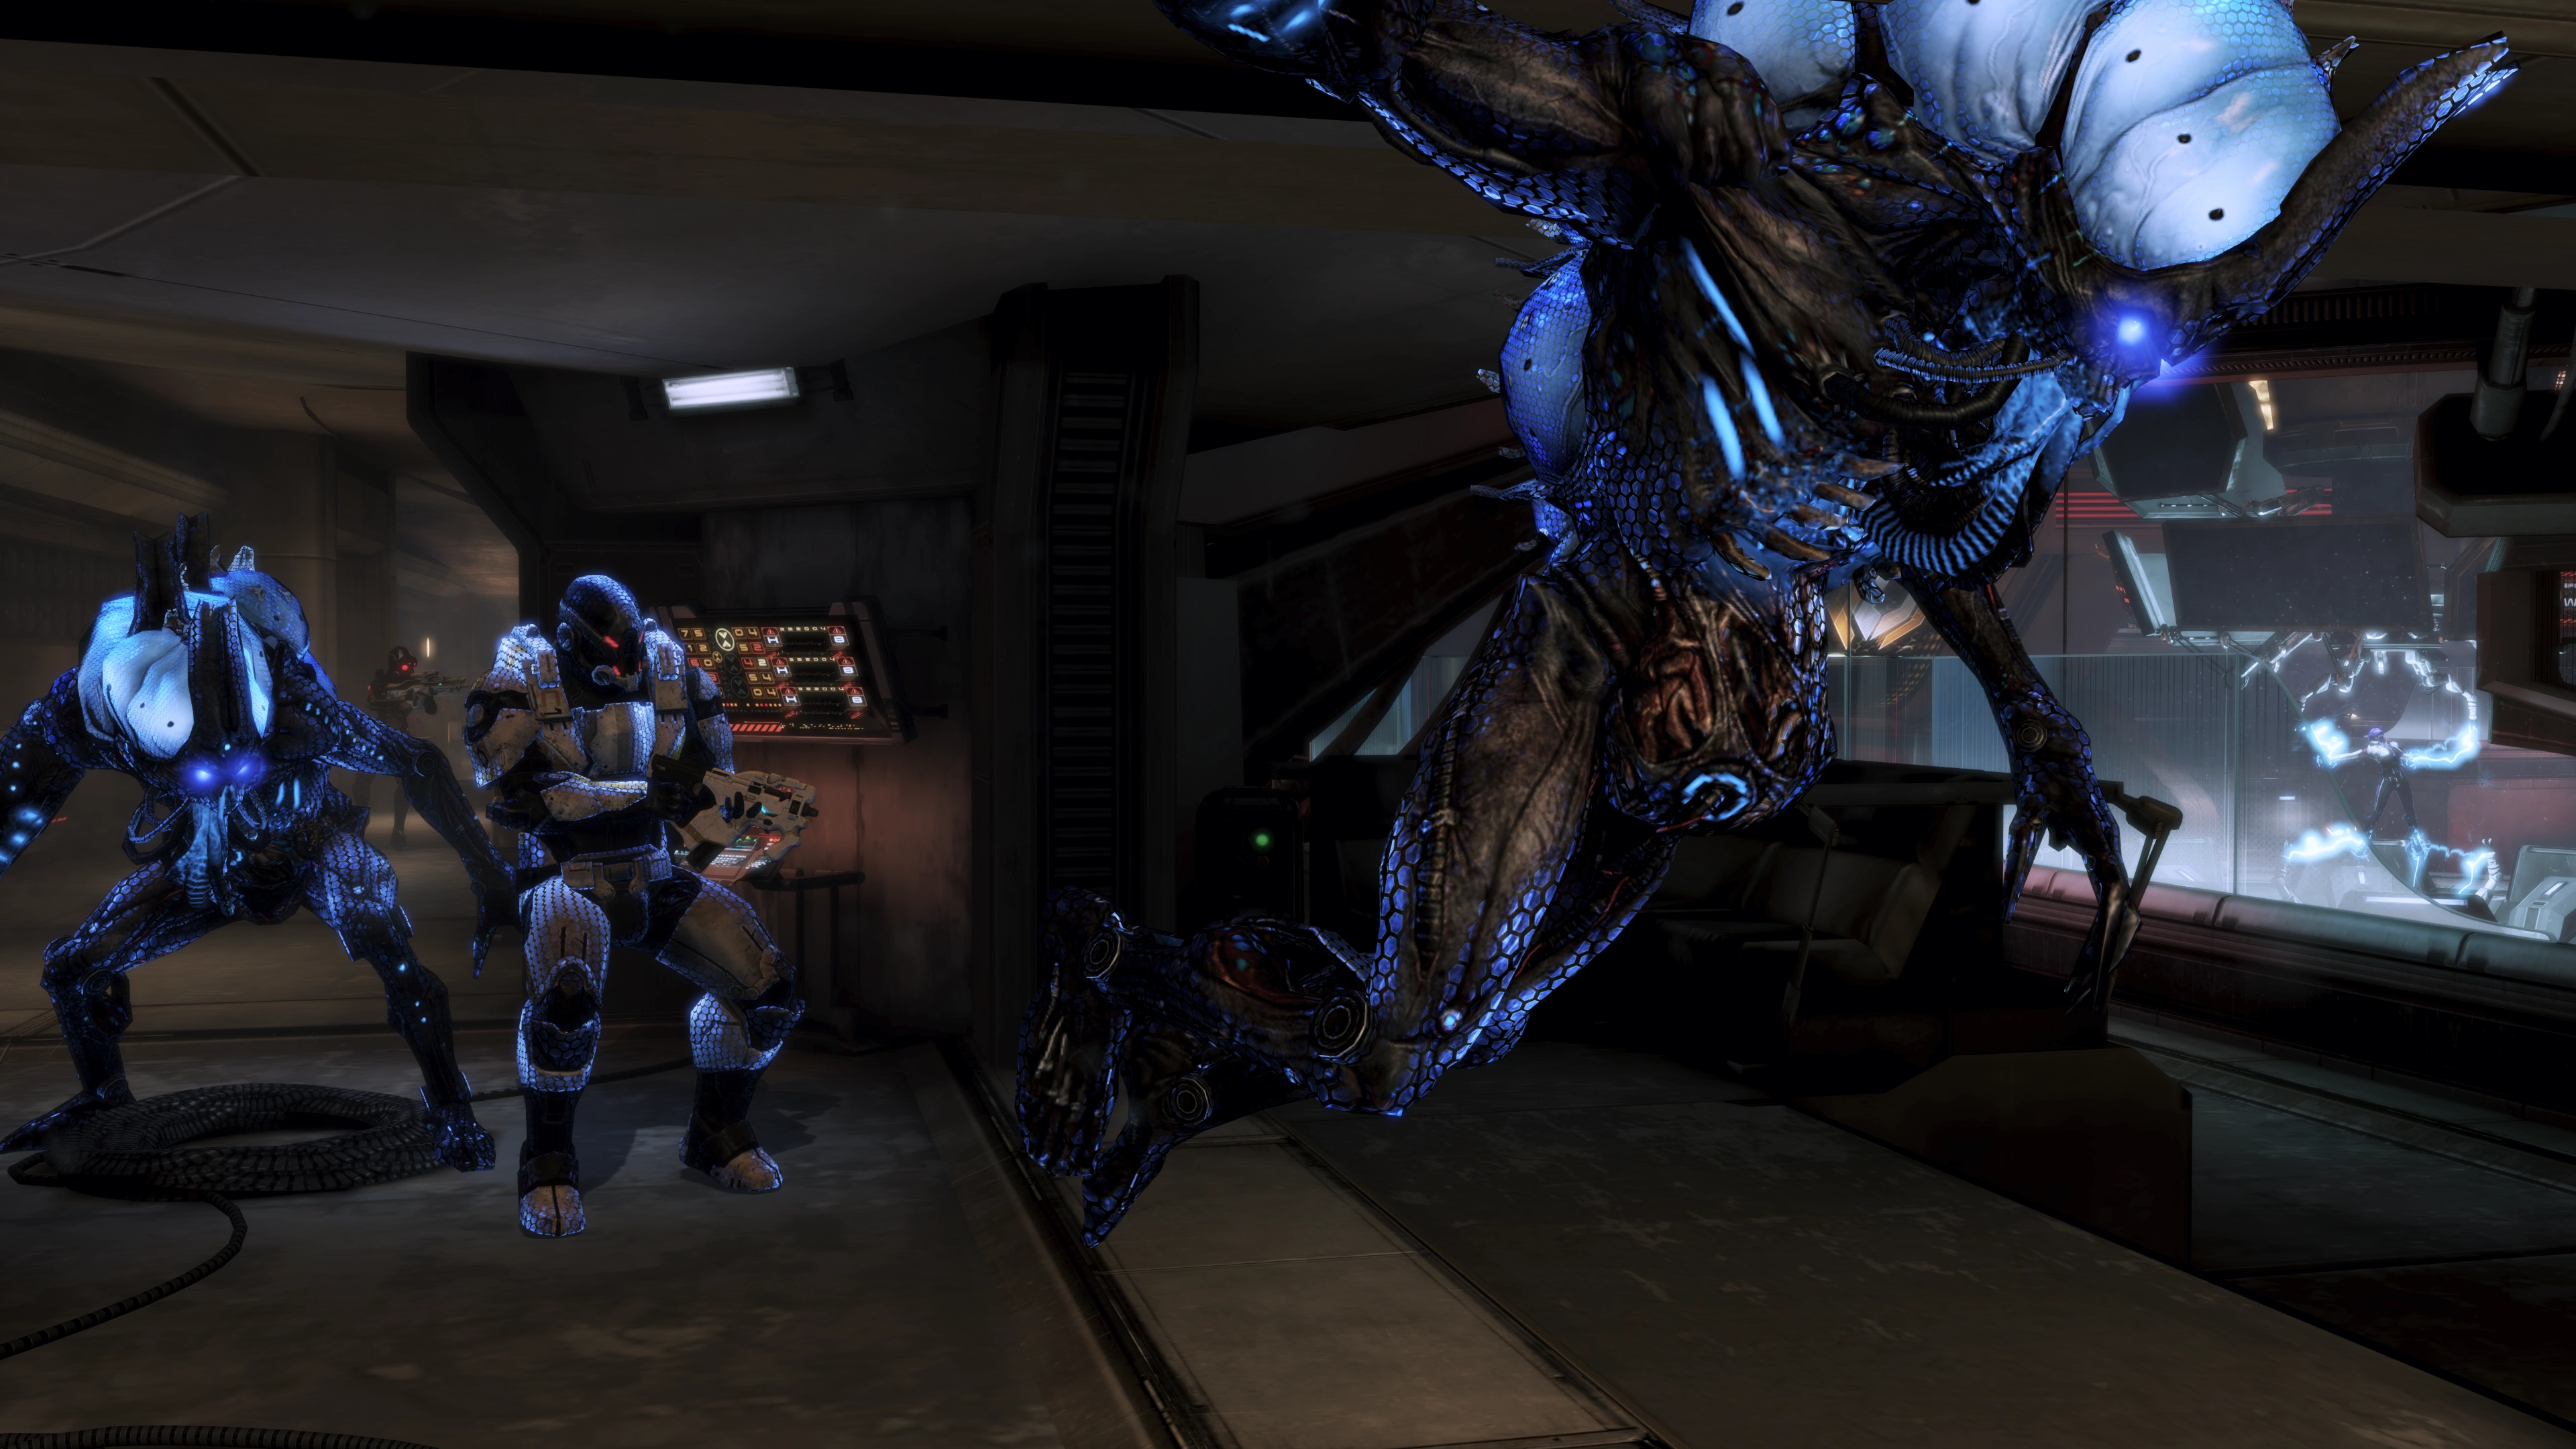
Adjutants
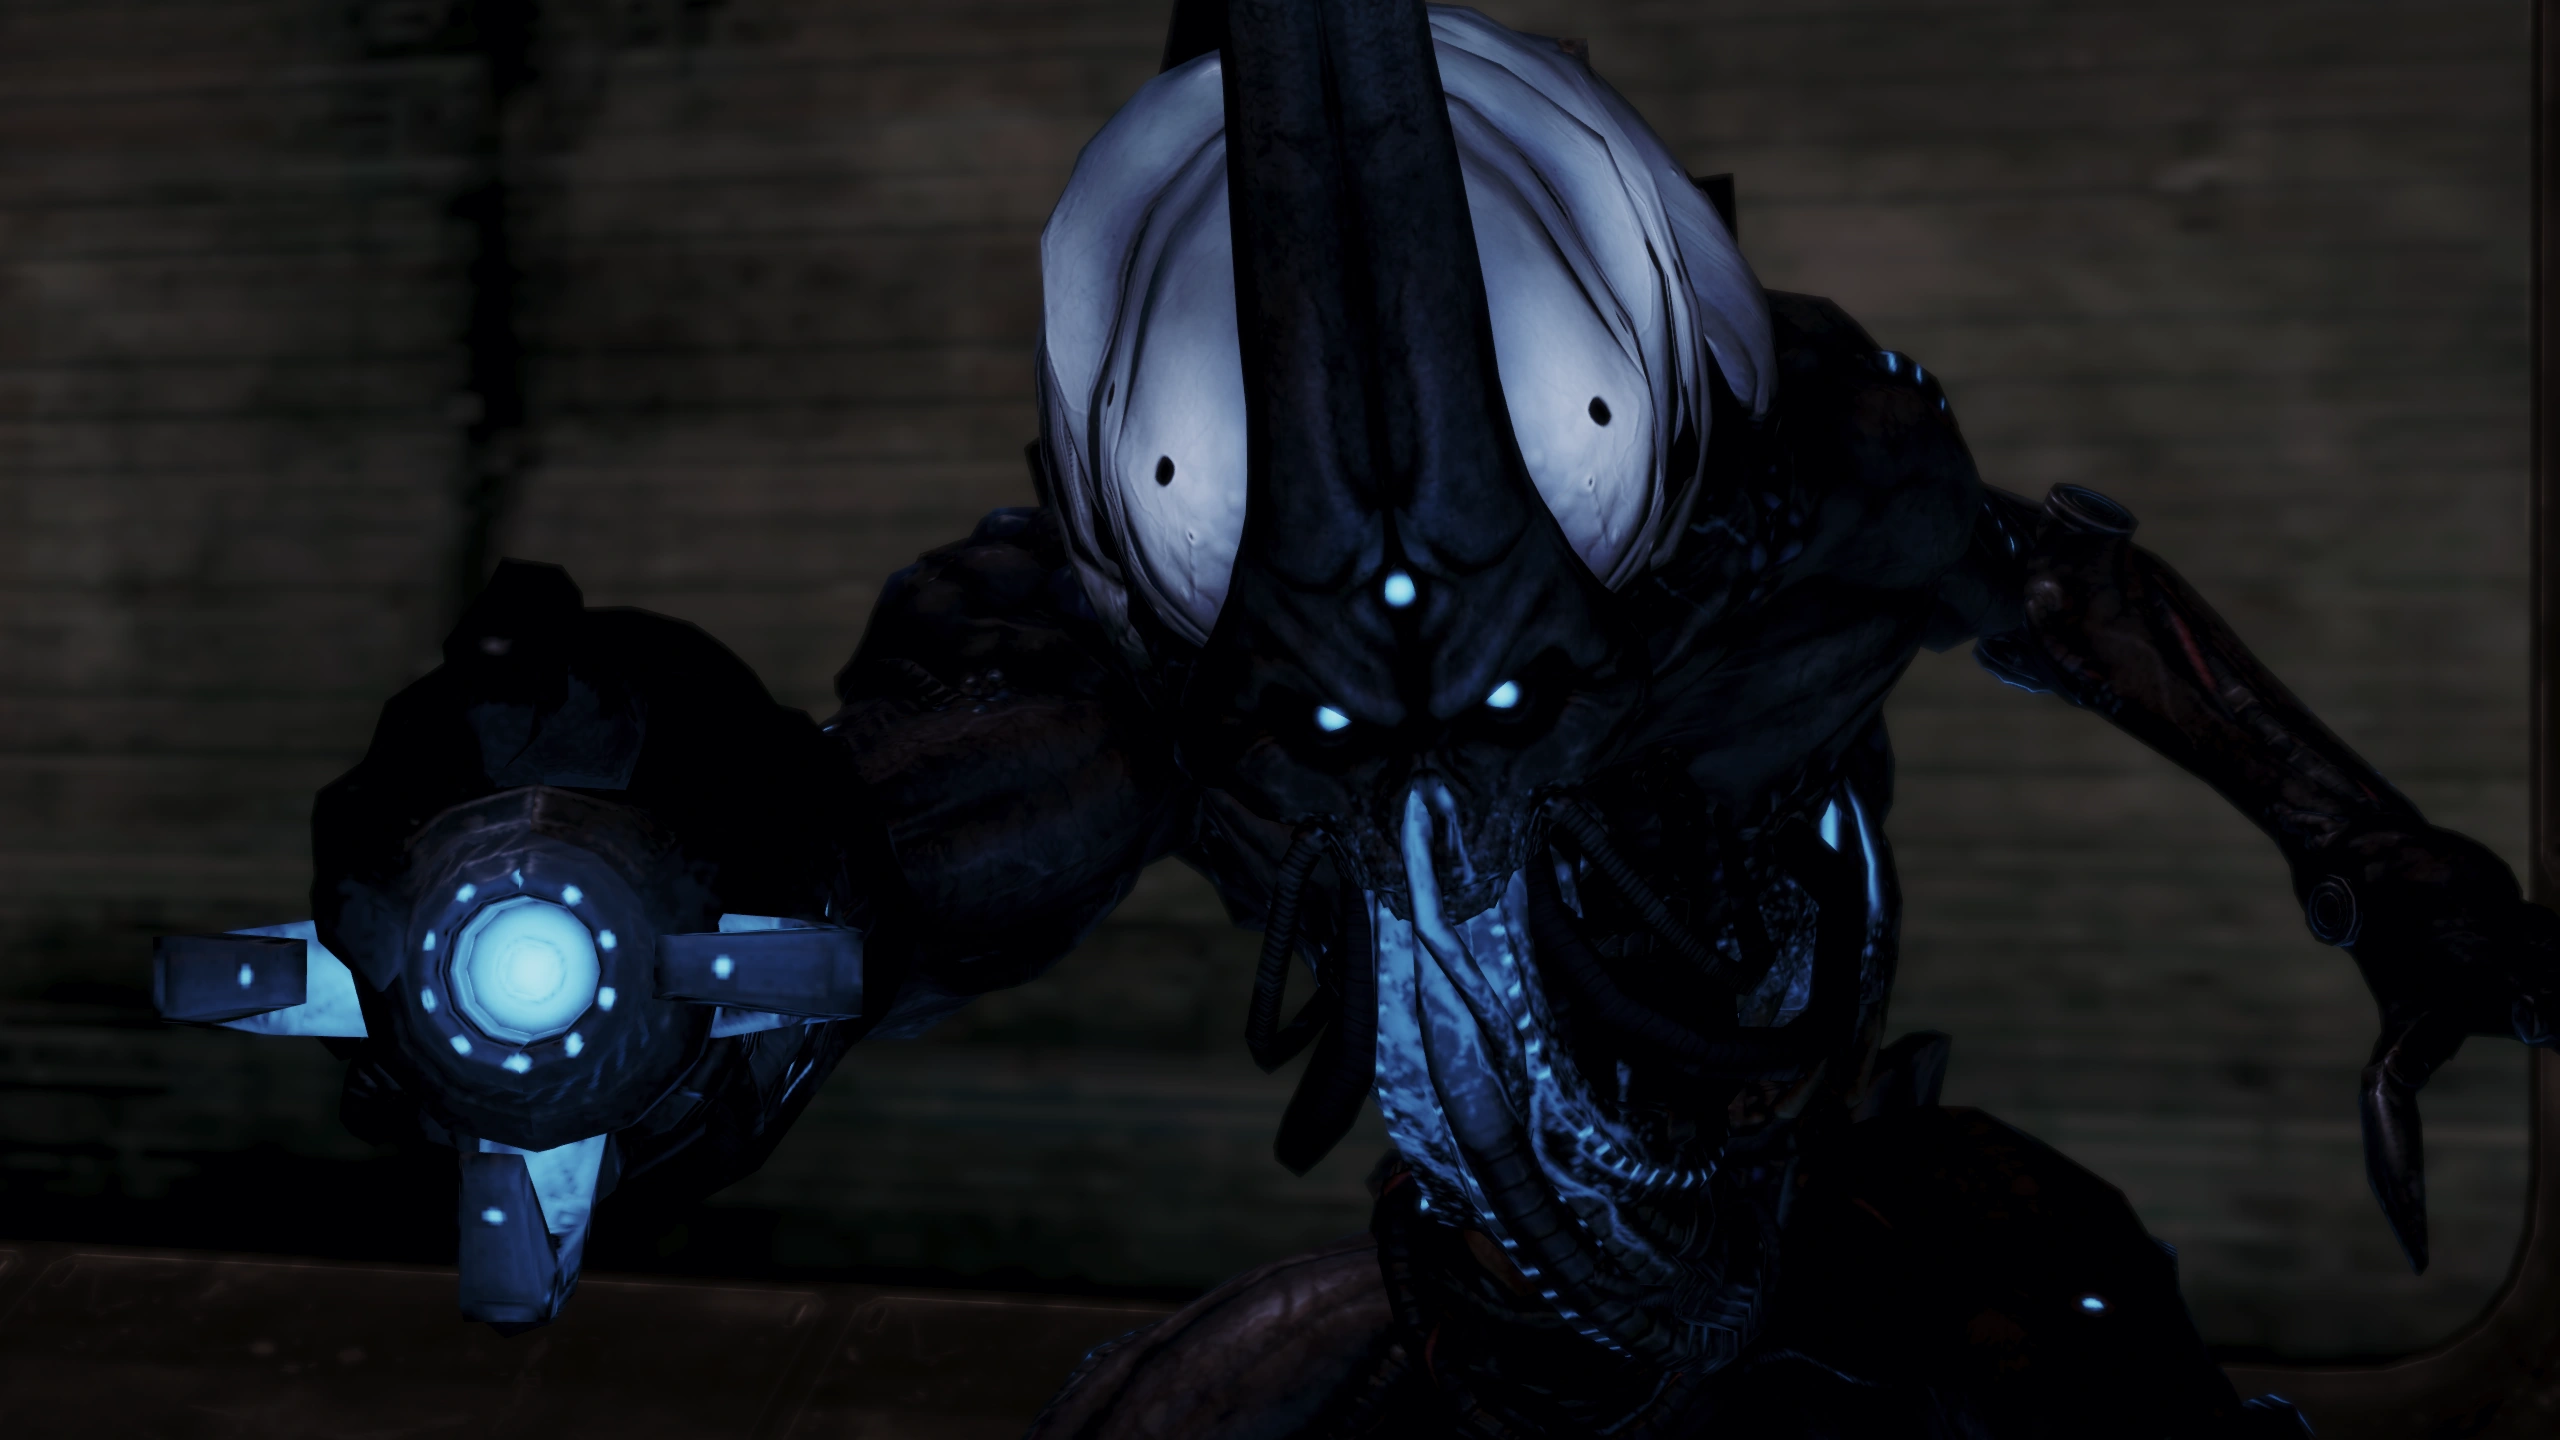
Head back towards the opening, and jump down into the control room. If you want a manual save, do so before jumping down the control room as it's disabled there. Restore the power to finally catch sight of whatever is infesting the area. A solitary Adjutant will attack your squad, breaking in from a nearby window.
The control center's small, squarish and cramped layout minimizes free movement and keeping a far enough distance will cause the Adjutant to either fire a Singularity or close in by jumping if it finds an unobstructed path to its target. However, using Overload, Flare, Incinerate and your own abilities while deftly moving from cover to cover and/or straight-up unloading on it as Shepard advises should make short work of it.
Once it's dead, manual saving in the area will be available again. Bypass the door and make your way back to the cargo lift. Once you get close enough, your squadmates will point out that there is another Adjutant in the vicinity. After dispatching it, approaching the elevator will release three more, so don't drop your guard.
Use cover, focus on one at a time, keep all of them within visual range at all times, and it should be pretty simple. Just don't let them get too close to use their powerful melee attacks. The elevator door won't open unless you clear the area, so do it then enter the elevator to advance.
Reach the Reactor
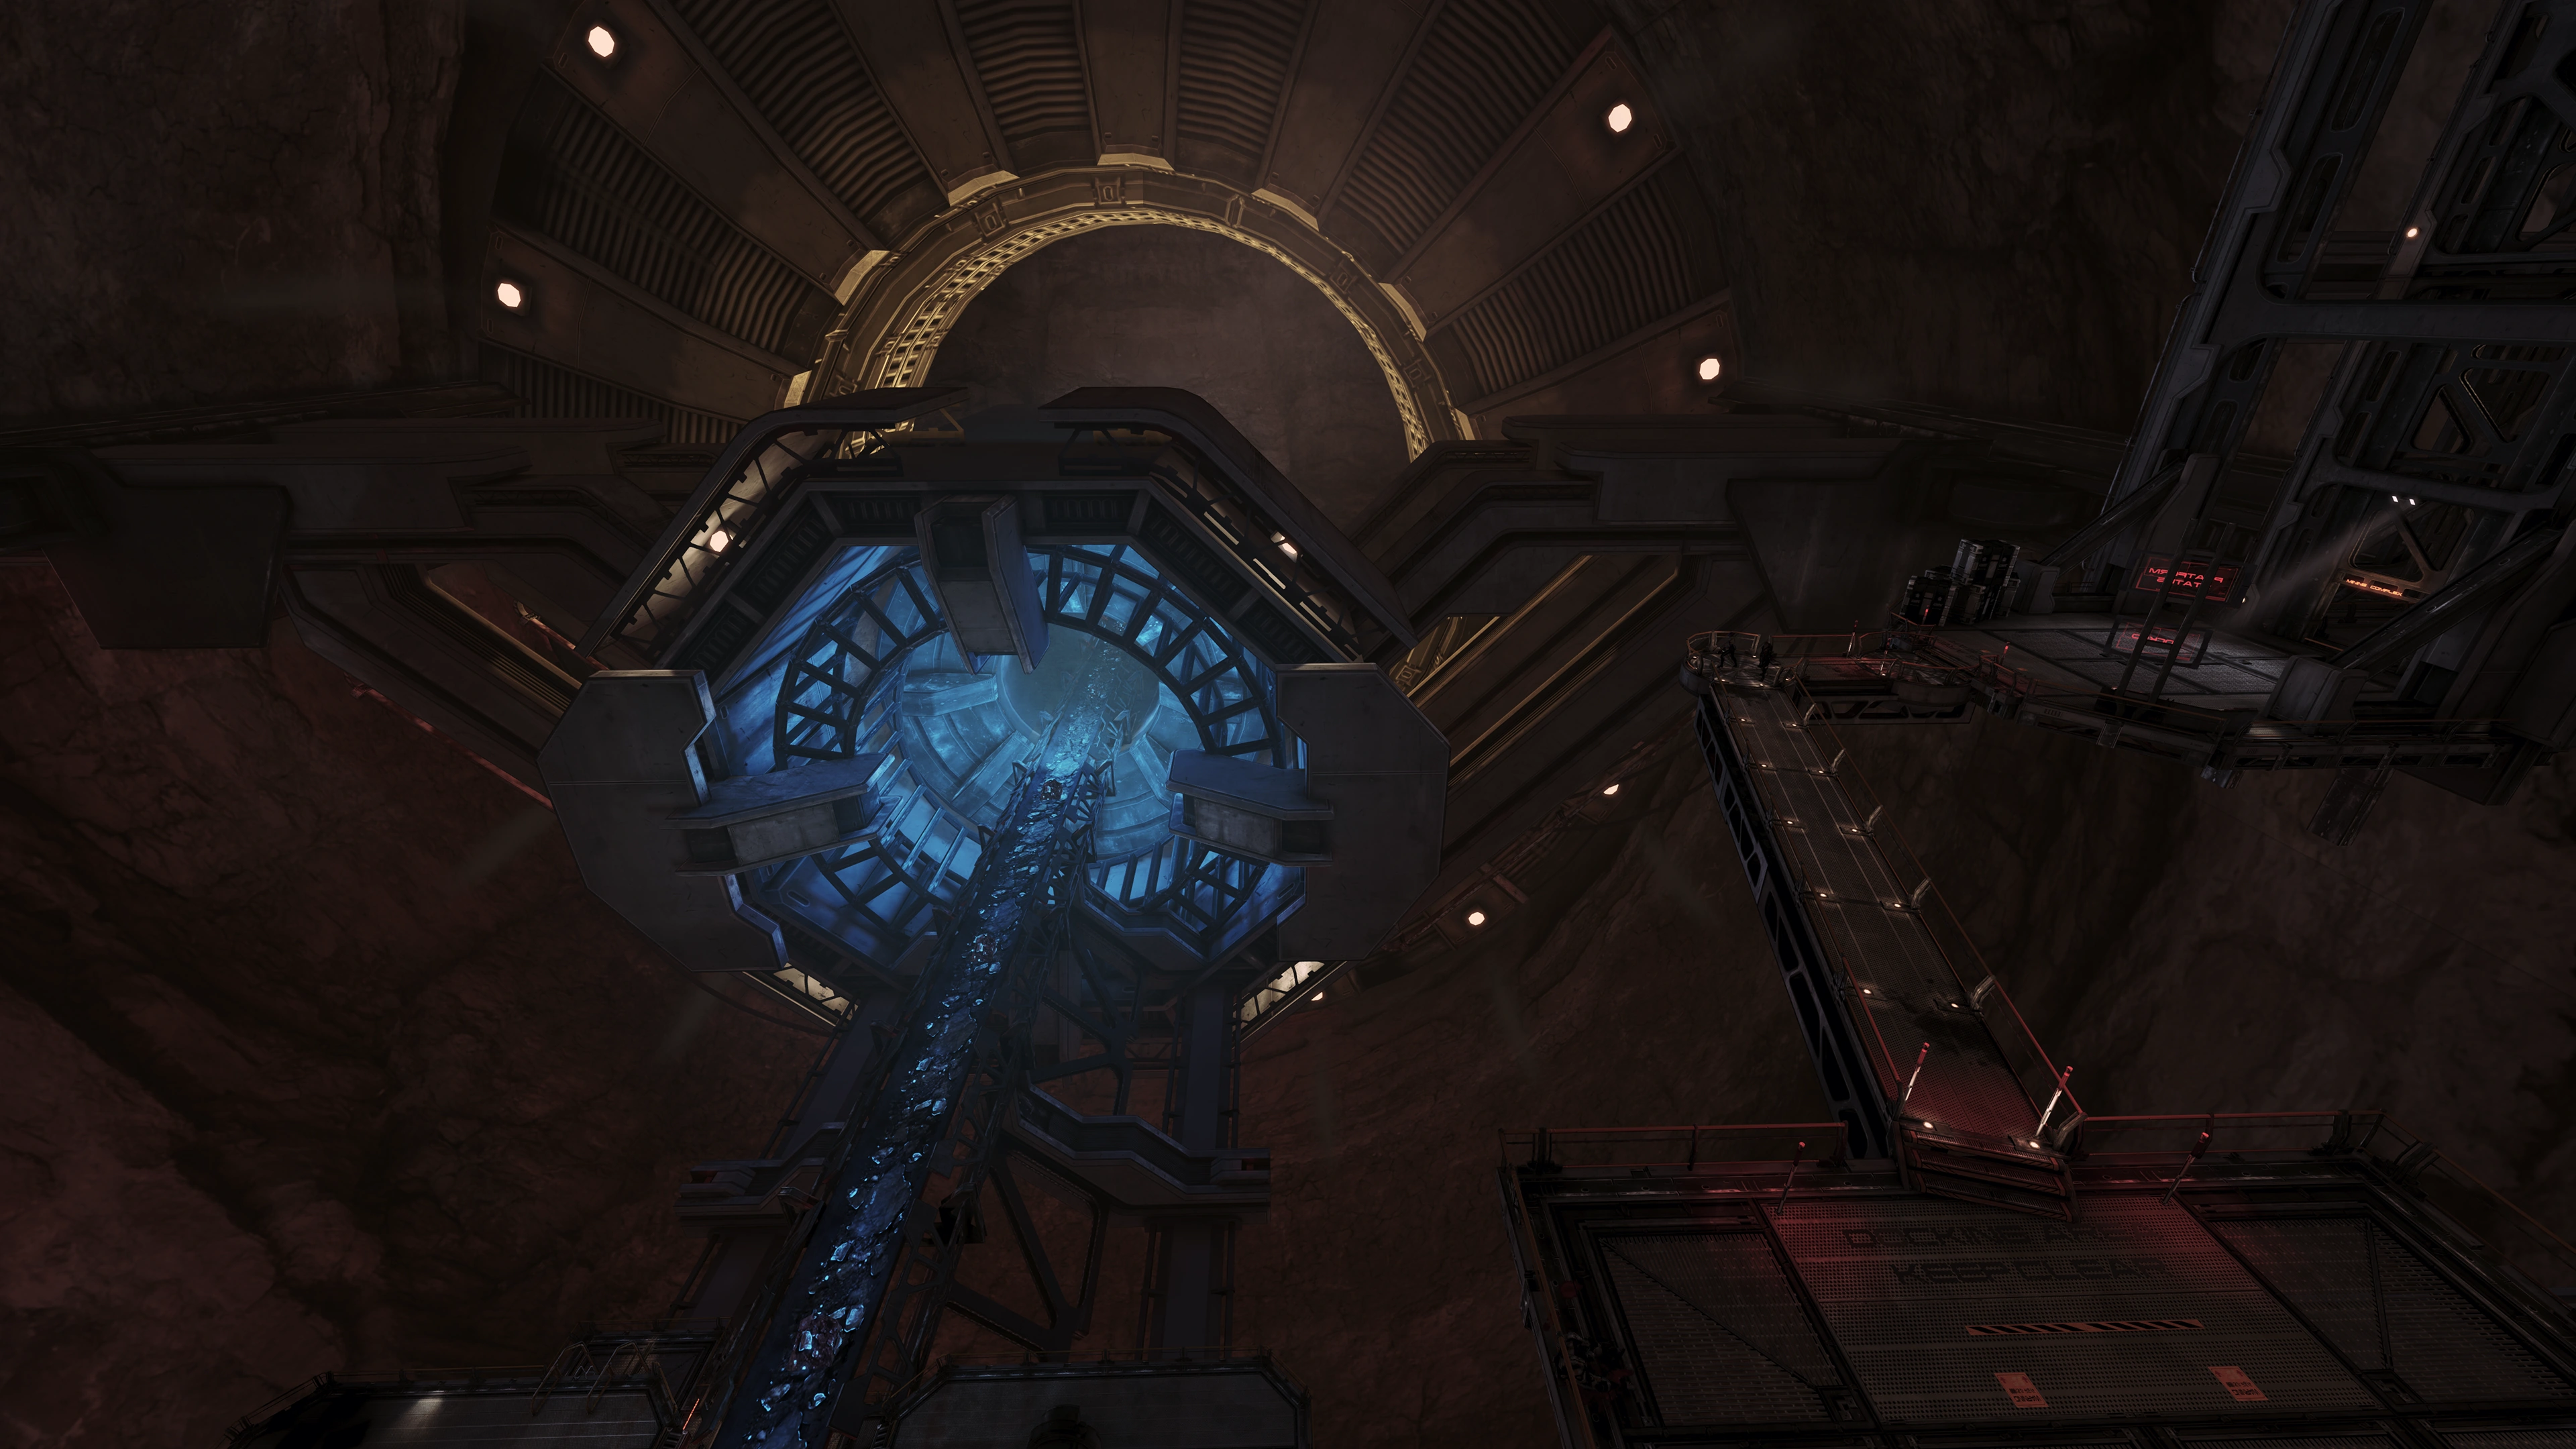
Tip: It is easy to get lost in the next area because of its size, paths that converge into each other in squares and a general lack of guidance from the direction finder, so as a rule of thumb always orient yourself in the general direction of the massive blue-hued eezo drill far off in the distance. It's also a good idea to take note of the glowing location names in every archway, these locators are fairly unique and pretty much indicate if you're going around in circles or moving forward.
On entering the mines after a long ride upwards, after traversing the catwalk there will be a med-kit immediately to the right, behind some cover just past bins of glowing ore. Turn right into the doorway marked "EEZO ANALYSIS TESTING AUTHORIZED PERSONNEL ONLY" to pick up an Assault Rifle High-Velocity Barrel right on top of a crate. By this point Cerberus will have been alerted to your presence and sends some goons on your way shortly. Be mindful of shield pylons to either use to your advantage or destroy, and kill all troops you come across.
Aria will spot a maintenance lift you can use to reach the upper levels, but Cerberus will blow the bridge before you get to it. Two Nemeses will pop out from the lift on the far side, knowing you can't close in to engage, so prove them wrong by dispatching them long-range. On occasion they may try for the lower ground, and there's a ladder near the destroyed bridge that drops down to the same area. Dispose of them as you will, either way, more Cerberus troops will show up once you slide down from the ladder and you'll have more to kill.
There will be a locked area labeled "MAINTENANCE AREA" not far from your initial position. Bypass the door, pick up the Pistol Heavy Barrel, and head down the ladder. There's a med-station on the left just before the stairs, on the area labeled "AUTHORIZED PERSONNEL ONLY CONVEYOR C". Kill off more Cerberus as you make your way under the conveyor belt. Rampart Mechs are added to the mix, along with a Nemesis, a turret-laying Engineer and a shield pylon in their location to give them extra staying power. When you're done open the door to exit the maintenance area and head up the ladder.
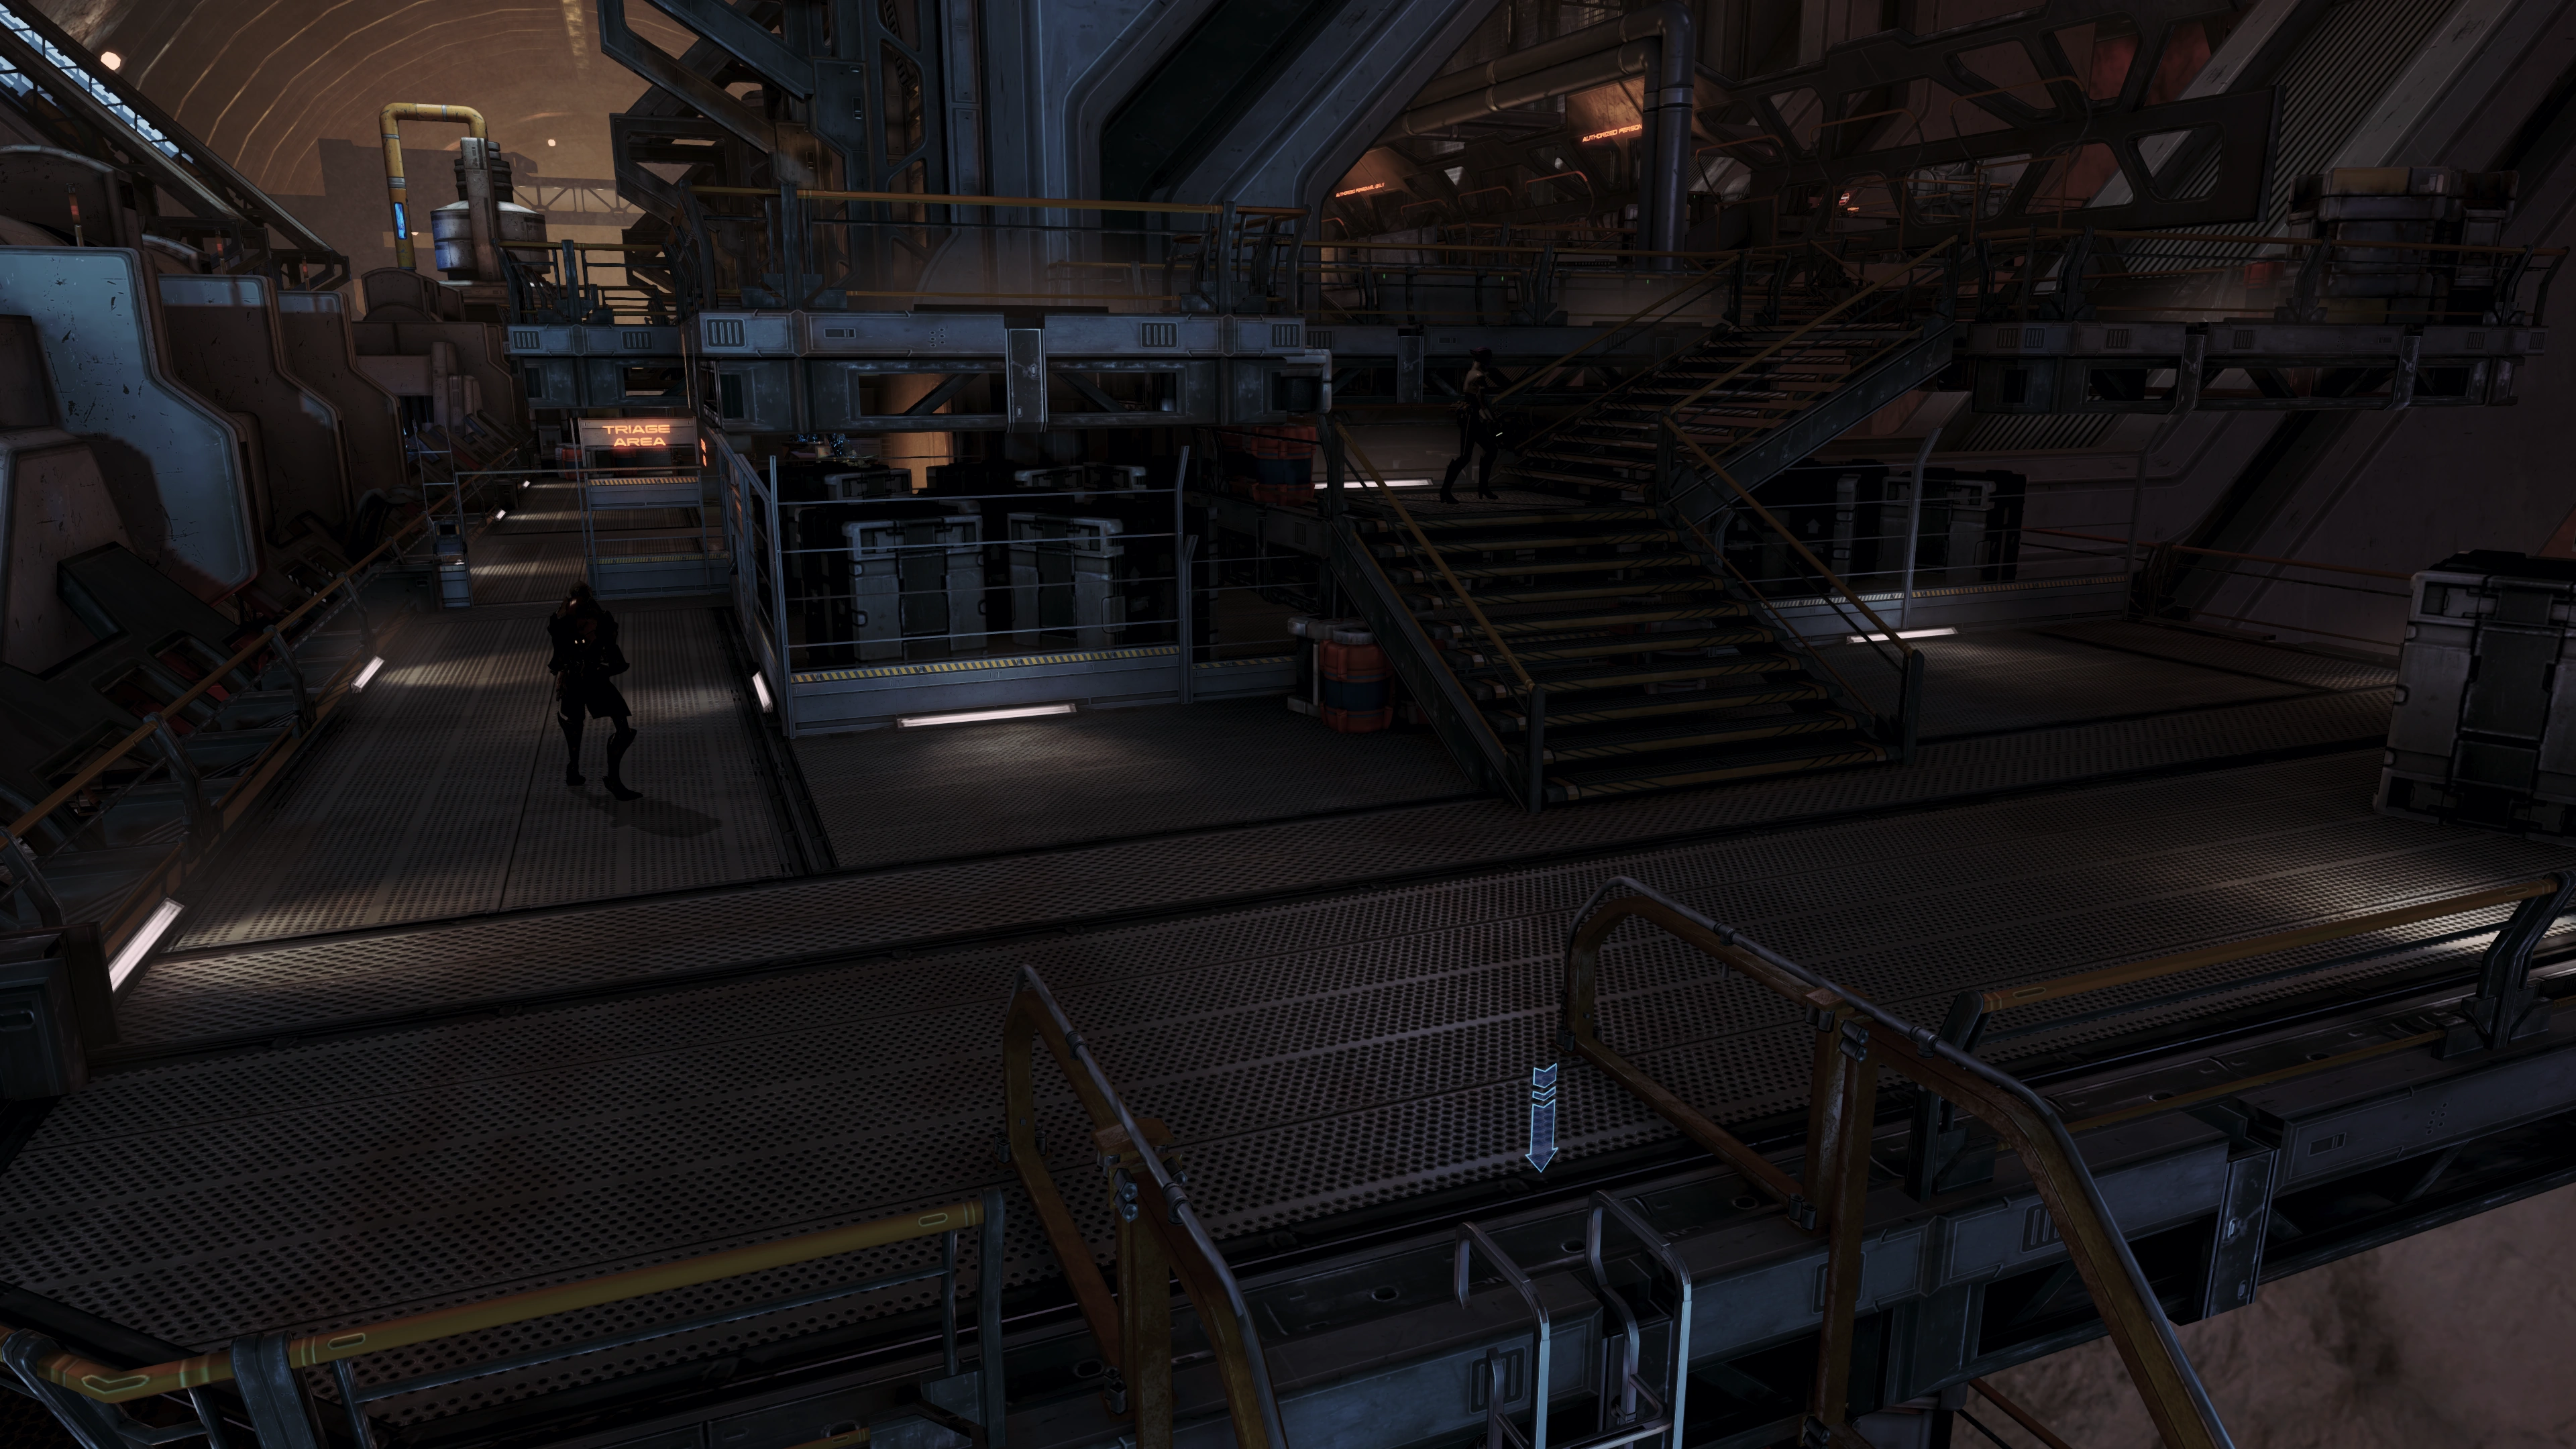
Once you're clear of the ladder, although Aria states "head up", ignore the stairs as there's nothing worthwhile in there. Go instead around the corner to the left, to the area labeled "TRIAGE AREA". Salvage tools (1500 credits), pick up a Sniper Rifle Thermal Scope, and examine a datapad for information on eezo in the room with bins of glowing eezo ore.
Head up the ladder, which leads to the same location as the stairs, then take out more Cerberus operatives. Don't let yourself be blindsided by Rampart Mechs, it's easy for them to go around you given the number of paths in the area. For ammo refills, head up to the higher ground marked "AUTHORIZED PERSONNEL ONLY" and dispose of any Cerberus that may have holed up in there. It might be a good idea to hole up in there yourself as it's on higher ground and there are only two easily defensible entrances.
The elevator up is not much farther now; you can use the direction finder safely at this point.
On exiting the lift, a Combat Engineer will be standing with his back to you as you open the door. Eliminate him any way you want, after turn to your right and take the Shotgun Omni-Blade from the container along the wall, also ammo is there if you need it. Then turn left from the container and follow the path to the dead body to acquire the Chakram Launcher assault rifle.
There's only one way forward, through the door marked "PEDWAY ACCESS". In the room is a med-station to the left, a dead trooper crushed between doors you can salvage (1500 credits), salvageable tools (3750 credits) and a ladder down. Head across the unstable catwalks to the final elevator, marked "MINING COMPLEX". Your companions will comment on the sudden lack of Cerberus attacks, and indeed no one harasses you even when you reach the reactor level. When you climb up the ladder and see the elevator in the distance, there is another dead trooper (2250 credits) to your left.
On the catwalks near the reactor you can salvage equipment (2250 credits) on boxes just to the left of the reactor. There is also an ammo pile near the boxes to the right. This is also the last moment to take a manual save so do it if you must. Don't stray too close to the reactor after acquiring the goods if you're not ready yet because...
Reactor Battle
As you approach, a forcefield lights up - it's a trap! A short cutscene ignites Aria's fiery temper, and she tries to pry open a hole with her biotics. You and Nyreen have to protect her by holding off waves of Rampart Mechs.
Technically, you don't really have to stick with Aria to protect her as your only objective here is to survive all the waves. With that in mind, you can just circle the area's perimeter, gunning down mechs as they come. Go hand-to-hand on them if it's your thing and let Nyreen do the long-range damaging, just make sure to have eyes on the back of your head while doing so. Alternatively, on higher difficulties, it's better to just hunker down beside Nyreen, make use of her Biotic Protector tactically, and shoot for your life. Now is a good time to spam all your armor-damaging abilities as well as Nyreen's Incinerate, which can be immediately followed each time by one of her Lift Grenades to detonate a fire explosion that will massively damage any nearby mechs.

When the waves end, the two combine their biotics to let you through a small gap in the barrier. You'll have to make your way to the reactor alone, and a med-kit is immediately to your left up the stairs. Rampart Mechs and Assault Troopers will attempt to stop you. Cover is sporadic and limited to single crates, and you can do one of two things: wing it and beeline for the reactor while outrunning the Rampart mechs dropping from behind and dodging/ignoring the fire, or gun everyone down the slow but safe way. Head around to the reactor controls, another "AUTHORIZED PERSONNEL ONLY" area. Note: If you wait around long enough in this area, there will be some extra dialogue with Aria and Nyreen urging Shepard on. Soon after the fourth dialogue, there will be a critical mission failure, stating that you failed to protect Aria and Nyreen, so don't wait around too long.
Once you're there, you're presented with a difficult choice. You can either reroute reactor power to just take down the forcefields, risking both squadmates' lives. Or you can use one of several renegade interrupts to override the power, shutting down the fields immediately, but sacrificing life support for thousands on Omega. However, if you're an Engineer, AFTER the first renegade interrupt, you can also use a Paragon interrupt to reroute reactor power quickly.
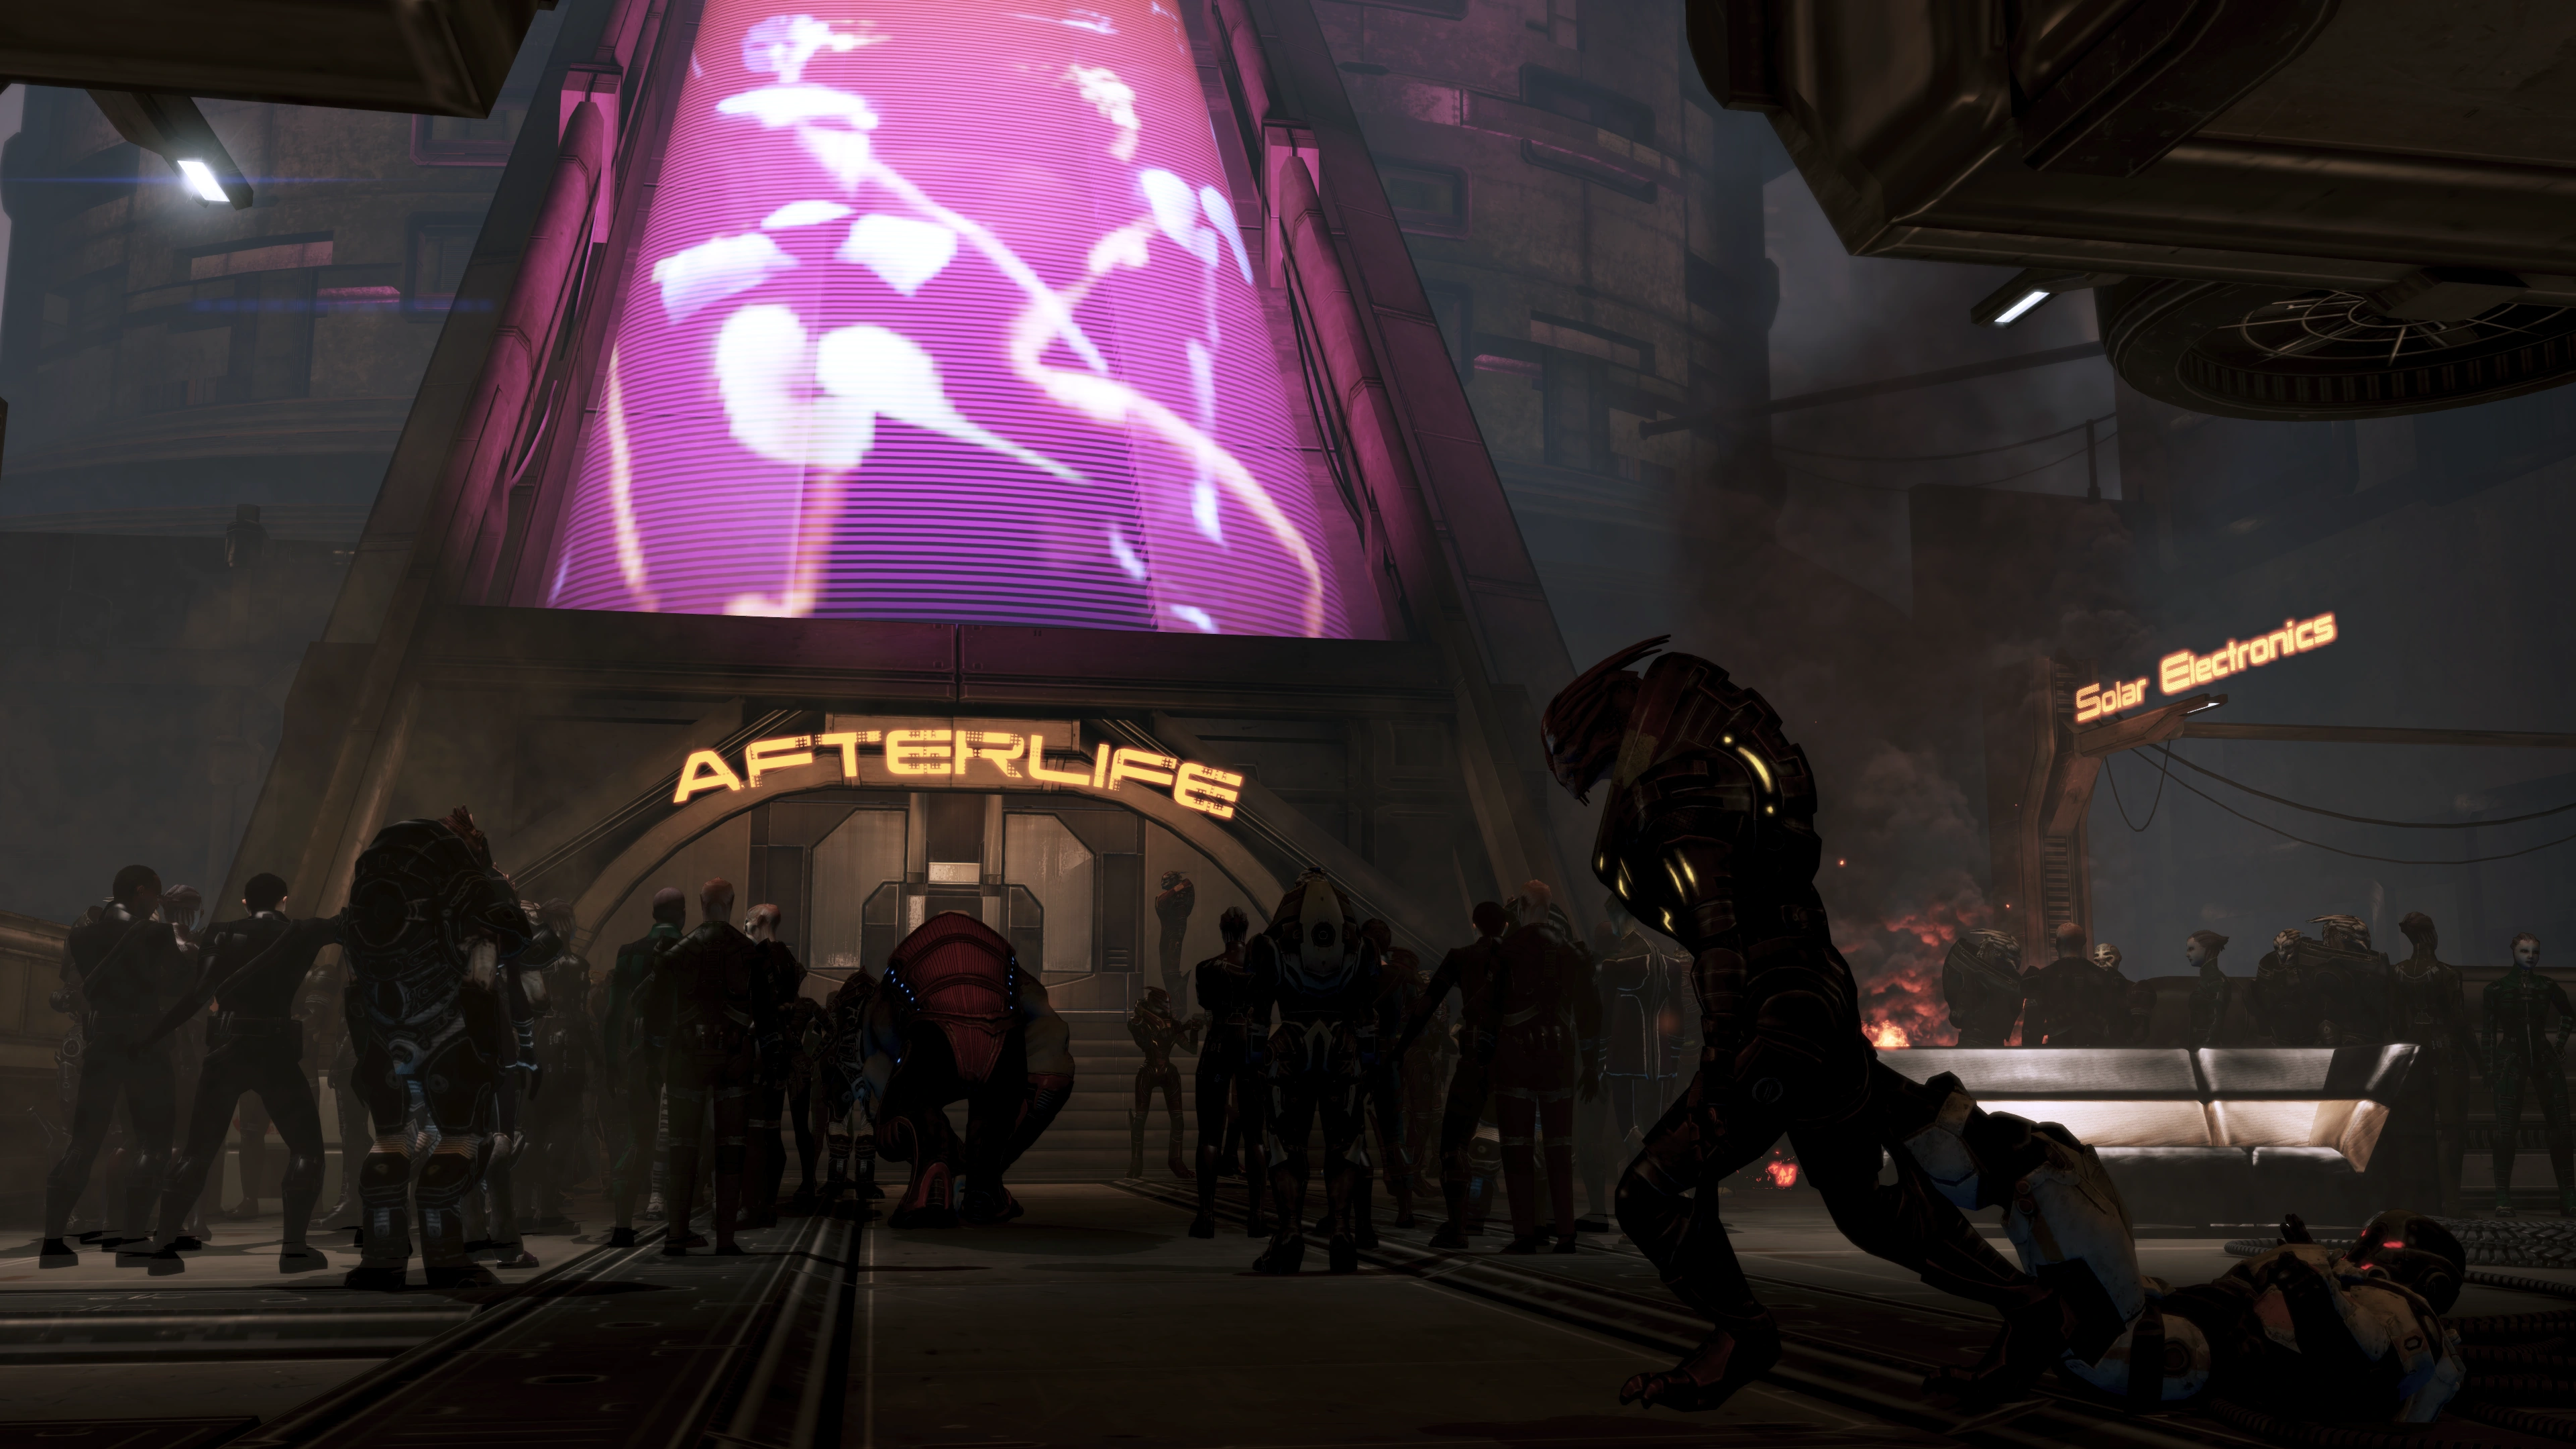
The Assault on Afterlife
Support Columns
You and Aria split off to take out the bombs before they destroy support columns granting access to Afterlife.
A work bench is to your left when you regain control, with a Sniper Rifle Thermal Scope opposite it. A medkit is located next to the stairs.
Storm the catwalks, which are defended by Rampart Mechs, Centurions, and Nemeses, buttressed by two Shield Pylons. After you defeat them, the bridge across explodes. Head into the control room, extend the dam then head across. Go to your left to pick up a datapad (1500 credits), then head down the ladder to get the coordinates for Aria's couch (1800 credits) and get a comment from Aria. If you completed all the other side quests, you'll be rewarded with the Meticulous Achievement/Trophy. Head back up and continue through the open doorway, grabbing the medstation on your left before bypassing the door.
Take out four Guardians. Open the green door and examine equipment (1500 credits), then bypass the other door to continue. Slide down a ramp, deactivate the spinning fan, then jump the gap to stop the Combat Engineer and Troopers messing with the support columns. There's a medkit on each of the four platforms (two raised, two with giant fans) that line the walls around the perimeter of the room.
Use the access panel controls and all four bombs go live just as Cerberus forces drop in. You have five minutes to disable the bombs. There's plenty of cover in the rigged support structures, simply pop out and shoot anybody who goes near you. It's also fairly easy to get the enemies to train out behind you as you run quickly to each successive bomb, and of course if you're an Infiltrator this whole section will be a piece of cake. After the bombs are taken care of, clear out the remaining Cerberus forces.
Talk to Aria, and she'll take out the remaining fan in the room. Jump the gap, bypass the door, and head up the ladder. A Shotgun High-Velocity Barrel is on the floor behind the next ladder. A bunch of Cerberus get tossed out of the high windows, head left to pick up a medkit and some equipment (1500 credits), then go up the ladder to witness a trio of Cerberus Troopers getting massacred by an Adjutant, with one getting bashed on a window.
Head through the next door and follow the catwalks around. A door on the way provides access to a locker (1500 credits). Continue along the catwalks and down the ramp.
Examine the video log for more information on how Cerberus created the Adjutants. Head to the right of the video log to pick up a datapad (1500 credits). Continue through the door. A datapad pertaining to the escaped test Adjutants is on your right just before the next door. The doors only open one at a time, so wait for Aria to unlock the next door and proceed.
The Gozu District
Open the door to Gozu district to witness a grenade take out a civilian and knock you back, regardless of your distance from the door. There are a few Assault Troopers and a Nemesis here. As soon as you enter the doorway an Atlas will drop and start circling to your right.
It is recommended that you start this fight from the doorway as this gives you the opportunity to deal with the initial enemies before the Atlas descends. If your weapon has a cover-penetrating mod, you can even remain inside the small room and shoot straight through the windows. Note that you will be unable to return to the room once you leave. The positioning of the troops and the persistence of the Atlas can make this fight ugly, but the terrain can be used to your advantage. There's cover just ahead of you as you enter the room, and then you can slide left and around the corner as the Atlas tries to flank you. From there, you can retreat to an even more secure position behind you, and from there you can even climb up the ladder to pick off the enemies from a distance and protect yourself from the Atlas.
There's a med kit at the bottom of the ladder on the left side of the room from the entrance and a second one on the other (right) side. After clearing them out, head up one of the ladders to open a door for some equipment (1500 credits). Bypass the door on the ground floor and head up a ladder to enter the slums. Aria will mention Mordin; depending on how your campaign has played out so far, Shepard may provide her with an update.
Head to the left for a datapad (1500 credits), then return to the right. A Pistol Heavy Barrel will be straight ahead through the doorway down a short drop.
Head through the next doorway. Examine a dead Cerberus trooper near the back of the crashed shuttle for 1500 credits, then go through the door to fight a Combat Engineer, Centurions, and a Guardian backed by two Shield Pylons. There's a med kit to the right before the stairs.
Head up stairs and bypass the door to enter Talon-held territory. Salvage junk (1200 credits) from boxes near a turian civilian you can talk to, then head through the door on your left to talk to an asari civilian, examine some lab equipment (1200 credits), and use the weapon bench as you will.
Tips: This is your last chance to change your weapon loadout. A weapon mod to "penetrate light cover" will come in quite handy in the upcoming section. You might also want to take the Venom Shotgun with you as it will help immensely in the final fight.
Head down the hall past the batarian civilian, and pick up a Shotgun Omni-Blade at the armed barricade. Take the elevator and find out that Nyreen is heading to Afterlife on her own. After the cutscenes turn left for a datapad (1200 credits). You can walk near the group of survivors to hear them talking about Nyreen. Afterwards, save, and then catch up with Aria to face off with Petrovsky in Afterlife.
The Final Battle
This can be a tough one: you are on your own with three Adjutants, several Nemeses prowling the upper levels, and plenty of Assault Troopers popping in to stop you. Each of the generator override controls is next to a shield pylon, and you have limited time before Aria is killed off. Activate a generator control, shoot out the generator pylon near Aria, then rush to the next one. Note: If you happen to be an Infiltrator, cloaking and running from control to control is recommended: will take the sting out of the time limit and allow you to avoid fighting many of the enemies.
Do NOT take out the generators from the ground floor - with every destroyed generator, Aria will unleash a deadly biotic pulse that will crash your shields and damage you badly. Leaving the shield pylons near the generator controls will help you immensely.
While the layout of the terrace is simple to navigate, it offers very little in terms of cover. With enemies constantly respawning until you free Aria, coupled with limited ammo pickup on the level, the only safe bet is to run and gun while being careful not to get boxed in. Adjutants love to get close and put their deadly melee attacks into play, and the narrow walkways leave very little room to dodge.
Insanity Tips: When playing on the highest difficulty levels, duck quickly to your right and up the stairs. From behind the relative safety of the override console (and with the shield pylon recharging you) is a good location to take out some of the enemies blocking you from the next console. Then dash halfway down the corridor, quickly shoot the generator and run the rest of the way to the next console where you lather, rinse, repeat. The relatively slow Adjutants will tend to end up chasing along behind you, so you won't often have to engage them before Aria is freed; you can save most of your abilities/ammo to clear Cerberus guys and gals out of your way.
Lastly, there are two medkits, one along each of the long pathways against the walls. When you're ready, bypass the door to face Petrovsky in his den.
Aftermath
Depending on the overall morality of your actions during this mission, Aria will either kill (Renegade) or spare (Paragon) General Petrovsky. If Aria is unwilling to spare Petrovsky, you can use two Paragon Interrupts to force her to spare Petrovsky, though doing so will considerably sour her attitude towards you. If Aria delivers Petrovsky to you, you can use two Renegade Interrupts to kill the general yourself by shooting him in the head.
Completing this mission earns you 15,000 credits, unlocks Flare and Lash in the Med Bay, and nets you the Omega Raiding Fleet and Omega Eezo Hoard War Assets. Sparing Petrovsky will earn you a third War Asset worth 30 points. Killing him will add 30 points to the Alliance First Fleet.
After you return to the Normandy, you'll receive an email from Aria informing you she's had Petrovsky's chess set sent to your cabin.
Logs
Enemies
- Adjutant
- Assault Trooper
- Atlas
- Centurion
- Combat Engineer
- Guardian
- Nemesis
- Phantom
- Rampart Mech
- Turret
Bugs
- Vanguard players should limit usage of Biotic Charge during the catwalks segment of Talon Territory as there is a huge chance of Shepard dying. See this discussion for possible explanations and some quick workarounds.
| ← Previous Mission | Mission Index | |
|---|---|---|
| Citadel: Aria T'Loak | Missions |