Pinnacle Station has a combat simulator in which you can engage in various combat missions and compare your scores against other combatants.
Acquisition[]
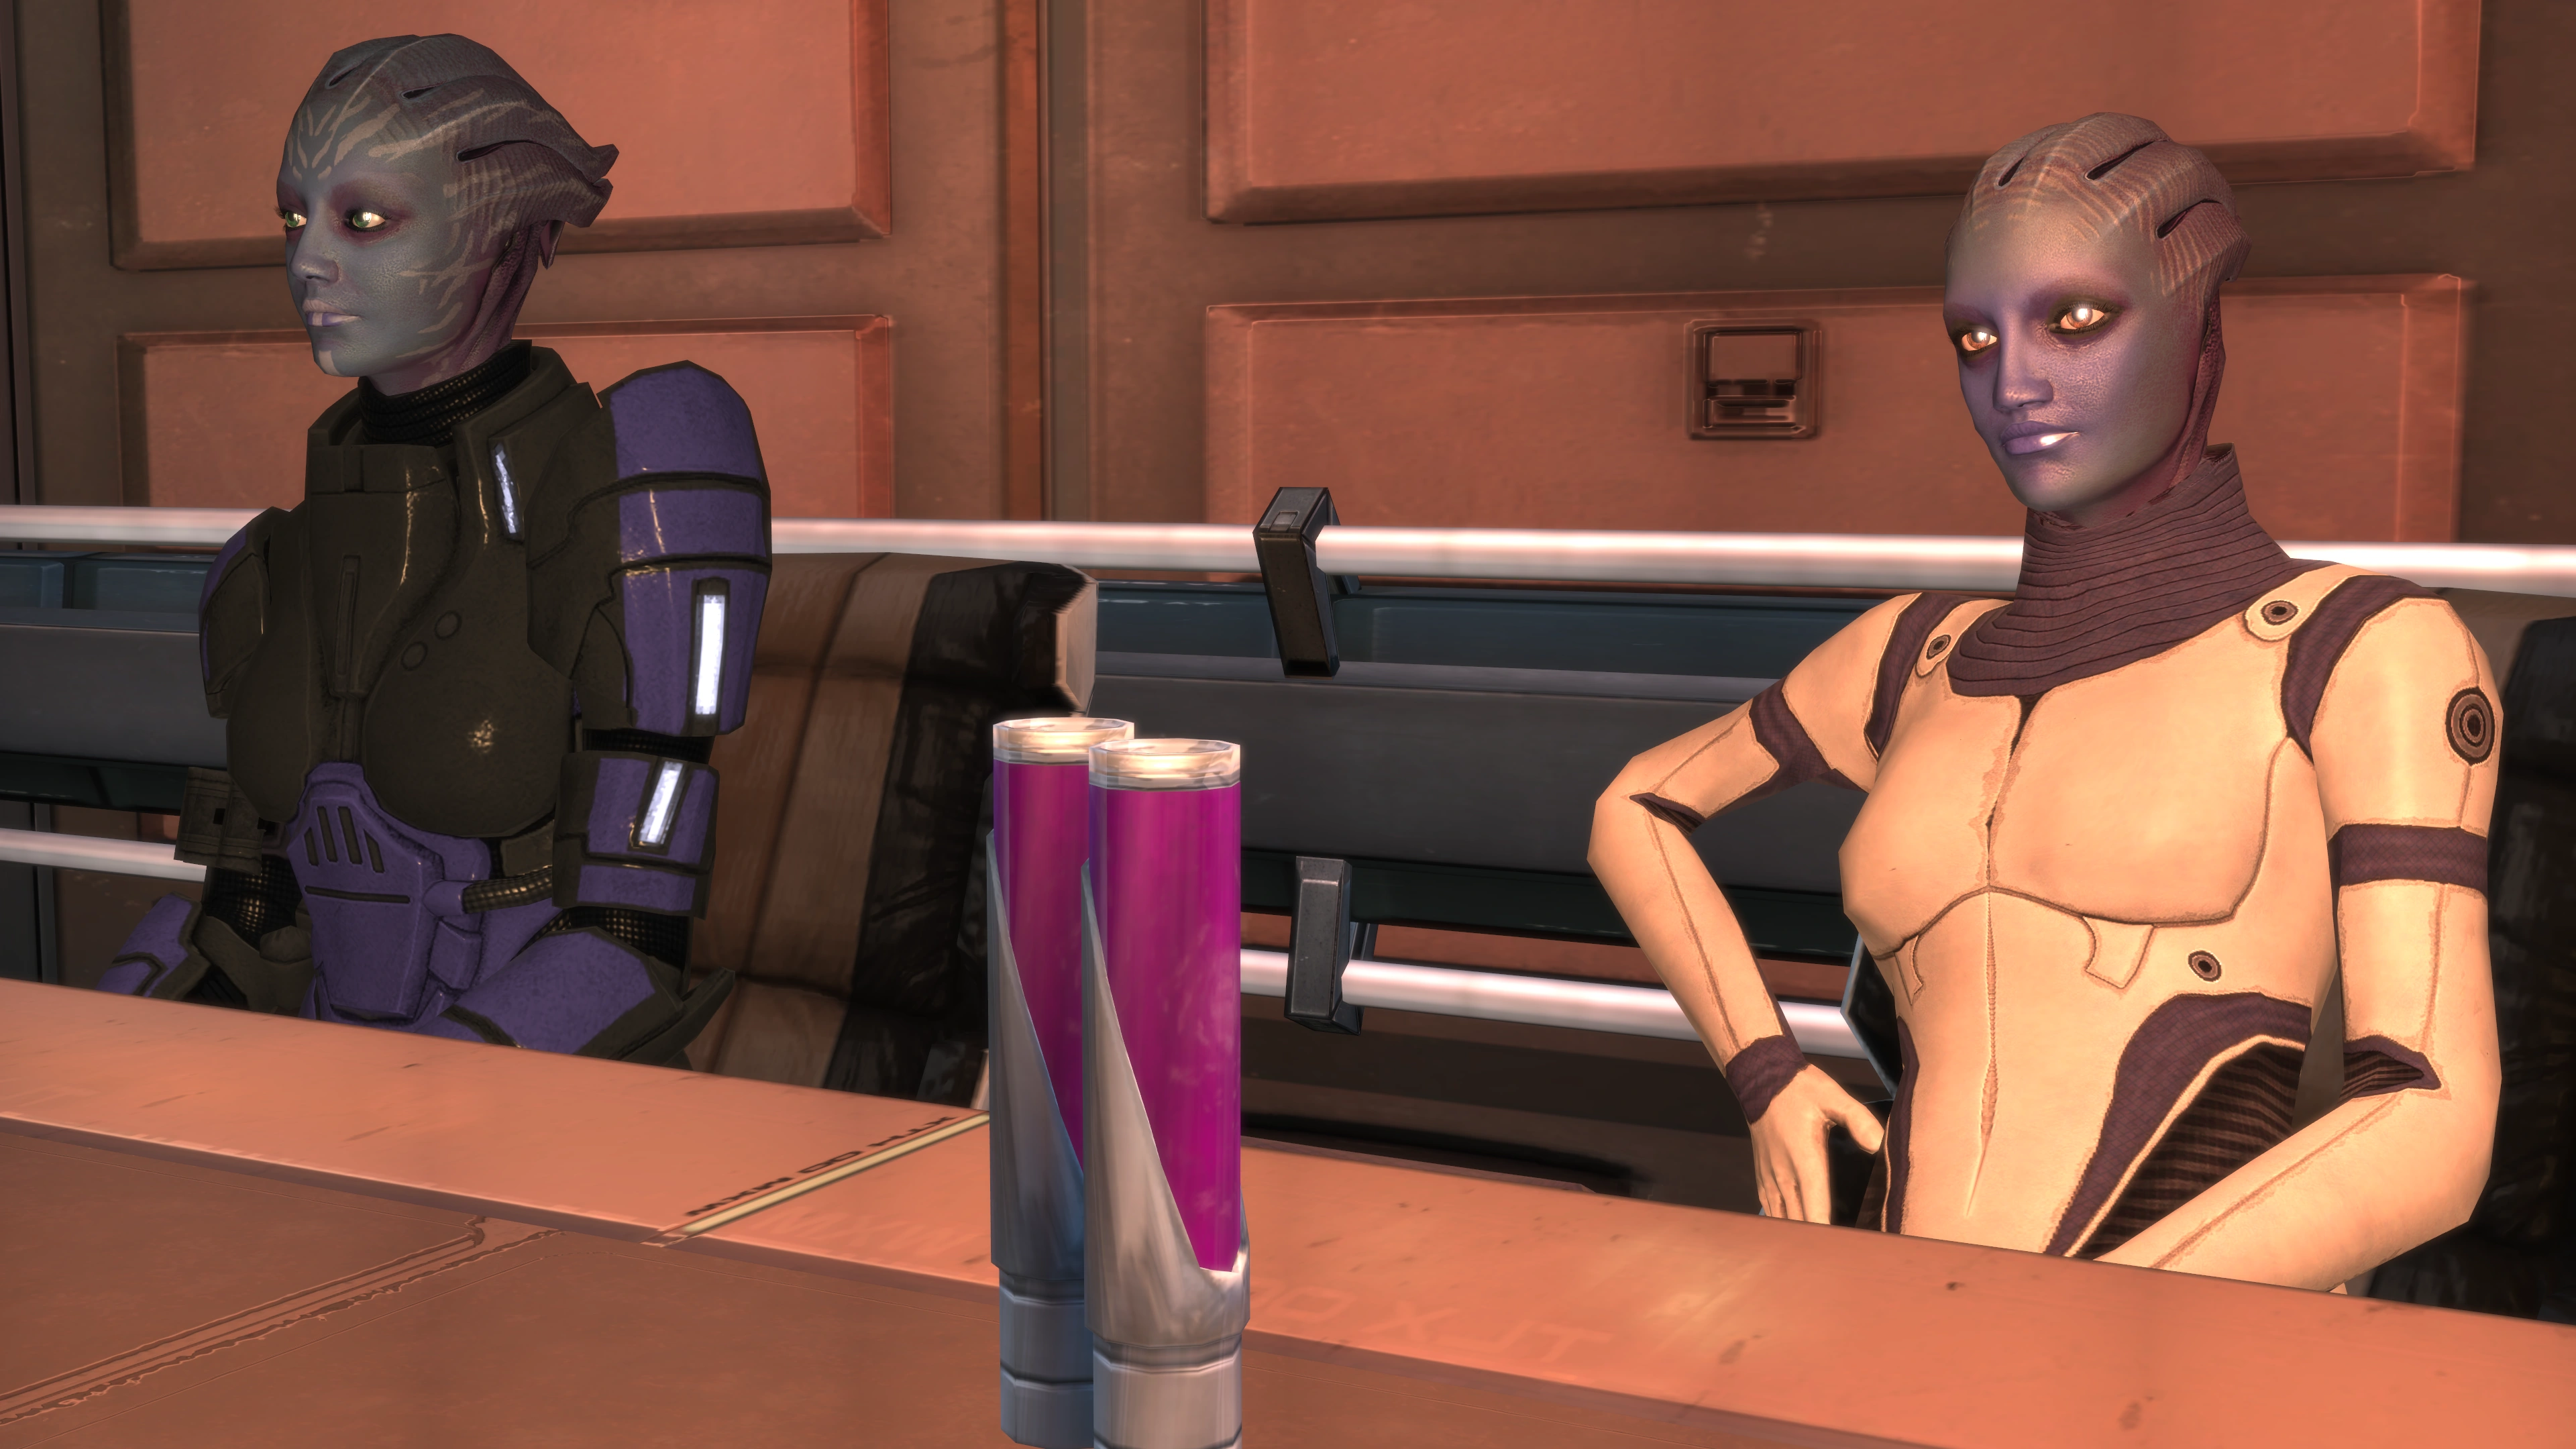
Visit Pinnacle Station in the Phoenix system of the Argos Rho cluster after installing the prerequisite DLC and getting your license to hunt Saren. Speak with Admiral Ahern to unlock this assignment, then go to Ochren, the salarian technician, at the far end of the station's Observation Room. Ochren will give you access to the simulator to begin this assignment. Alternatively, you can acquire the assignment from Ochren himself if you chose to skip talking with Ahern first.
Note: This DLC assignment cannot be attempted after beginning Ilos: Find the Conduit.
Walkthrough[]
Arrival at Pinnacle Station[]
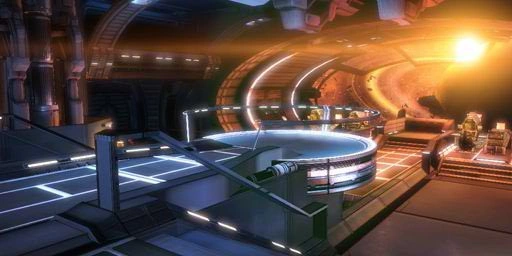
After joining the Spectres, you receive an invitation to train at Pinnacle Station, a training facility run by Admiral Ahern. The station features a sophisticated combat simulator, allowing elite competitors to train their skills and challenge each other. When you arrive, you don't select squadmates at first, but you will select them when you go to the simulations. When you enter the facility, two turian guards including the Guard Captain Vidinos talk about Shepard, and he dismisses you as just another human to be pummeled at the simulator.
Head through the door and talk to Ahern if you wish, who gives you an overview of the facility. Afterwards he directs you to Ochren, the grumpy salarian tech in charge of the simulator. Talk to the salarian for an overview of the combat sim mechanics and to set the parameters for your scenario.
Two terminals near the salarian display the current top competitors: take a peek at the scores to see what times or kills you have to beat.
The Simulator[]
You can't die in the simulator. This is handy, since if you change your upgrades or ammo, the change won't be lost if you 'die'. Also, enemies react differently. Organic vs. Inorganic distinctions are recognized, and the targets will respond appropriately to your ammo choice. Most can be instantly killed with an aggressive biotic attack if the force is strong enough (high enough skill + good biotic amp). You will need to do this to complete the missions. The time is tight enough that it will be difficult to shoot your way through it. Using biotic attacks to accelerate kills as much as possible is a good way to extend and shorten the time appropriately.
Vidinos[]
- Main article: Pinnacle Station: Vidinos
On your first time breaking a high score in any one of the simulations, you will get the New Sheriff in Town achievement and when you exit the simulator, you will find Vidinos arguing with a human named Lieutenant Bryant about his records having been broken. Vidinos is threatening to put Bryant in prison for cheating. You can offer to help by proving Bryant did not cheat by beating the records yourself. You must beat all eight of Vidinos' records to help Bryant.
The Scenarios[]
Each scenario has two starting environments. As you bulldoze through existing high scores, an extra environment becomes available for all scenarios.
Capture[]
- Environments: Tropical, Volcanic, and Subterranean
As the name implies, you must capture certain points. A meter will appear along with an "area circle" once you get close enough to start capturing a point. As long as you keep at least part of Shepard's body in the circle, you will continue capturing the point. If you are able to keep all enemies out of the circle, this takes 20 seconds. If enemies enter the circle (even if you or your squad moved them into it) the capture of that point will take longer and may even be reset completely. Keep your eye on the clock and get moving as soon as the flag point is captured.
- Times to Beat:
- Volcanic: 2:00:53
- Tropical: 1:58:67
- Subterranean: 1:29:47
Hunt[]
- Environments: Subterranean, Volcanic, and Tropical
You will start with only a few seconds on the clock. In order to gain more time you must kill targets. Targets will "spawn" from unmarked spots as long as the player is not too close to that spot. Ideally, you want to find a good location of your own with a good line of sight on a "spawn spot" and simply keep killing enemies as they appear. Moving enemies does not help as much as direct killing does here so you may want to equip rapid fire weapons like assault rifles and pistols. In the Volcanic landscape (difficult), do not allow the enemies to lure you up the ramp onto the catwalk. Stay down near the bunkers and kill them at long range with biotic attacks.
- Kills to Beat:
- Subterranean: 35
- Volcanic: 43
- Tropical: 50
Survival[]
- Environments: Tropical, Volcanic, and Subterranean
The object of Survival is to stay alive as long as possible, either by staying on the move and avoiding enemies, or by finding cover and using strong squadmates to keep killing. The enemies come in a pattern of waves, first a weak group, then a stronger group, then even tougher enemies, and finally a fourth wave of difficult enemies. After that the cycle starts again with the first wave of the same weak enemies, and so on. Any time over two minutes will guarantee first place on the first two levels. You will not be rewarded if you keep surviving longer than that. Surviving for a prolonged period of time may even lead to the game freezing when you finally let yourself die. There is no end to survival mode other than dying or forfeiting, but dying is the only way to get the time recorded to the scoreboard.
You will be grossly outnumbered and you will die, it is simply a matter of how long you can survive. Try to time biotic attacks so that they impact multiple enemies. Although you may be tempted to find good cover and hold your ground, the simulator generates enemies based on your position. You will last longer by finding some cover, holding it for a while, and then sprinting to another location so that all the enemies do not have the opportunity to descend on you at once.
Yet another strategy is to just keep moving. Most of the maps are set up so that you can run in a circle around the map. Don't worry about killing enemies unless they are right in front of you, just keep moving around. You won't take as much damage this way and you can last for a longer period of time.
On lower difficulties, especially with a selected squad that compensates for Shepard, you will find the enemies cannot overpower you. Even if you stand still and do nothing, your squadmates will easily deal with them as they come. The best solution once you've passed the winning time is to turn the difficulty up in order to finish the scenario.
The timer stops at 100 minutes. So the only thing left to do when you reach that time is to let yourself be killed. However, the scoreboard will show your time as 40 minutes.
- Times to Beat:
- Volcanic: 1:31:83
- Tropical: 1:46:43
- Subterranean: 2:20:57
Time Trials[]
- Environments: Volcanic, Warehouse, and Tropical
Race the clock to beat a set number of enemies that spawn in groups further and further along the map. You must kill all of the members of the current group before the new group will spawn so don't knock back, Throw, Singularity, or Lift a half dead enemy into an area where you can't reach him. This includes Lift-ed enemies that get invisibly stuck in the ceiling and take 10 or more seconds for your squadmates to kill. Some groups, especially first and last groups do not spawn all at once, so you may need to wait a second or two before deciding on your tactic. This makes the most use of the instant kill biotic attack, especially at long range.
- Times to Beat:
- Warehouse: 1:24:67
- Tropical: 1:20:94
- Volcanic: 1:54:61
Ahern's Special Scenario[]

After defeating all 8 basic scenarios and all 4 advanced scenarios, Admiral Ahern will offer you a special scenario that re-enacts one of Ahern's battles during the First Contact War. In order to win the admiral's retirement home in a wager, Shepard will go in with the safeties off.
Once you have beaten all twelve scenarios, Ahern will also speak with you about your performance. (If you won all the challenges, you will receive the Best of the Best achievement). He will tell you that there is one more experimental scenario that he has been working on. If you challenge it, he will tell you that 'the real thing is a lot tougher'. You can tell him to turn the safety off, and make the damage real. You will have the opportunity to make a wager; your life for his retirement property. This means you can die, so save before talking to Ochren.
The scenario opens with you and about six turians. Kill them, and the scene will remain empty until you make your way to the vehicle at the center of the room and retrieve the data file. After recovering a data module, similar to disarming an Eden Prime charge, the squad must hold out 5 minutes for evac. This part basically runs like a 5 minute survival scenario with more enemies as well as 2 activate-able turrets to help you out. Immediately sprint to cover. Success has been achieved by sprinting back to the door to the small room where you began on the west side. The door will be closed, but adequate cover is provided by railings, boxes and the fact that the platform is raised. This scenario is difficult but should be completed relatively easily on your first attempt if you are properly prepared.
Another strategy is to huddle near the bulkhead door on the side after activating the turrets and gathering the data module. Let your squad mates cover in front while you keep an eye on the big door behind you. The first time it opens, two enemies will spawn immediately, and you can't close the door for a second. Take out those two, then close the door, and turn around to assist your team - but keep one eye on that door. As soon as it starts to open again, hit the button. If you close it immediately this time, it won't open again. This prevents the turians from spawning there and gives you better cover than the area mentioned above because the snipers that spawn on the side platforms can't see you. Also, the turrets will have good lanes of fire on all approaching enemies. The spawns will start coming much faster during the last 30 seconds, but as long as Shepard survives, you'll get credit for completion, so consider hiding behind your squad mates if you have to.
Once you have completed the scenario, you will get the Undisputed achievement. Also, speak to Admiral Ahern. Don't let him leave without reminding him of your wager.
Survival Tips[]
Generally the maps from all 13 scenarios which overlap their settings, while not always exactly identical do share several features in common so there are some things you want to watch for no matter which type or map you're currently in.
- Memorize the Map: In most cases (especially if you are not normally fast on the controls) a few seconds can be the difference between first and second place, so knowing ahead of time where to stand, where to go to next, and even which tactics will work for a certain enemy can shave a lot off of your time.
- Avoid "Stuck and Cover": many times when near a flat surface Shepard will automatically crouch and / or take cover, removing yourself from cover can take a painfully long time as Shepard slides slowly away from the "cover surface" so unless you're on Survival mode, cover is generally a bad idea.
- Conserve your Energy: In these scenarios time and position are critical. The ability to "Storm" or otherwise run fast in Mass Effect works exactly like weapons do, if you keep your finger on the button, you will become fatigued, and then not only will your weapon accuracy suffer, but also, just like with an overheated weapon, there will be an extra wait time to get your storm run ability back. Remember to use it in short bursts, just like a weapon, otherwise you may get stuck without it for a while.
- Move it!: Because the holo-room's walls and ceiling as well as cliff walls and drops off of high ledges are all instantly fatal to the enemies, being able to Lift, Throw, or otherwise knock away your opponents with explosive attacks becomes important. Singularity can also be used to slam enemies into lethal surfaces but usually only in tight spaces, so this doesn't help as much. In addition, upgrades such as High Explosive Grenades or Ammunition can quickly clear a large number of enemies in a similar fashion, even if it does not outright kill them. Even in scenarios where killing is not required, the ability to move an enemy out of a doorway or off of a pathway can save you time.
- Choose Squadmates Wisely: The individual scenarios each emphasize specific capabilities, which allows you to optimize your squad for a particular purpose, rather than choosing a general-purpose squad. Generally, Hunt and Time Trial missions call for the maximum possible damage output, so choosing Ashley, Wrex, or Garrus is almost a necessity to get the top score, while a balance of firepower and tech / biotics is more helpful in Capture and Survival, making Tali, Liara, and Kaidan useful alongside one of the combat characters. It's always a good idea to decide on your squad compositions before you go to Pinnacle Station, and make sure you have a full set of equipment for everyone you plan to include before your arrival at the station.
- Are You Insane?: Completing these challenges in Insanity difficulty, even with a 60th level character, is perhaps the toughest challenge in the game. Volcanic, and to a lesser extent Tropical, Hunt missions rely greatly on the luck of where enemies spawn, with only a second or two being added onto the clock after the first dozen kills and each enemy taking five or six shots to dispatch. While possible with enough tenacity and patience, you may want to hold off on Pinnacle Station and tackle it on a lower difficulty playthrough. That being said, one can't deny the satisfaction of finally beating these challenges on Insanity.
- Medi-Gel: Having someone in the squad with First Aid is a smart move. If you ever want to see your Vacation Home you will need to use medi-gel.
- Don't Skimp on Consumables: Your medi-gel and grenade supplies replenish after every battle; there's no use in hoarding them. On the flip end do time your consumable releases carefully, lest you be caught with your shields down in the middle of a gunfight or you fail to kill those clumped enemies on time because you have no more grenades.
Enemies[]
The enemies you face will be diffferent based on the challenge you pick and which map you are on.
- Geth Destroyer
- Geth Juggernaut
- Geth Prime
- Geth Rocket Trooper
- Geth Shock Trooper
- Geth Sniper
- Geth Trooper
- Mercenary
- Mercenary Anti-Tank
- Mercenary Sniper
- Pirate
- Pirate Sniper

|
The following information is drawn from cut content and is not to be considered canon in any way. |
Cut Content[]
Text strings which represent an early draft of this mission's dialogues can be found in the game's internal data. They feature a number of different interactions as well as different scenarios.[1]
References[]
| Assignment Index | Next Assignment → | |
|---|---|---|
| Assignments | Pinnacle Station: Vidinos |