Allied forces are assaulting the Reapers above Earth. Hammer must get a team of soldiers onto the Citadel in order to activate the Crucible. Coordinate with Anderson to get to the Citadel beam.
Acquisition
The dialogue options to start or postpone the mission do not affect Renegade or Paragon scores.
As noted previously, this mission is part of the end-game sequence. By beginning Priority: Cerberus Headquarters, the player forfeits the freedom of the galaxy and cannot (from that point forward) fly anywhere except Earth itself.
Preparation
No side missions are available at this point, every system except Sol is unavailable (or overrun by Reapers) on the galaxy map and no more war assets can be obtained. The effective military strength (EMS) modifier can still be increased by completing Mass Effect 3: Galaxy at War activities. Having more EMS will result in Earth and your forces not taking as much damage over the course of the counter-attack and this can also have serious story ramifications.
During this mission, if you're not in a cutscene, there will be bullets and grenades flying at you, often from many directions, so maximizing your shield strength and regeneration rate to reduce the amount of time you need to spend hiding behind cover to recharge is a good plan for most classes. Also consider replacing your existing Bonus Power with Energy Drain or Defense Matrix as they refill your shields when used, providing a useful "panic button." Your enemies in this final mission will consist of all Reaper enemies, often with multiple Brutes and Banshees on the field, so plan accordingly.
Priority: Earth has two main stages, so squadmates, weapons and weapon mod configurations can be chosen again before the final stage. Medi-gel refills will be plentiful both in and between stages, so don't hesitate to revive downed squadmates with it; however for the first stage at least, consider picking a relatively tougher squad with members such as James Vega or Javik. They can not only increase your own survivability but possess grenades that can instantly take out groups of lesser enemies with a minimum of fuss. Regardless of who you choose to accompany you, be prepared to micromanage them by using their powers, ordering them to attack particular targets, and commanding them to move to specific cover locations.
Be aware that squadmate AI prefers not to return fire unless there is a gap in the enemy's firing patterns which in this mission happens rarely. High-damage single shot weapons such as sniper rifles are often more effective for squadmates under especially heavy fire than weapons that require long, sustained bursts; if you want the latter to be effective then enemy fire needs to be suppressed. "Crowd control," usually from biotics, is also an important tool to have for this purpose especially in the first stage of the mission. If Shepard's class doesn't have good crowd controlling abilities then taking at least one squadmate who has them is advisable. Feel free to consult the Squad Members Guide for more information.
As this is the last mission, choose your armor set carefully while still aboard the Normandy before ordering the fleets to Earth. Also do any last-minute shopping from the terminals in the shuttle bay, the med bay, or Liara's office. You will never get the opportunity to customize those things again.
Walkthrough
Take Out AA Battery
Hackett and Anderson will walk Shepard through the plan they've put together, but this plan runs into complications. Instead of flying straight in, you'll need to stop and take out a Reaper AA Hades Cannon so that the ground forces of Hammer team can land. The first battle begins with a seemingly endless stream of Cannibals and Marauders. You begin at the bottom of a hill with your enemies disconcertingly able to rain grenades down from above you. Disrupt them with as much crowd control as you can muster to stem the flow of grenades, and then fight your way up to the top of the hill as soon as you can safely do so.
When you reach the top, grab a piece of cover from which you can see most of what's going on in the surrounding streets. Further enemies will continue to spawn, and now two Brutes will appear, but they will approach from a great distance so you should have adequate time to take them down from afar or at least prepare for their arrival.
Tip: You can use your medi-gel fairly freely during these sections because there will be a significant supply of it coming in the middle of the mission.
The Hades Cannon will only make the fight harder, as every time it fires, it violently destabilizes your aim. It is best to stay in cover while it fires, and take aim while it is not. However, the shaking effect is in real time, which provides a workaround: if you pull up your power menu, the shaking effect will run its course while the game is paused, allowing you to aim unimpeded.
After you clear out your LZ, continue to advance, taking out new enemies as they appear, up to the second story of what seems to be the remains of a house, where you fight off yet more hostiles. Cortez will also be shot down as you head up to the second story, which might lead to his death if you haven't taken the time to talk him through his personal problems. At the far end of the house are two M-920 Cains, one of which you should use to knock down the AA gun, and a med-kit. Tip: Locate the second Cain first. Both are situated close to each other.
Warning: If Shepard somehow misses with both of the provided Cain shots when attacking the Hades Cannon, a barrage of missiles can be seen approaching from a distance, and they will strike Shepard through any intervening terrain causing instant death. In other words, game over.
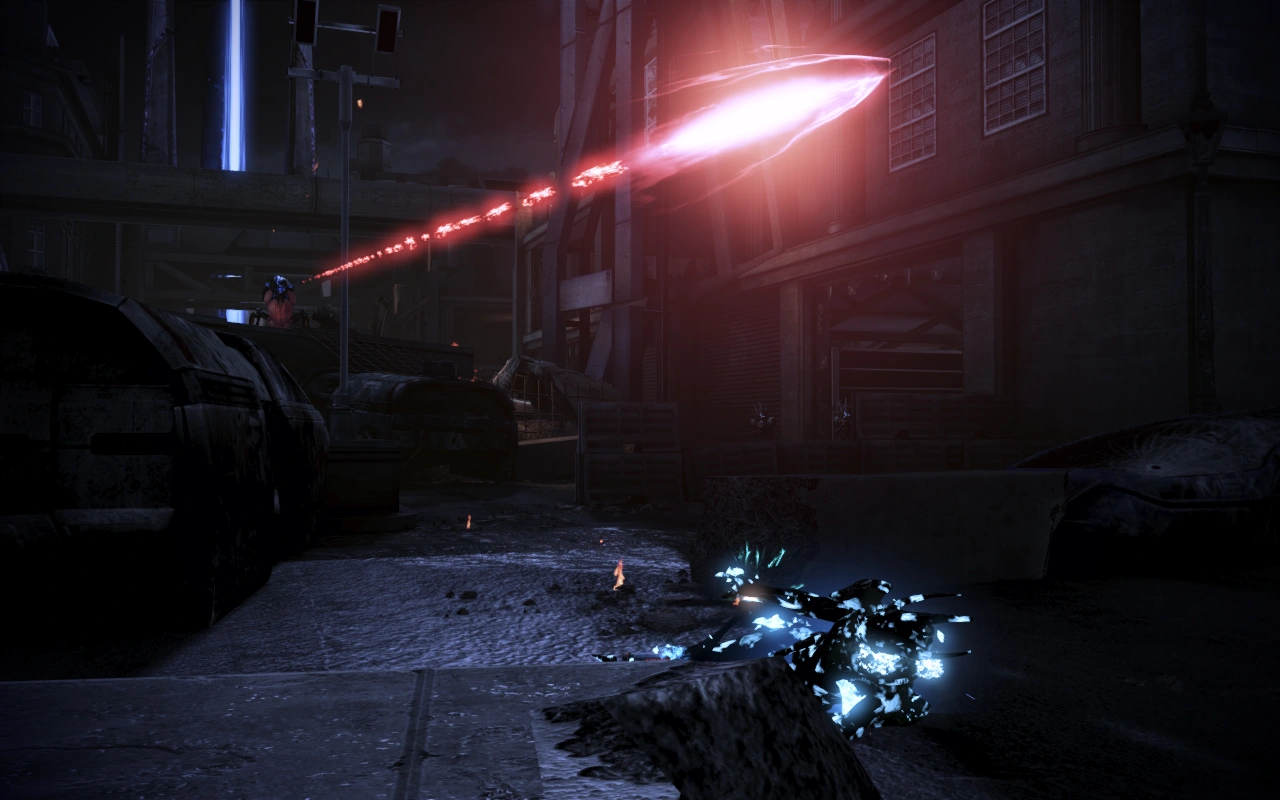
Once you've destroyed the Hades Cannon, grab the second Cain, if still available, and then retreat back to the downed shuttle and take cover with your squad. If you do have the second Cain, you will want some room to use it safely against the oncoming horde, which includes a Banshee (which will be named "Morinth" if that character survived the events of Mass Effect 2). Do not move towards the edge of the building where the Banshee appears, as waves of Cannibals soon start to spawn. Be aware that the Cain's radius is not as large as a Mass Effect 2 veteran might assume: the weapon is capable of missing its target. Players unfamiliar with the Cain may wish to aim at the feet of the opposition so the projectile explodes even if they miss.
However you decide to take out the Banshee, once it's dealt with you will now have to contend with endlessly respawning waves of Cannibals and survive until you can be extracted by friendly forces. On higher difficulties especially, this can mean a lot of grenades might be coming your way, so watch out. The Cannibals respawn aggressively: the moment you kill one, a replacement will start crawling up and will be attacking you within seconds. The most painless way to deal with this scenario is to focus on disabling the Cannibals rather than trying to play whack-a-mole. Good ways to do this include freezing attacks such as Cryo Ammo, especially if shared with the squad; the stun effects of Combat Drone or Defense Drone; and biotics such as Pull and Singularity. Weapons that can stagger enemies such as the Scorpion or the M-37 Falcon are also useful for suppressing fire.
After several minutes, a shuttle finally arrives at the far edge of the roof from the downed shuttle to evacuate you. Don't worry about killing everything because you basically can't; simply clear a reasonably safe path to the shuttle and run.
Warning: The shuttle has finite health and won't last forever. Its health is visible as a status bar in the HUD. Don't get carried away and miss the boat.
Once safely aboard the shuttle, you're finally reunited with Admiral Anderson. A Paragon interrupt is available upon greeting him, and further morality points can be earned in the ensuing conversation. You discuss the situation, including what's been happening on Earth during Shepard's absence, and the state of the resistance. Anderson laments that it took the Reapers to finally bring the galaxy together, at which point a squadmate will chime in and point out that Shepard was the true uniting force. After the conversation ends, a cinematic cutscene shows Hammer forcing a landing in the face of heavy opposition.
Meet with Anderson
You're now in the Forward Operating Base (FOB), where Hammer will assemble before making a move on the conduit. Head down the ladder onto the street. Explore the base to engage in final conversations with your squadmates. The number of squadmates can range from as few as three (if Garrus did not survive Mass Effect 2, if Tali did not live through the suicide mission or Priority: Rannoch, and if the Virmire Survivor died during Priority: The Citadel II or was not allowed back on the Normandy during its aftermath) to as many as seven (if the Mass Effect 3: From Ashes DLC is installed and Javik was recruited).
Through the door on the street is the Communications Tech Officer. You may ask him to speak to Cortez and any previous squadmates from Mass Effect 2 (provided they are alive) via a vidcomm terminal in the building behind the Virmire Survivor's location. There is a datapad across from the street from the Communications Tech officer in between a few trucks. It reads about asking volunteers from the fire patrol. You can listen to interesting updates on the mission by a group of soldiers on the street.
Head up a ramp to the left of the door (it blends into the rubble). You will run into Primarch Victus and Garrus (if alive). Head through the door to the walkway. Make sure that you are ready to leave the area, as you cannot go back through the door.
A cutscene occurs after which you'll find yourself in a turret-gun minigame which ends after a set amount of time. On the other side of the walkway you'll find Liara, two medkits, and a radio conversation if you want to stop and listen. If you speak to Liara, her initial response varies depending on how many enemies you killed while on the mounted gun. There is also a datapad just through the door to the right.
Through the next door is Javik and the current leader of the krogan (Urdnot Wrex/Urdnot Wreav) giving 4 different speeches. If you sabotaged the genophage and Wrex was the krogan leader, Kirrahe or another STG officer ("Colonel Vaykom") if he is dead will be found at the same spot as the Urdnot Clan Leader, giving a speech to salarian ground forces instead.
Through the final door, you will find EDI, Tali, a medkit, and Anderson. If the geth destroyed the quarians at Rannoch, a Geth Prime will be present instead of Tali. If the quarians were victorious at Rannoch but Tali died in the Suicide Mission, Admiral Raan will take her place.
After you speak to Anderson and make a speech to your squad, you'll have a last chance to pick your squad and make adjustments. You'll be facing the same enemy types as before, just at a higher percentage and density of the various boss types.
Approach the Conduit
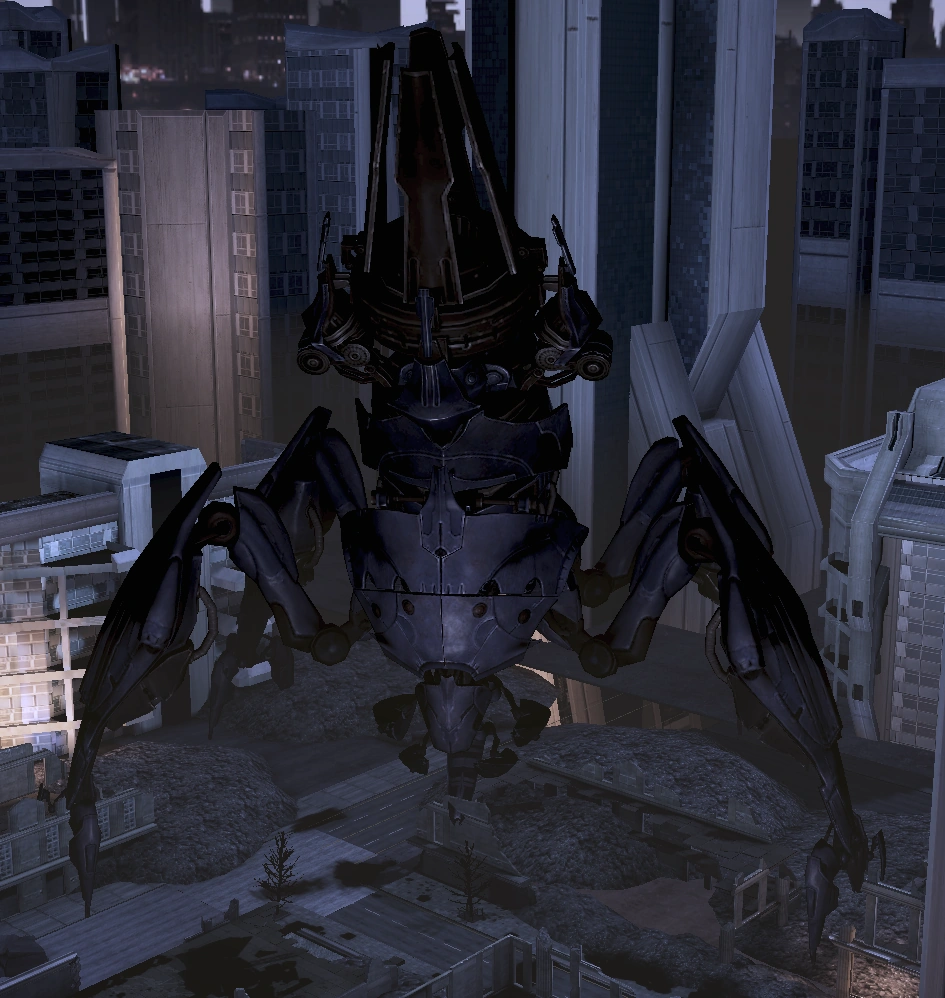
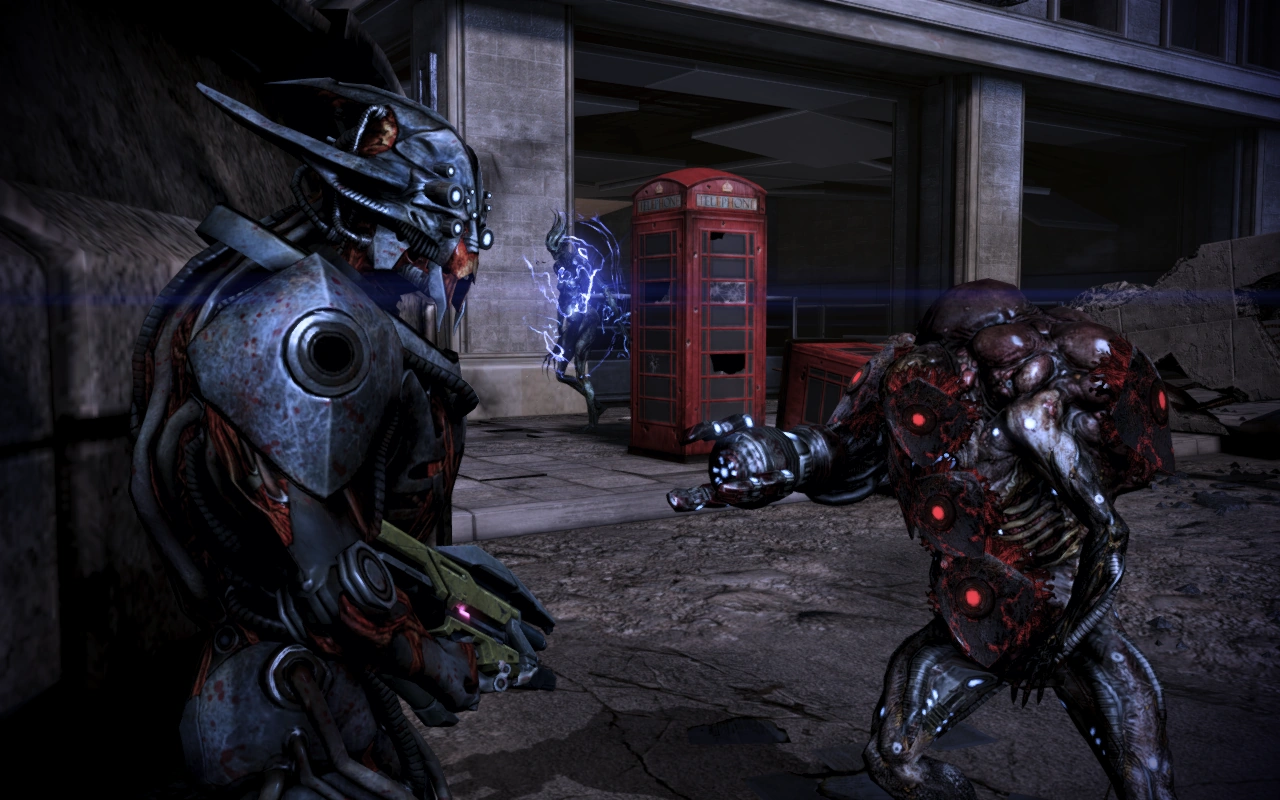
Take out the patrol of Cannibals and Marauders that you encounter at the start of the mission. Advance until you see the M35 Mako blow up; go around the Mako and to the right to reach the street. You'll see another Mako there, which will eventually be set upon by a Harvester. You can choose to kill the Harvester for +100 bonus XP, which is fairly easy if you have the right guns or bring squadmates with biotics like Warp and Dark Channel. You can also ignore it and let the problem sort itself out. A Banshee and several more Marauders and Cannibals are also targeting you at the same time. Focus on the Banshee before it can warp in too close but watch out for grenades. More enemy infantry will drop in from the roof of the ruined building ahead as the fight progresses.
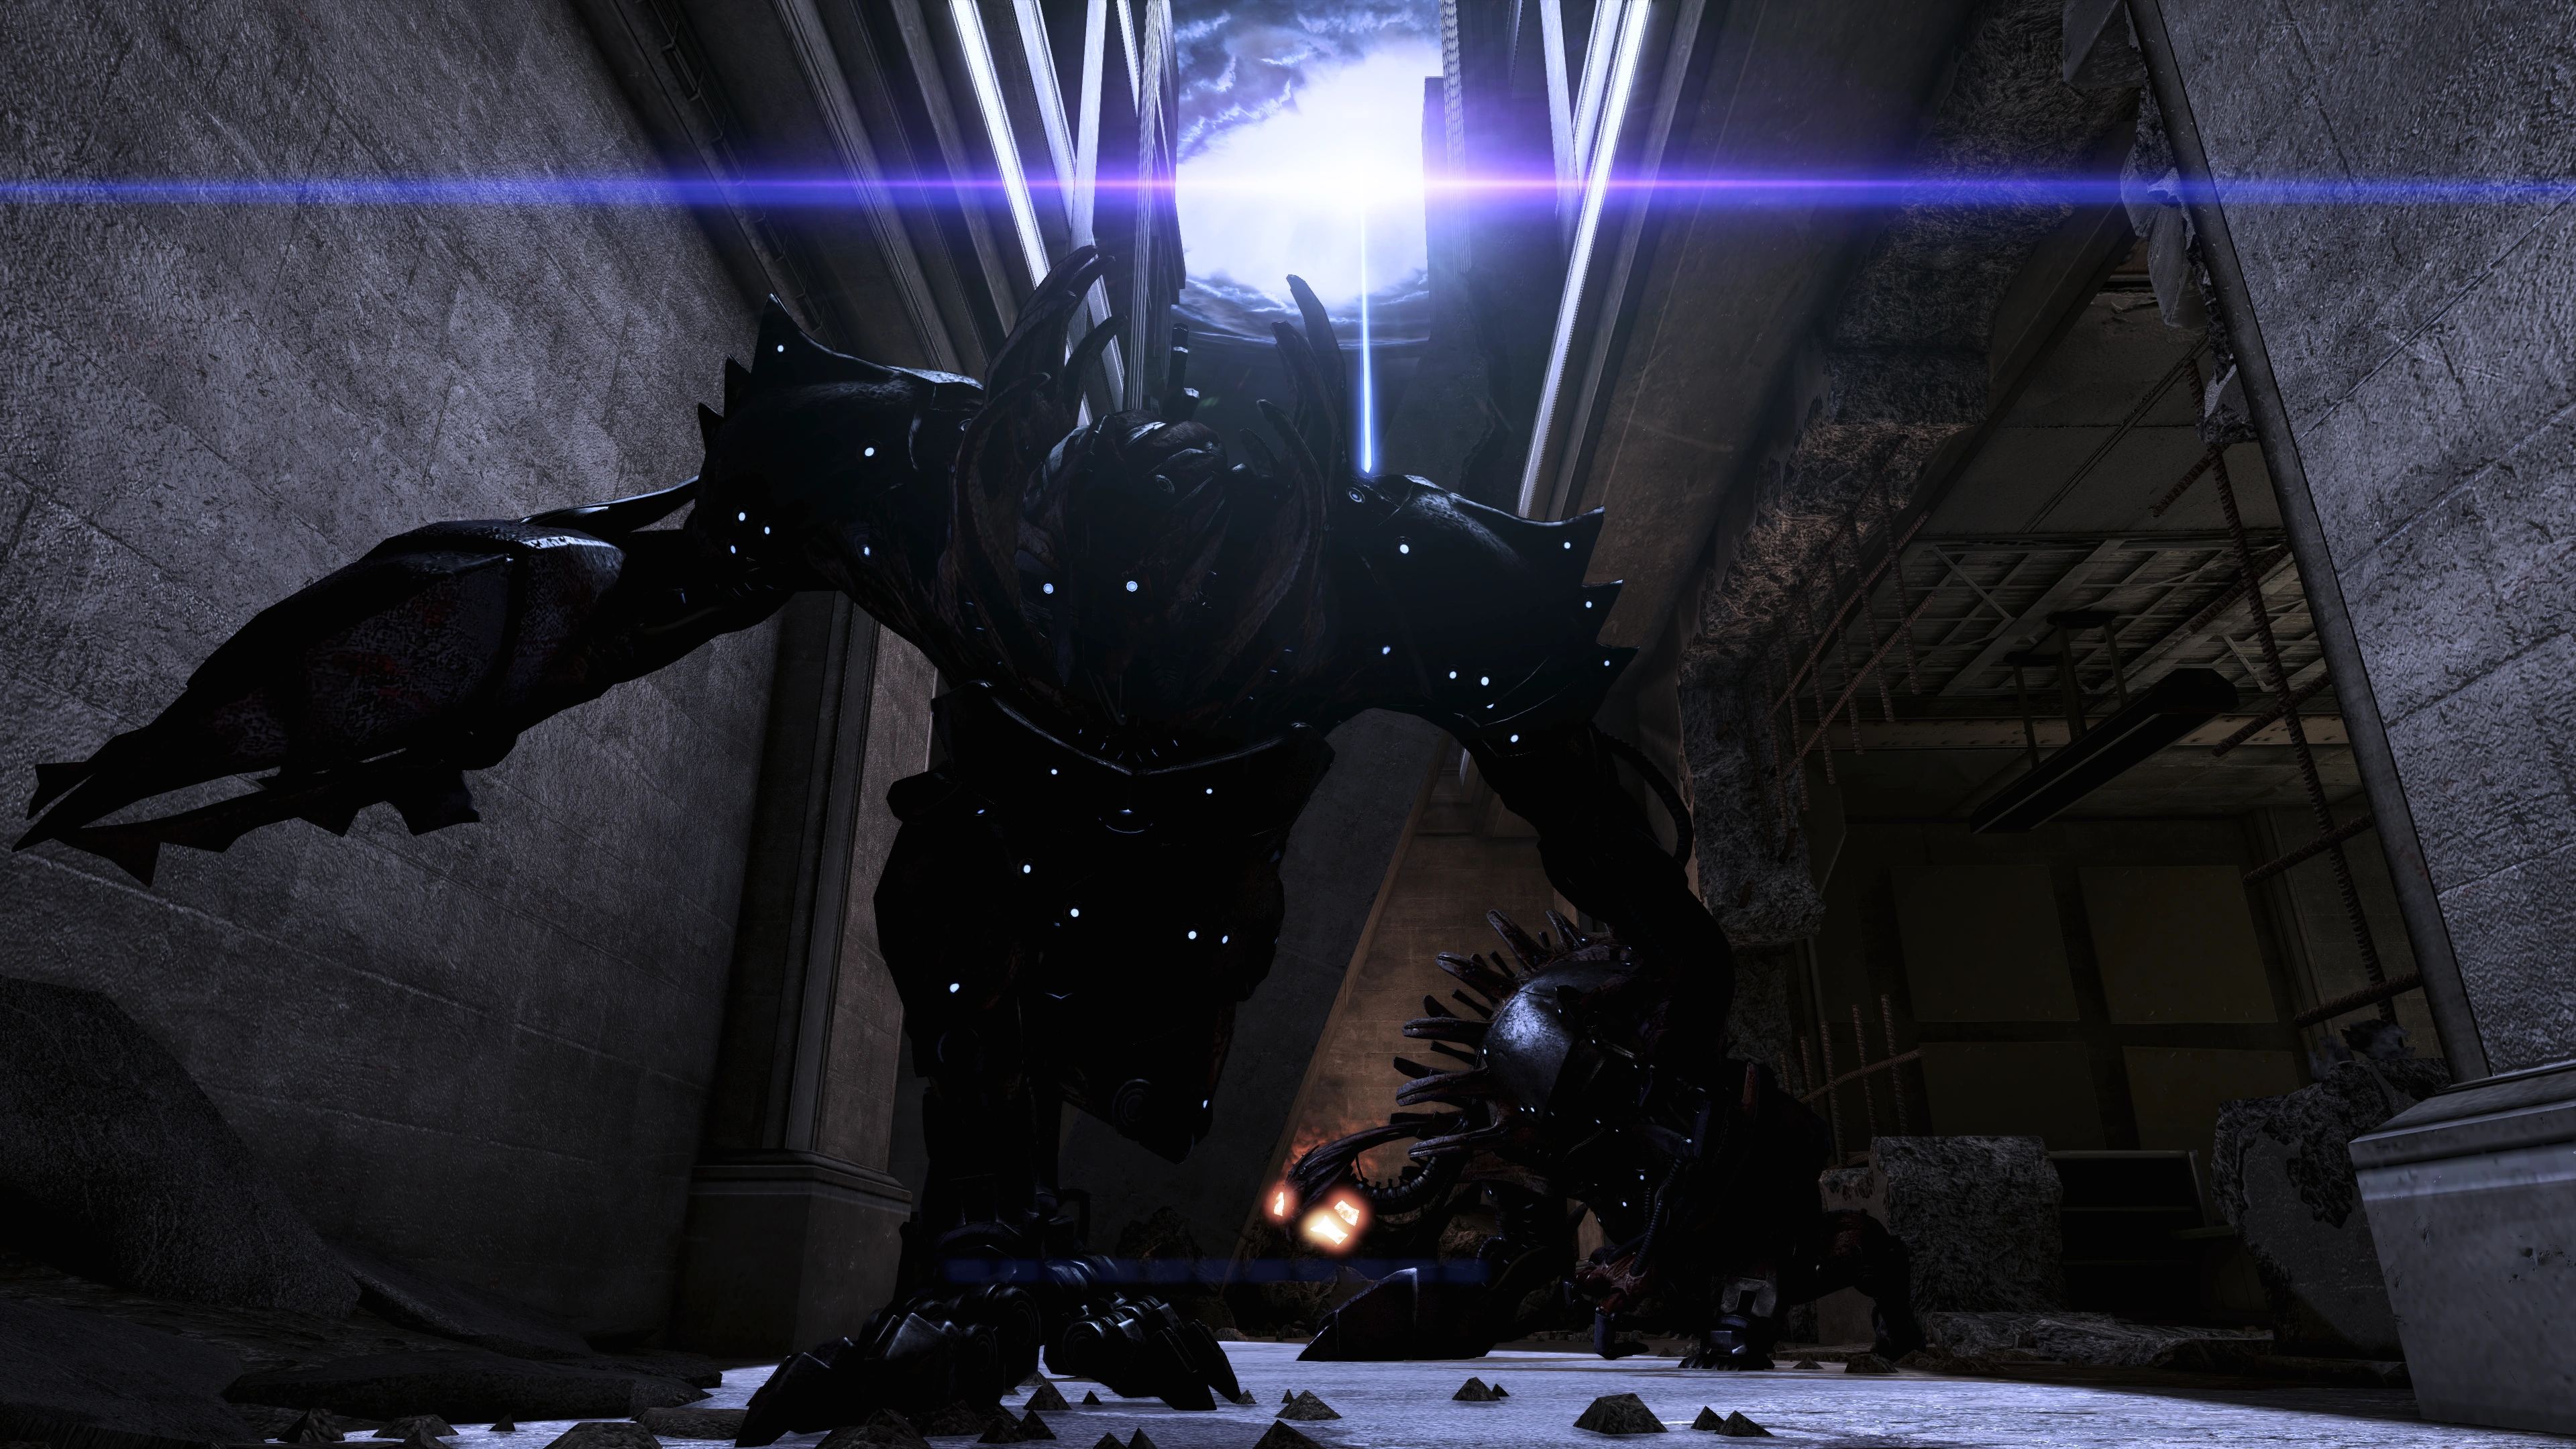
Afterwards, you'll receive a call from a fellow Hammer platoon that is pinned down by Reaper forces. The door leading to them is in the far left corner, and it leads to a parking garage. Just before heading in, you'll find the one grenade resupply in this stretch of the mission. Then, if you stand in the doorway of the garage, a single husk will respawn indefinitely until you move inside the door. The door will then slam shut and a group of husks will attack from several directions at once. The single husk will then continue respawning until you move further into the garage, at which point two Brutes and another group of husks will appear to end the encounter. Just give ground as needed and make sure the husks don't grab you as you take them all out. Then find the ladder and climb it.
The ladder leads to an apartment, where a Ravager, supported by other infantry, fires down into the street. If ever there was an ideal place to unload a few grenades, this is it—but be careful as a few will come your way too. Wipe everything out to see the platoon advance, and then loot the apartment, which has ammo and a medkit in the bathroom and under a corpse outside the bathroom. You can also examine a computer in the apartment after the loot. Then try the door, where Husks will attack you.
The street below is full of Marauders, and it's a great place to use a sniper rifle if you have one. Just beware of the Ravager farther down the street, which will appear suddenly as you head toward a tempting looking pile of ammo, and the Brute that will soon afterwards smash its way out of the shop on the far right corner of the intersection.
The shop where the Brute emerged is your next target. When you reach the window sill, a group of Cannibals and Marauders will appear to stop you. Be careful as you proceed into the shop, as it is a maze of shelves and crates. Two additional waves of enemies will appear suddenly and at very close range as you move deeper into the shop and as you approach its checkout counter, so take it slowly. It's very easy for the enemy to flank from the left. It's very easy for you to preempt that by flanking them first, but that'll expose you to a lot of fire. If you move around too fast, you also risk walking right onto a grenade. There is a medkit on the shelf just before the row of terminals before you re-enter the street.
Once you've made it through the building, jump back out onto the street. You'll see a huge blown-out pit in the intersection with a concrete pillar slanting across it. Run for this pillar: it's the only cover around when the shooting starts. Then continue across the intersection to the business establishment on the opposite corner. More enemies lurk there, but because you have two windows to attack through, it'll be easy to catch them in a crossfire.
Through the door and past a large crowd of waiting enemies is the restaurant's back dining room. It's got a big window looking out onto a back alley, where even more enemies are going to come from; an obvious solution is to dash to one of the tables and take cover there, but the restaurant's back door is parallel to the door you came through, and enemies can flank you from it if you use the tables for cover. Fortunately, there is a medigel dispenser near the window, which might come in handy when the Brute arrives. If you look under a counter close to where the medical station is, you can also find a row of thermal clips in the drawer should you need to replenish your ammo.
Finally you get to head out into the back alley, where two more Brutes come smashing out through the wall as you approach the end. Retreat and take them out, and then go through the hole they opened, as it leads to a door (this room has a datapad you can examine, along with some thermal clips and a full resupply of grenades) and a cutscene.
Thanix Missiles
Note: In this section cardinal directions are used for orientation. For this purpose, north is towards the conduit beam, left when facing the beam is west, etc. Squadmates may call out directions such as "left," again this assumes an orientation facing the beam.
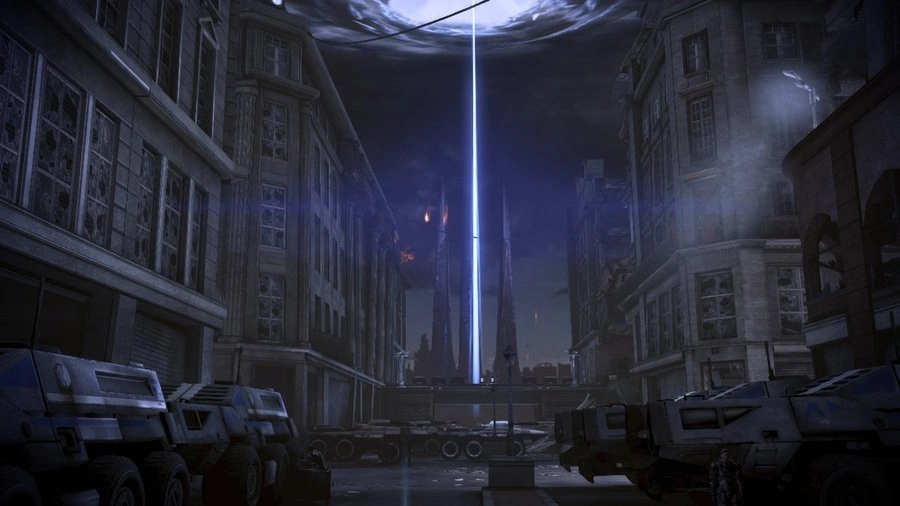
You'll find yourself at a city intersection with concrete barriers strewn everywhere, shops on every corner, a Thanix Missile truck in front of you and another one in the center of the intersection, and directly across from where you entered the area is your target: a Reaper Destroyer, with the conduit beyond to the north. There is ammo scattered around liberally, and medi-gel in every shop except the northeast one; the southwest one, the one you start nearest to, has grenade refills and a M-560 Hydra heavy weapon. The remainder of the game's fighting takes place here. Do not pick up the Hydra heavy weapon yet—you will need it later when you're facing two Banshees at once. Also note that if you pick it up now and drop it "to move it," it will have disappeared by the time you need it.
The first thing that happens is that your objective changes to "Secure Missile Battery", so clear out the hostiles and wait for the Thanix truck's console to become operable. You need to use them against the Reaper, which requires you to link them up to EDI on the Normandy. When the console is ready, you have a respite during which you can, if you wish, take a look around the area to get a feel for your options in the coming battle. Once you activate the console, your objective changes to "Defend Missile Battery," which in practice means kill everything and don't die. Enemy reinforcements arrive: first a wave of assorted ground troops out of the north, then another which can appear from either the west or the south, the spawn location dependent on your current location at the time. Troops arrive from the air and are closely grouped upon arrival, so a grenade or power combo can deal heavy damage to multiple enemies as they land.
Eventually, a radio message from the female Marine comes in, telling you that you're about to get hit from the left. Marauders, Cannibals and two Banshees will descend from a raised barricade area down the west branch of the intersection. Those Banshees make a tempting target for your Hydra, but they don't arrive at the same time. Also this isn't the hardest part of the battle, so resist the temptation and leave the Hydra where it is. A good place to take cover for this portion of the fight is near the second missile truck that's closer to the conduit. Take out the enemies, retreating as necessary when the Banshees get too close.
Once the zone is clear, EDI will announce that the missiles are ready to fire. You again have a respite to collect ammo before activating the console again. When you do hit the panel to launch the missiles, it becomes clear that the conduit is distorting the missiles' guidance beyond even EDI's ability to correct. To solve this, the Reaper needs to be lured away from the beam, and out of its influence. Get ready for the final portion of the fight.
An important thing to keep in mind is that the Reaper will now be firing its instant-kill beam at you. The beam cannot enter any of the ruined buildings, so hiding in them is a safe bet, however this is a tradeoff as you'll be facing multiple enemies who are incredibly dangerous at close quarters. Fortunately, there are no Cannibals in the final enemy waves so you won't have to worry about grenades. If you decide to stay out in the open, be aware that the beam will strafe down the street in a reliably straight line, allowing you to roll out of its way as you did on Rannoch if you're in the firing lane. A useful tactic is to pull up your Power Wheel every few seconds, whether or not you need to use a power, and turn your view to find the Reaper's beam. Note that the beam will also instantly kill any enemies that walk into its path, as well as your squadmates.
While you're dodging blasts from the Destroyer, you will be faced with a wave of enemies consisting of up to six Brutes, who seem to come in packs of two and can come from any direction, and finally a Harvester, who lands right in the middle of the intersection. Don't waste the Hydra on the Brutes—all you need to do is stay at range from them and you can easily take them down. The same goes for the Harvester—it can be dealt with by hiding in the southeast shop and using the strut between its windows to block incoming fire.
When the Harvester goes down, the fun really begins. It's finally time to run straight for the Hydra and get ready to shoot the first Banshee you see with it. Reducing the number of Banshees by even one will dramatically simplify this harrowing battle.
Now you are basically fighting a version of the same fight you had against the endless Cannibals on the roof by the Hades Cannon in the first half of this mission, except now instead of Cannibals you will be facing endlessly respawning waves consisting of 3-4 Marauders and 2 Banshees. As before, the instant you down an enemy a replacement will drop in, usually at a location towards the conduit beam by the second Thanix truck, though occasionally the spawn point can be closer to the near truck. It's advisable to take cover in a building as far away from the spawn point of the enemies as possible to make things less hairy, or killing an enemy will gain you literally no respite. Place more emphasis on surviving than on racking up a body count.
Tip: Especially on Insanity difficulty where Banshees have a truly obscene amount of health, your best bet may be to keep the Marauders stunned or disabled with crowd control abilities while simply running away from the Banshees. Whenever one of your squadmates goes down, expend a medi-gel immediately to revive them, since this is the last time you will ever need medi-gel, and squadmates draw attention away from you.
Warning: Remember to avoid melee range with glowing Banshees at all costs as they will grab you and execute you with their sync kill, providing you with a gruesome and near-certain death (only your squadmates killing the Banshee before it impales you might save you). Remember that squadmates downed by this attack can only be revived with medi-gel, manual revival at their bodies will not work.
After a few minutes that can seem like hours, EDI will tell you the missiles are ready to fire. At this point, if you've drawn several enemies away from the truck, just run straight for the green control panel, taking care to avoid the Reaper's beam. Use your best defensive and evasive powers, and just get yourself to that button!
The Citadel
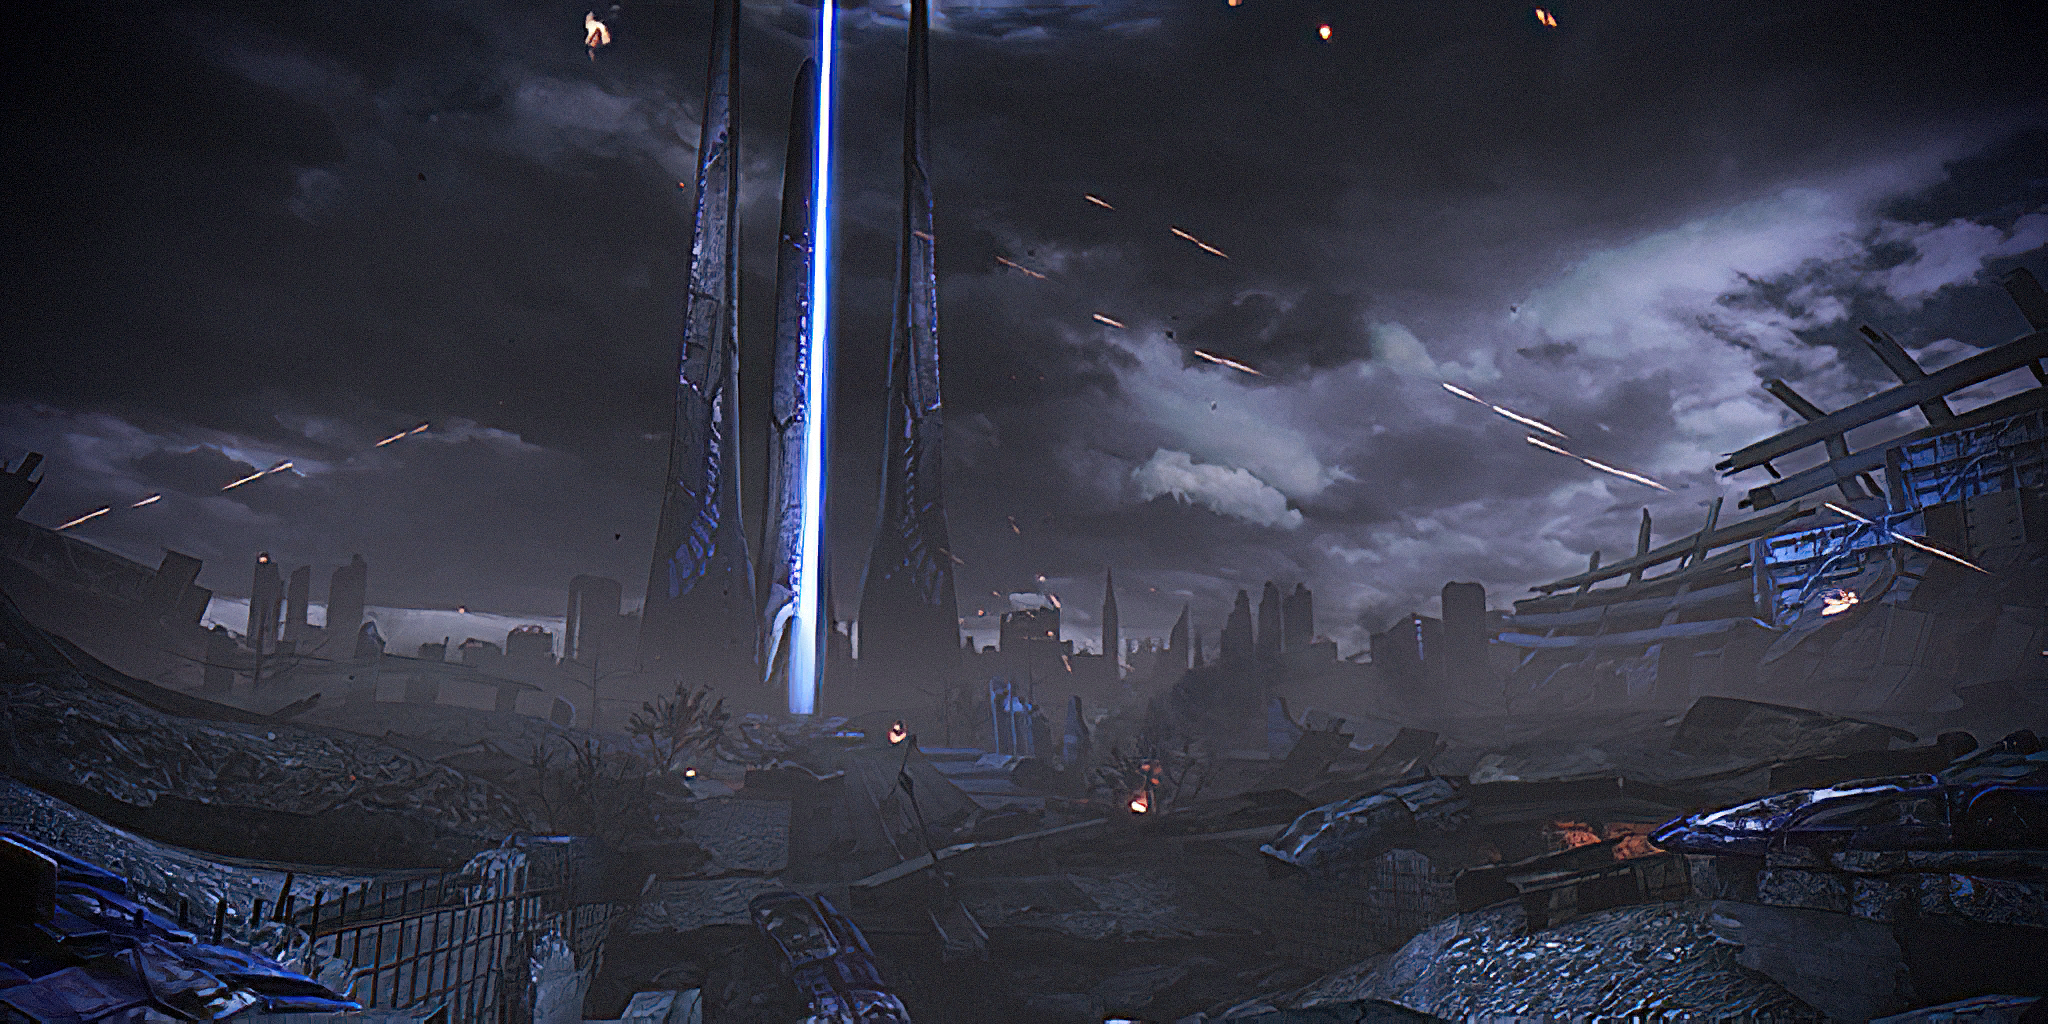
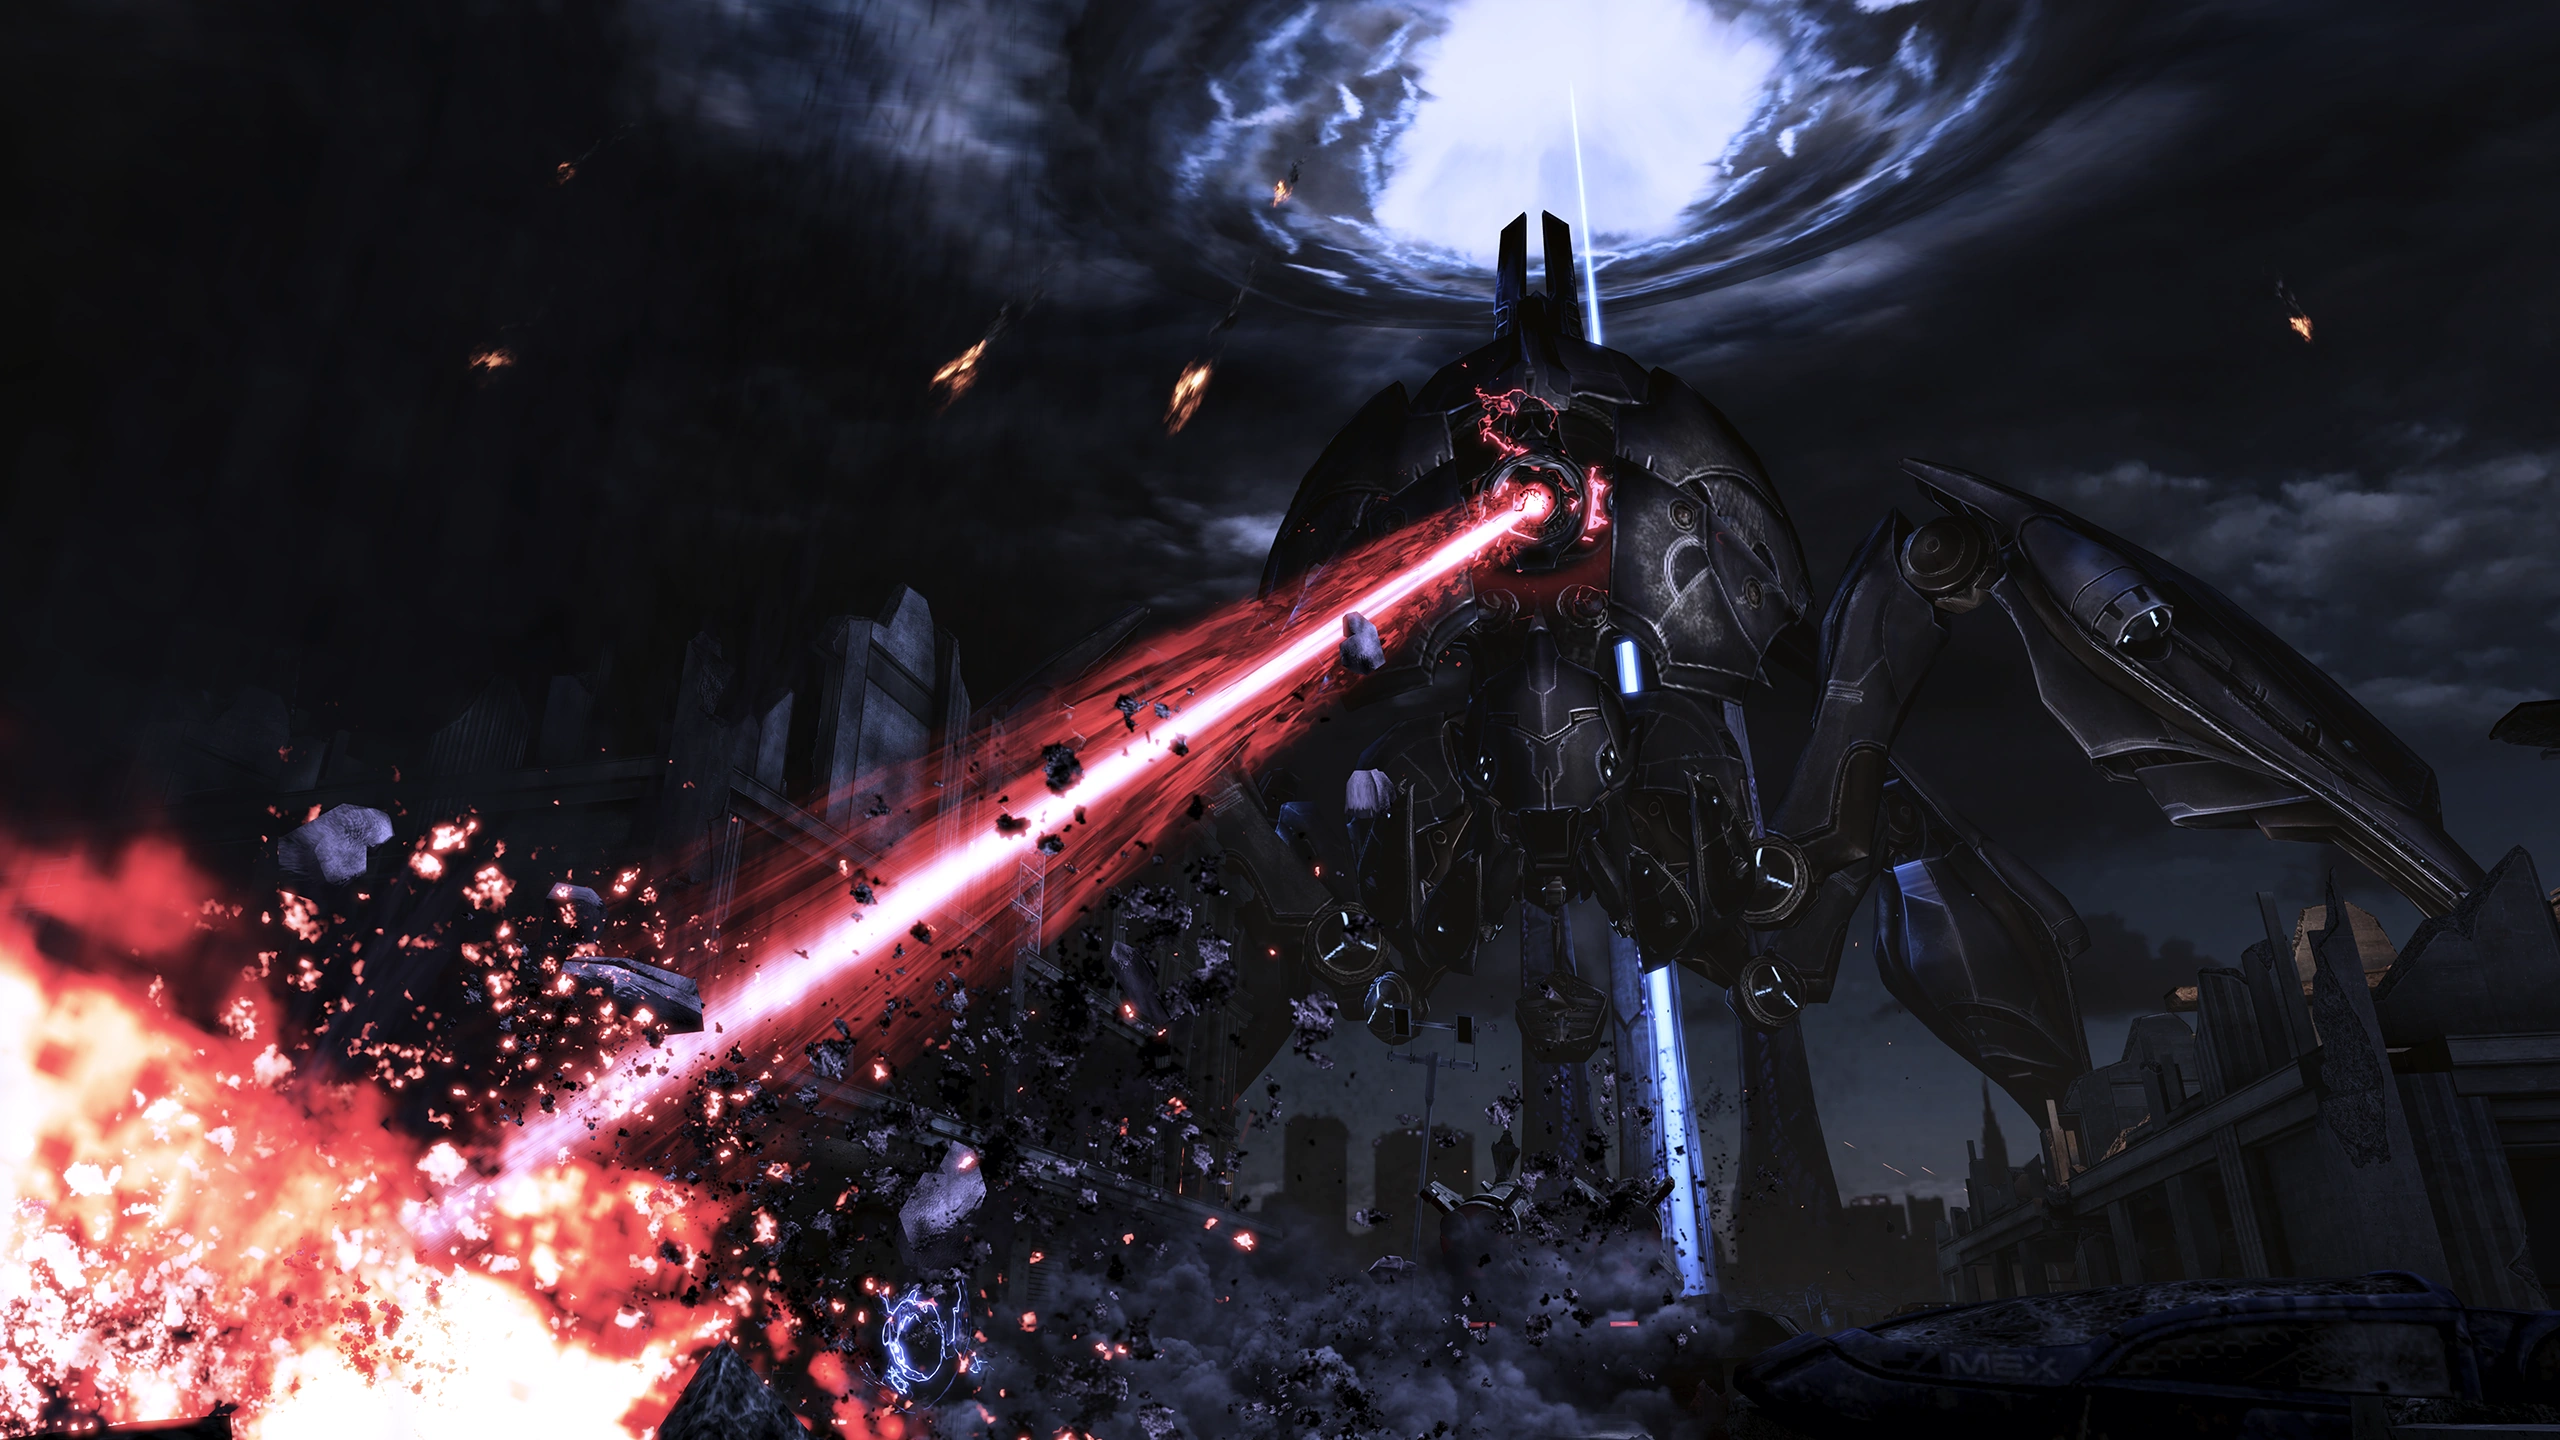
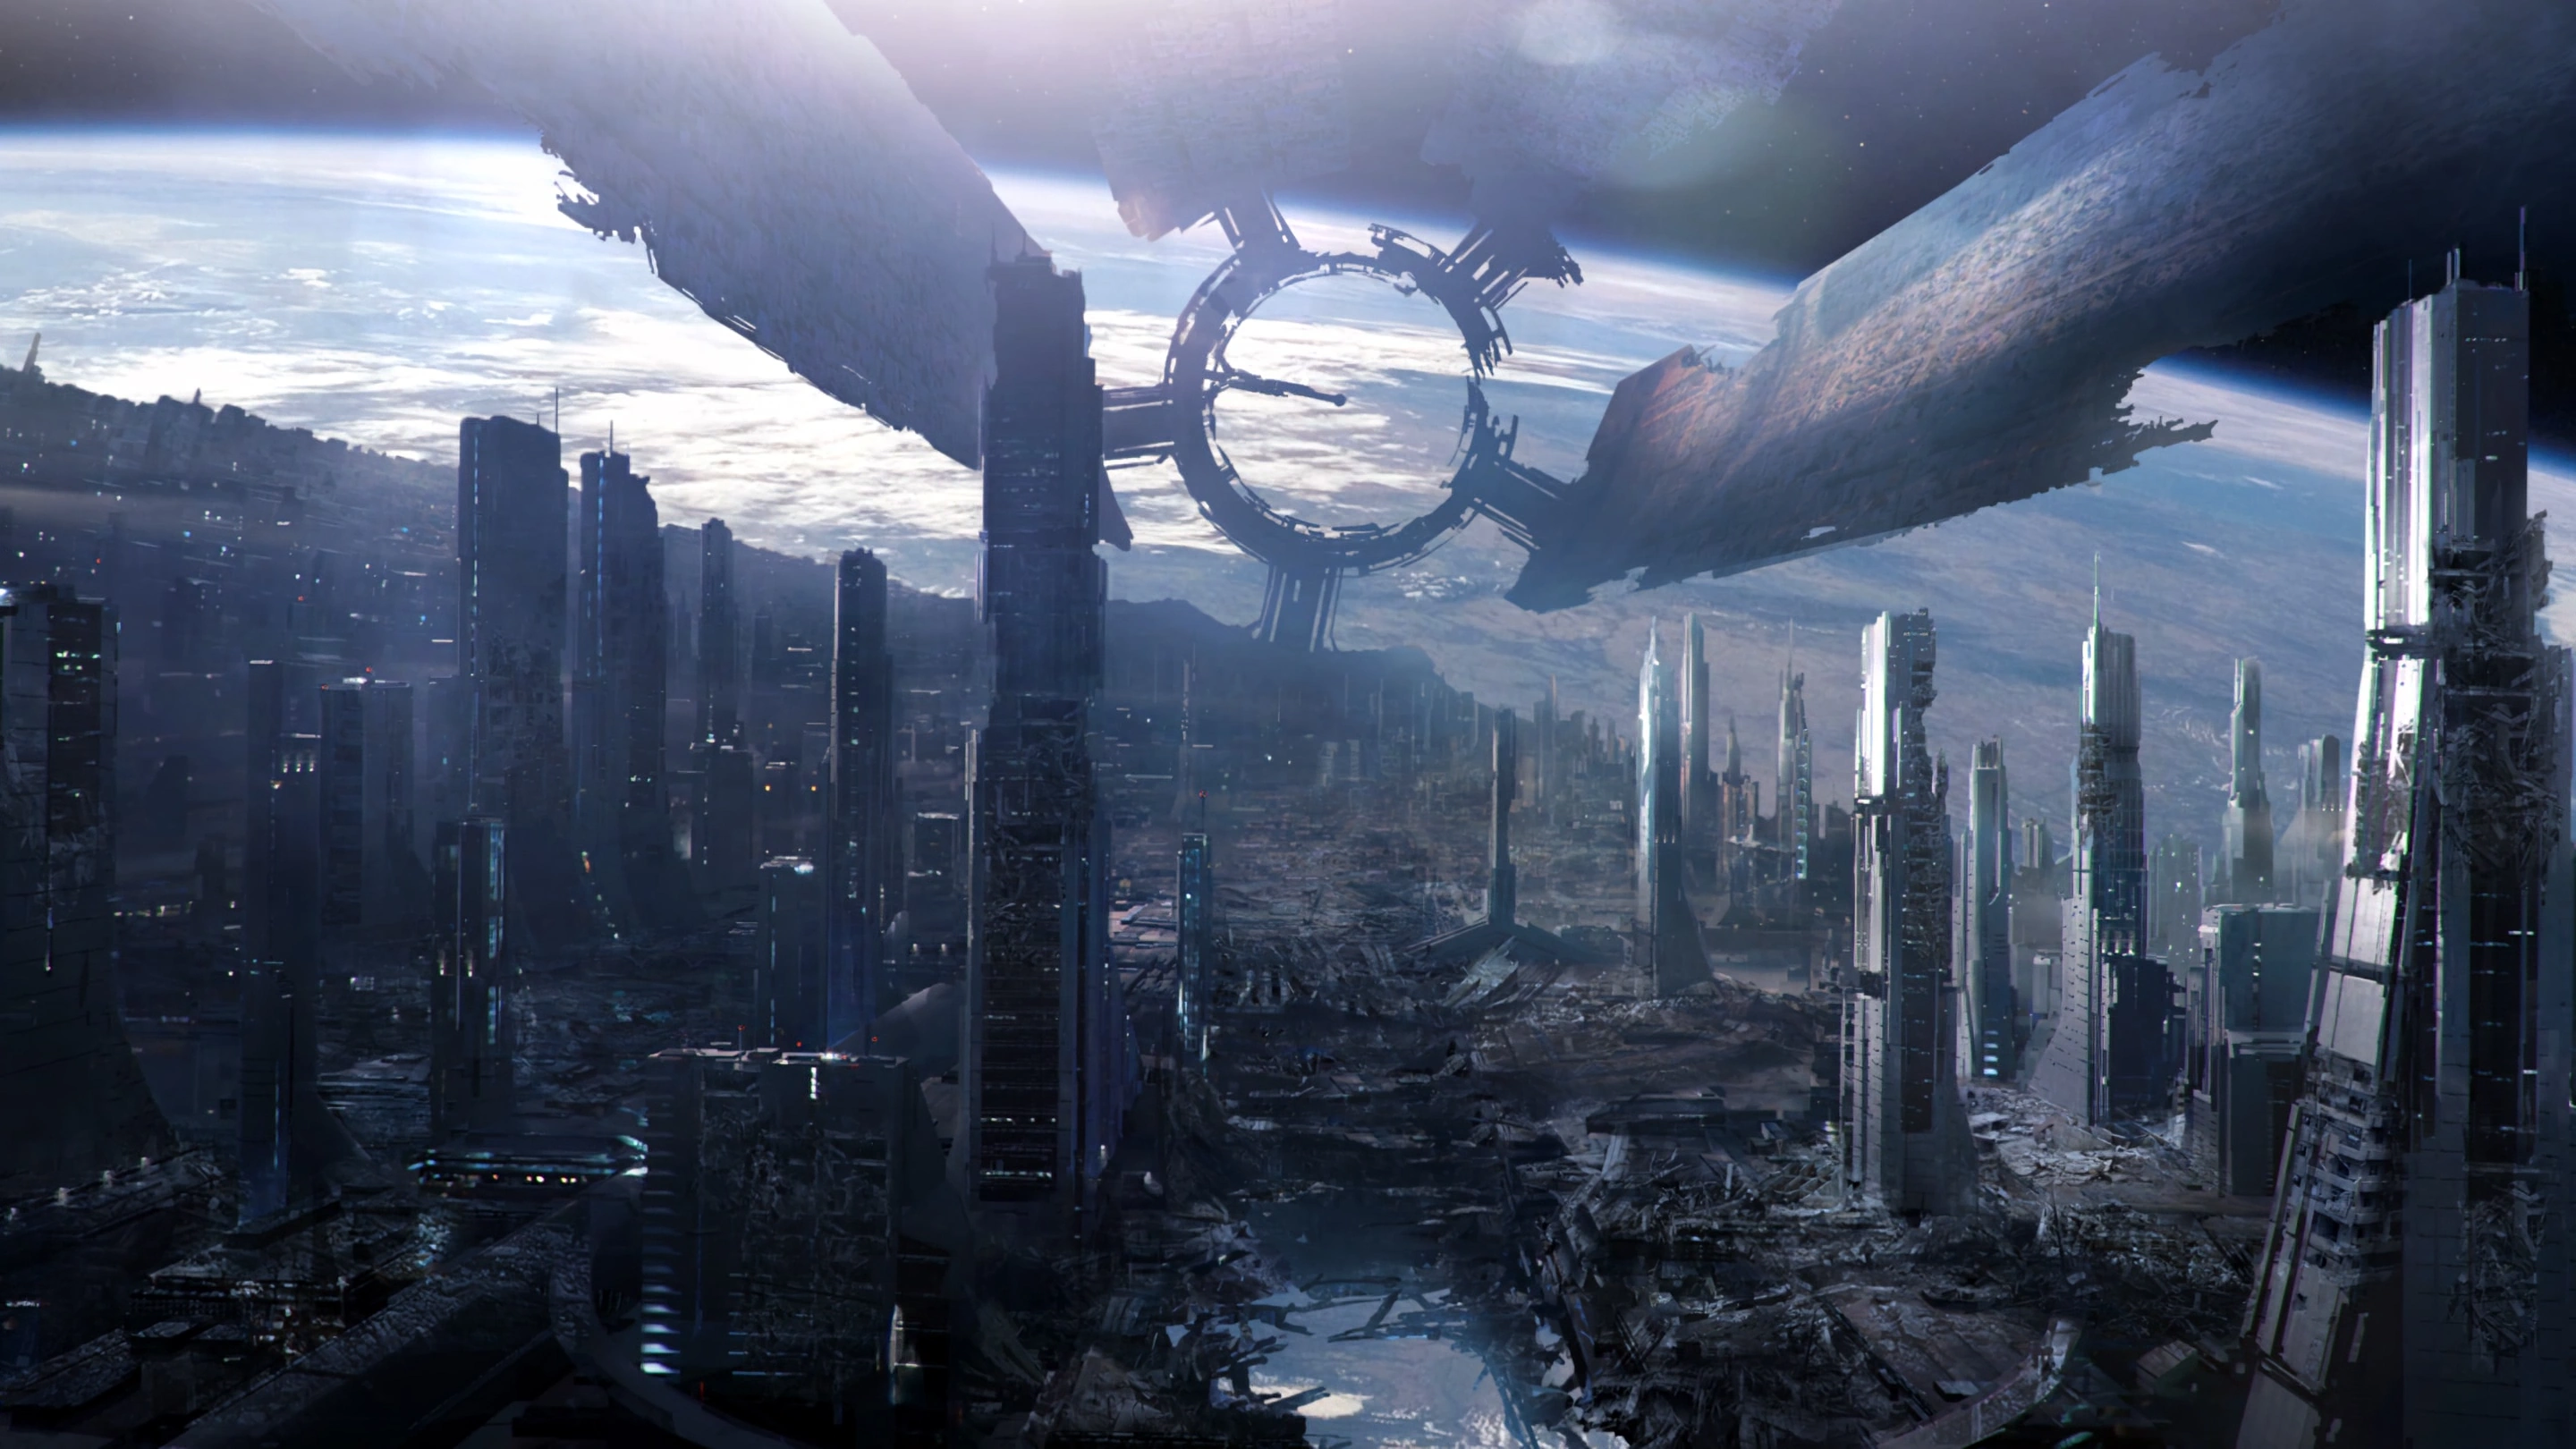
After a cutscene showing the Thanix missiles finally hitting their mark and inflicting a fatal blow on the Destroyer, Anderson rolls up in an APC with the remnants of Hammer. It's now time for the final push to the conduit, but Hammer is badly depleted and overwhelming enemy reinforcements are on the way. To make matters worse, Anderson reports several Reapers have broken off from the battle with the Sword fleets in orbit and are approaching the conduit, and that none other than Harbinger itself is among them. Shepard, Anderson, and the squad board a vehicle and head in, while Anderson contacts Admiral Hackett to let him know Hammer is making its move. At Hackett's signal, the Crucible, closely guarded by Shield fleet, enters from the mass relay and heads for the Citadel.
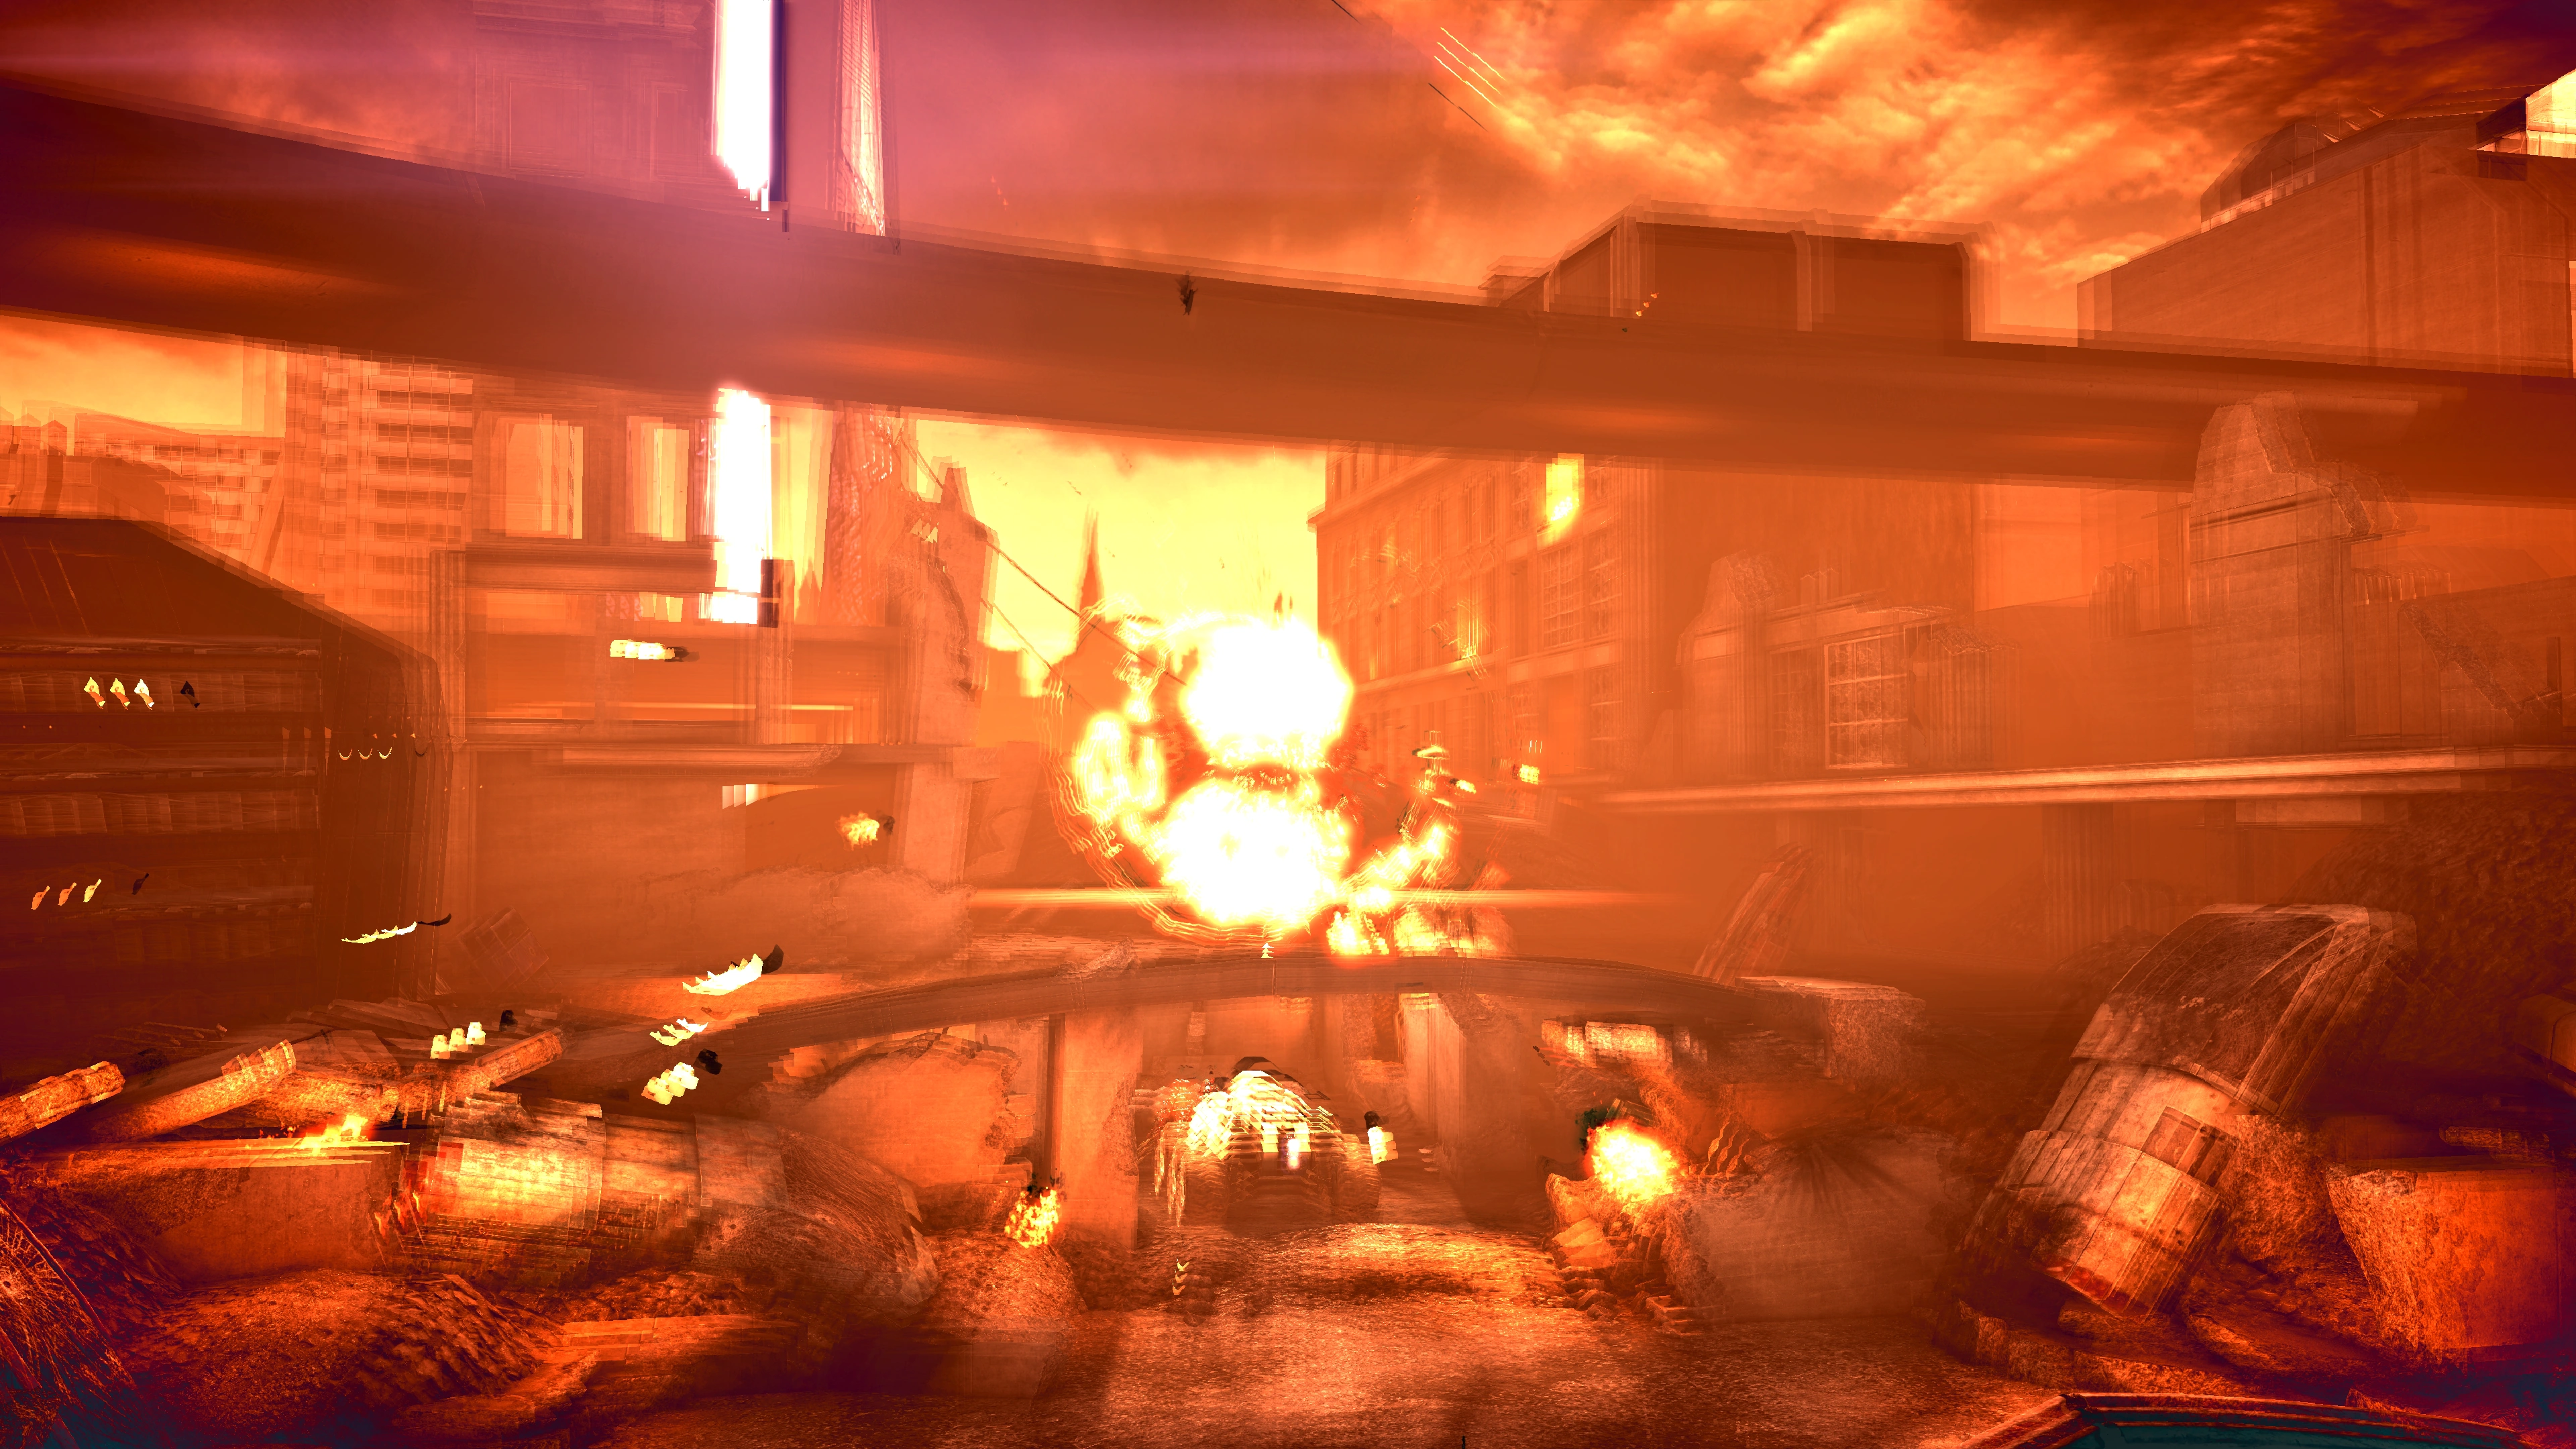
The scene switches to inside Anderson's APC as Shepard and the squad approach the beam. Anderson remarks that they only need to get a handful of forces through the beam to succeed. Shepard makes a final comment on the upcoming battle, either Renegade or Paragon, to which one of the squad members will respond. They are then interrupted by an explosion that cripples the vehicle, forcing the team to exit. Outside, the conduit is now clearly visible no more than a few hundred meters ahead, but everyone's attention is focused on something else: Harbinger has arrived. Descending on the conduit, it begins unleashing its main weapons on the already beleaguered ground forces, annihilating everyone and everything in sight. There is no more choice and and no more time.
RUN.
- If you have the Extended Cut installed, you'll witness the survival or deaths of the squadmates you brought with you, dependent on War Asset rating. One indication they'll die is if during the initial space battle at the beginning of the mission the allied ships are prominently shown being beaten by the Reapers.
- In case they survive, you get to bid them an emotional farewell as the Normandy makes an emergency drop and pulls them out of the combat zone: doubly emotional if you are in a relationship with one of them. You forge on alone, but one of Harbinger's beams lance directly at you.
Once the cutscene is over, you'll find yourself badly injured and alone. Continue on to the conduit. The final combat will feel more like a minigame - you won't have your normal powers, armour, guns, or squadmates available. You'll have to defend yourself against three Husks and a single Marauder, but you'll be in slow motion whenever an enemy shows up, and Shepard's arm will not be steady, making lining up your shots harder than it seems. If you are having trouble, try walking backwards once the Husks spawn, and not zooming in. Aim center mass to soften them up, then switch to head shots if needed once they are close.
Between the Husks and the Marauder, Shepard will fall down once, so you'll know the Marauder is coming soon. For the Marauder, try walking forward, also aiming center mass. Walking forward/backward without zooming will keep the reticle from swinging as much. You needn't worry about head shot with the Marauder, as hitting him center mass will stun it and prevent it from firing. The most important thing with the Marauder is to not miss your first shot at it, so an extra second spent lining up the first shot is well worth it. The higher the difficulty level, the less time you have to stun it before it kills you.
Note: In the Extended Cut, the final Marauder's shields are partially depleted, making it slightly easier to kill.
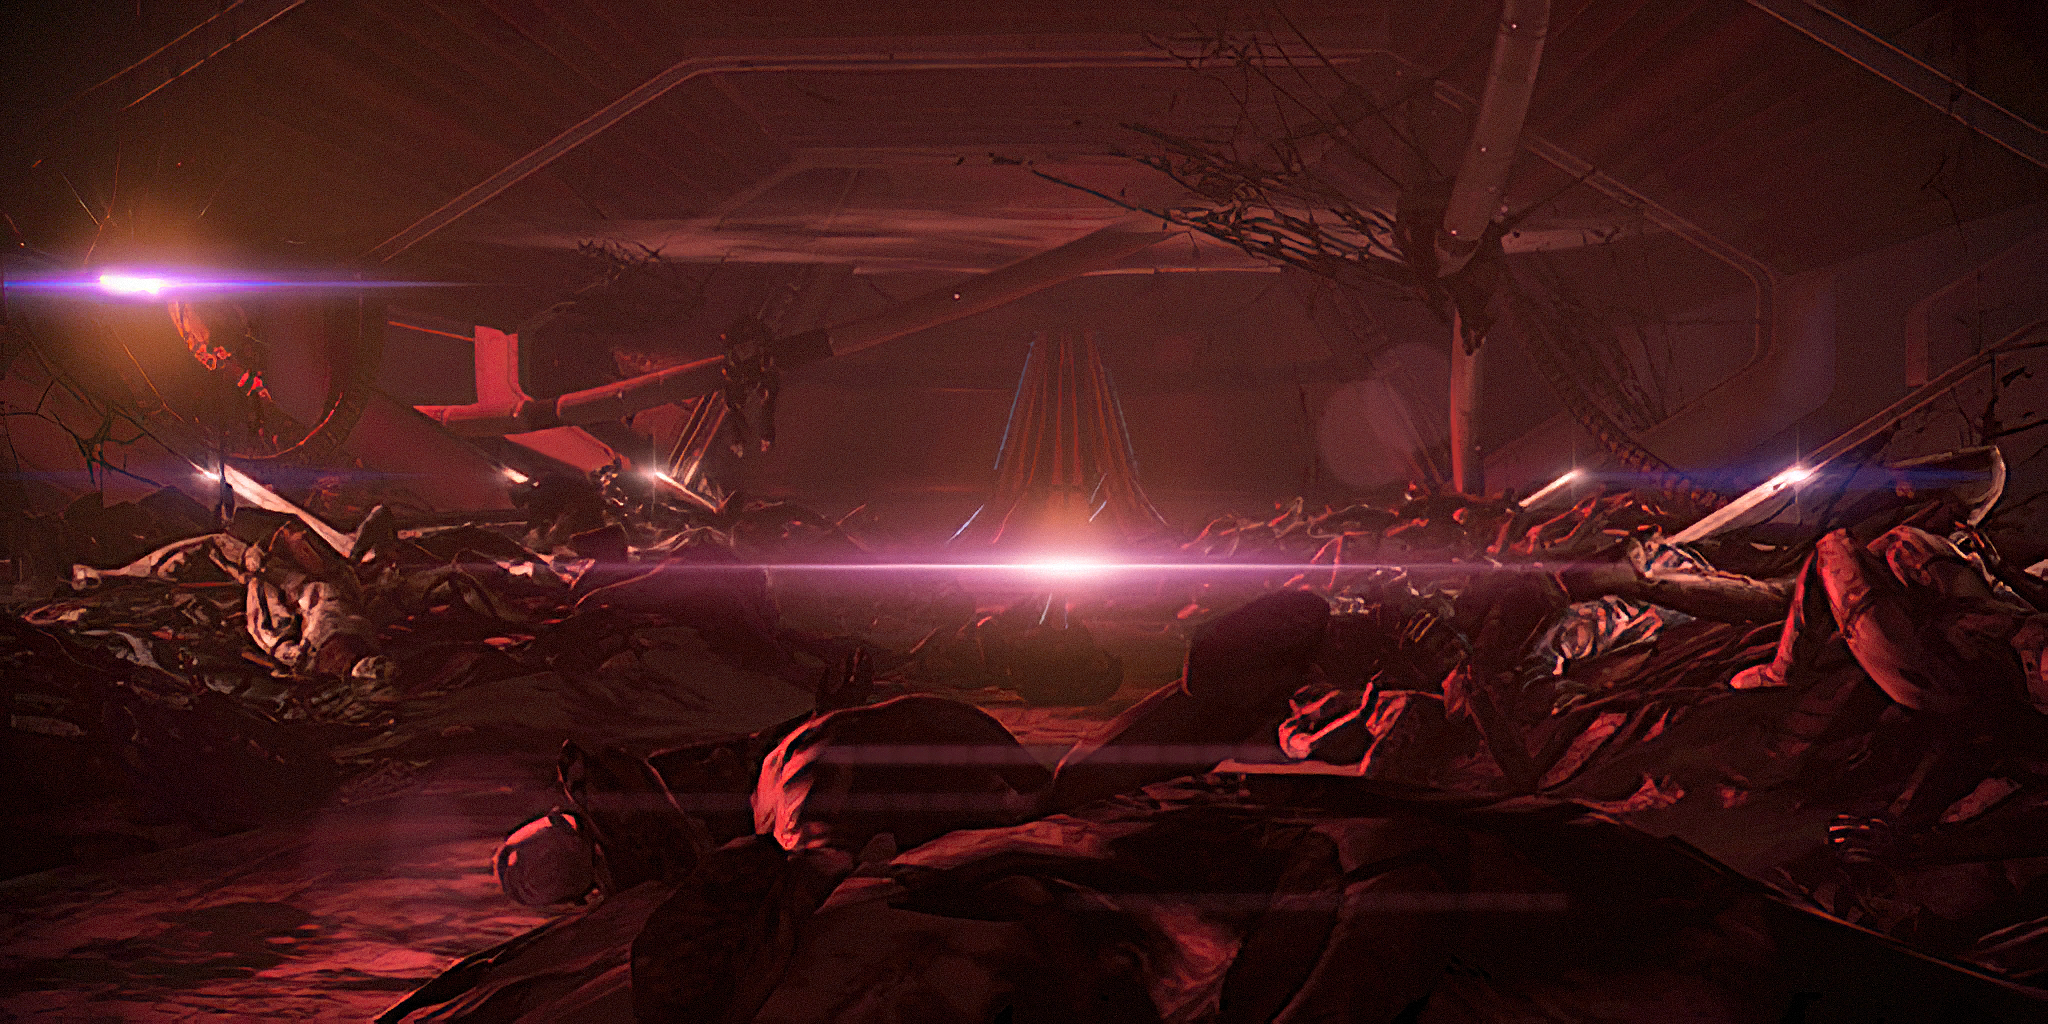
Your exit at the Citadel is littered with corpses and keepers prowl about busying themselves on the bodies. Continue making your way forward; you'll be speaking with Anderson over comms. The far end of the room you're on opens to reveal a narrow walkway with gaping chasms on both sides. There's nowhere else to go but forward, and you'll meet Anderson on a platform at the other end. Unfortunately, he's being held hostage by a radically altered Illusive Man.
The final conversation between you and the Cerberus leader begins here.
The Illusive Man
There are several conversation branches with associated Reputation checks, but the conversation's outcome hinges solely on the final choice. In order to use the final Paragon/Renegade conversational options with the Illusive Man, you must have used Paragon/Renegade options on him at every other opportunity in the campaign, namely the meetings on Mars, Thessia and the Cerberus base. Be aware that some of these options only become available through using Investigate branches of the conversation, yet they must ALL be used to get the final conversation options with the Illusive Man. If the conversation option is unavailable then a Renegade interrupt is the only way to avoid a Critical Mission Failure.
- If you are able to choose the Paragon option, the Illusive Man will realize that he is indoctrinated, takes Anderson's sidearm, and uses it to commit suicide.
- The threaten option will offer you one Renegade interrupt; non-reputation dialogue will give you two. Not taking the final interrupt, whenever it happens, will result in a Critical Mission Failure. After you interrupt, the Illusive Man will have a few final words as Shepard opens up the Citadel and allow him to see that which he has always loved most: Earth.
Shepard will then open the arms of the Citadel, allowing the Crucible to dock. Sit back and prepare yourself to make a difficult decision.
Enemies
Aftermath
Note: This section intentionally does not take into account changes made by the Extended Cut DLC. See the following section for a breakdown of Mass Effect 3's ending with Extended Cut installed.
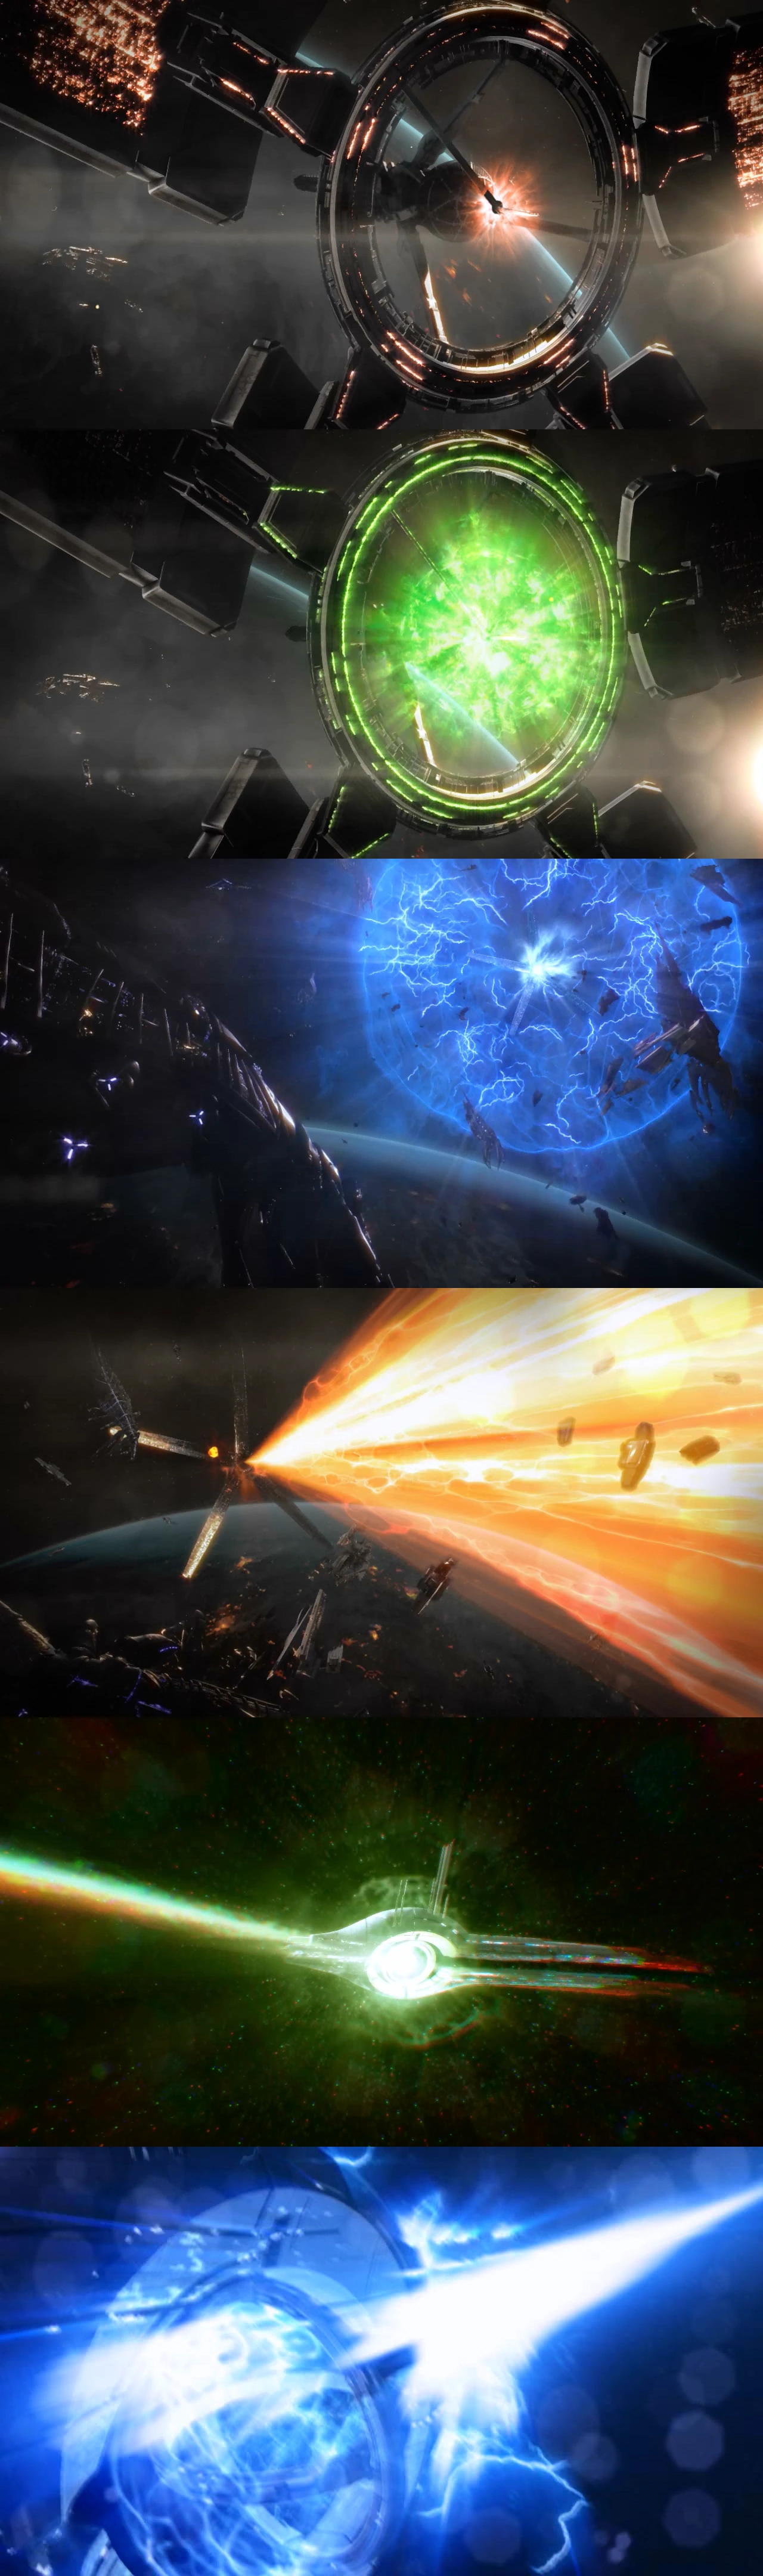
The Catalyst approaches Shepard and explains the purpose of the Reapers, as well as the ways in which Shepard can utilize the Crucible to stop them; Destruction, Control, or Synthesis. The availability of choices and the severity of the collateral damage on the galaxy will be determined entirely by the player's Effective Military Strength.
- If EMS is between 0-1749 with either a save file imported from Mass Effect 2, or a new game started with Mass Effect: Genesis 2, only the Destroy or Control option will be available, determined by whether or not the Collector Base was destroyed or preserved. If the Collector Base was left intact, only the Control option is possible; if it was destroyed, only the Destroy ending will be available. If a new game was started without the Genesis 2 DLC, however, the player will be allowed to choose between the two. In any case, both options will result in massive physical damage to Earth, with Destroy killing everyone on Earth.
- If EMS is between 1750-2349, the choice between Destroy or Control options becomes available, but either choice will cause some substantial damage to the galaxy.
- If EMS is between 2350-2649, the Control option will cause no physical damage and the Destroy option will still massively damage the galaxy.
- If EMS is 2650+ the Destroy and Control options will no longer cause any physical harm to the galaxy.
- If EMS is 2800+ the Synthesis ending becomes available.
- If EMS is 4000+ and the Destroy option is chosen, Shepard is seen barely alive, gasping for breath (if Anderson is shot by the Illusive Man, the player needs 5000+ EMS to see this short scene).[1][2]
The Destroy (red) option will result in the destruction of all synthetic life. The Crucible will fire a beam/pulse into the mass relay network, spreading the blast across the galaxy but destroying every relay in the process. The Citadel is also destroyed, breaking into pieces. Before choosing the Catalyst warns Shepard that it is possible new machines will be built in the future.
The Control (blue) option results in Shepard sacrificing corporeality to command the Reaper fleet. The Reapers will then leave Earth; presumably at the will of the Commander. Instead of firing a beam, only a pulse will be released from the Citadel. The pulse spreads throughout the mass relays network, causing them damage, but not as much as the other endings. No harm will be caused to the Citadel, which then seals itself.
In the Synthesis (green) ending, Shepard adds their energy to the Crucible's, thus creating a new, synthesized DNA. The Catalyst explains that this is the best option, since synthesis is the pinnacle of evolution, and will render the Reapers obsolete. The Crucible emits a green light/beam, altering all denizens of the galaxy on the genetic level. The mass relays are destroyed during the Crucible's use. The Citadel is also destroyed, breaking into pieces.
In every ending, the Crucible's blast wrecks the Normandy, tearing the ship's engines off and causing it to crash land on an unknown planet. The survival of the Normandy's crew will rely solely on EMS:
- If EMS is substantially low (below ~2000), nobody exits the Normandy.
- If EMS is moderately high (above minimum, below maximum) and Destroy or Control are chosen, Joker and the player's most-favored crew mate will exit the ship.
- If Synthesis is chosen, Joker, EDI, and the player's most-favored crew member will exit the ship. Joker and EDI will embrace.
- If EMS is 4000+ then three crew members will exit in the Destroy and Control endings; Joker and two of the player's most-favored crew mates.[3][4]
After the credits, a scene will be shown in which an old Stargazer tells tales of "The Shepard" to a young child.
Aftermath - Extended Cut
Note: This section details Mass Effect 3's ending with Extended Cut installed. Extended Cut changes the presentation of the ending by incorporating additional cutscenes and dialogue choices and lowering the EMS requirements for certain outcomes.
The Catalyst approaches Shepard and explains the purpose of the Reapers, their origins, and the ways in which Shepard can utilize the Crucible to stop them; Destruction, Control, or Synthesis. The availability of choices and the severity of the collateral damage on the galaxy will be determined entirely by the player's Effective Military Strength.
- If EMS is between 0-1749, only one option will be available depending on the player's choice at the end of Mass Effect 2: Control, if Shepard saved the Collector Base, or Destroy if Shepard did not. Both will result in massive physical damage to Earth, with Destroy killing almost everyone on Earth.
- If EMS is between 1750-2349, both Destroy or Control options are available, but either choice will cause some substantial damage to the galaxy.
- If EMS is between 2350-2649, the Control option will cause no physical damage but the Destroy option will still cause widespread damage.
- If EMS is 2650+ the Destroy and Control options will no longer cause any physical harm to the galaxy.
- If EMS is 2800+ the Synthesis ending becomes available.
- If EMS is 3100+ and the Destroy option is chosen, Shepard is seen barely alive, gasping for breath (if Anderson is shot by the Illusive Man, the player needs a higher EMS to see this short scene).
The Destroy (red) option will result in the destruction of all synthetic life. To choose this option, walk down the path to the right and shoot the structure in front of you. The Crucible will fire a beam/pulse into the mass relay network, spreading the blast across the galaxy but severely damaging every relay and the Citadel in the process. Some time later, the galaxy eventually finishes the repairs to the relays and recovers from the destruction the Reapers had caused. Admiral Hackett narrates this ending.
- If EMS is substantially low, choosing Destroy will result in massive physical damage throughout the galaxy, as well as the annihilation of most life. Hackett's narrative is different in this ending; his outlook on the galaxy's future is far more bleak.
The Control (blue) option results in Shepard sacrificing corporeality to command the Reaper fleet. To choose this option, walk down the path to the left. The Reapers will then leave Earth at the will of the Commander. Instead of firing a beam, only a pulse will be released from the Citadel. The pulse spreads throughout the mass relay network, damaging them but leaving the Citadel intact. Shepard directs the Reapers to repair the mass relays and help rebuild the galaxy. Commander Shepard narrates this ending.
- Depending on the player's Paragon/Renegade score, Shepard's narrative changes in regards to their utilization of the Reapers.
In the Synthesis (green) ending, Shepard adds their energy to the Crucible's, thus creating a new, synthesized DNA. To choose this option, walk straight down the center path. The Catalyst explains that this is the best option, since synthesis is the pinnacle of evolution, and will render the Reapers obsolete. The Crucible emits a green light/beam, altering all denizens of the galaxy on the genetic level; the dividing lines between synthetic and organic life are blurred. The Reapers rebuild the damaged relays of their own accord, as well as share the collective knowledge of countless lost civilizations. EDI narrates this ending.
Alternatively, Shepard can refuse to activate the Crucible. While speaking with the Catalyst, Shepard can reject deciding between the Destroy, Control, and Synthesis endings, insisting that a decision with such a massive impact on the galaxy and its people cannot be made, and that the war must end on Shepard's terms; or, Shepard can initially accept the Catalyst's options, but can then attempt to shoot the Catalyst instead. Both actions result in a Reaper victory and the continuation of the cycle of extinction. One of Liara's time capsules is then shown on an unknown world, and a recording of Liara explains that even though the people of her time failed in their struggle against the Reapers, those who find the capsule still have a chance to succeed.
Note: Choosing this ending will not unlock the Legend or Long Service Medal achievements.
In the Destroy, Control, and Synthesis endings, the Crucible's blast causes the Normandy to crash land on an unknown planet. The survival of the Normandy's crew will rely largely on EMS:
- If EMS is substantially low (below ~1750) and the Destroy ending is chosen, nobody exits the Normandy.
- If EMS is substantially low (below ~1750) and Control is chosen, Joker and two of the player's most-favored crew mates will exit a heavily damaged ship.
- If EMS is moderately high (above minimum, below maximum) and Destroy or Control are chosen, Joker and two of the player's most-favored crew mates will exit a heavily damaged ship.
- If EMS is 2800 or above, and Destroy or Control is chosen, Joker and two of the player's most-favored crew mates will exit a relatively undamaged ship.
- If Synthesis is chosen, Joker, EDI, and the player's most-favored crew member will exit the ship. Joker and EDI will embrace.
Various epilogue scenes will be shown, depicting the fates of noteworthy characters and races encountered throughout the journey. These scenes will depend on the choices made throughout the game, as well as the entire series. The surviving members of the Normandy's crew are then seen gathered near the memorial wall, honoring the memory of all those listed. The player's love interest (or Samantha if no love interest present: for example if Liara was killed by Harbinger's beam; likewise Miranda, Jack and Kelly will not appear here even if they survive since they are not part of the crew) will place Commander Shepard's name plaque above Admiral Anderson's. If all crew members survived but Shepard does not have a current love interest, then the character Shepard interacted with the most will put the Commander's name on the wall. Afterwards, depending on EMS rating, the Normandy will be shown on the unknown planet, either being repaired or taking off into space.
- If the Destroy option was chosen and the player has very high EMS, the plaque is shown, but not placed on the wall (love interest smiles and doesn't place it) and a scene showing Shepard breathing in a pile of rubble is shown as the last scene before the credits roll.
After the credits, a scene will be shown in which a Stargazer tells tales of "The Shepard" to a young child.

Trivia
- The mission begins on the left bank of the River Thames. The river and downed bridges can be seen both from the drop-off point and a few other locations you can reach during early lulls in the fighting. The position of Big Ben shows which bank you're on, and it can be established that the mission starts at approximately the present-day location of the Embankment and Hungerford bridges.
- When you talk to Liara for the last time before seeing Anderson, the caption reads "My your consciousness" instead of "my consciousness to yours."
References
| ← Previous Mission | Mission Index | |
|---|---|---|
| Priority: Cerberus Headquarters | Missions |