The salarian councilor has concerns that Councilor Udina is a potential security risk. Go to the Citadel and discuss the matter in person.
Acquisition[]
The mission is acquired immediately after dealing with the genophage and is triggered by the first visit to the Citadel after that, thus causing almost all uncompleted Citadel-related side-missions to expire. See the preparatory notes on Priority: Tuchanka for details.
Priority: Citadel II itself is a "point of no return" for Grissom Academy: Emergency Evacuation, which must be completed prior or it will become unavailable and be considered failed.
Finally, although it is not possible to visit the normal Citadel locations between Priority: Tuchanka and the completion of Priority: Citadel II, purchasing items from the procurement interface in the Normandy's Shuttle Bay is still allowed. It is also possible to visit the newly unlocked N7: Cerberus Fighter Base or any other side missions before heading to the Citadel.
Preparation[]
Cerberus makes a play for control of the station, bringing a sizeable contingent of human troops with them. Phantoms make one of their first appearances here; they are particularly tricky opponents that are immune or resistant to several abilities and effects, so consider studying their page for tips on how to deal with them (bringing Liara for her Stasis power can be quite useful). Shields and barriers are the predominant enemy protection, and every once in a while there are some synthetic enemies to destroy. Overload is highly versatile here as it is on almost any mission.
Expect the full bag of Cerberus tricks on this mission including copious smoke screens, Guardians, Turrets, and Shield Generators/Pylons. Using Sabotage to turn Shield Pylons and Turrets against enemies can be useful, and also consider equipping a weapon modded to see through smoke or walls.
Note: Due to his history with C-Sec, Garrus has a few unique comments on this mission if you bring him along.
Walkthrough[]
The mission begins when the Normandy approaches the Citadel but is not cleared for landing. Joker contacts someone inside the Citadel—either Thane Krios, or Armando-Owen Bailey—who explains the situation: Cerberus has attacked and partially taken over the station, including C-Sec Headquarters and the Docks. Shepard deploys with a team in the shuttle to clear them out.
Note: Thane will appear in this mission only if he is alive and he was talked to prior to completing Priority: Tuchanka.
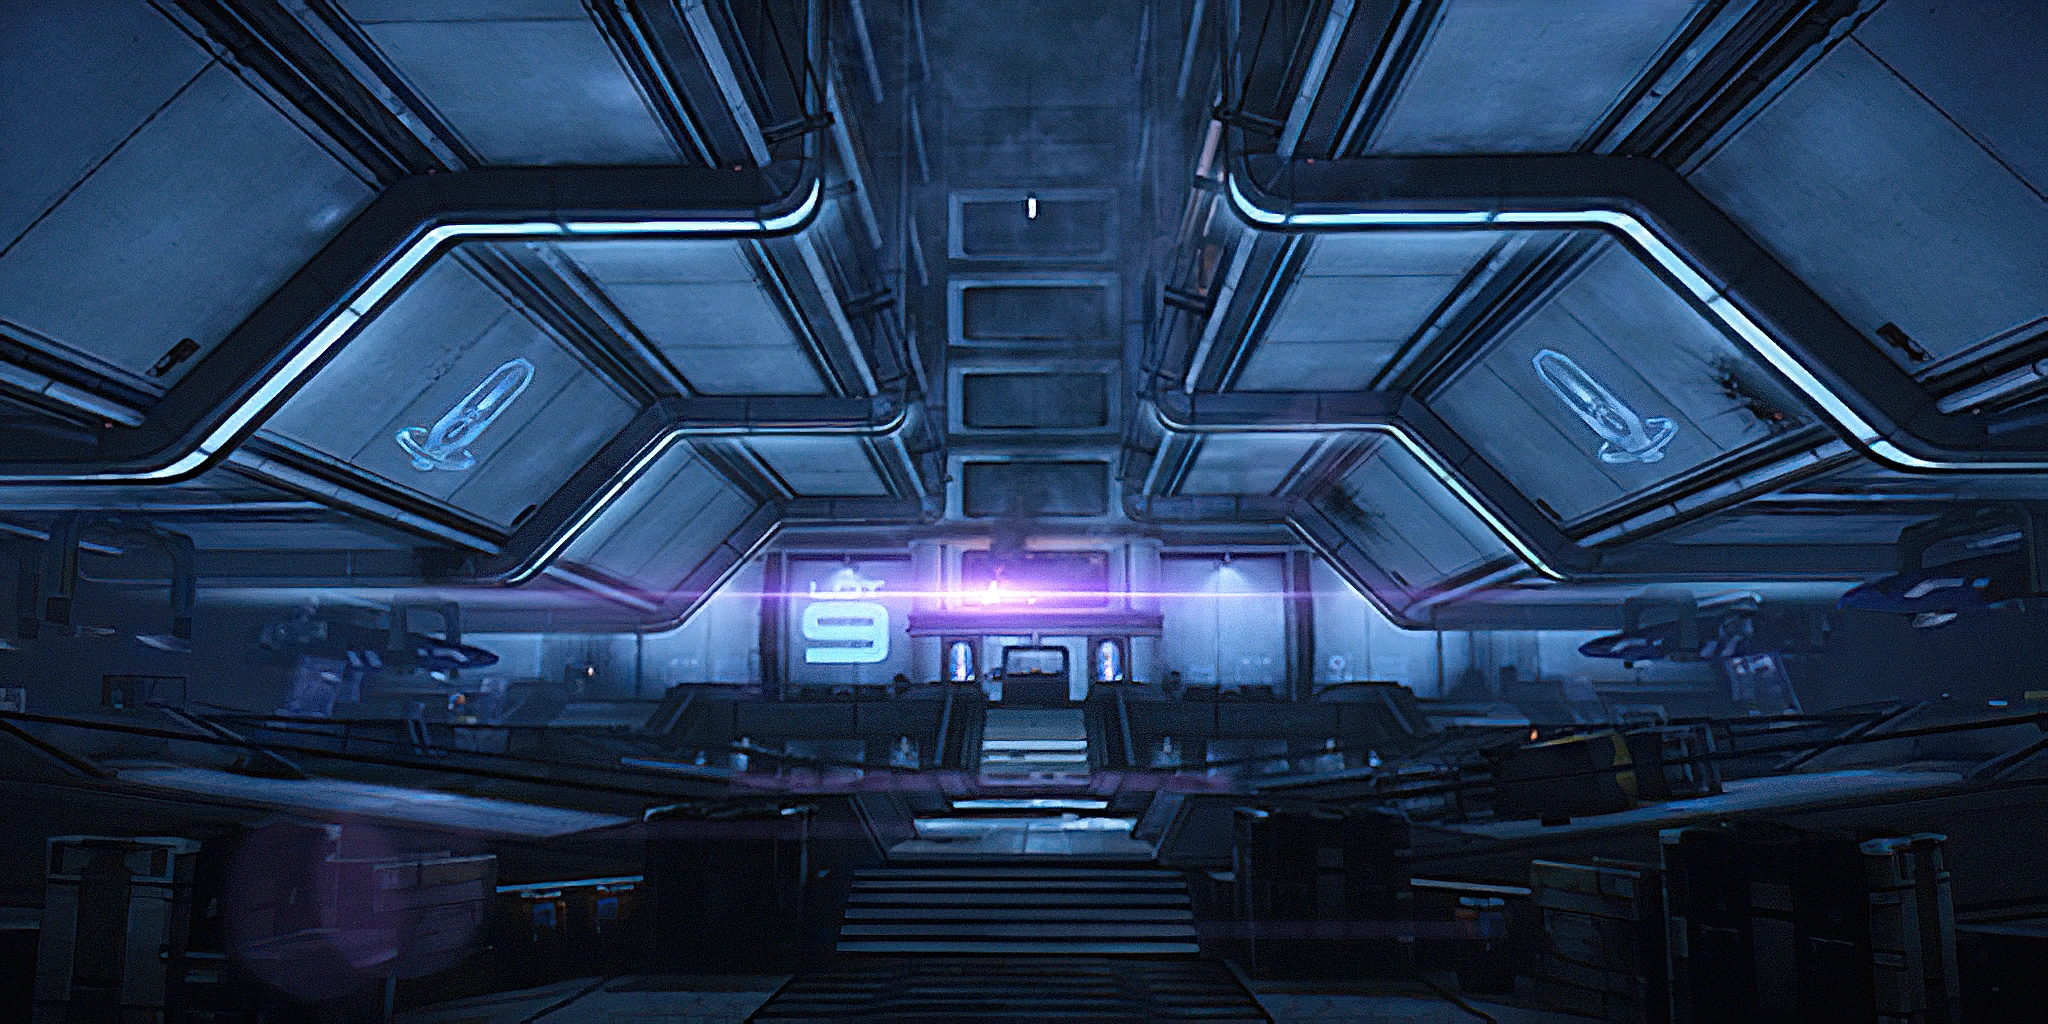
C-Sec HQ[]
Shepard lands outside C-Sec HQ, and must fight uphill against Cerberus Assault Troopers, Combat Engineers, and Centurions supported by Shield Pylons at the far wall. Don't advance down the central path just yet as there is a Turret already in place there—you can take it out from where you were dropped off without getting hit. Be aware that once most of the initial enemies are cleared out and you approach Bailey, more Troopers will jump down from directly above the locked door.
Tip: Right when you're dropped off, instead of taking cover directly ahead, there are areas directly behind you and also to the left that may give you more room to maneuver and put you out of reach of any grenades.
Once you've actually cleared out the area, head up the ramp and access the medical station on the left of the door, before talking to Bailey. There will be a short cut scene where Bailey briefly explains what happened. Bailey lets you inside C-Sec HQ, where he discovers that the salarian councilor (Valern if you saved the Council during Sovereign's attack; Esheel otherwise) has likely taken refuge in the C-Sec Executor's office. If Garrus is in the party he will note that the councilor mentioned Udina and that the executor's office is a defensible location. Bailey directs Shepard's party to the office; Shepard will also converse with Thane if Thane is still alive.
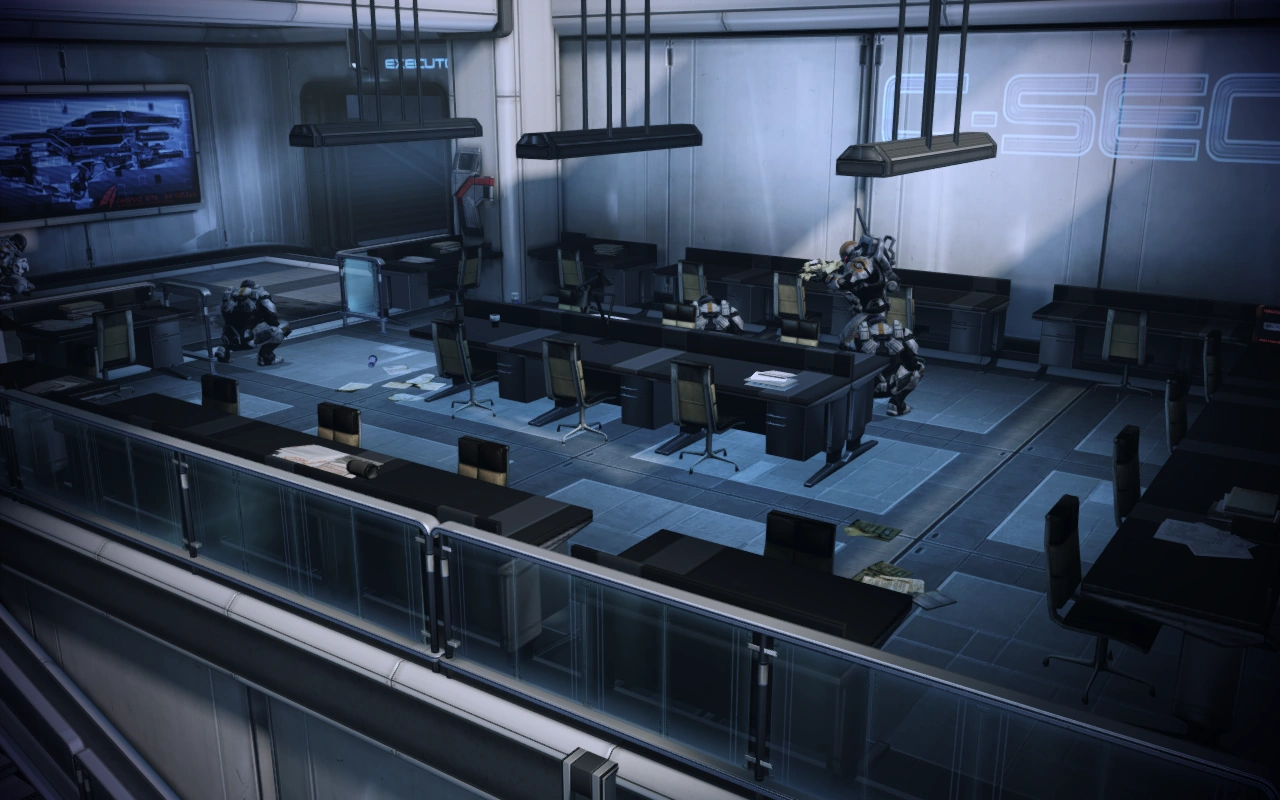
Inside C-Sec[]
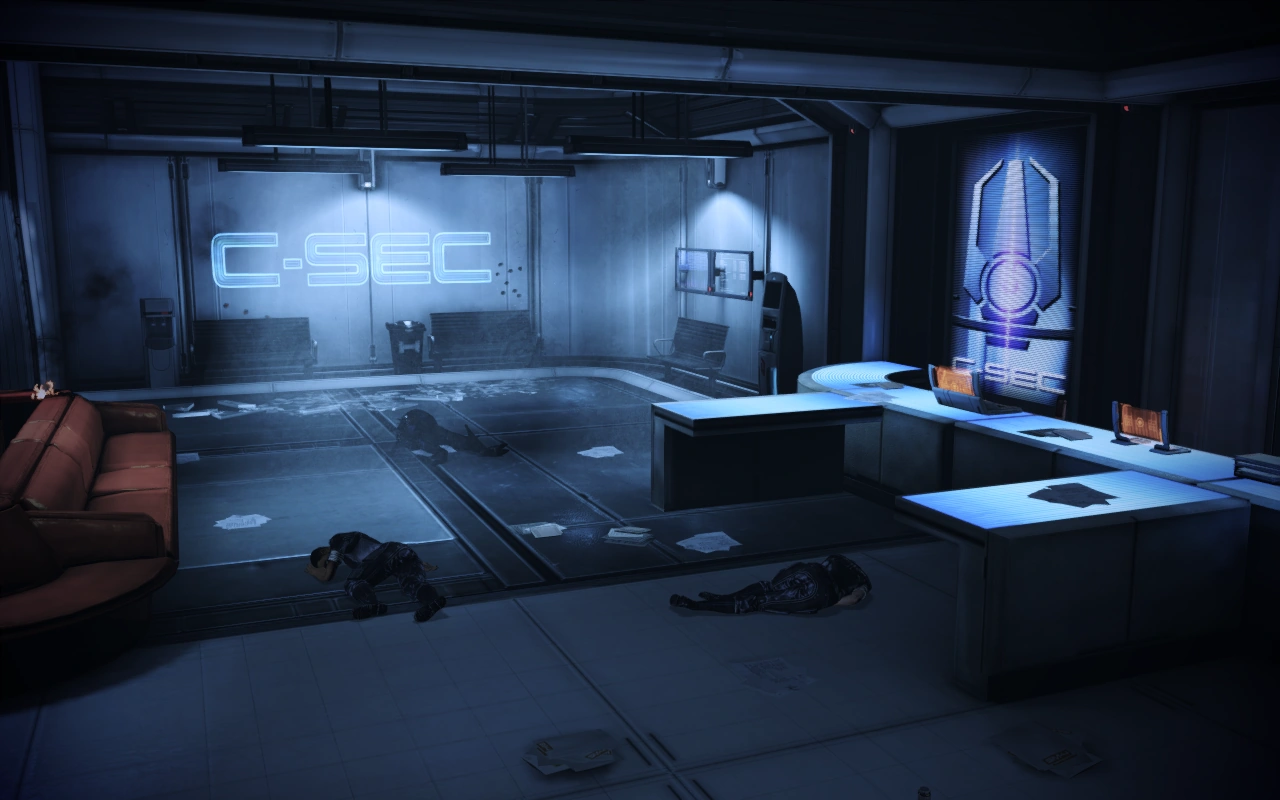
Go through the two doors behind Bailey to see two Assault Troopers across the hall with their backs to you. Once you take them out, two Guardians and an Engineer will come down the stairs on the left. Go up the stairs. To the right, you'll find a terminal, a Med Kit, and an Assault Rifle Piercing Mod.
As you advance farther into the room, two Assault Troopers will crash down from ahead, then two more after that. After you take care of them, examine the C-Sec Corpse to find it was another inside job like Mars. Bypass the door to continue. Opening the second door, take out the Guardian looking the other way. There's two Centurions blocked from view on the left of the Guardian and a Combat Engineer in the elevated room on his right. Once clear, loot the Recon Hood from below the big screen to the left. The bathroom to the left contains the M-76 Revenant beneath the first sink, and a locker (+6250 credits). Examine the C-Sec Corpse on the bathroom floor for comments from your squadmates, disgusted at Cerberus. Finally, there is a Medical Station on the wall next to the room's exit.
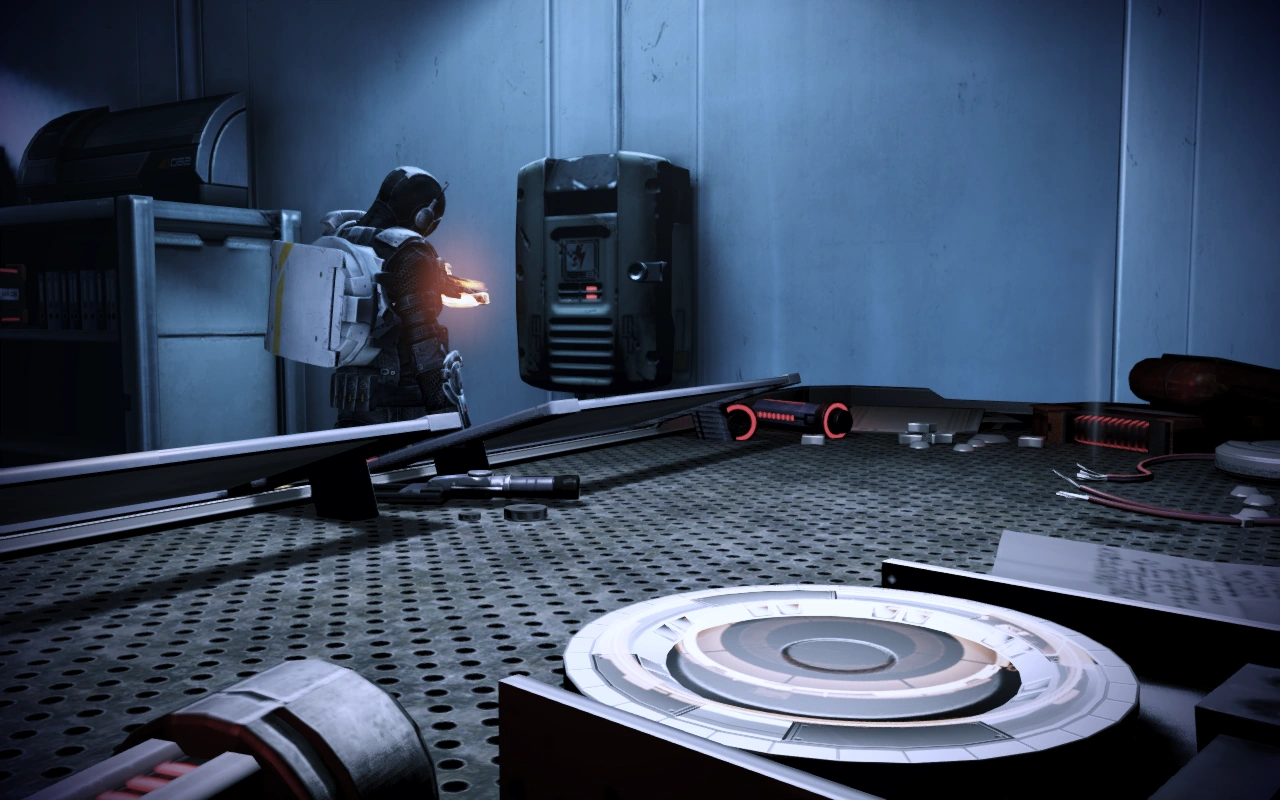
As you walk along the corridor, an intercom goes off. Through the broken windows to the left, you'll see a Combat Engineer with his back to Shepard. Take him out, and jump into the room to grab the Sniper Rifle Extended Barrel on the shelf. There's also a weapon bench if you want to change your setup. Break the latch on the elevator controls (if it wasn't destroyed during the fight with the Engineer), and activate the elevator.
As you take the elevator, Bailey asks about any survivors. There won't be anything to shoot in the next area, so just pick up the items: a Pistol Piercing Mod in the room on the right, along with a terminal of Bailey's Personal Log; the M-25 Hornet down the middle passage on a C-Sec corpse right before the malfunctioning door; a Securitel Helmet and Pistol High-Caliber Barrel mod in the small room next to the locked door on the left side. To open this door, go to the room next to the malfunctioning door and use the first terminal for the Door Control. You'll find a datapad describing the actions of a weapons smuggler and a possible conspiracy, as well as a sample of said weapon, the M-358 Talon. Finally, go back to where you found the Door Control to exit this area. On the way out, salvage the 'Account Detail' terminal for 6250 credits.
Reaching the Executor's Office[]
On the other side of the door you'll find two more preoccupied Cerberus soldiers, this time executing a C-Sec sleeper agent who has now ceased to be useful. Take them out and enter a cafe area, with the kitchen on your right. This is one of the better places to hole up, because a number of Cerberus soldiers will flood in and you have to fight them off. Just beware that there's a set of stairs leading downward in the middle of the room, and to clear the enemy from it you'll need to physically go there. It might also be wise to post one of your teammates in the hallway next to the kitchen, so that Cerberus can't flank you from there.
Two medical stations, one inside the kitchen and one on the far wall, are available if you need the help. There's also 6250 credits against the back wall of the kitchen, a Sniper Rifle Piercing Mod near the far wall (you'll likely see it during the firefight), and—for a bit of flavor—a flatscreen TV in the corner of the cafe broadcasting a news report. It's Khalisah al-Jilani, covering C-Sec's attempts to reclaim the Citadel's comm towers so that they can send a distress call. She is doing her part by looping footage in her broadcast range, attempting to contact C-Sec to gather reinforcements.
Kai Leng[]
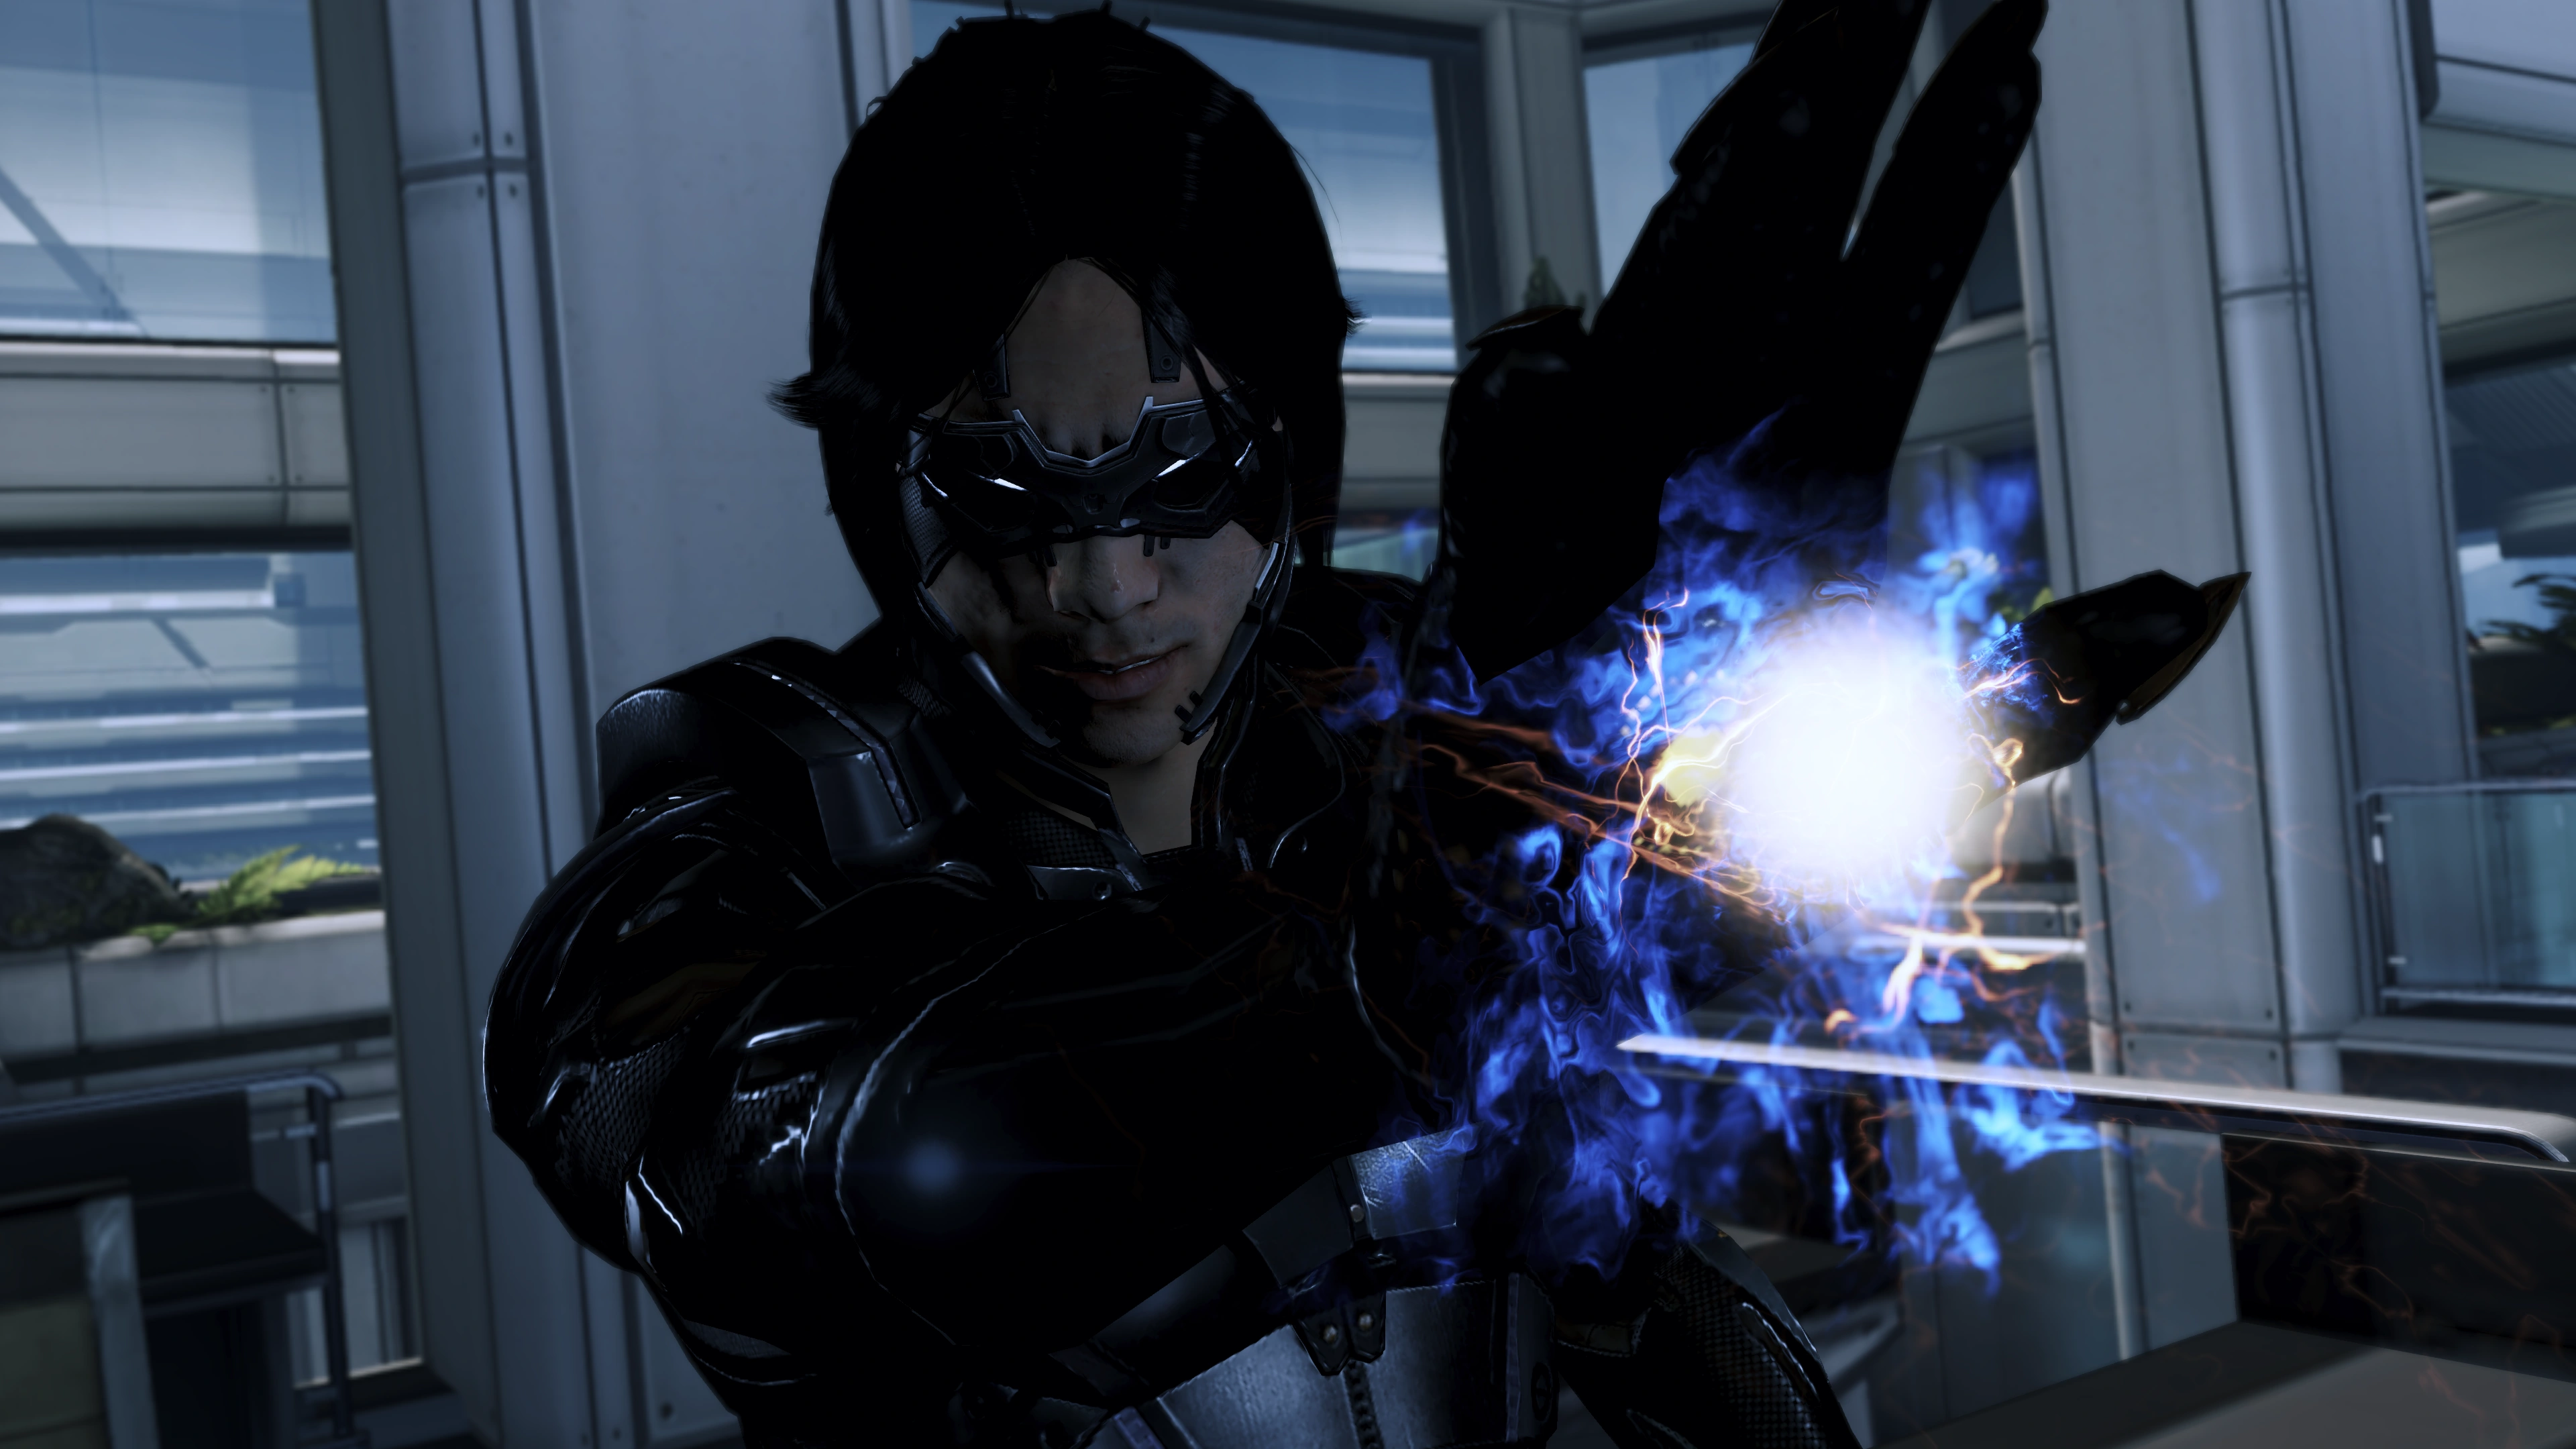
Up the stairs against the back wall, you'll find the executor's office. He's dead, but the salarian councilor is nowhere in sight. A disturbance in the cafe area you just left alerts your squad members to the place, revealing the councilor who was under cloak the whole time. Before you can get down there, Kai Leng will arrive to ruin your party. The salarian councilor gets out the critical information that Udina is planning a coup before one of several things happens:
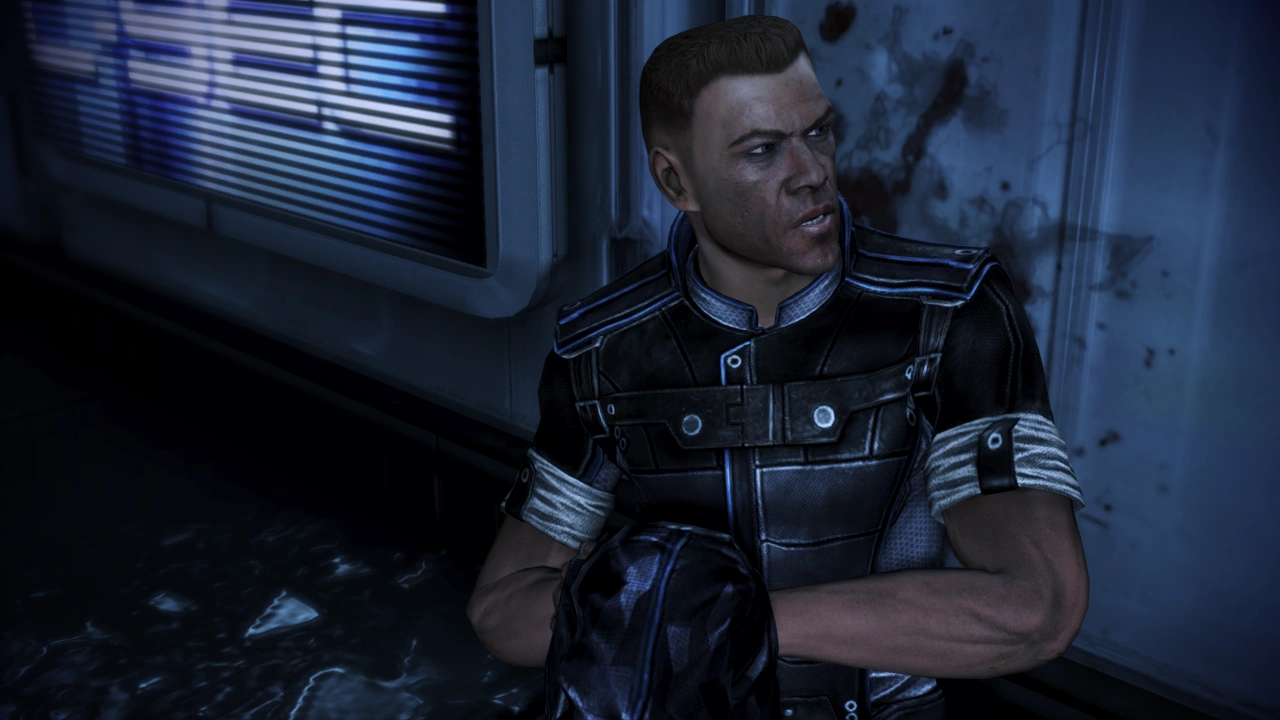
- If Thane is alive and was met at Huerta Memorial prior to this mission, he will intervene and put up a fight against Leng, saving the salarian councilor but getting stabbed in the process.
- If Thane is not around but Captain Kirrahe survived the events of Virmire, Leng will attempt to kill the councilor, but a cloaked Kirrahe will take the blow instead.
- If neither character is around to intervene, Leng will kill the councilor.
Note: If a Mass Effect 2 save has not been imported, neither Thane or Kirrahe will be present.
Shepard calls Bailey, and Bailey unlocks a C-Sec police car for Shepard's pursuit. Using transponders, Bailey determines that Udina is leading the Council to a landing pad near Shalmar Plaza, where Kai Leng is presumably waiting for them. In his spare time, though, Leng decides to interfere with Shepard by attacking the police car with his sword. This proves effective, damaging the vehicle and putting Shepard's party on foot in the Commons.
Presidium Pursuit[]
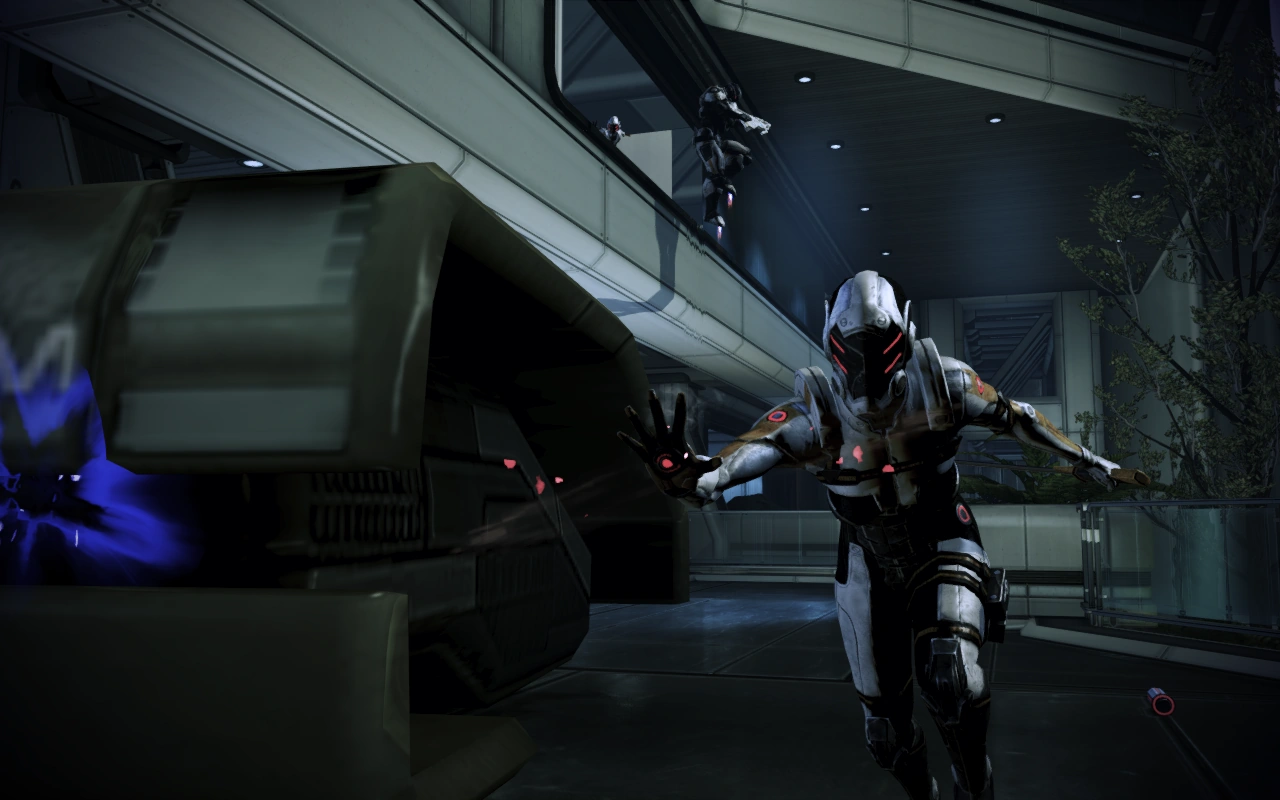
This next fight may be the first time you'll be facing two dangerous Cerberus foes: Phantoms, who have biotic barriers, are extremely agile and have a melee-range one-hit-kill; and Nemeses, who are shielded and have a powerful sniper rifle that can destroy shields or down fragile squadmates like Liara in one shot. Keeping your distance, or using disables on them like Concussive Shot, Carnage or biotics such as Stasis or Dominate, is your best bet against them. It is also possible to shoot and break a Phantom's sword, but this can be difficult without pinning them down with something like Stasis first.
The first area has a stairway that will allow you to circle around the Cerberus lines and attack them from behind, but this is not necessarily advantageous: both Phantoms and Nemeses are agile, and Phantoms are most dangerous at close range. On that note, the first Phantom you meet flips out of a shuttle that flies in from your right—be sure to give it a wide berth. Next you'll have to take a running-jump to a new section, but some Nemeses may have taken up station on the other side of the gap, so you may want to take them out first. More Nemeses and Phantoms appear once you're across, and this section has significantly less room to maneuver so you may want to consider leaping back across the gap. This creates an effective choke point, and if you have Stasis available, use it on enemies who attempt to jump the gap: they'll fall to their deaths when it expires.
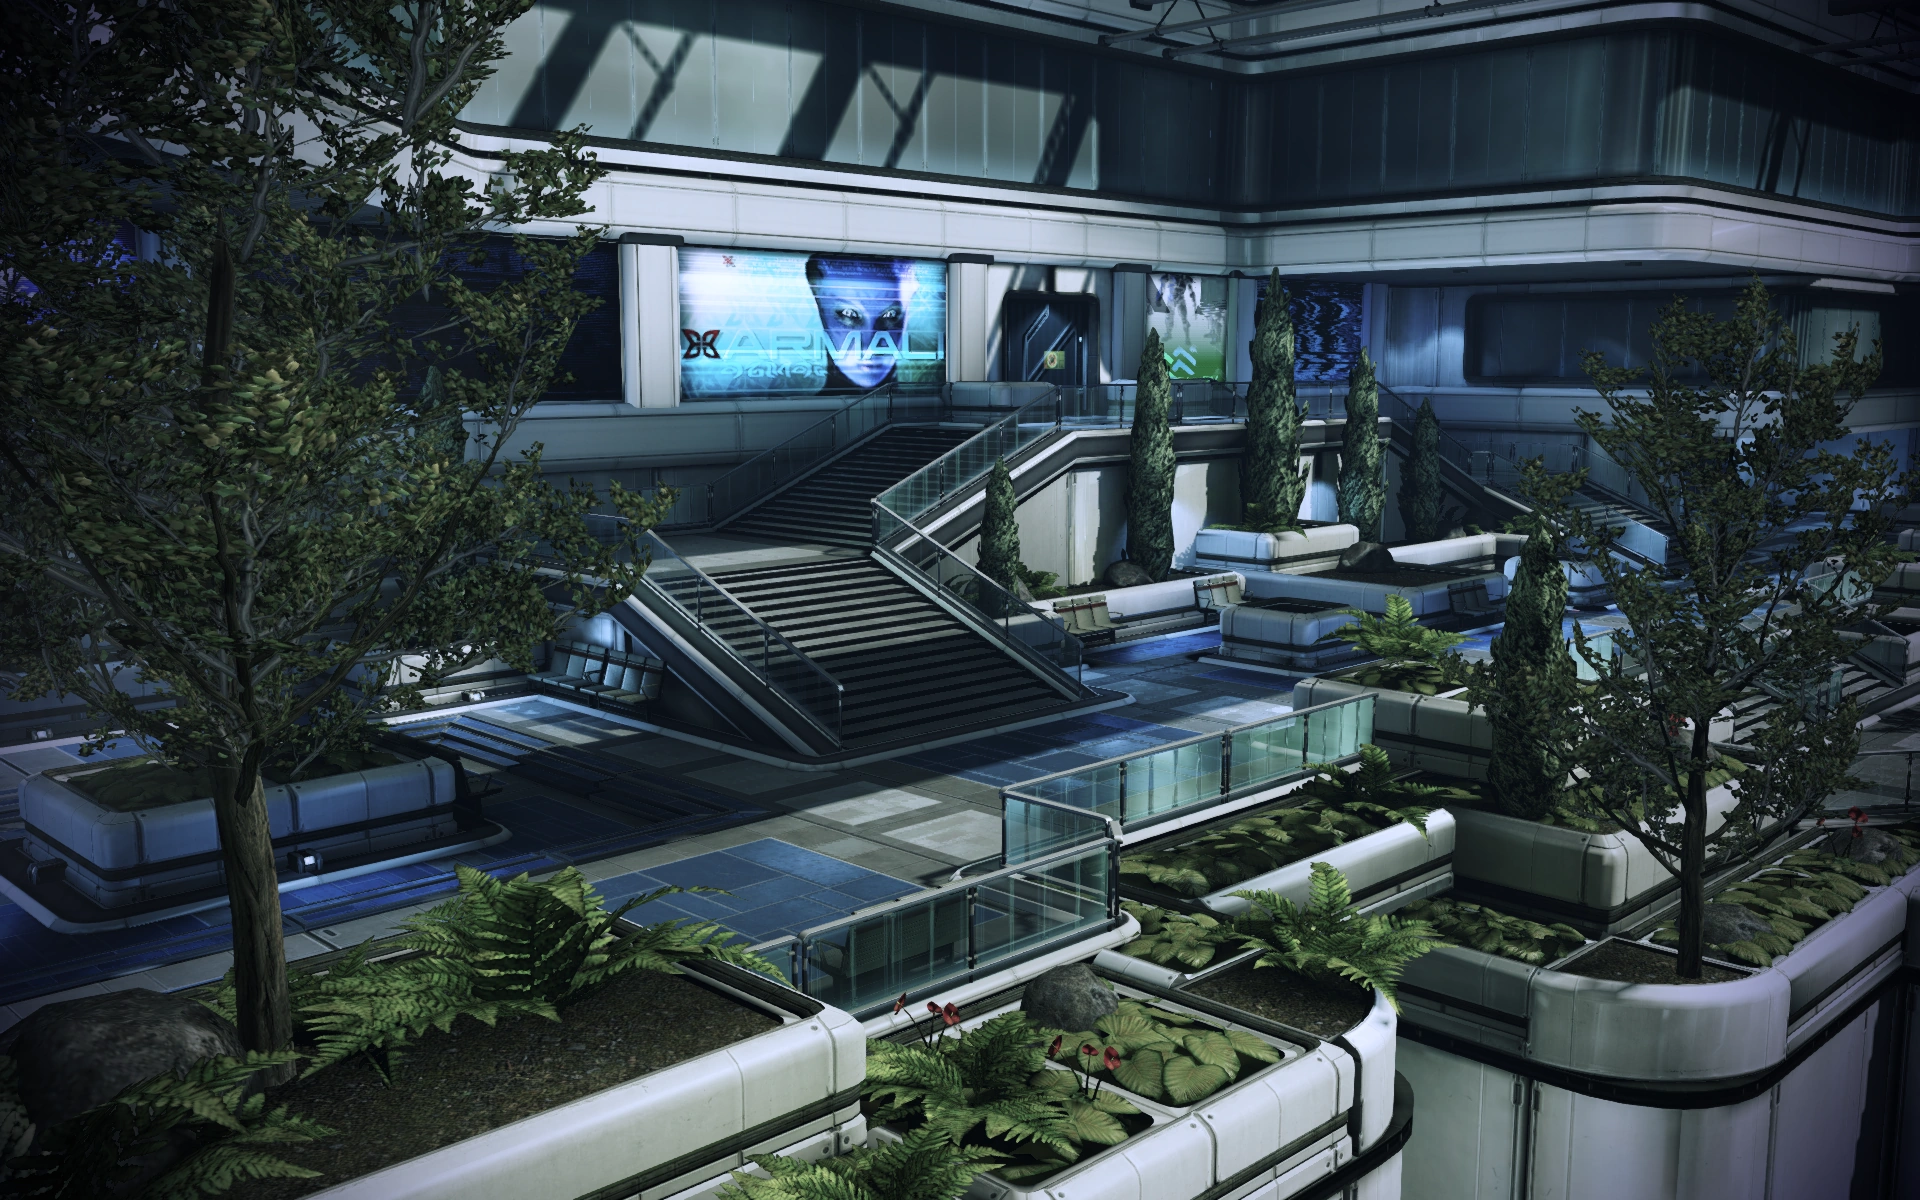
Head down the parking garage towards the door, which Cerberus will seal behind them. Jump the wall to your right and then keep heading up towards Shalmar Plaza using the Citadel's "back alleys." You'll find a datapad (+6250 credits) after jumping across a broken gap and going up some ledges on your left. To continue from that point on, put that pad behind you and you'll see the next alleyway. The next zone has an Atlas in addition to more troopers and an engineer.
Take out the Atlas ASAP as it continuously spams smoke grenades to conceal itself and its allies; there's plenty of cover on your left judging from your initial point of entry to the scene, and even with smokescreens you can hardly miss its bulky frame. Not far ahead is the stairs to an elevator that will take you to the Council; an alternative strategy is to simply ignore most or all of the enemies altogether and run for it.
Stop Council Elevator[]
The final combat zone of the mission can be easy because enemy reinforcements approach via elevator cars, all of which have Power Conduits on the top and bottom that you can shoot out, halting the lift car's progress entirely. However, this zone can also be challenging because the cars come from both sides, and some contain Phantoms. There is also no room for maneuvering and very little cover. There will be three elevators that need to be taken out, coming from Shepard's right, then left, then right again.
Snipers will want to shoot cars as they arrive. There is not much margin for error, but the tasks themselves are not difficult. Time dilation via Adrenaline Rush, the Sniper Rifle Concentration Mod, or Operational Mastery will give you more time to line up shots, or, simply spray away with a high-rate-of-fire weapon—there's enough time to reload between elevators and there is no further combat in this mission unless a Power Conduit is not destroyed in time. Overload, Energy Drain, and other instantly-hitting powers are especially effective when used by Shepard; other powers that launch projectiles may miss the mark due to the elevator's movement. Squadmate powers will hit the target instantly, making their powers (including grenades) more useful for stopping the elevators. You will gain 60XP each time you knock out an elevator.
Final Confrontation[]
The last elevator holds the Councilors as well as the Virmire survivor (Ashley Williams or Kaidan Alenko), who detects your landing once you jump onto the cab and immediately fires at you through the roof. The Council and Ashley/Kaidan quickly exit the elevator, only to find their escape shuttle destroyed. As Ashley/Kaidan orders their return to the elevator, Shepard and squad finally reach them, jamming the elevator door behind them to stall Cerberus' forces.
Humanity's second Spectre now stands between you and the Council, gun raised.
A Paragon interrupt allows you to de-escalate the situation by lowering your own weapons, but other than that it's all about trust. A variety of factors determine whether Ashley/Kaidan can be talked down. Starting at 0, the following table details the choices that influence the Virmire survivor's overall trust level:
| Factor | Yes | No |
|---|---|---|
| Romanced Ashley/Kaidan in Mass Effect | +2 | +0 |
| • Cheated on them in Mass Effect 2 | −1 | +0 |
| Saved the Council in Mass Effect | +1 | −1 |
| Kept Kirrahe or Thane alive through to Mass Effect 3 (otherwise Udina will produce a fabricated video of Shepard assassinating the salarian Councilor) | +0 | −2 |
| Shepard was kind to Ashley/Kaidan during Priority: Mars | +1 | −1 |
| Visited Ashley/Kaidan in the hospital once (when they were awake) | +2 | +0 |
| • Admitted and/or apologized for cheating on Ashley/Kaidan (if Shepard did cheat on them in Mass Effect 2) | +0 | −1 |
| • Visited them in the hospital a second time | +1 | +0 |
| Lowered their weapons against Ashley/Kaidan during the final confrontation | +1 | +0 |
Final trust level:
| −1 or below | → Ashley/Kaidan cannot be talked down |
| 0–3 | → Reputation check |
| 4 or higher | → Ashley/Kaidan automatically sides with Shepard |

If Ashley/Kaidan sides with Shepard, they will stand down. Either they or Shepard will order Udina to step away from the console that controls the elevator doors; Udina refuses and the asari Councilor tries to stop him, only for Udina to shove her down and pull a gun on her. A Renegade interrupt allows Shepard to shoot Udina, with Ashley/Kaidan taking the shot if Shepard does not.
If Ashley/Kaidan doesn't trust Shepard sufficiently, they refuse to move and Shepard is forced to go through them. A Renegade interrupt will allow Shepard to pull the trigger; if it's not taken, a squadmate will do it instead. Shepard will then automatically shoot Udina.
Aftermath[]
Kai Leng reports the failure to the Illusive Man. You resume control at Bailey's office, and talking to him he follows up on C-Sec's inability to catch Leng. All uncompleted item retrieval missions that require you to return to the Citadel before Priority: Tuchanka are now greyed out in the journal.
Other results include:
- If Thane was present, Bailey will mention that he has been taken to Huerta Memorial Hospital. You may choose to be with him in his final moments. Kolyat Krios will be present as well irrespective of the events in Thane: Sins of the Father. (Kirrahe does not benefit from a similar cutscene, as he expires from his wounds on the spot.)
- If Thane survived Mass Effect 2 but was never talked to at the hospital prior to this mission, he will not be present; however, his name will appear on the memorial wall of the Normandy afterwards, apparently confirming his death regardless.
- A new set of side missions and Citadel missions will crop up, as well as Priority: Perseus Veil. See the Mass Effect 3 Guide for details.
- After you complete this mission and then one more of your choosing, the following characters, if present, will e-mail you to initiate meetings on the Citadel: Garrus (Normandy Dock), Ashley (Refugee Camp), Javik, Miranda (Embassies), Jack (Purgatory), Liara, Kaidan (Commons). Note that most of these characters are Romance options, and if you are (attempting to be) in a relationship with them, these meetings will be crucial to developing it.
- Hackett will mention the asari's recent commitment of War Assets as well, such as the Asari Science Team (90), Asari Second Fleet (90), Asari Sixth Fleet (90), and if you saved the Council in Mass Effect, The Destiny Ascension (70).
- After the mission, David Anderson will e-mail you the Alliance's dossier on Kai Leng. At the same time, Miranda Lawson will e-mail you to arrange a vidcomm chat at the Spectre Offices at the Citadel Embassies. If you read Leng's dossier before talking to her, Shepard will automatically warn her of Leng's presence, which will prevent her death at a later date.
- Finally, optional Squad Members / War Assets may make themselves available:
- Assuming you didn't shoot Ashley/Kaidan, they will approach you at Normandy Dock: Bay D24 as you try to board the Normandy. You have the option to have them rejoin your squad as a party member, in which case Ashley or Kaidan will take up residence in the Starboard Observation Lounge on the Normandy and become available for both missions and shipside chats. If they do not, they remain on the Citadel as War Assets (25). If you have them join Hackett, you will be unable to interact with them socially aside from an e-mail from Ashley/Kaidan saying good-bye.
- If you saved the salarian councilor in this mission, salarian forces will now commit to you in thanks for your rescue of their councilor. It can either be the Salarian Third Fleet (125) or the STG Task Force (70), depending on whether you rescued Valern or Esheel, respectively. If Major Kirrahe sacrificed himself to save the Councilor, his War Assets will no longer be present.
Rapid Transport Issue[]
Because Mass Effect 3: Leviathan added rapid transport terminals throughout the Citadel, it is now possible to keep from choosing whether Ashley/Kaidan goes with you or Hackett. This was probably an unintended consequence of using those transports since story sequence breaks in at least one other scenario: the confrontation with Wrex on the Docking Bay if the genophage cure was sabotaged.
To do so, do any of the missions in Dr. Bryson's Lab right before meeting the Virmire survivor in the Docking Bay. Upon the mission's conclusion, if you choose to head straight back to the Normandy on the X3M car, you will reappear on the Normandy, completely bypassing the meeting with your friend. The game will act as if you sent the Virmire survivor to Hackett already, as evidenced by the e-mail you'll receive that says as much as well as Garrus mentioning that it would have been nice to have the Virmire survivor back on the team, but that it wasn't meant to be.
Which is not really the case as you can still return to the Citadel at any reasonable time to decide the fate of the Virmire survivor. All you need to do is return to the Normandy normally, either by direct rapid transport from any Citadel terminal or through the Docking Bay doors. The conversation with the Virmire survivor should proceed normally.
Logs[]
Enemies[]
Trivia[]
- When entering the Presidium area where Shepard faces an Atlas, there is a shop to the left named 'Snap Crackle and Shock Defense Solutions'. The name is presumably a parody of the Rice Krispies cereal brand, with the tagline 'Snap Crackle and Pop'.
| ← Previous Mission | Mission Index | Next Mission → |
|---|---|---|
| Priority: Tuchanka | Missions | Priority: Perseus Veil |