Tags: Visual edit apiedit |
mNo edit summary Tag: sourceedit |
||
| Line 13: | Line 13: | ||
Squadmates with sniper rifle training, such as Garrus and Ashley, will be helpful, as well as ammo mods such as Tungsten Rounds which do extra damage against synthetics. You'll also have a several opportunities to use abilities at closer range, and fortunately geth are vulnerable to most powers. Due to the sheer amount of geth on the planet, Tali is an excellent candidate for the squad, as her hacking ability can turn the tide of the fighting when mastered. Biotics, specifically the Lift ability that Kaidan and Liara have, can be useful in incapacitating a troublesome opponent. |
Squadmates with sniper rifle training, such as Garrus and Ashley, will be helpful, as well as ammo mods such as Tungsten Rounds which do extra damage against synthetics. You'll also have a several opportunities to use abilities at closer range, and fortunately geth are vulnerable to most powers. Due to the sheer amount of geth on the planet, Tali is an excellent candidate for the squad, as her hacking ability can turn the tide of the fighting when mastered. Biotics, specifically the Lift ability that Kaidan and Liara have, can be useful in incapacitating a troublesome opponent. |
||
| − | {{note}} Beginning the Virmire mission sequence is a major turning point in the game. Unlike Feros or Noveria, you cannot return to the Normandy and leave the planet before completing the mission. Upon landing, you will be forced to see Virmire's mission chain to |
+ | {{note}} Beginning the Virmire mission sequence is a major turning point in the game. Unlike Feros or Noveria, you cannot return to the Normandy and leave the planet before completing the mission. Upon landing, you will be forced to see Virmire's mission chain to its very end, and one way or the other one member of your squad (or two, if your actions lead to it) will become unavailable afterward. If you intend on maximizing interactions, explore as much of your squadmates' character arcs as you can before landing on the planet. |
== Walkthrough == |
== Walkthrough == |
||
Revision as of 09:31, 15 May 2015
You've received word that a salarian reconnaissance team on Virmire has information about Saren. The message was unclear and the Council fears the team is in danger.
Acquisition
This mission is acquired after the completion of two of the first three plot worlds: Therum, Noveria, or Feros.
When asked, Anderson will say that he has never even heard of Virmire before the Council passed the information to Shepard.
Head to Virmire in the Hoc system of the Sentry Omega Cluster.
Preparation
You will be fighting geth ranging from small to large, but in an outdoor environment where you will mostly have the Mako available, and you'll be able to change squads before you encounter any other type of enemy. As usual, additional experience points can be won for killing geth while on foot, so if you plan to go this route equip a squad that will be useful against geth at ranges that are often distant. Virmire also presents a number of high level opponents and a boss fight, so putting the mission off until gaining a decent level, quality armor and weapons may be an excellent idea.
Squadmates with sniper rifle training, such as Garrus and Ashley, will be helpful, as well as ammo mods such as Tungsten Rounds which do extra damage against synthetics. You'll also have a several opportunities to use abilities at closer range, and fortunately geth are vulnerable to most powers. Due to the sheer amount of geth on the planet, Tali is an excellent candidate for the squad, as her hacking ability can turn the tide of the fighting when mastered. Biotics, specifically the Lift ability that Kaidan and Liara have, can be useful in incapacitating a troublesome opponent.
Note: Beginning the Virmire mission sequence is a major turning point in the game. Unlike Feros or Noveria, you cannot return to the Normandy and leave the planet before completing the mission. Upon landing, you will be forced to see Virmire's mission chain to its very end, and one way or the other one member of your squad (or two, if your actions lead to it) will become unavailable afterward. If you intend on maximizing interactions, explore as much of your squadmates' character arcs as you can before landing on the planet.
Walkthrough
Drop Off
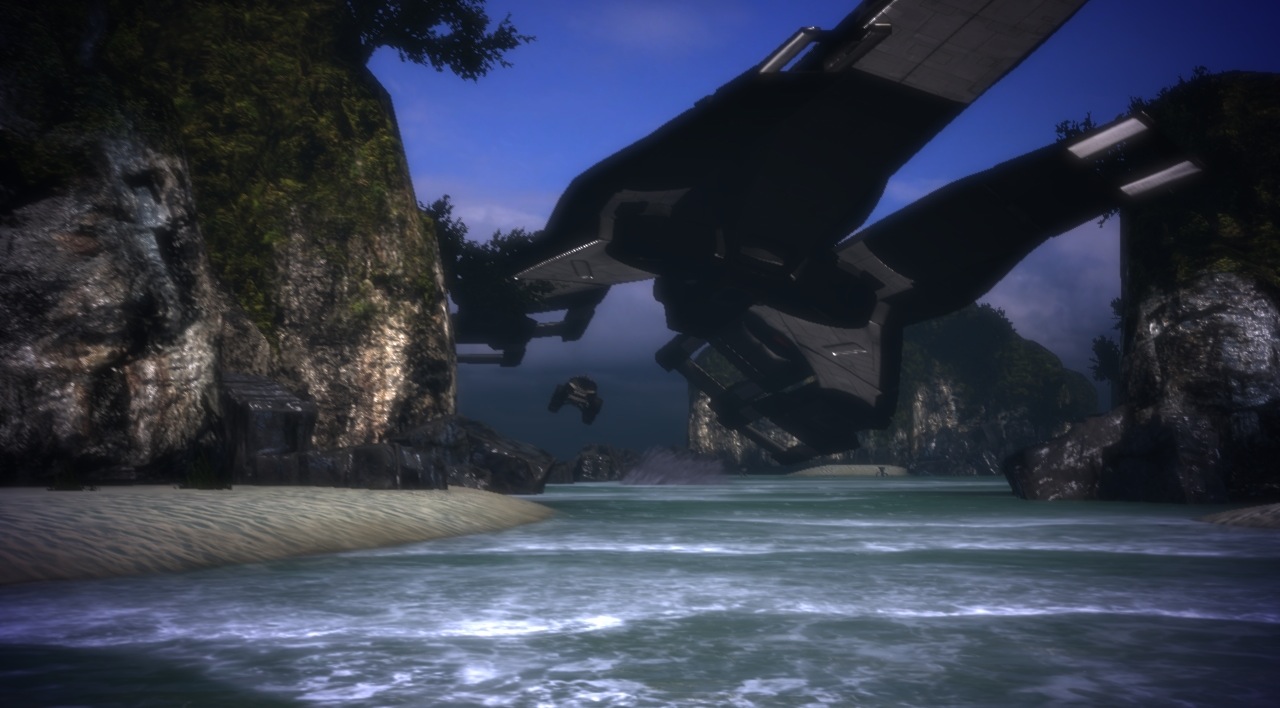
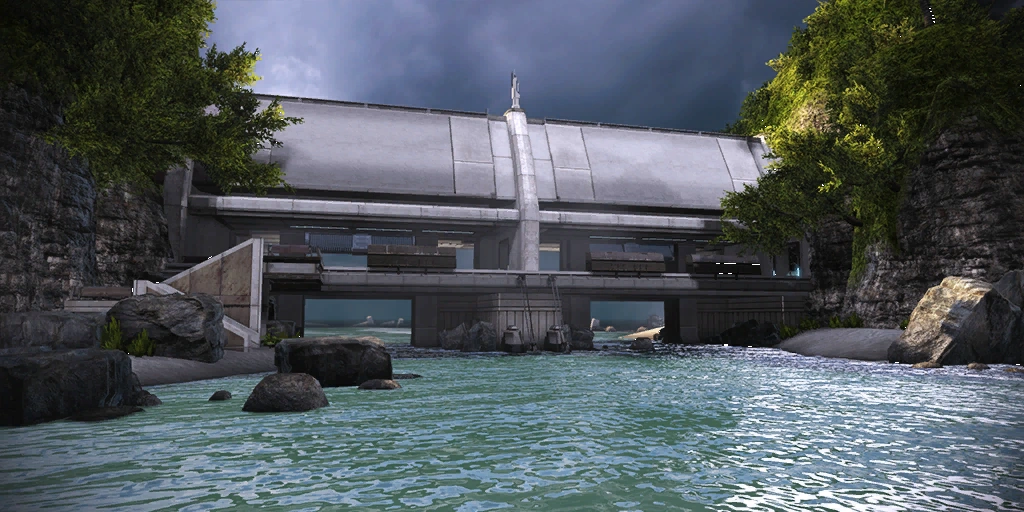
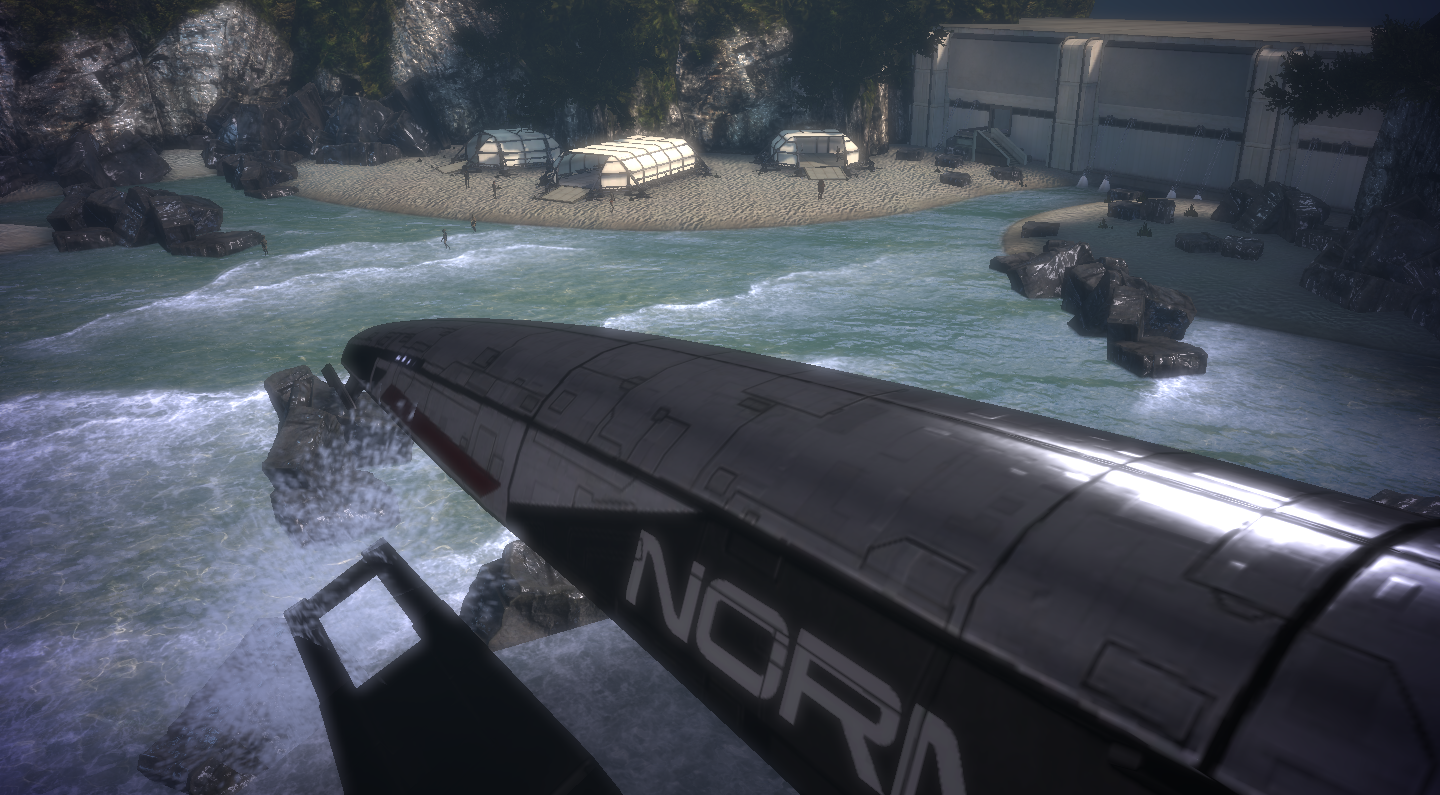
When the Normandy is approaching Virmire, Joker picks up the signal from the Salarian STG team, and Kaidan takes notice of the massive defense towers that surround Saren’s base. Joker will tell Shepard that he will get the Mako in under Saren’s radar. The Normandy swoops in and drops the Mako at low altitude. Once the Mako rolls to a stop, Joker comes over the radio and calls for a successful drop. Respond, but basically Shepard says the same thing. Shepard orders Joker to keep the Normandy out of range until the AA guns are down. You will notice some animals around, however they are harmless and don’t attack so ignore them.
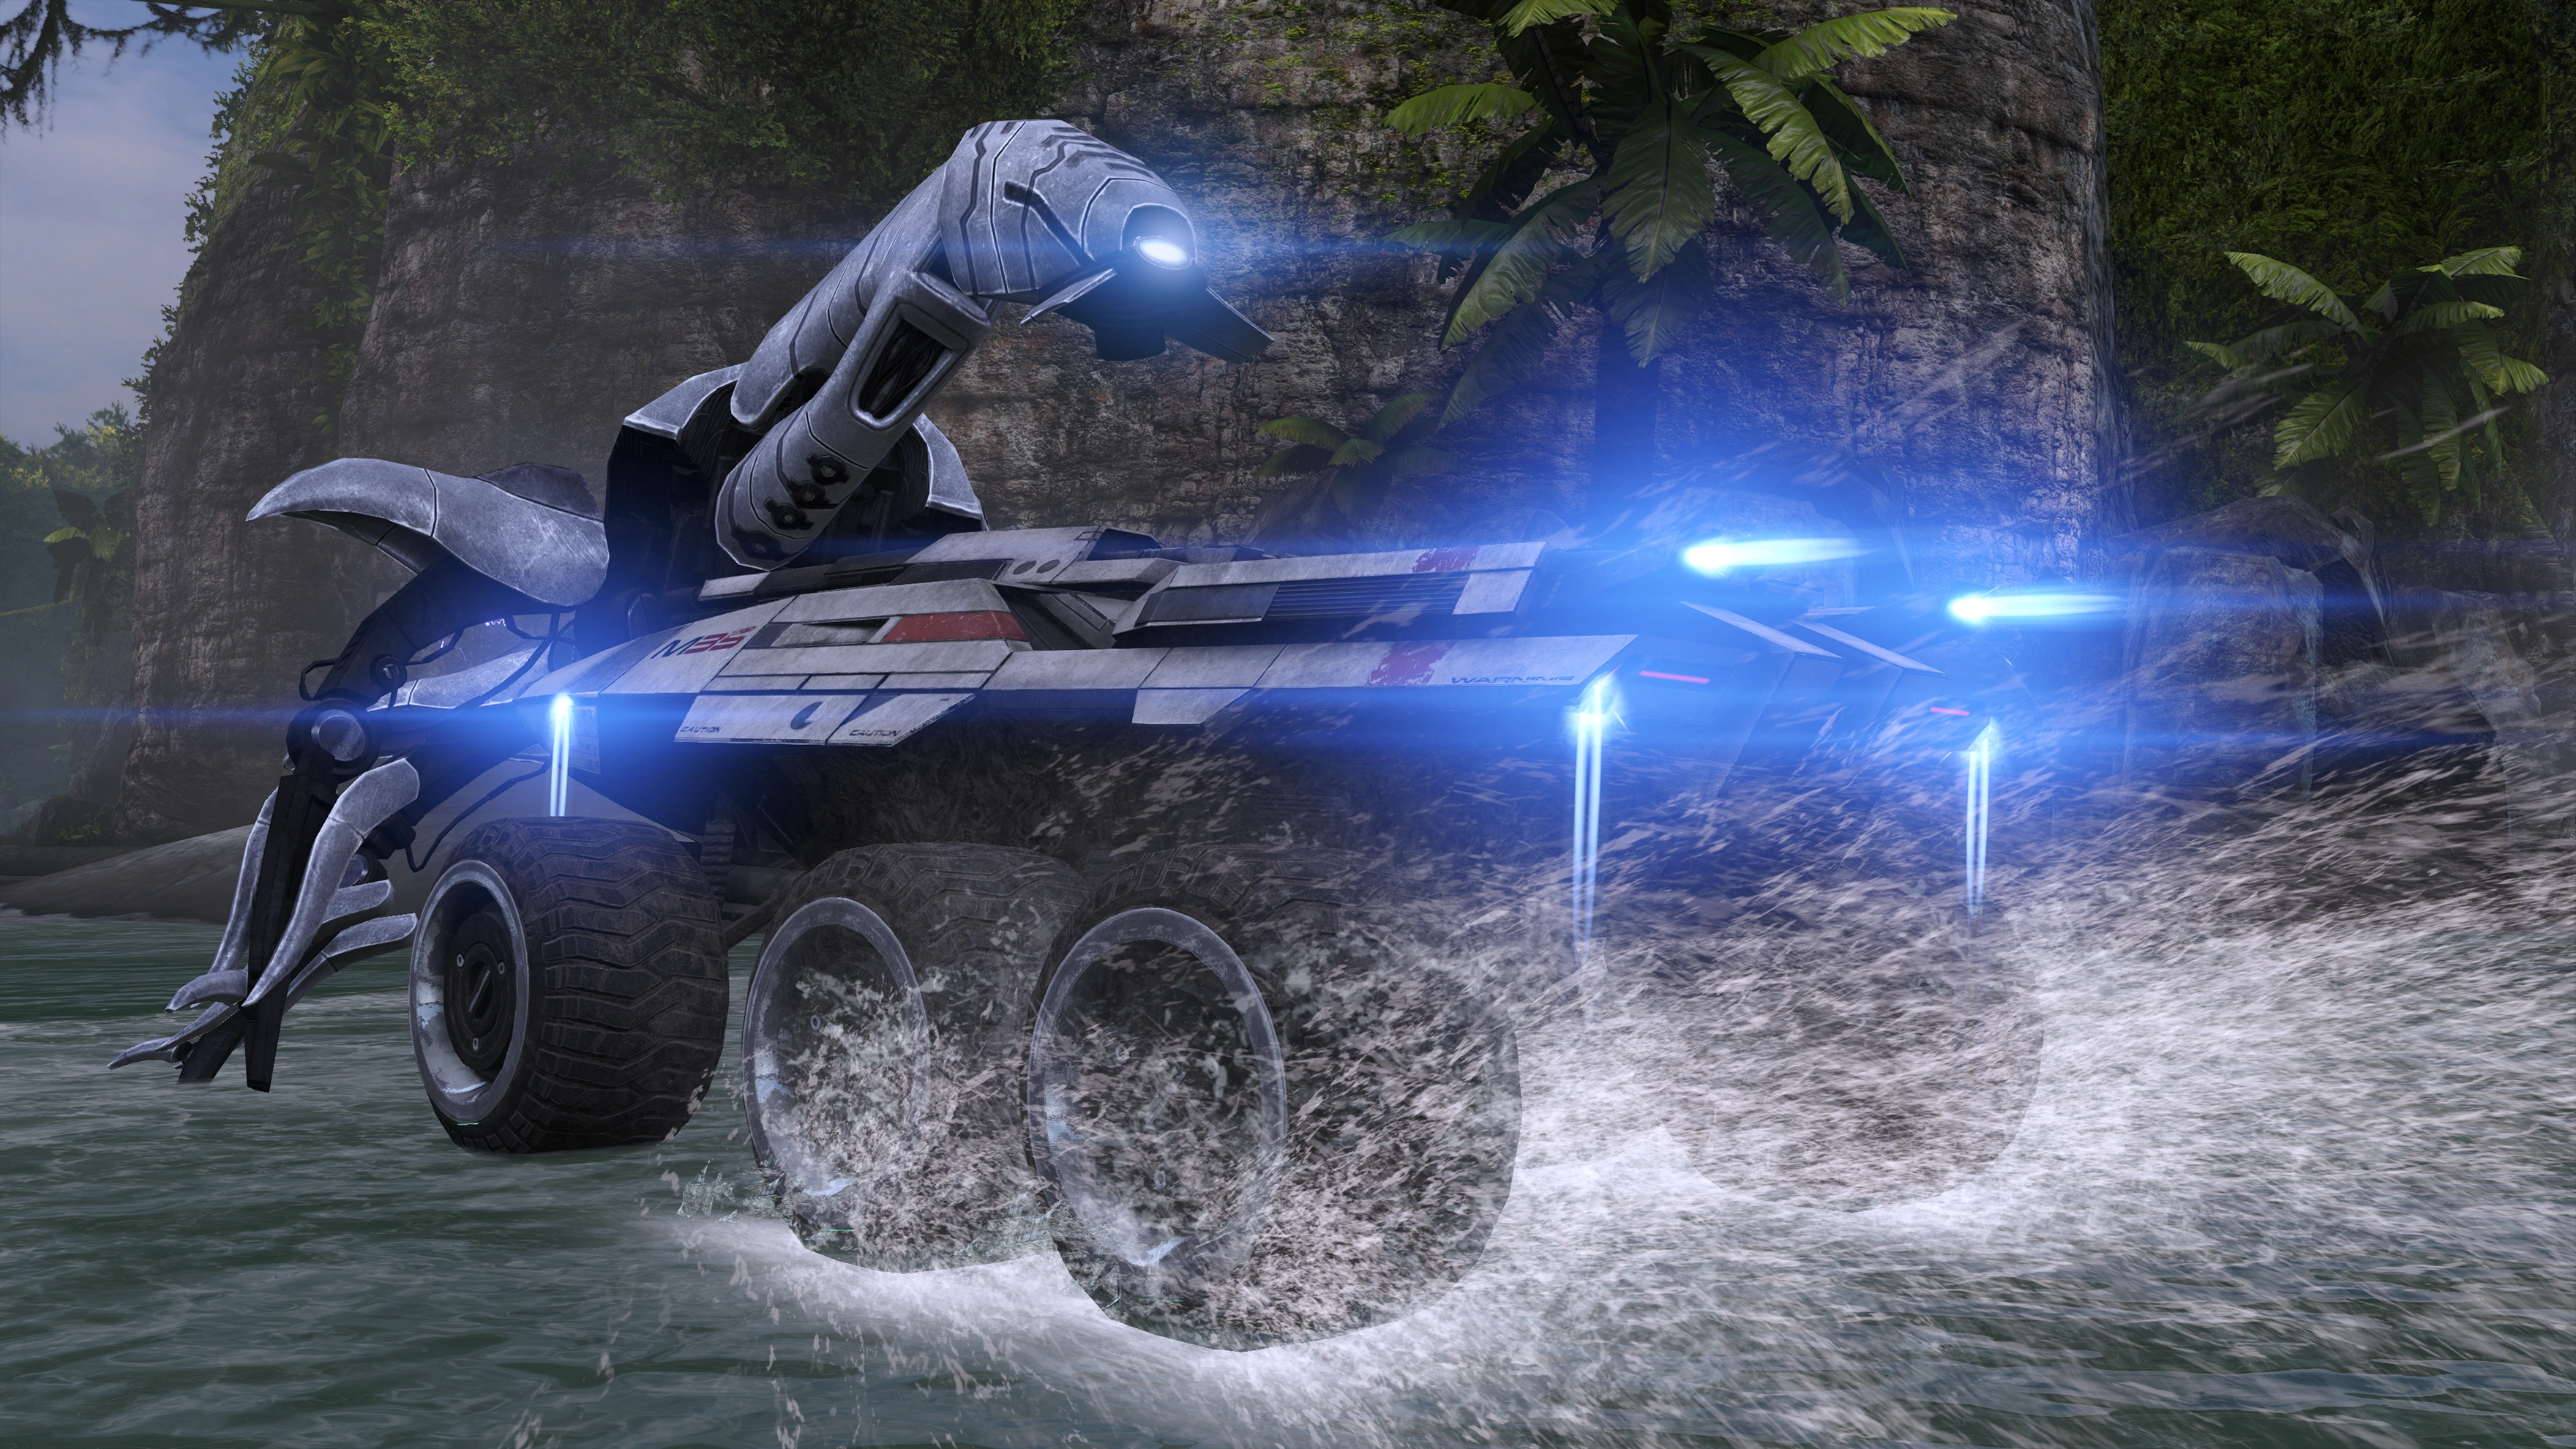
Climb into the Mako and head off. Be careful near the ocean's edge, because the Mako can drive over the rocks leading to a Critical Mission Failure. Around the second corner you will encounter some Geth Rocket Drones and Geth Assault Drones. These are actually harder to take out from the Mako than on foot, so exit and take them out. Also remember you gain more experience points fighting on foot than from inside the Mako. Keep moving forward, taking out another group of drones along the way.
Insanity Tips: Rockets and especially snipers can one-shot Shepard on this level, so be careful getting out of the Mako when there is a large group around. Remember to turn the Mako sideways to any large enemies and "rock back and forth" to avoid rockets; likewise when you're outside the Mako and in the great outdoors where there isn't much cover, keep on the move while you shoot to avoid incoming missiles. But if you've made it this far on Insanity level you won't find anything in the "vehicular" section of Virmire too difficult.
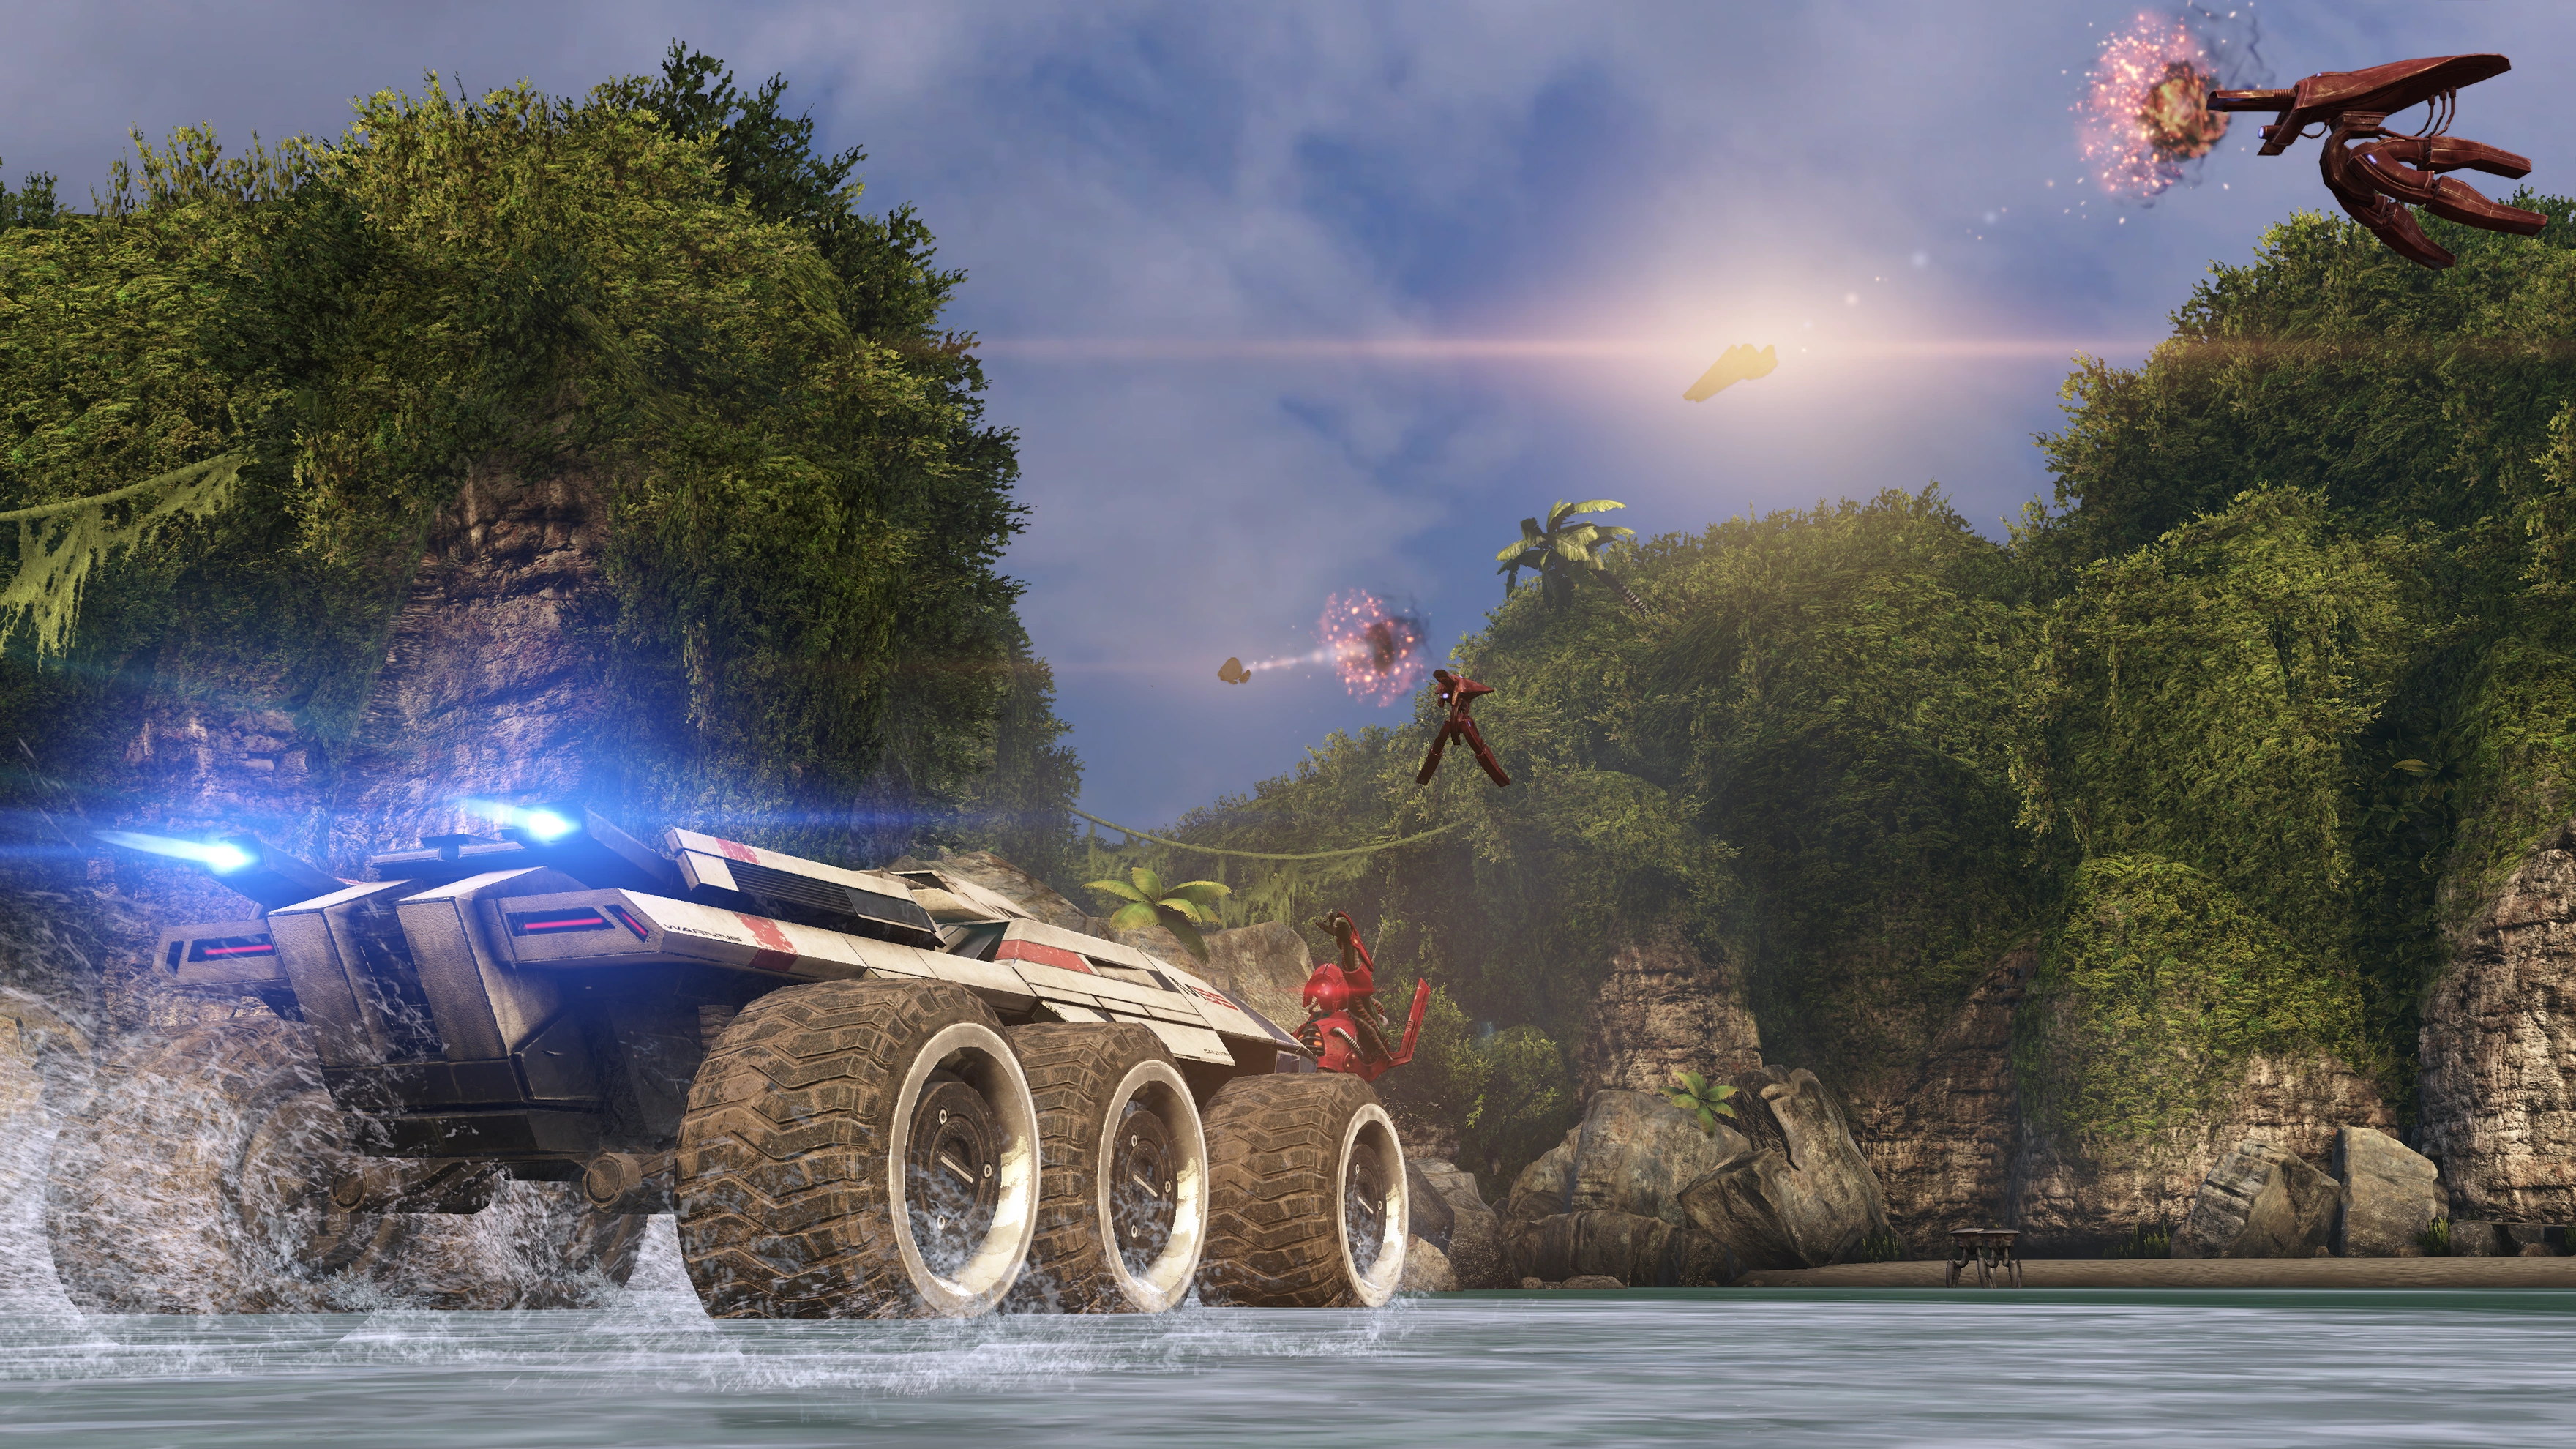
Ahead on the right are some Geth Rocket Troopers that just love to shoot rockets, so make sure they get only a shot or two off before they are scrap metal. Around the next corner are two Geth Rocket Drones and a Geth Juggernaut. Take them out any way you wish then move up to where they were to get a better shot at the accompanying Rocket Troopers.
About halfway down the next stretch you will come under rocket fire and your radar will become jammed. There are some Rocket Drones at the end, so deal with them and then round the corner. On a bank to the left are 10 hexagonal geth shields and of course some more geth. This group consists of Rocket Troopers, Geth Shock Troopers, and Geth Troopers. Unfortunately some are hiding behind the rocks so you have to move up to take them all out. When they are down, head around the next corner and you can see a structure in the distance.
Gatehouse One
When you get close to the first gatehouse you start to come under fire from the geth guarding it. The group outside consists of Geth Snipers, Rocket Troopers, Troopers, and Shock Troopers. You can drive up and take them out on foot, or shoot them from a distance.
When all the initial geth are down, move up, if you haven’t already, and head up the stairs to the left. There are more Troopers on the top, along with a Geth Destroyer that comes up from the right. In the far room are some Geth Hoppers including a dangerous Geth Ghost, along with a Geth Sniper and a weapons locker. Take out the geth then loot the locker (high decryption). There is also a crate near the just up the stairs, be sure to open it before you leave. When you are done head back to the Mako and drive along.
Gatehouse Two
When you get near the next corner a Geth Colossus is in your way. Remember, to get the most experience points, whittle down the Colossus' health then exit the Mako and finish it off with your weapons. When you get near a T-junction you come under fire from both sides from three Geth Armatures. Use the Mako’s cannon, machine gun, and jets to avoid and take out the Armatures. The best option is to go after the lone one to the left, then come around to the two on the right. You'll then have a choice of directions, though the right side offers more room to maneuver.
When you get close to a narrowing of the path, roar through it because there is on a Colossus on the other side. Shoot the Colossus full of holes, of varying sizes, then move around the corner and look left for yet another Colossus, this one optional to take out because it is not between you and the second gatehouse. When you are done with the Colossus, you can head around the corner where the Colossus was to find another Armature, also optional, but useful if you need experience. Whatever you choose and when you are done head back to the second gatehouse.
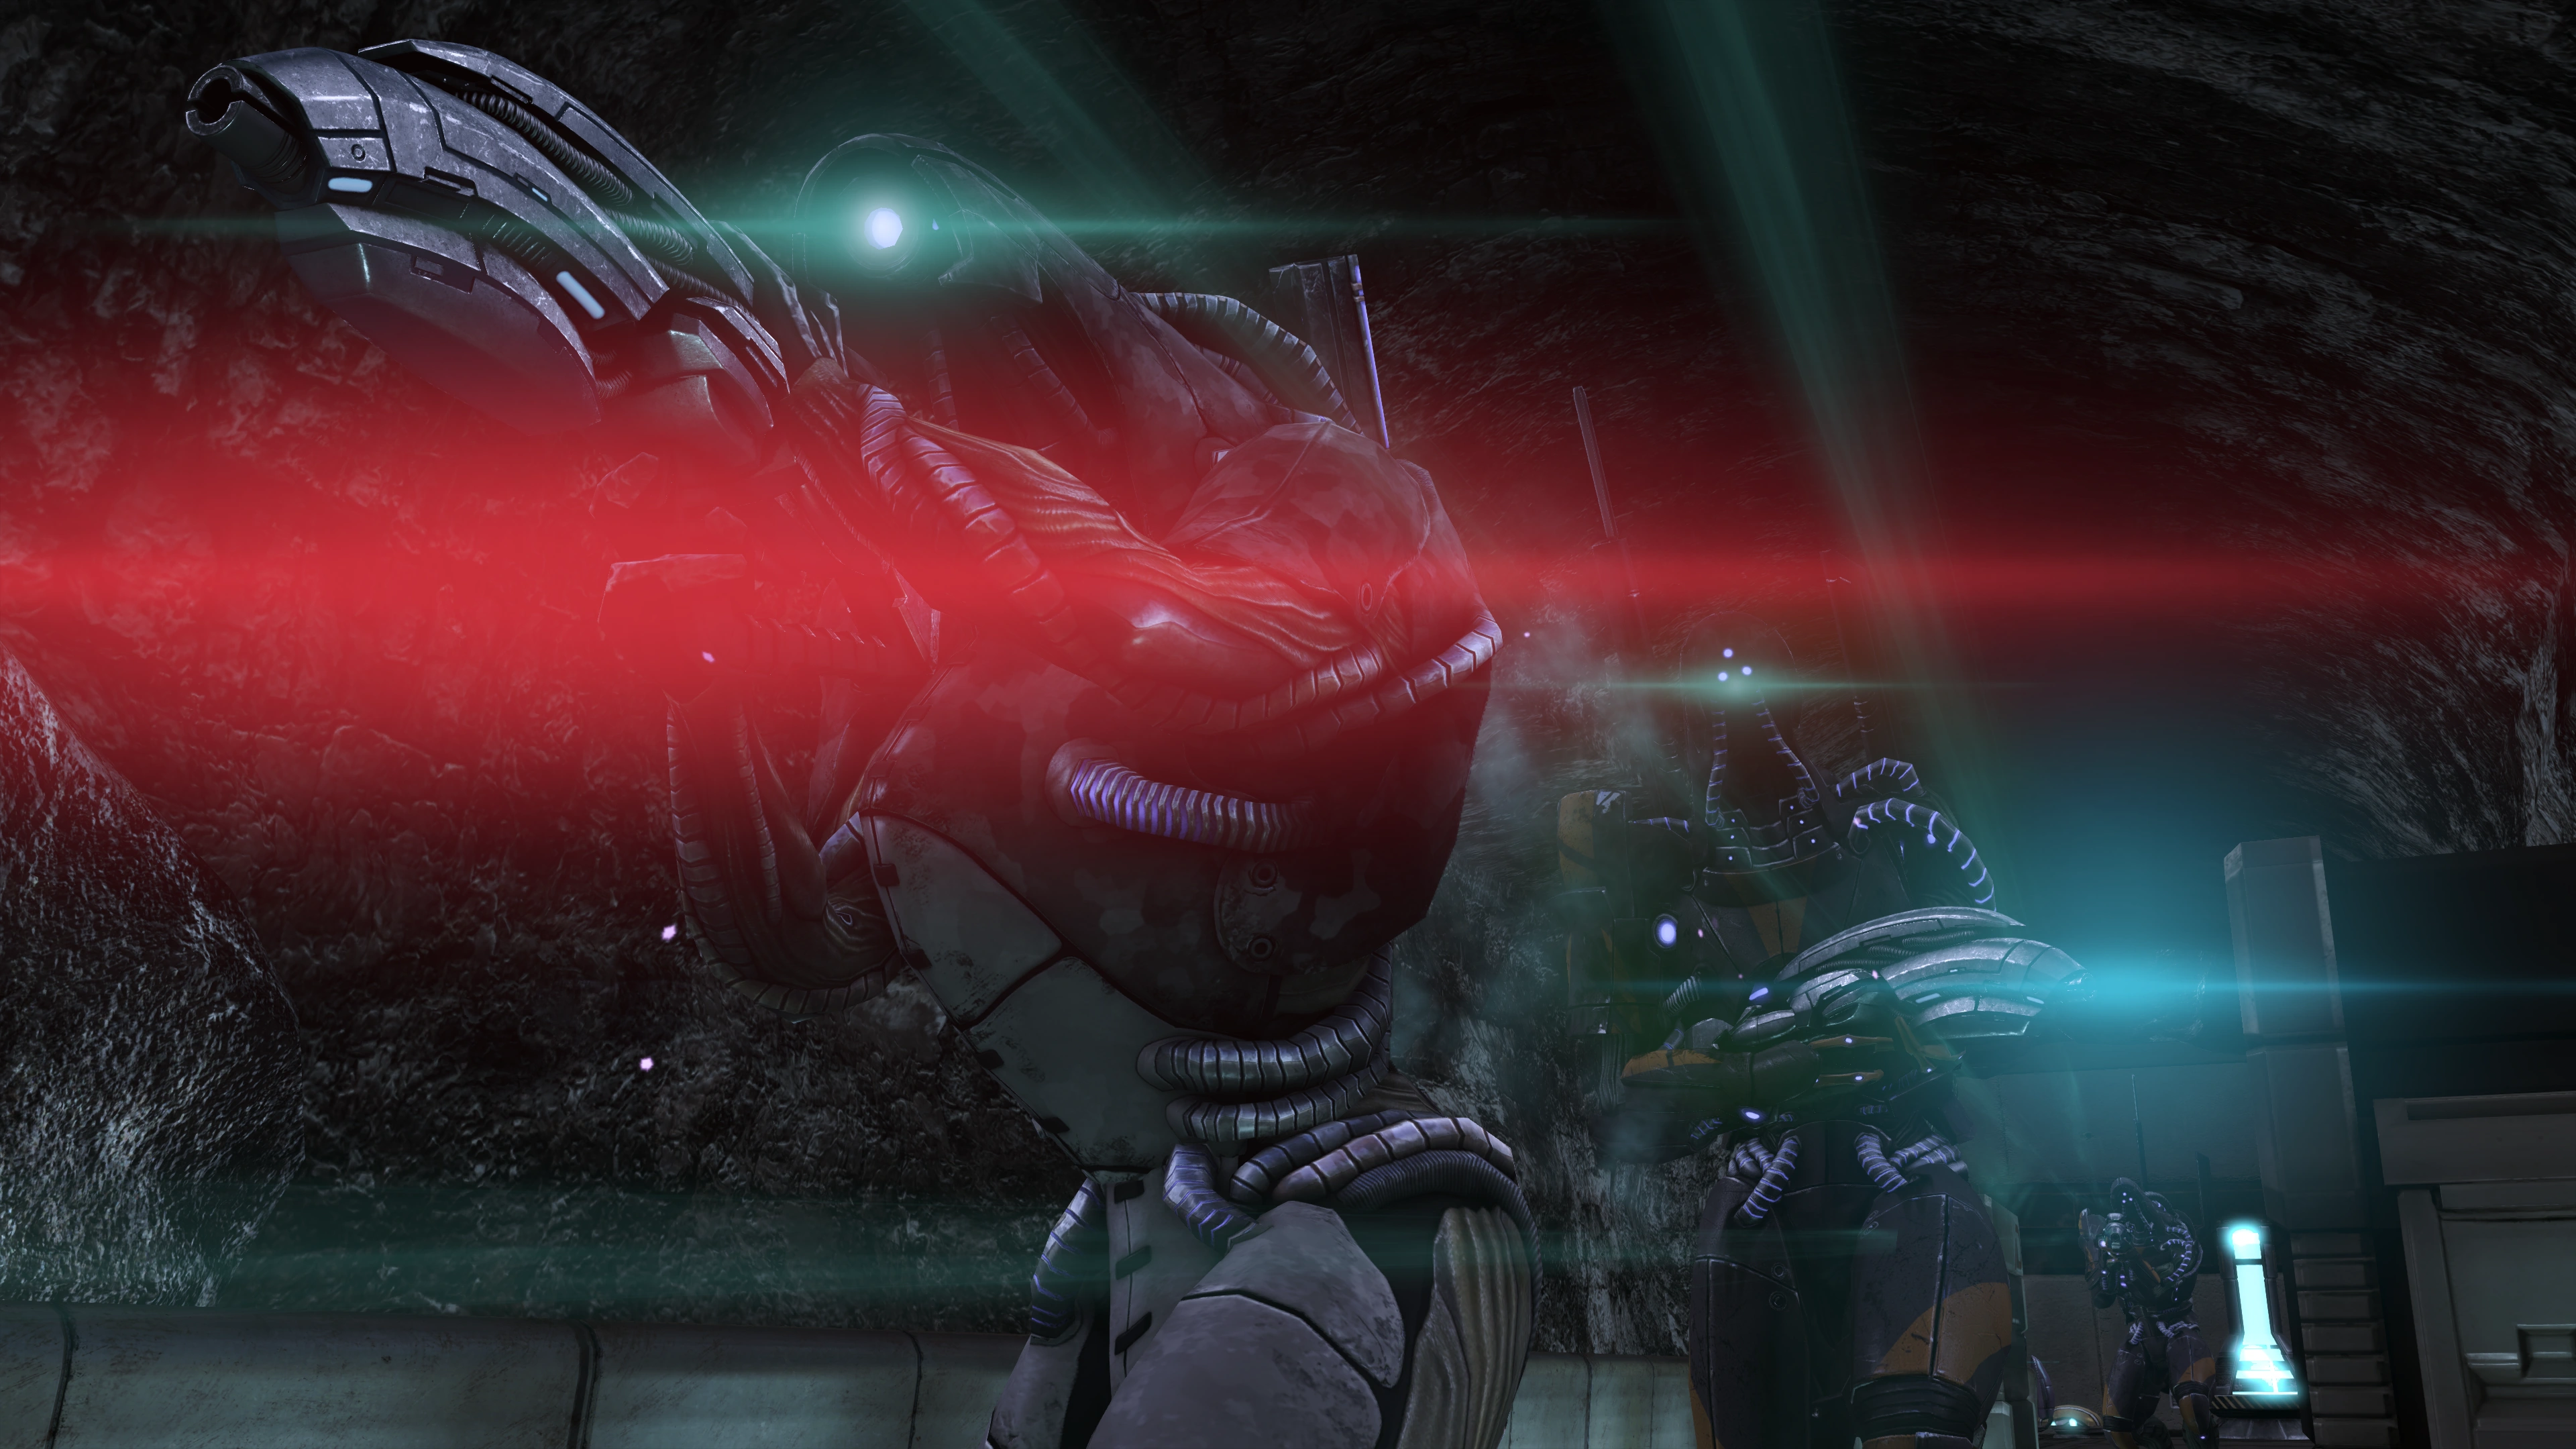
The second gatehouse is similar to the first except the stairs are on the right. Take out the Shock Troopers, Rocket Troopers, and Troopers on the ground then head up the stairs. On top you encounter more Shock Troopers, Troopers, and Destroyers. Search around for the crate, near the center wall, and head to the tunnel to the control room. Inside the room are more Hoppers, so you have to deal with them. A Singularity in the center of the room makes quick work of the Hoppers and allows you to have some live-fire target practice.
When the Hoppers are down, head into the room and you have three things that you need to activate before leaving. You need to raise the gates, deactivate the AA tower, and finally access the weapons locker for some loot. However you have to disable the tower before you can raise the gates. When the AA tower is down, Joker radios that he is on approach to the salarian camp, you’re done here so get back into the Mako and drive on.
Gatehouse Three
As you drive under the gatehouse, the Normandy flies overhead on route to the salarian camp.
When you round the corner you encounter the last gatehouse and the final line of defense before the camp. The gatehouse has the usual enemies so deal with the ground forces then head for the upper level. This gatehouse sometimes also has a Juggernaut on the upper level so watch out. There are no enemies in the control room this time around so just head in, raise the gates, hack the weapons locker, and get back in the Mako.
When you reenter the Mako, just gun it because there are no more enemies between you and the salarian camp. When you get closer Joker radios that the Normandy is down safely but they are apparently grounded, the salarian captain can explain when Shepard arrives.
Salarian Camp
When you reach the camp a cutscene plays where Ashley and Kaidan are arguing with the salarian captain. The captain needs more time to come up with a plan, and when Shepard arrives, he introduces himself as Captain Kirrahe, 3rd Infiltration Regiment, STG. Kirrahe asks if Shepard was all the Council sent and is dismayed when he learns that his transmission was unclear. He lost half of his men investigating this place and Shepard’s orders were just the same.
When asked he talks about the base, apparently heavily fortified and guarded by a legion of geth. Kirrahe mentions that Saren is breeding an army of krogan. If you recruited Wrex to your team, he walks over and asks how that's possible. Kirrahe says that Saren found a cure for the genophage and it needs to be destroyed. Wrex disagrees, but Kirrahe insists as he thinks the krogan were a mistake. Wrex gets in Kirrahe's face, stating "[w]e are not a mistake!" Kirrahe requests that you resolve the issue with Wrex while he comes up with an assault plan.
- Main article: Virmire: Wrex and the Genophage
When you regain movement control, you can explore the camp at your own pace. Every NPC in the area (except the salarian pacing by the beach) has dialogue lines you can explore, and may change depending on how you dealt with Wrex. The tent nearest to the Saren base wall has a codex entry from the Communications Relay, requiring decryption. The long tent beside it has Kirrahe, who is your key to story progression. If you dealt with Wrex already, or if the krogan was never in your party to begin with, speak to him to get things going.
The tent at the other side of the camp has Commander Rentola, the regiment's supply officer. There's a Medical Station beside him that also requires decryption. He will have a limited selection of goods to sell but it is a good place to unload unnecessary gear before heading out. If you talk to Commander Rentola before dealing with Wrex, you will hear shotgun blasts in the background during your conversation. Sell any excess items you've accumulated to Rentola, because there's a long segment coming up and you don't want to end up at your inventory limit.
Note: You cannot rely on the decryption skills of your squadmates here on the salarian camp - if you play as a Soldier or have low decryption skills on your own the med station and the comms relay will remain inaccessible.
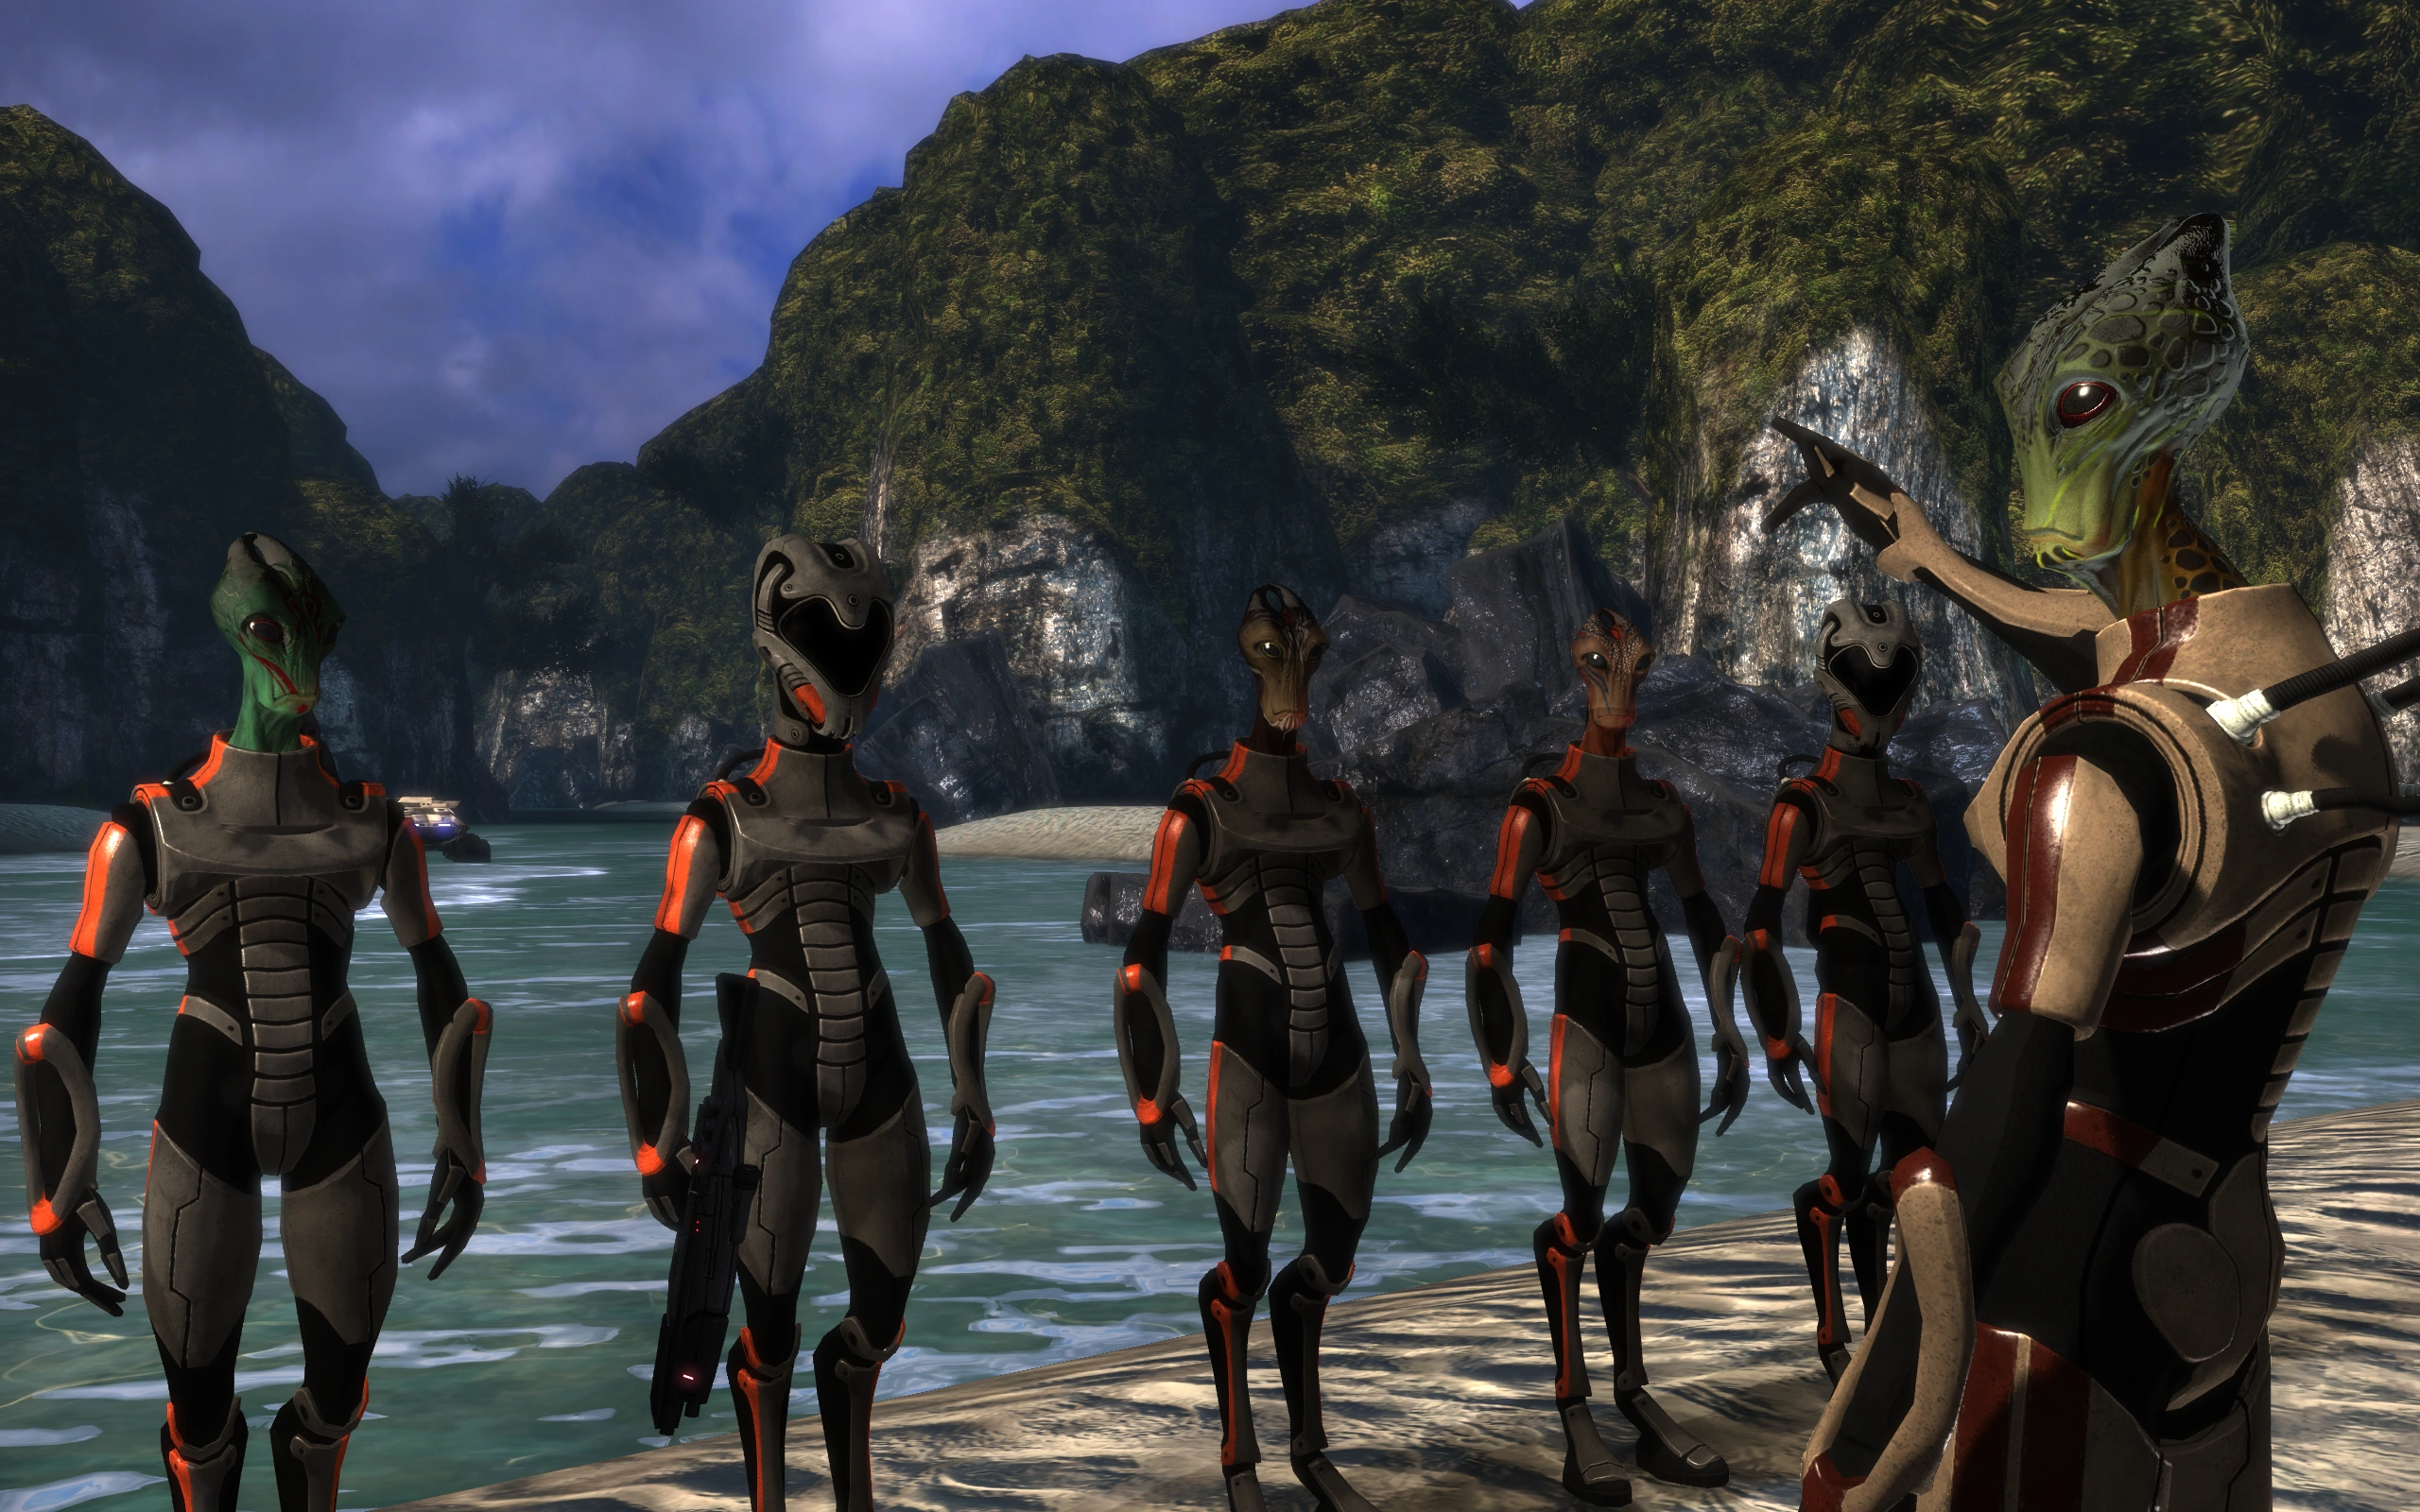
When you are ready head back to Kirrahe and he says that he has come up with a plan, sort of, and involves high risk and a lot of luck. He will divide his men into three teams and hit the front of the facility while Shepard and team “Shadow” sneaks around back. When asked about the team names Kirrahe will list of the other three: Aegohr, Mannovai, and Jaëto, the salarians' first three colony worlds. He hopes that they will remind the men what they are fighting for.
He also needs to ask Shepard for a huge favor, he needs one of Shepard’s squad for the assault. Both Ashley and Kaidan volunteer. Send whomever you wish with Kirrahe, however be warned that whichever one you send will be unavailable as a squadmate for the rest of Virmire. Personal preference or squad balance, keep whichever in mind when choosing.
When you are done Kirrahe gives you one last opportunity to hold off before the attack, if you do then just talk to him again to proceed. When you get ready to proceed, Kirrahe gives a speech to the men then wishes Shepard luck and asks the Commander to be on the lookout for anything that can assist the teams. When the squad selection screen comes up, there's your clue to navigate on to the next part of the mission.
Enemies
- Geth Armature
- Geth Assault Drone
- Geth Colossus
- Geth Destroyer
- Geth Ghost
- Geth Juggernaut
- Geth Rocket Drone
- Geth Rocket Trooper
- Geth Shock Trooper
- Geth Sniper
- Geth Trooper
| Mission Index | Next Mission → | |
|---|---|---|
| Missions | Virmire: Assault |